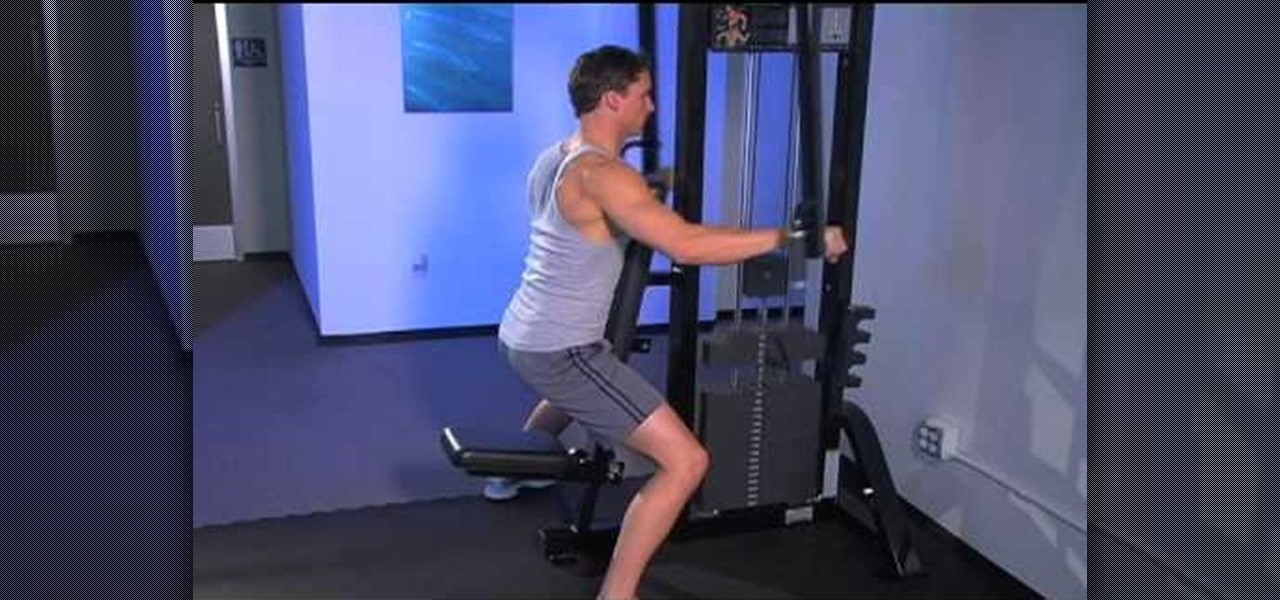
How To: Work out your shoulders with reverse fly on a pec deck
Learn how to do reverse flys on a pec deck. Presented by Real Jock Gay Fitness Health & Life. Benefits


Learn how to do reverse flys on a pec deck. Presented by Real Jock Gay Fitness Health & Life. Benefits

Learn how to single leg single cable swim strokes. Presented by Real Jock Gay Fitness Health & Life.
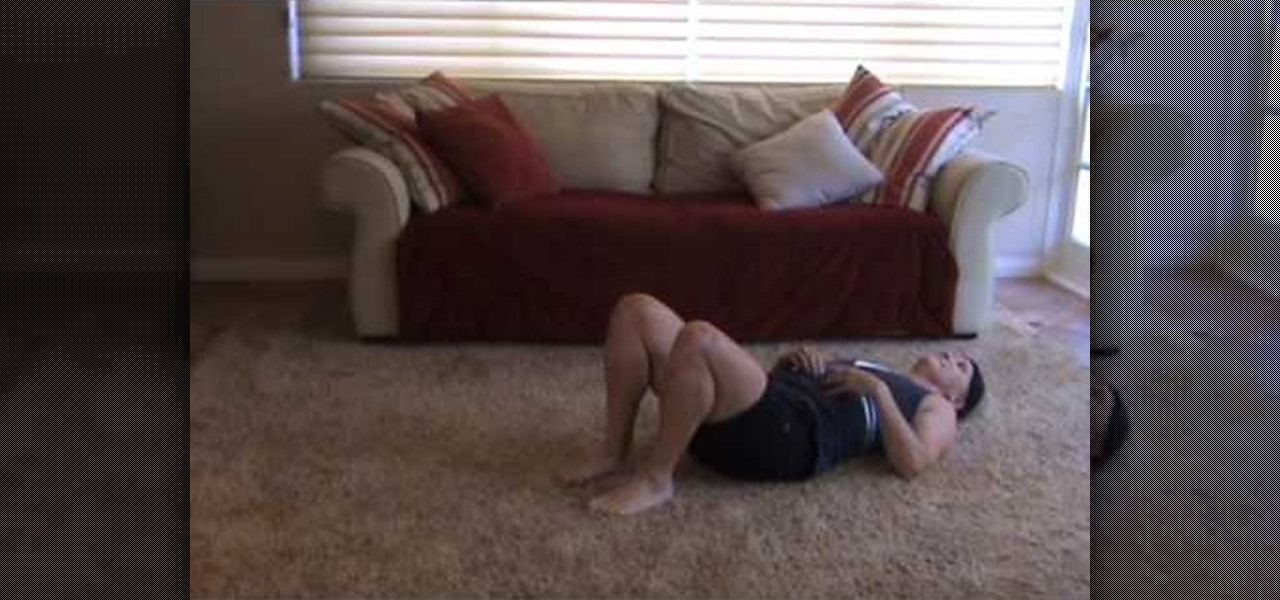
To do basic crunches the lady is lying on her back with her knees bent and feet on floor about a foot apart. Fingers are spread under her neck and head. She raises her chest and shoulders looking up and back down to the floor slowly, 14 times. Now, the left feet crosses over the right knee which is still down on the floor and shoulder to the opposite knee with a small range of motion 14 times. She reverses doing the same thing with opposite leg and opposite shoulder. Now, arms are extended un...
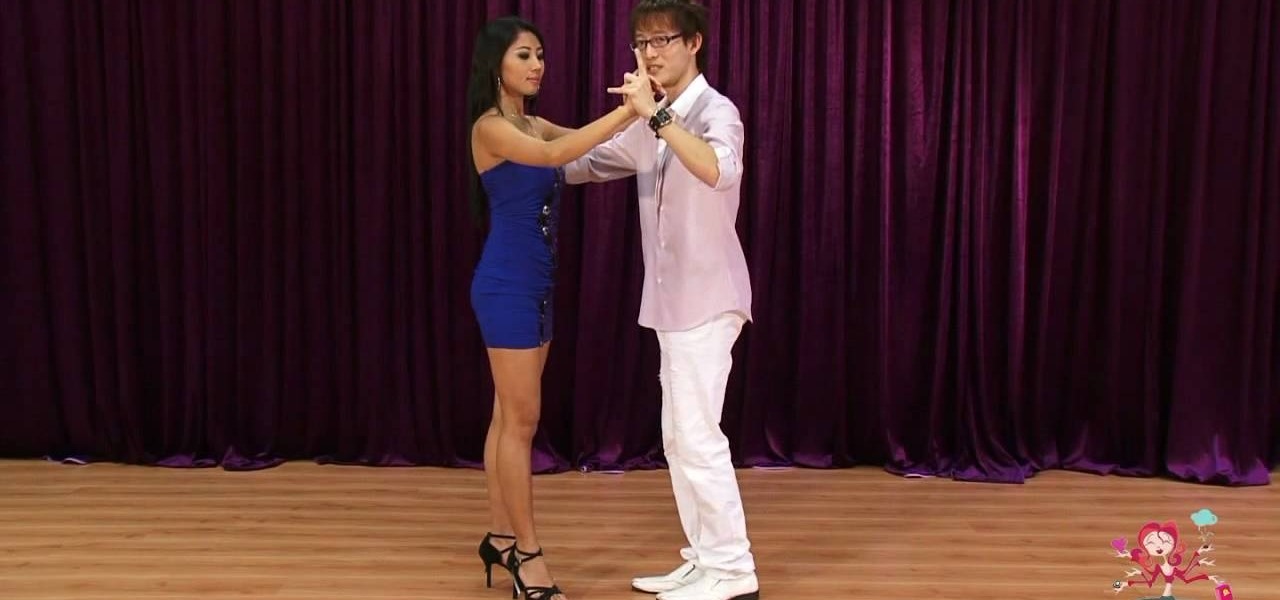
Dancing salsa is like making love on a wood floor. Interested? If so,then check out this easy to follow dance video which will guide you step by step through how to dance salsa. From sashaying your hips sexily to the correct basic forward and backward step, this video covers it all.
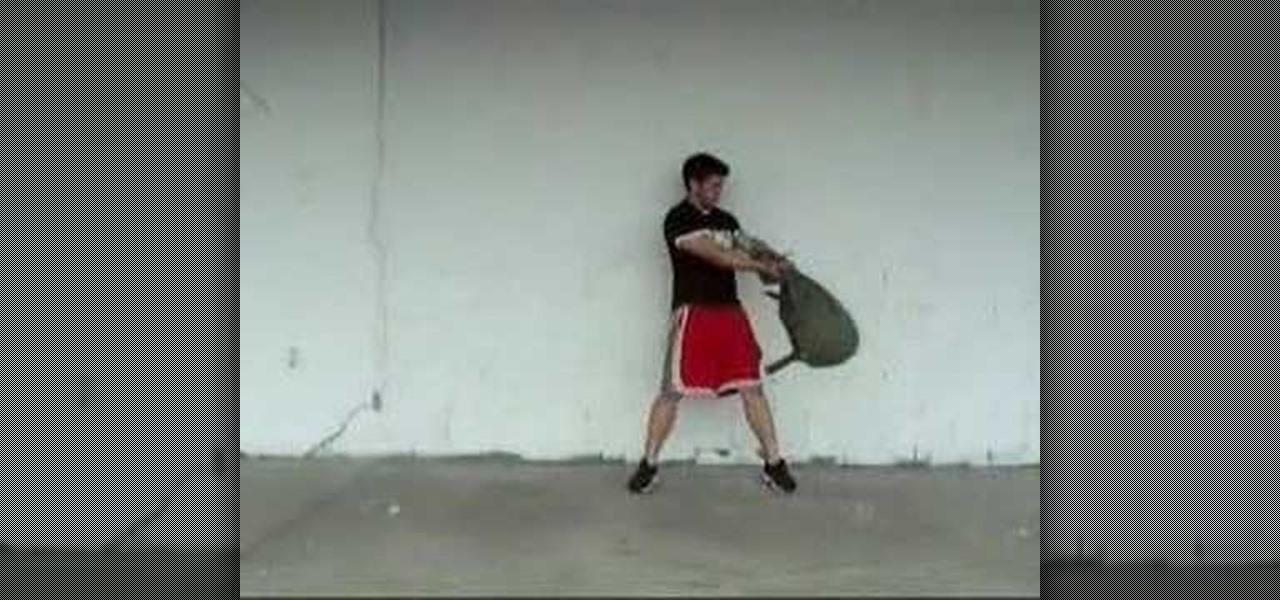
The strength of your torso is helpful in many exercises. If you plan on body sculpting or weight lifting, you will need to have a stong enough upper body to support it. In this tutorial, learn how to use a tornado ball to increase your strength.
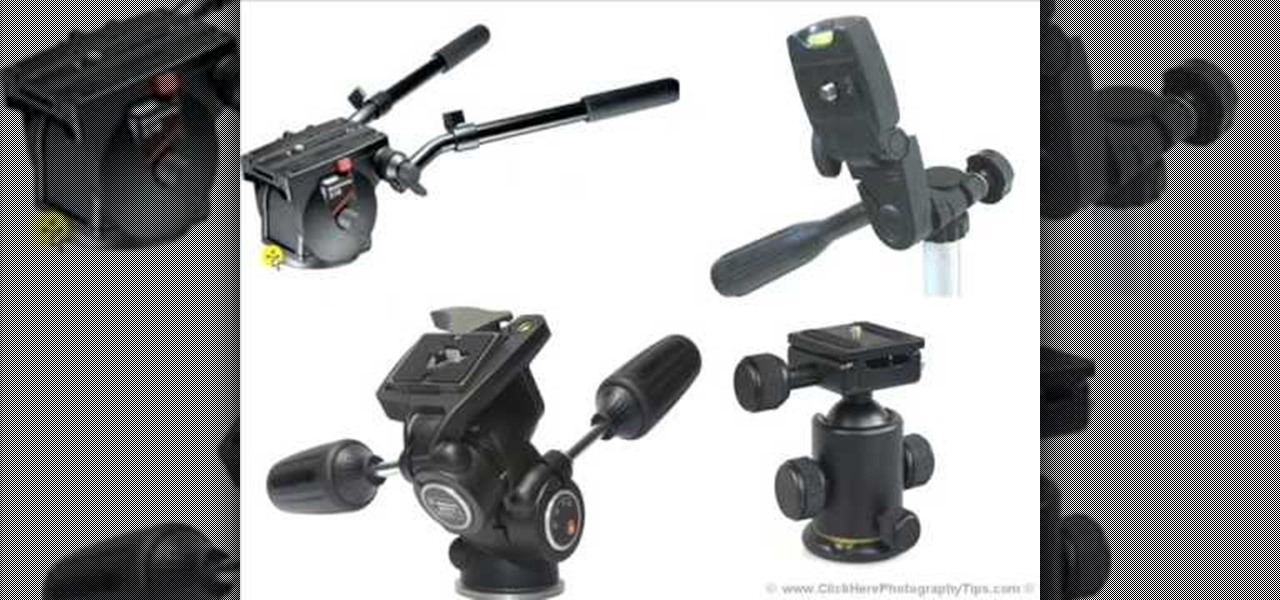
In this video tutorial, viewers learn how to use a tripod to improve photography. There are many different tripod manufacturers, but the operation of most tripods is similar. Look for a tripod that is easy to use. Make sure that the tripod can tilt forward, backward and side to side easily. It should be able to rotate at a 360 degree angle. This video also provides 4 different types of tripods in an image. Each tripod has different functions, size and movement. This video will benefit those v...
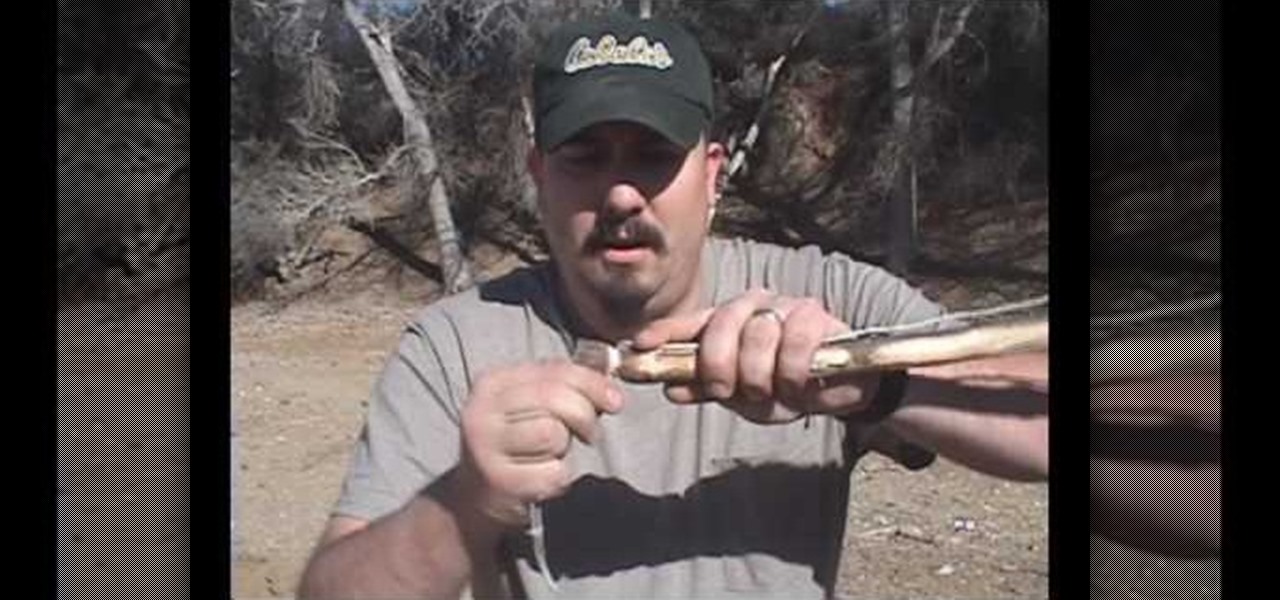
There are various tools to be made and a number of items to be used during a disaster. One can utilize the wood logs for firewood. A bow drill can be made by just crafting the ends of a long wooden stick into necks so that plastic wires can be notched and it can be used made into a bow. Any stone with holes can be used as a notch. This notch holds the end of the bow drill. The wire of the bow drill can be wrapped in a stick and then vigorous forward and backward movement of the bow drill arou...

In this video we learn to make a zigzag Chinese staircase friendship bracelet. You can go wild and make it all different colors or all one color. You start off with 5 strings about a yard long and fold then in half. Then you make a knot creating a loop for the end and to hold to a nail or clip while you make it. Take a strand and make 5 forward knots. With the same strand you then do 5 backward knots. Repeat this one time, so in all are 20 knots and then switch color, or to another strand. Do...
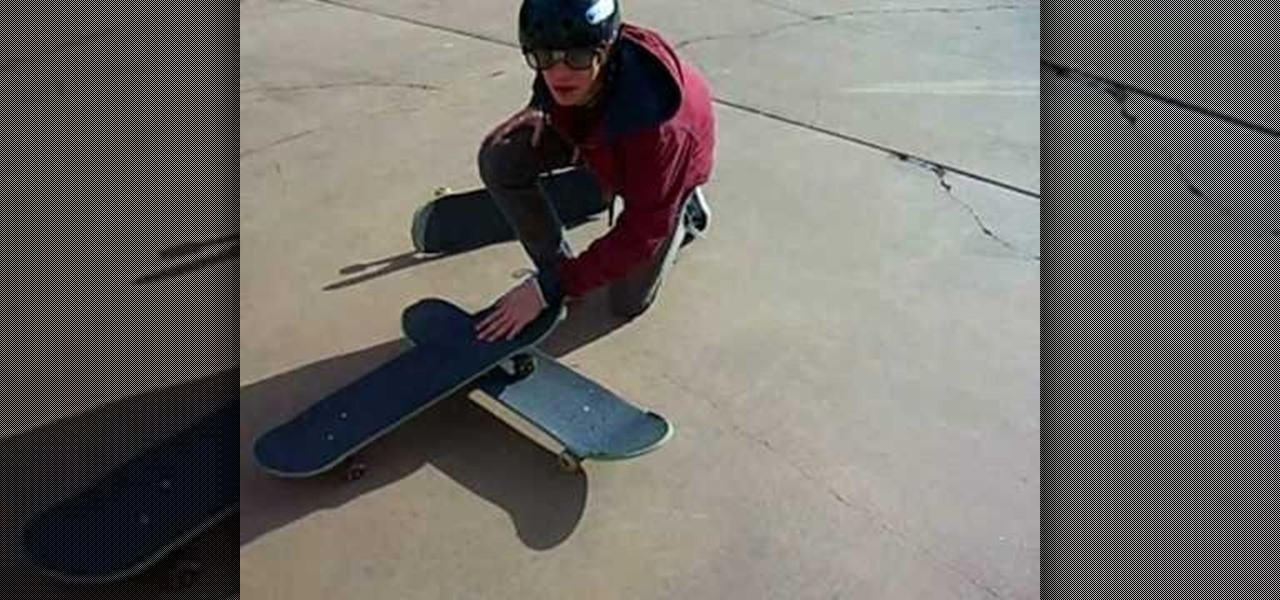
This video shows how to ollie higher on a skateboard. It has demonstrations from Melvin the Nerd, who shows proper technique to ollie. The ollie is done best when your board is pushed backward as you are jumping, then pushed forward as you are elevating. To practice while moving, jump over an upside-down skateboard. Once you can do that, try over an upside-up board until you reach consistency. Keep adding boards or moving the distances until you become better. If you're having trouble, preten...
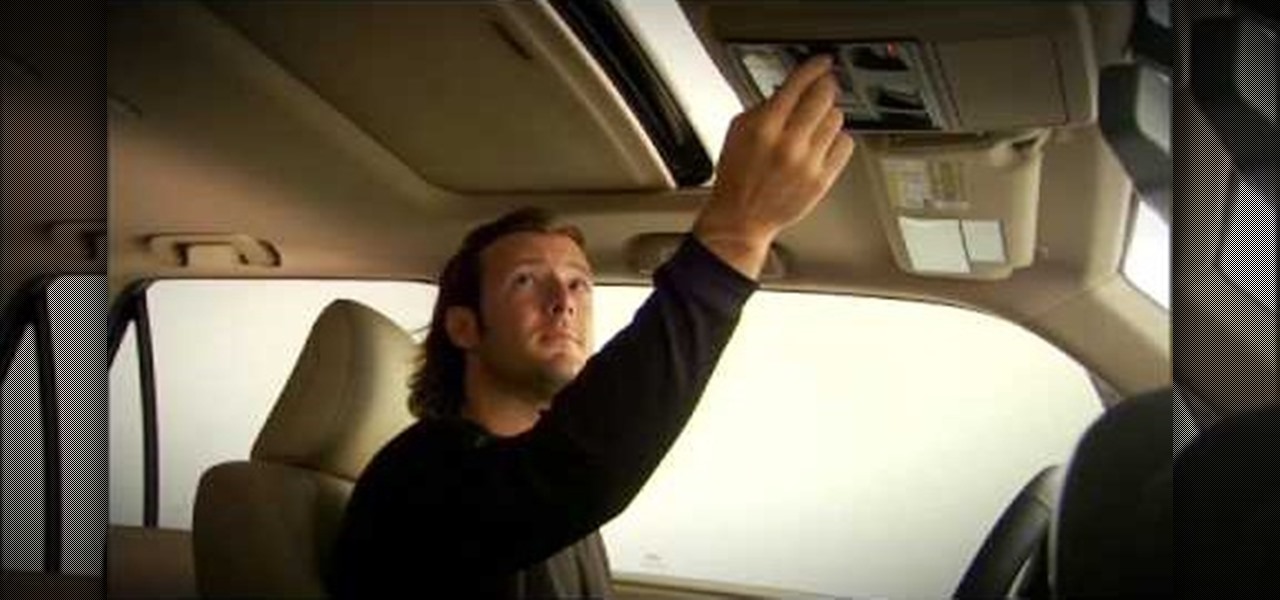
This video tutorial shows the proper way to operate the controls for the moon roof in a 2010 Toyota 4Runner. They demonstrated how to open and close the moon roof by using the slide button. When you want to open the moon roof push the slide button backward and to close it you need to push it forward. Also if you just want to tilt the moon roof, first make sure the cover is open, then use the up and down buttons to operate the tilt.
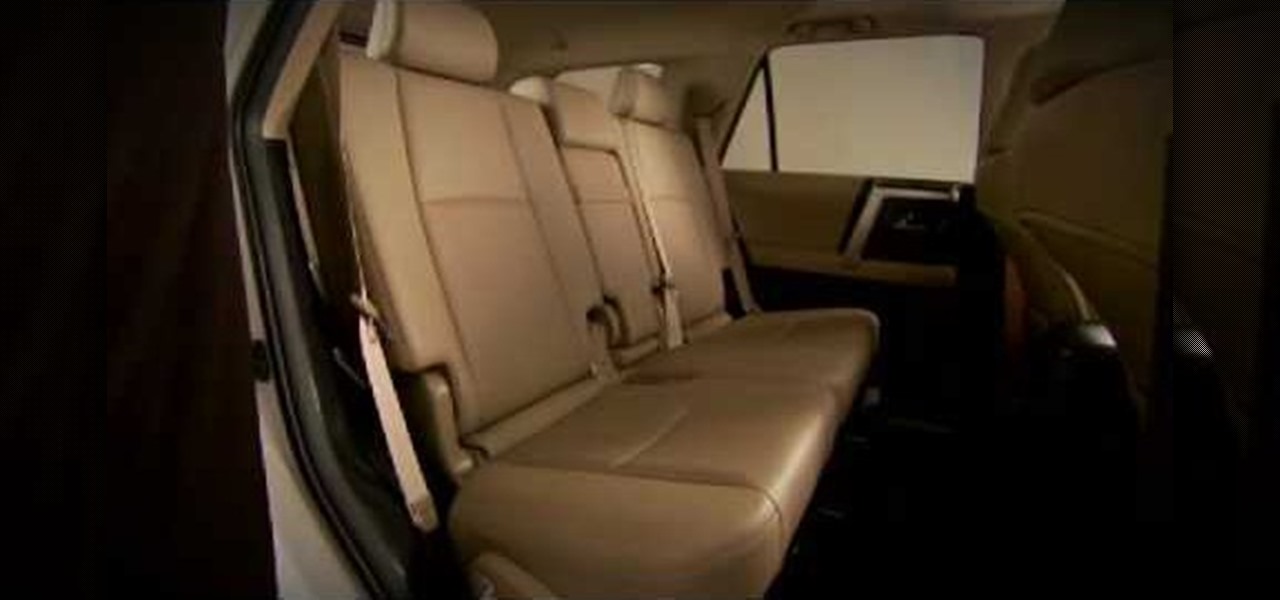
This video displays a 2010 Toyota 4Runner, modeled with seating for seven passengers. In the tutorial it shows a few of the basic adjustments that can be made to the seating. You can adjust the seat to recline to your comfort level and move to seat forward and backward. Unlike most 4Runner model this one comes with an additional back row of seating. This can be accessed simply by pulling the bottom lever of the backseat and pushing the seat forward.
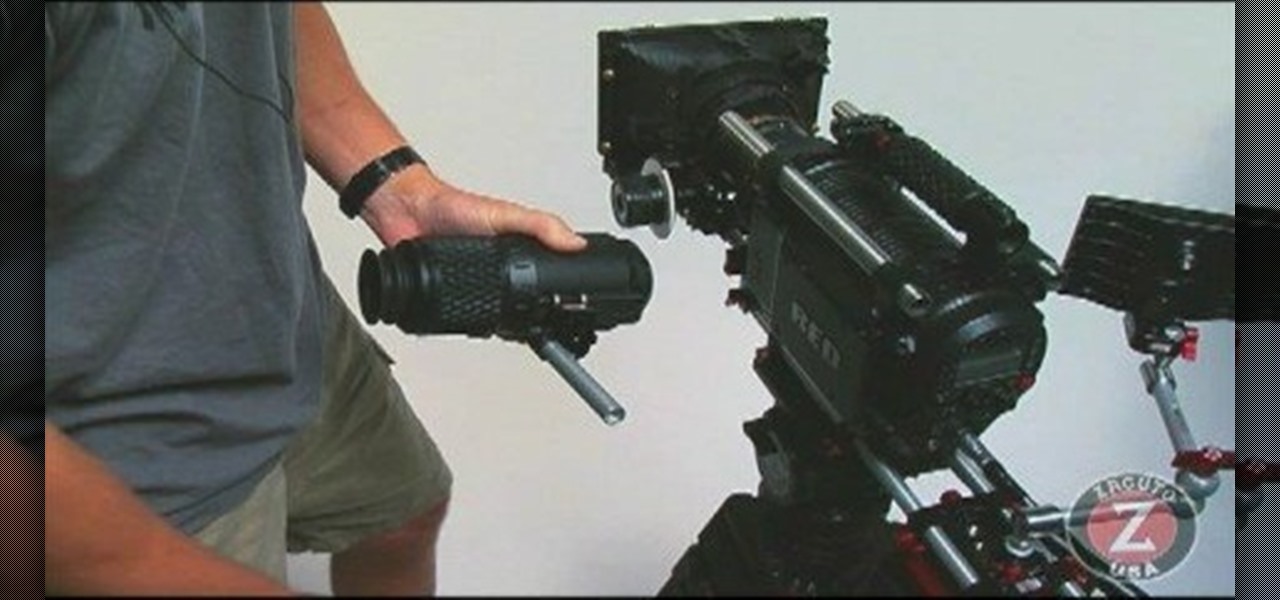
This EVF mount is the mount all RED users have been waiting for. It is inexpensive, adjustable and will not loosen. This simple three hundred dollar mount is a great addition to any RED ONE camera setup. This video will show you how to install the Zacuto EVF mount on the RED ONE Camera.
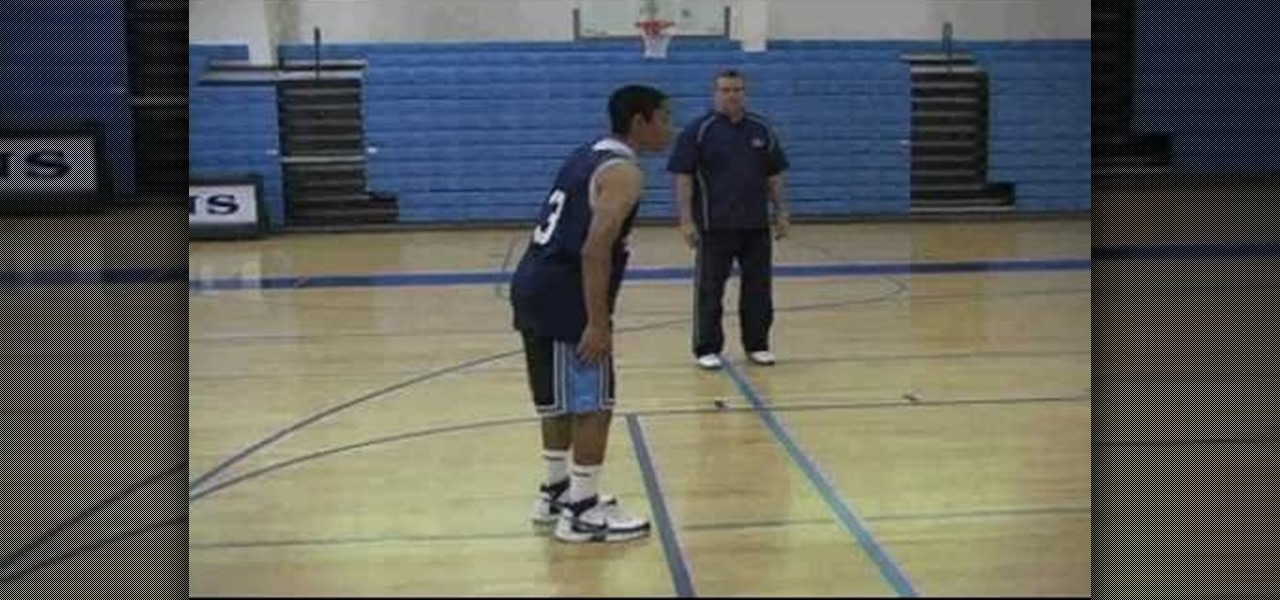
In this edition of ClubHouseGas, with host Casey Bass, basketball coach Chuck Melito shows us how to shoot free throws. He shows us how to work on both the mental and the physical approach to free throw shooting. A right-handed shooter should place his right foot at the center of the basket. A left-handed shooter should place his left foor at the center of the basket. Then it's important to get balanced, so you're not leaning to one side or another, or more weight on one foot than the other. ...
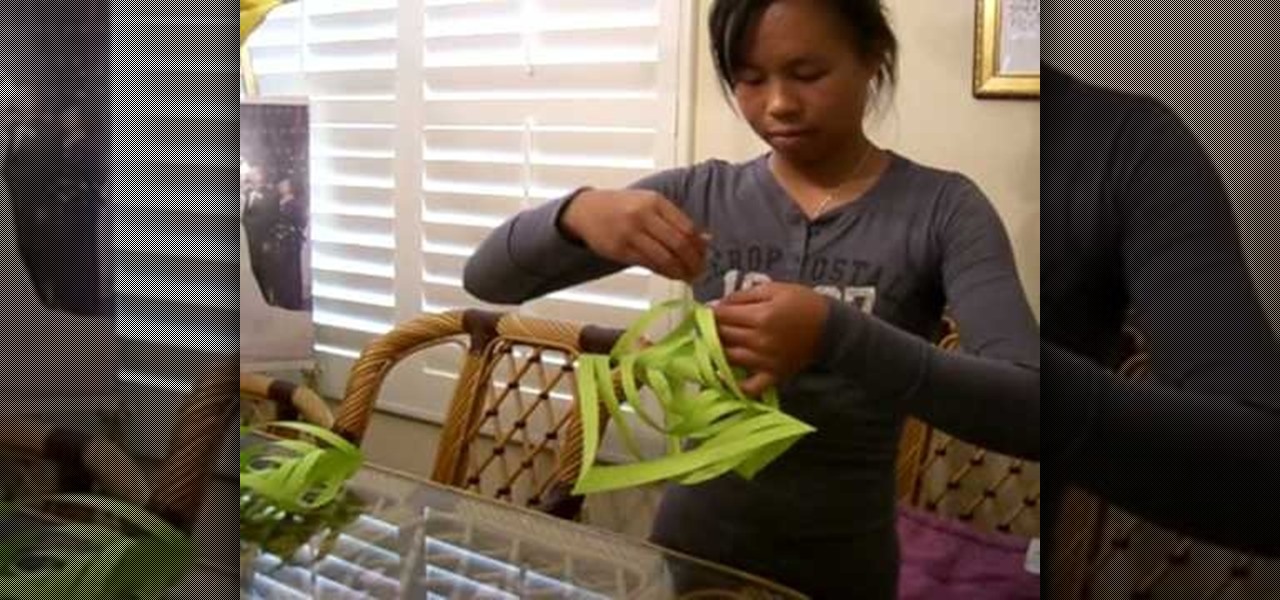
Here is an easy way to make a beautiful parol. All that you need is colorful papers, scissors, tape, stapler pin. Now take five sheets. Cross fold it and tear the extra paper, so that a perfect square is formed. Do it for all the five sheets. Now fold it cross wise, and again fold it in the same manner, so a triangle shaped paper is formed. Cut the papers cross wise and not on the edges. Care should be taken that it is not fully cut. Then open the paper, several sheets are formed now. Join op...
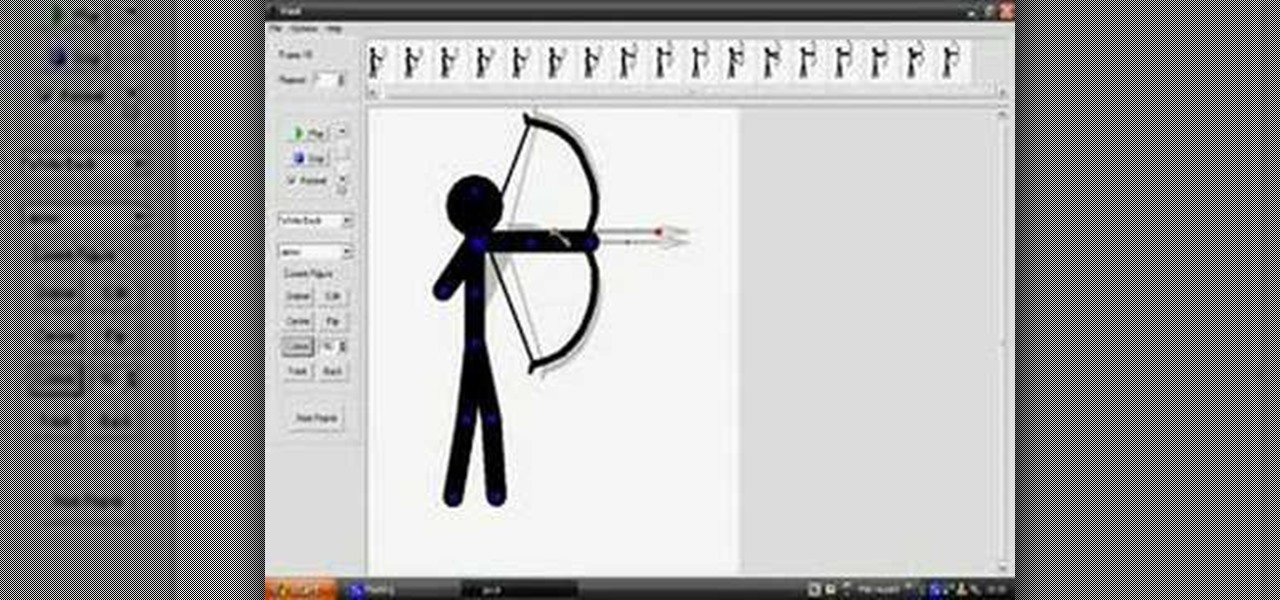
In this Software video tutorial you are going to learn how to shoot a bow in Pivot. Open Pivot and select a stick. You can adjust the size of the working space. Adjust the position of the stick in to an arrow shooting position. Then put a bow in his hand and move up the arm to a horizontal position and move the bow in a similar manner. For every new position, click on ‘new figure’ and then adjust the position. While stopping, make the gaps smaller. Now start moving up the other arm. Then move...
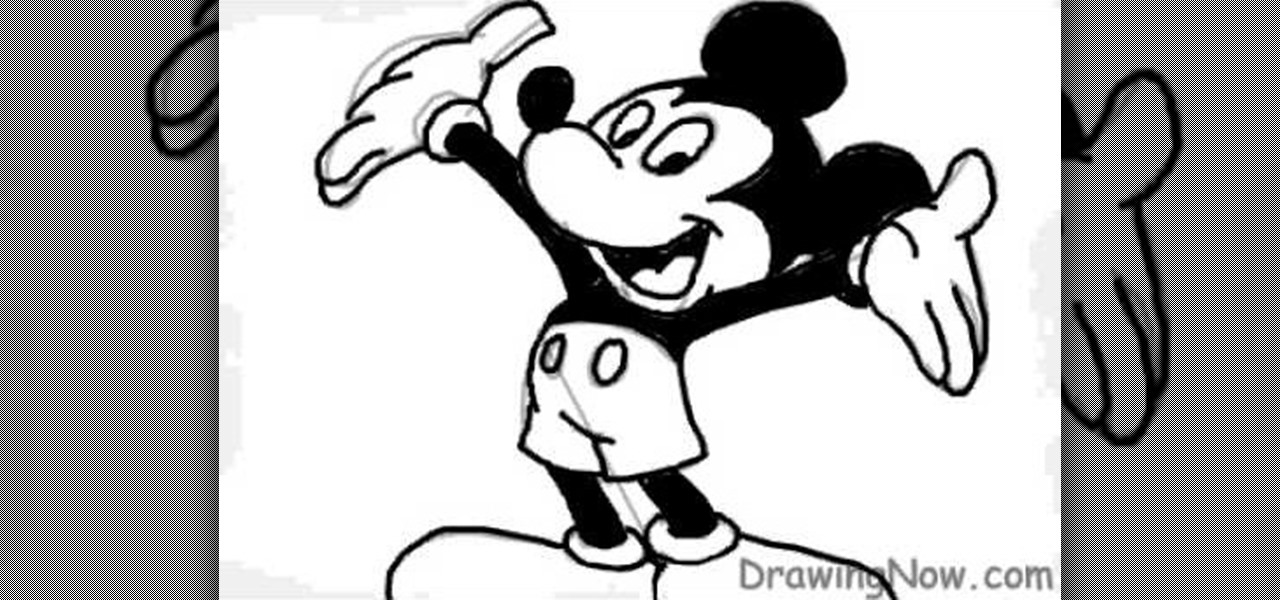
The video is about how to draw a Mickey Mouse in a computer. First draw a little big circle, as head. Then make ears by adding two ears to it. Then draw nose attached to the open mouth. Make eyes above the mouth and nose by putting two rounds. Then make hands like extended to back. Then make the body, slightly bent backward. Then draw legs to the body. Add shoes to the legs. This is the sketch of the Mickey Mouse. Then make the boundaries bold. Darken the round tip of the nose. Color the eyes...
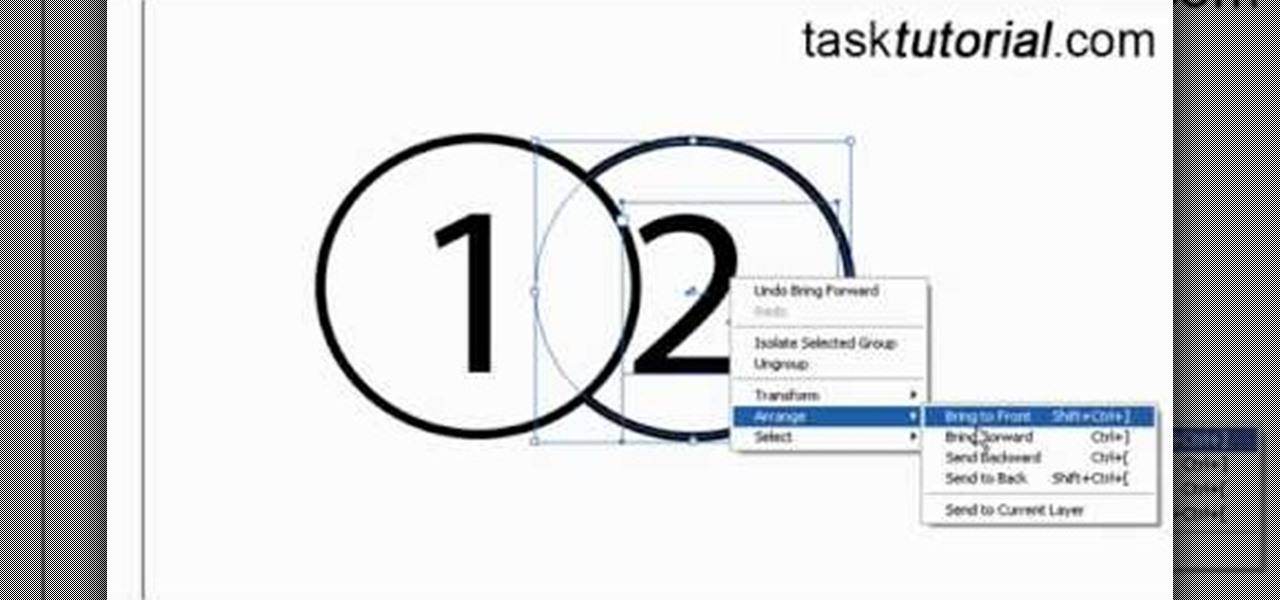
Objects used in the tutorial are available free at the website preceding this description. The project here involves two groups of paths. You will be shown three ways to change the order of these groups. Go to one of the groups and right click on the mouse, in the menu that comes up choose Arrange, and within the next box choose bring forward. This works with either group. Go to the other group, right click, choose Arrange, then choose bring forward and now this group will appear ahead other ...
1) Make sure the paper used to make the origami water lily is a true square. One can use the paper one happens to have on hand, but anything heavier than lined notebook paper is best. 2) Work on a flat and hard surface so that all creases and folds are precise. 3) Place the paper square on the flat, hard surface so that the edges are facing in every direction. Be sure to have the colored side down if the paper is two sided. 4) Fold the paper in half from top to bottom. Crease the fold then un...
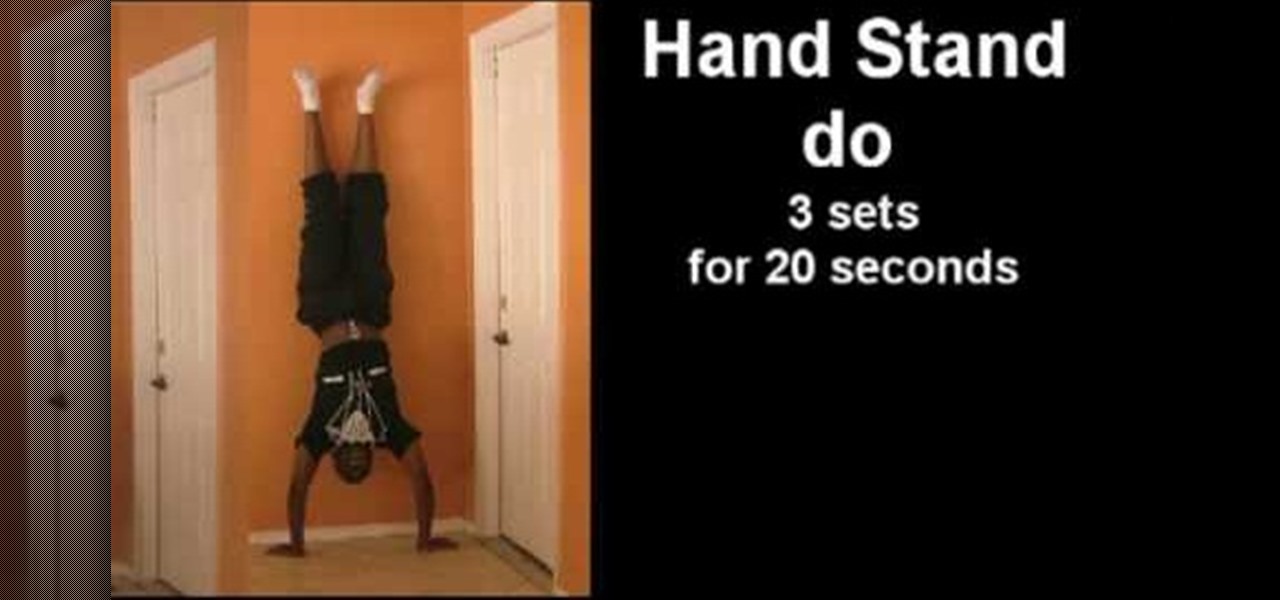
Mic Sol-O demonstrates how to prepare for and perform a back handspring. • Warm up first! Get a mat and do some simple stretches to start.

Neck pain can be the worst. Be aware of daily habits that may be causing your chronic neck pain and replace them with healthy choices. In this tutorial, learn how to soothe chronic neck pain.
Frustration is something that comes along with learning to ride a bike. You mustn't give up as it's a valuable skill to have. This video shows you how to ride a bike and minimize frustration.

Hypnotizing yourself may seem like a magic trick, but is actually a great way to manage your stress or change a habit.
Want to learn what it really means to put your faith in someone else? Try a trust fall, where one person falls backward, depending upon another to catch them.
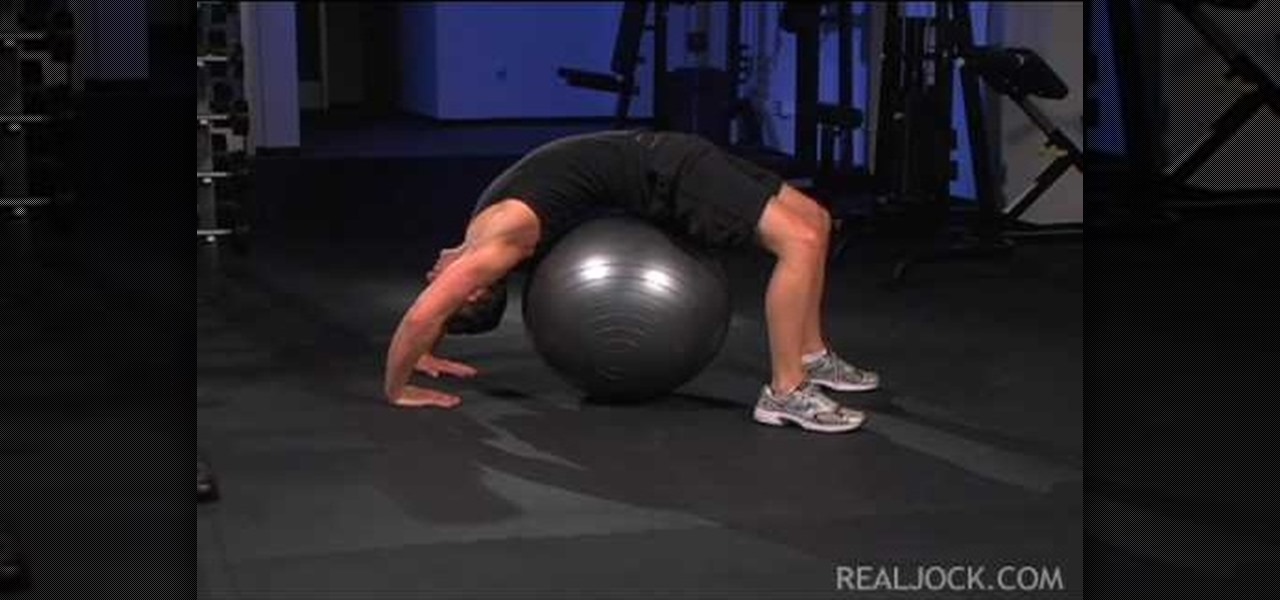
Learn how to do stability ball backbend holds. Presented by Real Jock Gay Fitness Health & Life. Benefits

Place the paper colored-side down on the table. Fold the piece of paper in half to form a triangle. Match the upper right corner to the bottom left corner. Run your fingers along the edge of the triangle to complete the fold. Shrink the triangles size again and fold it in half once more. Match corner to corner. This fold forms a smaller triangle. Ensure the corners match up evenly. Run your fingers along the edge of the smaller triangle to complete the fold. Open up half of the triangle. Pres...

Check out this episode of Scam School from Brian Brushwood and Revision3 to see how to trick people to get free drinks with the ladies.

A CNC router machine is probably the most useful tool a hobbyist can own, but the price for a CNC machine on the market is way more than the average hobbyist is willing to spend. You can build your own CNC with very basic tools, little knowledge of machinery, mechanics, or electronics, but be warned, these machines are inherently dangerous, so wear the proper protection and use common sense. At the very least, read the instructions and precautions on every tool you use.
You're never too old to join in the fun. A 99-year-old woman helped Bismarck, North Dakota, recapture a snow-angel-making world record. Learn how to make snow angels.
Learning to ice skate can be a little frightening. This how to video tutorial will help you learn the basics of ice skating. Watch and learn how to stand on ice, glide on two feet, and then move on to gliding on one foot. Once you've mastered those ice skating techniques you can start doing the following tricks:

Follow along as we are given an awesome leg blasting workout, it will help you tone your glutes, thighs, and calves.

This tutorial covers moving backward and forward with the History palette in Photoshop.
Learn the correct form for running the "Back Pedal" drill around half the basketball court, then learn the correct way to warm up with this backward running drill.

Boomerangs are perhaps the quintessential story tool on Instagram. Surprisingly, there's never been much to them — point and shoot, and your subject plays forward and backward in a never-ending loop. Perhaps its prolonged simplicity inspired Instagram to give Boomerangs a bit more depth because the company just introduced three new effects to try out.

On July 20, 1969, humans set foot on the moon for the first time. But some say our microbes beat us there. With the Space Age came new questions about microscopic invaders from outer space and concern about where we are leaving our microbial footprints. The questions are even more relevant today.

We recently covered an app called Touch Controls for YouTube that allows you to swipe up or down on any YouTube video to quickly adjust volume levels or brightness. As awesome as that app is, commenters here and on our YouTube channel thought it was lacking one big feature—the ability to seek forward or backward in the video by swiping the screen.
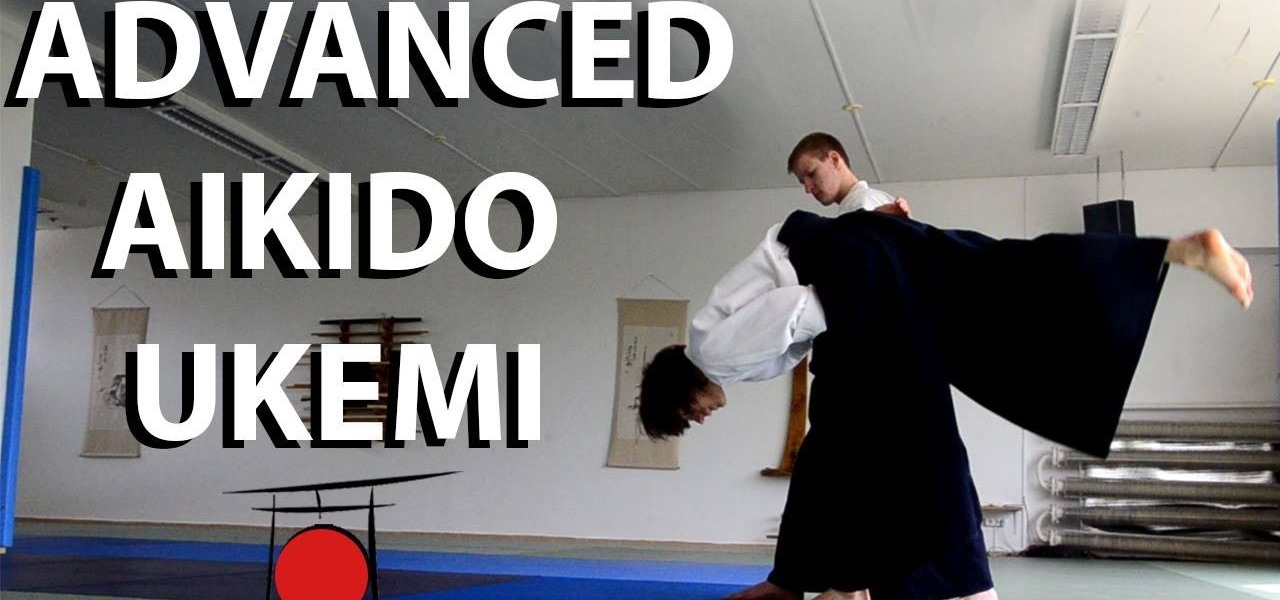
This is an advanced Aikido Ukemi tutorial which explains 11 different exercises seen and unseen. The tutorial includes detailed explanations of how to perform soft high falls from different techniques, various backward rolling tricks and other unseen ukemi variations.
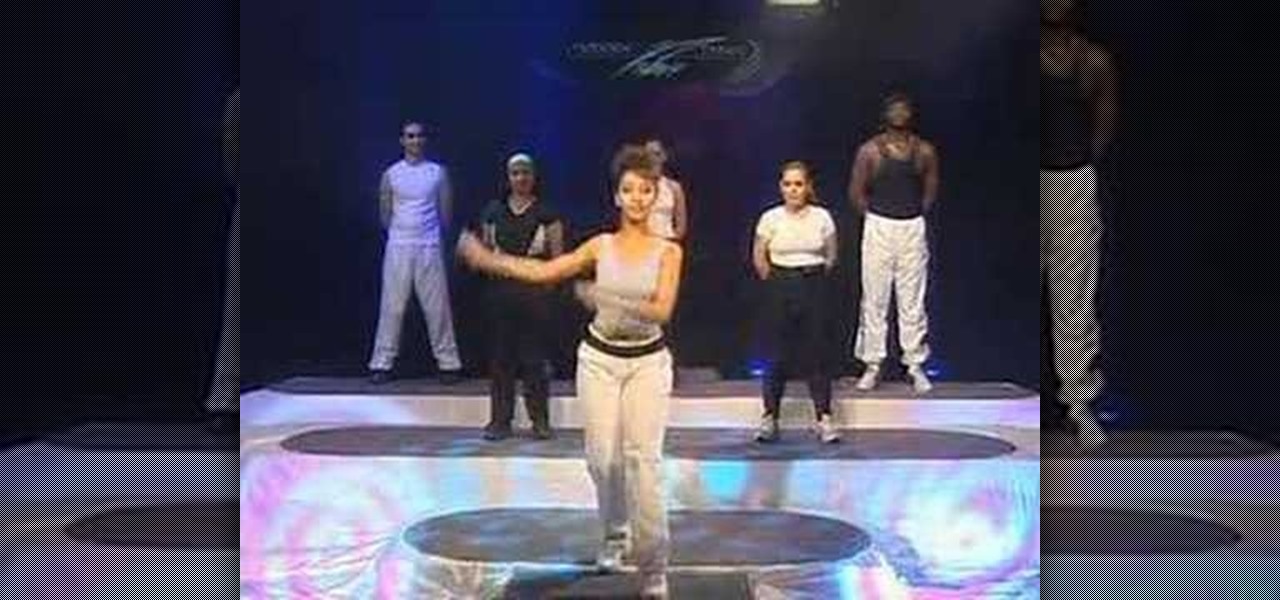
In this video, viewers learn how to perform the arm movements for the Bhangra dance style. Begin by moving forward. As you move forward, sway the arms in a smooth motion back and forth 4 times. The hands should be open. Then move backwards. As your move backwards, swing the arms back and forth 4 times. The hands should be closed this time. As you move forward or backward, you should sway your hips from side to side to add style. This video will benefit those viewers who are interested in danc...
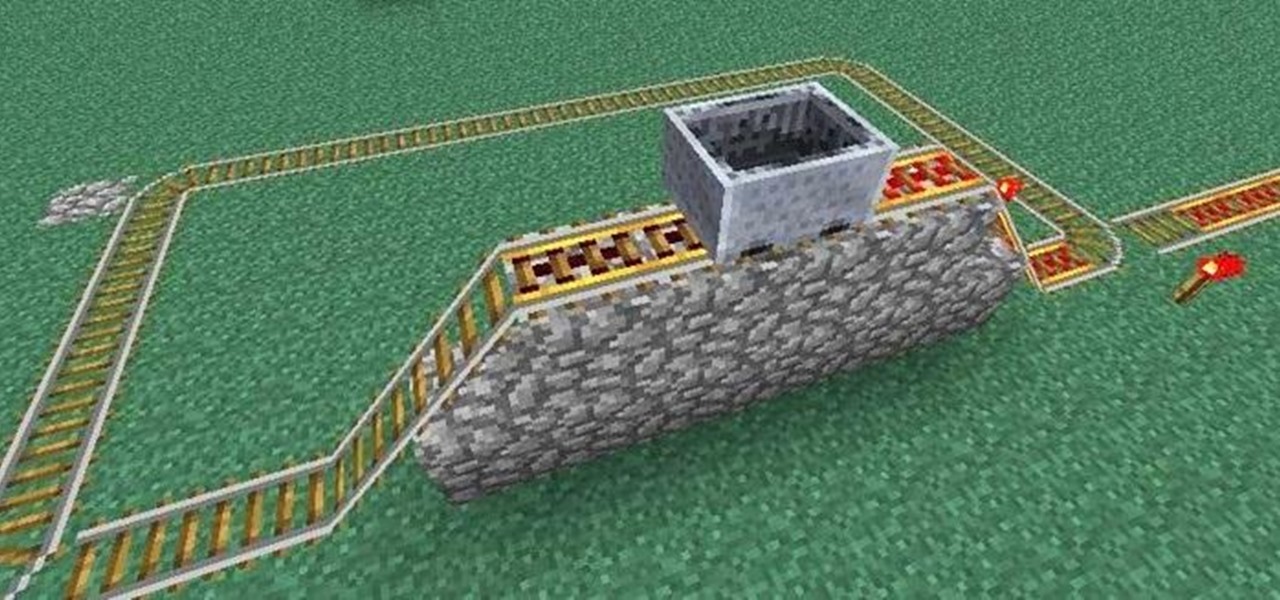
What's nice about Minecraft 1.3 is that it makes minecart stations so simple. Before, you needed redstone and buttons and powered rails in order to make a good minecart station. Now you hardly need anything at all! That said, if you want to be snazzy, all of the minecart stations we covered in this earlier article are still completely functional. You may also want to check out this article on how to make empty minecarts come back to you, if you want some extra bells and whistles.

If you ever wanted to learn salsa, this video is a good first step. In this brief, kid-friendly lesson, the instructor in the video shows you a couple of very basic steps. The first step is a front-to-back step. This involves bringing your left foot forward and then together, and then taking your right foot backward and then together. To add some style to this very basic step, the instructor shows you how to move your hips in a circular motion while you make these steps. The other basic step ...
Wendy Dayle, our expert in this video series will focus on inverted moves in pole dancing and provide step-by-step instructions on how to do an open V move, a handstand and a backward handstand move.