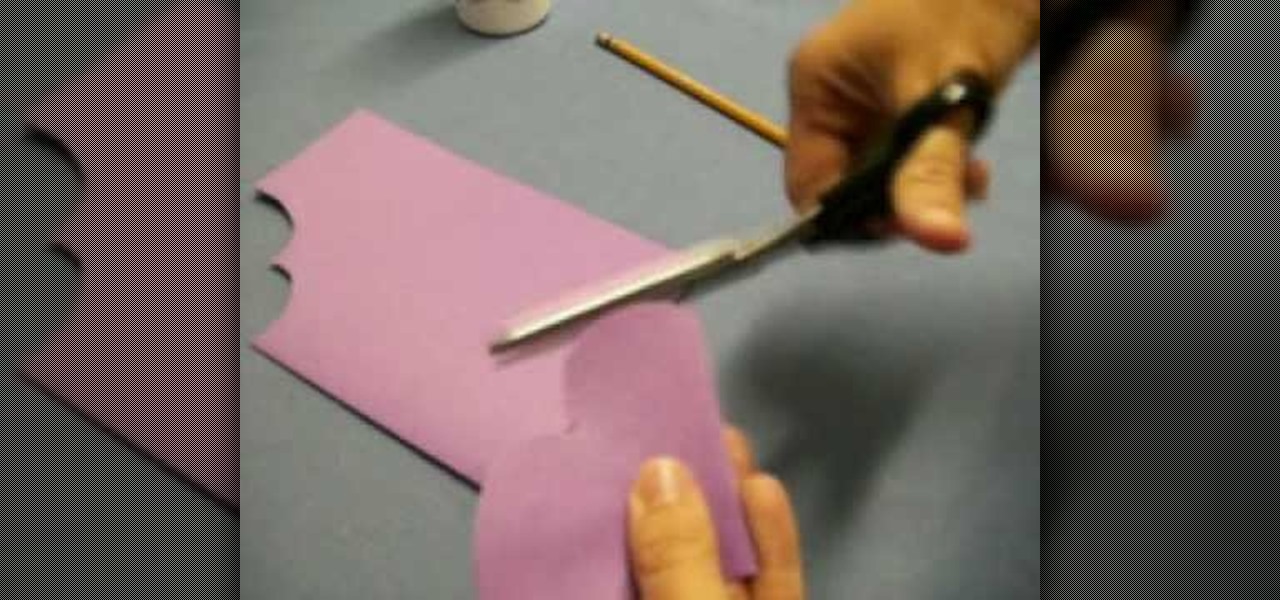
In this video, we learn how to do an Easter basket art activity with your kids. First, grab some white paper bags and have the child cut a line across the top of the bag. You can also use decorative scissors for more of an Easter effect. After this, let the child use paint, cookie cutters, glue, glitter, crayons, and markers to paint all over the bag! Let them make any design that they would like for the upcoming season! Once finished, let these dry and then open them up! These can be used fo...
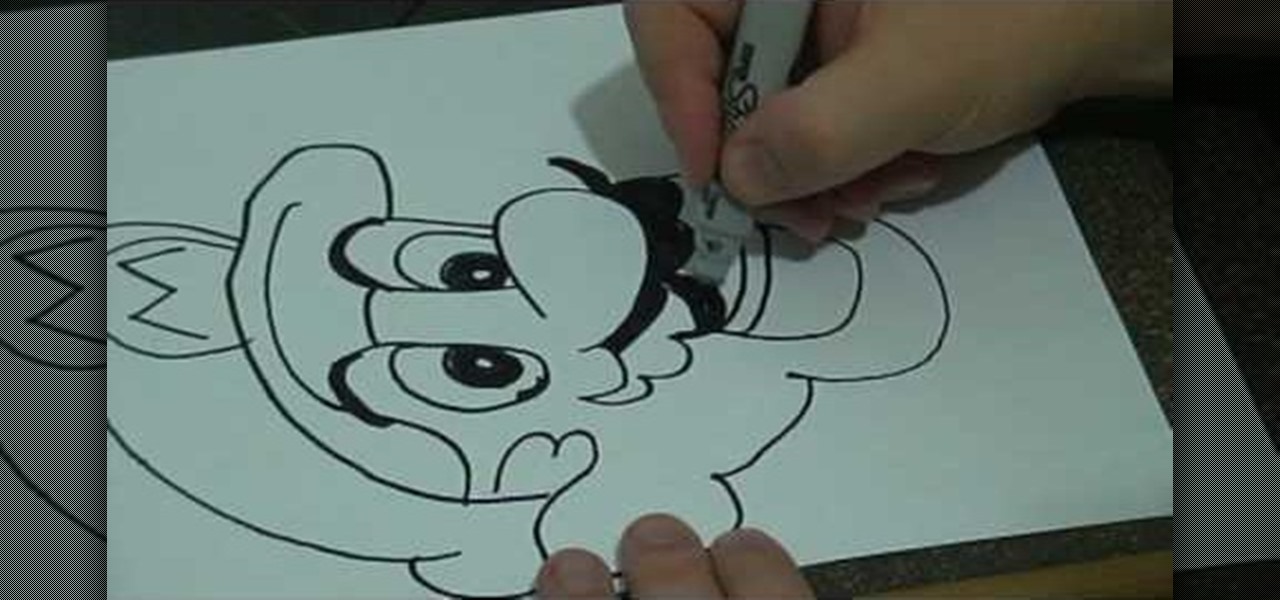
In this tutorial, we learn how to do a basic line drawing of Mario. To start, draw the basic outline of the face with a black marker. Draw in the details of the mouth, don't forget the teeth, tongue, and inside of the mouth. After this, draw in the nose and then the eyes. Draw in the pupils and then start to draw in the mustache and eyebrows. After this, create the hat and then draw around to the side of the head to draw the ear in. When finished, you can leave empty or color in with appropri...
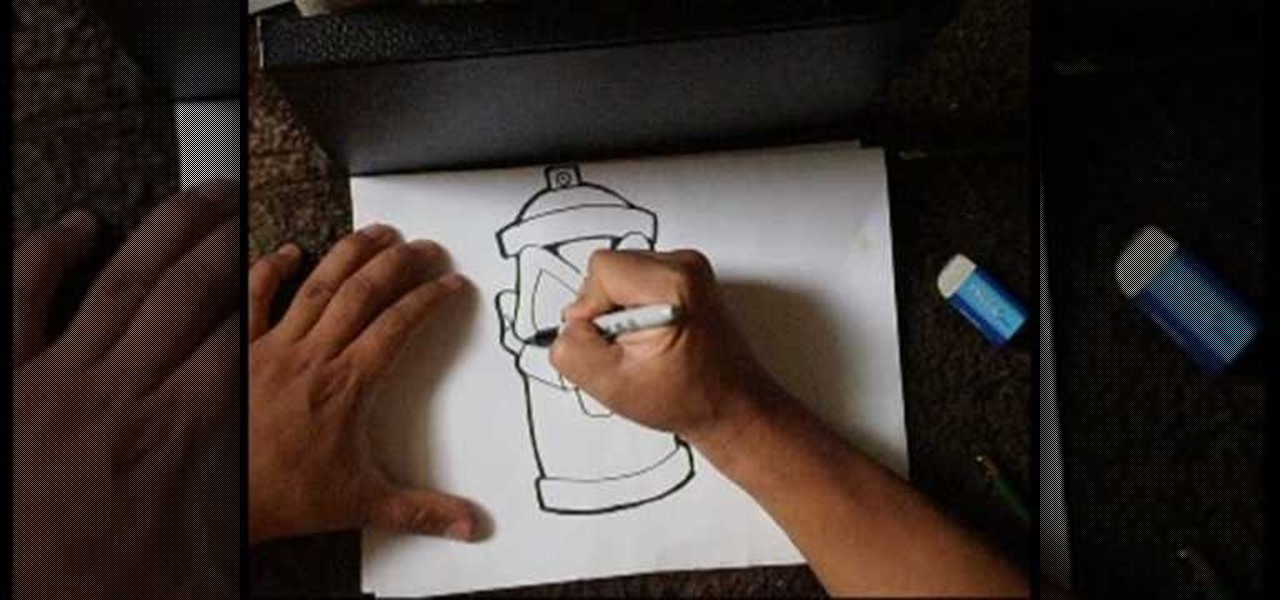
In this tutorial, we learn how to draw a spray can sketch. First, draw the face of the can on the piece of paper, drawing the eyes, nose, and mouth. After this, draw the surrounding parts of the can around the face. Draw the bottom and the top of the can as well as the top with the middle open area where the spray will come out. After this, draw in as much detail as you would like on your spray can. Use a black marker to shade in on the sides and make lines darker. When finished, save and enj...
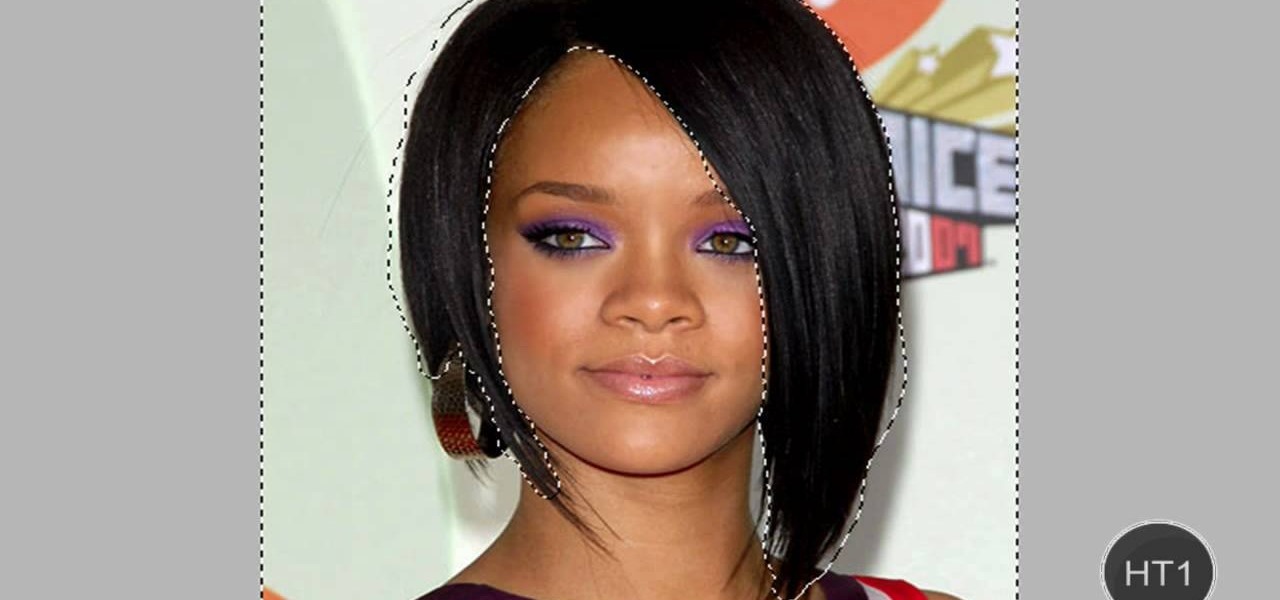
In this video, we learn how to change hair color in Photoshop CS3 and CS4. First, open up your image and zoom in on the hair. From here, you will click on the selection tool with a circle to select your image. Now, make sure this is the perfect size for the entire image. Right click and make sure it's sized out right. Now, select the hair and a red marker will appear. Select the whole surface of the hair, and as you get to the short hair use a smaller circle tool, don't worry about the smalle...
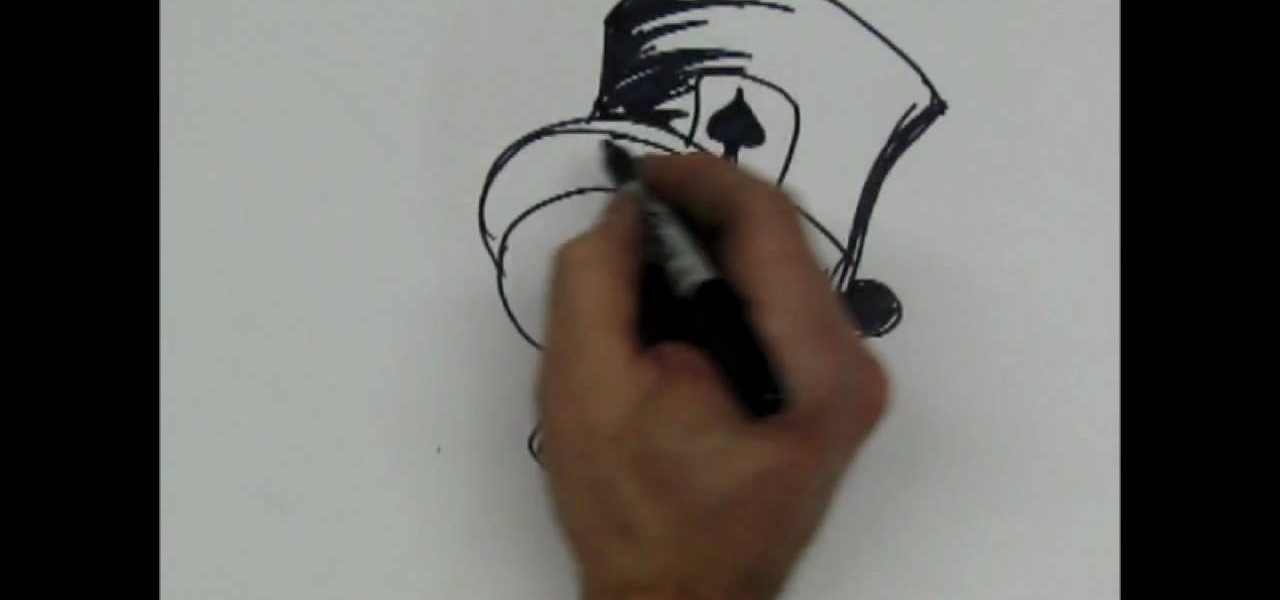
In this tutorial, we learn how to draw a skull with a top hat. First, use a Sharpie marker to draw the nose of the skull and then the eyes. Color these in completely black, since you want be drawing eyeballs in them. After this, draw the skull around it. Draw in the teeth clenched together and then add in lines around the head of the skull to show cracks in the bones. After this, add in additional details around the jaw line and on the head of the skull. When finished, draw on the hat to the ...

In this tutorial, we learn how to make a Deadpool sword. To do this, you will need: a marker, scissors, hard plastic, cardboard, silver spray paint, duct tape, saw, electrical tape, sandpaper, and hot glue gun. First, cut the plastic into three thin knife shapes. Then, use sandpaper to smooth edges. Then, use the cardboard to create three layers of a rectangle. Make the corners round and then tape around them with duct tape. Put a hole in the middle and then put it into the plastic. Now, glue...

In this video you will learn how to draw a Batman cartoon in a quick and easy way. In order to do that just follow these instructions from the video: The first thing that you will need to do is to draw the head of the cartoon. Now draw the body lines and the hands of the cartoon. The next thing to draw are the legs and the cape. Use a marker to draw over the sketch and complete the drawing with all of the details. The last thing to do is color the drawing with the colors used in the video.

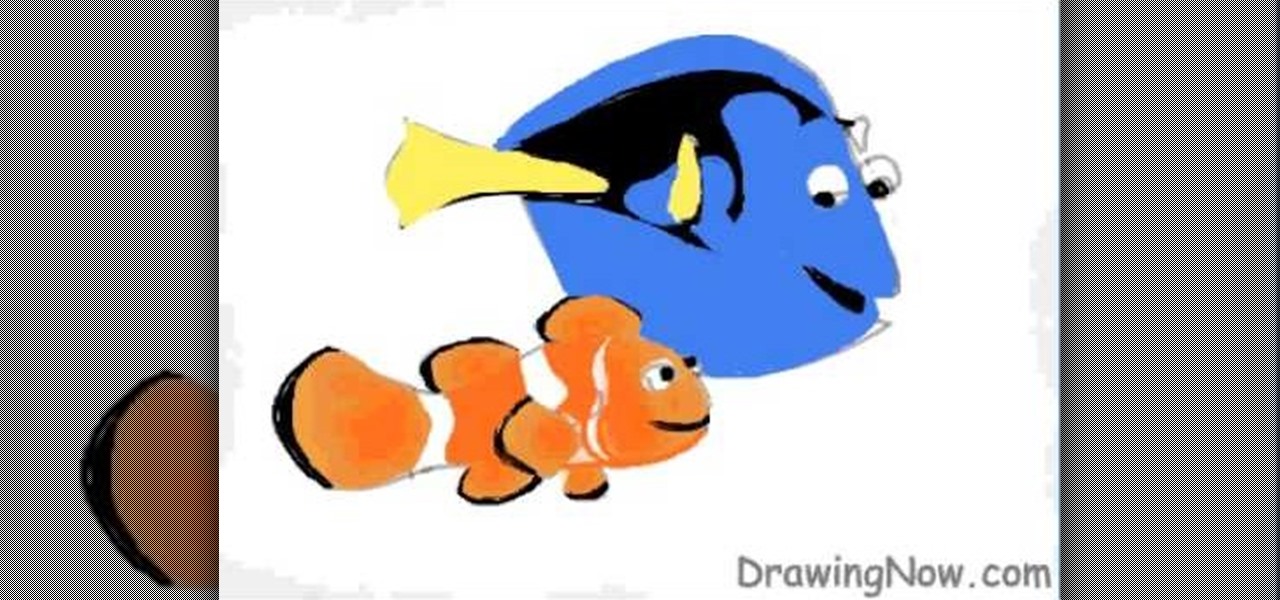
In this tutorial, we learn how to draw Nemo and Dory from Disney! Start off by drawing the bodies of both Dory and Nemo. Make sure to get the pattern of Nemo draw out correctly. After this, draw on the eyes and the fins for both of the characters. From here, use a black marker to draw on the scales of the fish as well as the rest of the details on the face. After this, color in Dory with yellow, black, and blue. Then, color in Nemo with orange, black, and white. When finished, color in the ba...

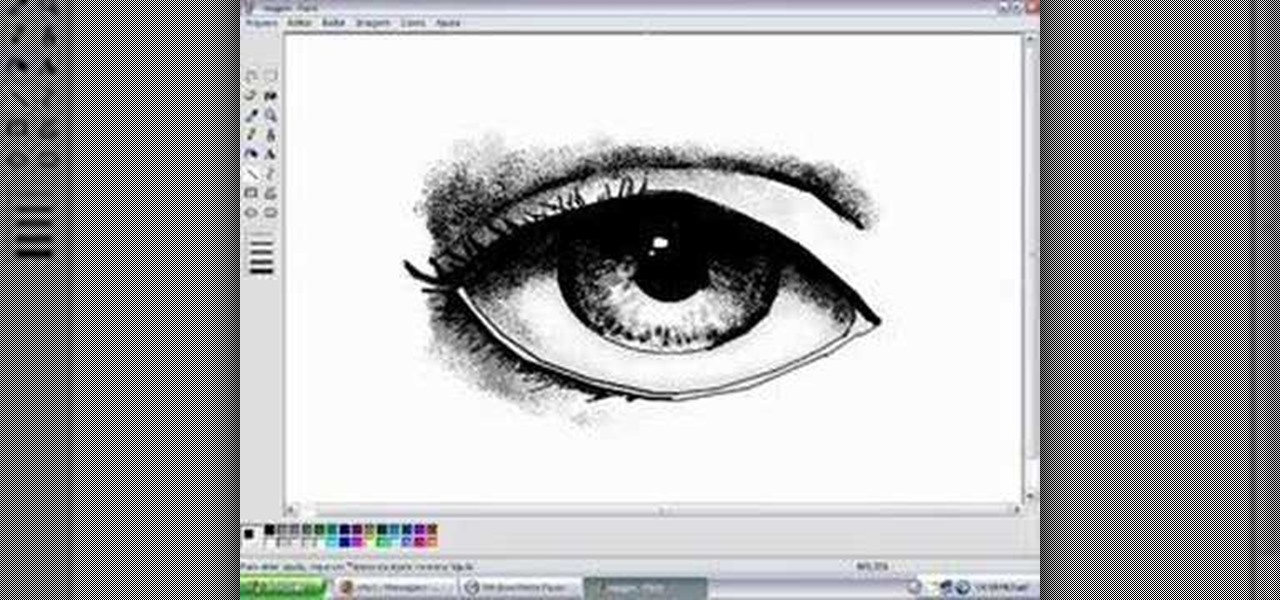
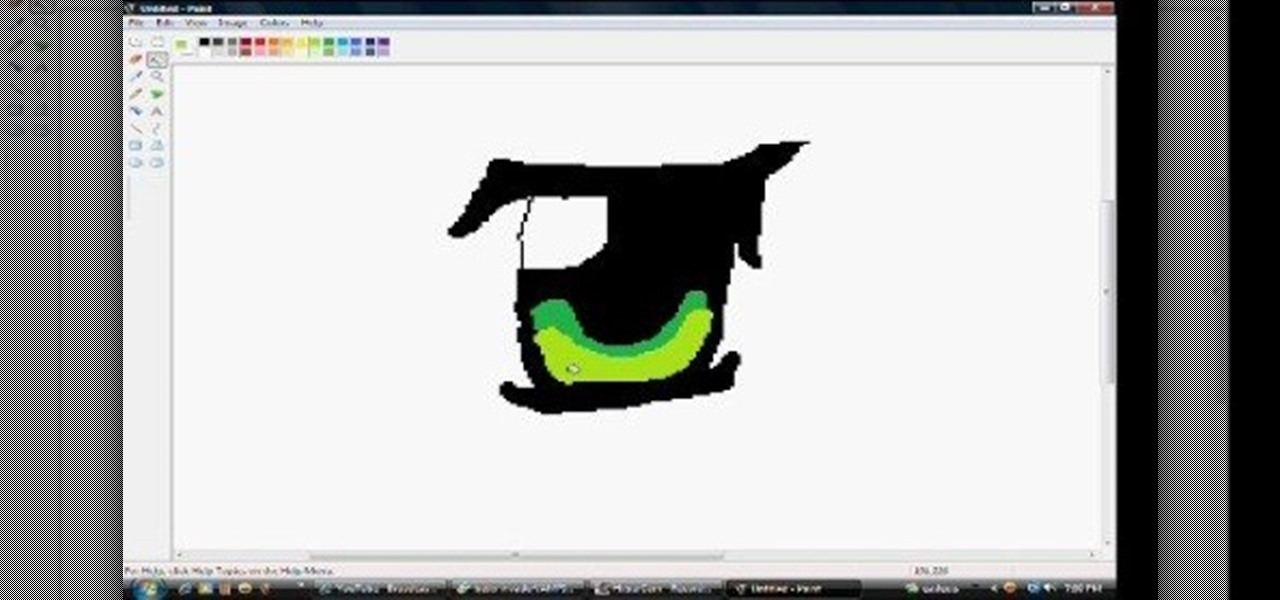
In this tutorial, we learn how to draw eyes in MS Paint. Start out by drawing the outline for the eye using a thin marker. After this, draw on a thicker line at the top of the eye and then draw on the crease of the eye above this. Now, draw in the details of the middle of the eye and start to shade in around the crease of the eye and the middle of the eye. From here, draw in the eyelashes on the top and the bottom of the eye, making them longer if they are for a woman. When finished, save thi...

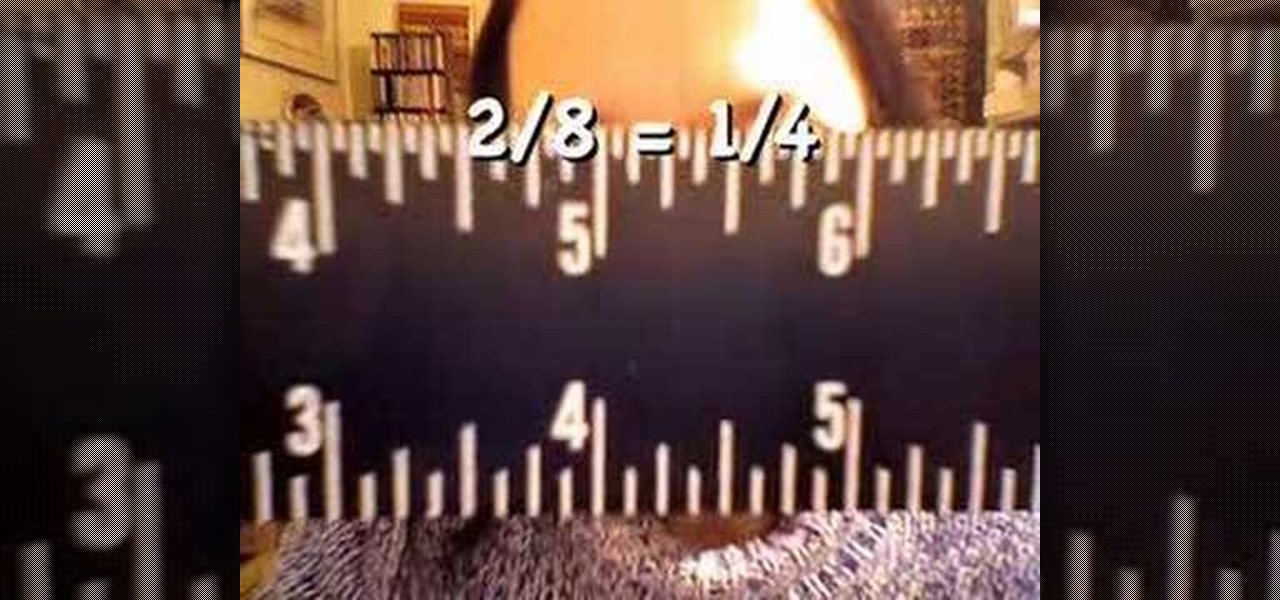
In this video, we learn how to read a ruler. First, grab you ruler and look on the top and the bottom of it. The top is divided into different marks that shows inches, half inches, and quarter inches. If you aren't familiar with reading this, just use the markers at the top to help you count between 1/4, 1/2, 1/8, etc. The other side of the ruler is used for centimeters, which you usually will not use in the United States very often. Learning how to read a ruler can help you get better with f...

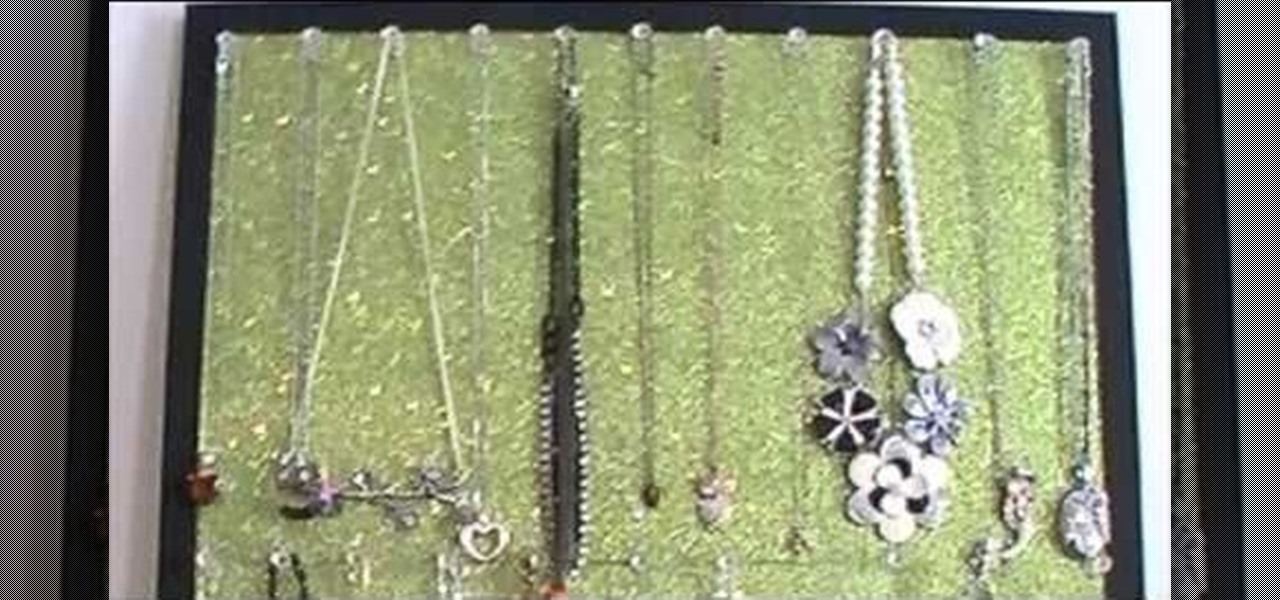
If you're anything like us, then it takes you forever and a day to find that perfect earring and necklace you want to go out, not because it's hard to decide which one, but because everything's so tangled up together you can't make out one necklace from another.

In this tutorial, we learn how to draw anime eyes in MS Paint. First, open up MS Paint and then grab a marker that is thick. From here, draw in a thick line that will be the top of the eye. Then, draw in the round area underneath the eye and the pupil inside of this. Draw in the bottom lash line of the eye, then start to add detail to the middle of the eye. Use the dark line to create a thicker line around the pupil, then fill the eye in with black. Leave a white part to make the eye look glo...

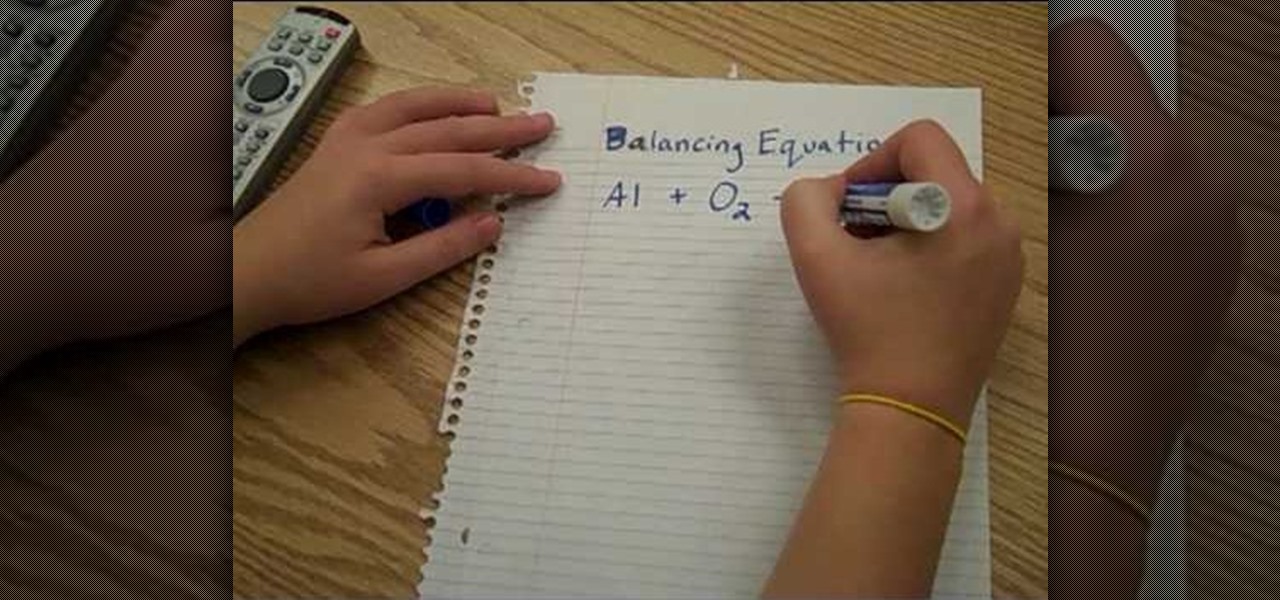
In this video we learn how to balance chemical equations the fun way. First, remember that matter cannot be created or destroyed. Take two different types of chemicals and put them on opposite sides of the equation. If you have more mass on one side than the other, these will not balance out. Once you have equal amounts of mass on both of the sides, you will be able to balance the chemical equation. Remember this rule whenever you are balancing out chemical equations. Use visual markers to he...

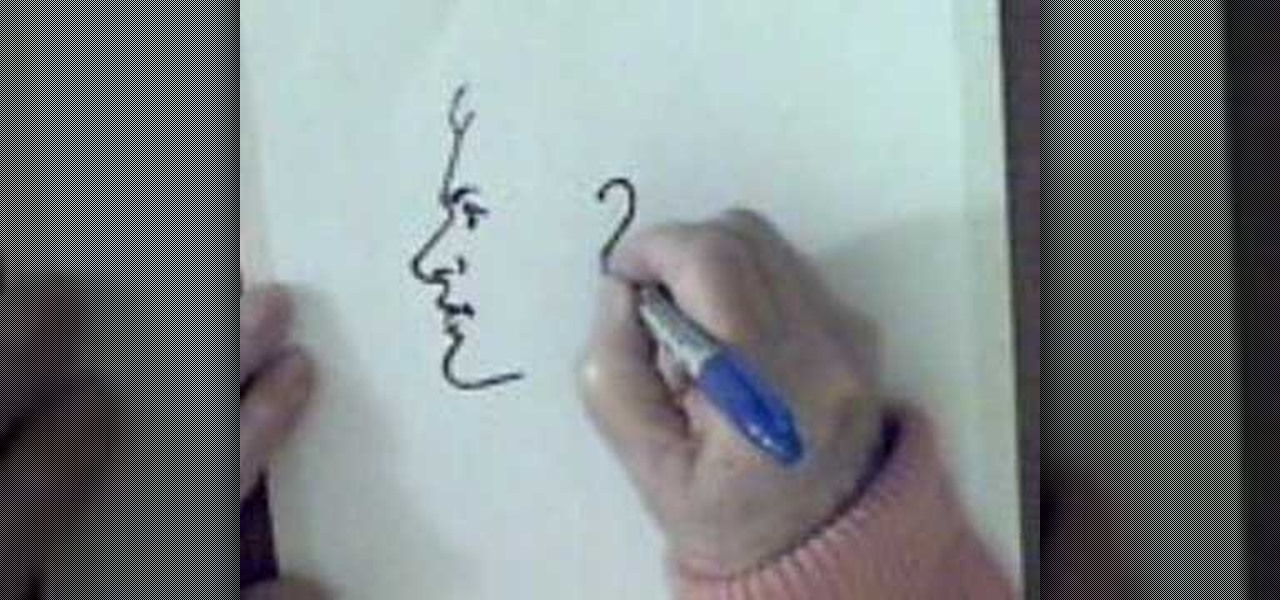
In this video, we learn how to draw a man's face in profile. With a Sharpie marker, first draw the bump to show the forehead of the face, then the bump for the nose. After this, draw the upper lip, then the bottom lip. Draw in a crease around the mouth the make the shape of the lips. After this, draw in the chin to the specifications you would like. After this, draw in the detail of the eye and the eyebrow around the area of the forehead. Next, draw in the nostril of the nose and then a creas...

In this tutorial, we learn how to draw Death the Kid from Soul Eater. First, you will need to draw in circles around the body where the joints would go. After you do this, draw the outline of the body around the joint markers. Next, you will start to draw in the arms for the character and add in the full detail of the arms and machinery. Next, use a darker line to create the details in the body and the outline as well. When finished, you will need to add in the details of the face as well as ...

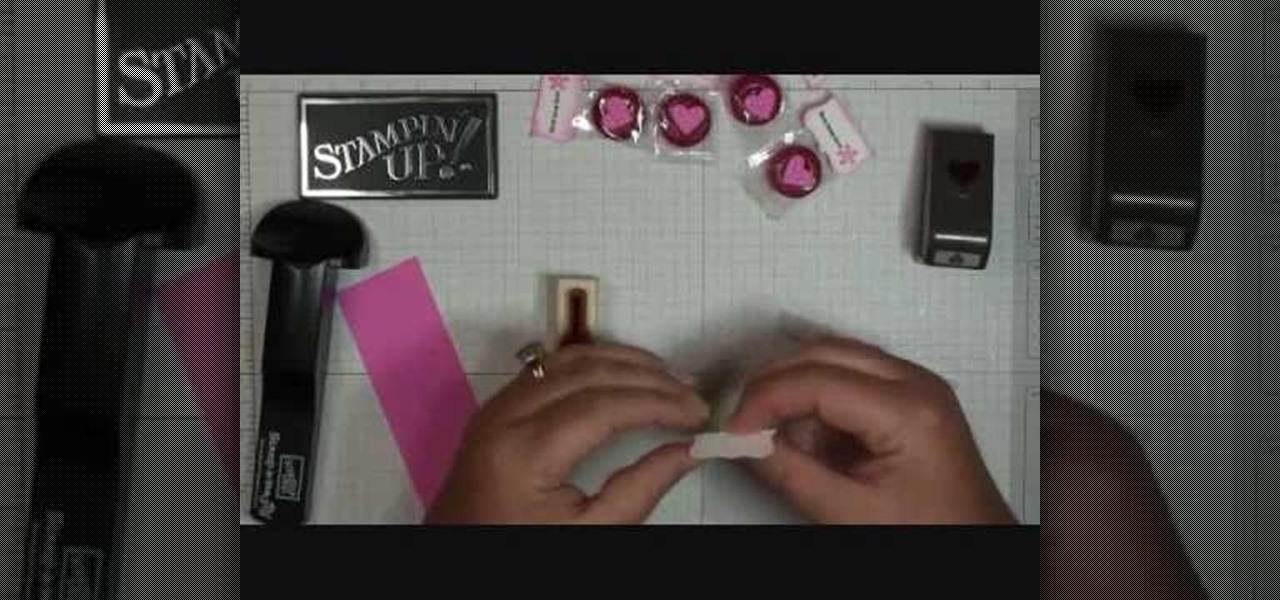
In this video, we learn how to make Life Savers treats. First, use the curly label punch and punch it out of a white paper. Next, fold this in half and then use your stamp-a-ma-Jig on card stock with a love and flower stamp. Use a black and pink marker to fill in the colors of the stamp. Next, stamp this on the piece that was folded in half, then punch out a heart and use sticky strip to adhere the individual life saver to the middle of the sentiment. Once finished, apply the heart and you ar...

In this tutorial, we learn how to draw a manga cute emo girl. Start out by drawing the outline of the body, then add in the surrounding details. After this, use a darker marker to draw in the outline and the rest of the details inside the character. Make sure to draw in hair and all of the facial features to make her look feminine. Draw down the rest of the body, giving her a woman's shape and cleavage. Also make sure to draw on a pleated skirt and a tank top. Draw on the legs and feet, with ...

In this video, we learn how to draw a Pikachu PokŽmon. First, you should have a picture of the character in front of you so you can better draw it. Start out by drawing the eyes and filling them in with marker. Next, draw in the rest of the face, including the nose and the mouth. After this, draw the ears at the top of the head, then connect in the middle to create the head shape. Draw the sides and bottom of the head, then draw the body. Add in circles for the cheeks, then continue to draw u...

In this tutorial, we learn how to draw a variety of prom dresses. First, you will need to start out by drawing the dresses on different body shapes. Make dresses that are long, short, and knee-length. After this, use a marker to draw the outline of the body and the dress, then start to add in the pleats and the dress details. Add on scarves and other items to the different types of dresses, then continue doing this for the different types of dresses and body shapes. When you are done, draw in...

In this tutorial, we learn how to draw the anime character Tobi. Start off by using light pencil markings to outline the face and the head. After this, use a marker to draw in the eyes and pupils. Next, draw in the eyebrows over the eyes, then make a small mark for the nose. Draw in a line for the mouth, then make one of the eyes a diagonal line, like the character is winking. Start to outline the chin, then draw in the ears and start making the hair. The hair should be spiked and going down ...

In this tutorial, we learn how to draw couture dresses. First, sketch the body onto the paper and then outline it with a black permanent marker. Make the lines soft and outline the body to have curves like a real woman. After this, start to add in the details of the dress, making the shoulders poof and adding accents to the side shoulder. Next, start to polish up the drawing by defining any lines and making different shapes. Make sure to draw the dress exactly how you want it, showing how it ...

In this tutorial, we learn how to draw a sports logo. You will need: paper and a writing utensil to do this. Do a rough draft of the logo with a light pencil before beginning. When finished, draw a basic helmet shape with a Sharpie marker. Trace around the lines that you made and make sure to draw the face guard when you are finished with the helmet outline. Next, add on a grille to the mask and then add more detail to the helmet as it would look in real life. When you are finished, add color...

In this tutorial, we learn how to increase your Wi-Fi signal with a coffee can. Materials you will need are : a knife, a coffee can, tape, USB Wi-Fi adapter, and marker. First, measure 1 inch from the bottom of the coffee can then trace your USB around that mark. Now, cut a hole in that shape in the can. Next, cover the hole with your tape. Next, hook your USB up to your cable adapter, and then place it in the coffee can. Now, plug your USB into your computer and you should have more signals ...

In this tutorial, we learn how to make a heart bookmark. First, take a sheet of paper and fold it in half, folding the crease. Now, take a pencil and draw two heart humps from one edge to the next. After this, cut them out, leaving the fold together. Trim any edges that aren't round, then add glue to the edge of the heart, and fold it over and let it dry. You can now decorate this will markers and ribbons. To use as a bookmark place your page in the center of the heart. This is a great craft ...

In this tutorial, we learn how to make a bikini bottom. First, measure the widest part of your bottom area, then write this number down. Next, place your fabric where the measurement device just was, then mark where you want your underwear to fit. Mark this spot, then measure the lines out on the fabric. After this, use a pen or marker to mark the underwear shape. After this, cut out the shape of the underwear and pin all sides together. Now, sew the sides of the bottoms together, then flip t...

In this video tutorial, viewers learn how to make a sawed0off shotgun. The materials required for this project are: hot glue gun, duct tape, cardboard, utility knife, black marker, spray paint and 2 paper towel rolls. Begin by tracing a shotgun outline onto the cardboard. Make 6 layers and glue all the layers together. Then smooth the edges with sandpaper and tape the outside with some duct tape. Now tape the 2 paper towel rolls together and tape it on top of the shotgun. Finish by painting t...

In this video tutorial, viewers learn how to draw curves like an architect. The first way is to use circle and oval shaped templates. When using the template, push down on it firmly and carefully picking the template back up to not smear the pencil marks. If the template does not come with a raised backing, use some built-up tape for leverage. Never use permanent markers with the template, work with dirty hands or cut with the template. Users can also use French curve templates and compasses....

In this tutorial, we learn how to install a headlight upgrade on a Ford Mustang GT. To start, remove the radiator cover and the clips around it. Now, take a 10 mm socket and remove the bolt next to the headlight. Now, turn your wheel to remove the screws around the headlight. Next, there will be 2 (10mm) bolts you will have to remove, as well as a fender lining. Disconnect your marker lights by pressing on the tabs on both sides of the car. Lay out a blanket to lay your bumper on. Now, remove...

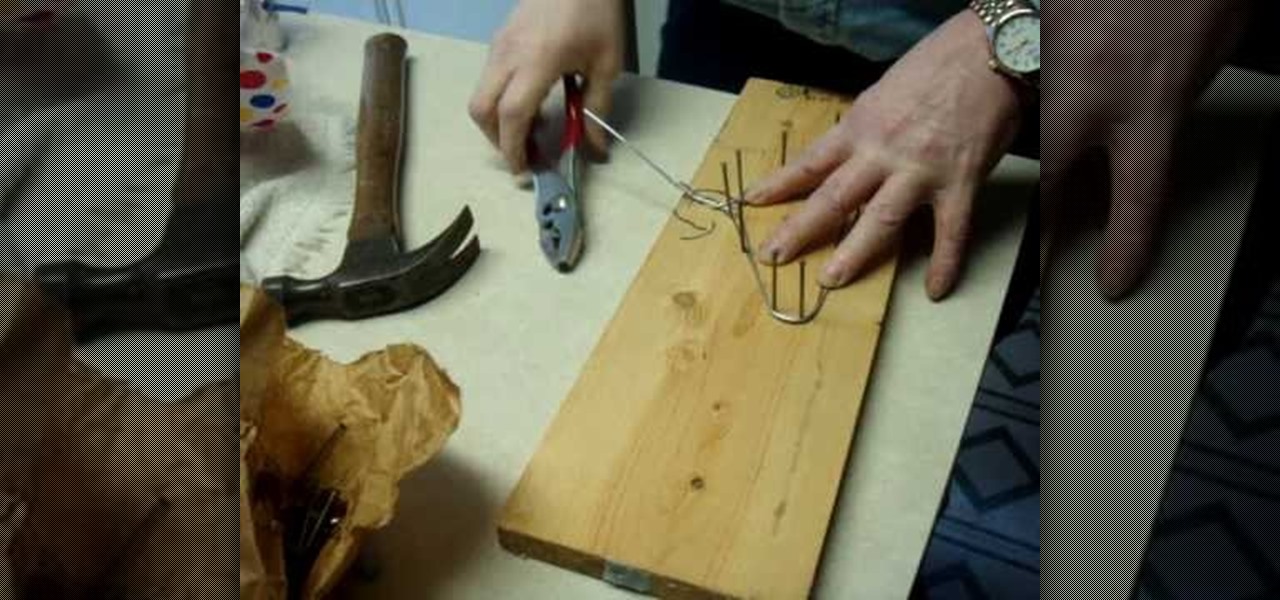
In order to make your own hangers for your American Girl Dolls' clothes, you will need the following: wood, nails, a hammer, a marker, one American Doll hanger (to be used as a pattern), 14 gauge wire, pliers, and wire cutters.

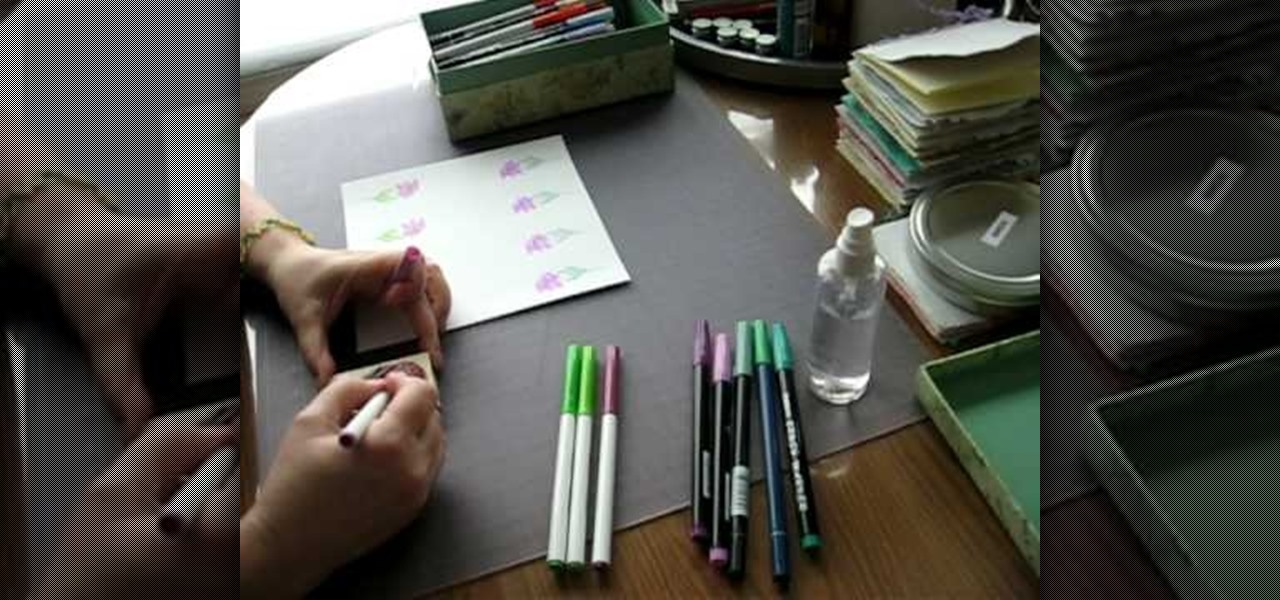
Even as early as first grade art class, you learn that watercolor/painting is an entirely different category from stamping, which basically requires a stamp pad and rubber stamp. But this tutorial blurs the line between the two art forms in the most attractive way possible.

In this Family video tutorial you will learn how to make a spiral sun catcher. Take a contact paper and draw a spiral on it starting at the center and drawing out wards. Now remove the backing of the contact paper and lay it down sticky side up. With markers, color in the spiral. Then take the contact paper and lay it on top of the backing and smooth it out. Now cut along the line of the spiral with scissors. Tie a piece of ribbon to the inside end of the spiral and now you have a spiral sun ...

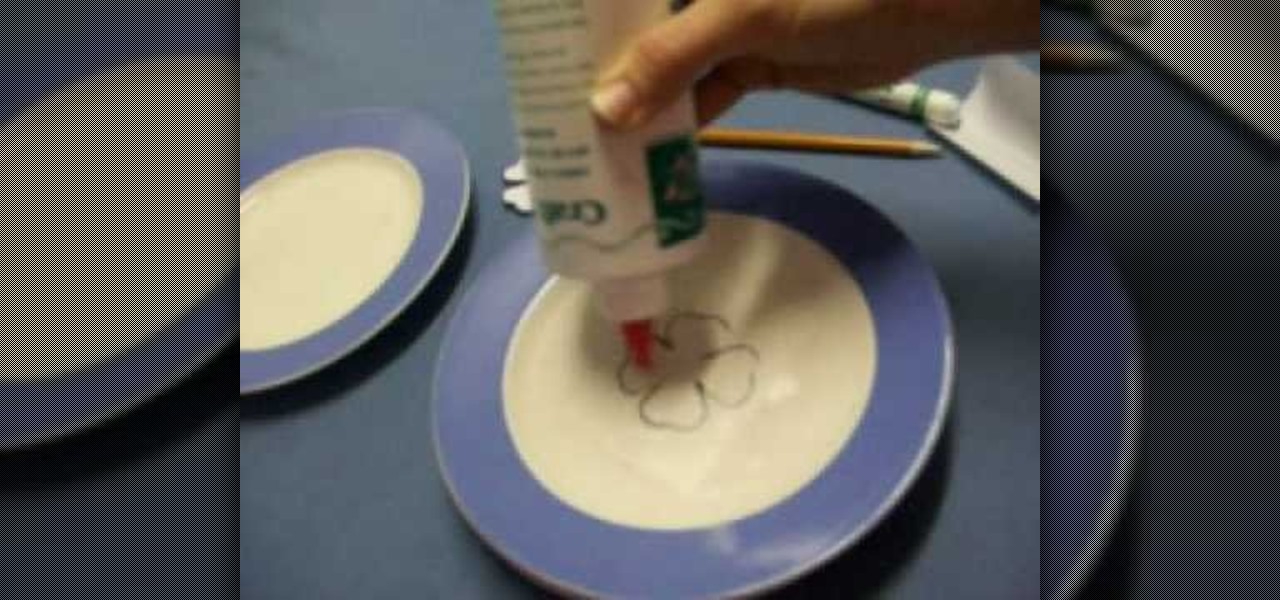
In this how-to video, you will learn how to make a four leaf clover pendant. Start off with contact paper and place it on a smooth flat surface, such as a large plate. Trace a four leaf clover shape onto the paper using a pencil or pen. Fill the entire shape in with glue. Once it dries, you can color the pendant with a green marker. Finally, you can peel off the contact paper. The four leaf clover shape will come right off with it. Viewing this video will show you the fastest and easiest way ...

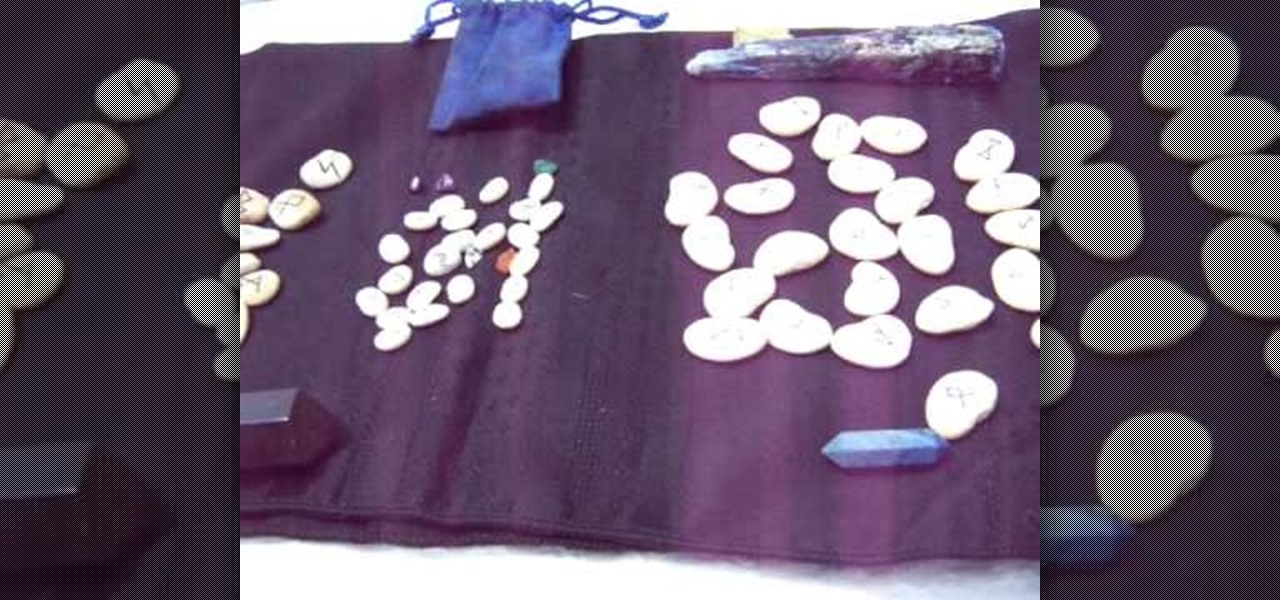
This video demonstrates how to make your own Wiccan runes. You need ordinary, commercially grown lima beans. You can also make smaller ones using smaller beans or you can use river stones. Use a rune chart. These can be found in most New Age shops or you can download one for free online. Choose beans without cracks. Use a marker pen, or a "Sharpie" to mark each rune on one stone or bean. Copy the whole chart. When you have done this you can bless the runes. They can be kept with some sacred s...

This video shows how a piece of glass can be cut using a pair of scissors into the shape that you want. First, use a permanent marker to draw the outline of the shape you want on the glass. Next, submerge the part of the glass that you want to cut into a basin of water. Using a pair of scissors, start cutting the general outline of the shape on the glass. After you are done with the general outline, you can then trim the glass with it still submerged in the basin of water. Remember to be care...

In this video you will learn how to draw a graffiti version of "Slimer" from the movie "Ghostbusters". The materials you will need are a writing utensil (the artist in the video uses a permanent marker) and some paper to write on. The artist begins by drawing the eyes and the pupils (the pupils appear cross-eyed). Then you draw the nose, the mouth and start outlining the area around the top of the eyes. Then draw the outline of the ghosts body then continuing around the left arm to the hand. ...

This video shows us a fun science project to do with our kids; it teaches us how to make flubber out of glue and cornstarch. In one container pour a small amount of liquid starch. You can find this in most laundry aisles in the store. Next in another container, pour in an equal amount of white school glue. Mix the two together by pouring the liquid starch into the glue. If the mix is real sticky, add more starch and if it is real runny, add more glue. To color your flubber you can dab it over...

In this video tutorial, viewers learn how to trim golf club shafts. The materials required are: a golf club, yardstick, marker, chop saw and grinder/buffer. Begin by determining how long you want your golf club to be. Measure and mark where you want it to be cut. Now place the shaft in the chop saw holder and tighten it. Make sure that it's lined up with the blade and cut the shaft using the chop saw. Now smooth the rough edge with the grinder/buffer. This video will benefit those viewers who...

Teresa demonstrates how left-handed people can complete a crochet project. The project is a round cap for a toy Ogeechee bear. Using her left hand to hold the crochet needle, she starts with a circle of crochet stitches to form the crown of the cap, and counts out the number of stitches needed for each row. A yarn marker is used to keep the rows organized, and Theresa shows how to utilize a slip stitch to make turns in the crochet to complete partial-rows that form a brim to the cap. She ends...

If street art is your thing, maybe you should make and print your own stickers to post around. Well this user shows us a pretty sweet way to do so. This video shows us how to make, import, edit, and then print our own stickers

This instructional video shows us how to make a Japanese flag fan. The materials required are: Foamy (Red and white), four popsicle sticks, glue and scissors. First cut two circular shapes (with one straight edge) from the white foamy, then glue on the popsicle sticks to the straight edge of one of the circles to make the handle. After this, glue down the other white circular piece of foamy to cover the tops of the popsicle sticks. Then cut out two smaller circles from the red foamy and glue ...


