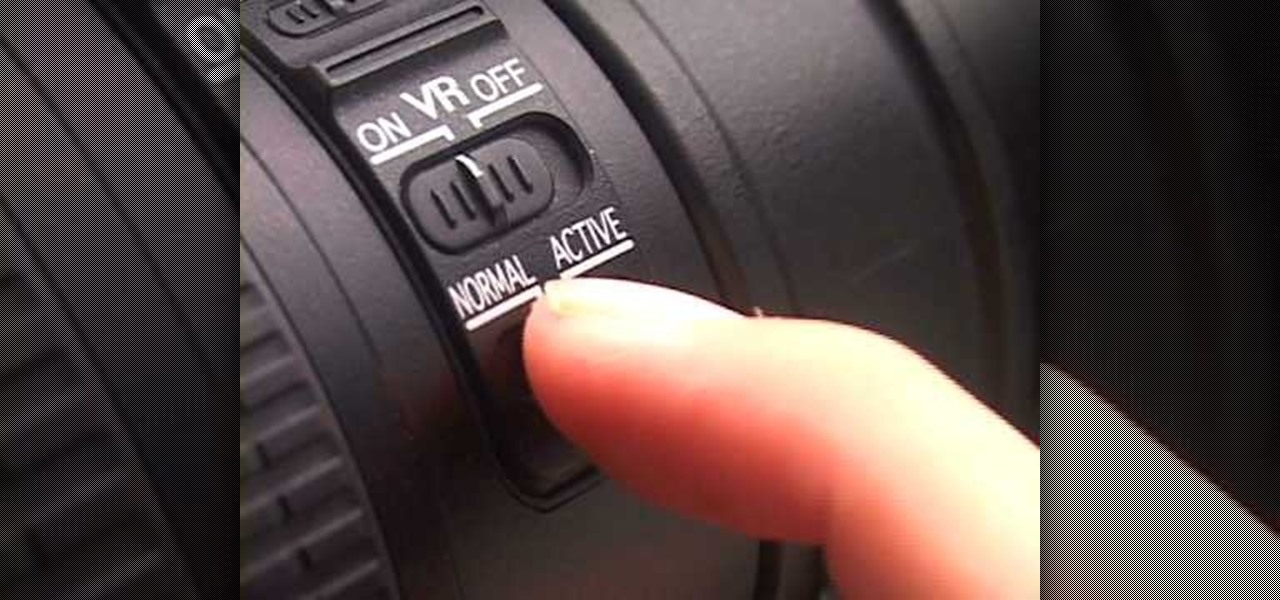
In this video tutorial, viewers learn how to use Vibration Reduction (VR). Vibration Reduction is the name if an image stabilizer engine that helps estimating unwanted blurriness when using slow shutter speeds or panning shots. VR has two modes: Normal and Active. Normal mode is designed for hand holding or panning shots where it estimates camera shakes when holding at a slow shutter speed. Active mode is designed for using on rapid moving surfaces. This video is very descriptive and gives gr...
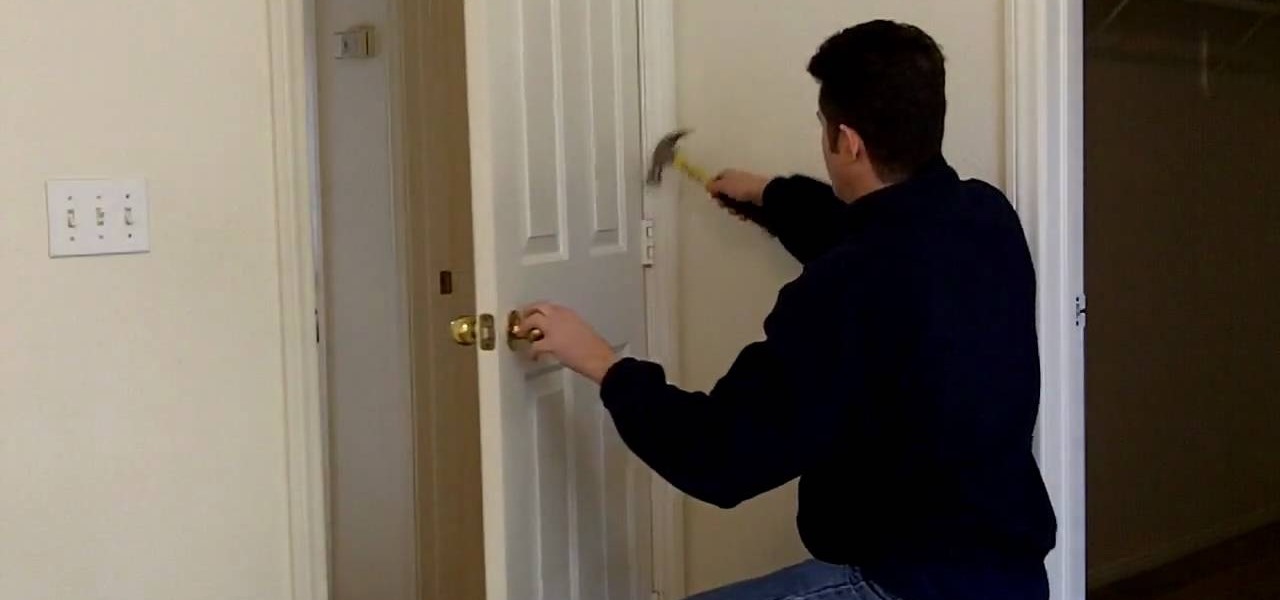
This video is about fixing self-closing doors. Doors close by themselves when they're not hung plumb, and gravity closes the door. The solution is to remove the hinge-pins and to roughen the bottom of the hinge-pins to create friction, keeping the door open. One removes the hinge-pin with a hammer and small screwdriver. Tap the bottom of the hinge-pin against a cinder block or rough, hard surface. If using this "friction-ized" hinge-pin does not solve your problem, try repeating this process ...
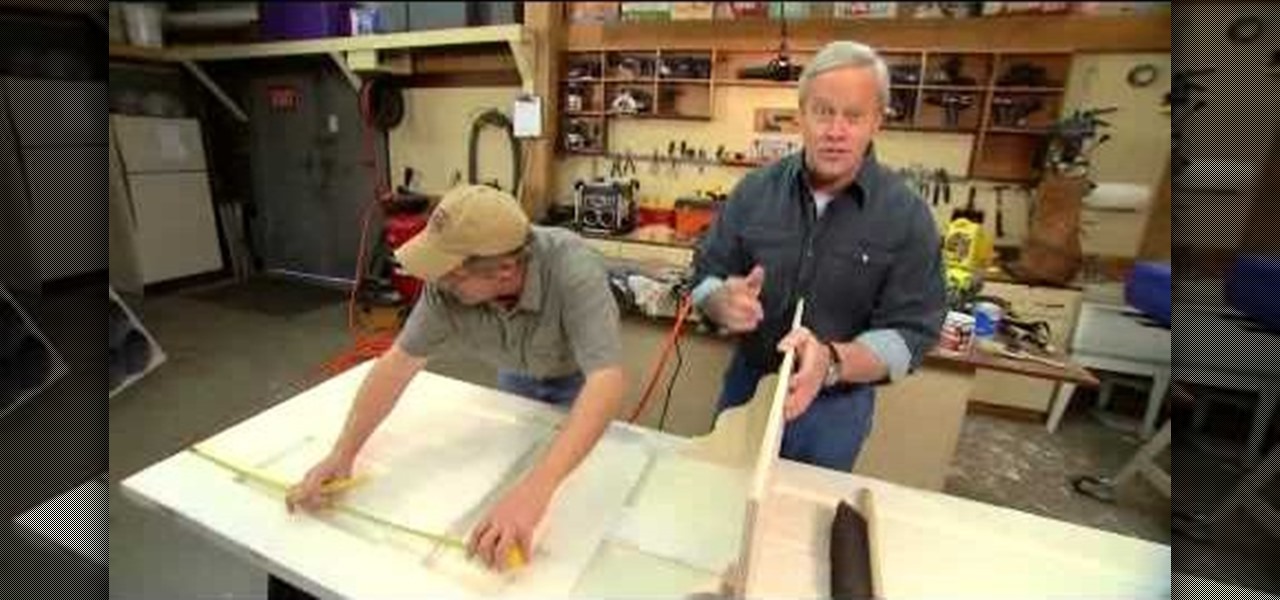
This step by step tutorial will show you how an old door can be turned into a beautiful desk. Danny Lipford explains how an old door can be used to make a headboard, room divider or even as art. He then gives you basic instructions on revamping your door to become a desk. He starts off by removing all the elements that make a door a door, like hinges and door knobs. By filling in the holes left from the missing hardware with bondo you are left with a smooth surface ready to be cut and shaped ...

First, you want to just lie your chicken breast flat on a cutting board surface. Next, you want to hold the chicken breast down with your non dominate hand and take your chefs knife with your dominate hand and begin slicing the chicken breast horizontally, take care to not cut yourself so be careful. Also, make sure you do not fully cut through the chicken breast because you want it to be butterflied. If you follow this incredibly quick and easy guide you'll have butterflying chicken breast d...

This video describes how to cut potatoes in a variety of ways for cooking. Cutting potatoes can be tricky because the regular shape of a potato causes them to roll. To avoid this problem, just cut a sliver off the side of the potato to flatten the bottom. Then proceed to cut the potato in the way that you originally planned to. The video then goes on to explain how to make perfect French fries by cutting the potato a certain way. To do so, start by cutting off the side of the potato to give y...
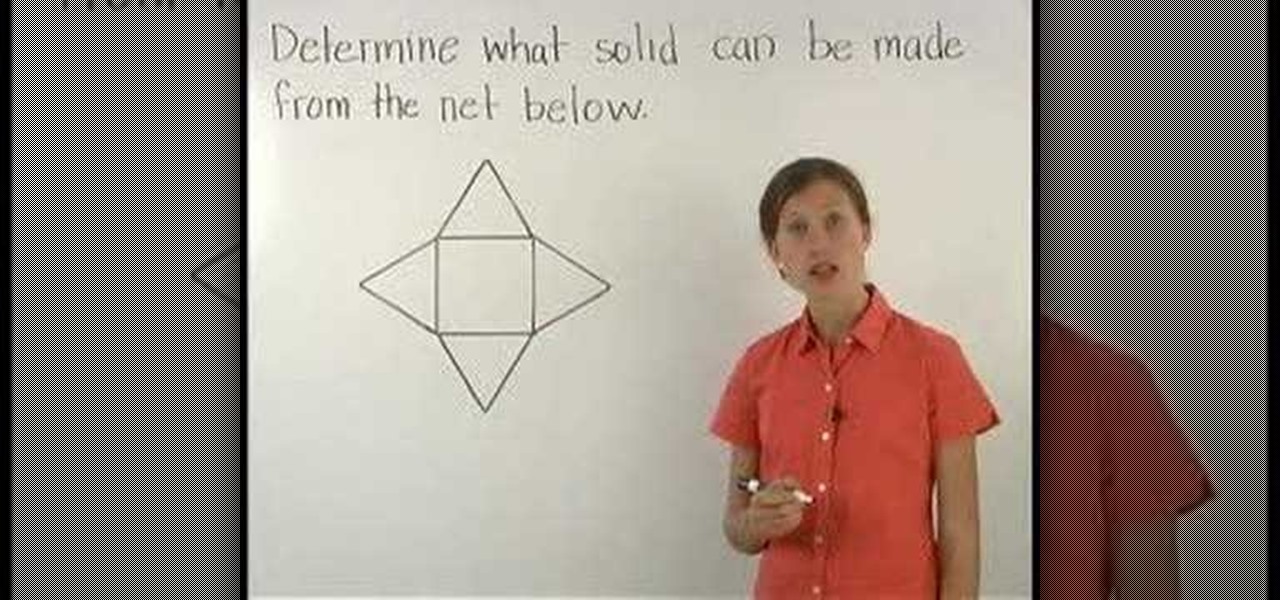
Viewers learn that a net is the shape formed by "unfolding" a 3-dimensional figure, so a net shows all the faces that make up the surface area of the figure. Viewers are then asked to determine what type of 3-dimensional figure can be made from a given net (note that a cylinder has 2 circular bases, a pyramid has triangular faces, a cone has 1 circular base, and a prism has rectangular faces). Students are also asked to determine if a given net can be used to make a cube. This video will bene...

This how to video explains how to use a clock as a compass if needed. To start, simply place a clock on a flat surface and place a match in the very center of the clock so that the shadow of the match is even with the hour dial. North will be located at the midpoint between the 12 on the clock and wherever the shadow of the match is cast. The video then shows an example of the application by using a piece of paper and a pin. The narrator shows how the user can go about finding where north is ...

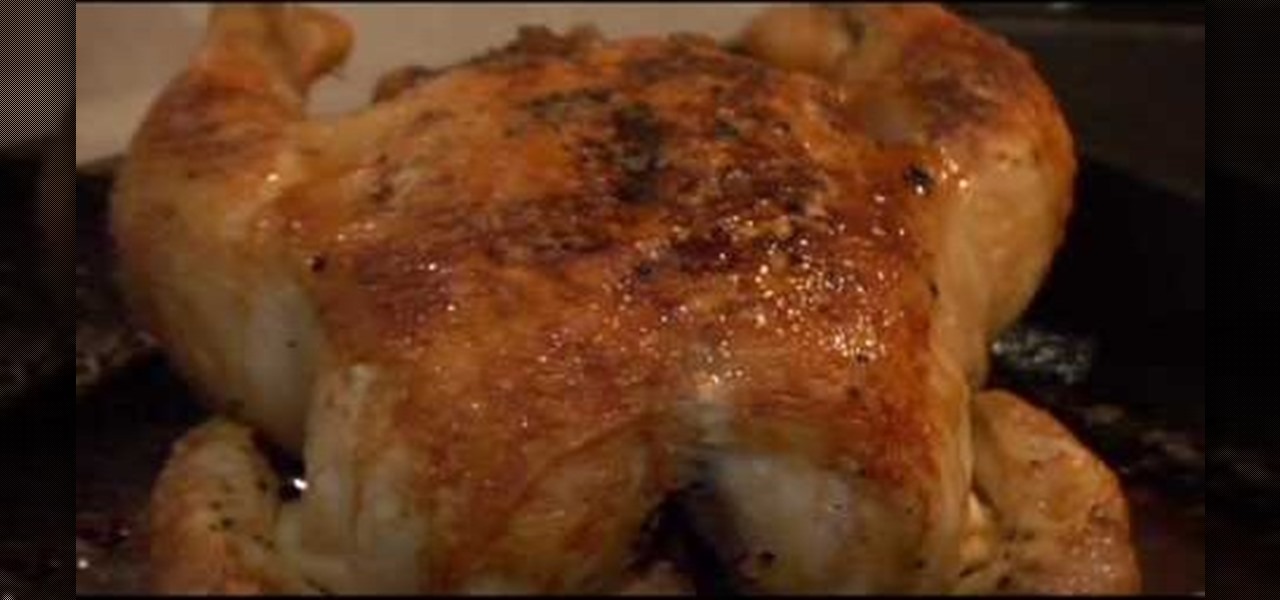
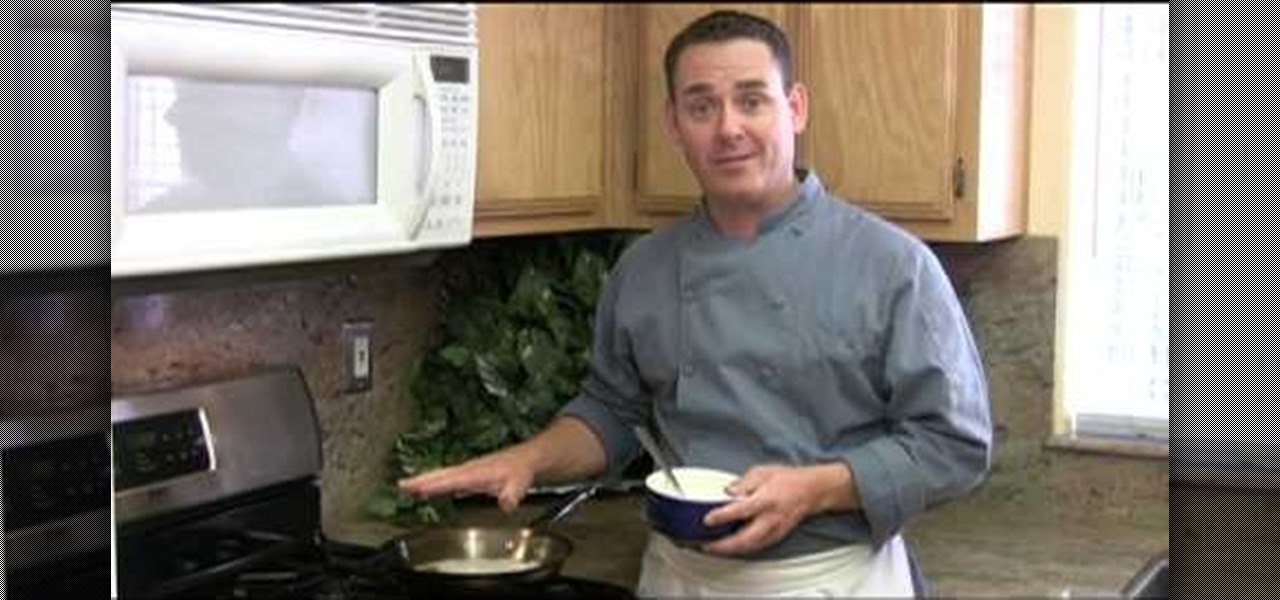
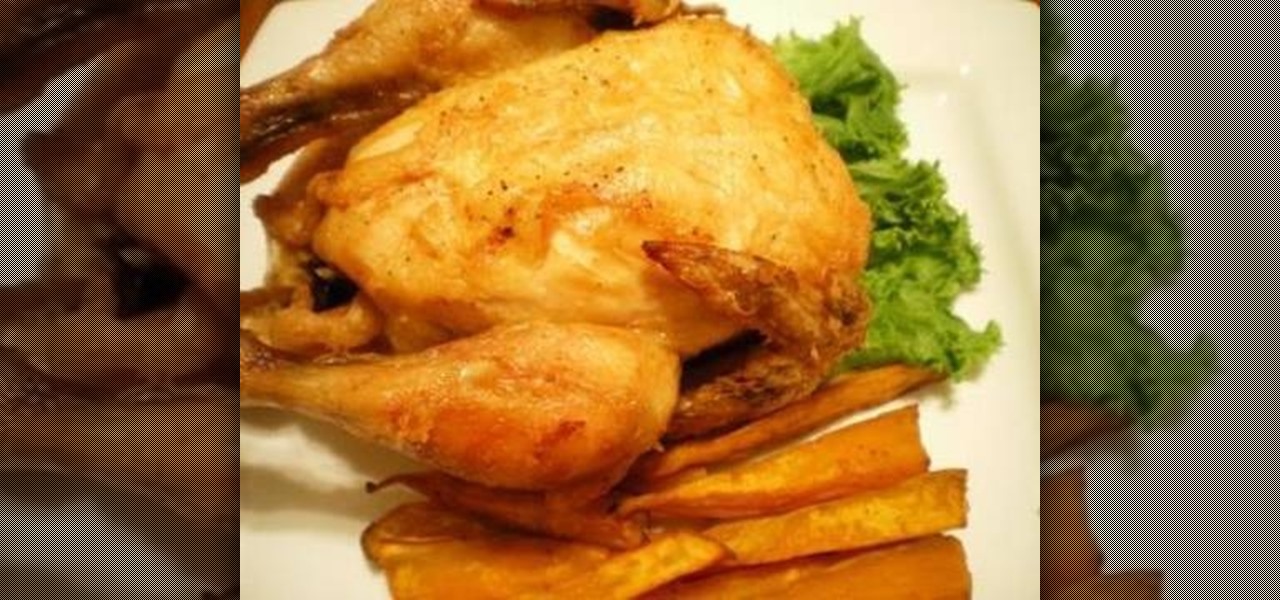
Chris Dickerson demonstrates a simple way to make a delicious roast chicken. He believes that the single most important thing in cooking chicken, or any meat, is to start by searing it. For this he recommends using a pan with a heavy bottom and an ovenproof handle, which can be transferred directly into the oven for the roasting.

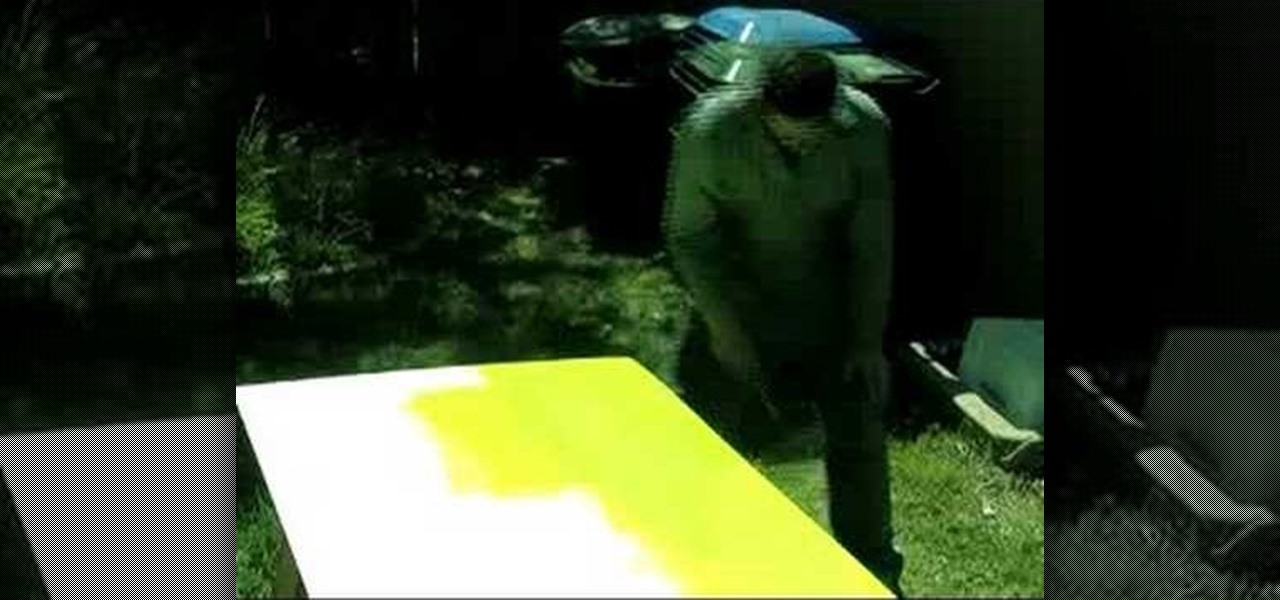
This video tutorial show you how to make your own functional green screen to create special effects. If you try to isolate a subject on a film with a dynamic background there is a good chance to loose parts of the subjects during the process. By using a monochromatic background this can be prevented. For this you'll need large foam boards, bright green paint and a roller made for smooth surfaces. Spray painting doesn't work and results in a blotchy finish. Paint the boards evenly with the gre...

A boxer knows that during and after a fight, their bodies will be aching. As a part of the job, they grit their teeth, focus and get past the pain. The most important part of a boxer's body, though, is arguably his hands. A boxer depends on his hands to win fights and to train. The best thing one can do to protect their hands is to wrap them properly. This video will show you exactly how to wrap your hands so that they are cushioned and protected against injury. An ideal wrapping job would pu...

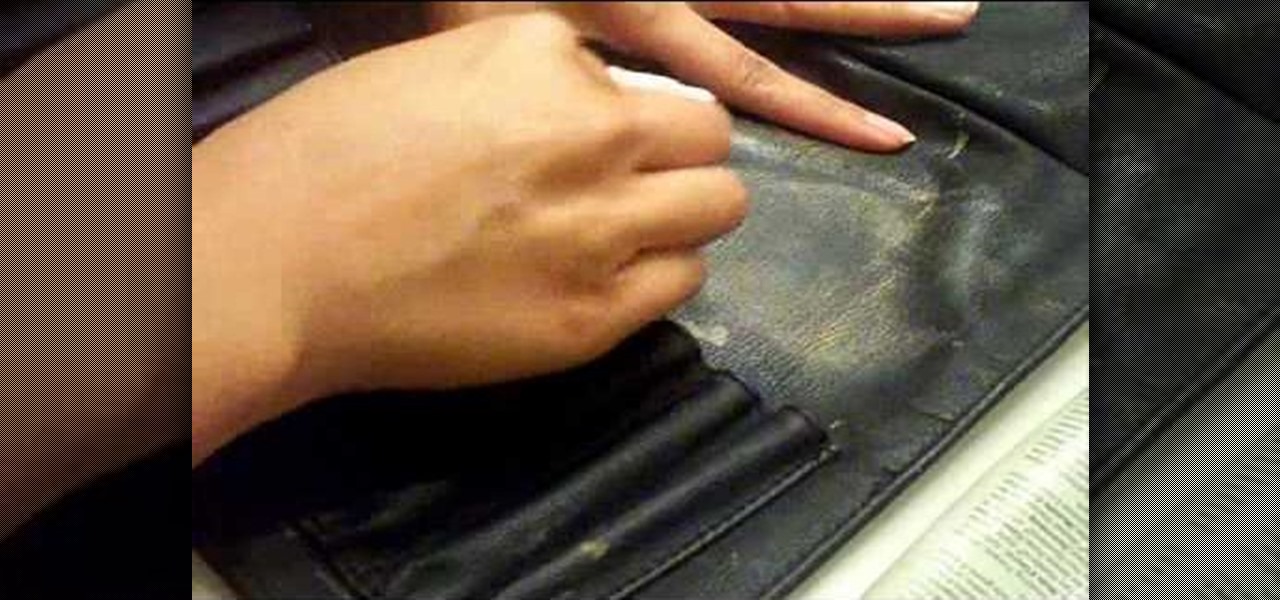
Cleaning makeup brush rolls can be quite challenging and frustrating. MakeupByRenRen teaches us an easy and quick technique on how she cleans her sigma makeup brush rolls. Things you will need: an oil-based facial cleanser or a regular olive oil and paper towel. Grab a paper towel and damp it with your oil-based facial cleanser or regular olive oil. Gently rub the paper towel on the surface of your dirty makeup brush rolls. Make sure that you go in every direction to effectively remove all th...

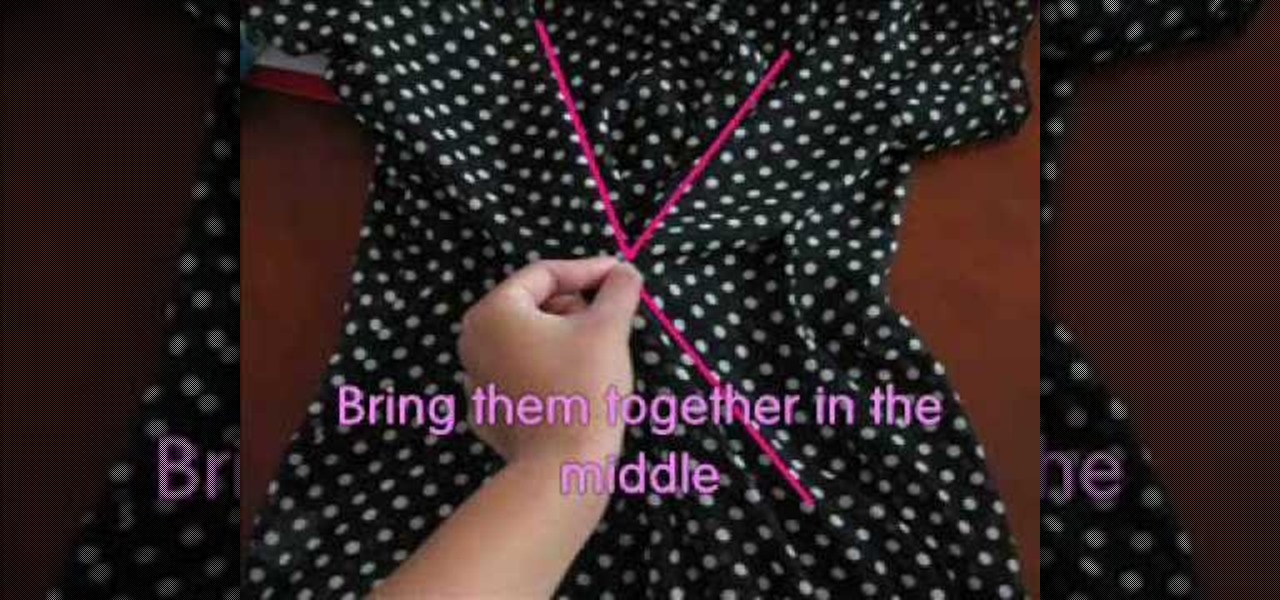
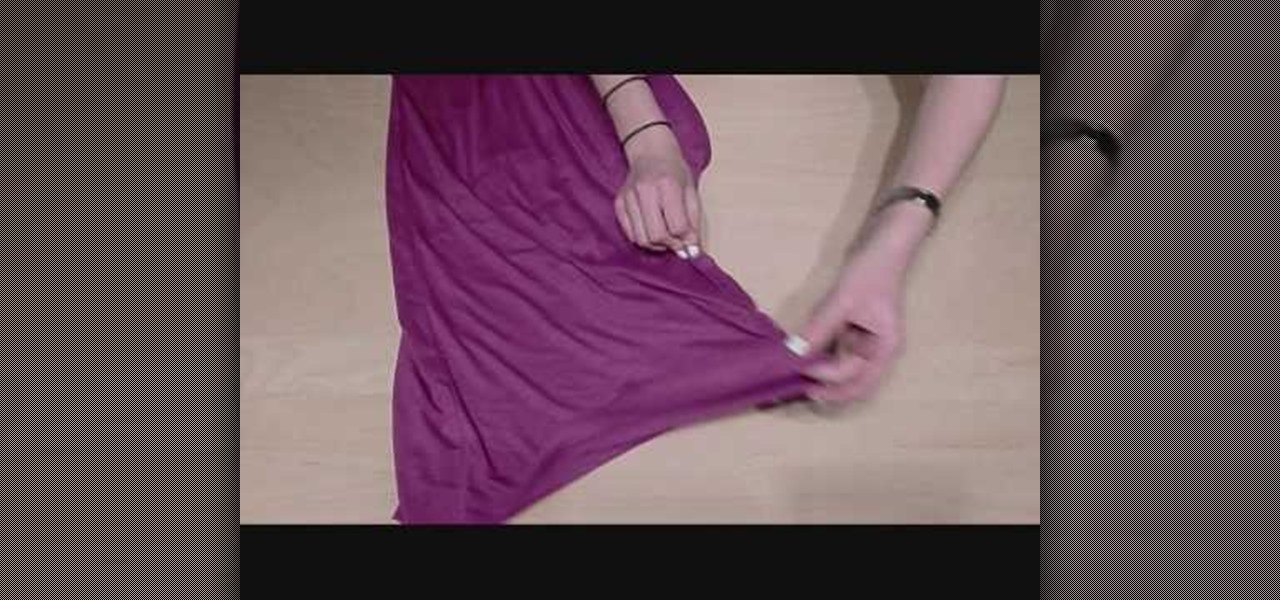
If you have a shirt you no longer wear because it is too baggy, make sure to watch this video to learn how to readjust it so that you can start wearing it again. Place the top on a level surface so that its back is facing you, as you will start working on the back part of the top. Calculate the width of the top and pinch a third from each side. Join these points that you marked towards the middle part of the shirt. The next step will then involve sewing these two points together at the back o...

Learn how to easily make clarified butter at your home in simple steps from Jason Hill. First heat a pan and add some thick butter on it. Let the butter stay on the for sometime until it is completely melted. Now start skimming the surface of the melted butter little by little using a spoon. You will get the clarified butter when its skimmed off completely. You can use it many purposes as it hold a lot heat.

Watch this video to try out making a halter dress by yourself. Lay out the fabric you are going to use on a level surface. Afterwards sew it right side together with stitching pins. Once you finish doing so flip the fabric right side over. Sew up the ends of the fabric right sides together. This will create the hole in the dress where you will wear it as a halter. Flip the dress over and cut out some elastic to sew it on the bottom part of the dress. This will create a nice effect in the skir...

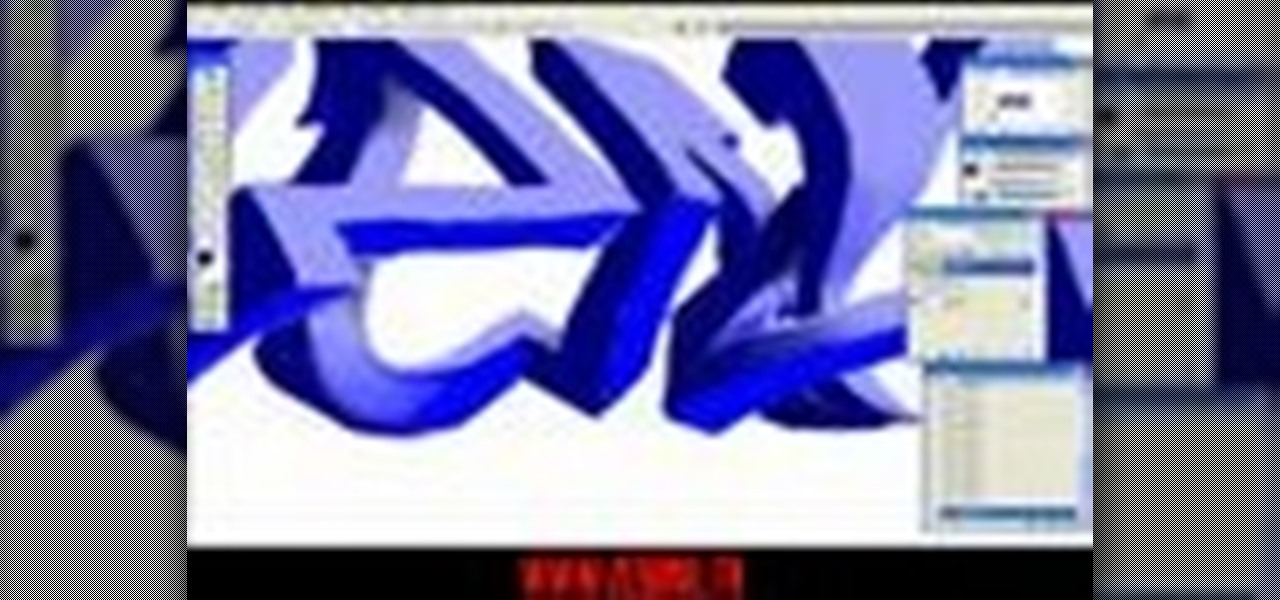
Graffiti is a nuissance but it can also be an awesome form of true art. In this tutorial, learn how to draw 3D graffiti as demonstrated in Photoshop CS2. 3D graffiti gives your tag a very cool effect, making it appear to be popping out of the wall it is sprayed on and standing out from any other artwork nearby. Even though it looks advanced, creating 3D graffiti is actually quite easy to do. Try this style out and impress your fellow artists and passerbys alike.

In this video tutorial from StudioMallory, learn how to take Mapei premixed adhesive and grout and turn it into a six-point star. Begin by cutting out the star shape in a piece of cardboard. You can use a stencil to make sure the shape is accurate. With your fingers, spread the grout onto the shape. After you are done shaping the grout, spray a little bit of water on the grout to help you smooth out any rough edges on your star. Set the star on a flat surface and allow it to dry overnight. Th...

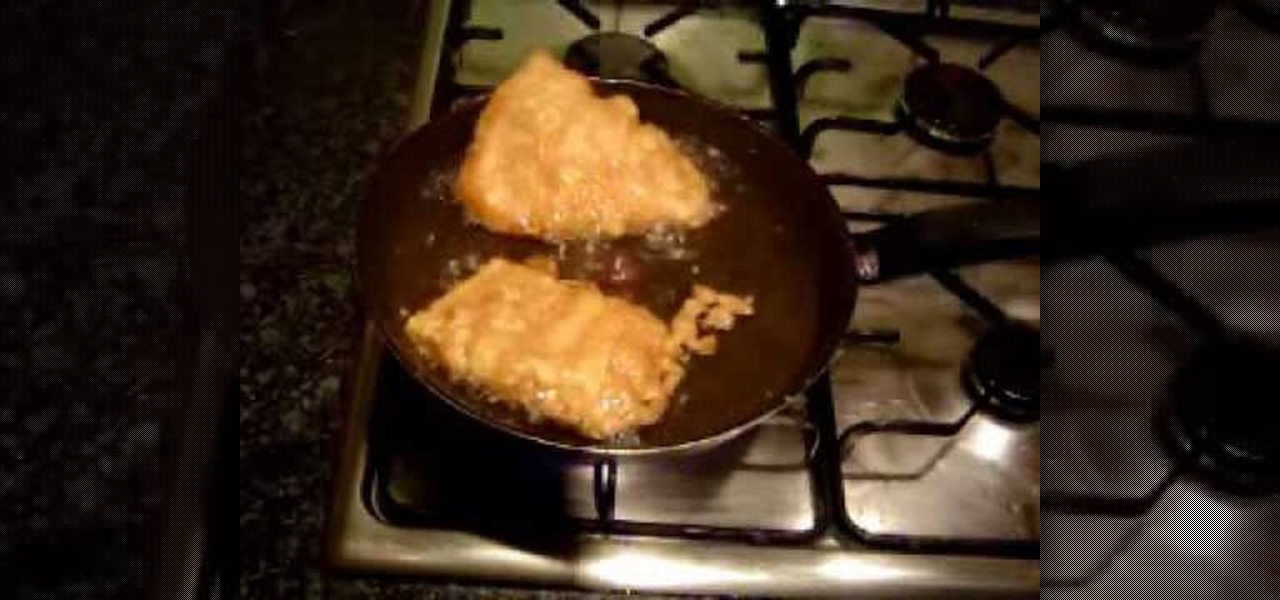
Need a new recipe for a crispy batter for fried fish? The Original Naked Chef uses a simple seasoned flour and water base with an extra twist. He adds a healthy dose of Guinness beer to the mix. This affords a rich and fragrant batter. Chef believes that the perfect surface for cooking fish is in a shallow skillet with very hot oil. Simply dipping the fillets in the batter and allowing them to fry several minutes per side yields a mouth-watering main course. Serve with chips and Guinness beer...

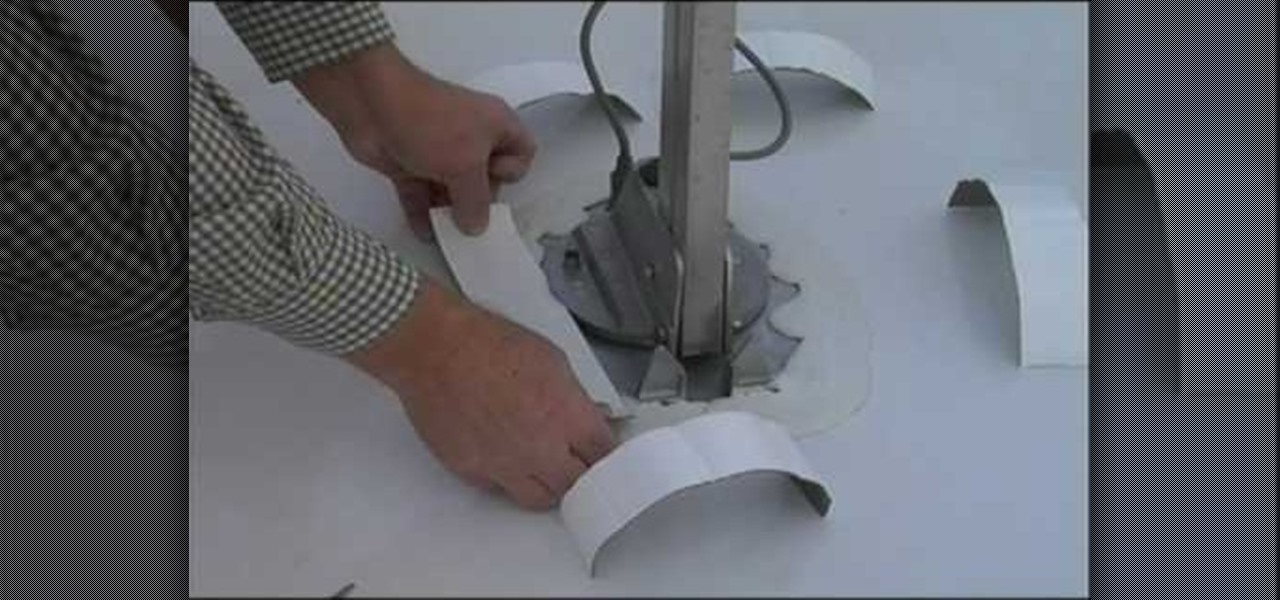
In this how-to video, you will learn how to seal a leaky RB roof with EternaBond tape. First, you must have EternaClean to remove any old dirt or grime around the roof. Spray it and remove with a piece of cloth. Cut the tape into the sizes you may require. Lay them out and prepare the surface using EternaPrime. Place the EternaBond tape where you want it, as it will not come off once placed. Rub bubbles or creases out. Wider tape may be considered for bigger jobs. By viewing this video, you w...

It's simple: if you've got a brushed motor, you'll want to break it in under controlled circumstances before taking it out into the world. Why break in your engine? The main idea of breaking in your engine is to wear down your engine's brush so as to maximize surface contact with the commutator, reducing resistance (and therefore waste energy) and thereby increasing power. For detailed instructions on breaking in your remote control vehicle's engine, watch this RC hobbyest how-to.

CreativeIceDesigns shows all the steps it takes to give any photograph a nice, vintage look using Adobe Photoshop. The image must first be unlocked. You then select the grunge paper brush. Normally you should keep the aspect ratio of your image the same, but in this case, you should resize it to the same height as your paper surface. After changing the blend mode to multiply and adjusting the brightness, you then change the opacity and you'll have the "wrinkled paper" effect you're looking fo...

Taylor Erkkinen, co-owner of the Brooklyn Kitchen, shows how to properly hone a knife Hold a butcher steel vertically. Place it on a towel on a flat surface in order to anchor and hold it in place. Most knifes are sharpened to 20 degrees. To find this angle, hold the knife perpendicularly to the butcher steel--this is 90 degrees. Reducing to half that angle is 45 degrees, and half of that angle is 22 degrees. Pass the knife equally on each side of the butcher steel, making sure you run all th...

In this video NAIT automotive instructor Darren Jones instructs you on how to . First pull over at a safe location where the traffic is less where there is a firm surface underneath the vehicle. Put the vehicle into park and apply the parking break as shown. Use the owner’s manual to locate the equipment to change the tire and how to do it. Block the wheel that opposite the flat wheel as shown and loosen the lug nuts by half a turn, jack up the vehicle referring to the manual. Remove the lug ...

This video give you a step by step in how to cut your mango cheeks, and owszat shows you how to do it. Using careful tactics on the mango, you can see a slight edge. Where you distinguish your mango's center point is where you will be cutting from. Tear off your stem to have a flat relying surface. Cutting about five millimeters from the center point on each side, making one slice that releases your cheek, and doing the same for the other side leaves you with two mango cheeks and the center p...

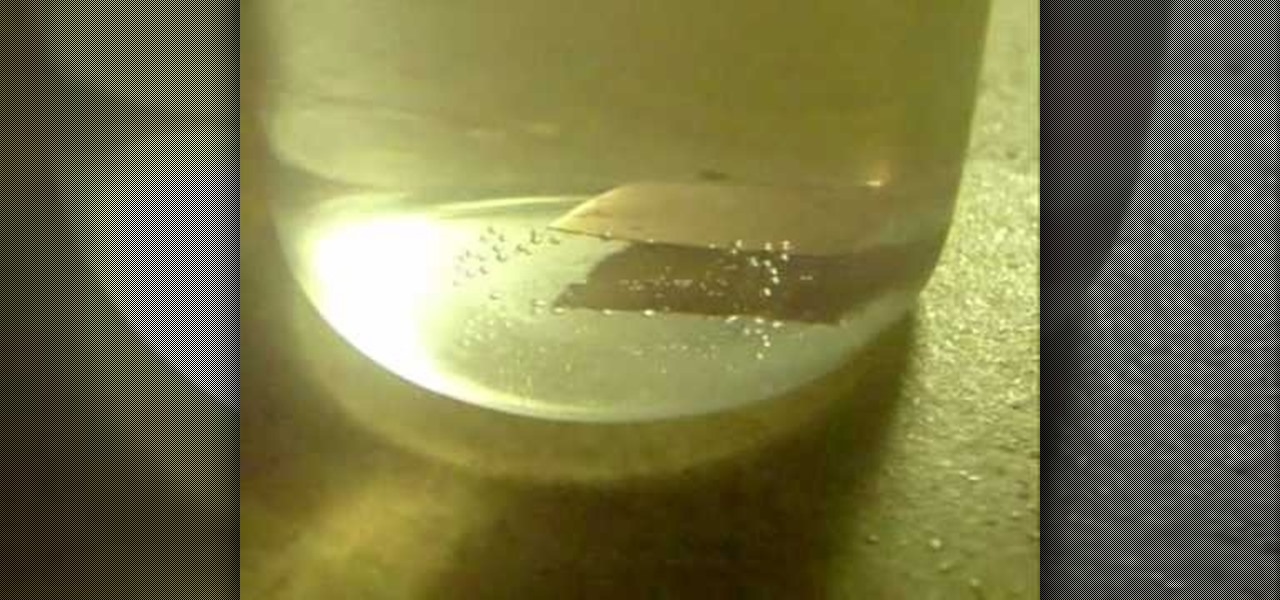
In this video tutorial the instructor talks about Hydrochloric acid (HCL) and how it reacts to a few metals. To try this out take 30 ml of concentrated hydrochloric acid in a beaker. You need to employ caution while handling acids, especially if you use strong ones. Now you can throw small pieces of different metals into it carefully to see how it reacts with different metals. For instance when this HCL comes in contact with metals various reaction take place depending up on the metal. Like i...

This short video shows us how to reveal latent fingerprints on a glass surface by dusting. Anyone interested in forensic science would enjoy trying it as it shows simple steps in dusting and lifting fingerprints. It does not require any chemicals and we can do it with baby powder. The steps involved are so simple and easy to follow that even kids can try it out for fun. This gives a clear idea about fingerprints on different objects like porous, non porous and metals. Enjoy viewing and detect...

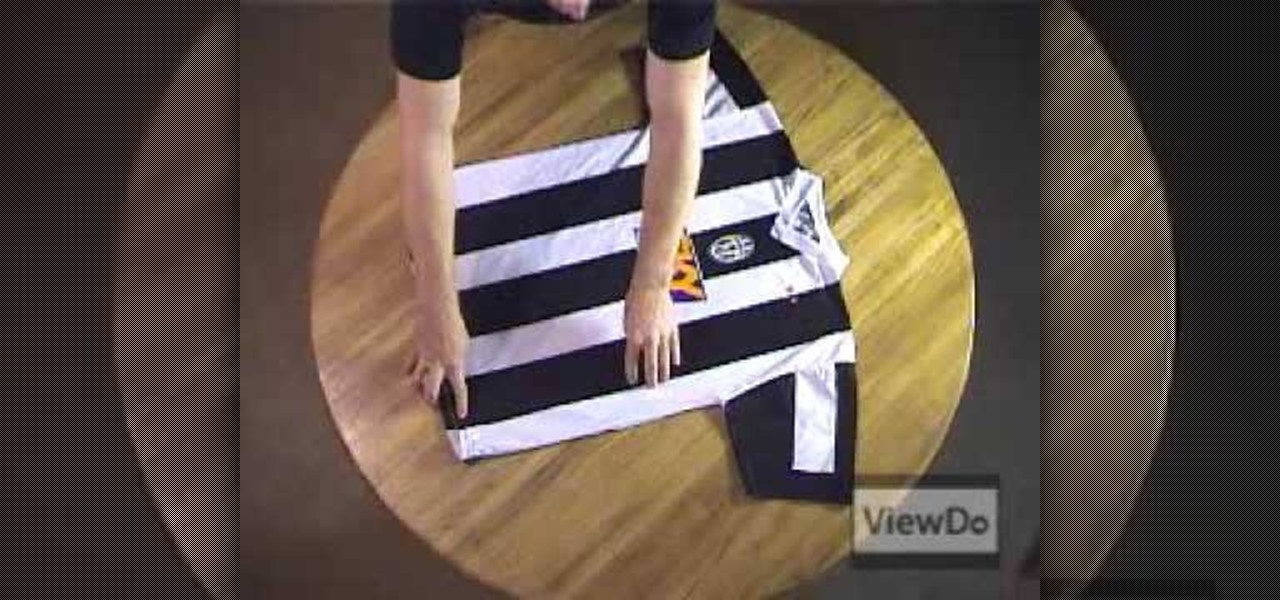
Here is a quick and easy way to fold a T-shirt in less than 5 seconds, all in one quick motion. Laying your shirt down on a table or flat surface, simply pinch your shirt with your left hand about halfway down the line of one of your sleeves. Crossing over with your other hand, grab the shirt by the collar and pick up the shirt. After laying down the shirt, you should have a perfectly folded shirt in one quick motion. This technique should be very useful if you ever want to fold your laundry ...

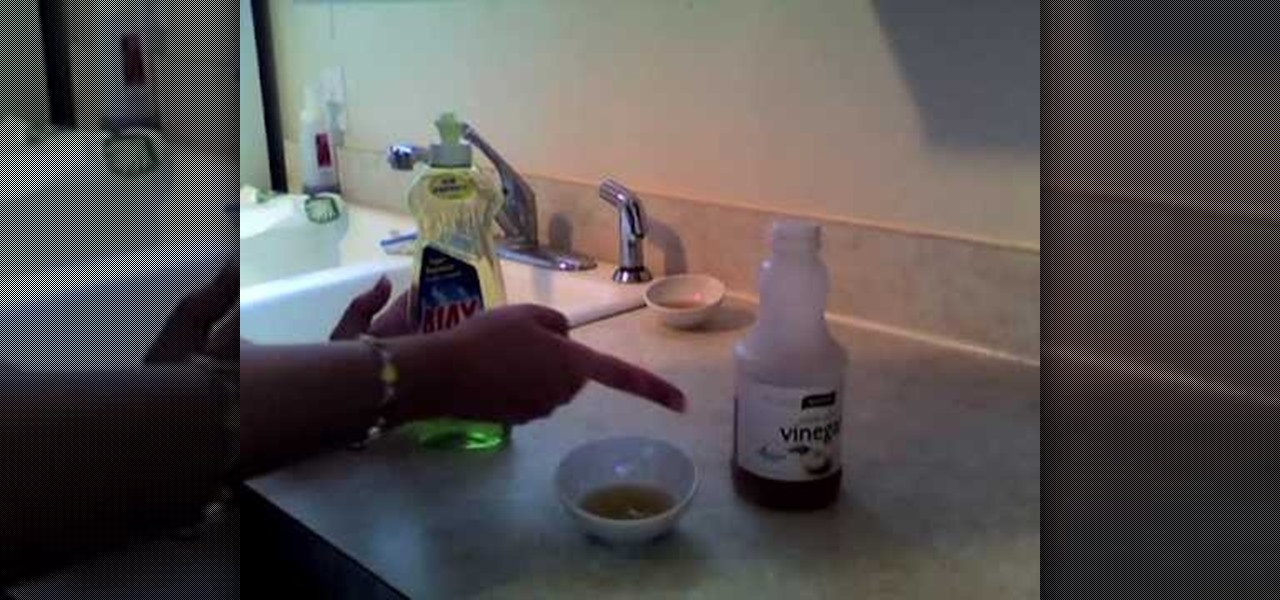
The method explained in this video is a very simple method to get rid of fruit flies. Materials required for this method are:

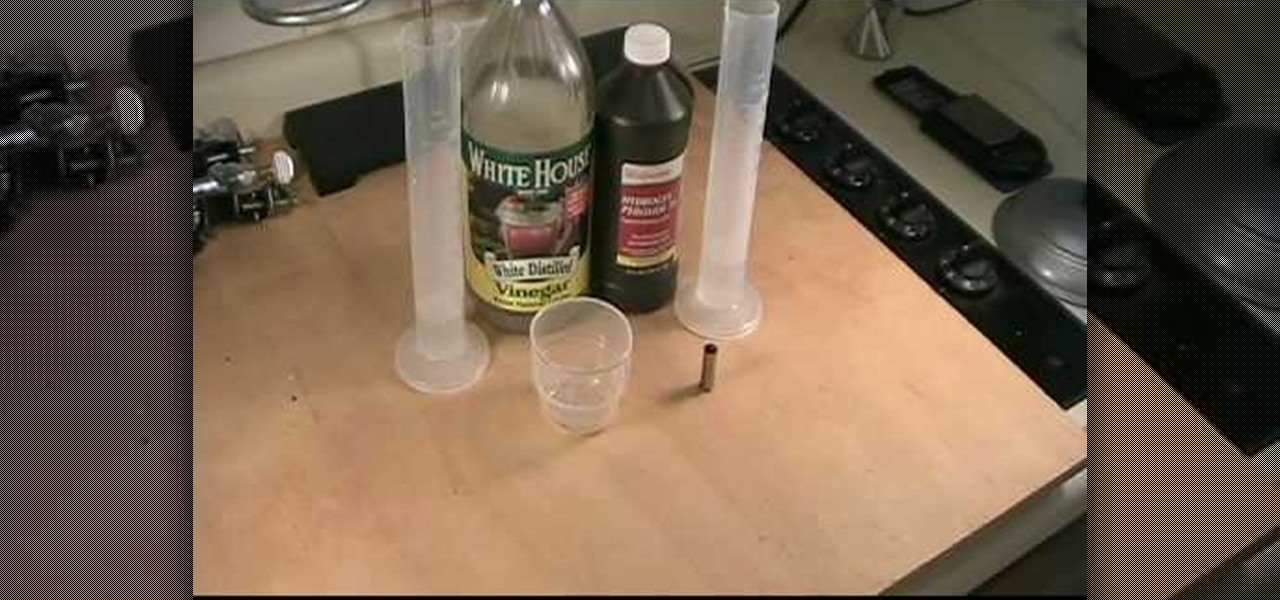
Learn how to find latent finger prints on brass surfaces, such as fired cartridge cases. Called the Acidified Peroxide method, using only white distilled vinegar and hydrogen peroxide that you can find at your local drugstore, you can uncover fingerprints that is usually impossible to see using other methods. After mixing the vinegar and hydrogen peroxide the solution should start turning a greenish color around the brass object after 5 to 10 minutes. After you see the green color throw away ...

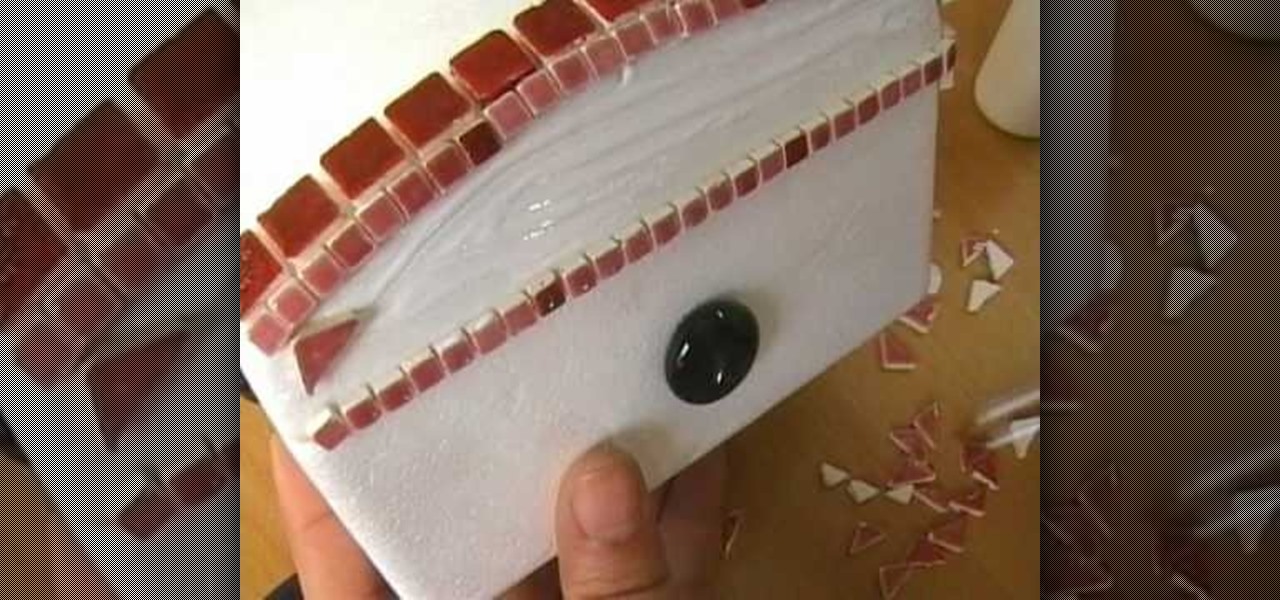
This video demonstrates making a mosaic jewelry box. A plain jewelry box is decorated using different shaped pieces of glass. First, round flat glass pieces are glued in the center of the top and sides. Then a ring of glue is put around the circle and rectangular pieces are glued around that. Square tiles are used around the top edge, and odd shaped pieces are used to fill in the rest of the surface area of the box. After it has dried for two hours, a glaze is applied to the entire box. This ...

This video tutorial shows you the proper way to prepare for the installation of laminate flooring. One thing you need to do is maintain a temperature of a minimum of 65 degrees. You can install it practically anywhere, as long as there is no moisture or dampness. Concrete, ceramic, wood , and vinyl are all find for installation but the surface needs to be dry, flat and smooth. This video is a simple guide to give you some precautions before you begin your installation.

In a pot, simmer pork for 30 minutes and remove scum that rises to the surface. Keep stock. In a casserole, heat oil and sauté garlic and onion for a minute.

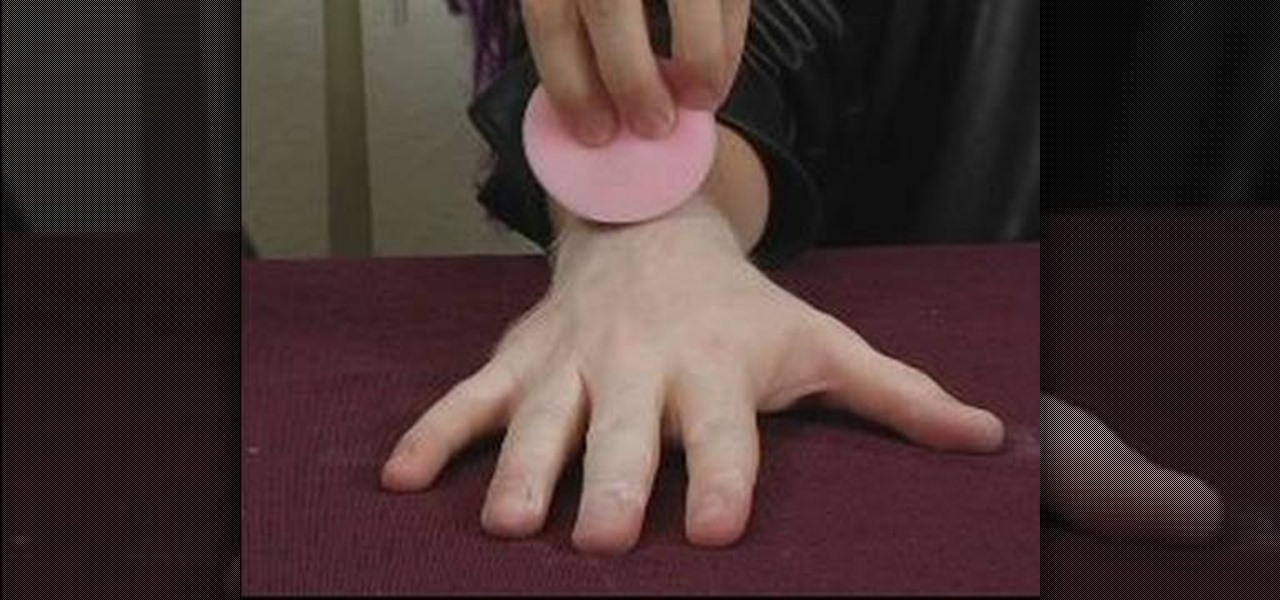
The video shows the user how to make their hands resemble those of a vampire. This is done by applying a thin layer of white makeup to the backs of the hand with a cylindrical sponge. The reason for only applying the makeup to the backs of the hands is to avoid coating surfaces you touch with the white makeup. It's suggested that you leave a gap between the makeup and the sleeves of your jacket as it does not spoil the effect and helps eliminate the likelihood that you'll get makeup over your...

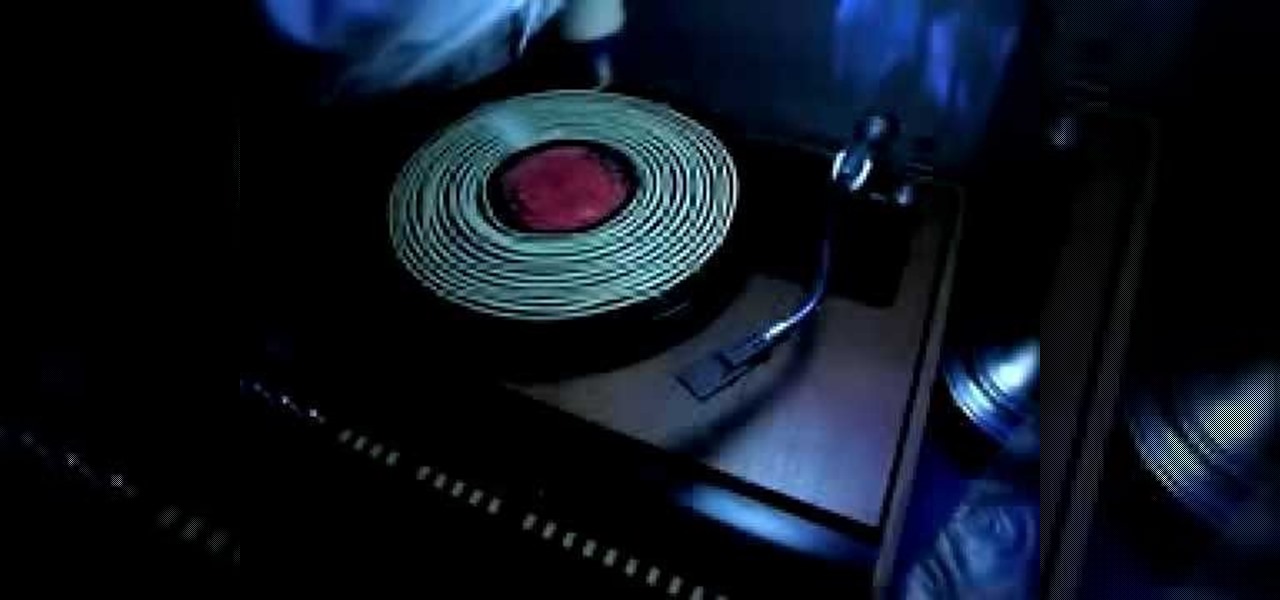
This video shows how to clean old records using Titebond II wood glue. He has the record turning slowly on the turntable, and while it's turning, slowly squeezes a line of glue around and around onto the surface of the record, starting from the middle. He explains that it takes between four and twelve hours for the glue to dry completely. After the glue is applied to the entire record, he takes an old credit card and spreads the glue evenly onto the record, all the way out to the edge. When t...

This how-to video is about how to simulate your own space vacation.

Pomegranates are very delicious fruits. They are very nutritious, too. This instructional video teaches you how to eat a pomegranate in the right and proper way. It teaches you how to eat pomegranate with using a juicer, glass or knife. First you should start crushing the fruit from the middle top of it. You have to go on crushing it slowly and gradually with out applying too much pressure on the fruit. at one stage you will get a small hole on the surface and you can start drinking the juice...

This video will teach you how to make a white board at half the cost and a better quality than you can buy and it will last a lot longer. You start with an 8x10 piece of Plexiglass with only surface scratches and spray paint. Try not to touch the side that you're going to paint. Remove only one side of the Plexiglass protecting plastic. Sand any sharp areas and paint in a well-vented area or outside. Paint lightly with the color of your choice and let it dry before adding a second coat. You c...

Max's Filipino style fried chicken. Takes a spring chicken or a Cornish game hen, ground jack pepper, dried bay leaves, cilantro or parsley, and a pan full of water. Bring water to a steam then add bay leaves and chopped cilantro. Then in a metal colander or strainer place chicken over the steaming water. Once chicken is steamed let drip out the excess water. Add the pepper and some salt to the chicken by rubbing over the surface. In cooking oil fry the chicken until a light golden brown. Tak...

Jeff White gives guidelines in this video about bed bug bites. The first thing is that bites will show up in clusters or rows. They feed at night and it takes 5 to 10 minutes to fill up on a blood meal. That is why there are rows of bites or a cluster.

You use a bike rack that extends from floor to ceiling. Pick where you want to put your picture and place the bike rack there. Adjust the bike rack so that it is at the level you want the picture. Then take a clamp light and clamp it to the pole of the bike rack. If the light slips on the pole, you can wrap some duct tape on the pole to create a surface that the light will stay on. Point the light toward where the back of the picture is going to be. If the picture you want to hang does not ha...

First thing you've got to do is to clean your brows with the brow brush to clean the brows and the surface as well.


