Tired of basic french manicures or single colored nails? A little bit of sparkly nail art is the answer to manicure blahs. For this look, you will need red, gold, pink nailpolish, and a silvery white base coat nailpolish. Watch this maincure how-to video and learn how to do a glittery red, gold, and pink manicure.
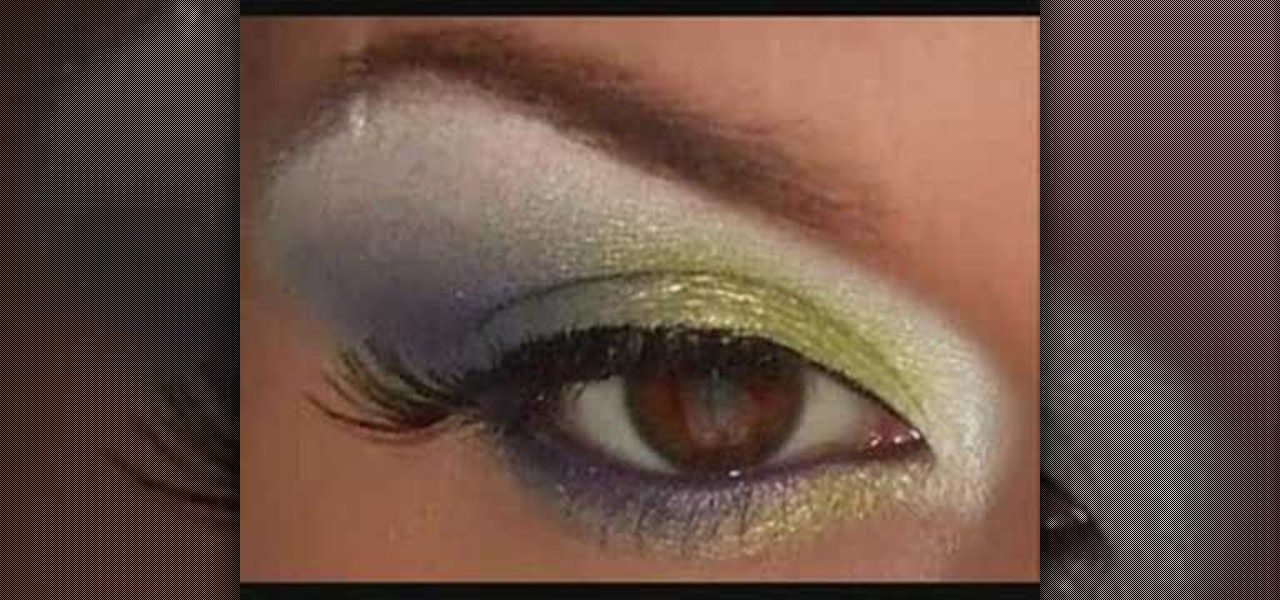
Watch this instructional cosmetics video to apply eye shadow to create a dramatic lime green and purple fade on a white base. Use Ben Nye Lumiere eye shadow, MAC cream color, purple liner, Kenebo blakc liquid liner, black mascara, and MAC lipglass.

Watch this instructional cosmetics video to apply a eye shadow for a Sarah Michelle Gellar inspired look. Use a M.A.C painterly paint pot base and a 242 brush to blend. For this project use subtle browns and peach colors close to your skin tone.
Watch this instructional cosmetics video to apply eye shadow for a Hayden Panettiere inspired look. Try a M.A.C base for this project and use an Urban Decay palette for the eye shadow color.

Watch this ceramics tutorial video to learn some different ways to decorate little cups and other pottery. The cups used are leather-hard. You should start with a base color and then paint designs over it. The detailed instructions in this how-to video are helpful to any potter who wants to decorate his or her pottery, particulary little cups.

Watch this cooking tutorial to learn how to make omlor machoo krueng spareribs soup. Ingredients:

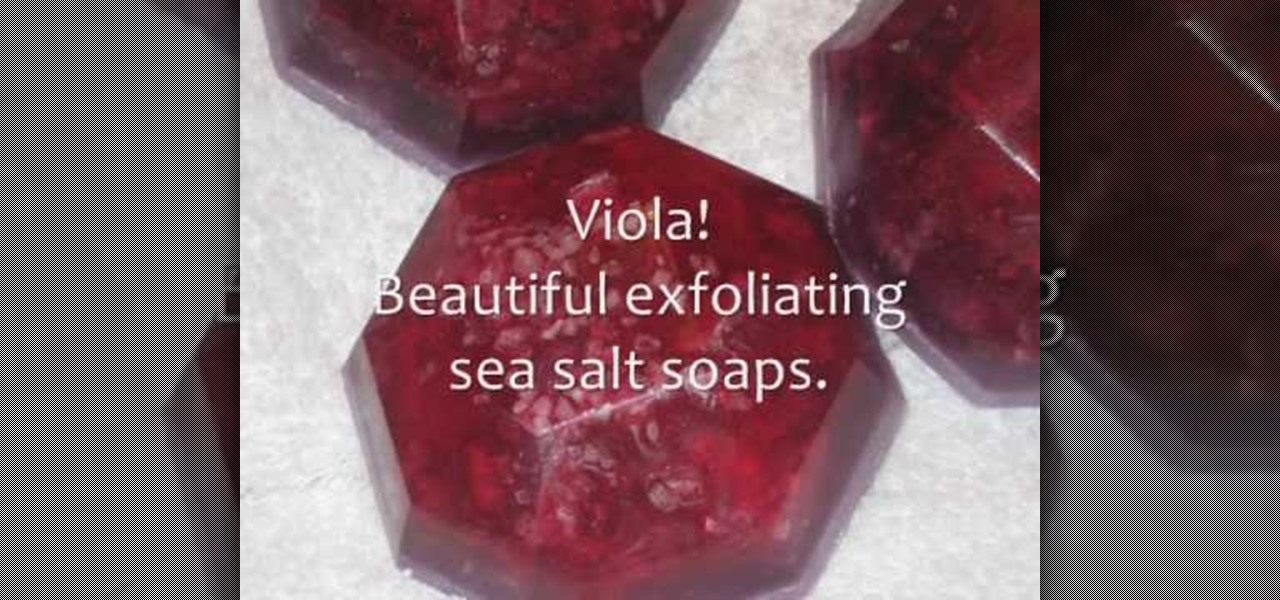
Create a striking gem stone soap using clear melt & pour soap base, jewel tone soap colors and medium coarse sea salt.
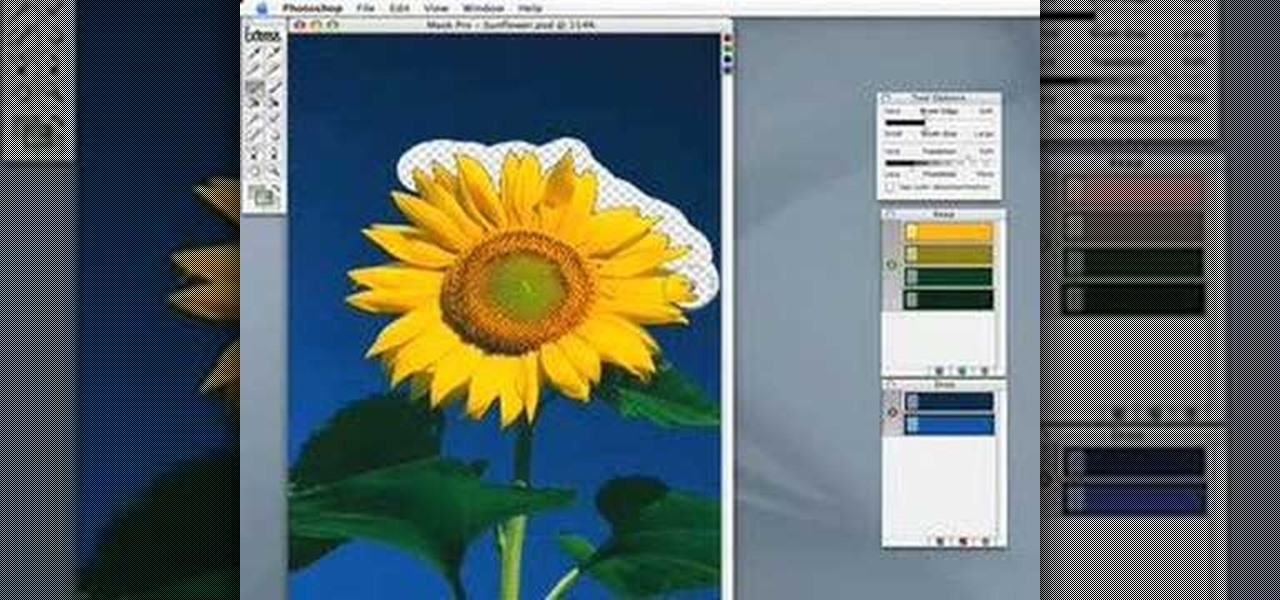
This tutorial shows you how to use the Mask Pro plug in for Photoshop. This masking tool works based on including or excluding colors.
See how to create value-based formatting using data bars and color scales in Excel 2007. See how to use the Format Cells dialog box and the pop-up mini-toolbar in Microsoft Excel 2007. Whether you're new to Microsoft's popular digital spreadsheet application or a seasoned business professional just looking to better acquaint yourself with this particular iteration of the program, you're sure to be well served by this video tutorial. For more information, including step-by-step instructions, w...
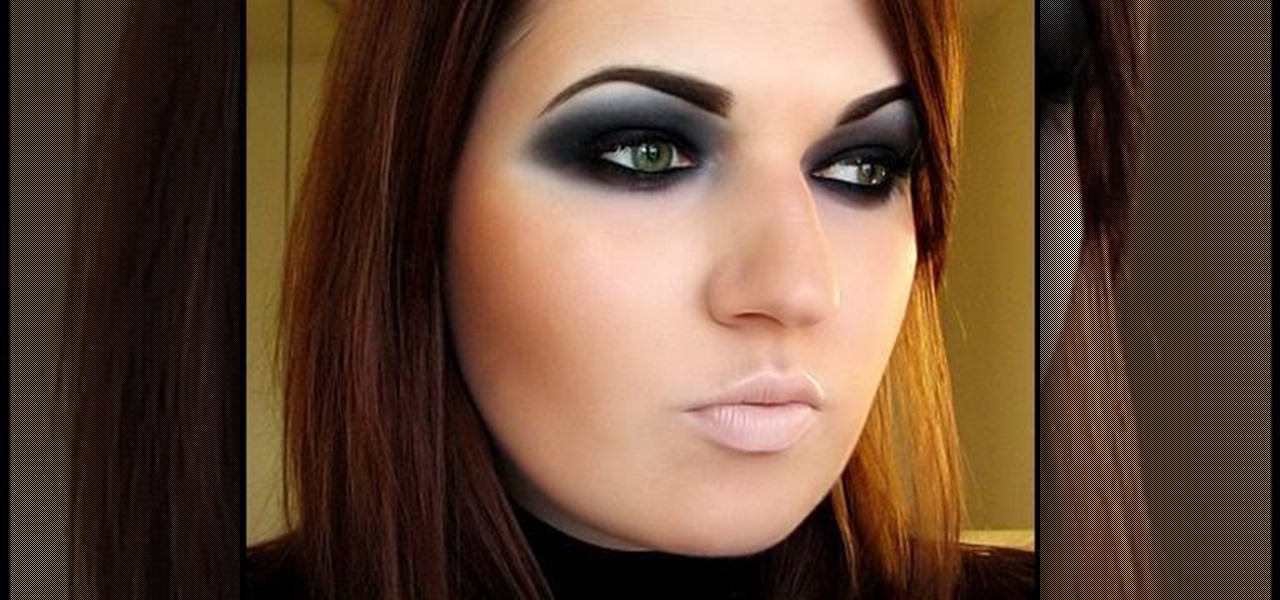
This video will show you how to have an androgynous high fashion look. Use dark blue eyeshadow as base extending to your lower lids. Use dark plumage (Mac) or any dark shade (purple or blue) over the base color. Use an eyeliner for the lids and lower lash line and put some matte black eyeshadow on top of it. Apply an eyeshadow, same color as your face, for the highlights. Use an eye brow pencil for the brows and black carbon eyeshadow on the base of your brows. Use brush to blend and apply cl...
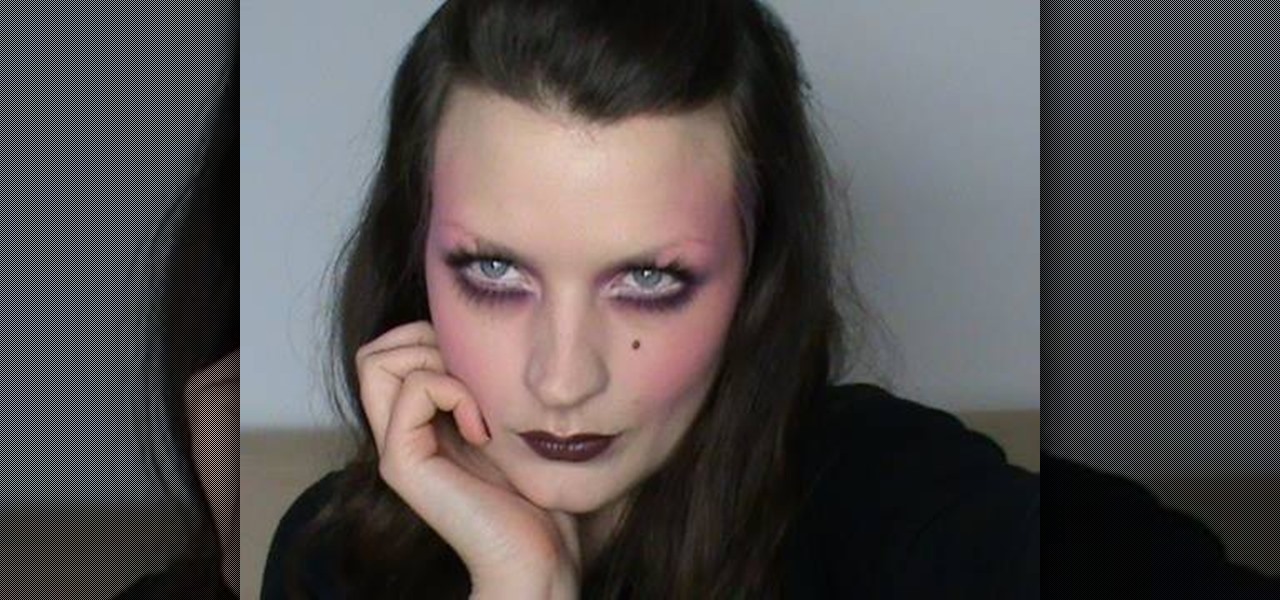
In this video from Fashion Face, we are shown how to do a 1920's pink film noir makeup look that was actually requested by Courtney Love and originally created by a makeup artist for the brand Illamasqua. This is an extreme look, and there are a lot of tools and makeup involved, but it creates a really cool look, and provides some great tips.
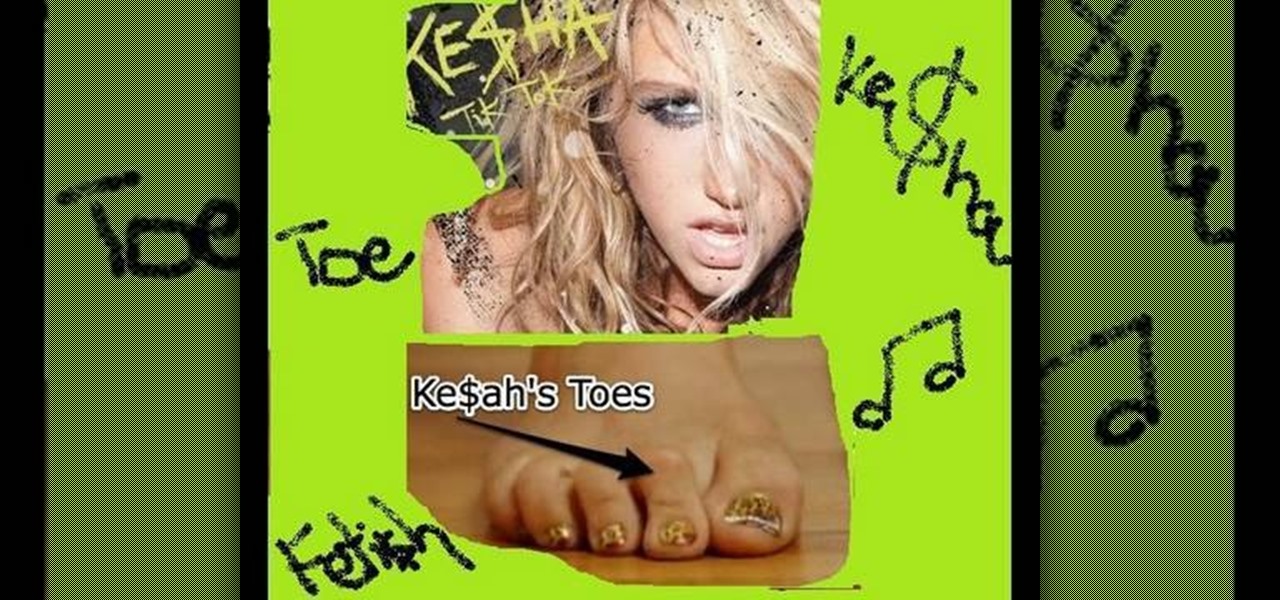
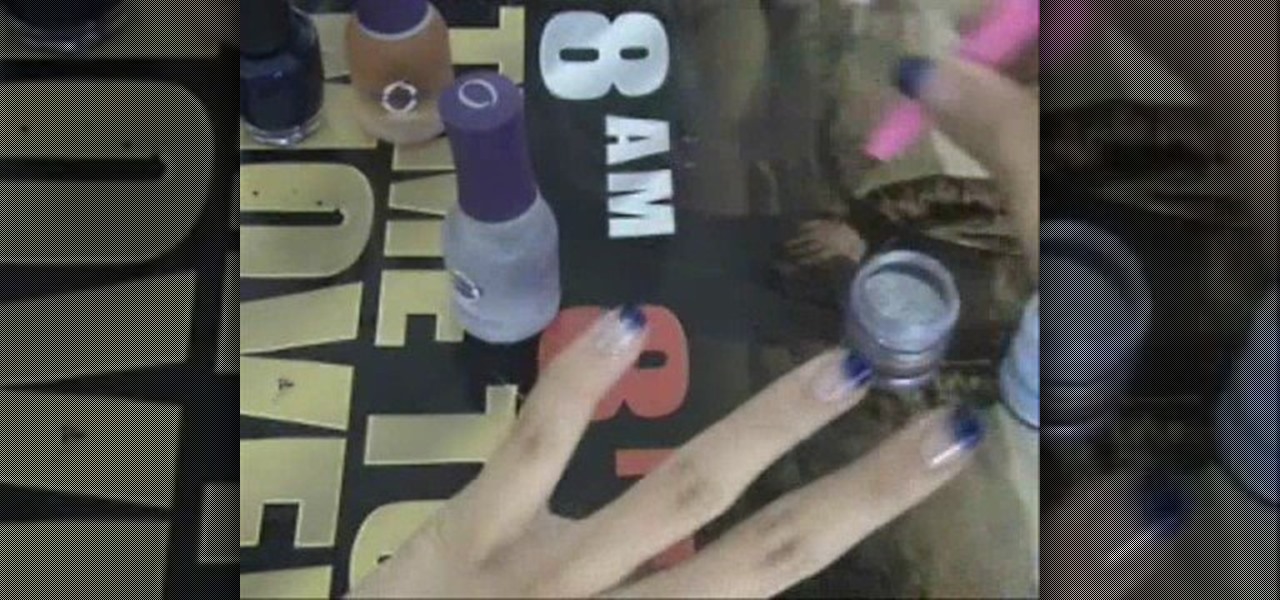
This tutorial teaches you how to do the same nail design as Ke$ha from her video "Tik Tok" had her nails done. First you apply a base polish to protect your nails. Apply a gold polish all over the nail, about three solid coats and then let them dry. Paint on a rich wine color to the corner of each nail end. Use a dotting tool and clean polish to pick up the rhinestones. Apply a little bit of nail glue on the seam of the two colors to help the Rhine stones stay put. Take a fine tip brush with ...
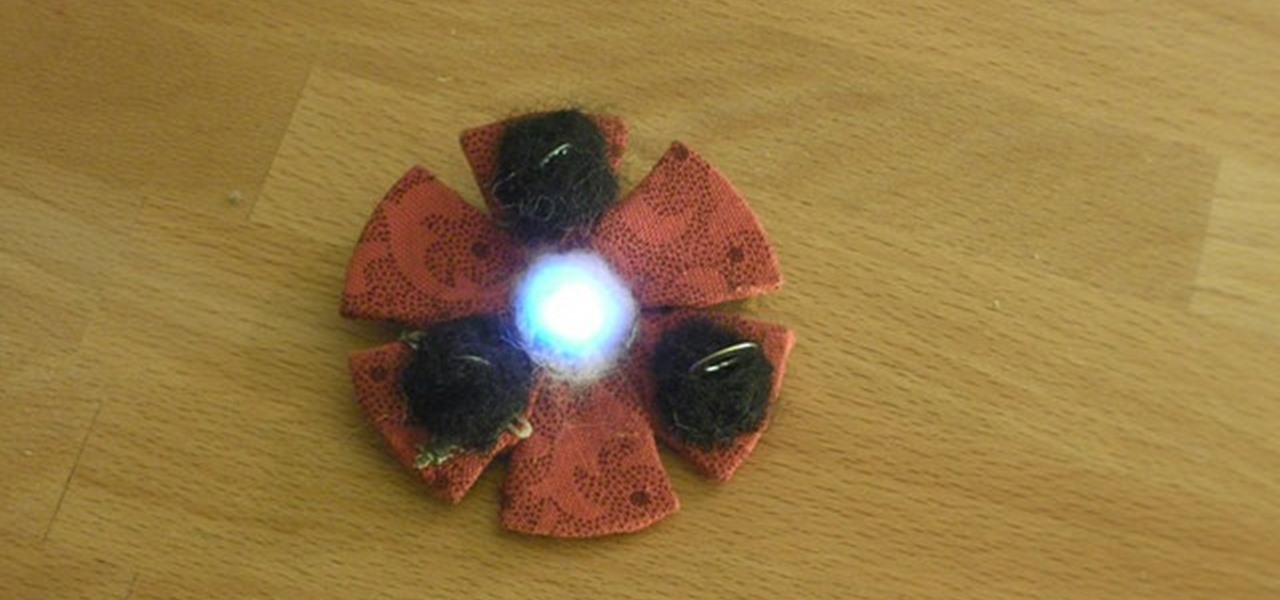
Get started with the LilyPad Arduino! It's a sewable microcontroller that lets you embed lights, sounds, sensors, and much more into your wearables, perfect for clothing and accessories. In this Make Magazine intermediate, soft circuit, video tutorial, you'll see how to sew up this little colorful brooch using a LilyPad tri-color LED and three small potentiometers for a customizable color wardrobe embellishment. Get the details.
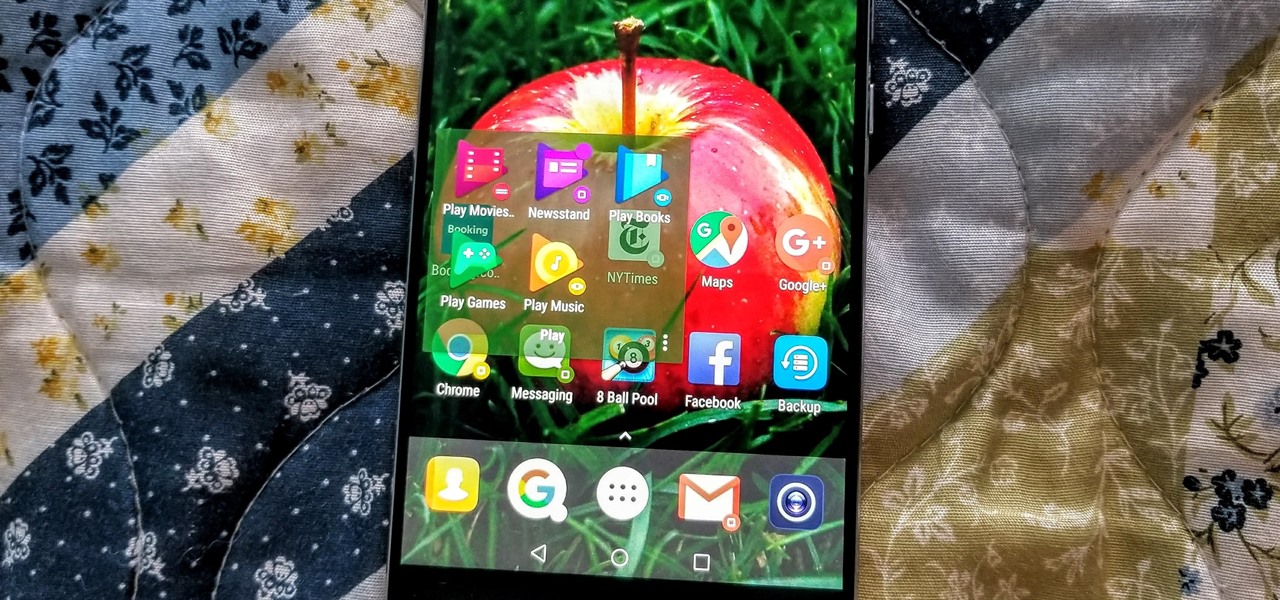
If you're like me, you change your wallpaper often. After maybe a week of looking at the same picture, you just have to have something different. Depending on the new wallpaper, you may spend another hour changing the background color of folders, the app drawer, and even Quickpage to match your overall theme. But you probably don't want to spend that much time tweaking your layout every week, so let me show you a way that reduces the time from an hour to a few seconds.
In this tutorial, we learn how to make a pair of great looking earrings. To start, you will take the base of your earring that has the hook on it and then take the wire for your beads. Pick out any beads that you want to attach to the wire, then string them onto it. You can add different colors and any type of bead you want to make these unique. From here, use wire cutters to bend and cut the excess wire from the bead. From here, you will bend the extra piece into a loop that you will hook to...
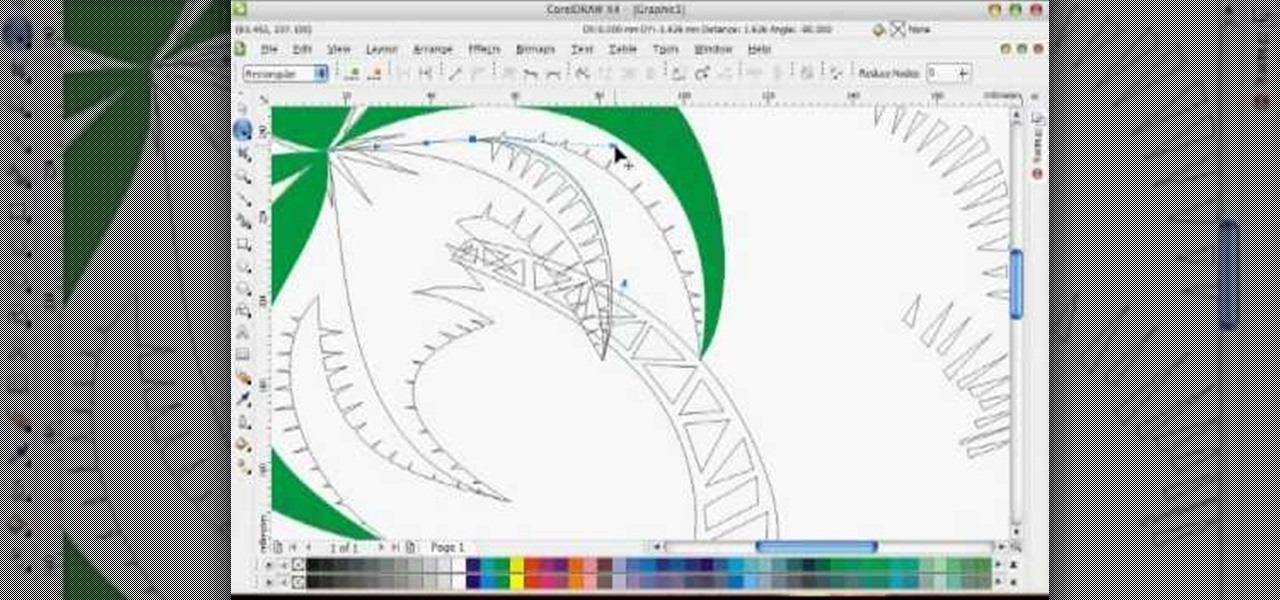
In this tutorial, we learn how to draw a vector art palm tree in CorelDraw X4. Start off in the CorelDraw program and create the base of the tree with a drawing tool in black. After this, draw small triangles inside of the base of the tree and then draw the leaves and branches of the palm tree. Fill this in with small spikes and then erase the middle nodes. From here, use a shaping tool to make the spikes on the palm tree more rounded and lifelike. After you do this, start to color in the ent...
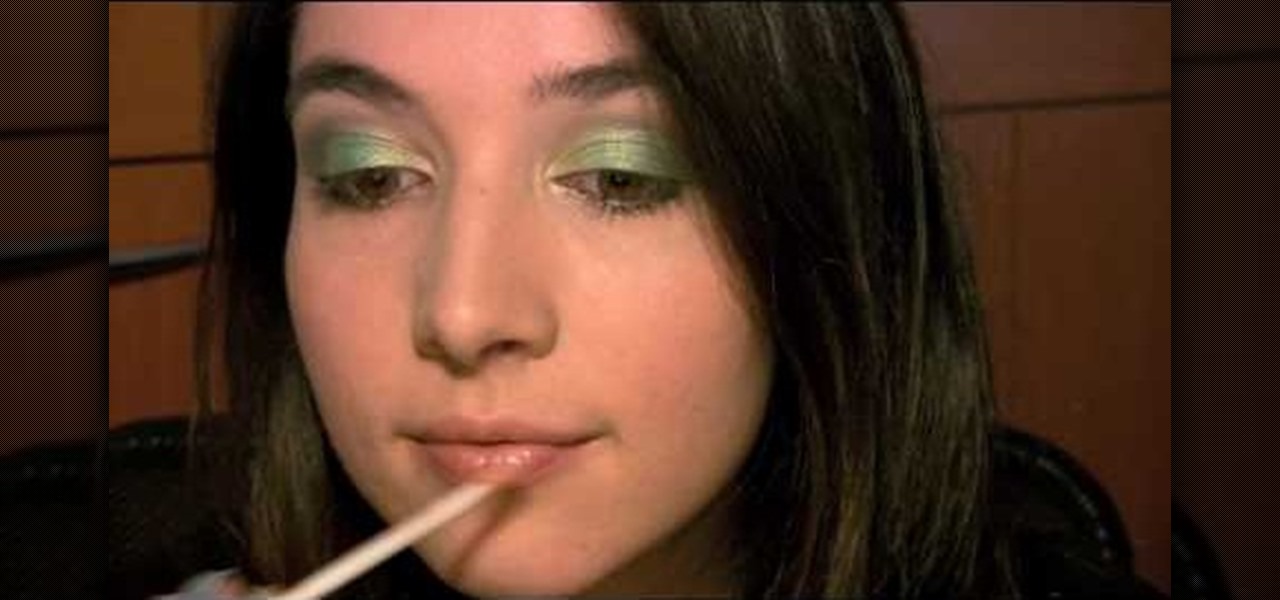
This makeup style was inspired by the Irish folklore creatures called Leprechauns, with their greens and pots of gold. Marinshe shows you this green makeup look that's perfect for Saint Patrick's Day, with a little bit of gold to top it off!
In this video, we learn how to apply copper eyeshadow for a summer look. First, apply a base on your lid using a MAC Paint Pot. Now, take a dark brown color that has shimmer to it and apply it to the crease of the eye. Apply a light brown or copper color to the entire lid after this, then blend the two colors together. Add more color to make it brighter, then apply black eyeliner on both the top and bottom of the eyes. Next, apply false lashes to the upper eyelid, then apply mascara to the bo...
In order to paint musical notes on your nails, you will need the following: a base coat, a matte polish, topcoat, and a colored polish.
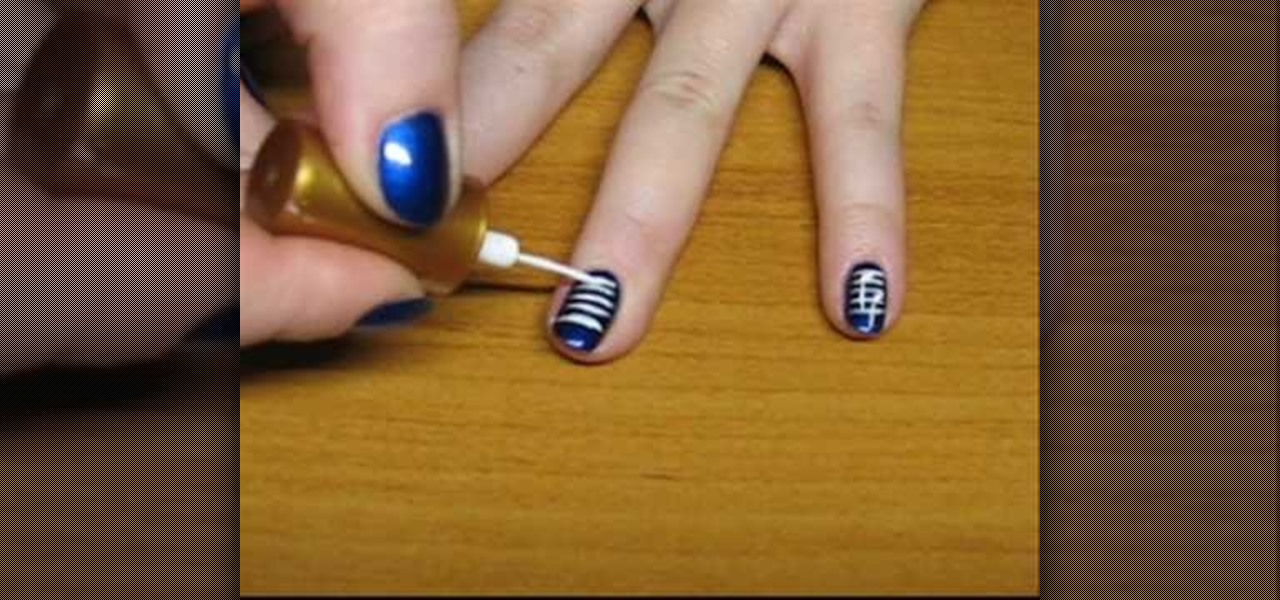
Kayden demonstrates how to do navy blue gradient French tips with silver glitter. For this you need a base coat, top coat, navy blue nail polish and some glitter.
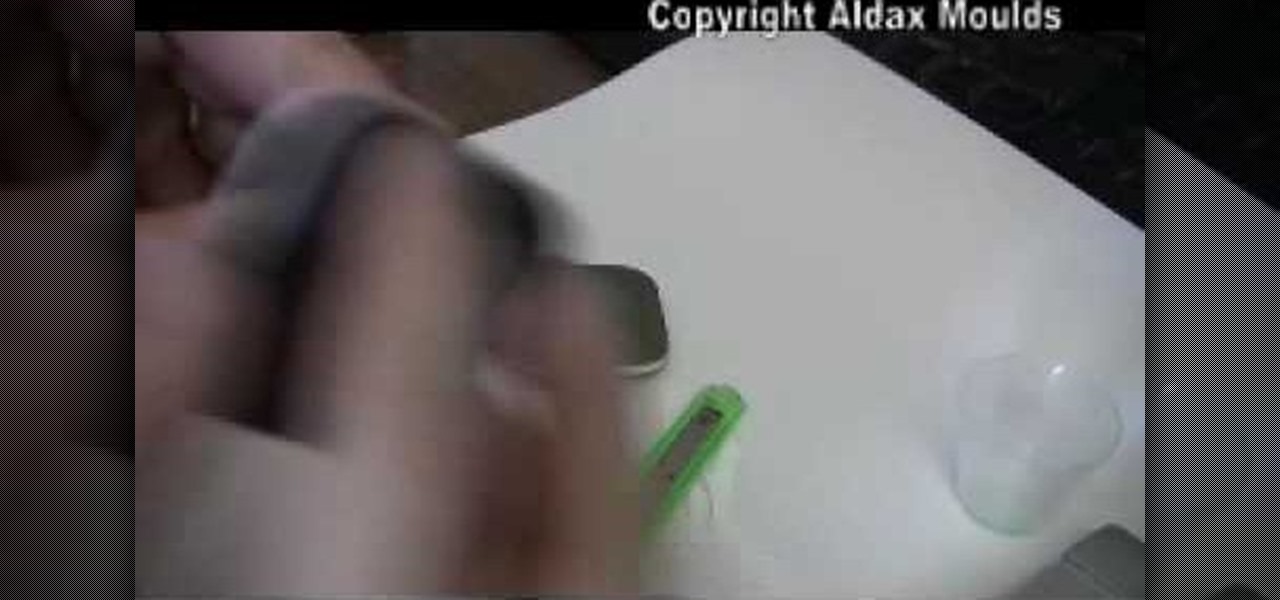
In order to make a Silicone Ring Mold you should first get a small plastic container. This will be your mold box. First, you should cut the bottom out of the container. Next, use double sided tape to stick the ring down to the base of this. Next, secure the mold walls to the base. Now, mix the silicone mix in a separate mixing cup. Make sure you mix this thoroughly until the color is uniform. Now pour the silicone into the mold in a fine stream on the side of the ring, this will help prevent ...
In this video, Mr. G demonstrates how to draw a wintery snowflake. You will need a plain pencil, or a blue and black colored pencil for this drawing. Start by writing your name and the date on a white sheet of paper. Then, begin lightly drawing the base of your snowflake. After you have drawn your base, Mr. G will show you how to make the lines darker to form the shape of your snowflake. Then, you will learn how to detail your snowflake by drawing small triangles inside the basic shape that y...
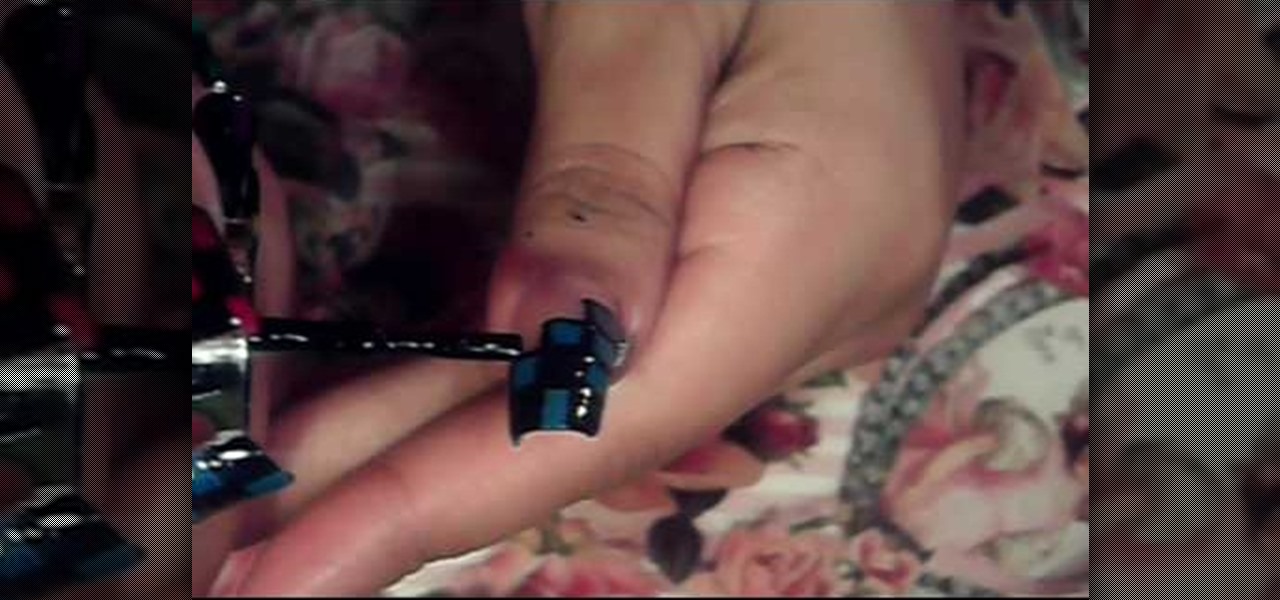
This video is about how to paint your nails with a colorful checker art design. The first thing that you will have to do is to apply the hydrating base coat on your nail. After putting the hydrating base coat on your nail, get a piece of paper for you to place the black nail polish. After placing the black nail polish on the paper, use the dotting tool and place a series of zigzags on the nail. The next step is to fill in the zigzags depending on the color you want. After filling in, make a s...
First, begin by drawing a big circle in the middle of the page. Then draw a smaller circle (about a third the size of the bigger one) above your first circle. This will be the head. Next draw two lines where you want the arms to be, and one leg on the right side. Next draw two big eyes and a big half circle mouth as well as a little curl (for the tail) on the left side, opposite the leg. In heavier ink trace over the head and face and begin to draw arms around the arm lines you drew earlier. ...
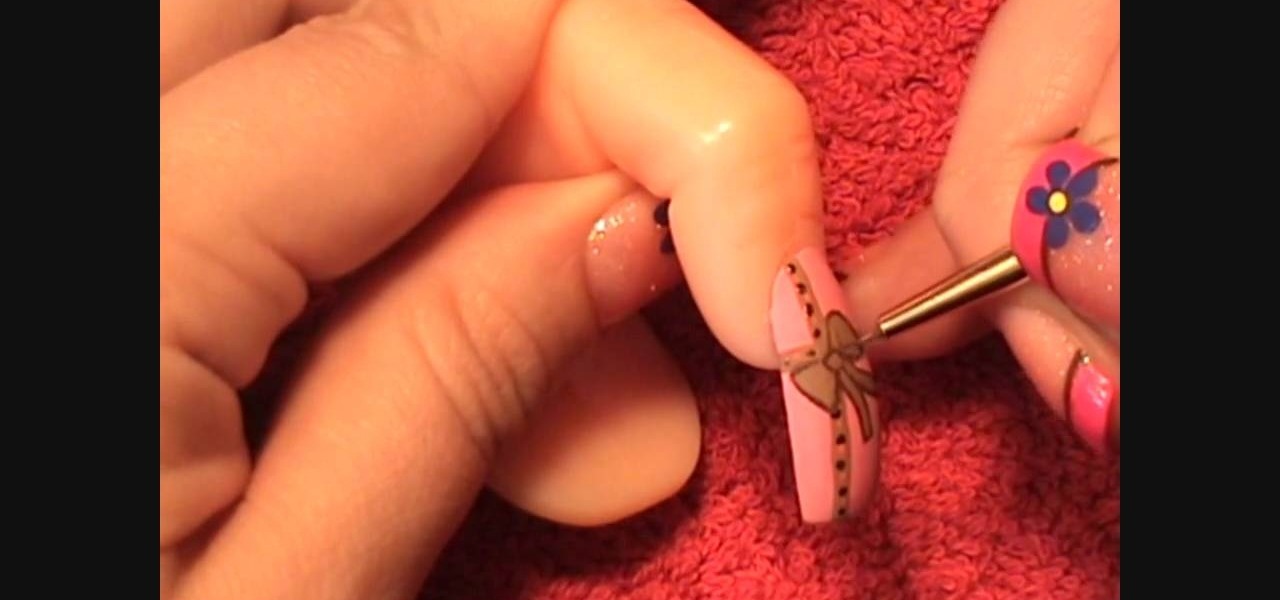
First, apply base coat to your nails. Then apply 2 coats of pink bubble gum acrylic paint to the nails. Then use a thin brush to draw an off centered cross on the nail with caramel candy acrylic paint. Using a dotting tool, apply hot pink and metallic antique copper acrylic paint in alternating dots along the cross. Then use the caramel candy color again and make a bow in the center of the cross and outline it with brown oxide paint. Let the paint dry and then apply a coat of base coat to sea...
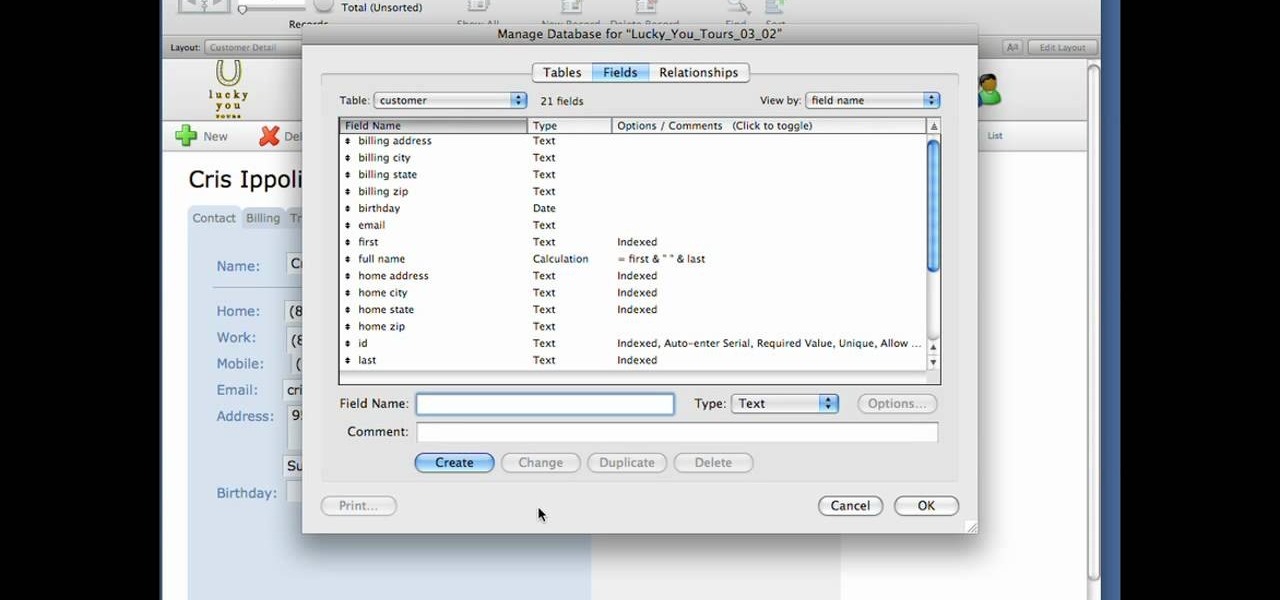
If your into data based business,then this one's for you. Text field's are very much important while making a data based solution in FileMaker Pro 10.You can go to file menu>manage>database and there is the field's tab. Text field is used for storing text and no other such use. Text field's can hold up to 2GB of information. It can help to store raw data and formatting information, i.e., color,point size as well as type face.
StephanieValentin teaches you how to draw a realistic ear in Adobe Photoshop. You create a new document of 1300x1900 pixels and then create 9 layers named L00, L01 and so on until L08. The first layer should be black. On Layer 01 use a soft round brush with a white color, 100 pixels width and 50% opacity. This is the base sketch of the ear. You then apply a gaussian blur of 30 pixels. For Layer 02 you use a soft round brush with a white color, 50 pixels width and 50% opacity. Apply a gaussian...
This video gives a brief description of how to prepare and cook baby artichokes. Baby artichokes vary in size based on the season, may being the best month to get them. To avoid getting a bitter flavor from your artichokes be sure to remove the skin, this is best accomplishes by brushing,rinsing, peeling, and cutting all of the green outer layer until you can see the pale yellow inside. To preserve the color of your allow them to sit in lemon or vinegar water and drain completely when done. C...
This video shows the secret of painting beach nails and light pink color with white nail. First apply the base coat, then a light purple color on it and let it dry. Now use white color and make some design by drawing small stripes criss-cross as shown. Use a glitter polish and apply it in the space between the lines. For the beach nails apply pink color polish to the bottom half of the nail. Now make a thick horizontal stripe next to the pink color using a dark blue color polish. Use a black ...
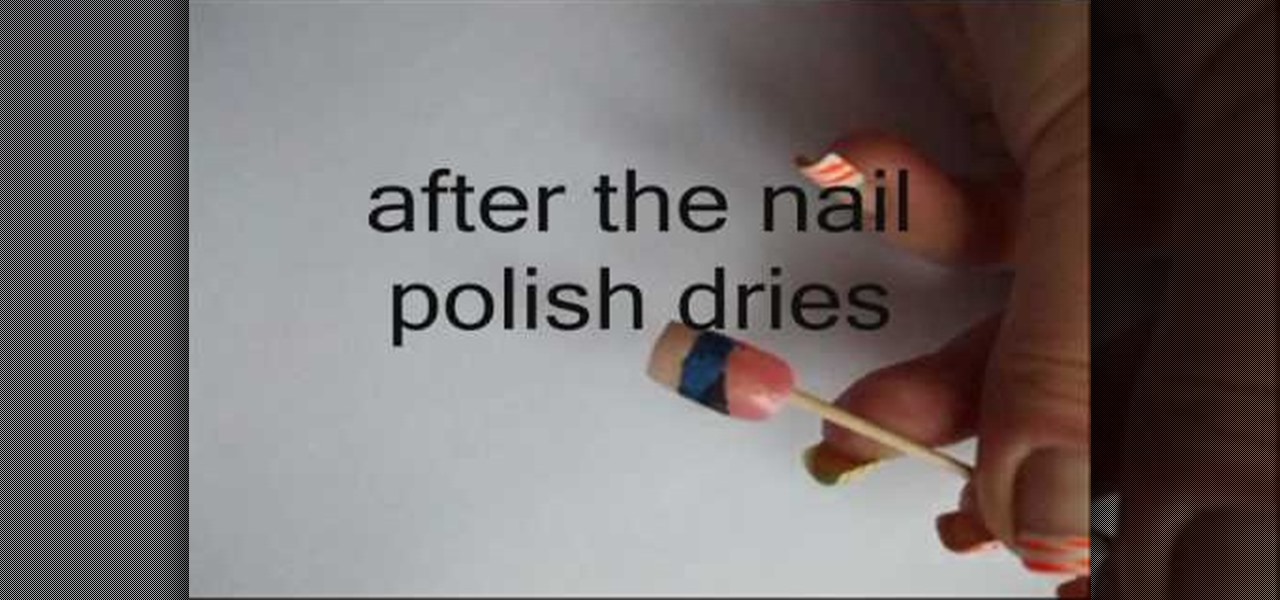
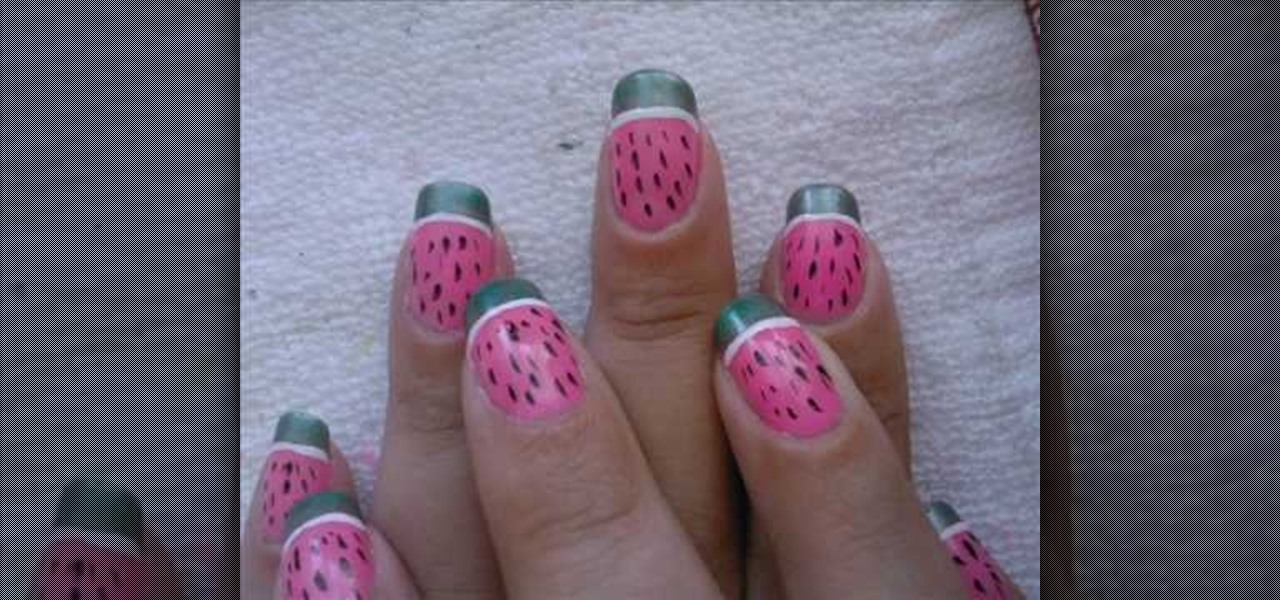
Watermelon end of summer nails! All the things you need for this super easy design. apply your base coat first for nails. Apply neon pink base color it is not very watermelon like but it is so summary. Make a French tip with a green nail polish. It divides the pink and green with a thin white line. It is best to use a thin art brush. It make the seeds with black art polish and enjoy the last days of summer time hope you liked this design to you.
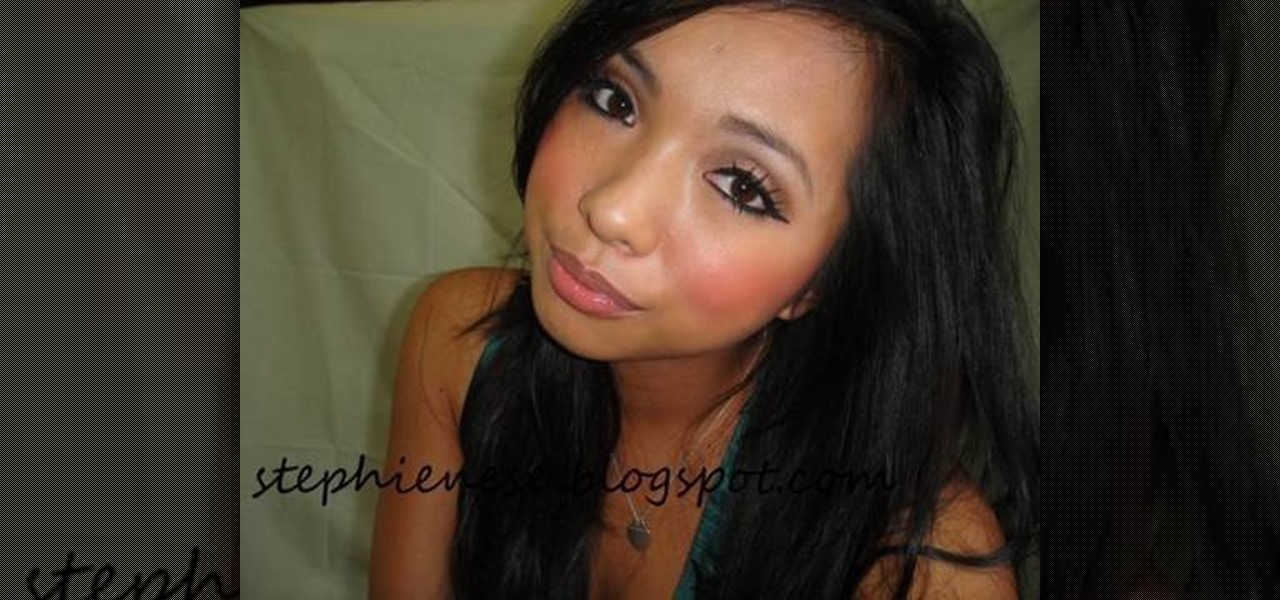
This video shows you how to get the Lady Gaga makeup look. 1. Pink colored base - use pink color make up and press on top of the base. Make it even and apply the powder everywhere.
Don’t laugh—butter sculpture is a true art form that originated in Tibet in the 7th century. It is now one of the highlights of many American harvest fairs. Learn how to make your own butter sculpture.
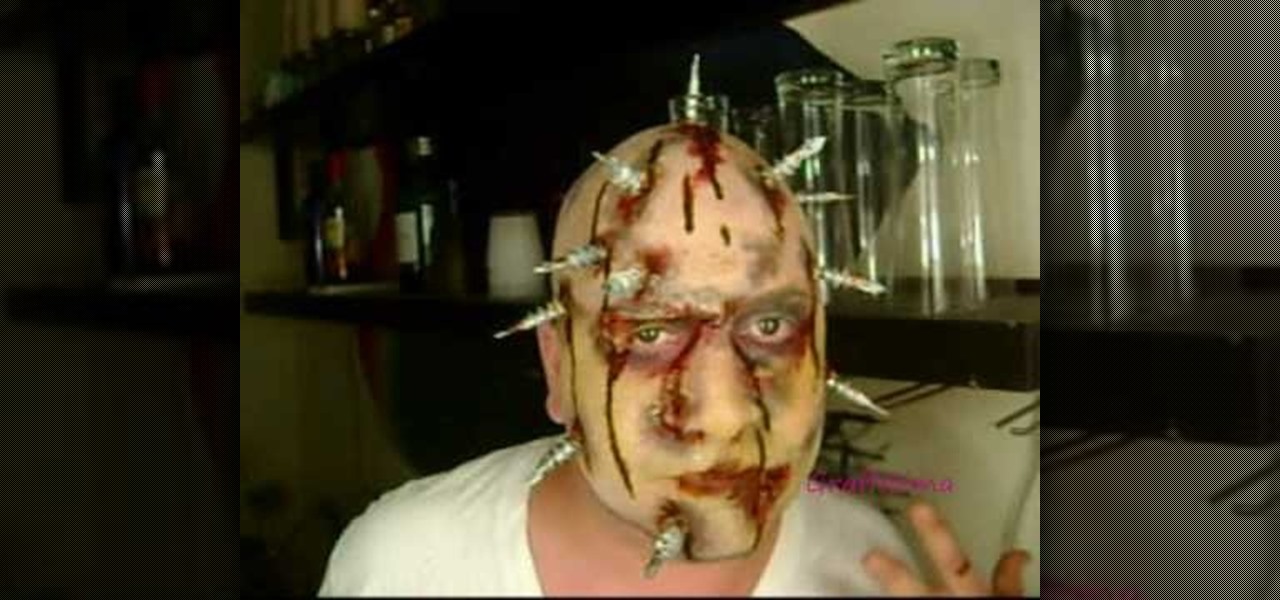
This fantastic Halloween special effect makeup tutorial teaches you how to create a bloody bolt look using mostly MAC products. The artists teaches you how to create texture and create a distressed look with the base and color makeup. He applies the adhesive and attached the scar effects and adds the "bolt props" with the adhesive. He uses a purple and yellow pigments to distress the skin further. He then takes fire red to create the blood. He also shows you how to make realistic blood with s...
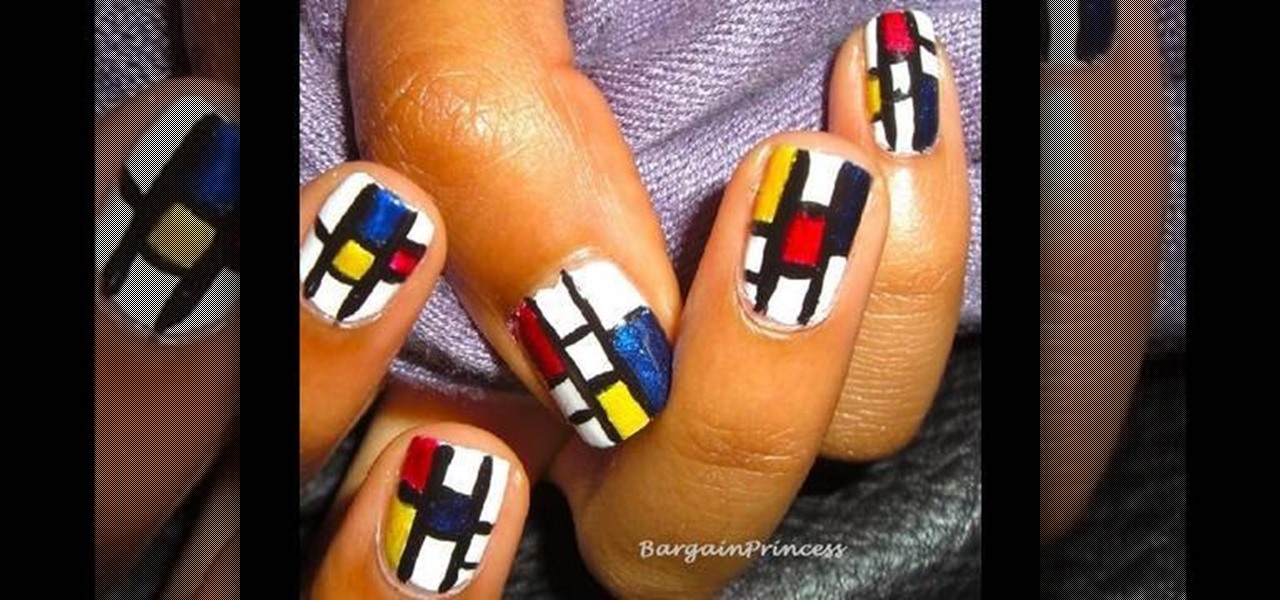
This video shows how to paint Piet Mondrian inspired block print nails yourself. Apply a white base coat and top coat. Use black nail art paint because of the thin brush. Paint two black lines the length of your nails. Then paint black lines going across the width of the nails to make random size boxes. Dab the color of paint you are going to use on a piece of paper and use the nail art brush to get the paint off of the paper and apply the different color paint to the boxes. Wait about 10 min...
Create sexy leopard print eyes. Fresh Face: Start with what I call a fresh face, which is your clean slate for all of your looks. A fresh face is after you have put concealer and foundation all over the face or only where needed, which ever you prefer. Also groom the eyebrows at this point, if needed, to avoid smudging shadow or liner while trying to groom. Apply a generous amount of loose powder to the eye to catch little stray make-up pieces. Shadow base: Apply a shadow base to give a good ...
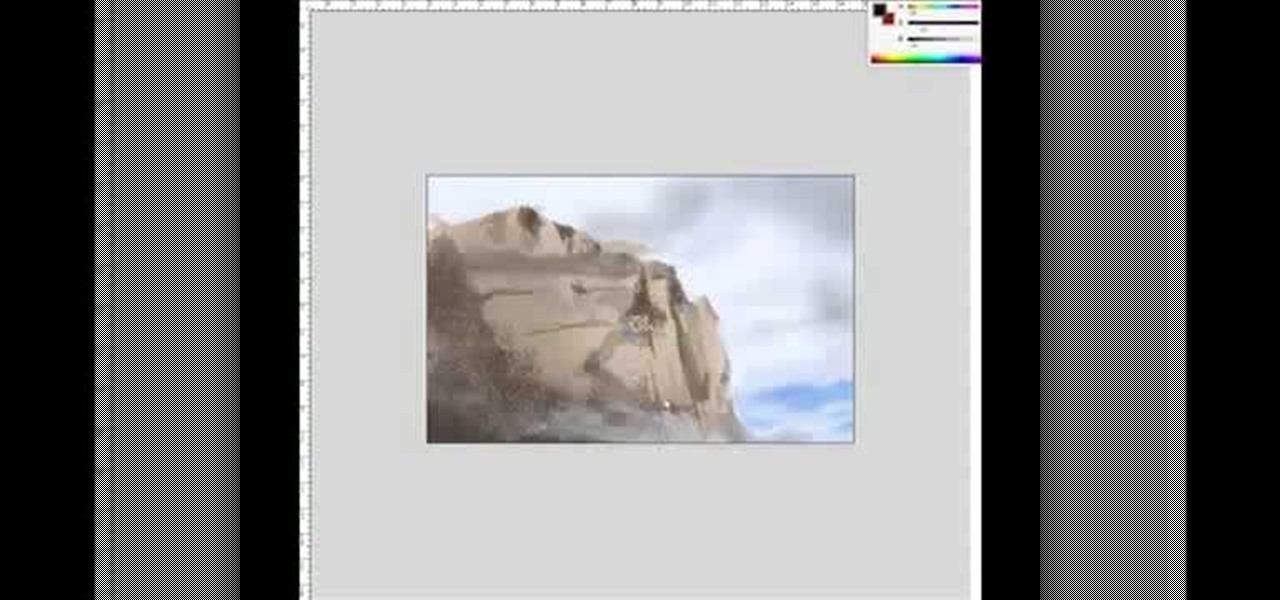
How to draw and paint rock cliff mountain environmental concept background. This landscape scene is created in a video demonstration using Photoshop. his step by step video shows you laying down the base color, blocking in shape for painting, assigning value and color composition, and refining detail for the final concept painting.
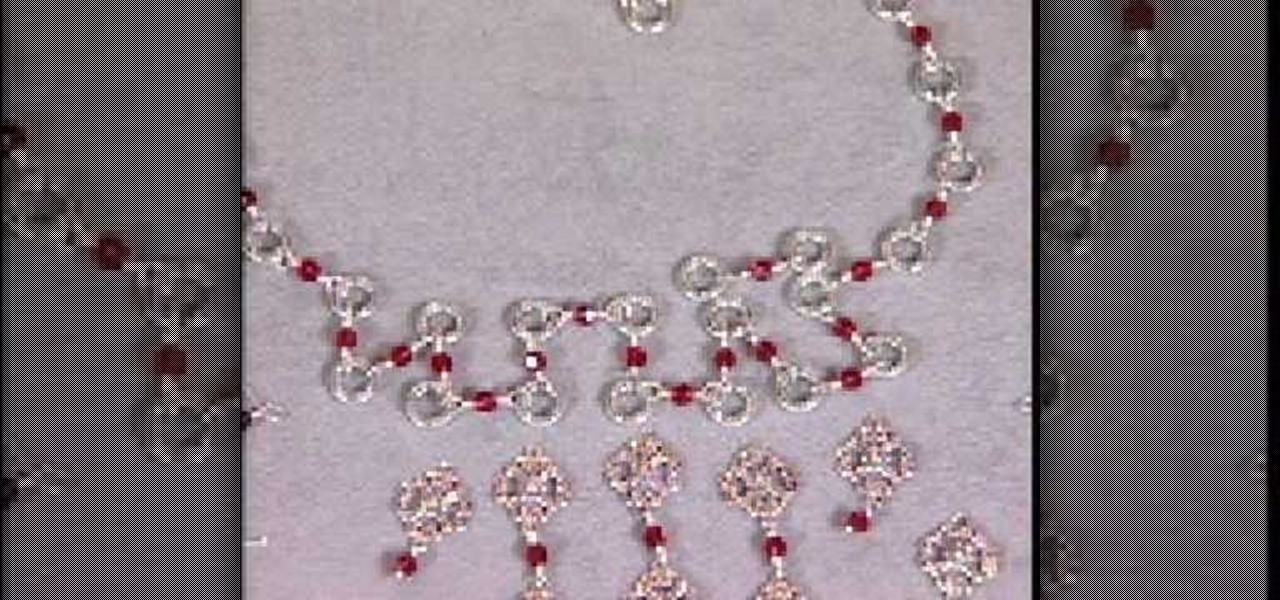
In this tutorial, we learn how to make a silver vintage-style bead necklace. First make sure you have silver wire and glass beads in the color that you prefer. Now, you will string the beads through individual wires and close them so these can be applied to the center of the necklace. This will create a long chandelier like quality on the necklace. After this, you will create the base of the necklace with the same color beads and silver. You will want to follow the pattern of creating silver ...
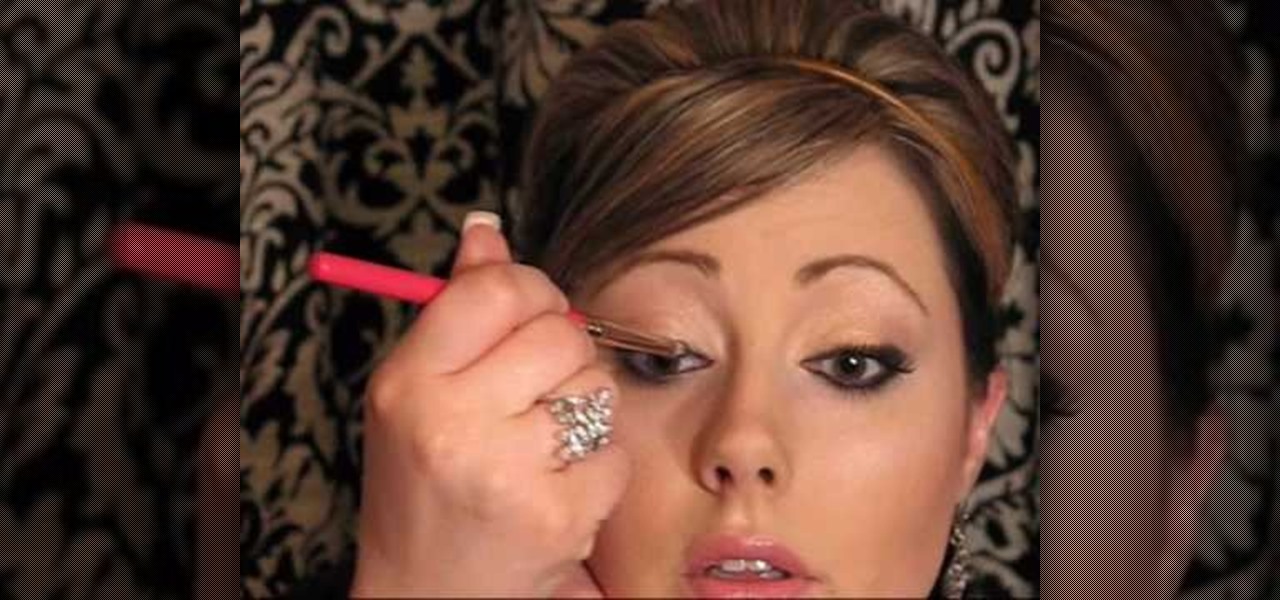
In this video, we learn how to get a vintage glam makeup look. First, apply a base to the eye, then apply a white shimmery shadow to the entire eye. After this, apply a brown shadow on the outer part of the eye to the crease of the eye. Blend this upwards, then apply a vanilla colored eyeshadow underneath the eyebrow and blend. Next, take an eyeliner pencil and smudge it into the lashes on the upper lash line, winging it at the outer end. When finished, smudge the color out to the edge of the...
In this tutorial, we learn how to draw a castle on a sunny day. Start off by drawing the base of the castle, so you know where it will stand. Then, draw in the pillars and the top of the castle going up. After this, draw the body of the castle where the main entrance is. Now, start adding more details to the building, adding in the windows and doors, as well as the points on the top and stairways. Then, color the entire castle gray and add in bricks. Shade the doors, windows, and other areas ...
In this video, we learn how to cover up dark circles and blemishes using foundation. Start off by applying an eye cream underneath your eyes, which will make a base and remove puffy-ness. Next, you will need to apply your favorite concealer in your color over where you applied your eye cream. Go ahead and apply this foundation wherever you have blemishes, using a makeup tool. Now grab your favorite foundation and brush, and brush the foundation on your face making an even coat to cover and re...