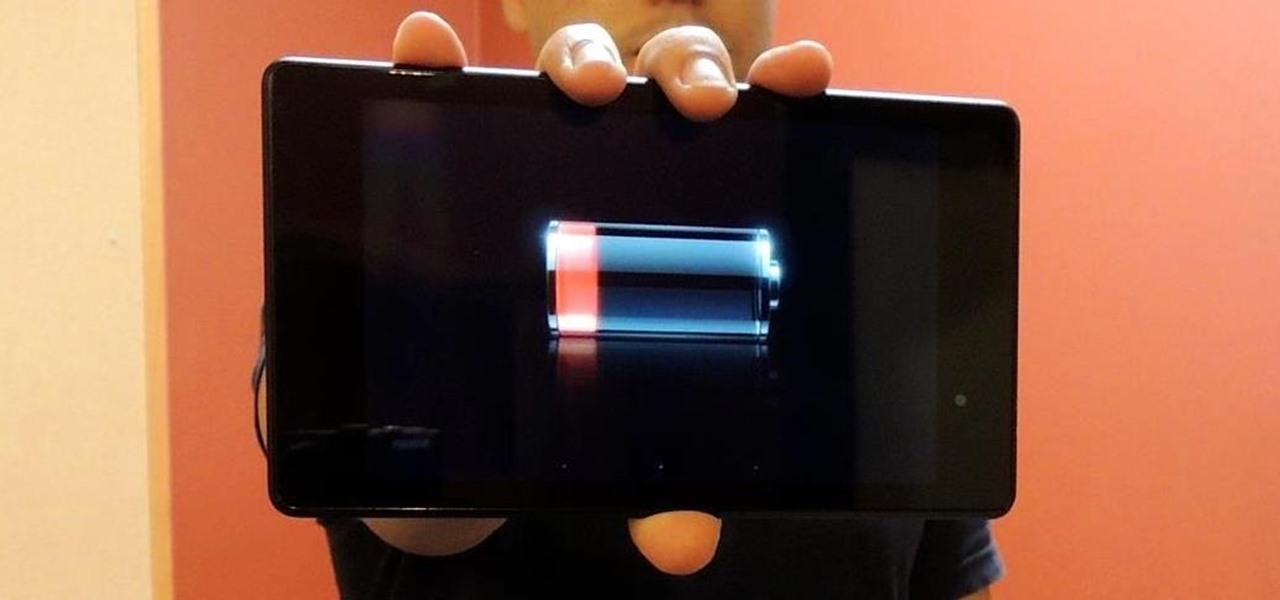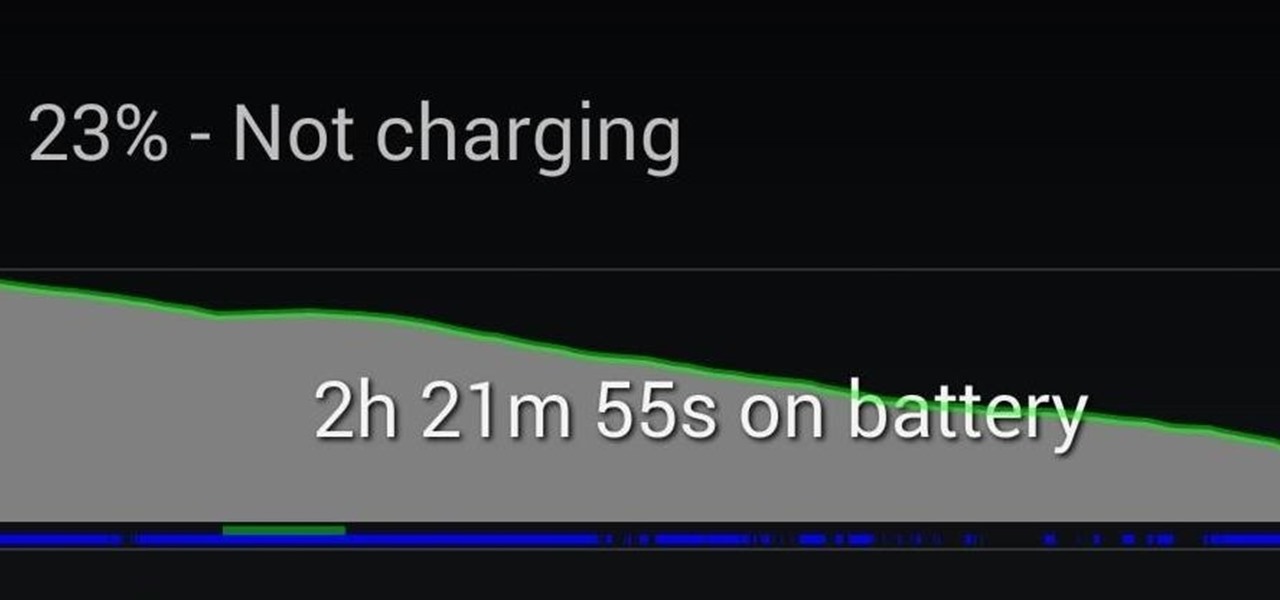
Battery life is and most likely always will be an issue with iPhones and other smartphones and tablets, but Apple is making it easier for us to save juice when we need to. To help monitor per-app battery usage, iOS 8 now lets us view battery usage stats for individual apps.

Battery life is precious to all mobile device users, and nothing is worse than running out of it. The only thing that can save a device from the dreaded low battery warning is the charger, but who carries those around?

Update (March 18, 2014): Skype has issued an update to their Android app, and among other things, has "fixed" the runaway camera process issue by creating a workaround...and that's about all we know. No details were provided, but with the considerable uproar over the bug, let's hope it's been squashed for good.

Having instant access to monitoring your battery level is critical, especially when you're traveling or forget your charger at home. You need to know how much juice you have so you can adapt accordingly.

Long before Windows Phone hit the scene, Windows Mobile was the operating system for Microsoft's older brand of smartphones through the early 2000s. But due to its clunkiness and inability to keep up with modern features, it was scrapped in 2010.

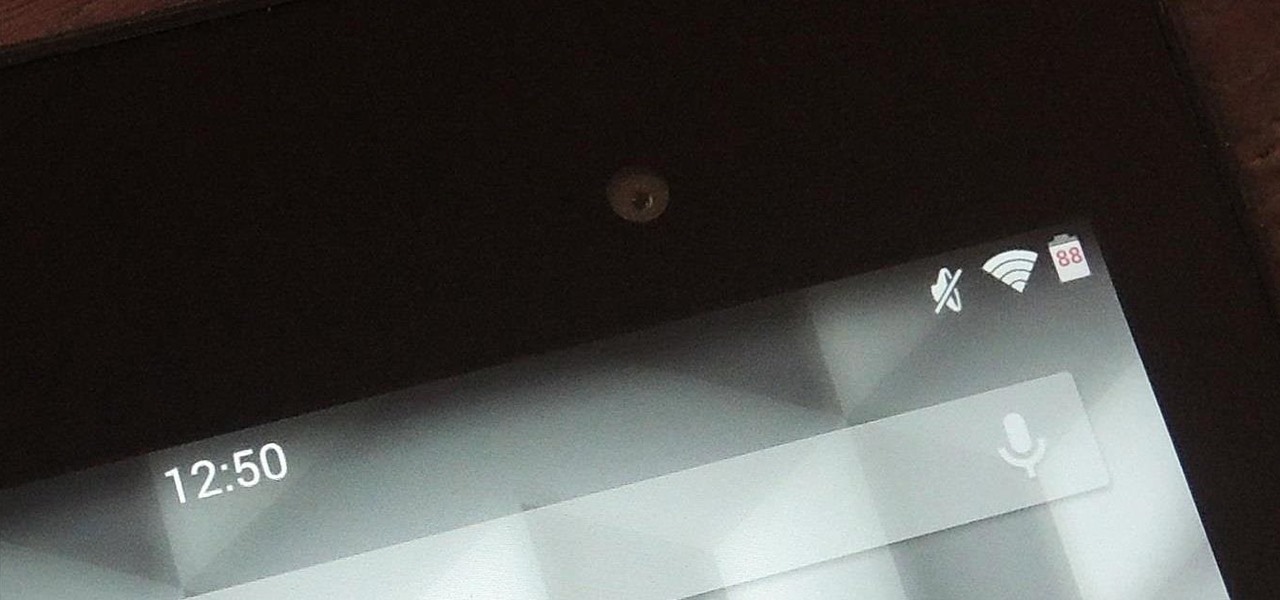
We may all have a Nexus 7 tablet, but we don't all want to have the exact same look and feel, which is why we softMod for a more personalized vibe. There are hundreds of cool mods you can perform on your Nexus 7, whether stock or rooted, but one of my favorites in Android 4.4 KitKat was unlocking the hidden battery percentage icon in the Status bar.

If you use your Samsung Galaxy Note 2 consistently throughout the day, you're more than likely to encounter the low battery warning on occasion—anytime you dip below 15 percent remaining. While the low battery warning may be a convenience for some, it can also be a nuisance for others (like me), as it continues to appear intermittently after dropping from that 15 percent. In this softModder tutorial, I'm going to show you how to get rid of that annoying low battery alert for good.

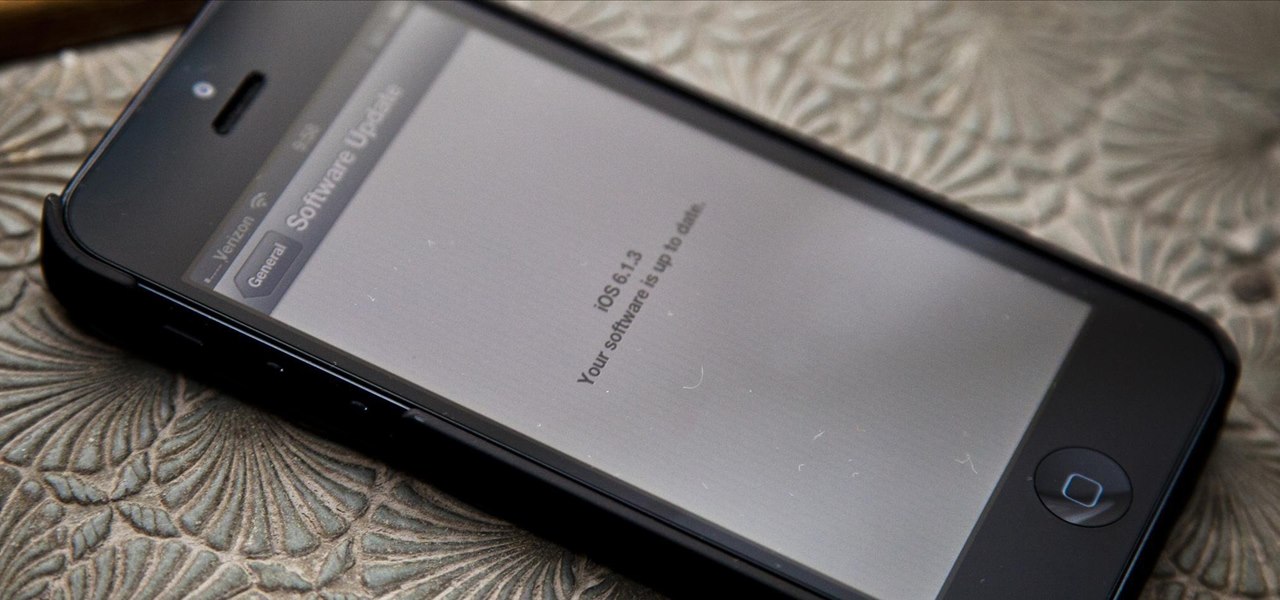
When the 6.1 version of iOS was released back in February, complaints of severe battery drainage for iPhone, iPad, and iPod touch users exploded onto every Apple-related forum on the Internet. Everyone was either losing a percentage every three or so minutes, or their battery only lasted half as long as it did before the update. Earlier this month, Apple released iOS version 6.1.3, to supposedly fix a recent exploit that allowed anyone to bypass the lock screen—but as it turns out, the update...

It doesn't really matter what kind of cell phone you have—battery life is one of the most important features for any electronic device. We've written tons of articles on how to get better battery life from your Android, iPhone, Kindle, and more, but we've never really covered Windows Phones before—until now. The Nokia Lumia 920 and other devices running Windows Phone 8 suffer from battery problems just like any other mobile device. So, if you've got one in your hands that can't seem to make i...

Layered hair is one of the most versatile styles around, allowing natural movement, creating texture, and framing the face. You can wake up every morning looking like a supermodel by getting your hair layered.

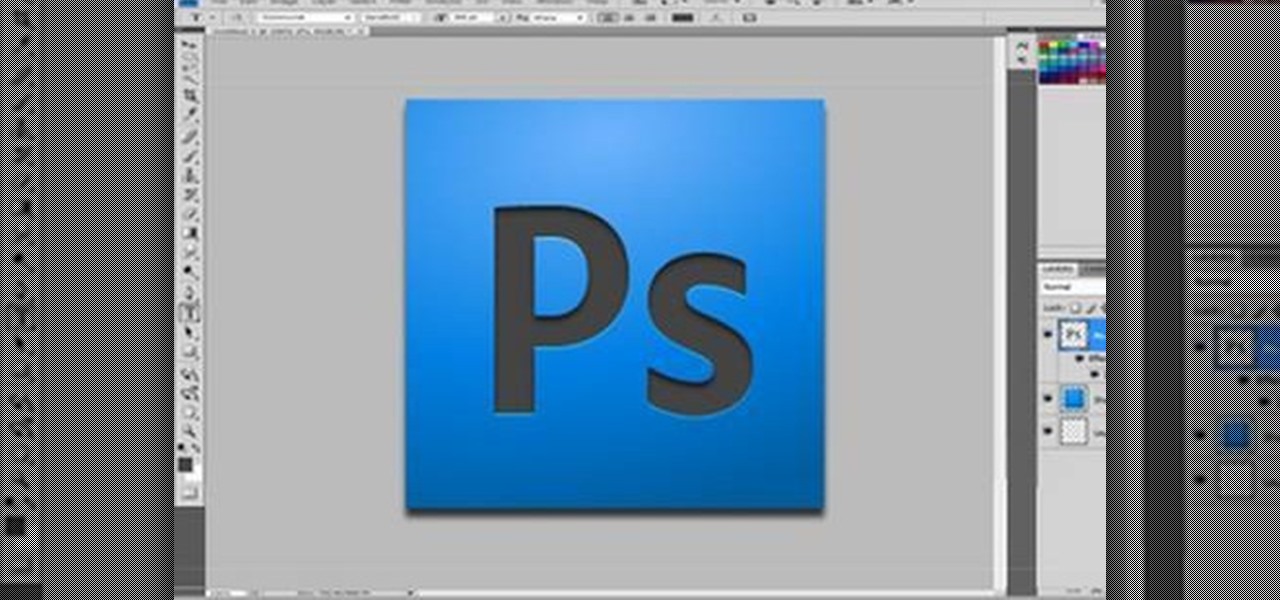
In this Software video tutorial you will learn how to make your own Adobe CS4 logo in Photoshop. Open Photoshop and click ctrl+O to open a new document. Set the height and width to 500 pixels, select ‘transparent’ under background contents and click OK. Create a new layer and with the rectangle tool draw a rectangle. Right click on the shape layer > rasterize layer. Hold ctrl and click on the thumbnail of shape1 layer. Open gradient tool and make a light to dark gradient as shown in the v...

Leah for May Arts Ribbon shows how to make a flower loop bow. The following items are needed for it: Needle and thread, scissors, May Art Ribbons and a ruler. Buttons or flowers may also be needed to put on top of your bow as per your selection.

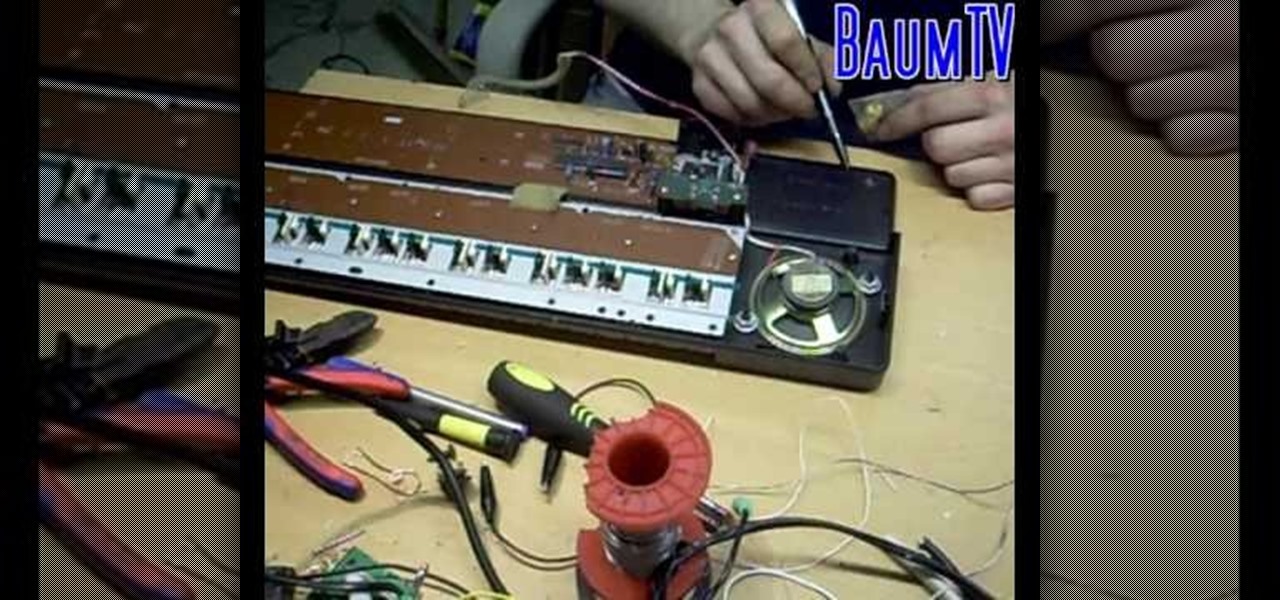
In this video the man describes of the circuit bending of Yamaha pss 140 synthesizer. This is a good model it's a FM synthesizers. It got many songs , many cool rhythms,nice trumpets and it is working real nice.Here he states that it is important for power supply or else we don't need batteries.First thing we have to do is open the case and we can see the wires related to battery supply but he doesn't need batteries. Keep the case aside so that you can get free space. Remove the screws so tha...

In this tutorial, we learn how to paint a guitar! Before you begin, you will want to take your guitar apart. Once you've done that, go outside and clean your guitar removing any dust on it. Your next step is to smooth the whole body of the guitar with 100 grit followed by 150 grit. After this, hang your guitar up somewhere and apply 4 layers of sanding sealer (which should equal one can). Make sure to sand down the 150 grit between each layer once it's dry, so the next layer has a grip to sti...

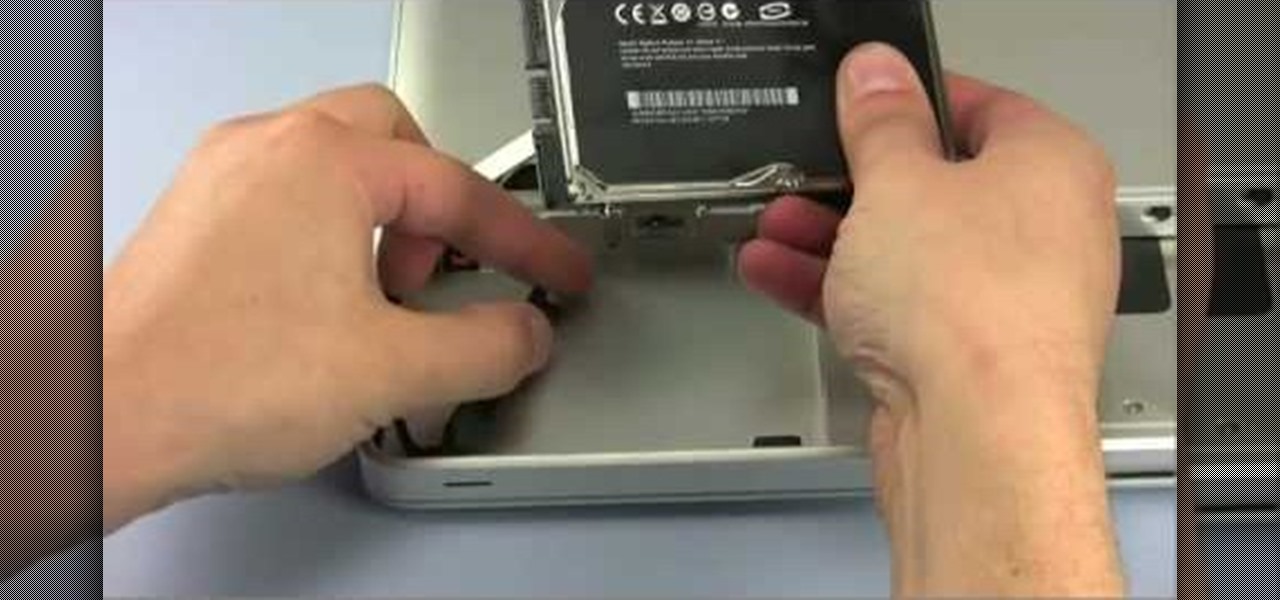
In this how-to video, you will learn how to replace a hard drive in a 2008 Macbook Pro. Make sure you use the proper anti-static precautions before replacing the device. You will need a T6 screwdriver and a Phillips screwdriver. Make sure you transfer your data from the old drive to the new one before installing. Shut down the computer, close the lid and turn the laptop over. Remove the battery cover and battery. The hard drive is held by a plastic retaining bar. Loosen the screw holding the ...

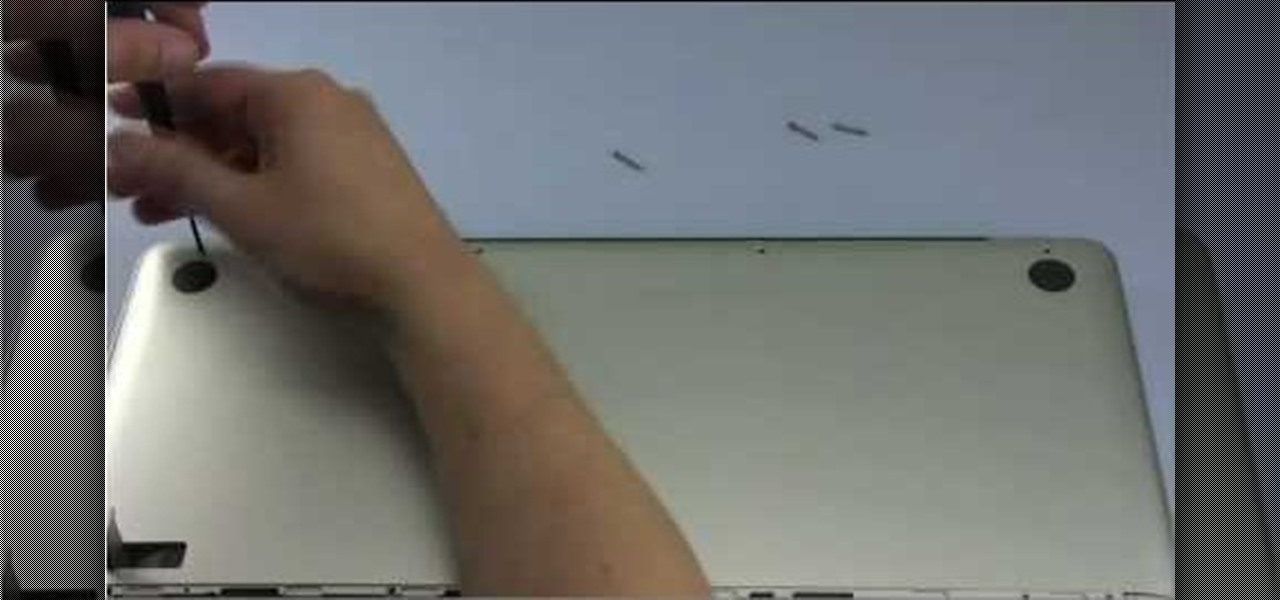
It only takes 15 minutes to install new RAM in a Macbook Pro. Before starting, remember to make sure that the power is off. Turn it over and release the latch in the left hand side. This will release the door and expose the battery. Remove the battery. With a #00 Philips screwdriver, remove 4 small screws lined up on the top of the opening. Next, remove the other 4 screws on the other side next to the hinge. When that is done, remove the cover. You will see the RAM directly in the middle. On ...

First we have to do is to create a new file with the size we want. Then we go to the layer tab in the left and duplicate the existing layer how many times we want (how many frames we want to have the GIF). After this we deselect all the layers by clicking on the eyes on left. Now we click again on one eye to select the layer we want to work with. Be sure to have only one layer selected. Then we can start "playing" with the images and create shapes, faces and so on with all the layers we had c...

In this video you will learn how to design how to create a license plate in Adobe Photoshop. To do that that just follow these instructions: Create a new file with 1000x1000 px. Then create a new layer, pick a white color and make a rectangle with the rounded rectangle tool. Use the Rectangular Tool to create a new rectangle on a new layer like in the video. Now color the rectangle and merge the layers. Add the effects for the layers and make a new layer to create the stars for the license pl...

CreativeIceDesigns shows you how to make a "Polaroid"-style image on Photoshop CS3. Open a new 400 x 500 pixel image, and create a new layer, and drag underneath the original background layer. On the original "Layer 0" (the top-most layer), take the marquee tool and cut out (delete) a square, so that what you have in front of you looks like a Polaroid picture. Drag the the picture you want in, transform it into the right shape (ctrl + T) and drag it underneath "Layer 0." You can add effects (...

Watch this science video tutorial from Nurd Rage on how to make copper sulfate from copper and sulfuric acid in three ways. They show you how to make copper sulfate from copper and sulfuric acid using two chemical methods and one electrochemical method.

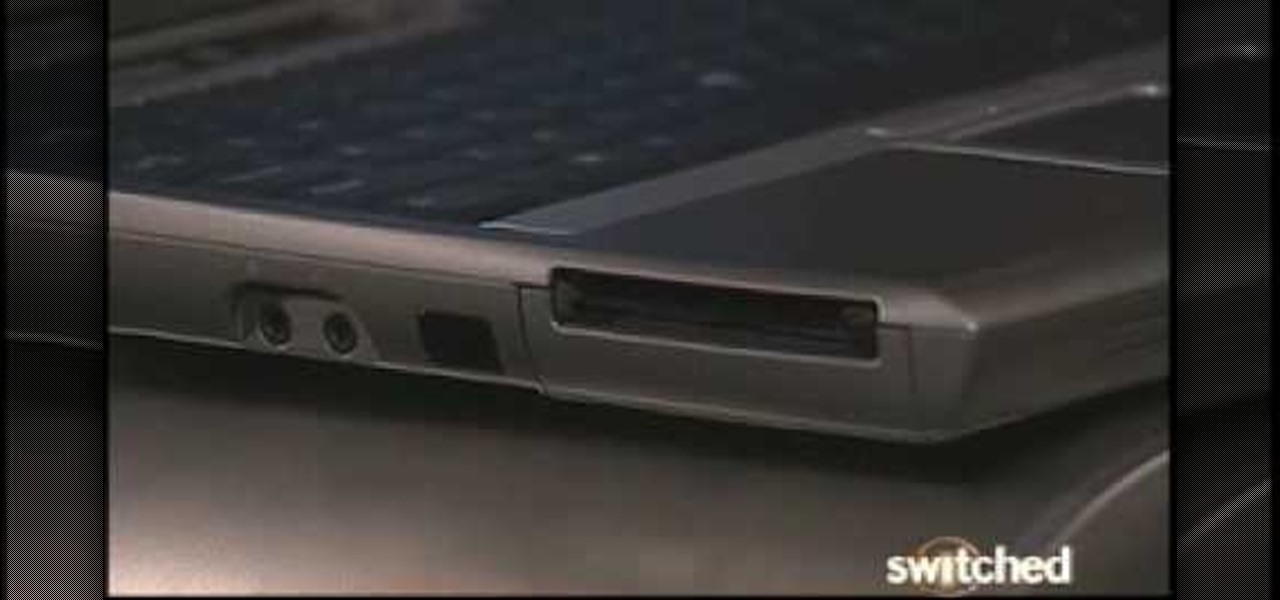
Five simple tricks to keep your laptop running longer.

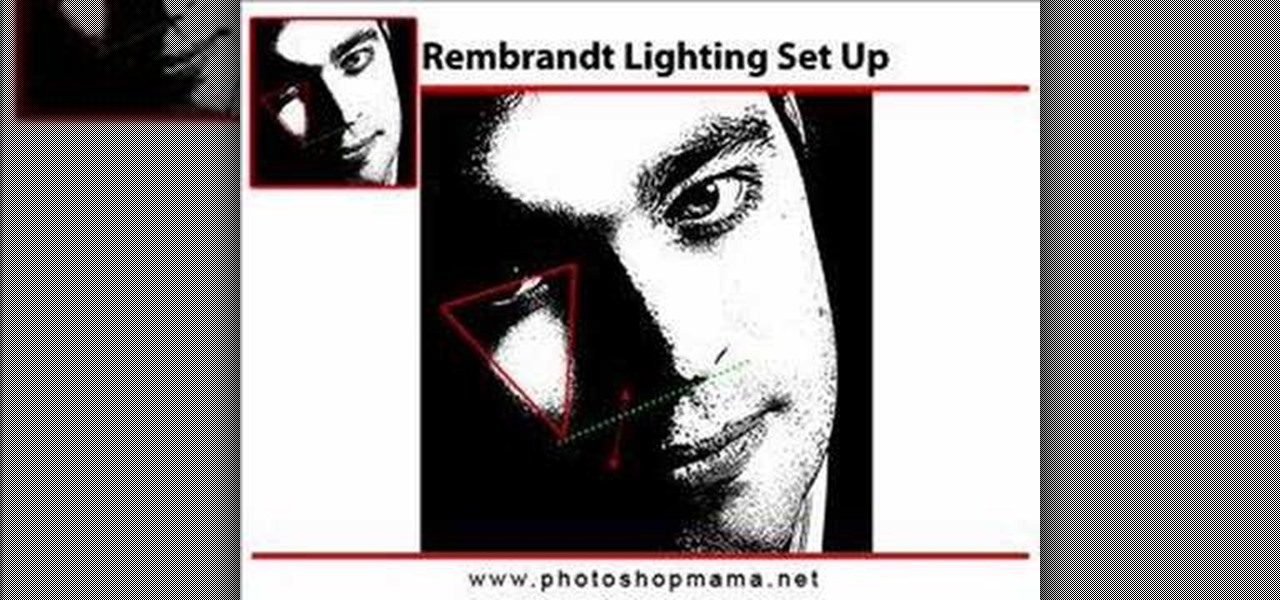
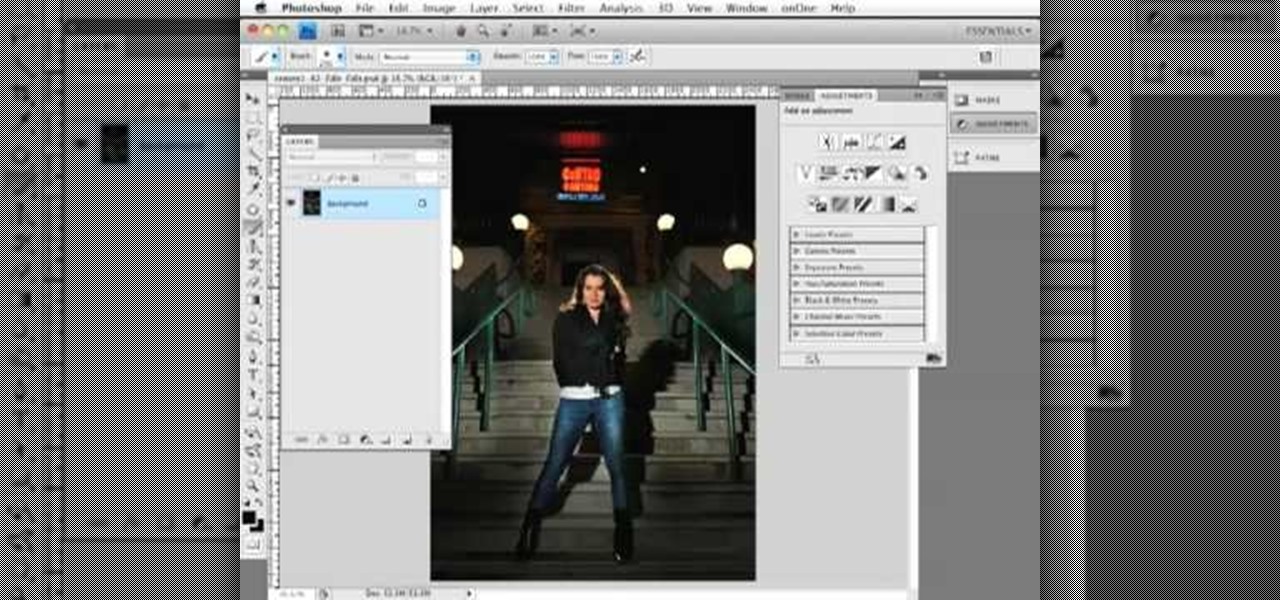
This Photoshop video series is going to explain how to create a chiaroscuro lighting effect on an image. This art form was made famous by the Italian artist Rembrandt. Part one covers the origin of terms and how to create chiaroscuro dramatic lighting. Part two has instructions for downloading the image, and some very basic workspace and preferences instructions for beginners. Part three covers Duplicate Image, File Info, File Size, Eyedropper Sample, Doc Status Bar, Panels/Palettes. Part fou...

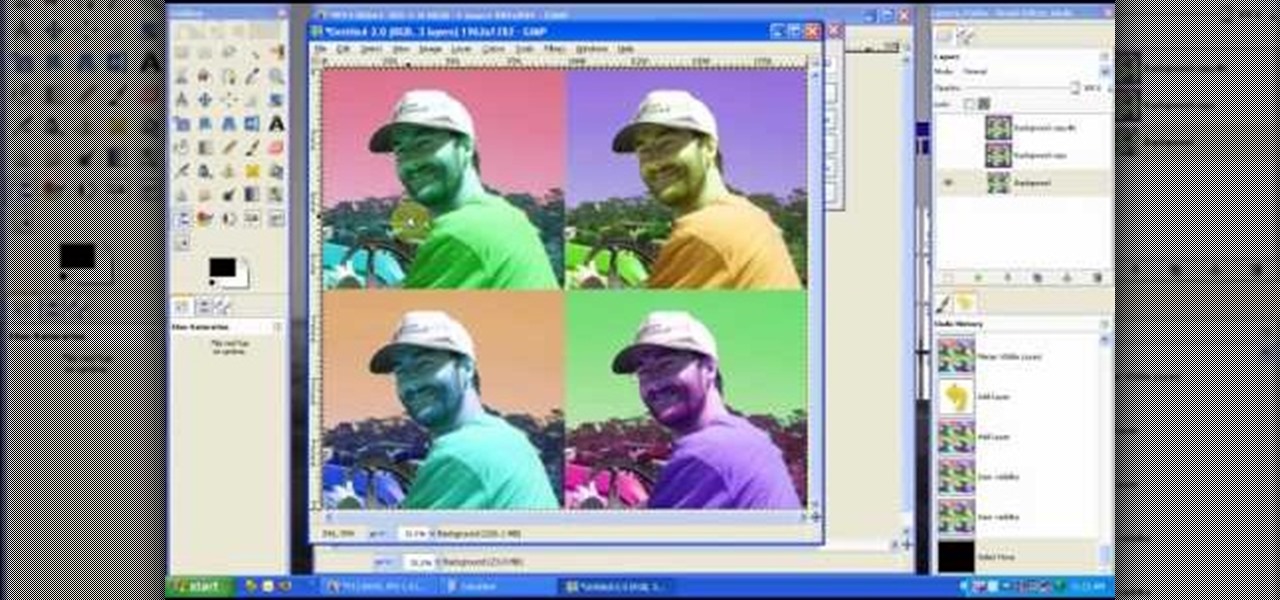
In this tutorial, we learn how to create a Warhol effect in GIMP. First, you will need to take your image and open it up in GIMP. After this, you will need to resize this so that four of these fit into one square next to each other. From here, create a new layer and then layer it to size. After this, change the hue and saturation of the photos. Then, change the lightness and make it any color you like. Then, do the same for the other photos in different layers. Save this when finished, then y...

In this tutorial, we learn how to create Apple's aqua wallpaper in Photoshop. First, create a new canvas in the dimensions you choose. Now, go to the paint pallet and choose a color. Click on ok, then start to paint your background. Select the pen tool, then draw a line from left the right on the canvas. Now, change the color of this shape to white. Now, change the fill of the layer to 10-30%. Now, double click on the layer and make the stroke white and add a drop shadow to 40 pixels and 20% ...

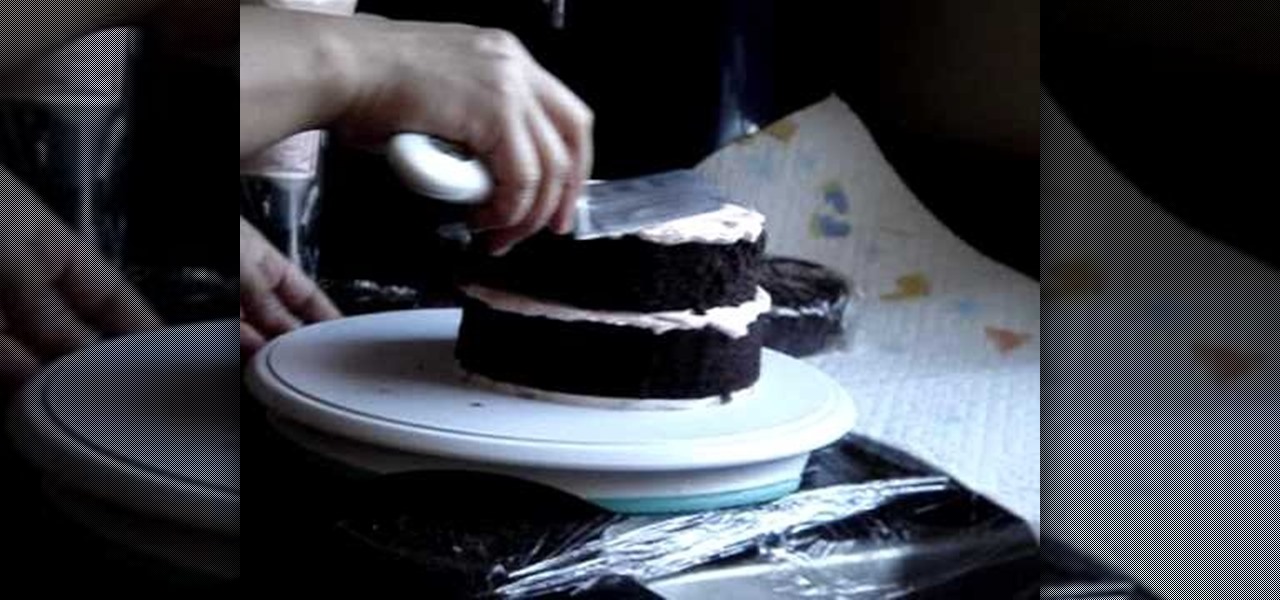
The video covers how to ice a cake. According to the video it is best to start by refrigerating the cake. You will need a 16" pastry bag with an icing tip on it. The tip should have a cerated edge on one side and a smooth edge on the other. Set the cake on a rotating plate. Rotate it and put a layer of icing all the way around the cake and then fill in the center. Once the cake is covered use a spatula and smooth out the icing. Then set the second cake on top of the first and put the icing on...

In this tutorial, we learn how to create stencil graffiti. First, take a picture and then separate into four layers. After you do this, you will draw out each layer and then cut each of them out. After you do this, synchronize all of the layers. Next, spray paint the background color. Last, you will add color to the actual picture then wait until it dries. This is a great idea for wall art for your home, and it adds a unique touch. Make sure to take your time with this when painting on the st...

This clip presents a general overview of how to make and work with adjustment and mask layers within most versions of Adobe Photoshop, CS4 & CS5 included. hether you're new to Adobe's popular raster graphics editing software or a seasoned professional just looking to better acquaint yourself with the program and its various features and filters, you're sure to be well served by this video tutorial. For more information, including detailed, step-by-step instructions, watch this free video guide.

Need some help figuring out how to use layers in Adobe Photoshop? This Photoshop user's guide will sort you out. Whether you're new to Adobe's popular raster graphics editing software or a seasoned professional just looking to better acquaint yourself with the program and its various features and filters, you're sure to be well served by this video tutorial. For more information, including detailed, step-by-step instructions, watch this free video guide.

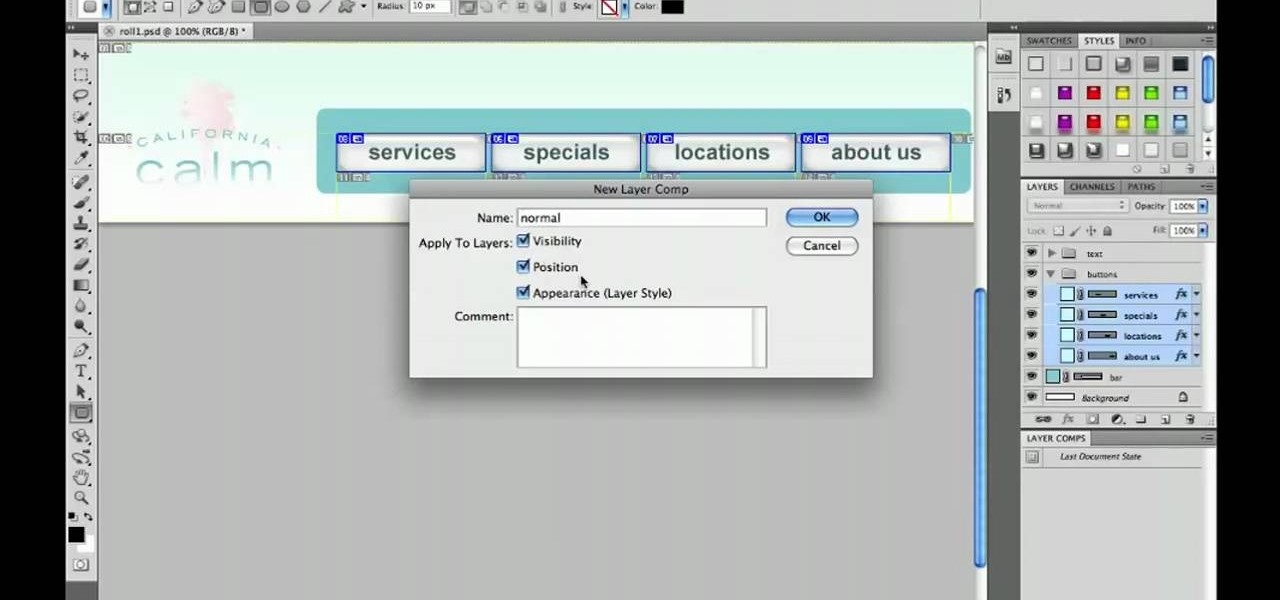
In this clip, you'll see what it takes to create rollover graphics from styles & layer comps in Adobe Photoshop CS5. Whether you're new to Adobe's popular raster graphics editing software or a seasoned professional just looking to better acquaint yourself with the program and its various features and filters, you're sure to be well served by this video tutorial. For more information, including detailed, step-by-step instructions, watch this free video guide.

Learn how to create a world in microcosm with this C4D user's guide. While the end result is not particularly pretty the tutorial does show you how do deal with lighting the Hair Render through another layer, creating a cloud layer and the texture for a bubble.

Ash Davies teaches us how to Photoshop digital bokeh with this tutorial. First, open up Photoshop and create a new canvas with your width at 1920 and your height at 1200. Now, create a new layer and set your background layer as invisible. Now create a medium size circle and reduce the fill to 50%. Now enter blending options and add a stroke of 10 pixels to the inside with the color set to black. Now define the shape as a brush and then click "edit" and "define brush preset" name this, "bokeh"...

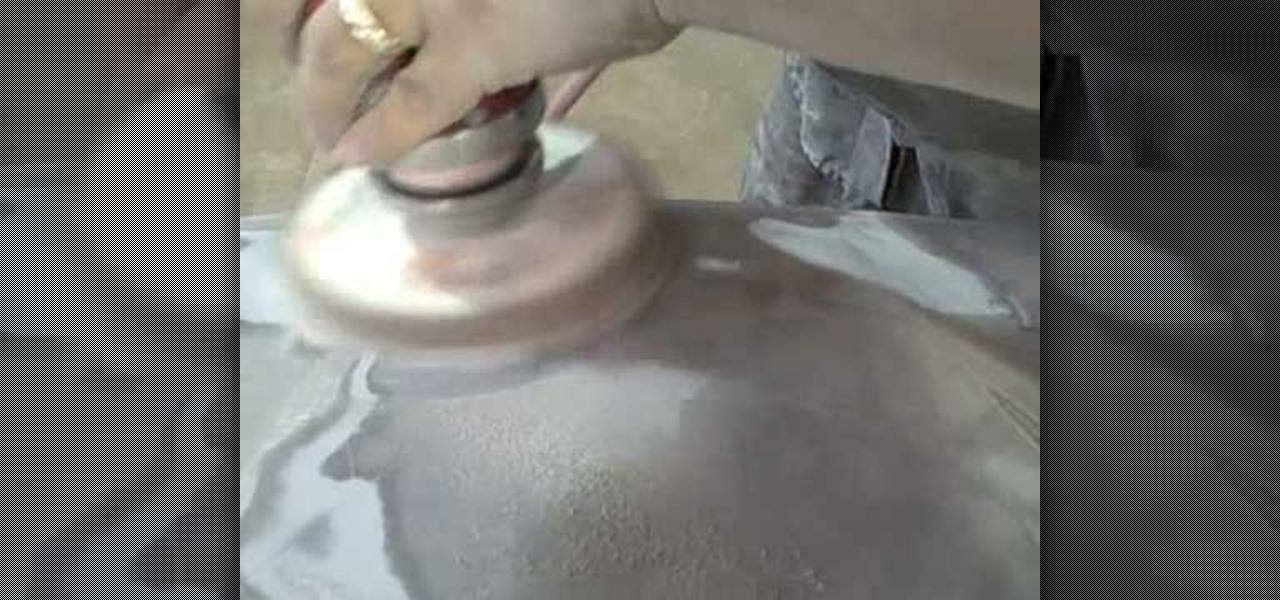
In this Autos, Motorcycles & Planes video tutorial you will learn how to feather edge paint to prepare a damaged car for primer. Feather edging is the process of feathering or layering each layer of coating in order to prevent a rough edge. Use a 6 inch DA and 150 - 220 grit sandpaper to feather edge the paint edge. Apply the sandpaper all along the edge of the paint till the edges are smooth. Feel it with your hand to ensure that all the edges are smooth. Feather each layer of paint at least...

Almost everyone who is a regular user of Photoshop knows and loves Layer Styles - but what if you're just coming to it! This clip covers the basics of Layer Styles for creative titles and elements. Whether you're new to Adobe's popular raster graphics editing software or a seasoned professional just looking to better acquaint yourself with the program and its various features and filters, you're sure to be well served by this video tutorial. For more information, including detailed, step-by-s...

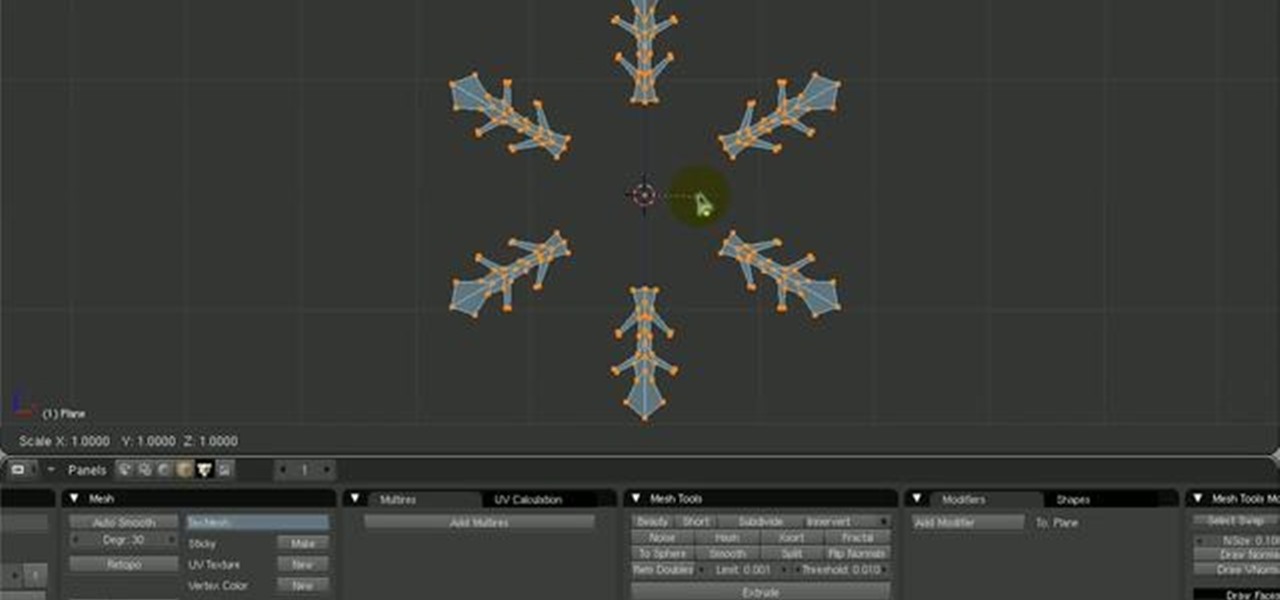
Learn how to create layered snow flake patterns in this tutorial by using scripts and nodes. Whether you're new to the Blender Foundation's popular open-source 3D computer graphics application or are a seasoned digital artist merely on the lookout for new tips and tricks, you're sure to be well served by this free video software tutorial from the folks at CG Cookie. For more information, including step-by-step instructions, take a look!

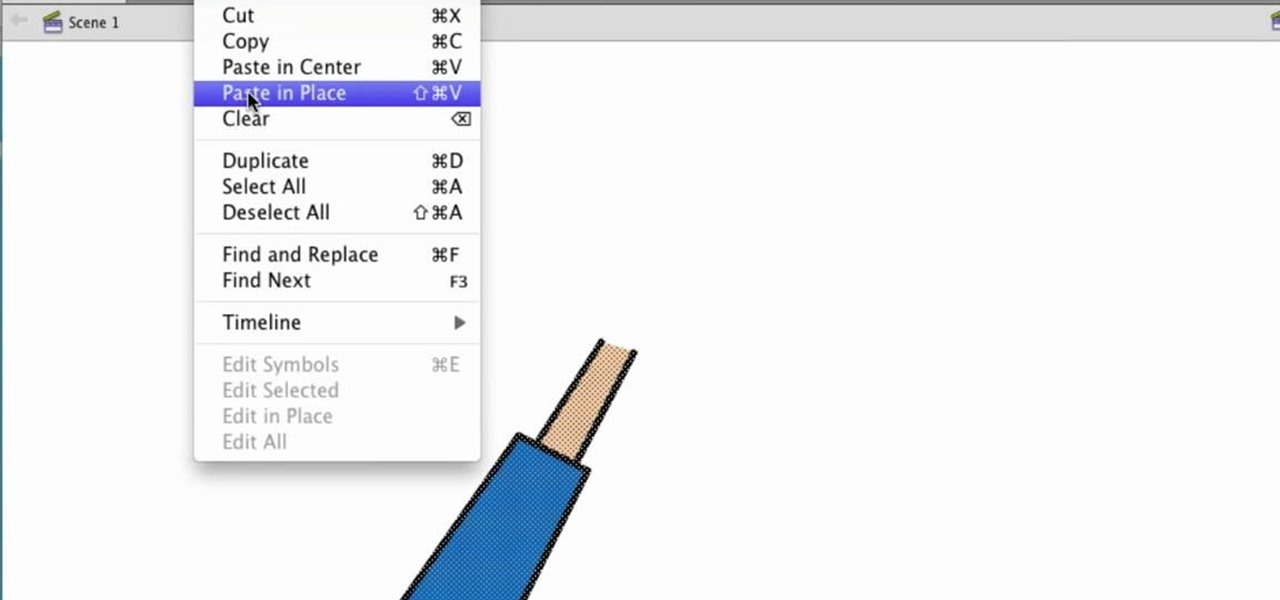
Interested in merging two or more layers when working in Adobe Flash but aren't quite sure how to do about it? Don't fret. This free video tutorial will show you precisely how it's done (and it's easier than you might expect). It's so easy, in fact, that this home-computing how-to can present a complete overview of the process in just over a minute. Take a look.

The price of TLC plates can add up. See how to make thin-layer chromatography plates (TLC plates) for a few cents each that are as good as commercial TLC plates that sell for a dollar or two each. You can use these home-made TLC plates the same way you'd use chromatography paper, but the plates provide sharper separations and require far less analyte. They also lie flat, and are much easier to store for later reference. For more information, including step-by-step instructions, and to get sta...

Paula Deen shows how to make a quick chocolate cake. She butters a casserole dish and covers the bottom with graham crackers, overlapping them when necessary. She then pours instant french vanilla pudding mix into a separate bowl and mixes it with 3.5 cups of milk, beating it for about 2 minutes. She then tosses in some whipped cream topping and folds it into the french vanilla batter, creating the custard. In another bowl, Paula combines 1.5 cups of sugar with half a cup of cocoa and strains...

Want to add some grit to your pristine digital photos? It's easy. In this free Photoshop lesson from Nicole Young, you'll learn how to add dirt and grain to your images by using layer styles in Adobe Photoshop CS4 or CS5. For more information, including step-by-step instructions, watch this graphic designer's guide.

Make something special for someone you love with help from Dawn of Stampin Up! This card features a layered butterfly made of ribbon and glitter... perfect to accompany a gift during springtime. Get crafty with Stampin' Up!

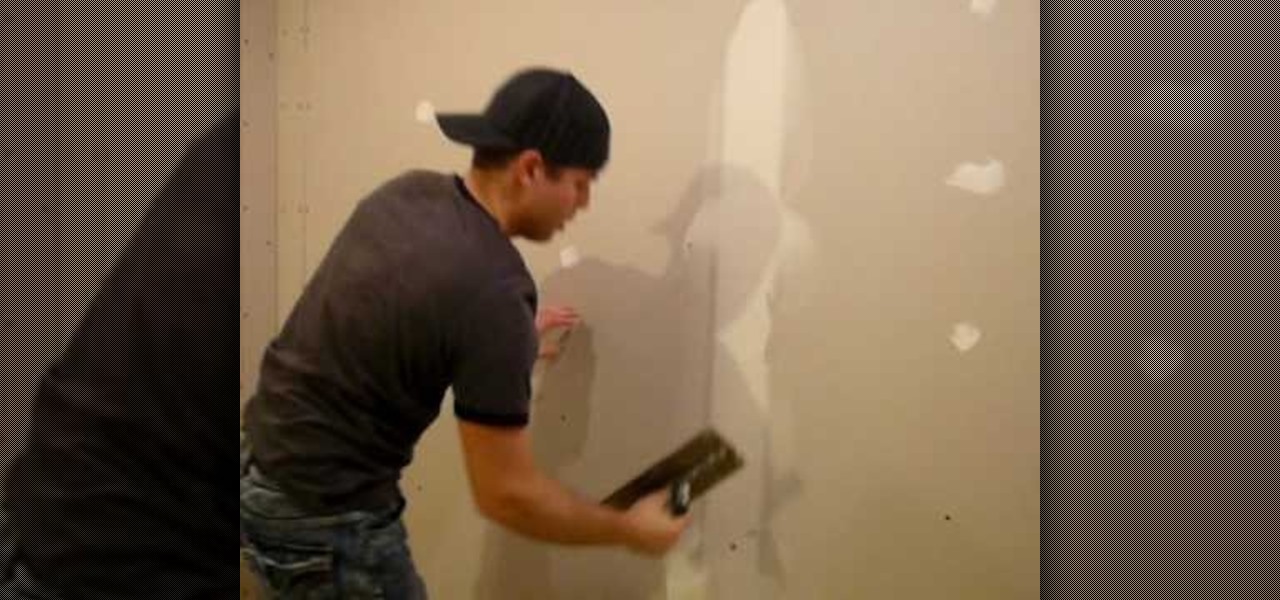
Taping drywall requires a spreader or a spatula, compound and drywall tape. Spread the compound over the nails and the seams smoothly to apply tape over later. Next, the tape is applied to the wet compound on the wall directly over where the seams were. Then, another layer of compound is placed on top of the tape. After it is dry, a second layer of compound is placed on top of this layer. This process will continue until all the seams are covered with the compound, taped over the seams on top...


