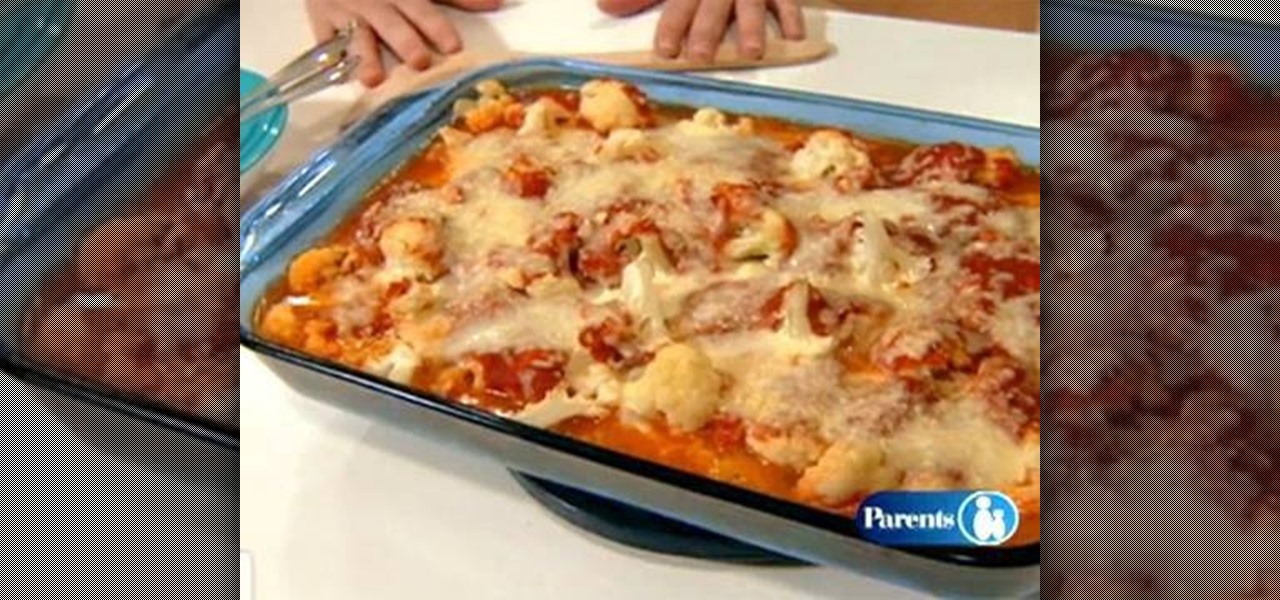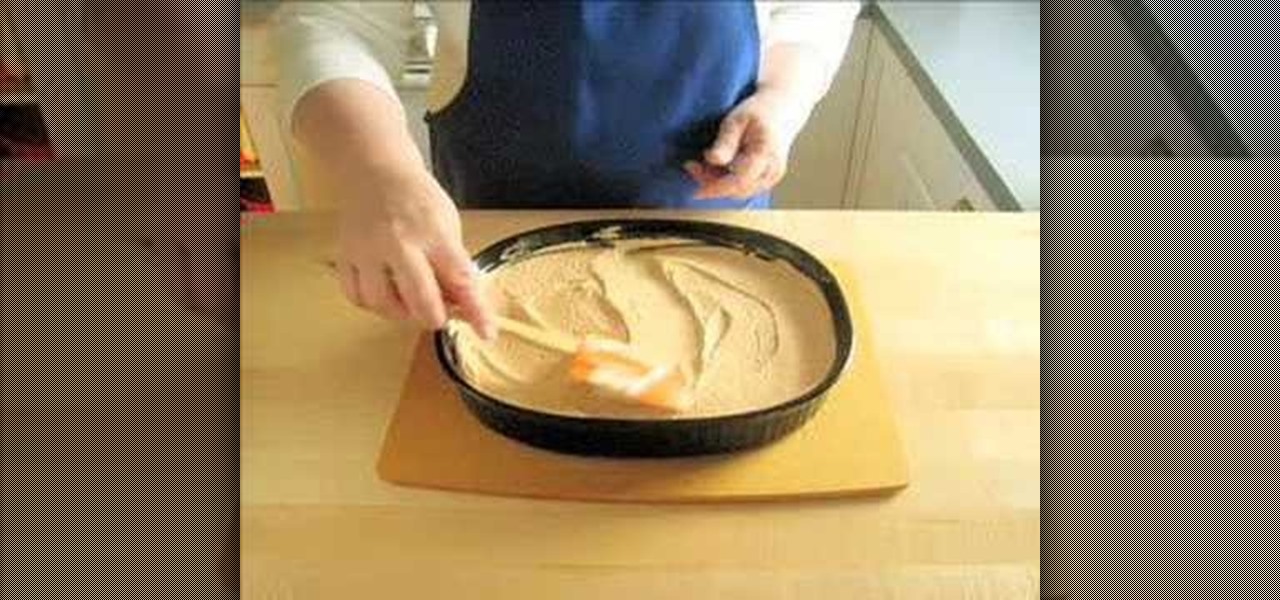
In order to make a Simple Polenta with Cauliflower, you will need the following ingredients: 4 cups of water, polenta, salt, cauliflower, 2 lbs raw cauliflower, 1 1/3 cup of polenta, 2 cups of mozzarella, 3 cups of marinara, ¬º cup of bread crumbs, 2 T. Parmesan cheese, ¬O tsp salt, and ¬º tsp of pepper.

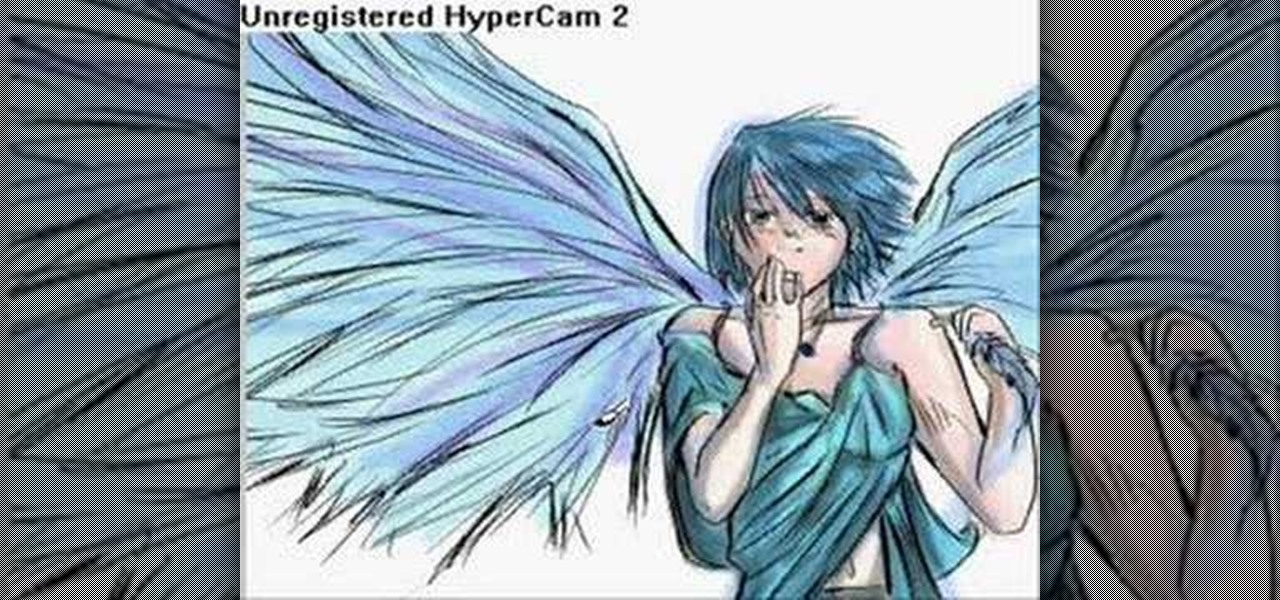
In this how to video, you will learn how to draw an angel. First, start out with the basic sketch of the drawing. Remember, eyes go in the middle of the head. Drawing the head first will help proportion the rest of the body. Use long strokes with the wrist to draw the hair. Try to make the hands the size of the face and try to make the fingers look like fish sticks. It is easier to draw if you study anatomy books. Next, erase the sketch and start going in with further detail. Exaggerate the w...

Whether you're new to Adobe Photoshop or a seasoned graphic design professional after a general overview of CS5's most vital new features, you're sure to be well served by this (17-minute) official video tutorial from the folks at Adobe TV. In it, you'll learn how to do each of the following: realistically blend colors on canvas with the new Mixer Brush; create superior composites for print or web layouts with new technology that makes it easy to select even the trickiest image elements, like...

In this video tutorial, viewers learn how to wax a snowboard. The materials required for waxing are: wax (cold, warm, or all temp), an iron, scraper (plastic or metal) and a hard bristled brush (or rough side of a sponge). Begin by laying the board with the base facing up. Turn the iron on and melt the wax. Move the wax around to evenly distribute it on the base. Then use the iron to spread the wax in a thin layer. Allow the wax to cool for 30 minute and remove the layer with your scraper. Bu...

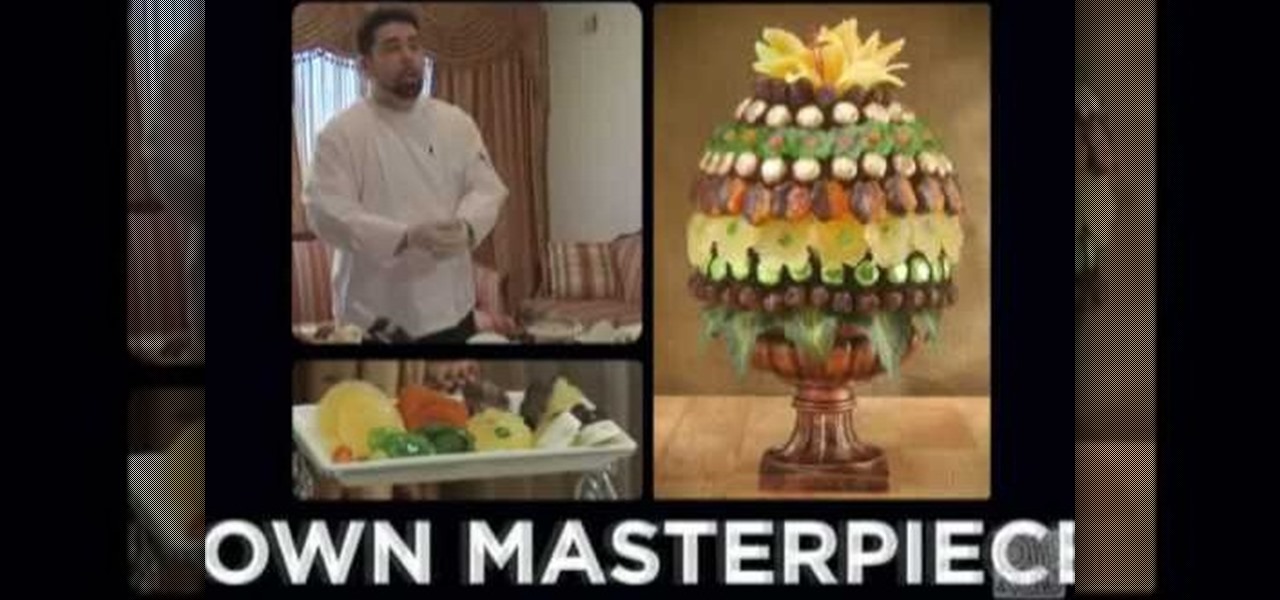
This video demonstrates how to make edible fruit bouquets and arrangements. you can use any fruit and chocolate. Start with a ceramic base. Also, you'll need a Styrofoam ball about 2 inches larger than the base, a hot glue gun, flower shaped cookie cutters, a pack of toothpicks, wire cutters. The video demonstration plans a layer of dates, topped by a layer of chocolate truffles, pineapple and then apricots. Begin by placing artificial leaves to the base, gluing them on. Then hot glue the Sty...

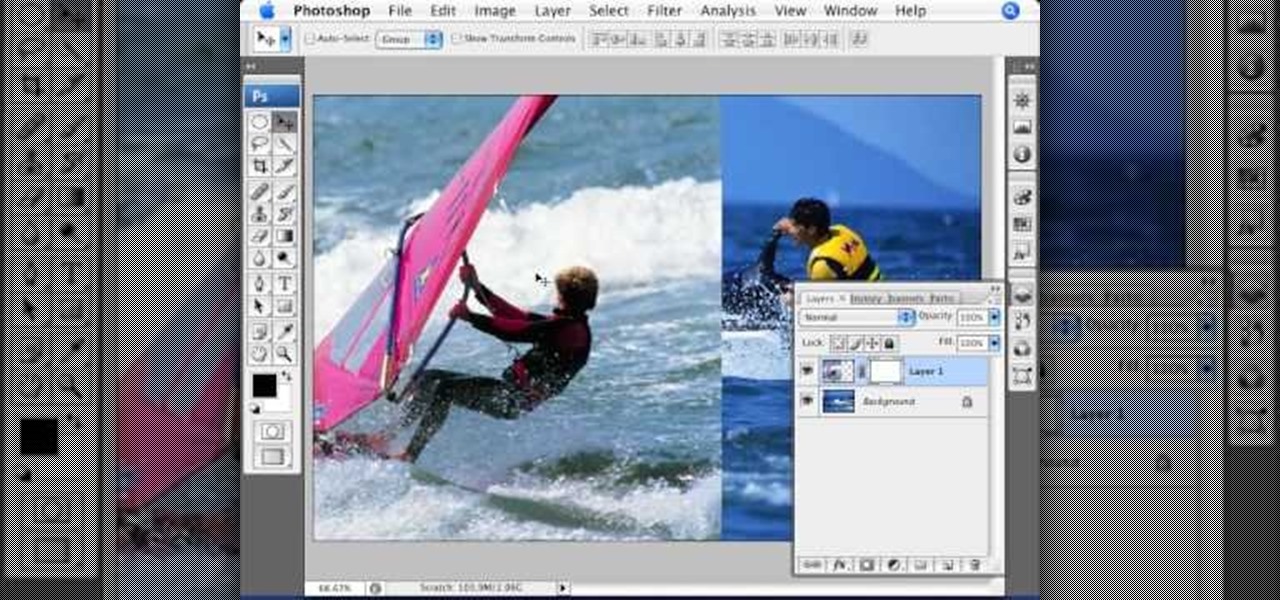
This video tutorial by photoshopuniverse teaches you how to blend two images seamlessly using Photoshop. For this you need two or more images that need to be blended together. Using the move tool in Photoshop move one image over to the other image. Open the layers window and make a layer mask as shown and select the gradient tool making sure the colors are white on black and connect the two images as shown. Using the brush and the opacity at 50% reveal the parts of the image that need to be c...

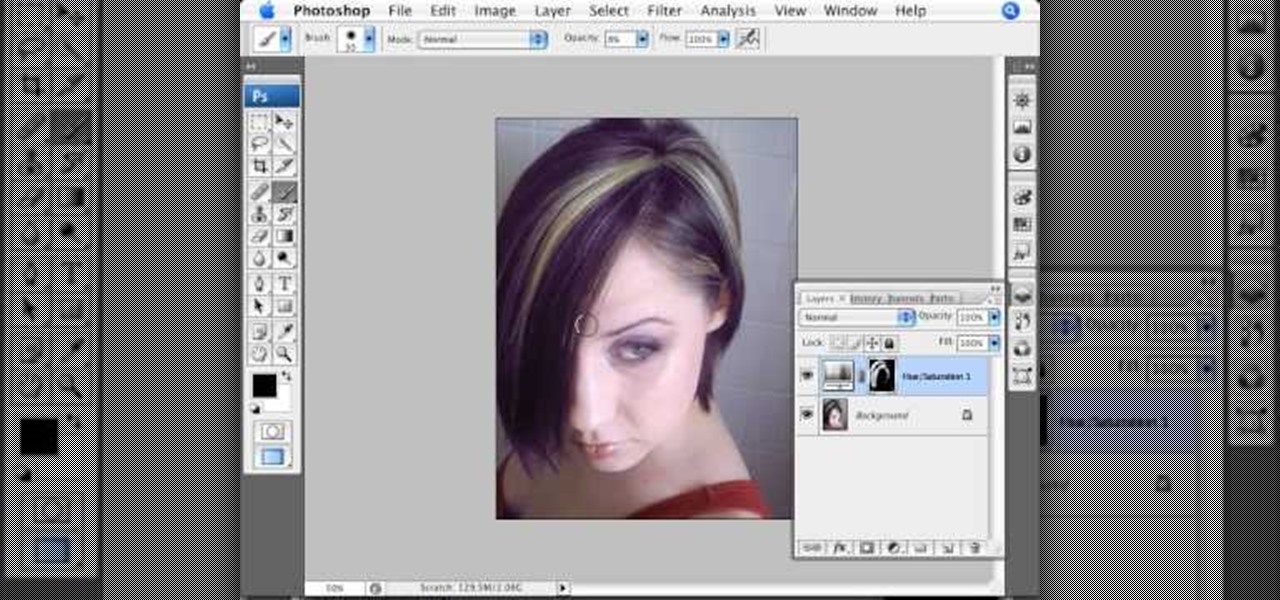
Photoshopuniverse will show you how to change a person's hair color in PhotoShop. You can achieve this by using hue and saturation adjustment layers and set to colorize. Set the saturation to about 50%. Go back to the background layer and select the color range select parts of the hair color, select the parts of the hair you want to change and with the eye dropper click it. Once the selection is made invert the selection the color will change. You can now change the hue to make it what you want.

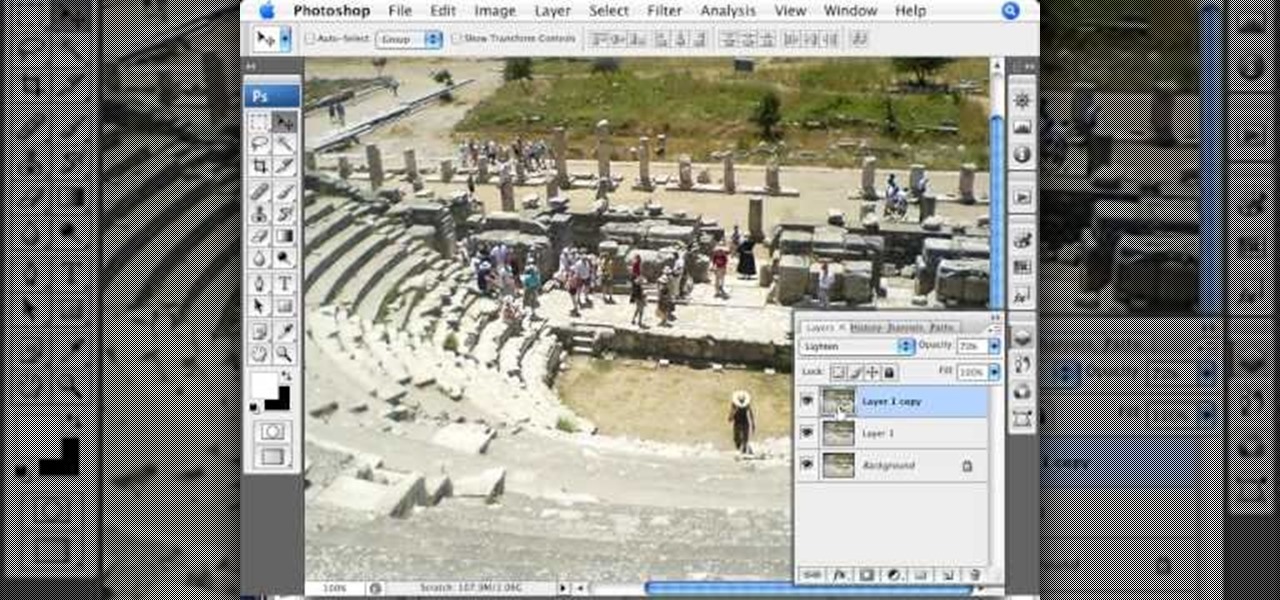
Photoshopuniverse teaches you how to enhance the colors of photos using Adobe Photoshop. You get a photo and duplicate that layer. Set the blending mode to Soft Light. You repeat that step, only the blend mode should be Lighten. The shadows are now darker. You can change the blend mode opacities to 60%-70%, but both layers should have about the same opacity. Also make sure that the white values are not to white and that details, like faces, are still OK to see.

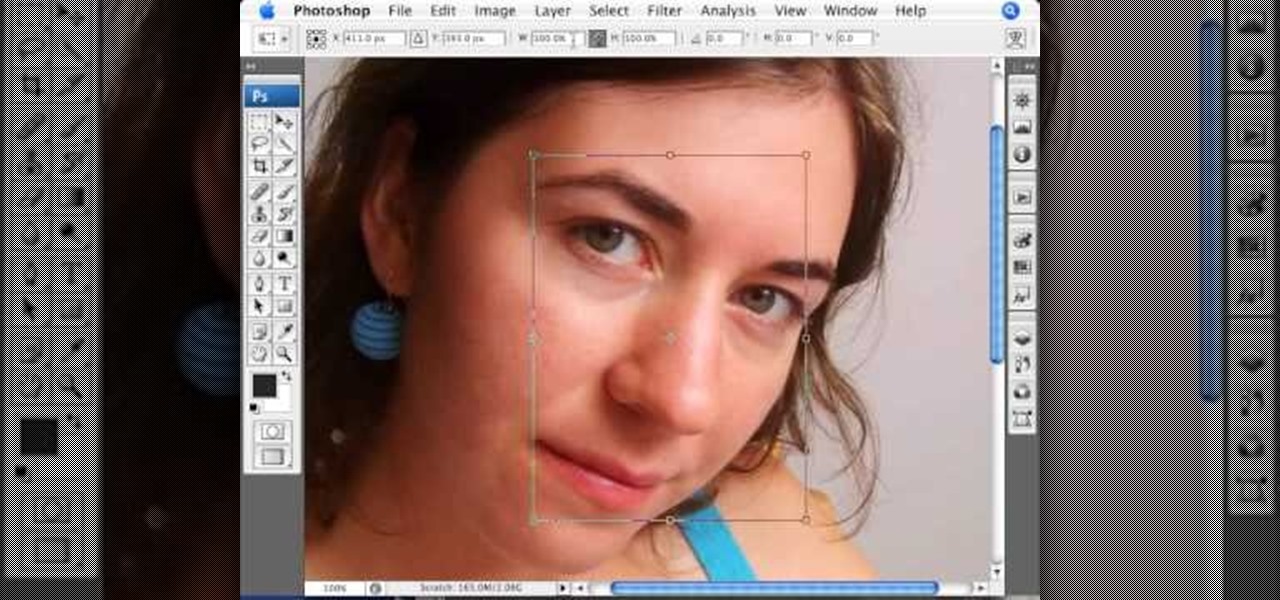
This Photoshop tutorial on performing a nose job using Photoshop contains detailed instructions on the use of Photoshop tools to, depending on taste, enhance the appearance of an individual. The person narrating the tutorial specifies the necessity of subtlety with the modification of the picture in order to remove any appearance of modification. The way described is essentially to select the general nose area, feather the selection by an optional amount, and set it in a separate layer. Then ...

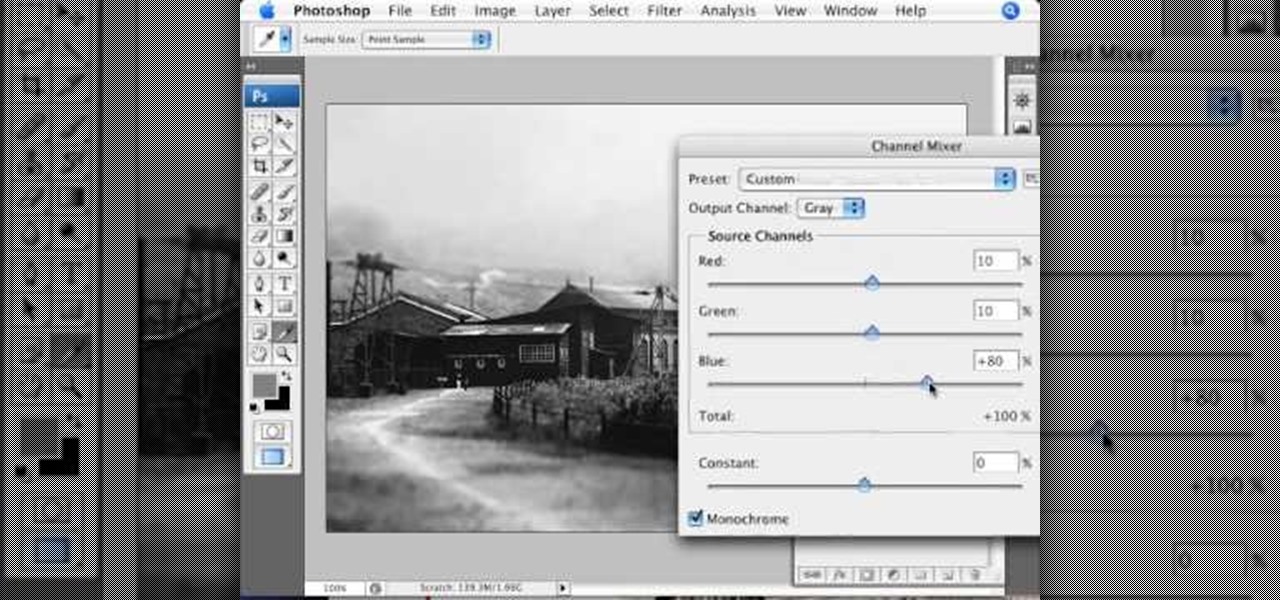
This video demonstrates the split tone effect in Photoshop. A split tone effect makes a picture look more rustic by changing the tones. First, add an adjustment layer to the picture by opening the channel mixer window. Select Monochrome and adjust the RGB values to create a black and white image to your own personal preference. Next, add another layer by opening the color balance window. Here you can change the colors of the light areas by selecting Highlights and changing the color sliders, ...

This video tutorial by photoshopuniverse shows you how to create a postage stamp in Photoshop. First take a suitable image and decide the shape of the stamp. Corp the image to suit the shape of the stamp by selecting the area and choosing corp and increase the canvas size as shown in order to create the perforated cutout. Transform the image into a regular layer and once again increase the canvas size to create a back ground with an appropriate color as shown. Add a layer mask, chose the brus...

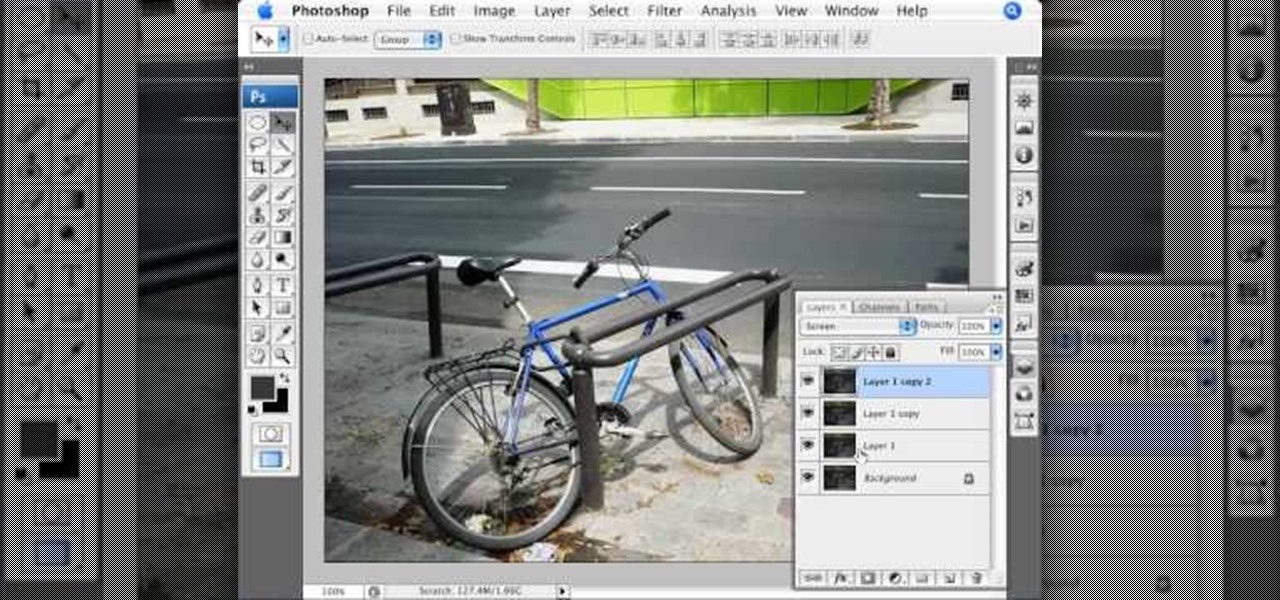
This video shows you how to use an aspect of Photoshop so that you can fix snapshot pictures that may have gotten an exposure level you did not want. This quick and easy tutorial video shows you how easy it is to adjust the layers in the screen. With different adjustment tricks for the layers to use if you are unsatisfied with the results you are getting. Each video will take moments to do and once saved you can move on to edit any other photos that did not come out with exposures that you wa...

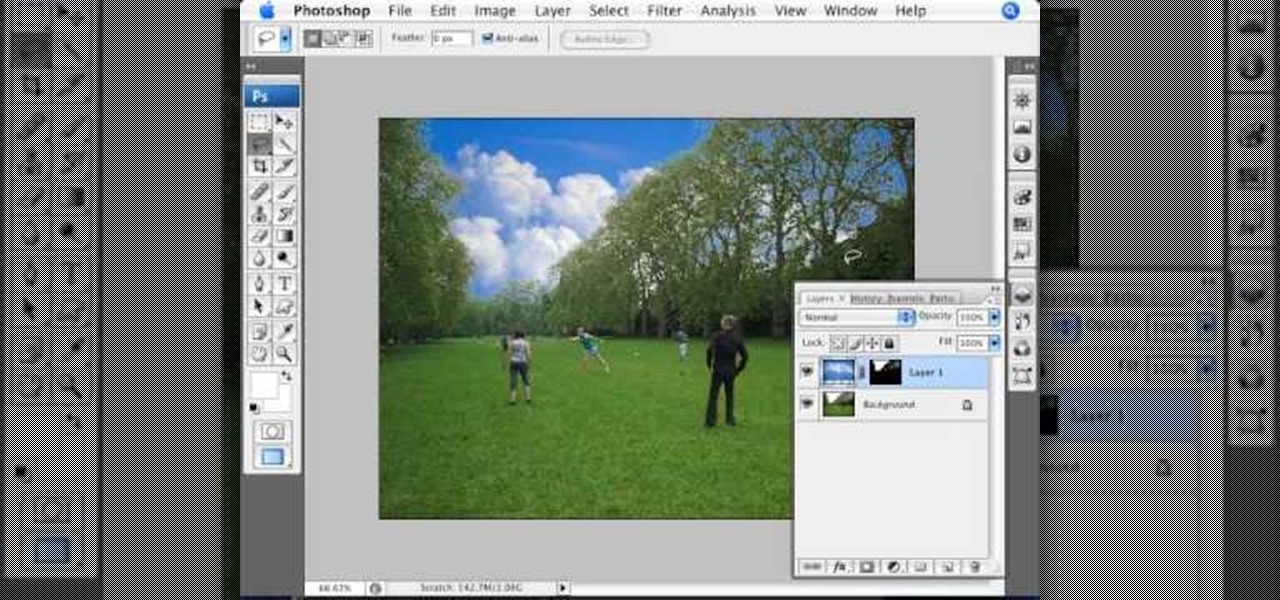
In this Photoshop tutorial the instructor teaches you to replace the sky in a photograph. If you have a photograph which has a very dull and blown out sky you can change it to make it look better as shown in this video tutorial. Some times when the sky is cloudy or due to improper white balance you end up with photos having a over bright or dull sky. Now you can find another image where the sky looks bright and attractive and replace the sky in this image with that one. Open the photo that yo...

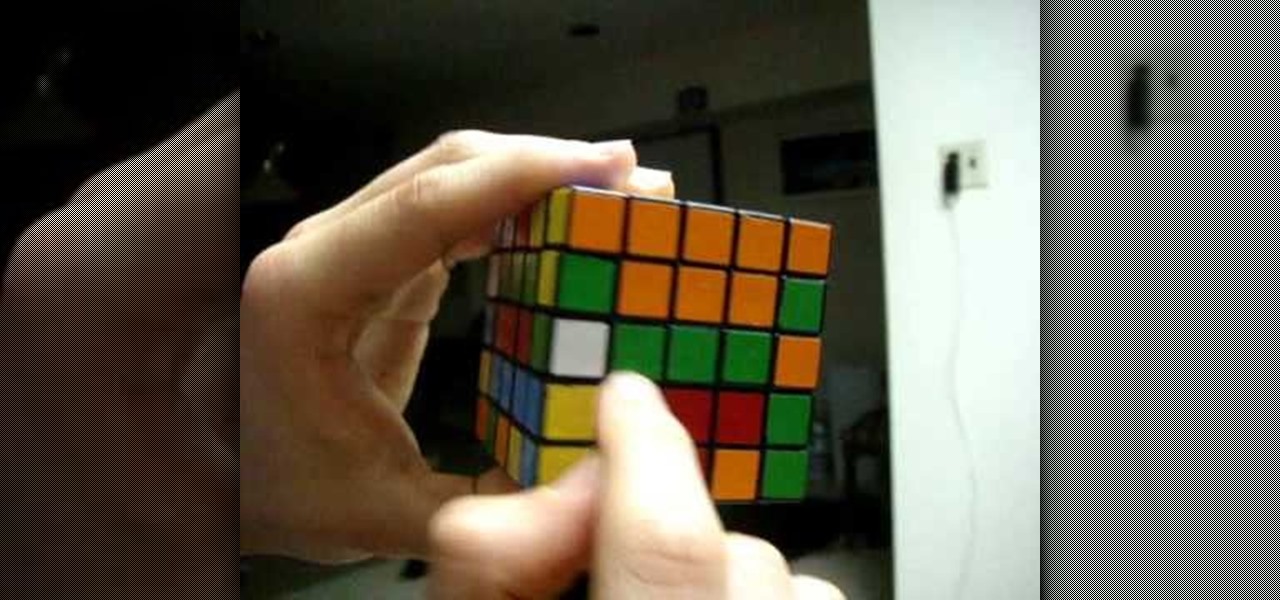
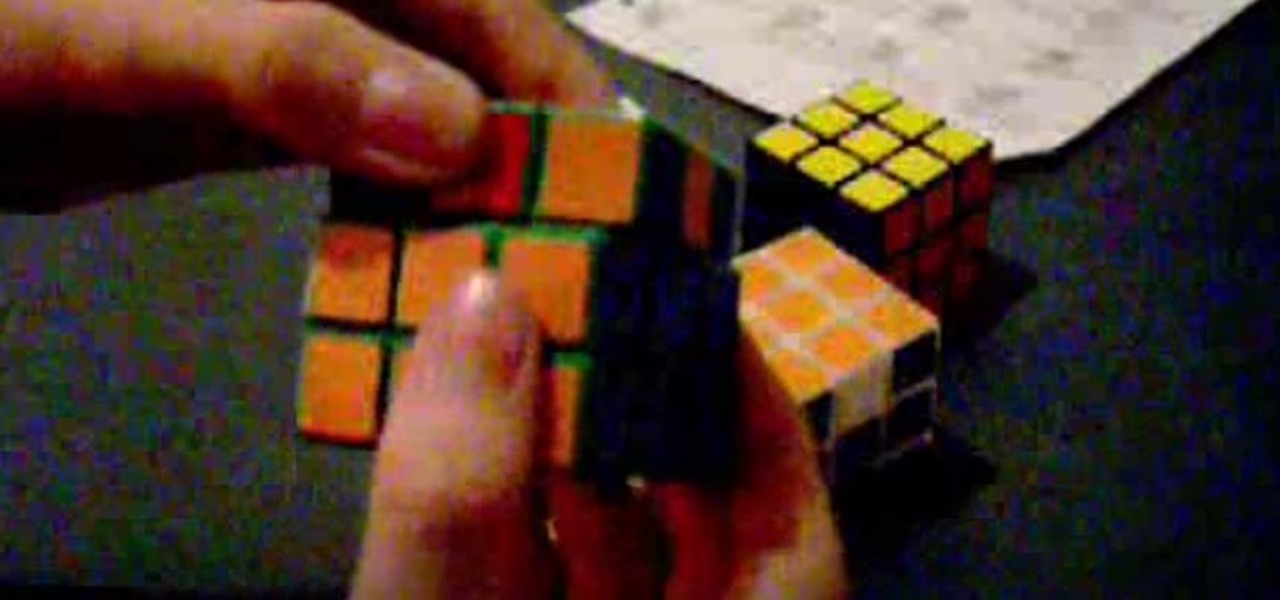
This video shows an explanation for an Advanced Edge Pairing method for the 5x5x5 Cube. The method used is as follows. First, you should match up edges on the middle layers (in the build ring) to form complete "tredges," or triple edge pieces. Then replace and store these tredges on the Up and Down faces of the cube. This method CAN be applied to any size big cube!

Tutorial on how to create realistic reflections on Photoshop with the objects. Take a base ball image then open layer pallet and duplicate the base ball layer its shortcut is Ctrl j. Go to image menu adjust the canvas size change height to 200 and anchor to the top then click OK then go to edit select transform change to flip vertical, select move tool then move the base ball vertically down change opacity to four percent. Finally go to filter select blur then motion blur with an angle 90 deg...

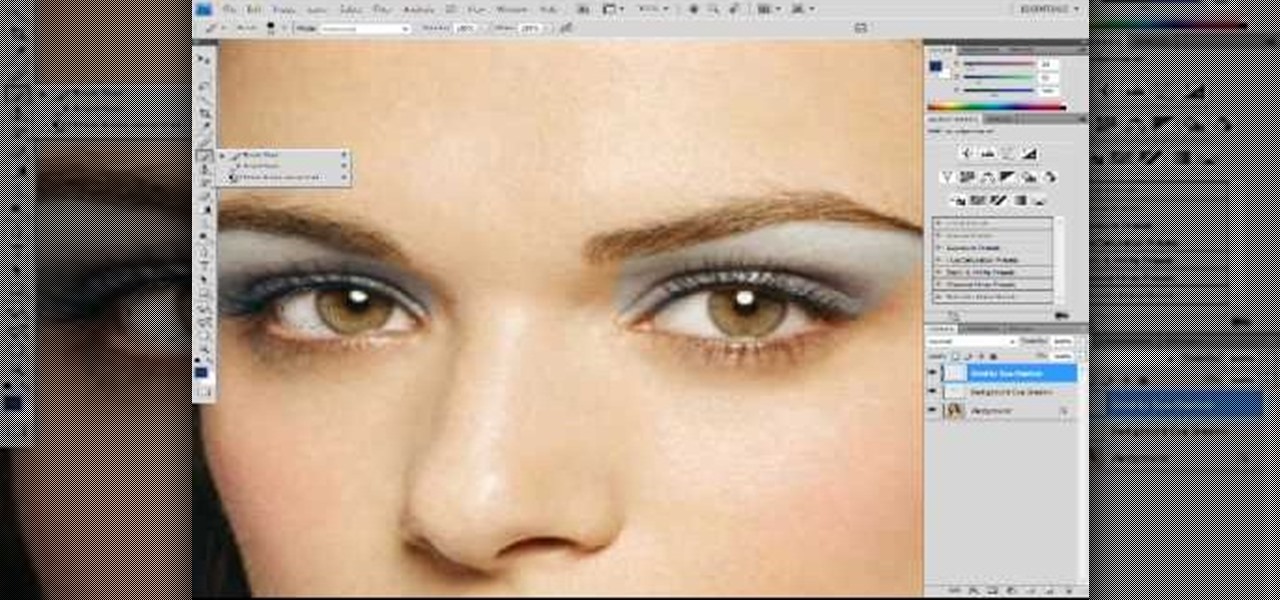
Did you forget to apply makeup before you had your photo taken? No worries, this tutorial will teach you how to add eyeshadow and blush to a photograph using computer software rather than a makeup brush. This tutorial will teach you how to create layers, change brushes and choose colors in Adobe Photoshop. It will also walk you through step by step how to apply and use layer modes to blend the color into the photography. After you learn the skills taught in this Photoshop CS 4 tutorial you wo...

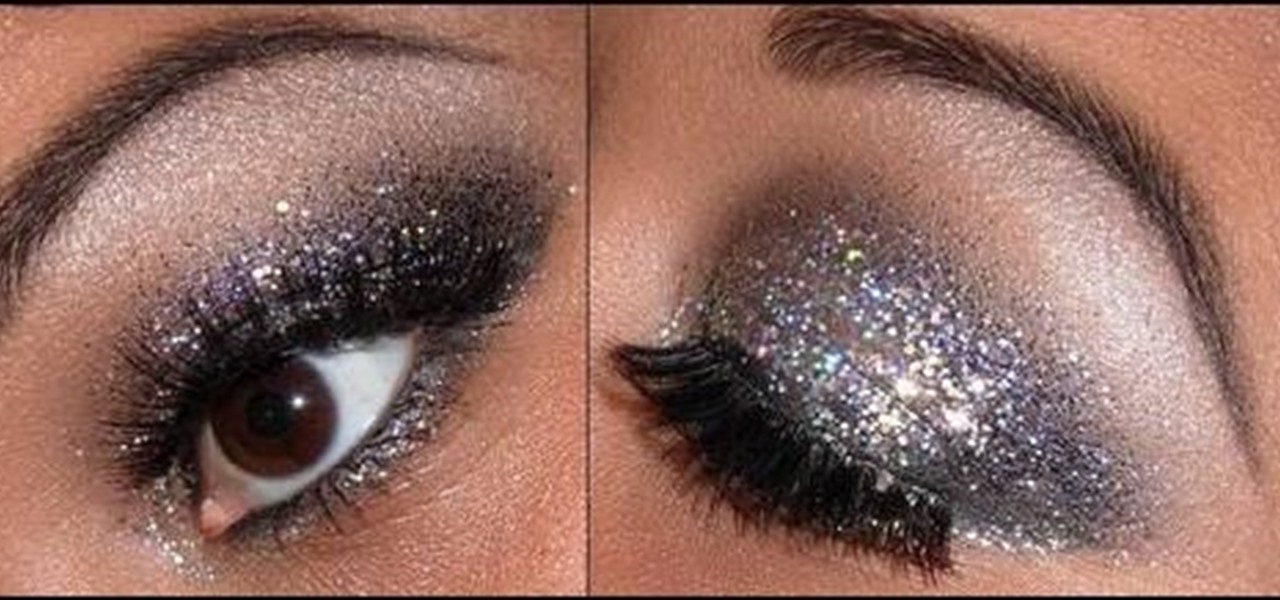
This makeup tip is perfect for a glittery eyeshadow for New Year's as inspired by the cover of Sephora's magazine. First, apply a semi-dark gray eyeshadow along your eyelid and on the outside corners of your eyes. Using a fluffier brush, apply a lighter white-silver eyeshadow and then use dark black eyeliner along the line of your eye. Use silver glitter along your eyelids in a few layers and black layer on the outside of your eyelids for that perfect festive New Year's look.

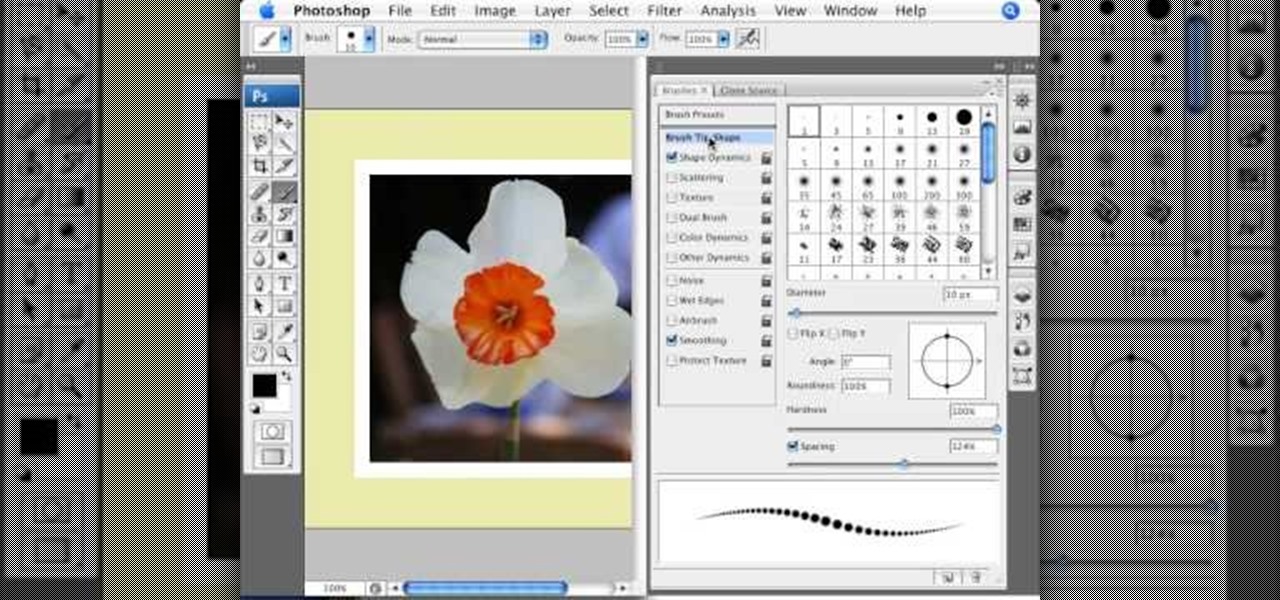
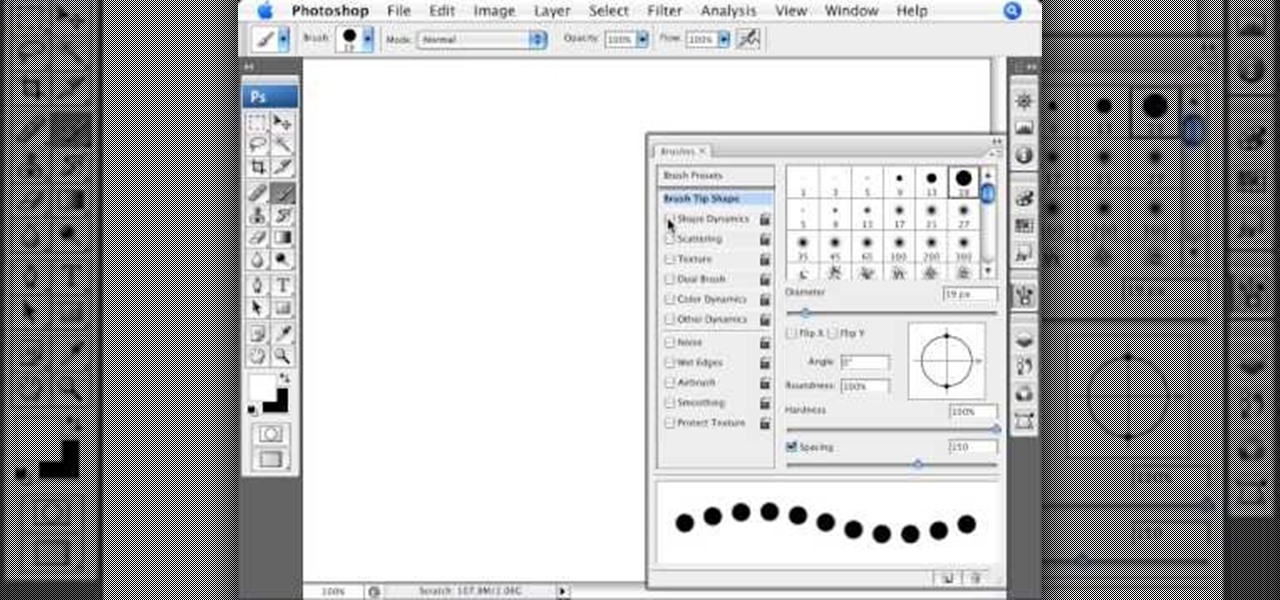
In this tutorial Photoshopuniverse describes how to create dotted lines in Adobe Photoshop using the brush palette. First create a new blank document in Adobe Photoshop. To open brushes palette, go to menu Window - Brushes. By adjusting spacing and hardness of brush under Brush Tip Shapes menu you can draw desirable dotted lines. To get uniform circled dots uncheck Shape Dynamics box. By holding the shift key click and drag to get a straight dotted line. To create bullet holes or perforated h...

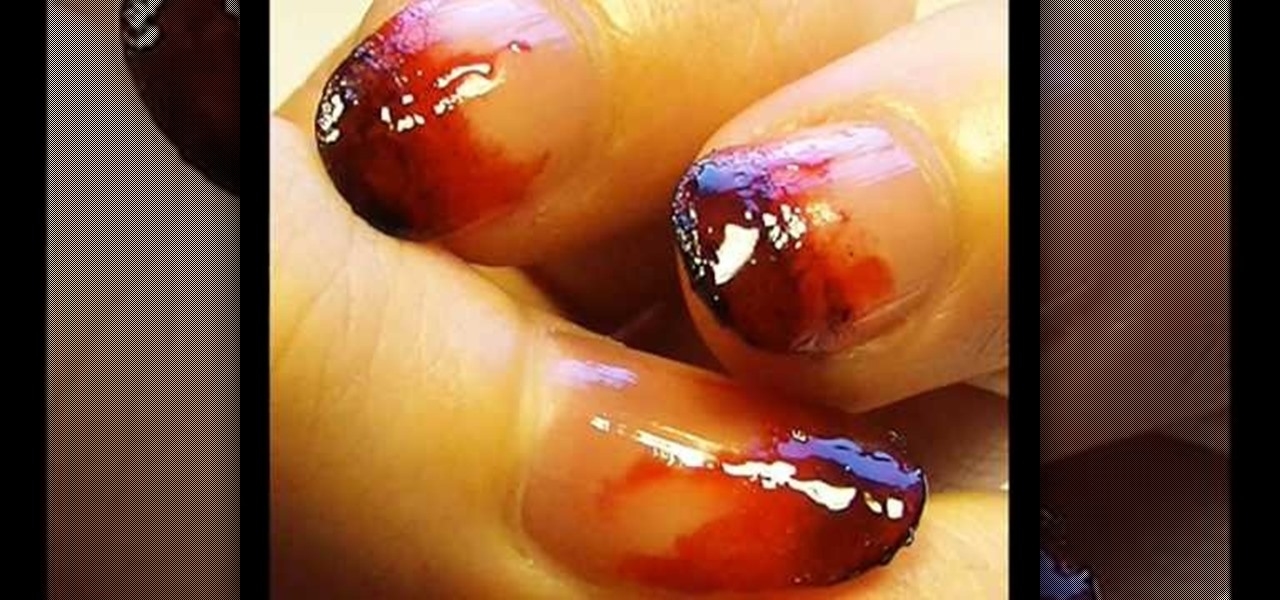
This video shows the viewer how to paint their nails to give them a blood stained look for Halloween. This is done by first putting a small amount of dark red nail varnish onto a sheet of paper. Then apply this in many coats to the nail using a foundation brush to give a layered effect. Then place a small amount of black nail varnish on the paper and using the same section of the foundation brush apply some of the black nail varnish to the ends of the nails. Then apply some of the red varnish...

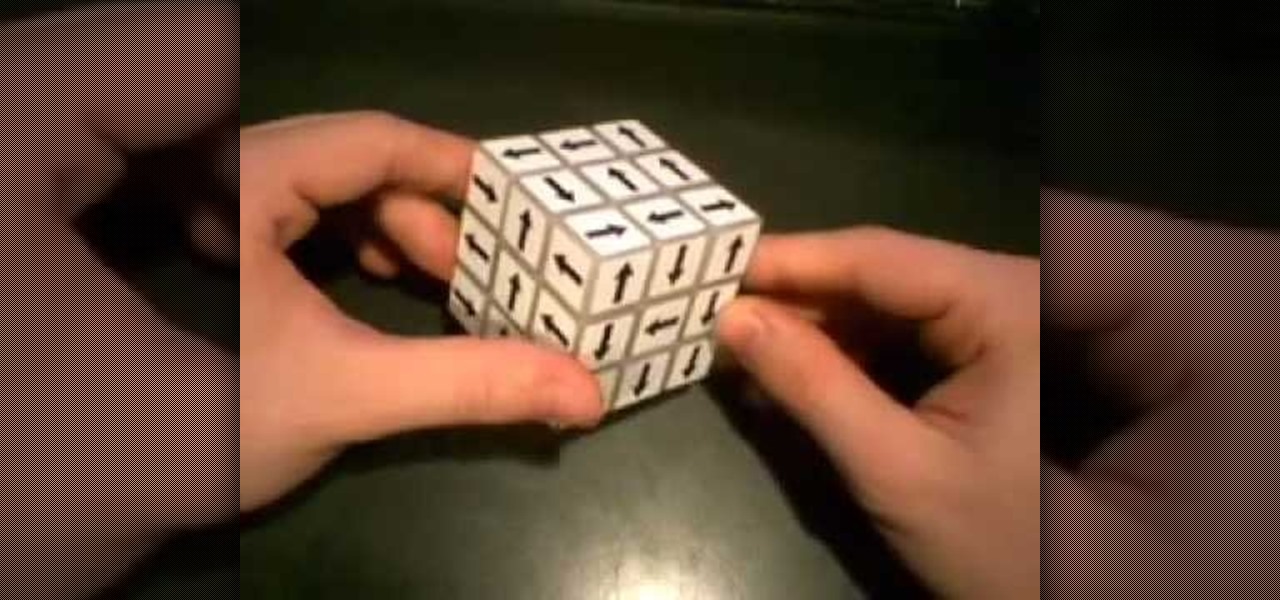
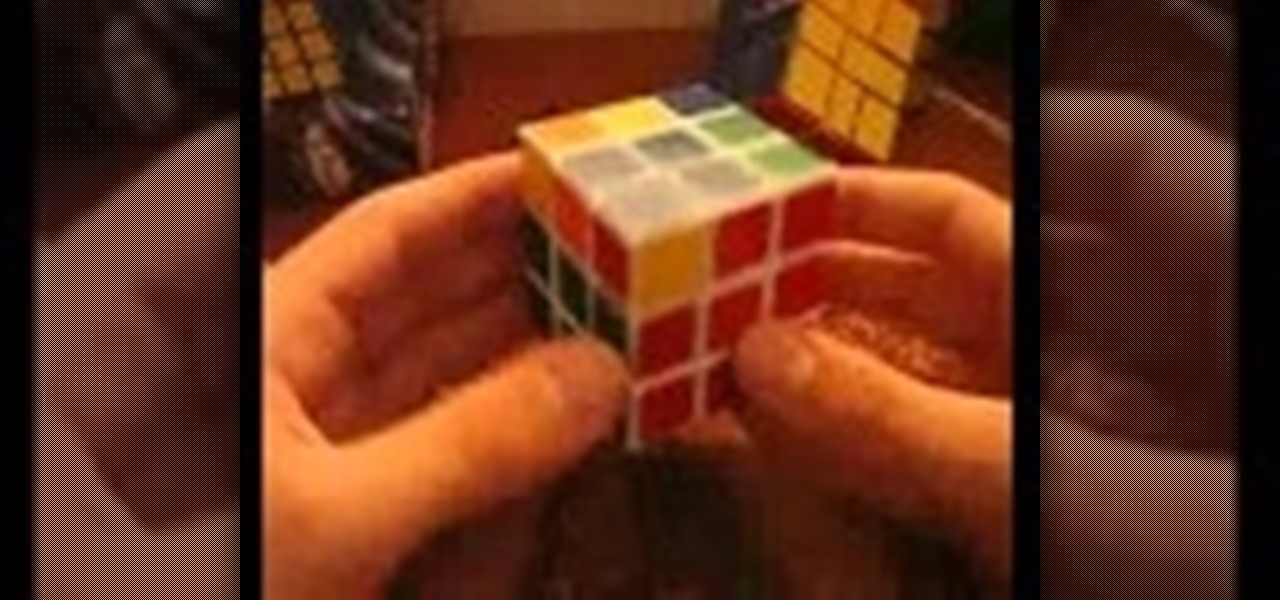
Learn how to master the Rubik's Cube puzzle... watch this two-part video tutorial to see how to solve the Shepherd Rubik's Cube. You don't have to be a genius to accomplish solving the 3x3 Classic Rubiks Cube, but you may have to be one to solve one with stickers invented by Alistair Shepherd. This is one hard cube design! These replacement stickers can be used for the 3x3, 4x4, and 5x5 Rubik's Cubes.

You have a Rubik's Cube, maybe your mother gave it to you for your birthday, maybe you actually bought it for yourself, or maybe you just found that colorful puzzle cube in the gutter, but either way... you don't know how to solve it.

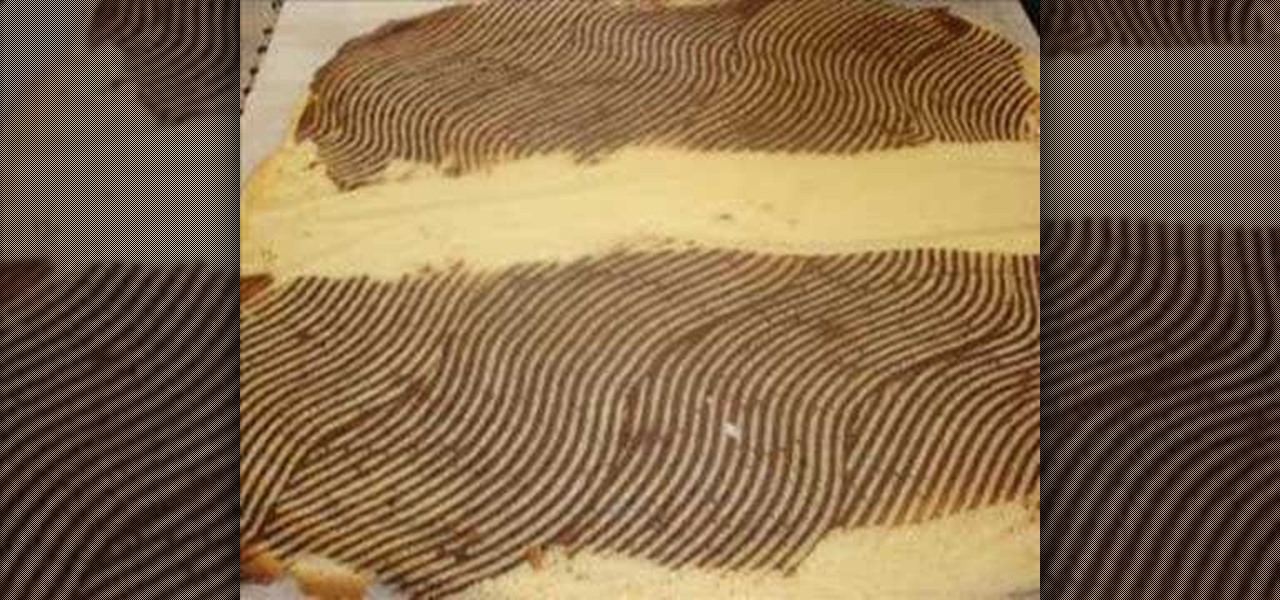
In this tutorial, we learn how to make a banana caramel mousse cake. Start to make a light meringue that tastes like banana. Layer this down on top of a layer of caramel, and then let it cool and get cold. After this, bake it in the oven and turn it over. When you are done with this, peel off the paper from the bottom off the cake. Next, make your caramel filling by heating caramel up and adding fresh gelatin and cream to it. Next, add in butter to the mixture and allow it to get thick. Let t...

What's better than milk chocolate chips? Milk chocolate chips dipped in even more chocolate, of course! Learn how to have your chocolate and eat it too by watching this video on baking scrumptous deep kisses in chocolate.

A great way to rack your brain is by trying to solve a puzzle, so grab your puzzle and get solving! If you need a little help, this video tutorial will show you how to solve the Rubik's Cube F2L with the Keyhole Method. The 3x3 Rubik's Cube is one of the most baffling puzzles on the market today, so make sure your up to speed on solving it. Watch and learn a few algorithms to get your puzzle solved! The Keyhole Method is an easy way to cut down on the layer-by-layer approach to the first two ...

Layer masks in Photoshop hide, but do not remove, pixels from your original image. Learn how to use them for revealing and hiding selections in this tutorial.

You know those big walls of televisions you see at the electronics store? Have you ever wanted to create an effect like that? Maybe for a commercial or cool project? Well this tutorial will show you how to make a wall of televisions projecting different shows using After Effects.

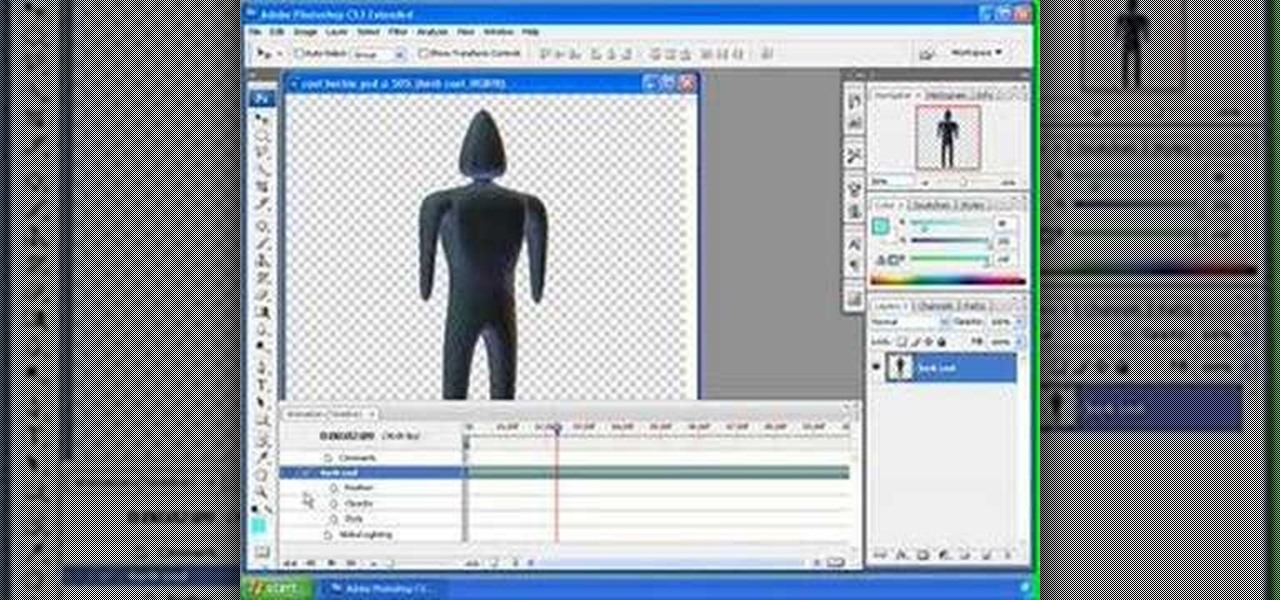
Chad Perkins guides you through the new world of animation inside Photoshop CS3 Extended in this tutorial and teaches you how to animate in layers.

Learn about Layer Styles (drop shadow, bevel & emboss, etc.) in Photoshop and how to use them to create text effects in Photoshop.

Layered soaps allow you to build a thing of beauty—or a thing of wackiness—one color at a time.

When you serve this Tex-Mex 7 layer dip at a party, you're pretty much guaranteed there'll be no leftovers.

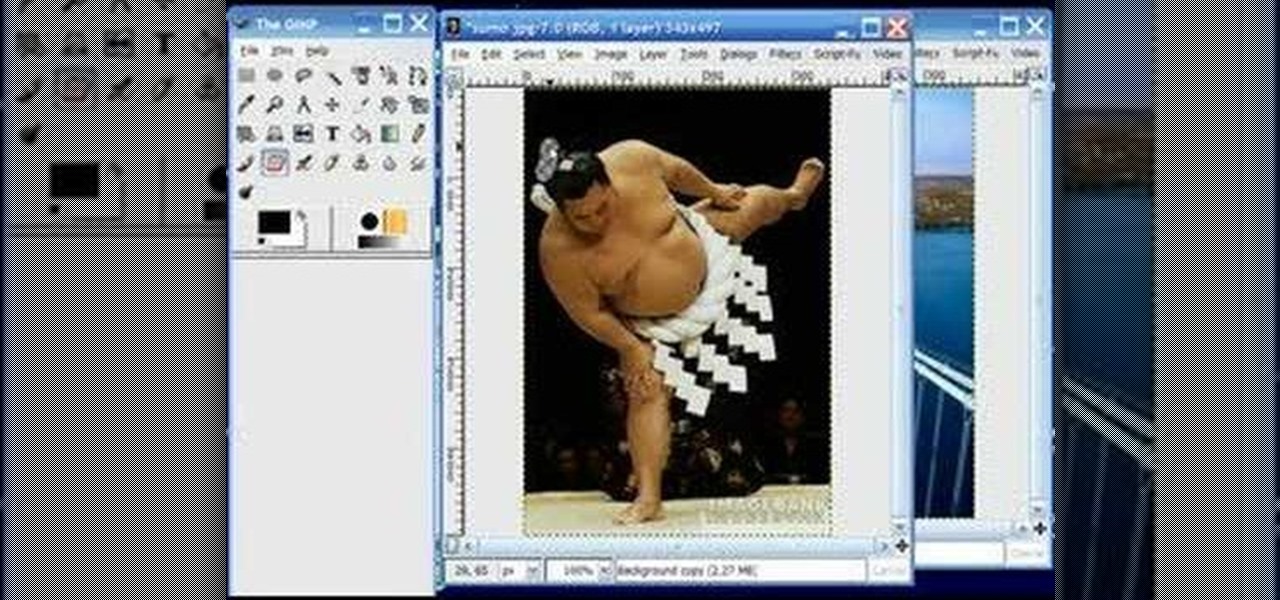
The GNU Image Manipulation Program, or GIMP, is a raster graphics editor application with some support for vector graphics. This video teaches you how to use the GIMP photo editor to edit a series of photos via layering. Learn to put a sumo wrestler over a bridge!

A specialty among select Miami bars, Purple Rain is a sweet martini with a layering technique that gives the drink its signature purple glow. You will need vodka, wild berry martini mix, cherry juice, a shaker filled with ice, a spoon for layering effect and a purple orchid to garnish.

This video shows how to extract things from layers in ZBrush 3. Basically, it shows you how to remove from a flat plane, what you are actually drawing on the plane. It's similar to a boolean operation.

With the rise of OLED displays, Android users have been begging Google for a true system-wide dark mode for years. While a system-wide solution is still somewhat unlikely, Google has given in by providing a dark mode for certain apps, including Contacts.

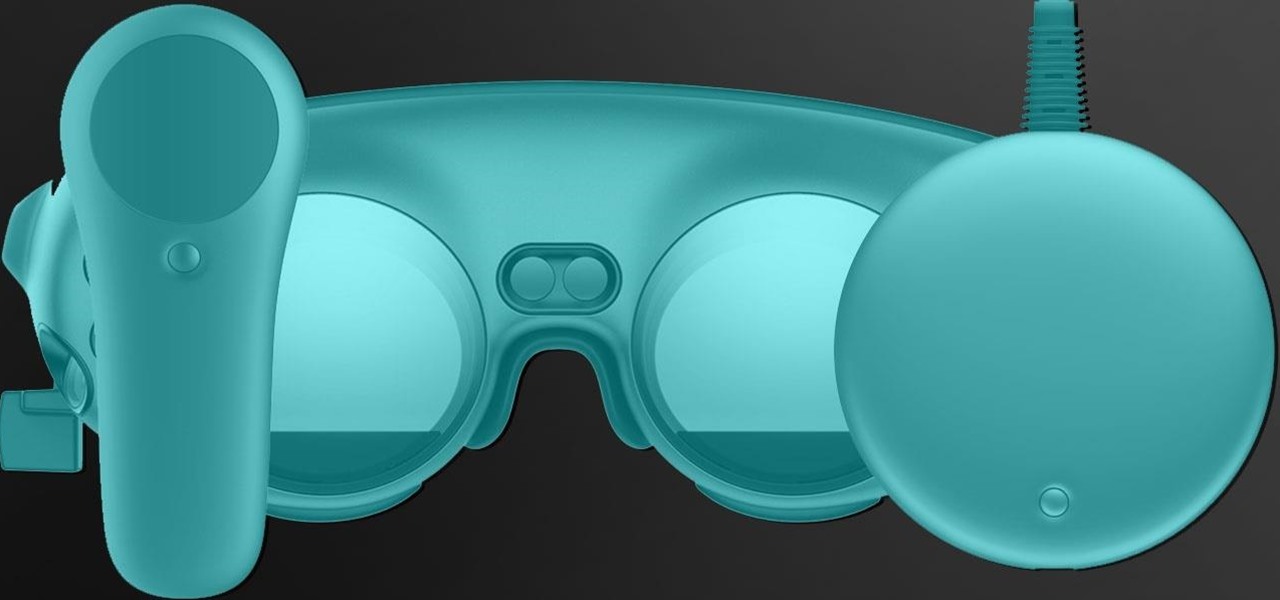
Last week, Magic Leap gave us an additional peek at its Lumin OS and more tutorials that show how its device works with virtual content. But details about the hardware wasn't included in the array of new information.

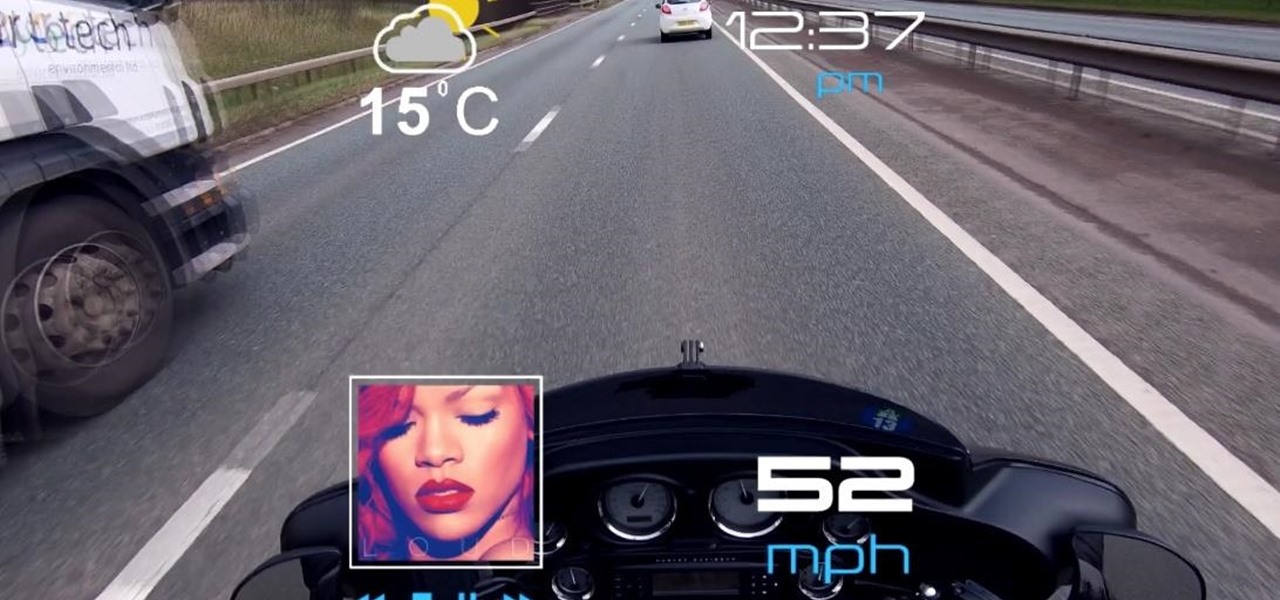
Less than a week after securing a $25 million Series C funding round for automotive HUDs, DigiLens has introduced a new waveguide display for motorcycle helmets that's thinner, lighter, brighter, and manufactured at a lower cost.

As awesome as the 2017 Galaxy lineup may be, few can forget the monstrous disaster that was the Note 7's exploding battery. Needless to say, the last thing Samsung wanted was another news story about a problem with the Note 8's battery. Unfortunately, that's exactly where we find ourselves today.

One of Android 8.0's central themes was battery improvements. Google implemented background restrictions and a few other under-the-hood changes, but the biggest battery-saving measure was almost user-hostile: A static notification that tells you when any of your apps are running in the background.

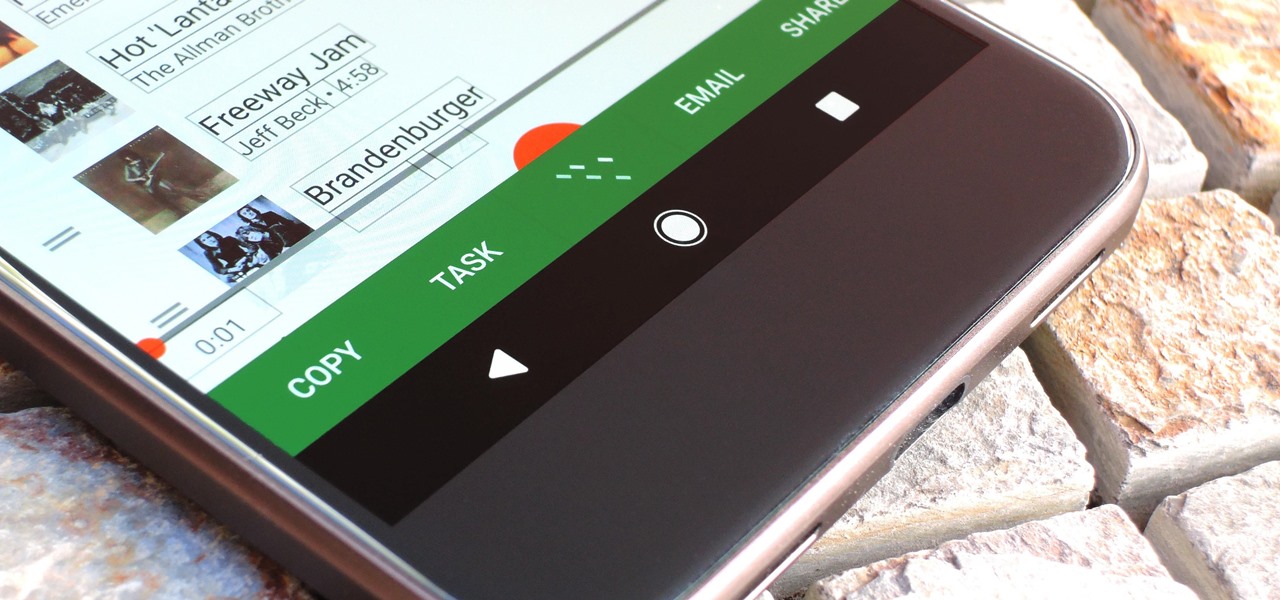
Selecting text on a touchscreen device has always been a major pain point. Those tiny little arrows that let you adjust the selection area are always too hard to actually adjust, making precision all but impossible. Then there's the issue of some apps not even allowing text selection in the first place, so the entire experience is basically a big mess.

One of the biggest causes of smartphone battery drain is the mobile data connection—particularly if you live in an area with poor reception. But, chances are, you don't actually need this connection most of the time, because you're probably connected to Wi-Fi for a good chunk of the day, which uses far less battery life.
