
How To: Create a warm, grungy background in Photoshop
Learn how to create a warm, grungy background in Photoshop. - Open up a brand new document at 1280 x 720.


Learn how to create a warm, grungy background in Photoshop. - Open up a brand new document at 1280 x 720.
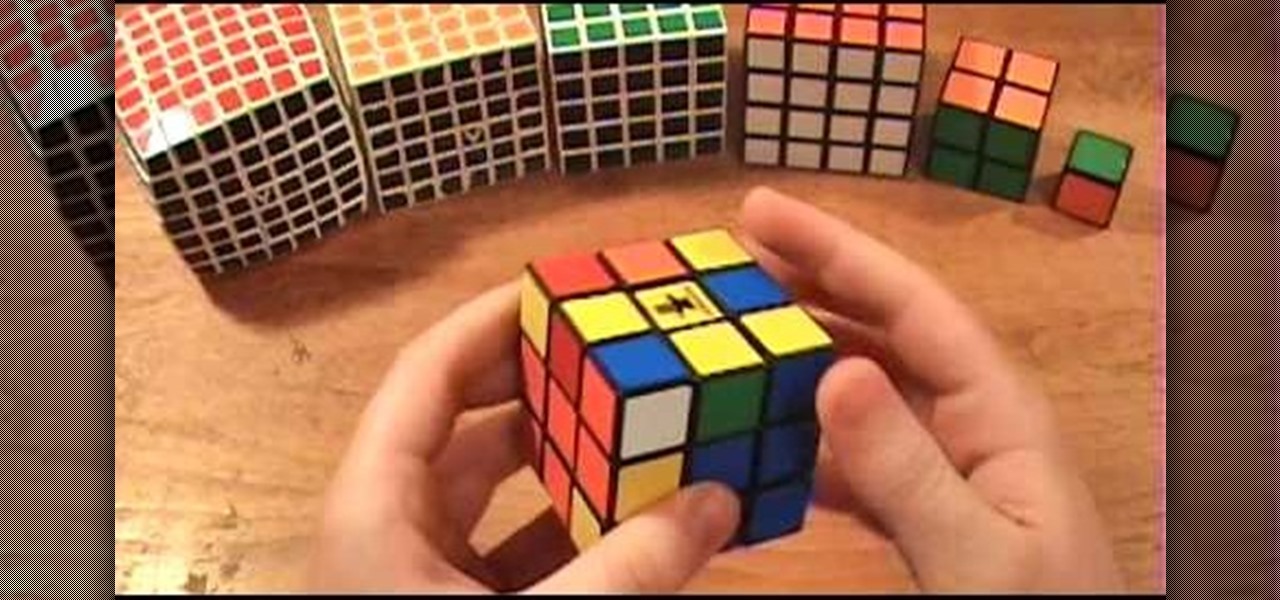
It's time to solve that Rubik's puzzle of yours, but how do you do it? Erno Rubik designed these three-dimensional mechanical puzzles to be precariously difficult, unless you know a little about mathematical algorithms, then it's just a matter of time and determination.
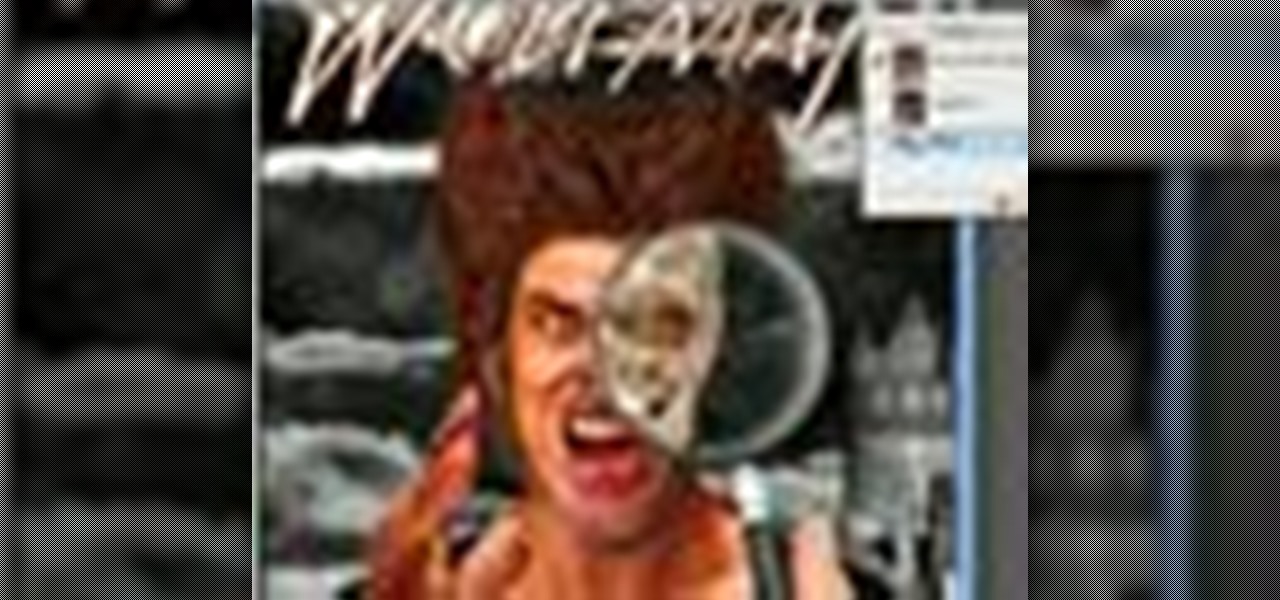
In this Photoshop CS3 tutorial you will learn how to use the knockout feature. This advanced masking technique allows you to move a targeted layer around, revealing the layer underneath. This video will show you how to reveal a creepy skeleton under a monster werewolf right in Photoshop. This classic technique lives again! Learn the subtle qualities of the Deep, and Shallow, Knockout feature in Photoshop.

Ever hear of a Rubik's Cube, well, did you know that some people can actually solve the mighty puzzle? Yes, that right, they sure can, and so can you... maybe.
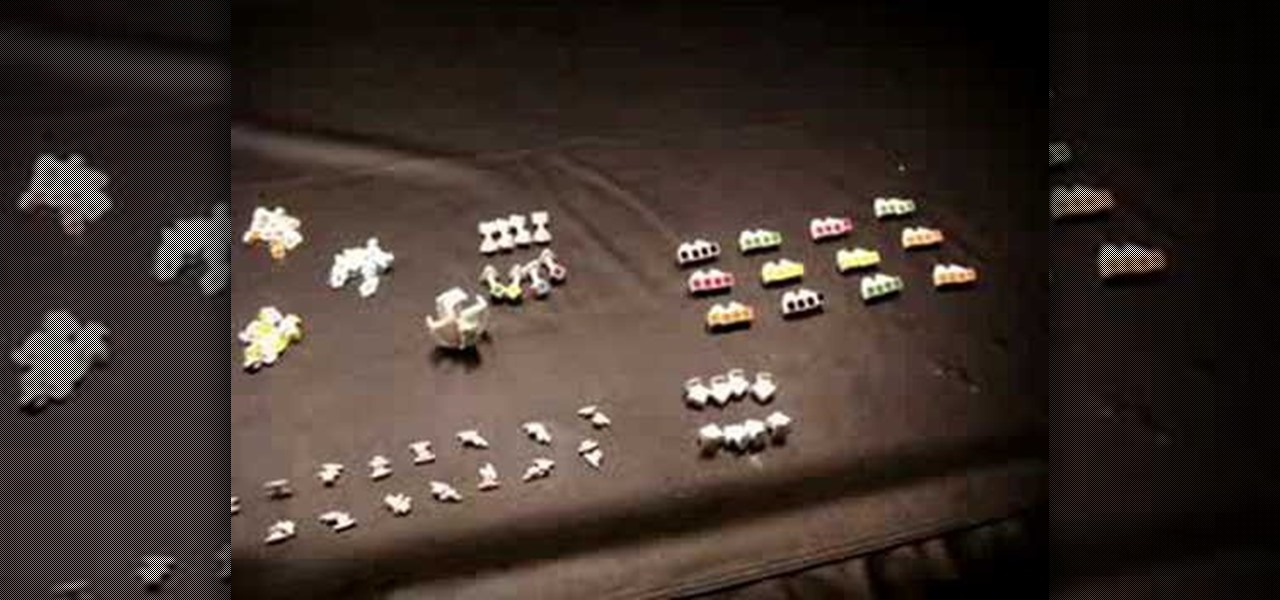
The V-Cube 6 puzzle is a uniquely designed and constructed skill game. V-Cube 6 is a multi-colored, multiple-layered cube, rotating smoothly on based axes. The player is required to discover a strategy to achieve uniform color sides on her or his V-Cube, but in this process, the Rubik's Cube-like puzzle may break, especially if you're in the process of speedsolving.
This tutorial covers how to use layers to composite footage together and then how to keyframe footage layers. The tutorial gives a clear and easy step-by-step breakdown of using compositing and keyframing in Final Cut Pro 6.
In this video tutorial you will learn to use custom shape clipping masks in Photoshop CS2. The masks offer you great control over your design. This example involves the use of layers and layer style.
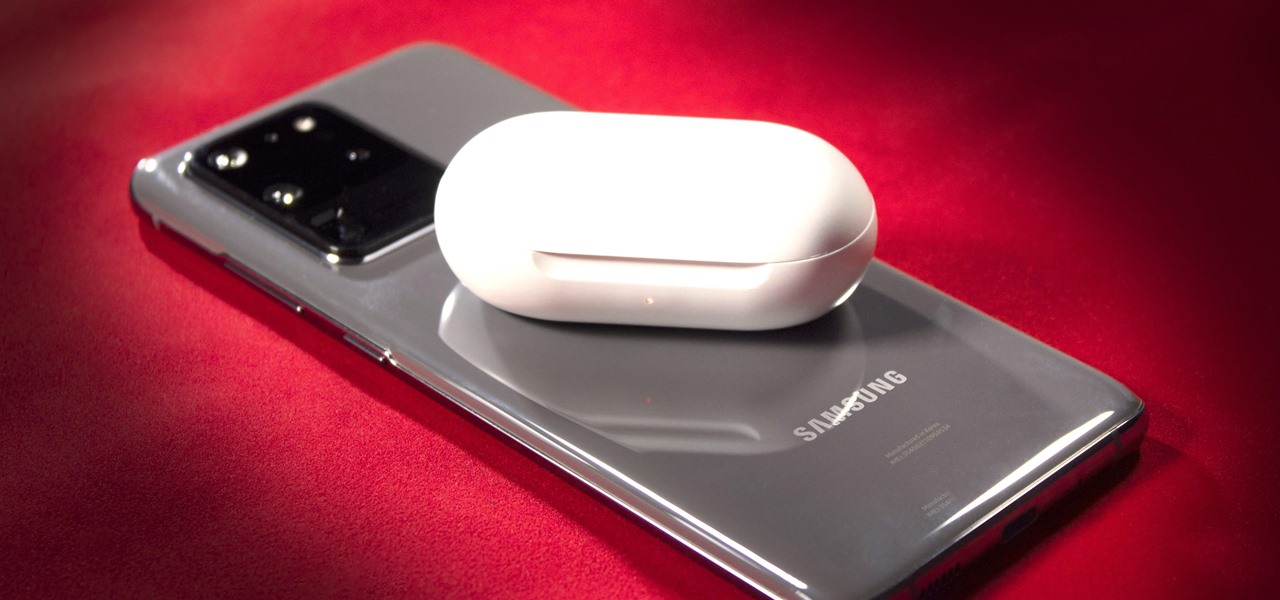
The Galaxy S20's Wireless PowerShare is a must-use feature. With even the base model packing a 4,000 mAh battery, you have more than enough juice for all your Qi-enabled devices. The default settings make it so that in certain situations, you may have to choose between your phone or wireless earbuds, but you can change that.

It's no secret that Google is all about AI. In their eyes, machine learning is the future of software development, and you can see evidence of this all over the last couple Android updates. They've used it to power all sorts of features in their Pixel phones, and they've even donated some of their AI smarts to AOSP for all Android manufacturers to share. But it looks like Samsung isn't exactly on board.
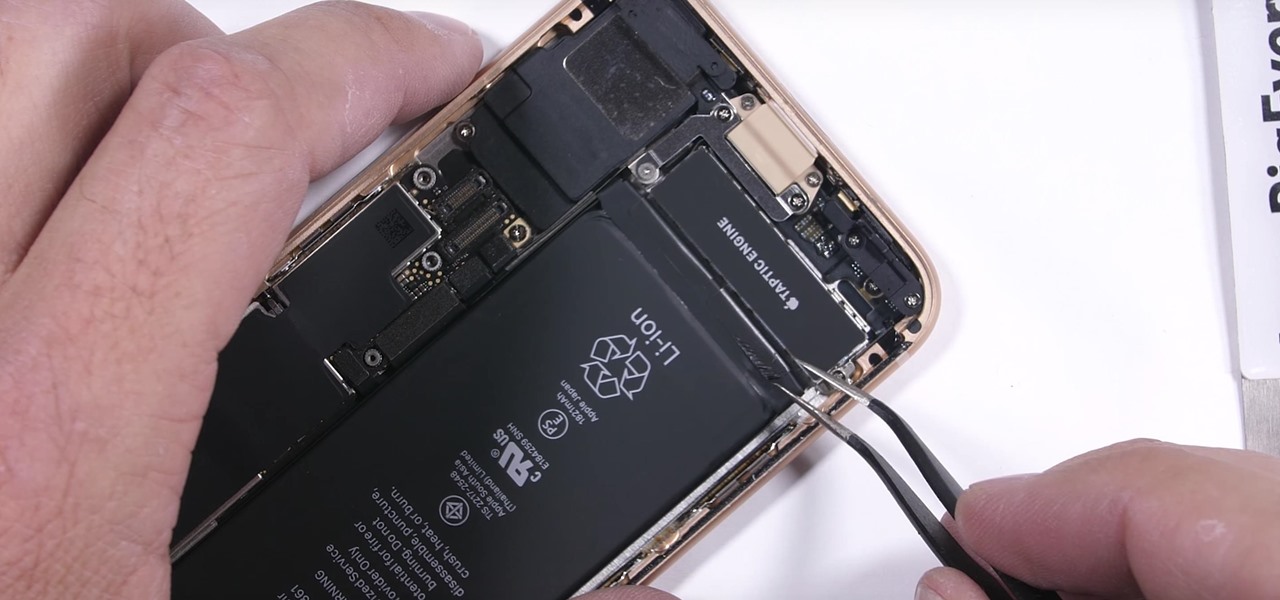
Apple has been in hot water ever since the news that the company slows down iPhones with older batteries. The iPhone maker is now in damage control, offering customers a large, $50 discount on battery replacements. The question for you, though, is does your iPhone need a battery replacement in the first place?

Technology ages rapidly. We're conditioned to refresh our iPhones every one or two years, and why wouldn't we? New iPhones are fast, and our old ones inevitably slow down, sometimes to an unusable degree. However, it turns out, there's something we can do about that, and it doesn't involve buying a new iPhone at all.
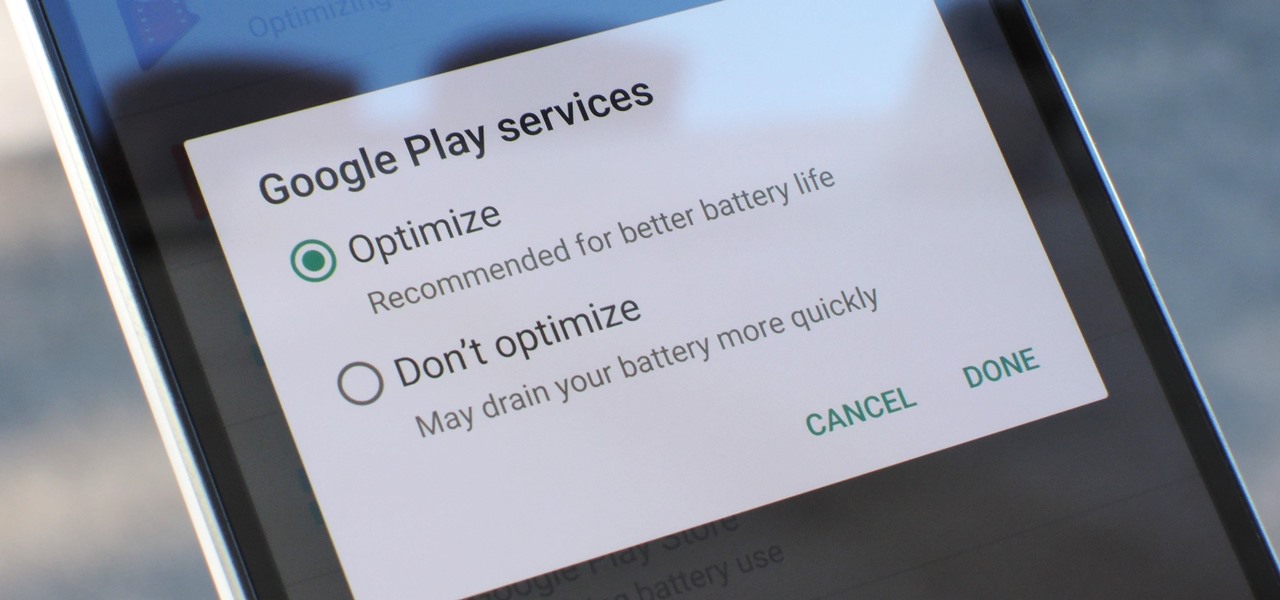
Google Play Services has been near the top of every Android user's list of battery-sucking apps for years now. It's a core system app, so you'd expect some battery drain, but for many folks, it runs rampant.
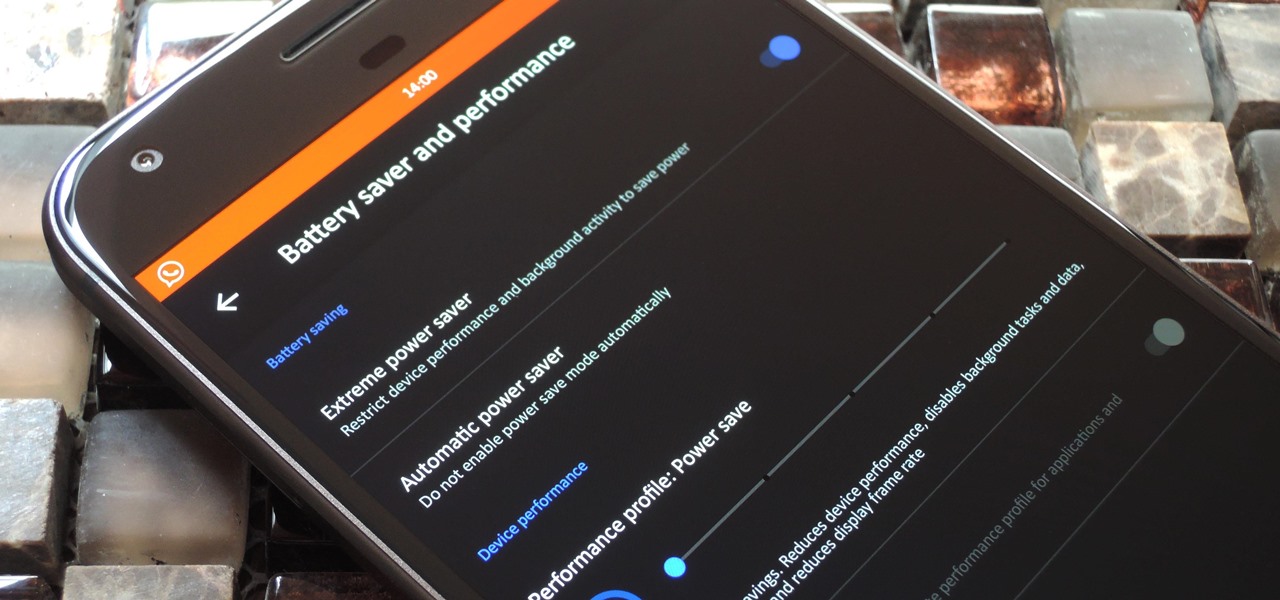
LineageOS, the successor to the wildly popular CyanogenMod custom ROM, is adding an interesting new feature that could potentially save lots of juice when your battery is running low. When enabling "Extreme power saver" mode, which can be set to kick in automatically at 15%, you'll soon have the option of changing your kernel's performance profile as well.
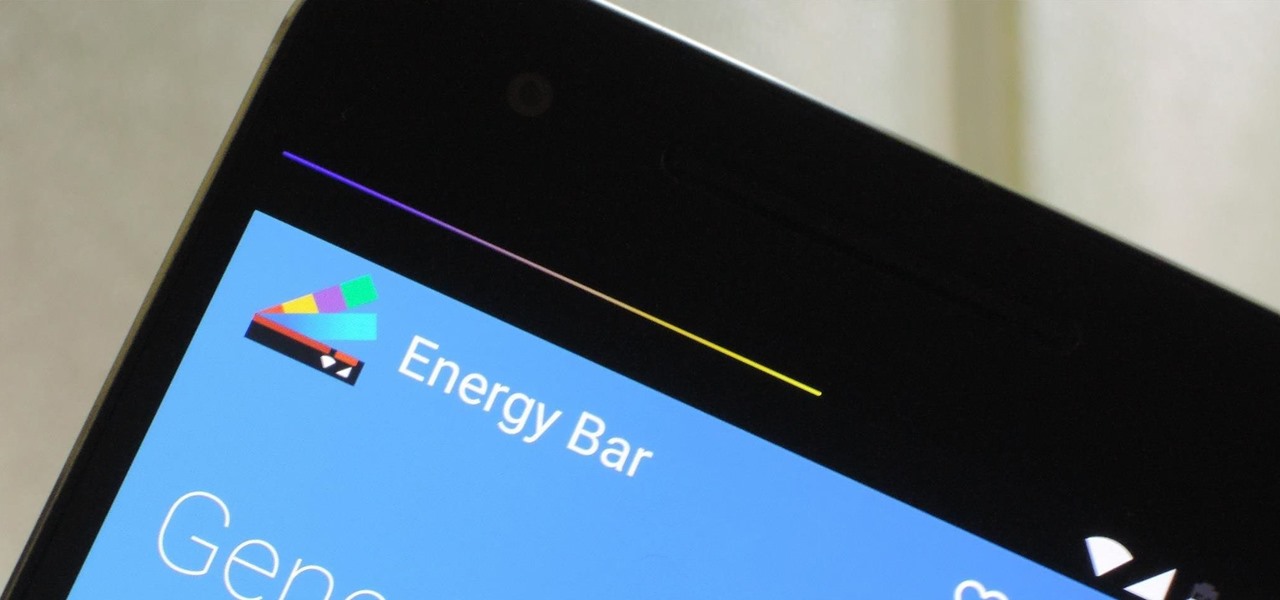
Even with today's high-powered devices, battery life is still an issue. We, as users, have to almost habitually check the current battery percentage, because otherwise, we might end up draining too much in the morning, then get stuck with a dead phone at night.
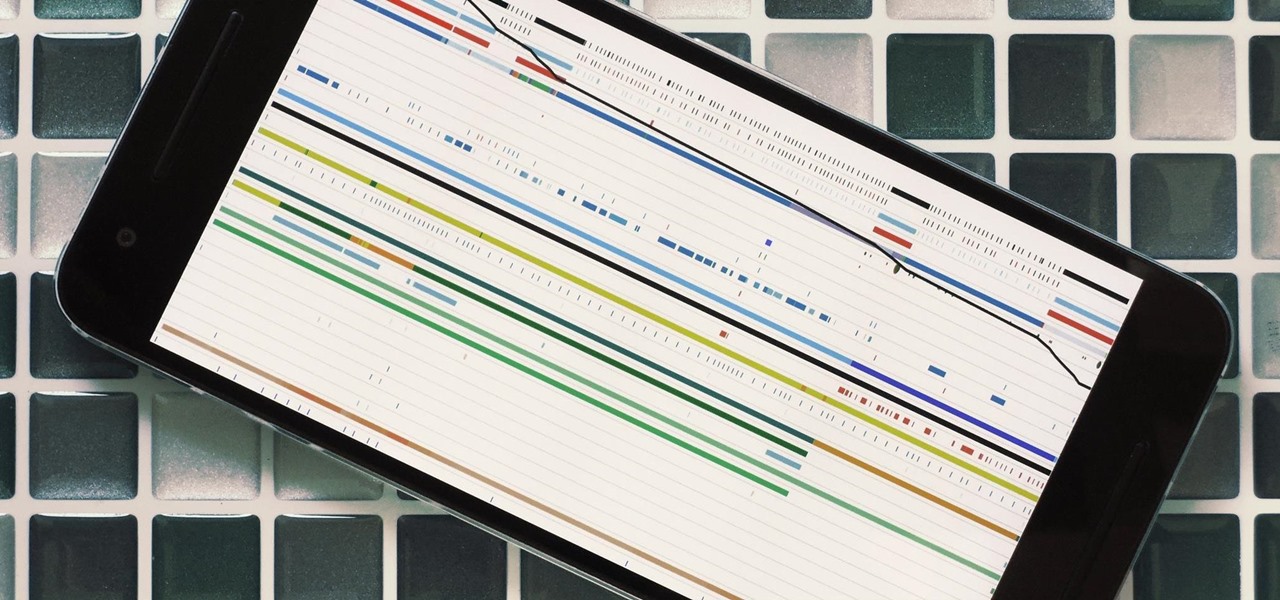
Android's stock battery menu is pretty decent. You can see which apps have been using the most power, and you can tell when your CPU was awake or asleep, among other things. But a lot of times, battery-sucking services will get lumped under the generic "Android System" header, and even though you can see when your CPU was awake, you can't exactly see why.
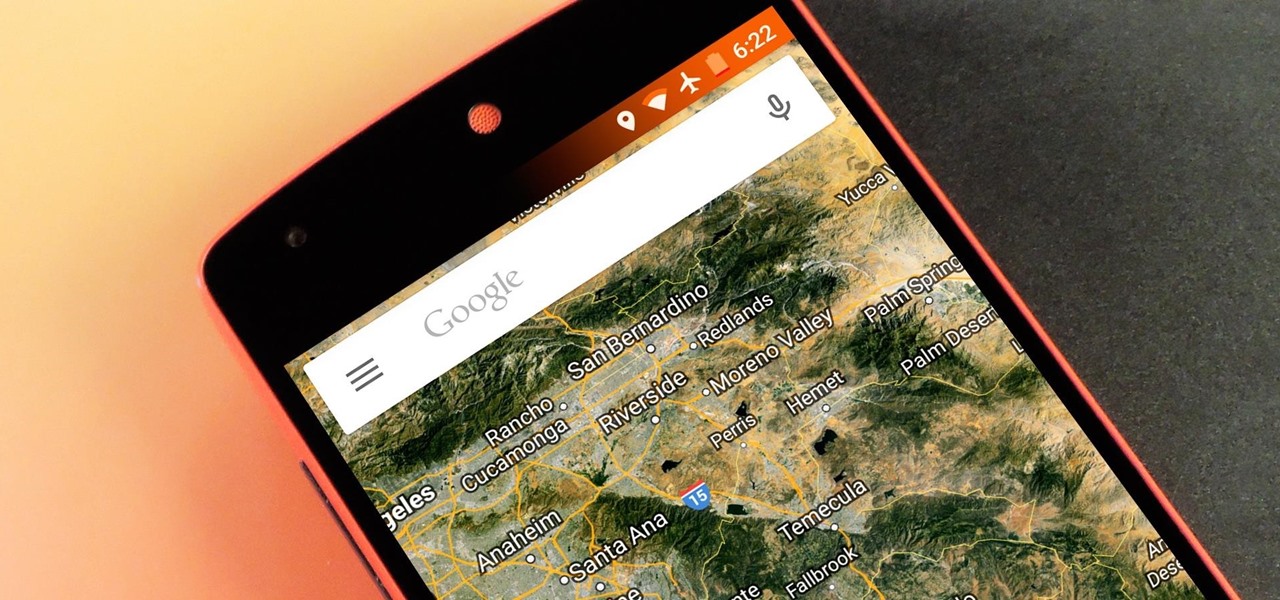
Android Lollipop has an awesome feature called "Battery saver" mode that reduces power consumption through various tweaks in order to squeeze in an extra hour or two of standby time when your battery is running low. It does this by disabling background processes as well as location services and transition animations, so the phone is essentially running at half-throttle.
Many modern Android devices use a display technology called AMOLED. These screens differ from traditional LCD displays in that each pixel emits its own light, so a backlight is not required. Even better, when rendering a black element on the screen, AMOLED displays simply don't light up the associated pixels, meaning virtually no power is used. Since black pixels use little to no power on an AMOLED screen, more black pixels means lower battery consumption.
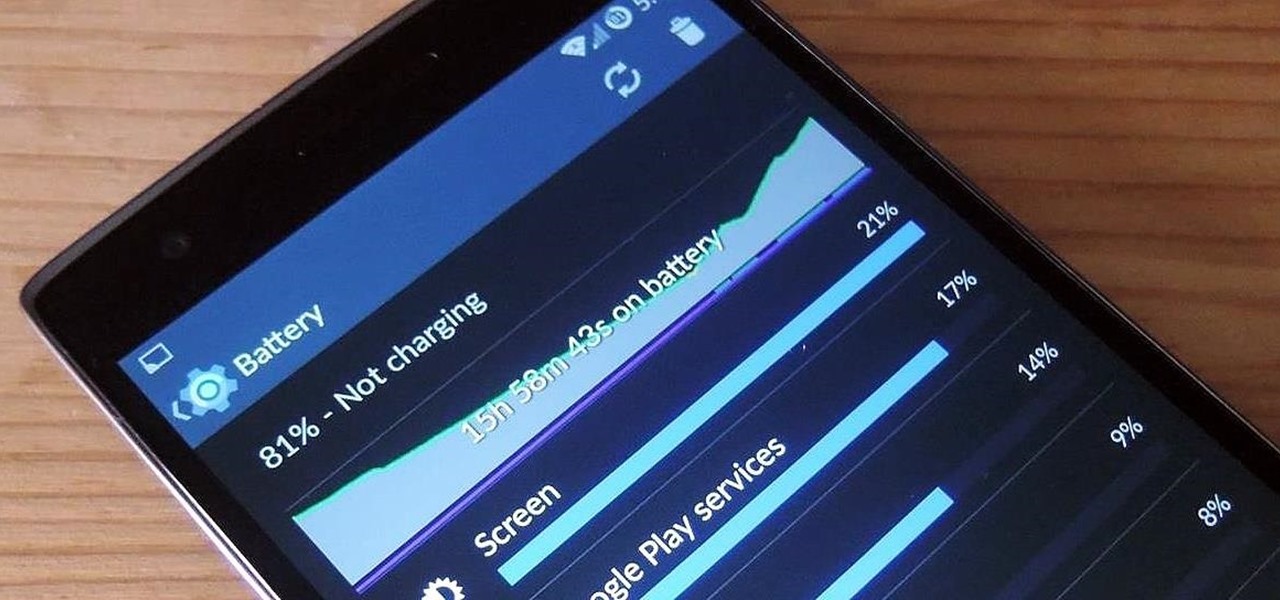
The new OnePlus One packs a 3,100 mAh battery that promises to last all day and night. While that will work for most, some of us don't quite know how to put our phone down and save some juice.
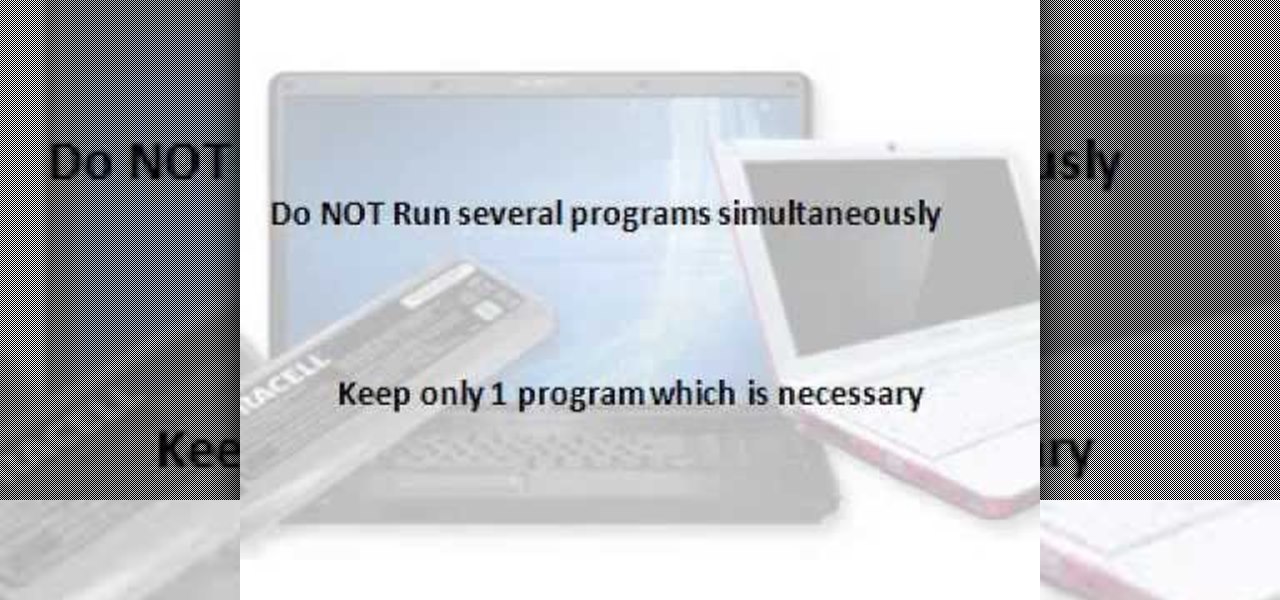
Most of us who use laptop suffering form Battery problem. Here are few tips or measures for increasing laptop battery life. If you follow these steps you will surely enhance the lifespan of Battery. See the video.
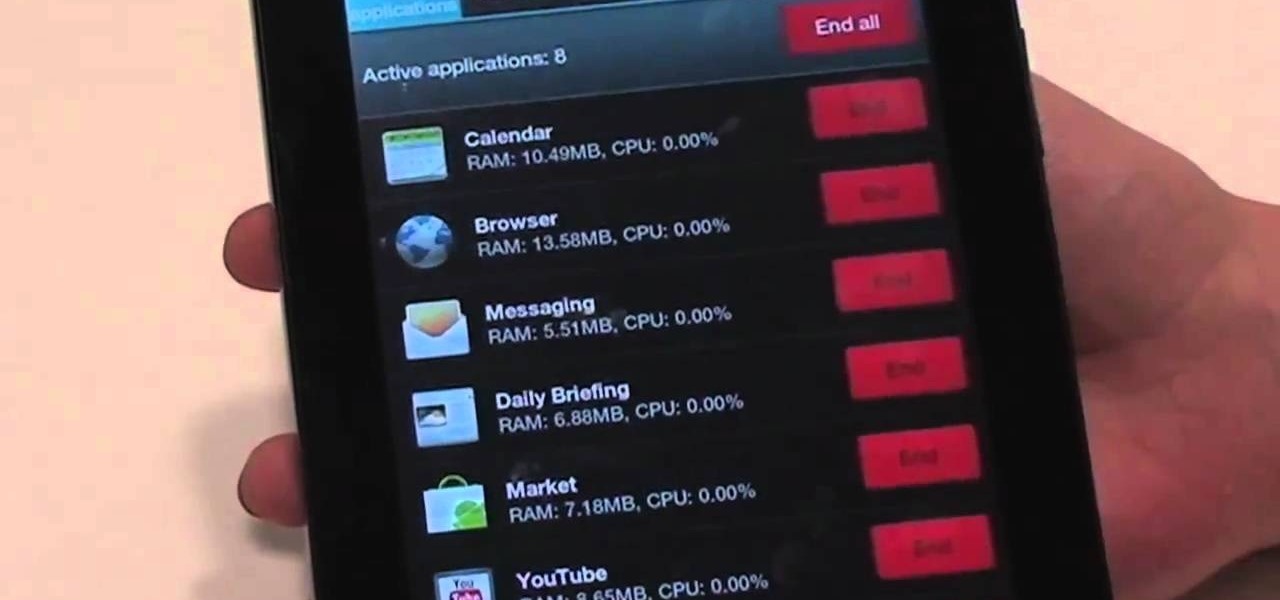
Nobody likes a wasted battery. That's why it's important to make sure you close all of the running Android apps that you don't need. On the new Samsung Galaxy Tab, it's easy to eliminate those battery-draining apps via the Task Manager. See how to access it and how to clean up the mess!
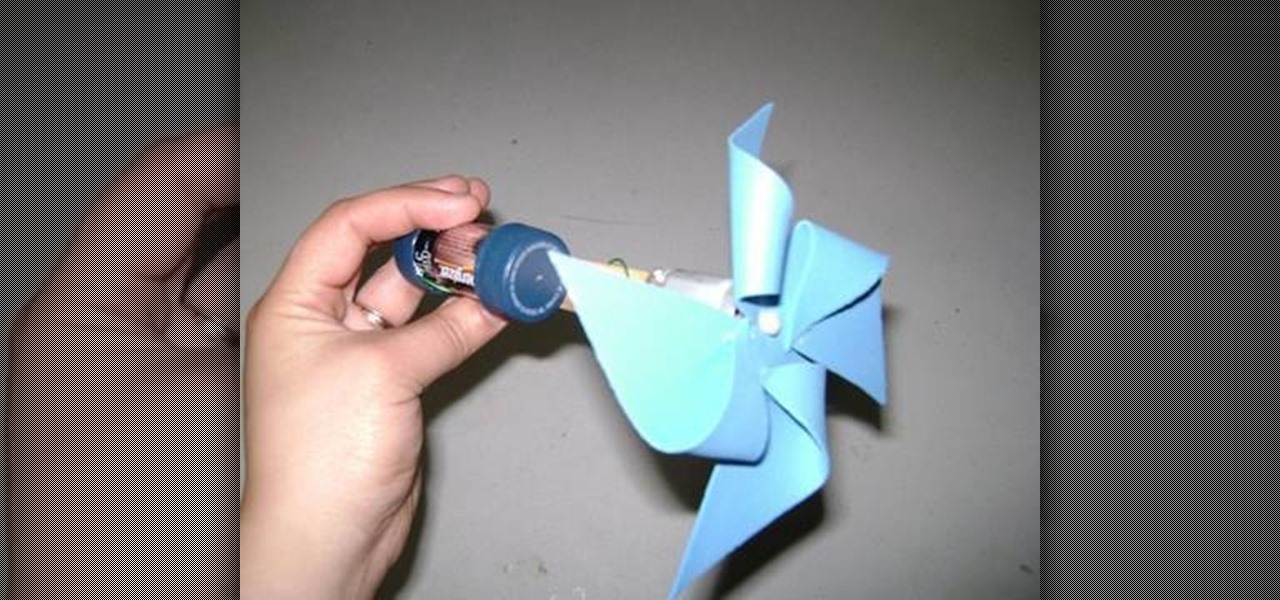
Here's another fun summertime craft for your budding engineer - make a spinning paper pinwheel or fan! You'll need a C-battery, a toy motor, two soda caps, a popsicle stick, foil paper, copper wire, a small sheet of foam, a sharp pencil, a hot glue gun and some safety scissors.

In this video, we learn how to ink and color in Photoshop. First, you will want your background and sketch in two layers. Make a new layer which will be the layer you ink your art on. Move the opacity down on this, then zoom in and start inking your art. Use a normal brush in whatever size will fit your art the best. Take your time, then start a new layer when finished. Color the areas of the picture, then when you join these layers together, you will have an entire drawing finished. Make sur...
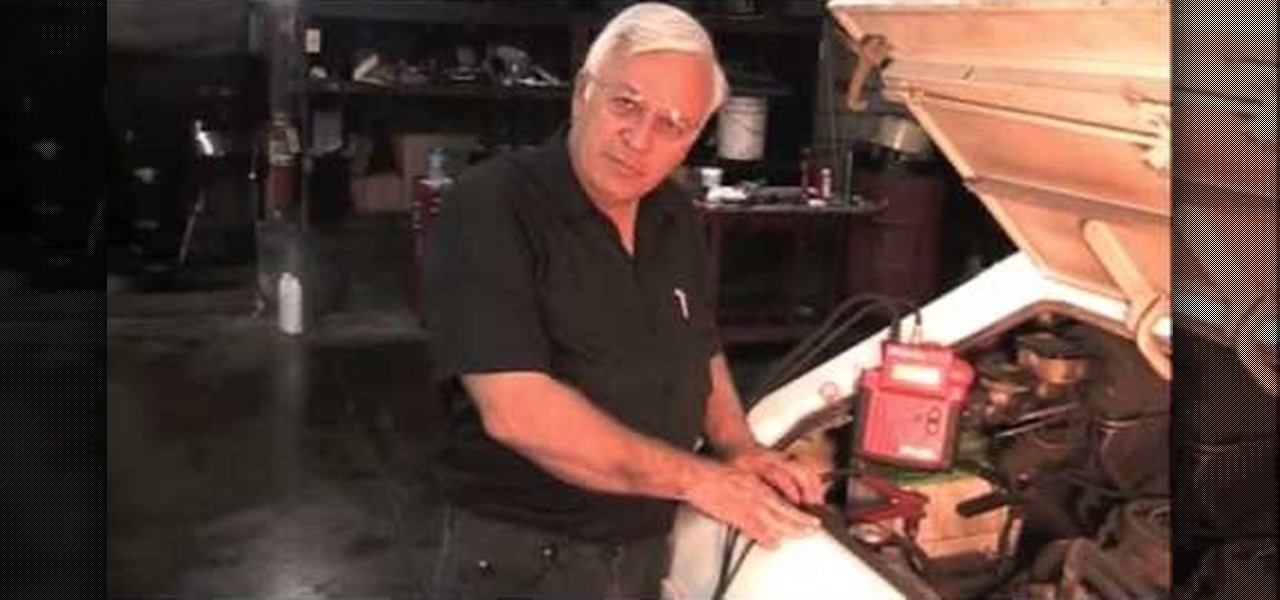
The starter on your car's health is directly related to how many amps it pulls from the battery. This video will show you how to use a multimeter to check volts going from the battery to the starter, and use an amp meter (don't use the multimeter for this part!) to check the amps at the starter.

This video tutorial belongs to the software category which is going to show you how to darken the background in Photoshop using the burn tool. This is an example of how to improve your dodging and burning using the adjustment layers.
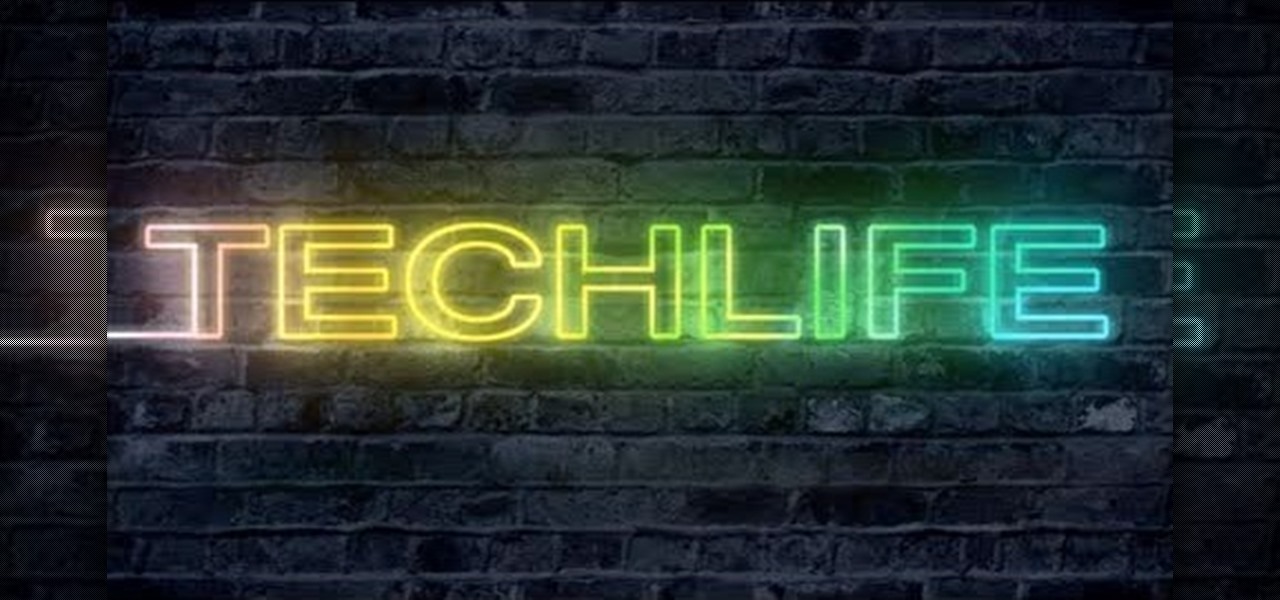
In this tutorial, we learn how to make a cool neon text effect using Photoshop. First, type your text using a big and simple font. After this, right click on the text layer and click on "rasterize type". Now, press the control button while you click the thumbnail of the text layer. After this, grab the lasso tool and click "select inverse". Then, set it on 12 pixels in the toolbar. Now, use the magic wand too and select each of the letters by holding shift. Next, create a new layer and click ...
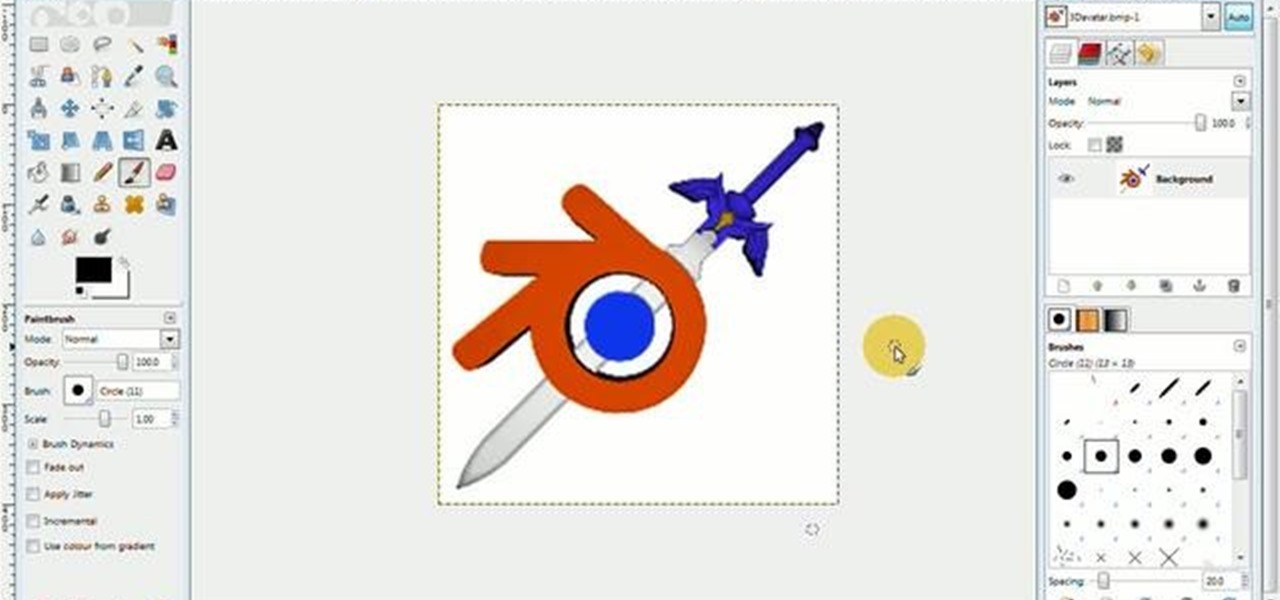
With this free video software tutorial, you'll learn how to create and stack multiple layers à la Photoshop in the GIMP image editor. This particular clip uses the effect in service of making a Blender logo with a Zelda sword through it but, obviously, it has quite a lot of other applications. For more information, and to get started using multiple layers in your own GIMP projects, take a look.

Open the picture you want to edit. Right-click on the main picture layer in the box and then select "Duplicate Layer". Then, in the same box, go to the drop-down menu that says normal, and change it to "Overlay". Then, select Filter>Other>High Pass. In the box that comes up, set the radius to 7.4 pixels. Next, go to Layer>New Adjustment Layer>Gradient Map. Then, when the box comes up, click OK. Then click on the main gradient in the Gradient Map. In the new box, there is a bar that goes from ...

In this video, we learn how to turn a photo partially black and white using PhotoShop. First, open up the program and open up the picture you'd like to change. Now, click with the right key above the layer and choose duplicate "layer". Now click above the eye icon to hide the layer, then select the layer. Now you can go to image, adjustments, then black and white. Now make the second layer visible and select the eraser tool. Wave your brush over everything but what you want to keep colorful. ...
This video shows us the method to make your laser pointer work with AAA batteries. Take a metal casing made of metal. In the video, we take a Duracell mini flashlight and remove the front and back part. Unscrew the top and back of the laser pointer and remove the batteries. Roll some aluminium foil and put it in the metal casing. Put the AAA batteries in the casing with positive side inside. Put the casing and the laser pointer together and the laser works. Bind the two together by two rubber...

First create a new 800x600 document and fill it with black color. Then create a new Layer and add a white circle with the hard edge Brushtool Select the 'Eraser tool' and use the same brush (a bit smaller) to erase the inside of that circle. Rightclick an layer 1 and go to the blending options. Add a contour. Now you should have a simple ring. Create a new layer again, and drag a dark red/brown circle inside the ring. Open up the Apple Logo (download in discription). Resize/replace it. Rightc...

River City Graphix Tutorials demonstrates how to make a reflection in Photoshop. First, fill the background layer with black. Then, select the text tool and a color of your choosing. Type the words that you would like to reflect. Next, duplicate the layer to make a copy of the layer. Hold shift and bring it down, setting it on the bottom of the other layer. Select the rectangular marquee tool, right click to get the free transform tool. Right click again and then flip the image vertically. Se...

In this how to video, you will learn how to turn a photo into a line drawing in Photoshop. First, open your image in Photoshop. Create three layers of the same photo. The top two layers will be worked with. The bottom layer will remain the same. Take the top layer and change it to color dodge. Select control and I on the keyboard to invert it. Go to filter and blur to choose Gaussian blur. If you have dark lines, use a small amount of blur. You can use a lot of blur to get a unique look. Clic...

To create glossy or reflective vector image, you will need to know how to use the offset options in Adobe Illustrator and the basics for pathfinder. You will be creating a vector image that can be resized without hurting its quality. To start select you text style, which be glossy for this. You will have first a white layer, a shadow, a radiant layer, a white outline and a shadow going underneath. In this video the Oh Gizmo Logo! is being used as the template. Right click create outlines. You...
This how to video shows you how to create a nebula star scene in Photoshop. First, create a new image in Photoshop. Fill the background with black. Next, create a new layer and call it stars. Go to filter and select noise. Choose Gaussian and click monochromatic. Click okay to add the noise. Once that is done, go to adjustments and levels. Change the settings so that you have less clutter. Next, make a selection in the middle. Copy and paste it as a new layer. Go to edit and select free trans...
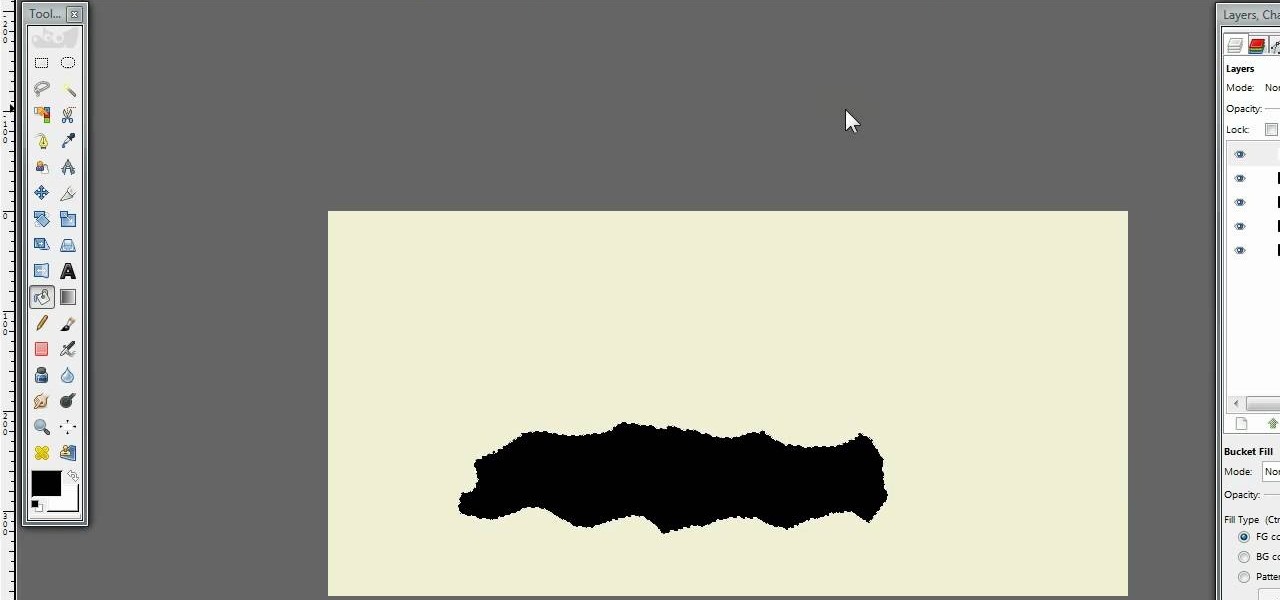
Hulldo teaches you how to create your own headlines in GIMP. You start off with a new file and paint that a light brown. Make a selection on the file and create a new layer on top. Color that layer black and add Gaussian blur. Put that layer beneath so it will make a shadow on your selection. Create the start of a gradient or simply a Grey layer on the bottom of the headline. Then add your text with black color. You can duplicate these layers, reside the selection and change the text. You are...

1. This video describes how to make an ice cream casserole. For this first, you need the following ingredients "Ice cream Sandwich, Cool whip, Caramel Sauce, Chocolate Sauce and Butter rings. Now take a big pan and arrange the "Ice cream Sandwich" in the bottom of the pan and in the next layer apply the "Whipped cream" to cover on fully on the Ice cream sandwich layer.
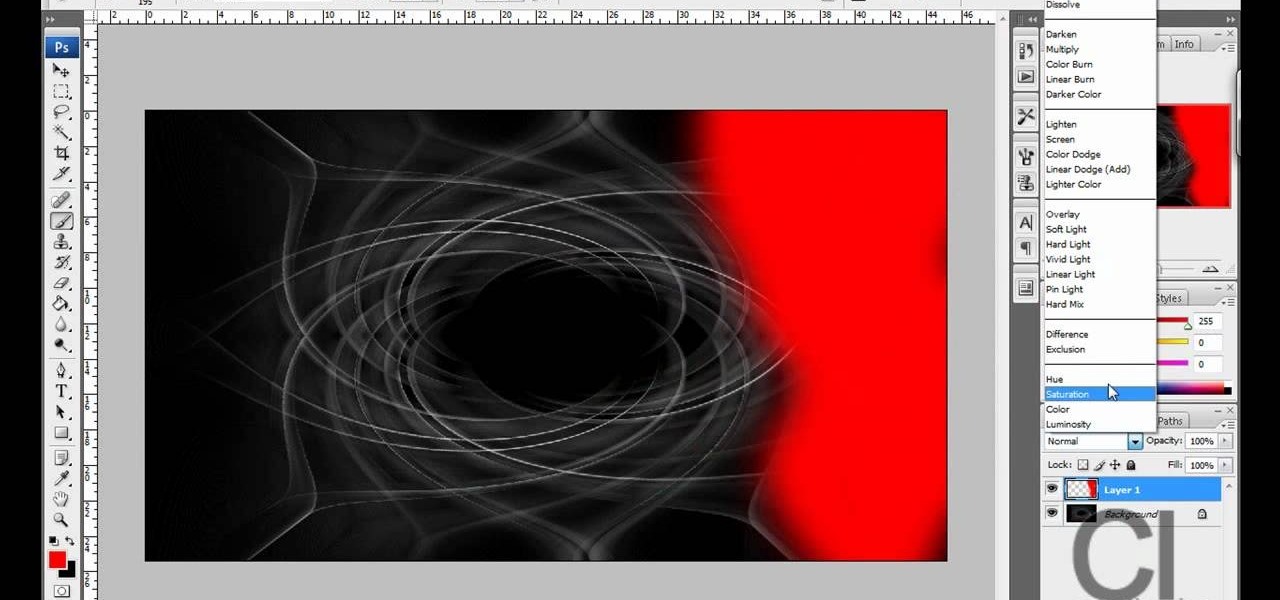
CreativeIceDesigns teaches you how to make a colorful abstract background using Adobe Photoshop. Go to File - New and make it 1280 x 720 pixels. Make the background black. Use the Lasso tool to make a star shape and fill it with white. Go to Filter - Blur - Radial Blur, amount 100%, zoom best. Go to Filter - Radial Blur. Then Filter - Stylize - Find Edges. Press CTRL + I to invert. Go to Filter - Distort - Twirl - 300 and press OK Duplicate this layer. Go to Filter - Distort - Twirl and choos...
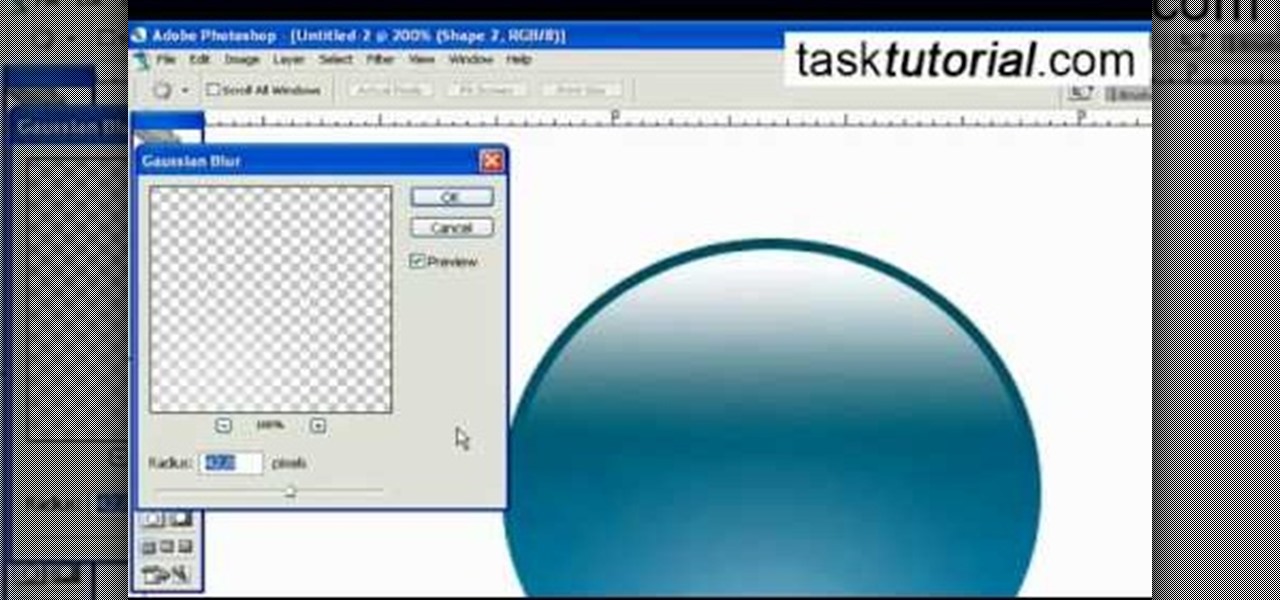
This video describes how to create an easy glossy button in Photoshop. This is done by "simpleretouch.com" website. First select the "Ellipse Tool" from the Photoshop tool bar and then drag it on the layer; it will give the ellipse shape in the layer. Select the "Blending options" from the "Layers" Menu by double click on the layer which is right below corner. From the blending options choose only the "Gradient Overlay" and in that we can choose color and its gradient as your wish. Now take a...

Open up the GIMP on your computer, and then proceed to open up the photo you wish to modify. Now, select the scissors tool from your Tool palette or by clicking "Tools" on the menu bar, then click "Selection Tools," and also click "Intelligent Scissors." Use this tool to outline the person's hair in the photo by clicking along the hairline at about 1/4-inch intervals until you return to the first place you clicked.
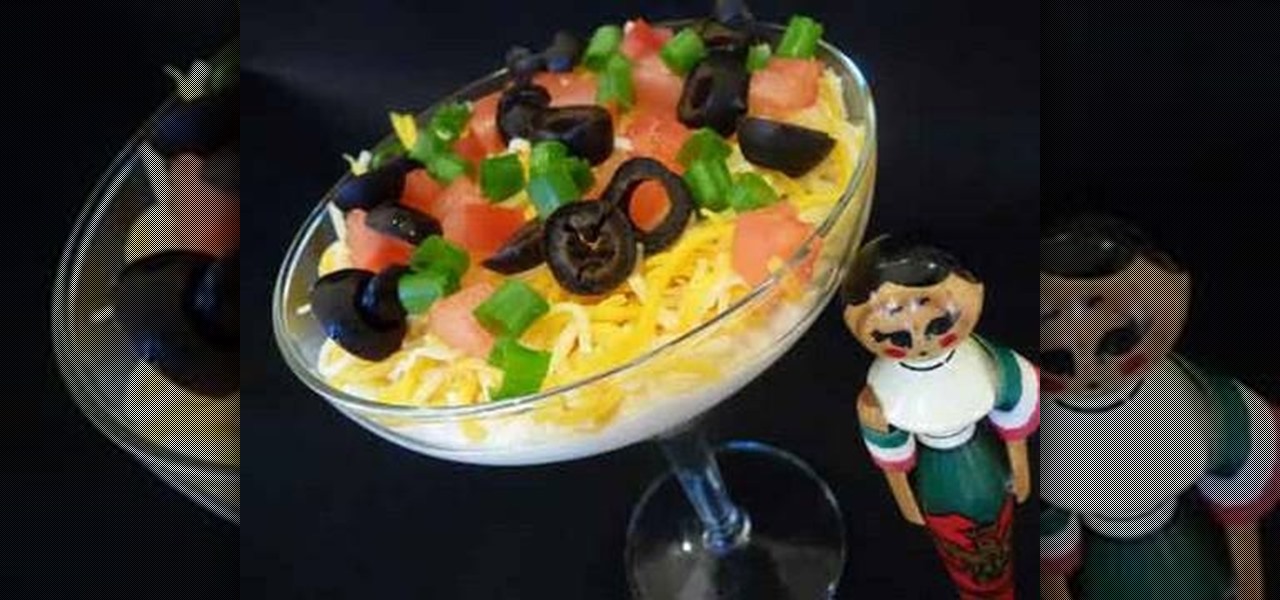
Hetal and Anuja from Show Me the Curry! take a step away from their usual Indian cuisine to show you how to make a delicious Mexican-style seven-layer dip. Choose the serving dish. For large parties a decorative bowl is suggested; otherwise, you can make individual servings in a margarita glass. For the first layer, spread refried beans in the bottom. Make this a thick layer as it is the most substantial part of the dip. The second layer is guacamole; spread this over the top of the refried b...