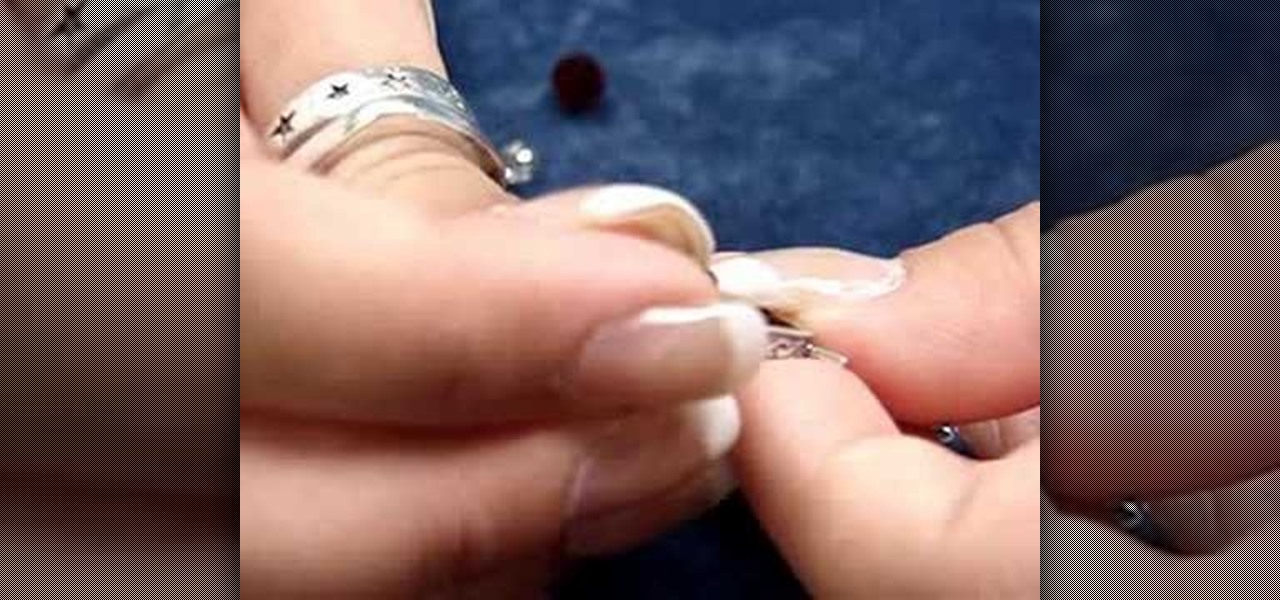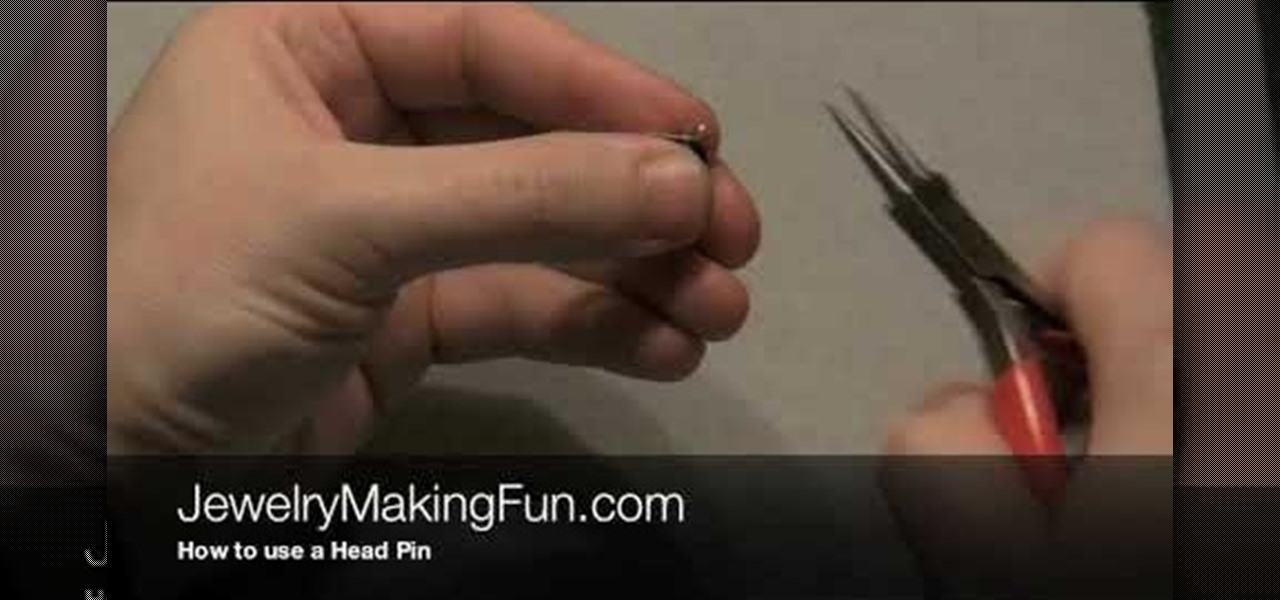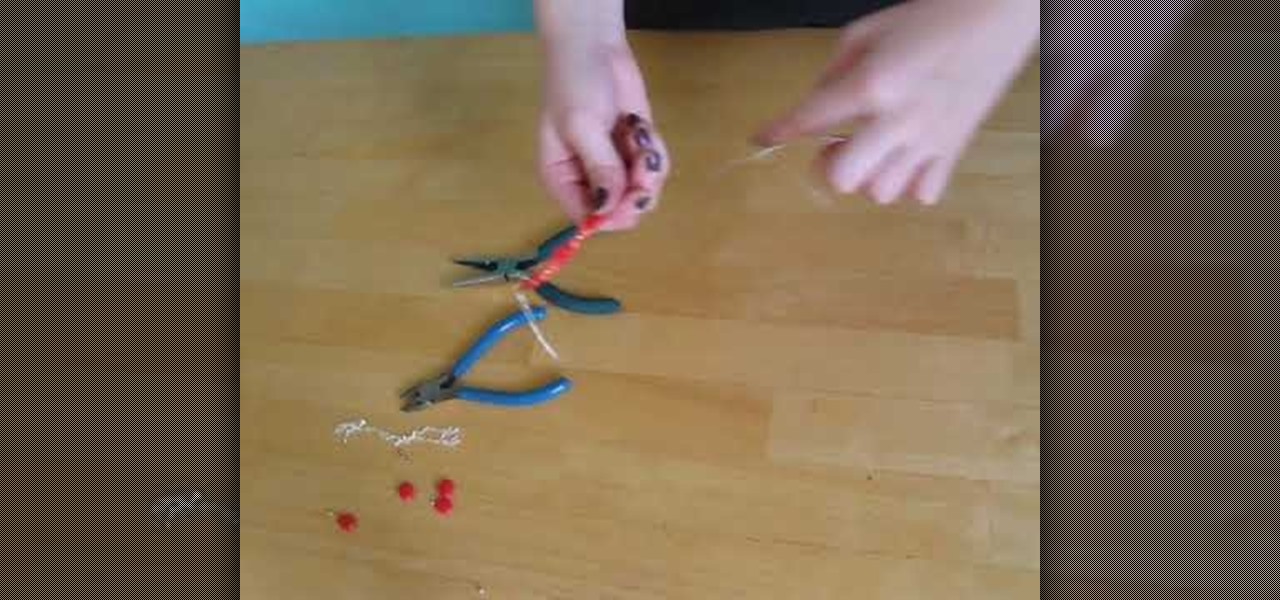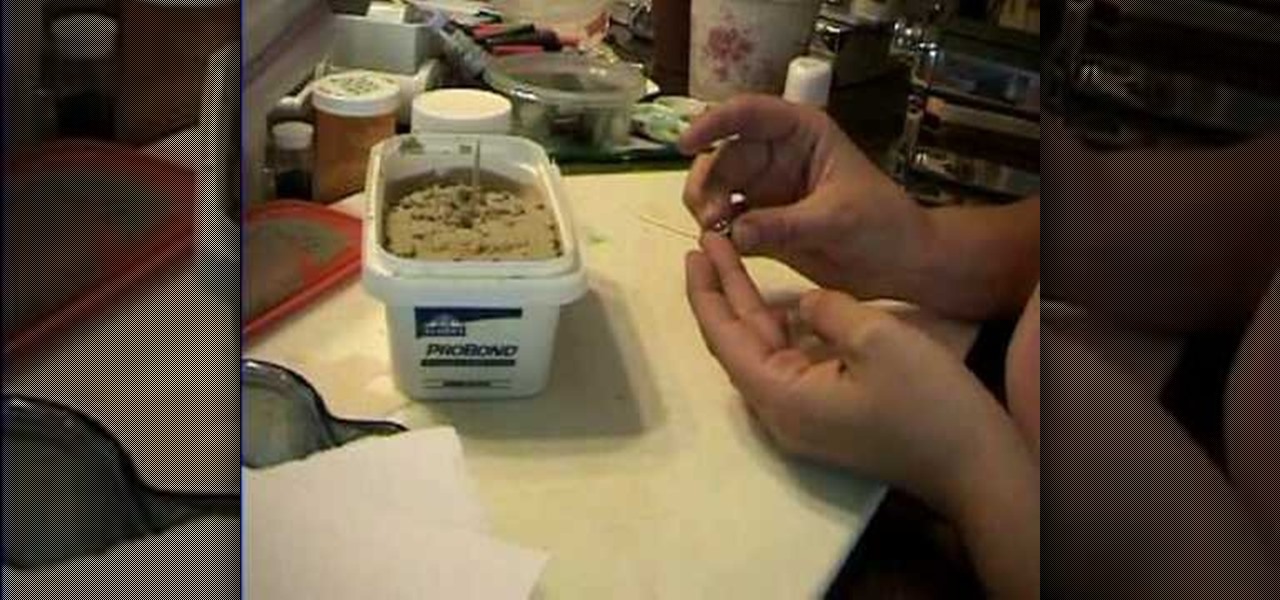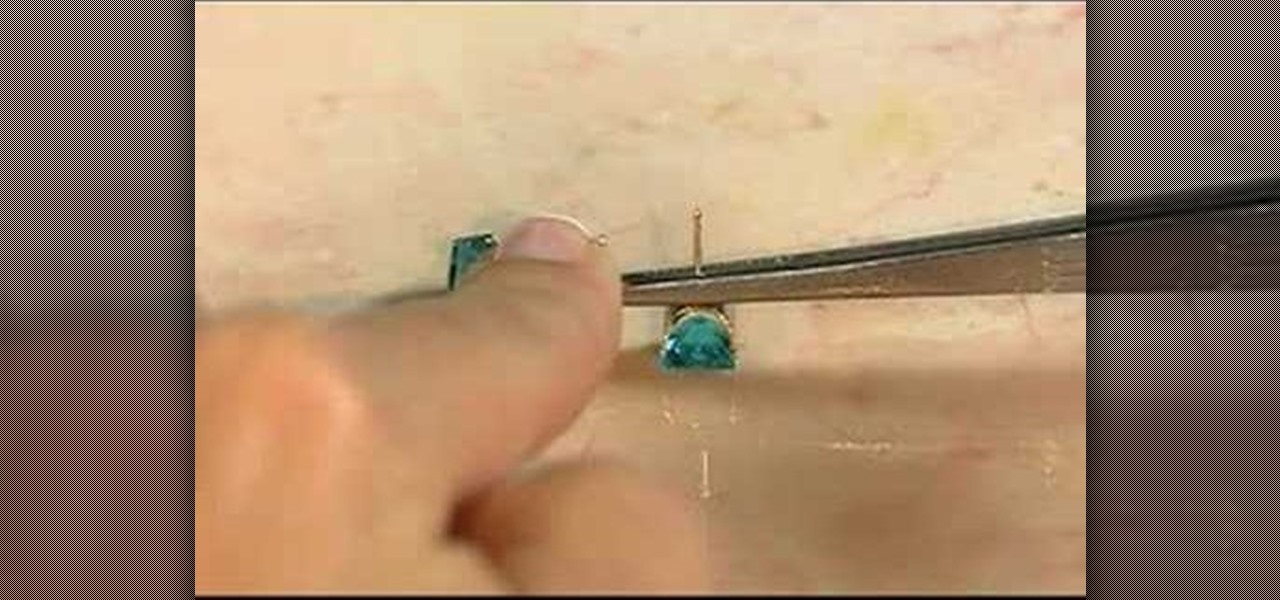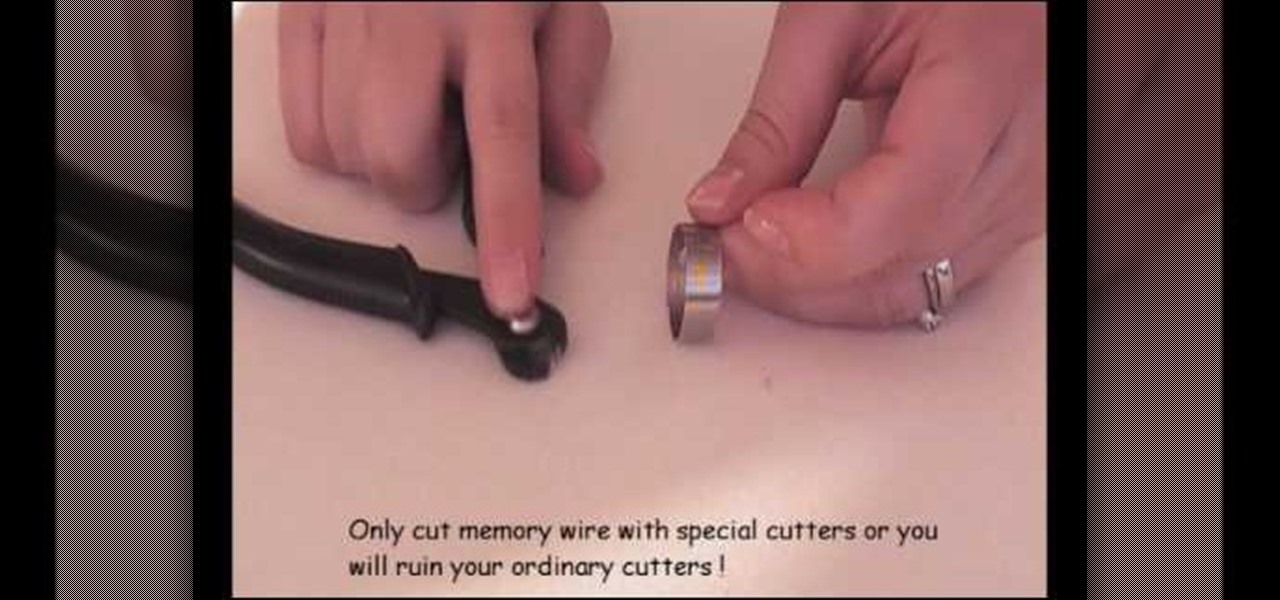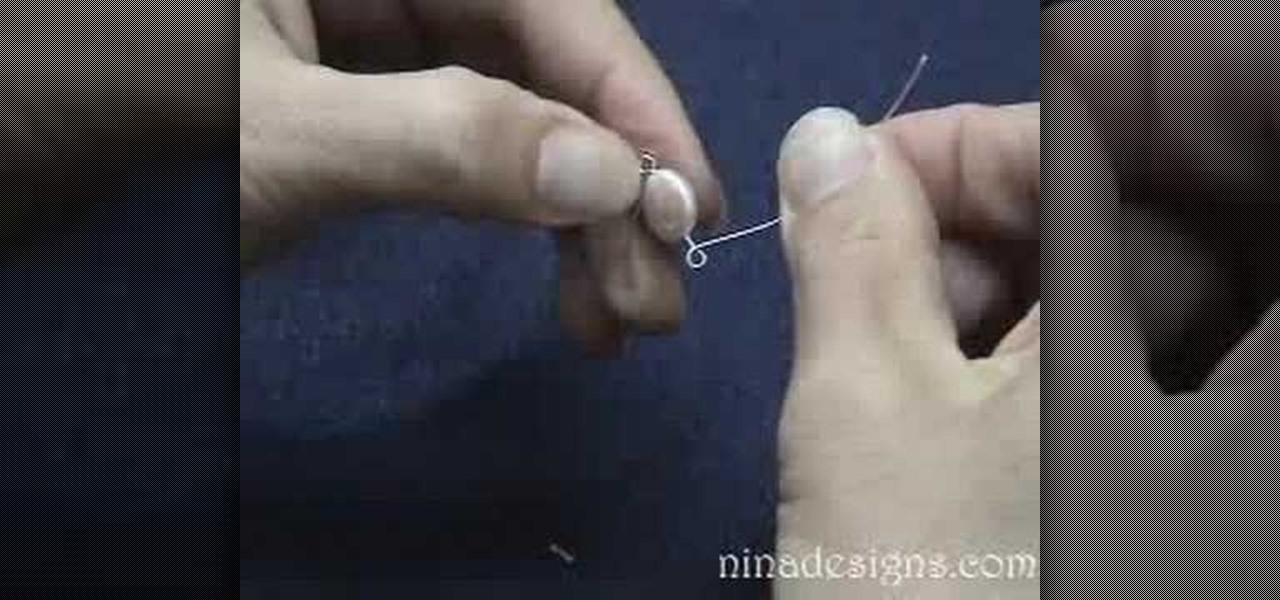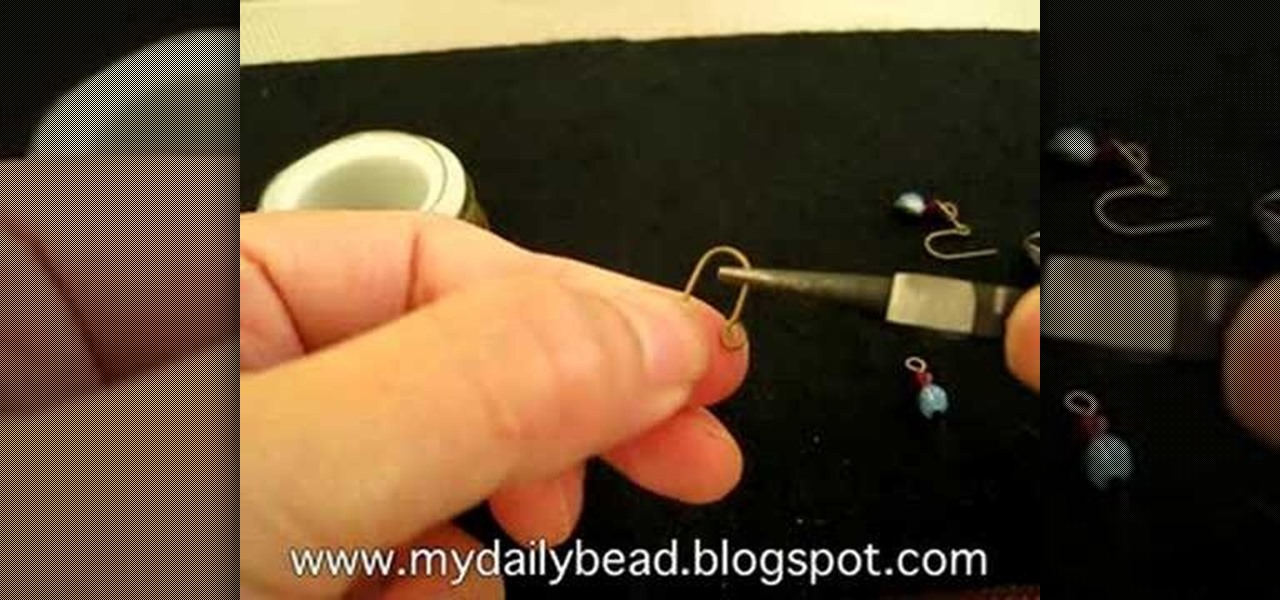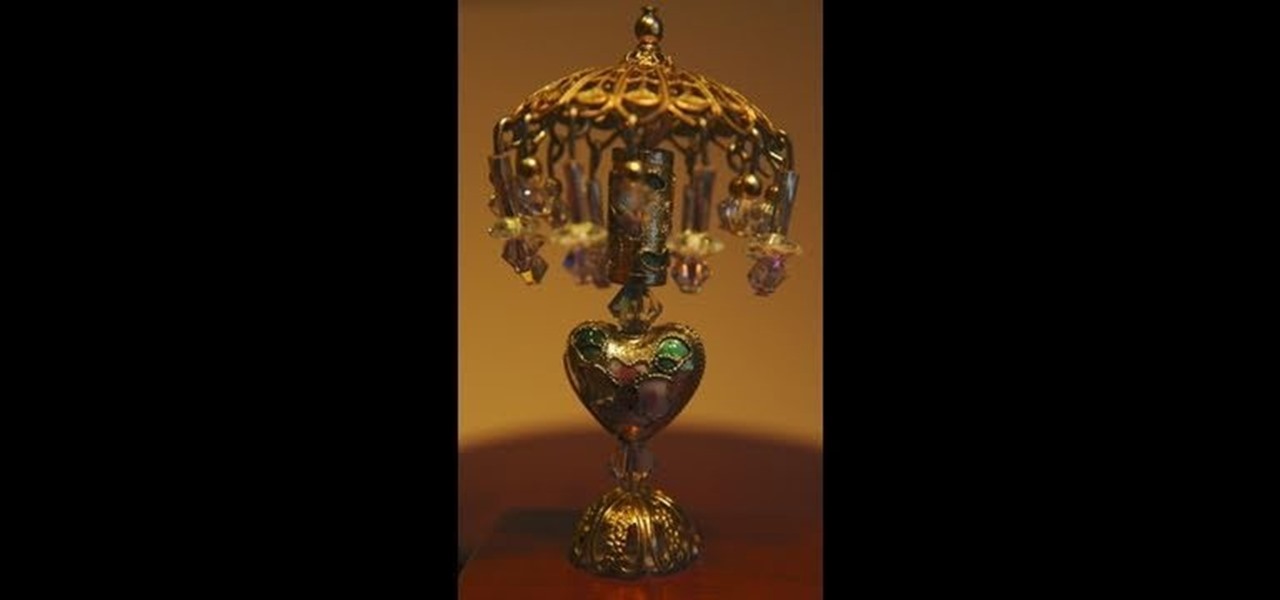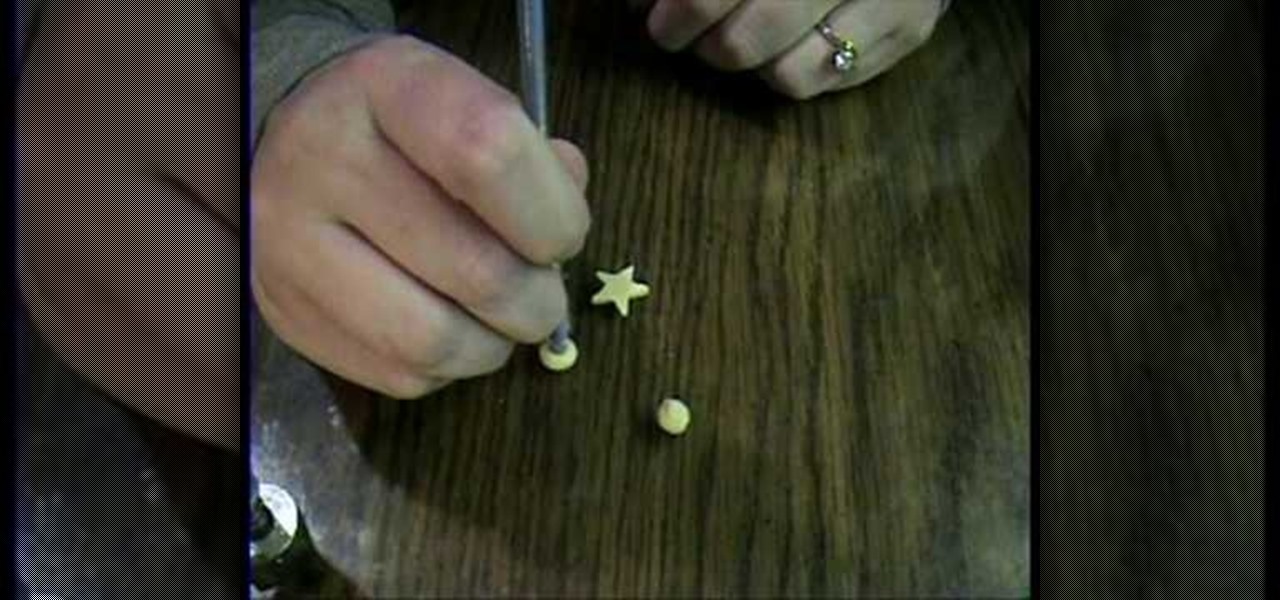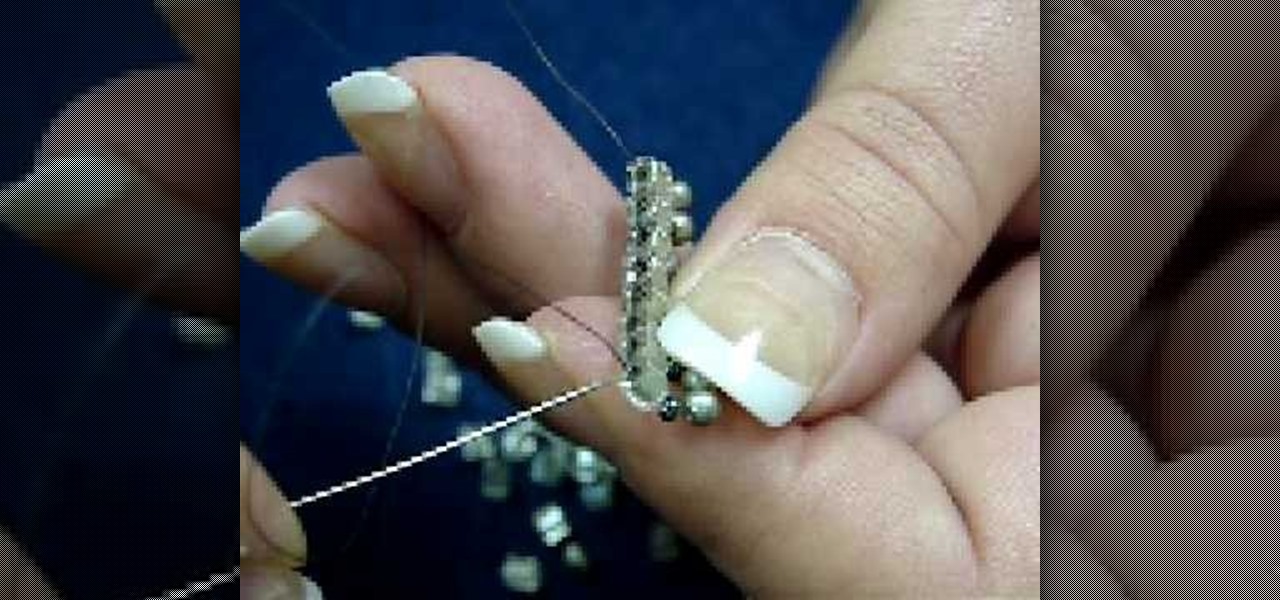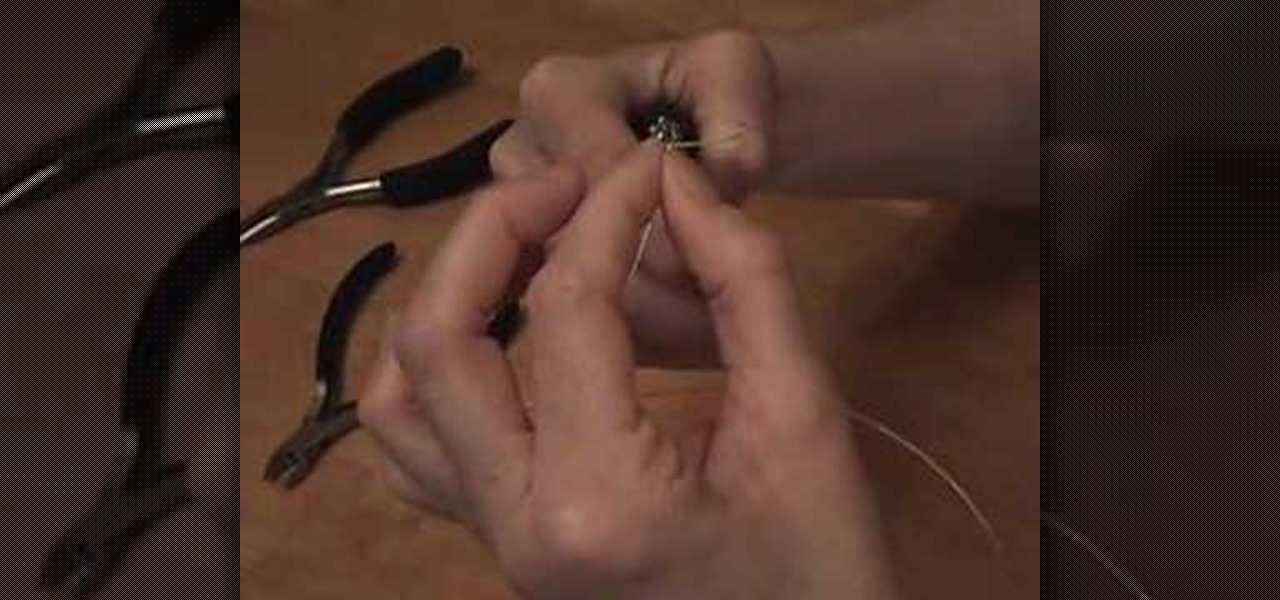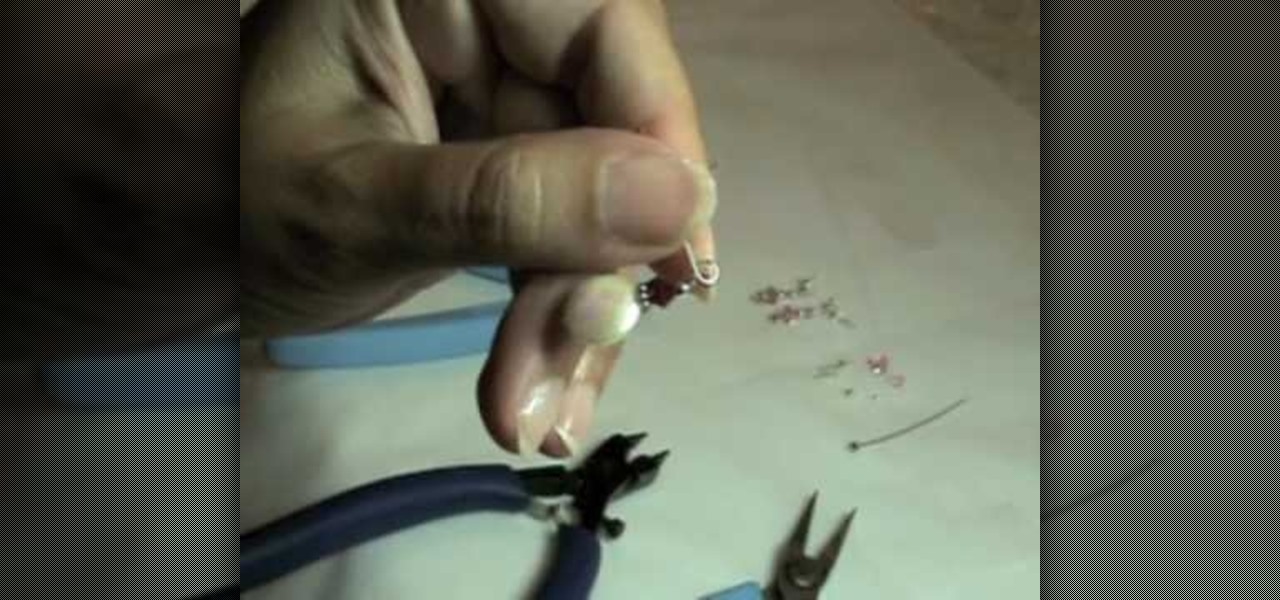
In this video tutorial, viewers will learn how to make two pairs of simple earrings. The video provides all the materials required to make the earrings. The materials required include: freshwater pearl disk, 4 mm Swarovski crystal, bally bead accent, 2 mm silver bead, head pin, flat nose pliers, round nose pliers and wire cutter pliers. This video provides step-by-step instructions and a visual demonstration for viewers to easily understand and follow along. This video will benefit those view...
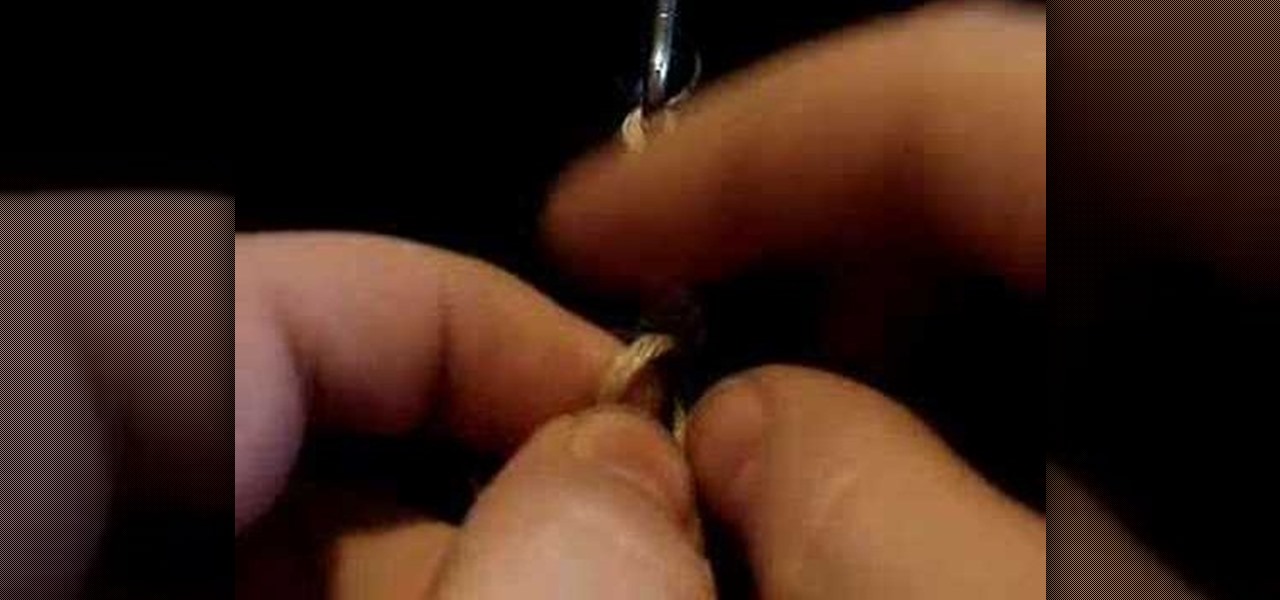
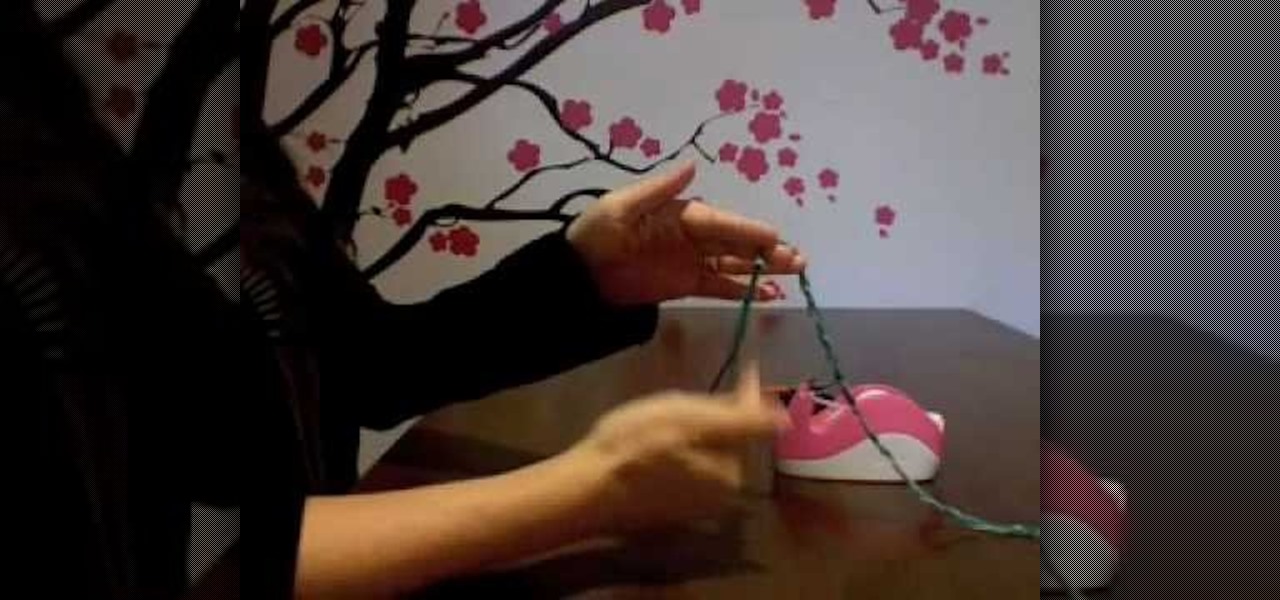
In this video, we learn how to tie a left half knot spiral for hemp jewelry. First, get two bead carriers in the center and have one strand in each hand. Then, take the left hand and place it over the bead carrier. Then, take the right hand and go over the cross section. Tie these up to the top loop tightly and then repeat doing this. This will make the spiral shape once you have created enough of the knots. As you are working it, you will have to spin it a bit in order to keep it curving rig...
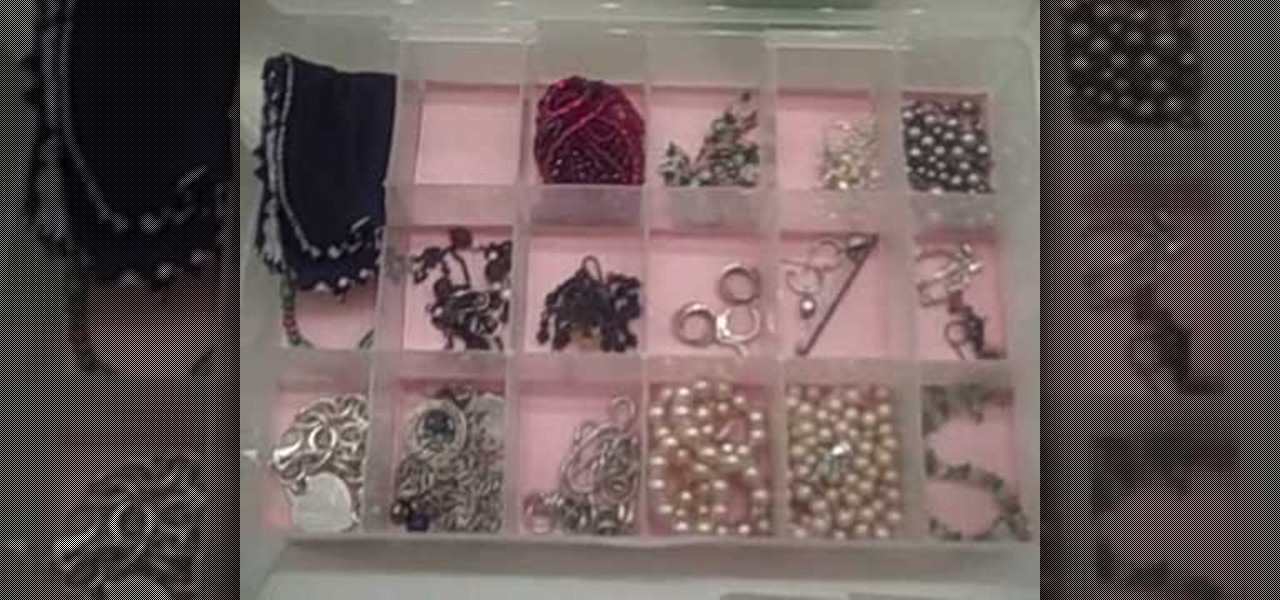
Making a jewelry organizer is a fun and easy project to do! Orielle Hopkins, the Money Smart Mom, gives tips on making a great organizer for a minimal amount of money. Make a trip to your local craft store and search for a bead organizer with enough compartments to store your jewelry. If you have a lot of jewelry you may need to buy more than one organizer. Select adhesive backed felt in your favorite color for your project. Measure each compartment in the bead organizer and cut squares of fe...
Have some spare time and looking to pick up a new skill? Learn how to paint with watercolors in this tutorial. Watercolor painting is a great medium for all skill levels.

In this tutorial, we learn how to make a pair of great looking earrings. To start, you will take the base of your earring that has the hook on it and then take the wire for your beads. Pick out any beads that you want to attach to the wire, then string them onto it. You can add different colors and any type of bead you want to make these unique. From here, use wire cutters to bend and cut the excess wire from the bead. From here, you will bend the extra piece into a loop that you will hook to...
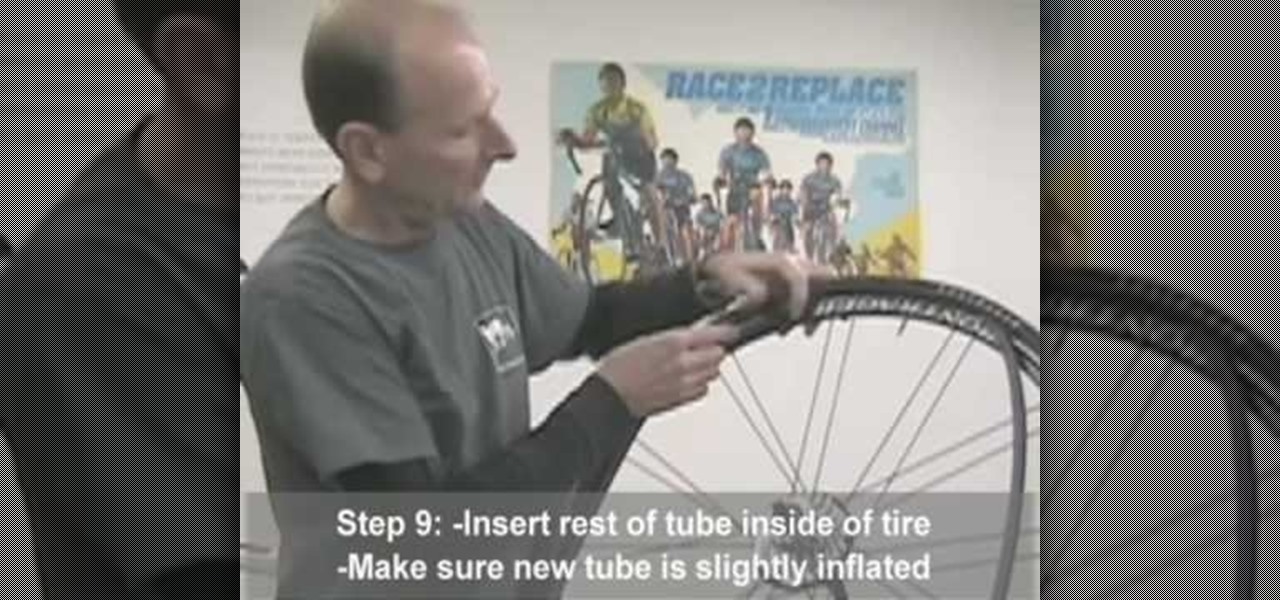
In this tutorial, we learn how to change a bicycle tire & replace the inner tube. First, take the wheel off of the bike. Then, see if you can find any holes on the outside of the tire. Then, remove all air from the tire tube and remove 1 side of the tire using tire levers. After this, completely remove the inner tube and then inflate the tube and check for holes. Check the inside of the tire for sharp objects, then find out which way your tire should roll. Install one bead of tire back onto t...

In order to make an adjustable cable necklace, you will need the following: 20 inch adjustable cable chain, a slide bead frame, 2 head pins, 8 mm bi-cone, 8 mm crystal, 2 6-mm round rondells, 2 7-mm jump rings, a pair of nipper tools, a pair of round nose pliers, and a pair of chain nose pliers.

In this video, we learn how to use a head pin while making earrings. Start off by grabbing a 1" long headpin and feed a bead through it until it reaches the other end of the pin. Now, decide how you want to close the loop. The first way to close it is to make a single loop by using pliers and making a 45 degree bend. Cut off any excess wire with wire cutters. The next way to do this is to wind the excess wire around the base until it comes to the bottom of the bead. This is visually appealing...

Cathedral earrings are so dazzling on the ear and so much fun to make. You will need for this project:

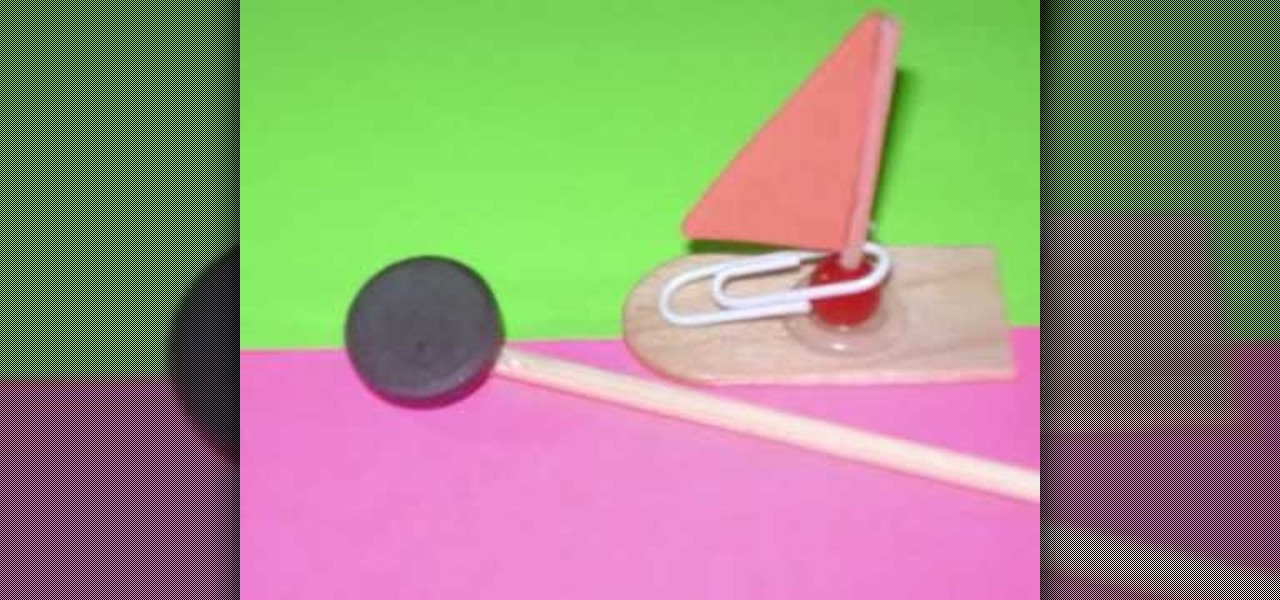
In this video, we learn how to craft a magnet boat with kids. You will need: a paper clip, a small triangle piece of foam, 1 magnet, 1 recycled stick, 1 recycled popsicle stick 1 bead, and a hot glue gun. First, attach the toothpick to the bead, then glue the triangle to the top of the toothpick. Next, cut 1/4 of the popsicle stick and attach the sail to the middle of the popsicle stick and use the paperclip the make it stay on the bow. Now, place the boat in water and attach a magnet to the ...

Missa teaches us how to create a claspless lariat necklace in this video. First, cut your wire so it's 20 inches long and then make a loop on one of the ends, and attach a chain to it. Now put on the end bead and attach the chain to the metal wire. Now make a loop around the end where the bead is. Now take pliers and clamp the wire on the end down. You can now take wire cutter and cut an inch down on the chain and cut it off. You can now apply your favorite beads to the wire, and any pendants...

How to caulk the baseboards in your home

In this video you learn to make earrings out of guitar picks. You will need round nose and regular pliers, wire cutters, 2 regular picks, bead reamer, earring hooks, jump rings, and long silver strands. Use the bead reamer to make a nice clean hole on the top edge of the guitar pick. Use the jump ring through the hole you just made to attach the silver strand. This makes the earrings dangle. On the other end of the silver strand connect the earring hook with another jump ring. This completes ...

Rob shows us how to use a silver one inch long wire head pin to place a bead on. He uses both flat nose and round nose pliers to close the loops he demonstrates how to make. outlining the basics for loop making and the loop connection process. He slowly and clearly shows us how to make two different types of loop closures. On of the loop closures is simple and easily reopened. The other loop closure is made by making the first loop and then using tools to wrap the rest of the wire around the ...

This short video explains how to create a mini milkshake for a doll. Using Elmer's Probond Stainable Wood Filler is preferable because it happens to already be the right color, although using this brand is not absolutely required-any wood filler would do. You can find this at a hardware store. If tiny cups are not at your disposal, don't worry! Our presenter shows us how to use a bead cap in the tiny cup's place. Fill the bead cap with the wood filler, and then using a tiny spoon that can be ...

One important part of jewelery making involves properly doing setting snap tension mounts. This jewelry how-to video demonstrates the proper way to set stone with a tension mounts. With the crimp bead on the wire place the bead in the first notch of the crimping pliers. Begin with your stone face down on a flat surface. Place the casting over the stone. Firmly press the casting over the stone and you stone should snap into place. Use this technique to create beautiful earings.

This video tutorial will demonstrate the square stitch. Learn how to do this stitch using a large seed bead and learn how to make this stretch bracelet using the square stitch. Follow along and make this fun seed bead bracelet with the square stitch.

This is a great little rainy day project you can make for almost no money, or a fun party trick you can use at the next office Christmas party! You will need two disposable drinking cups (stiff plastic or paper will work best), a fairly thick straw, a sturdy paper clip, a thick rubber band, a cocktail stick, a bead and a plastic ring you can get from the neck of a soda bottle. Assemble as shown, and then let it go!

Wine glass charms go around the stems of wineglasses to help guests at your BBQ, dinner or other party identify their glass of wine. You can use any sort of bead or charm to make these, but this tutorial shows you how to make a set of summery charms using beads and memory wire.

This instructional video shows how to bead and craft a gothic style wire cross choker necklace. For this project you will need straight wire, memory wire, glass beads, head pins, and eyepins. Learn how to craft this goth choker necklace by watching this video jewelry-making tutorial.

First of all you need to have a piece of silver wire which is about three inches long and twenty-two to twenty-four gauge. Now take pliers and bend the wire into a right angle. Now take round nose pliers and wrap the wire around the tip. At the half way reposition the wire and then complete the loop. Now look at the loop which should be nicely stemmed in the middle. No insert the bead into the wire and grab the bead with thin nose pliers. Bend the wire at the right angle. Now take round nose ...

For anyone interested in hemp and learning how to make a bracelet, follow the steps outlined in this video tutorial. To be able to do this craft project, you will need scissors, a ruler, a bead, and some hemp. Hemp can be bought at any local craft supply store. After you have bought all of your supplies, you will need to cut the hemp that you will be working with. You will need two pieces cut. One piece should be 20 inches, the other should be 10 inches. Take the middle of both strands and ti...

To change a dirt bike tire follow these instructions. First use the crescent wrench set to loosen, and remove the axle bolt from the wheel you are working on. Then, slide the wheel out of the stays and lay it flat on the ground in an open area. Use the screwdriver to let the air out of the tire by depressing the valve stem with the blade. Now place the palm of your hand on the tire next to the very edge of the rim, and forcefully push downward. If all of the air is out of the tire and you do ...

This video shows you how to quickly change a mountain bike tire out on the trail. Remove the wheel from the fork. The tools you need are a pump, mini tool,

This video shows how to make a hair pin with small items. This sure looks easy to make. You would need:

This video tutorial is in the Electronics category which will show you how to make a Beetlebot from your parts bin. The Beetlebot project can be found in Make Volume 12. You will need a couple of small motors, 2 momentary switches, 2 AA battery holders, a piece of metal, a small bead, 2 paper clips, heat ring tubing and a couple of connectors. Cut off two pieces of the tubing and using a soldering iron melt them over the ends of the motors. Hot glue the 2 momentary switches at an angle with t...

In this tutorial, we learn how to make embellished tights. First, you will need to grab some beads and jewels and then grab your choice of tights. Make sure you have some tights that have texture on them, so when you sew them you don't break the surface and ruin them. Now, take your needle and thread and place it into the bead, then start to sew it into the tights. You can make different designs or just put the beads all over. You can also use small jewels to make it sparkly. Tie off each sec...

In this tutorial, we learn how to make earrings with Swarovski Crystal & coiled wire. You will need: 6 mm round bead, 4 mm Swarovski crystal, 2 inch head pin, and coiled wire. First, place the beads on to the head pin then bend the pin to 90 degrees. Cut this around 8 mm with a wire cutter, then use pliers to curve the bottom of the pin into a loop. Now grab the wire and cut it into a small strip. Form a loop at the bottom, then twist it into a wired circle. Attach this to the loop on the ear...

The equipment that you need is pliers, beads, beading wire, tinsel, some miniature flowers and a plain wreath. Twist a section of beads onto the wire, 5 beads make a nice grouping. Twist the 5 beads onto a single wire to make a bunch. Make enough bunches to cover the wreath. Fold a piece of tinsel between your fingers. Wrap the beading wire around the tinsel to hold it firm. Fluff the tinsel to give it some depth. Wrap the bead bunches and tinsel wraps around the wreath. Wrap the miniature pa...

Start with an eye pin. Place a gold bead and end cap on it. Now put on a piece called a stamp, or stamping. You want to find one that is curved like a lamp. Next put on a large crystal (8mm). In this video she uses a Swarovski crystal. Find some beads you like and place them on the pin. At the end, place on a large plastic back of an earring to secure the beads and hold the "lamp" upright. Now to make the little beaded fringe at the edge of the lamp, you take another eye pin and thread on som...

Garden of imagination show you how to make all your donut beads the same size without a clay measurer. Roll out your clay to desired thickness. Use any shape cutter and cut out the desired number of beads. Using your fingers, roll the cut-outs into balls. Press the balls to flatten slightly. Use the end of a thin paint-brush or similar object to puncture a hole in the middle of the bead.

Get that Bohemian look this summer with homemade chunky jewelry! In this three-part jewelry making video tutorial, learn how to make a Cubed Herringbone Stitch for bracelets. From Auntie's Beads" "Ladder-stitched cube bead rows work as a foundation to this bracelet. The stitch is easy to learn and the tapestry like look will invite multiple color combinations!"

Spring is coming, and that means you'll want to celebrate by incorporating more flowers into your wardrobe. This tutorial shows you how you can easily make a fun flowered headband, using silk ribbon, a needle and matching thread. Use a bead in the center for some added sparkle!

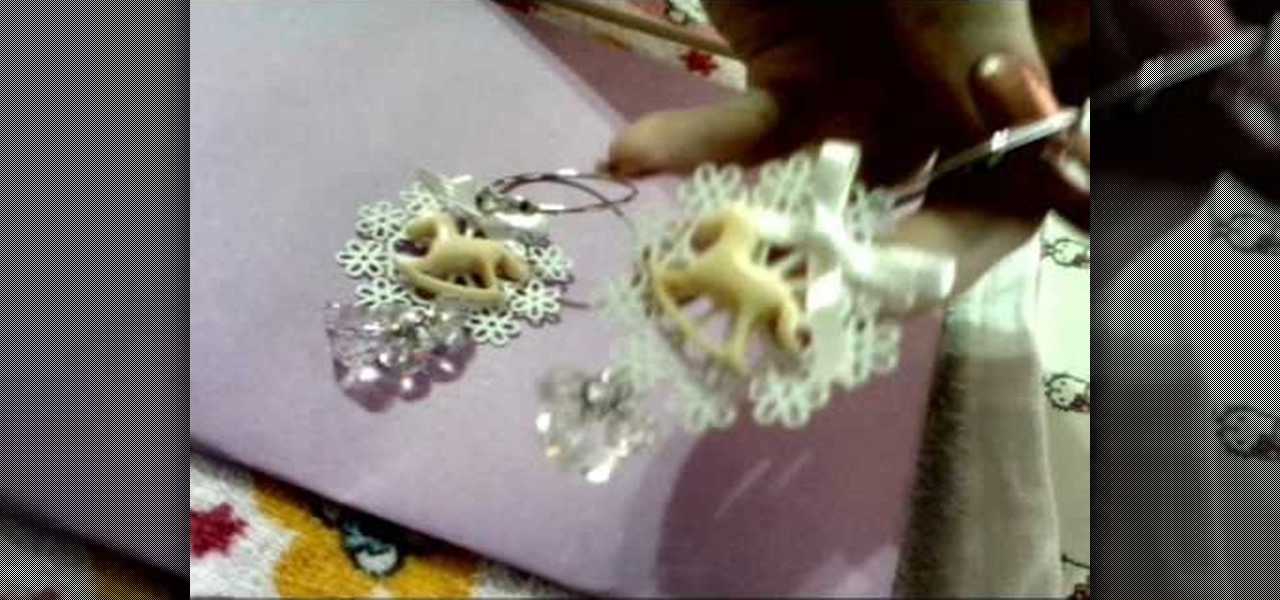
Synthesize the odds and ends in your crafts or bead drawers into lovely hoop earrings! Using a few charms, a bow, premade hoop earrings, crystals and two pieces of jewelry wire, this tutorial shows you how DIY your own fashion accessories.

In this tutorial, Jen Caslin from "The Bead Lounge" demonstrates how to make a "three way" leather wrap. This piece is versatile and can be worn as a bracelet, a headband or a lariat necklace. The process of making this accessory is relatively easy once you get the hang of it and this video should help you master it quickly.

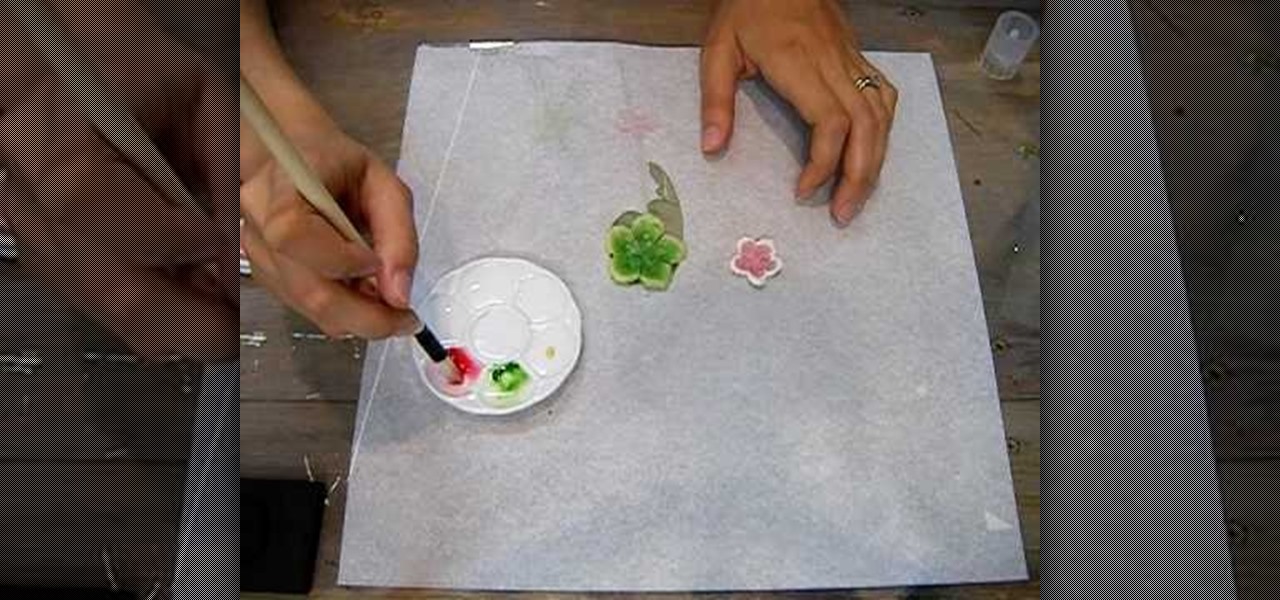
Supplies needed1. flower cut outs (you can buy them from A Piece of Craft)2. Water colors3. paint brushes4. clean water5. heat gun5. Water color pallet

Install a pond skimmerThe most critical steps to installing a skimmer are the water level and attaching the liner to the face plate with a water tight seal. The pond should be rocked in. The skimmer needs to be level from front to back and side to side. That's critical. Optimum water level is approximately 3/4 inch down from the top of the steel face. Use the level (tool) to determine the water level on the face plate. It's important to have the weir door work effectively. Prepare the area fo...

This video shows you how to create a continuous, daisy-chain necklace. The materials used include: size 11 rock eyes in yellow, red and purple, a toggle clasp , 9mm thread and a size 10 beading needle. Start by sewing on one half of the clasp, tying a knot to hold it in place. Be sure to leave the tail ends long enough to be able to re-thread it later with a needle to sew the tail ends. The video then shows the precise order in which the various beads are threaded through to produce a chain i...

In the age of digital cameras and instant gratification, make the simplest camera ever invented using just a light proof box, a hole, and paper. Check out this Howcast video tutorial on how to make a pinhole camera.

Work with sterling silver wire to make a link for jewelry clasps, loops, chains, bead work, and earring hooks. All you need is some silver wire and a pair of needle nose pliers. Jewelers need to make these simple loops for beading necklaces, connecting rings, and making earrings. Follow the instructions to link two silver wire loops to begin making a chain.


