In this video, we learn how to pick a door lock with a paper clip. First, make sure you have a door lock that has a pinhole on the outside. Now take your paperclip and open it up so it's straight and flat. Once you've done this, stick your paperclip into the pinhole and wait until you feel a small hole on the inside of the lock and twist the paperclip. Keep twisting the paperclip until the door becomes unlocked, you will hear and feel the lock opening. If the paperclip slips, just stick it ba...
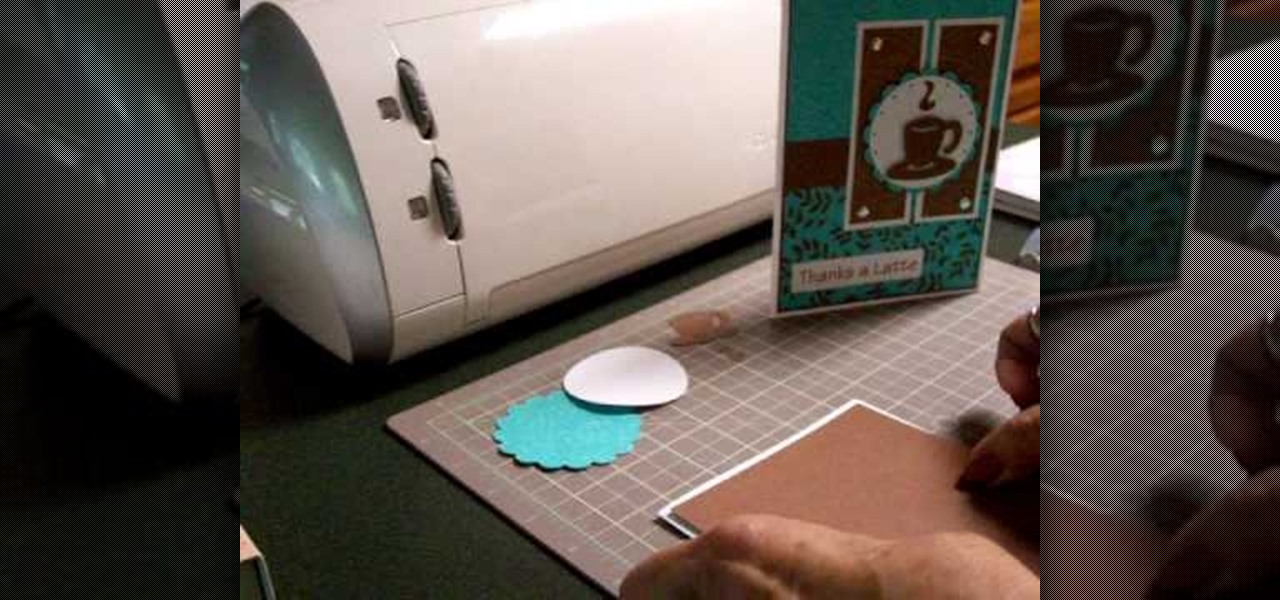
cardcrazy09 teaches you how to make a Cricut latte-themed thank you card. You start with a brown piece of cardboard as a bottom. Then add two pieces of blue card stock. Add a small brown card slice in the middle and the background is done. You will print the message on a card stock and cut it out. Stick it in the lower left corner of the card. For the background of the coffee cup you will need two more slices of brown cardboard with thumb tacks at the top and bottom. On top of those stick a b...

Cardcrazy09 teaches you how to create a friendship card using Cricut. First cut out the dog, then it's brown shadow. Since the umbrella is not cardboard, make sure to apply less pressure than before. Then simply stick the white dog on top of its brown shadow. The umbrella also has a brown shadow, which again comes under the object itself. It's also a bit larger for the shadow effect to work. You take these elements and stick them on top of a cardboard piece. The friendship card is done.

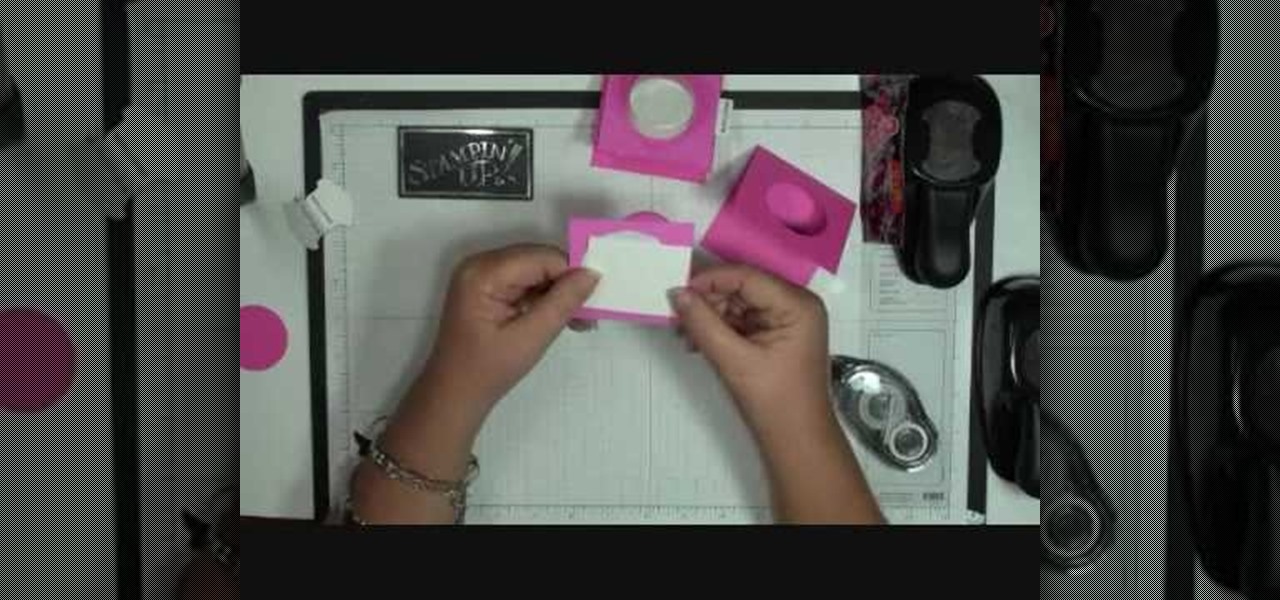
Dawn5377 teaches you how to make a pink sweet treat cup door. You need a stamp from the sweet center set and you use it on a small piece of pink cardboard. You punch the middle out. Also punch the middle of another piece of pink cardboard. Insert the treat cup door and stick it in. You use dimensional to hold a white piece of paper, which acts like a tray under the plastic dome. You add some sweet treats inside and stick the other pink piece (with the heart) on the other side. Also remember t...
Chef Toben Kochman from Food network teaches the secrets of making panko-crusted turkey lollipops for an appetizer. You will need: Turkey breast, panko bread crumbs, sesame seeds, whipped eggs, flour, salt, pepper, lollipop sticks, and cranberry sauce.
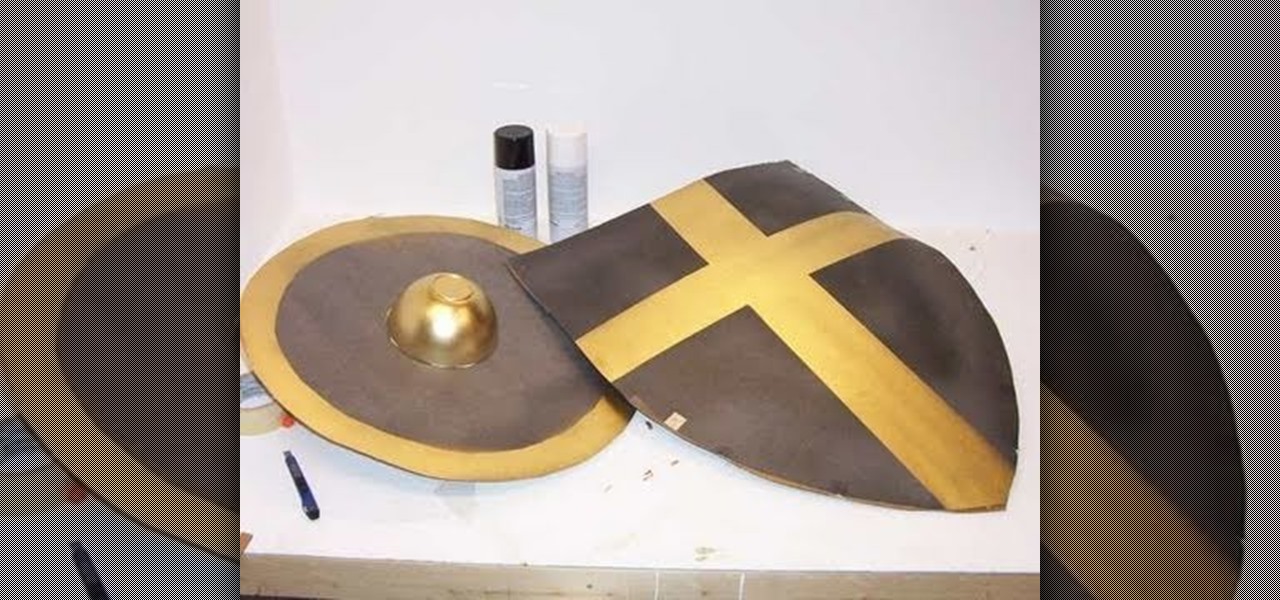
In this tutorial you'll learn how to make a cardboard shield, quickly and cheaply. All you need is some stuff you've probably already got around the house. Get to work, so you'll be ready to defend yourself against any barbarian invaders with cardboard swords!

Check out this DIY video tutorial from Curbly, the best place to share pictures of your home, find design ideas, and get expert home-improvement advice.
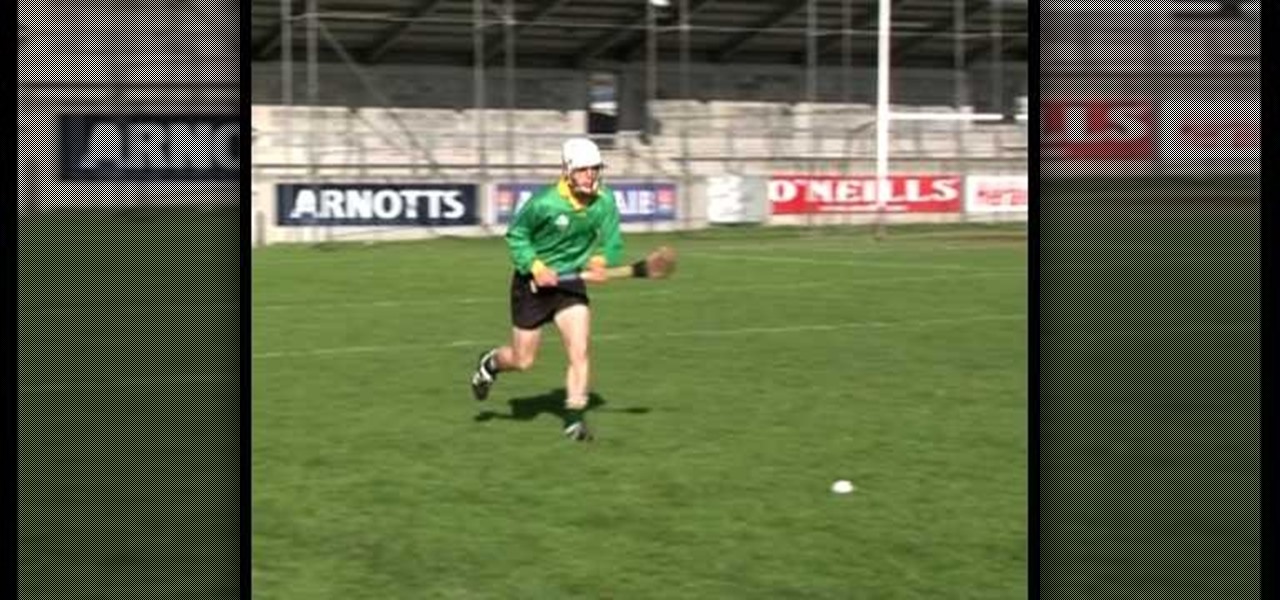
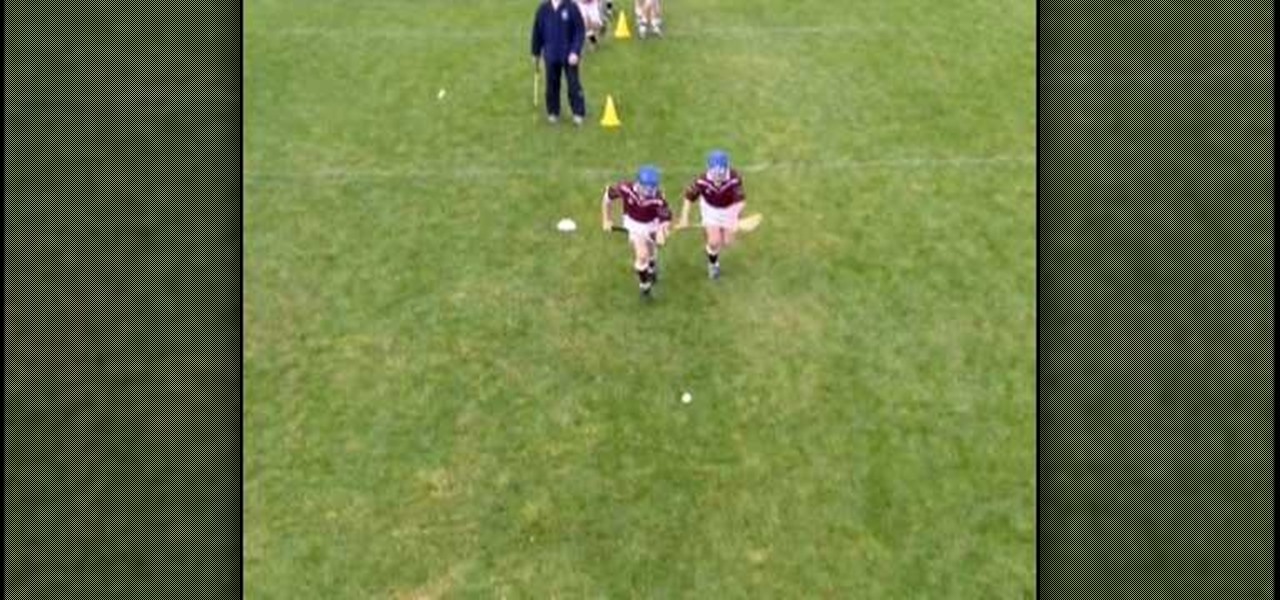
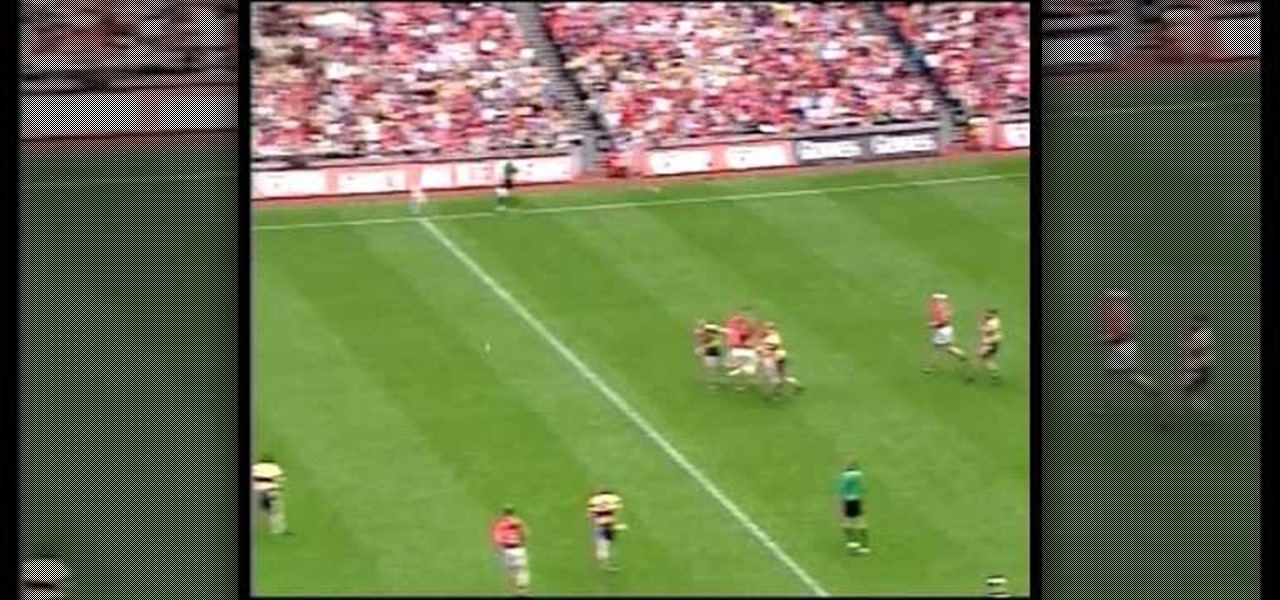
Check out this hurling videos that covers common errors and how to correct them when players learn to strike the ball on the ground while on the run.
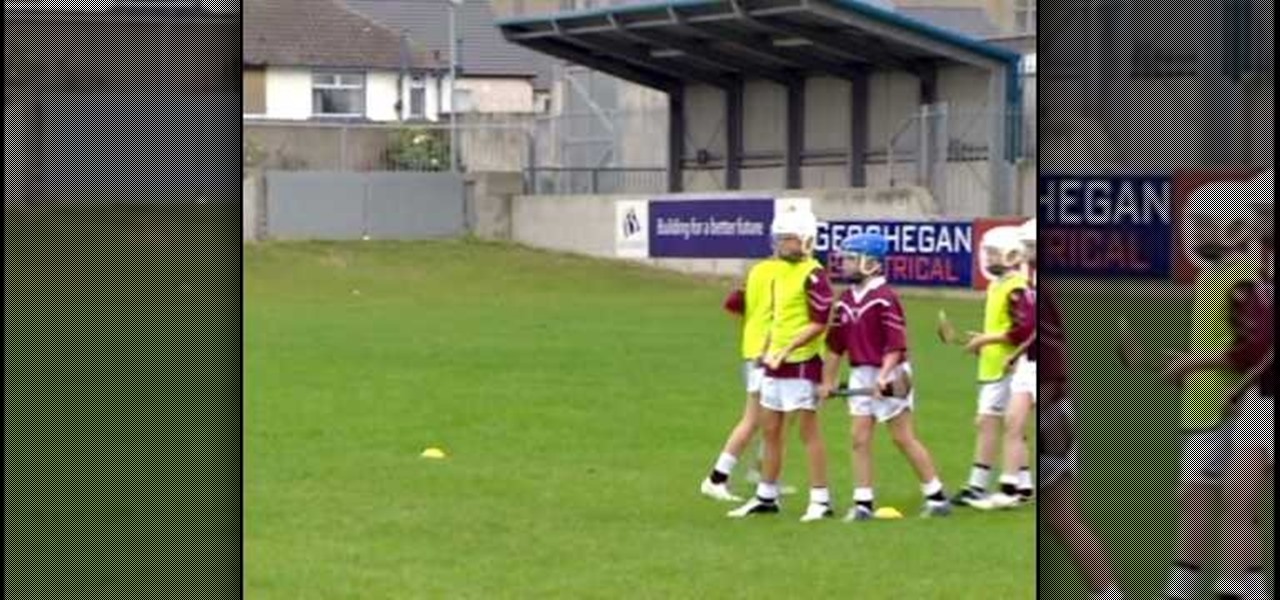
These hurling conditioned games help players learn the skills of hurling that involve interaction with other players.
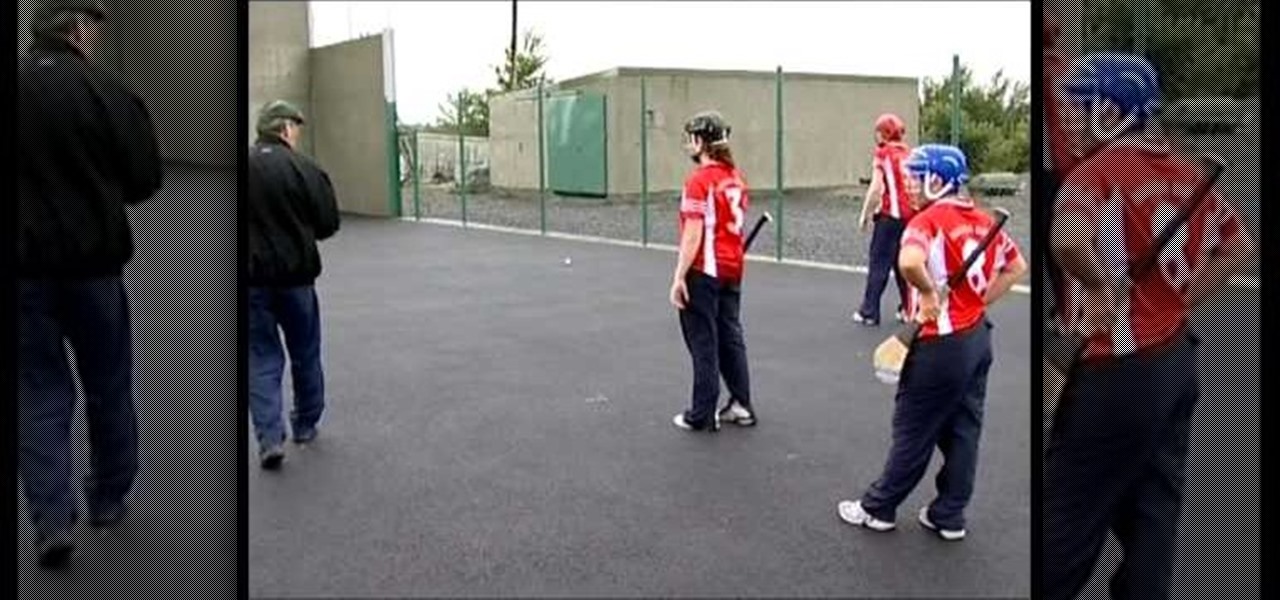
Check out these hurling drills for practicing the lift and striking directly off the hurley.
Practice advanced technical drills for training in the fastest field game in the world: hurling.
This video shows you how to correct common errors made when striking the ball from the hand in hurling.
Everyone loves the beach, but some like driving, too. The best thing is to only drive on the sands where it's legal. And you may need a permit to do beach driving. But driving on the beach is a hoot. Getting stuck in the sand – not so much. Keep moving forward with these tips.
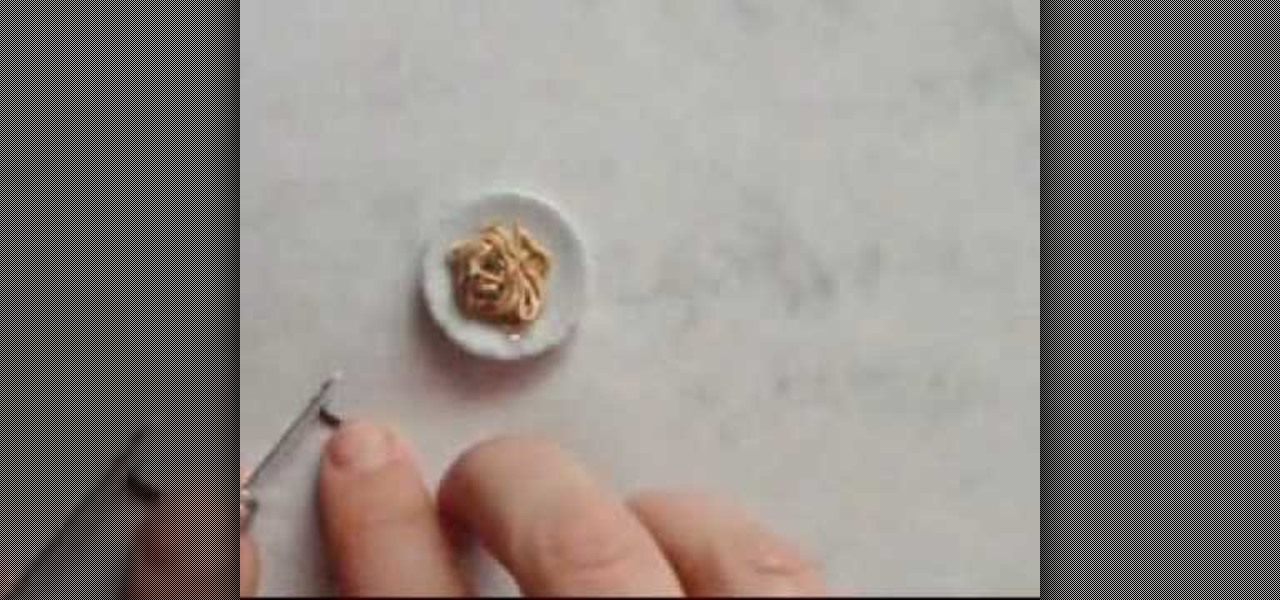
1. Collect all the materials need to create the ramen noodles clay. These are the polymer clay (color light yellow for noodles and green for green onion) ,FIMO Deko Gel, the mini plate, mini metal stick or needle, cutter, scissor, and toothpick.
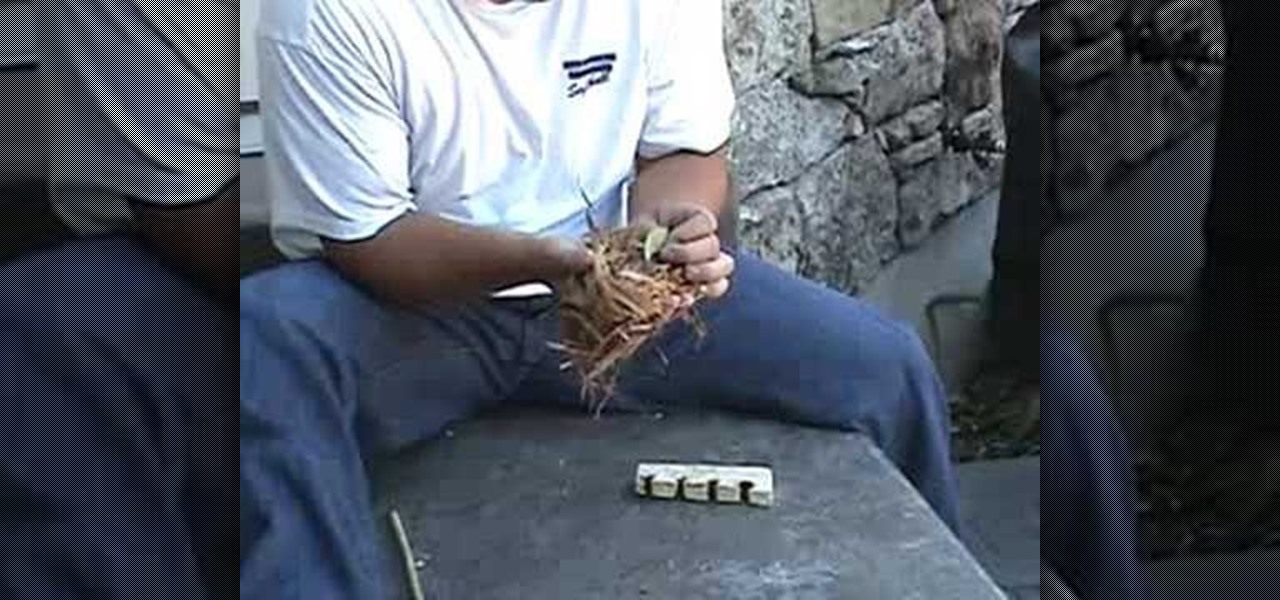
This video explains how to start a fire without matches through the use of a hand drill. To start the fire, the process consists of the use of a straight stick or weed such as goldenrod to be used as a hand drill. Hold the stick between both hands while holding it against a piece of wood which has a notch along the side. Press the hand drill stick against the wood near the notch and proceed to roll the stick between both hands. This action will result in the production of heated ash which wil...
Need to make a PCB quick? Well, this video tutorial will show you how to create a PCB with the toner transfer method using photo laser paper.
In this tutorial, we learn how to make a bow and arrow from a ball point pen. First, you will take the top and bottom off of the pen. Then, use a knife to poke a hole in one side of the case until you reach the other side. Now, make small notches in the top of it so you can stick a rubber band on it. Do this on both sides and try to make it equal. Now, take the top of the pen and stick it in the little hole you made in the middle. Then, take the rubber band and stick it on. Then, shoot this a...
You can make a magic memory stick on your PSP in some very easy steps. So first thing you need to do is download the files. Now extract the dc8 file on your desktop and drag that 500.pbp file on your desktop. Now plug in your PSP in your computer and copy the dc8 folder and go to PSP, game in your PSP memory stick and past it there. Now copy the 500.pbp file and go to the root of your memory and paste it on there. Now in your PSP, run the files which is mentioned in the video and you are done.
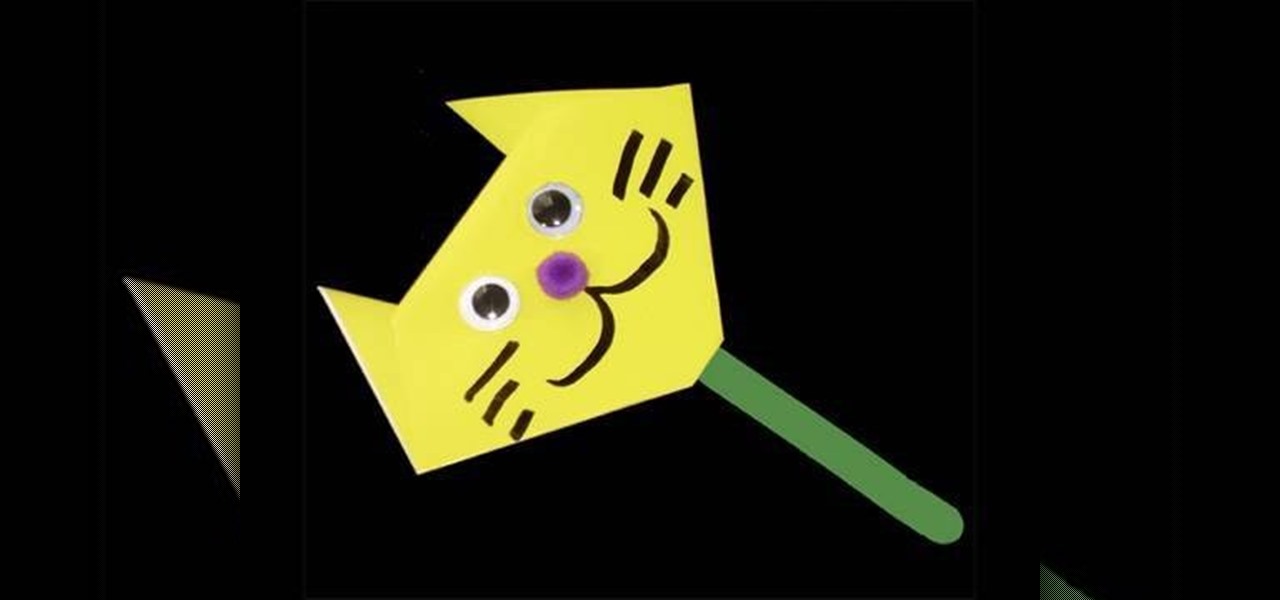
Everyone loves cats, for the most part. It would be more accurate to say that everyone loves kittens. No one can resist the cuteness of brand new baby kitty, especially children, which is why kittens and cats make the perfect craft project for kids. In this video, you'll learn how you and your kids can create a googly-eyed paper cat upper on a popsicle stick. It's great for any young child. You'll need:
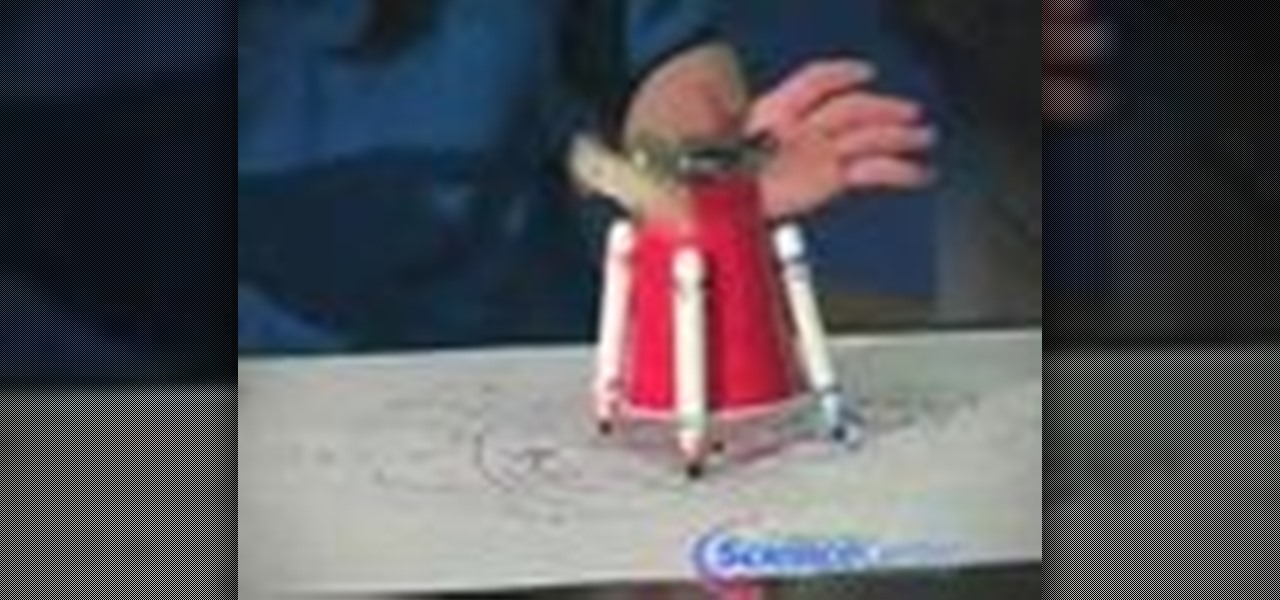
This video explains how to build a robot with the basic ability to scribble on paper. The narrator gives website addresses for more examples on completed robots and various information on the subject. The Robot is built using a plastic cups and wooden sticks for legs and support. A motor is then attached to a wooden stick which is then attached to the top of the plastic cup. One nine volt battery is needed to power the motor. Once the battery has been attached to the motor you must attach the...
In this tutorial, we learn how to make an origami decorated card. First, you will take your card, make sure it's a busy pattern in colors that you like. After this, you will score the top of the card in the middle to create a small square. After this, cut the square out of the card. Then, close it and stick the piece of origami that you have into the inside of the card where the window opens up. Once this is stuck on, you will be able to close the card but still see the origami in the window,...
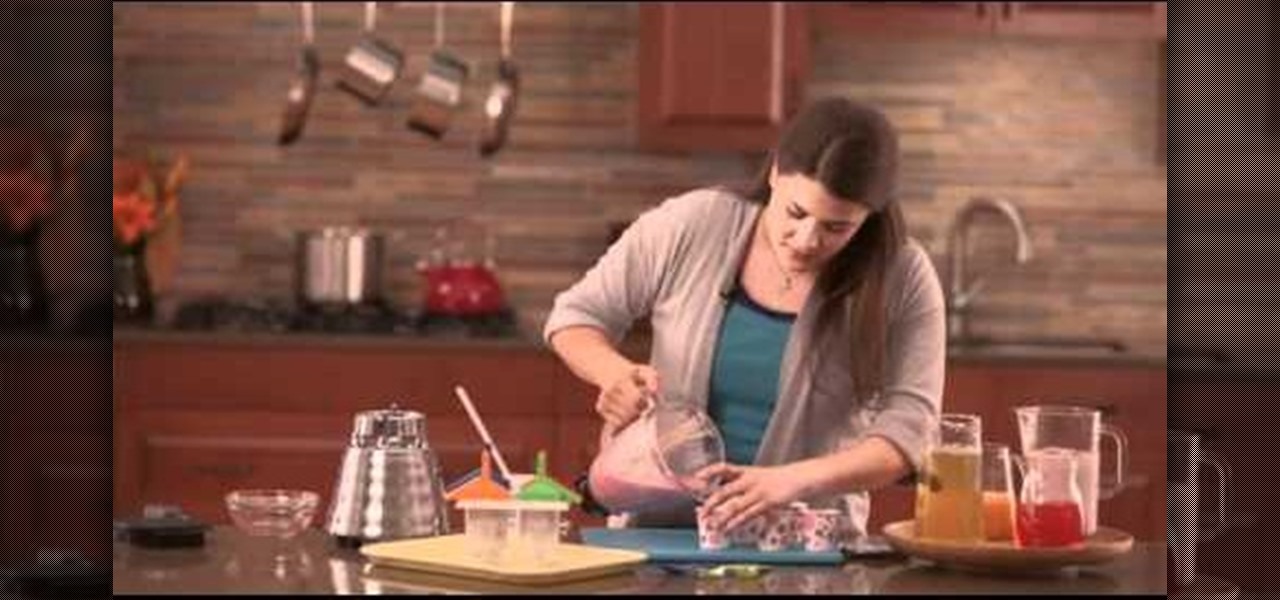
Don't spend your hard earned money purchasing popsicles at the grocery store this summer; make your own! While we wouldn't turn down a Creamsicle, making popsicles at home means you'll be using all natural ingredients and no harsh chemicals and food dyes, meaning your kids will enjoy a healthy treat.
In this video tutorial, viewers learn how to make a Hello Kitty princess mirror. The materials required for this project are: epoxy glue, tweezers, pendants, gems and a plain mirror. If the mirror has a logo, you can remove it by rubbing over it with some nail polish remover. Begin by mixing the epoxy. Then stick the Hello Kitty pendant and a pearl heart on the top cover of the mirror. Use a stick to apply the glue and tweezers to place the heart on the mirror cover. This video will benefit t...
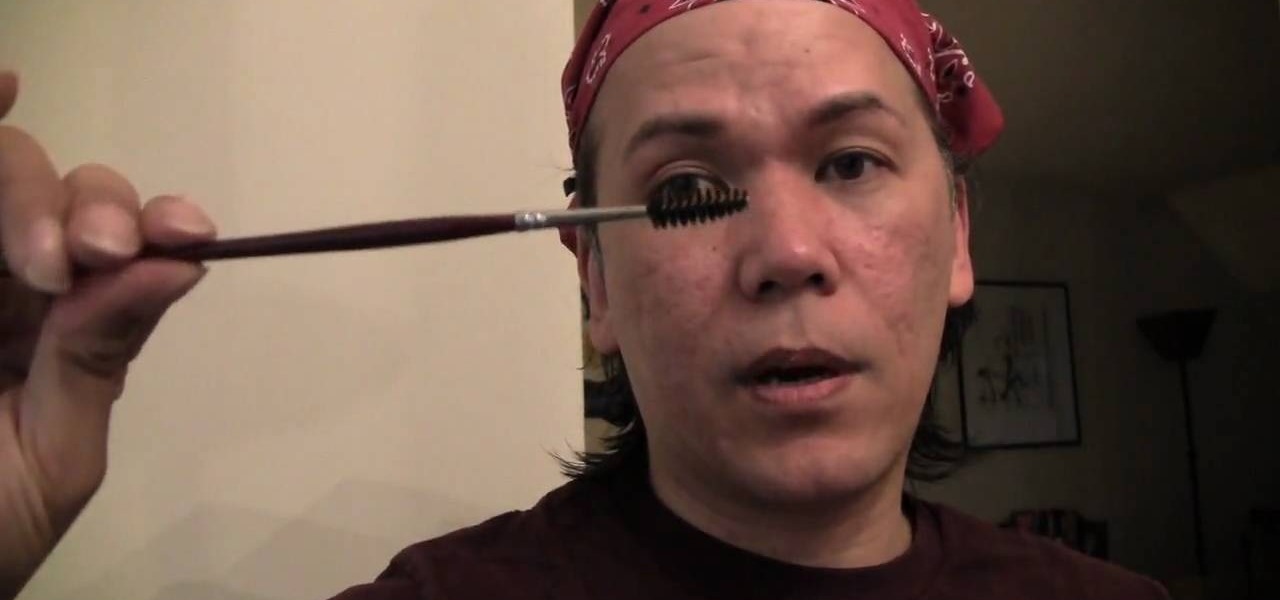
Grey hair doesn't hold hair dye very well, within a few days it always returns back to a greyish color. If you have trouble keeping those stubborn greys covered, check out this tutorial.
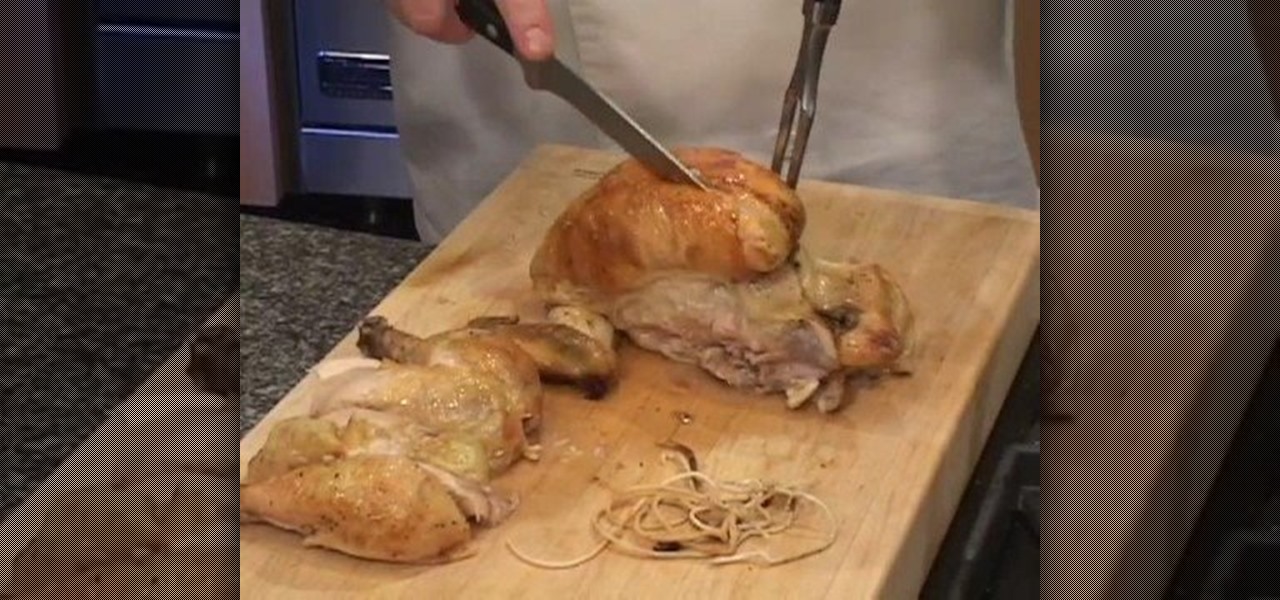
Kat Malone shows how to carve a roasted chicken. Once you remove the twine, set the chicken on its side on the cutting board. To accomplish this, use a chefs fork and a sturdy knife. Stick the fork at the point where the thigh and drumstick meet. You'll then pull on the fork and cut around the leg. Twist your wrist and the leg should fall out of the socket. Cutting through the joint of the leg will seperate the drumstick and thigh. Repeat the same steps on the other side. turning the chicken ...
This video demonstrates how to caulk windows. For this project, you will need the following: a tube caulk, a putty knife, scraper, a knife or scissors, paper towels, a long hanger or a nail, a caulk gun, a small plastic spoon or a popsicle stick.
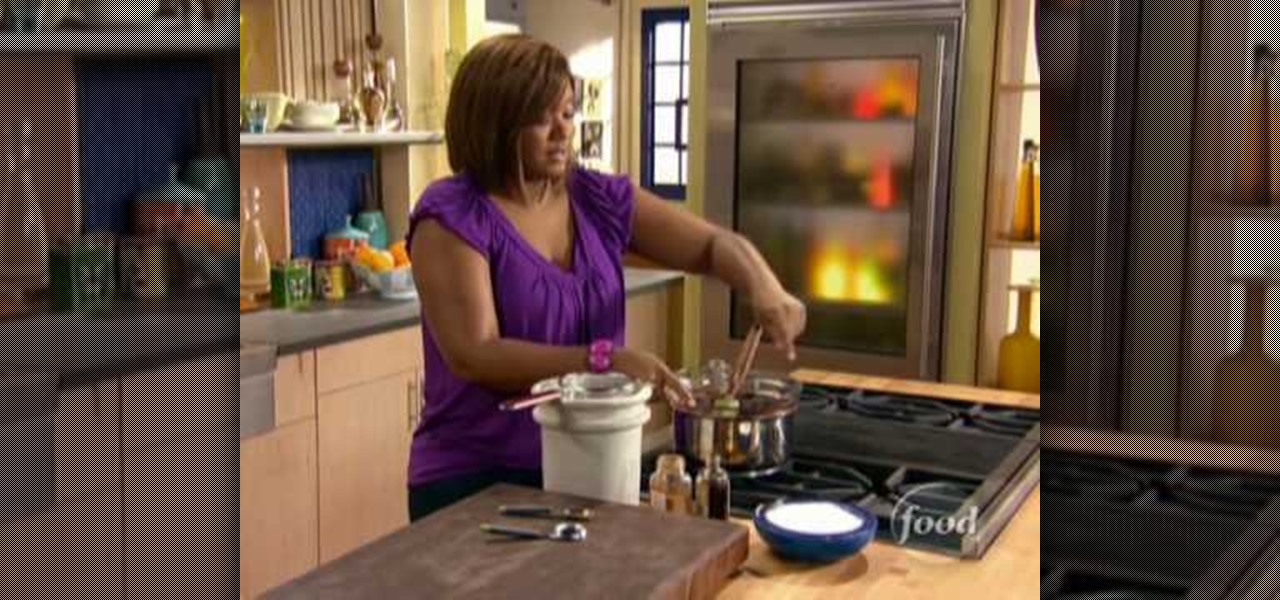
To begin making a molten chocolate cake, a stick of butter and ten ounces of semi-sweet chocolate chips are added to a double boiler. Meanwhile in a stand mixer, four whole eggs plus one yolk are whisked together with one cup of sugar until it triples in volume. As this mixes, the insides of eight ramekins are lightly buttered and sugared to ensure the cakes do not stick. Now turn off the mixer and return to the double boiler where the chocolate should be melted into a smooth consistency. Add...
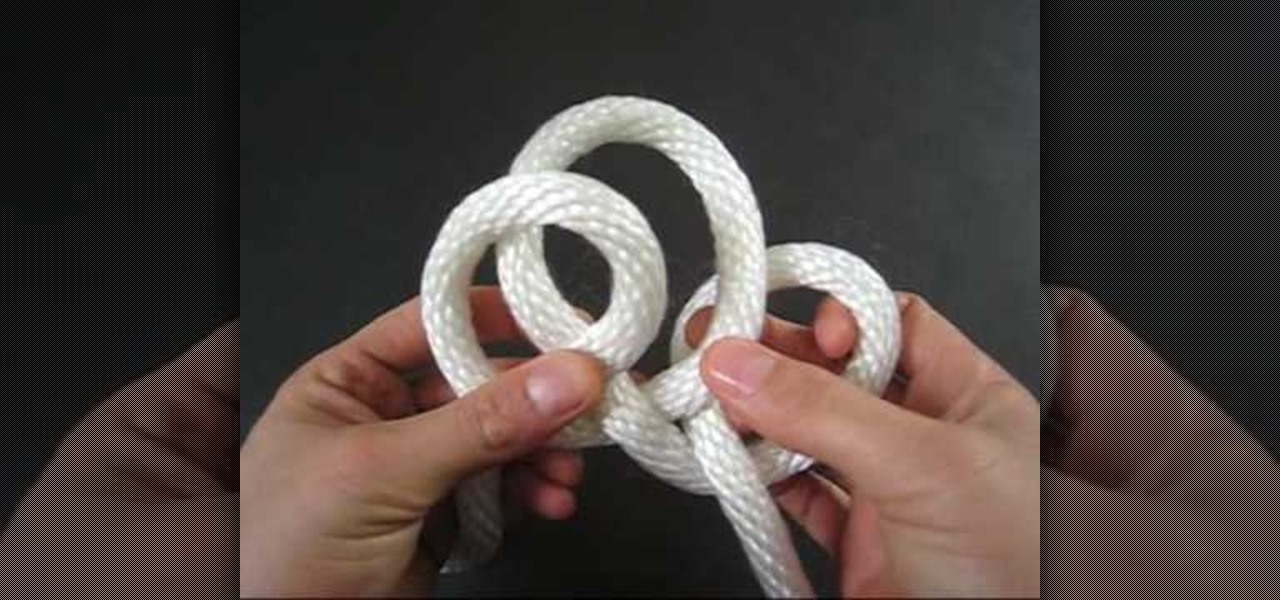
To tie a quick rope shackle, take a flat thread to make this knot. Take the thread and hold it in your hand fold it from right to left and hold it at the cross hold it once again catch both the crosses and fold it once again. Insert the send fold into the first hole and the third hole. Now pull the middle of the thread to make a tight. Pull the loose ends of the thread to make it tight. Now hold the two circular holes and insert a round stick or a bamboo stick and pull the loose ends of the t...
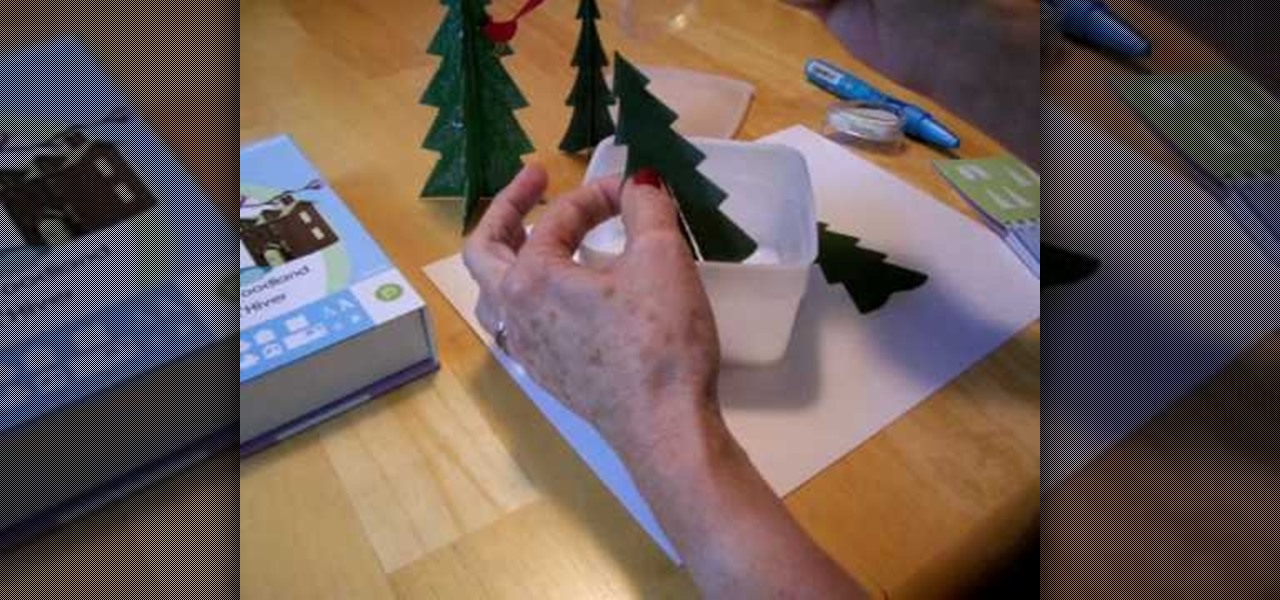
Cardcrazy09 teaches you how to create green woodland Cricut trees. You cut two pieces of the tree. Each one has a slid, on the top and bottom and you glue them together. You can also add glitter as snow. What you can do is smear it with a white ink pad to make it look frosted. The cardinal in the tree is made out of three pieces that you cut and stick together. A red body, yellow legs and brown face is all that's needed. After that, you just stick in the tree for the complete look.
Dawn5377 teaches you how to make a pink sweet treat cup door. You need a stamp from the sweet center set and you use it on a small piece of pink cardboard. You punch the middle out. Also punch the middle of another piece of pink cardboard. Insert the treat cup door and stick it in. You use dimensionals to hold a white piece of paper, which acts like a tray under the plastic dome. You add some sweet treats inside and stick the other pink piece (with the heart) on the other side. Also remember ...
Cardcrazy09 teaches us how to make a graduation card. You take a piece of black card stock paper and stick thin white paper edges on each side, like a window. You then use the Cricut to make a star and the word Congrats. This will go on the left, on top of some black printed moxie paper. The right side of the card also features a piece of moxie paper, with graduation hats pattern. There are also nail heads stuck on top. The last idea is to also include money to your son/niece.
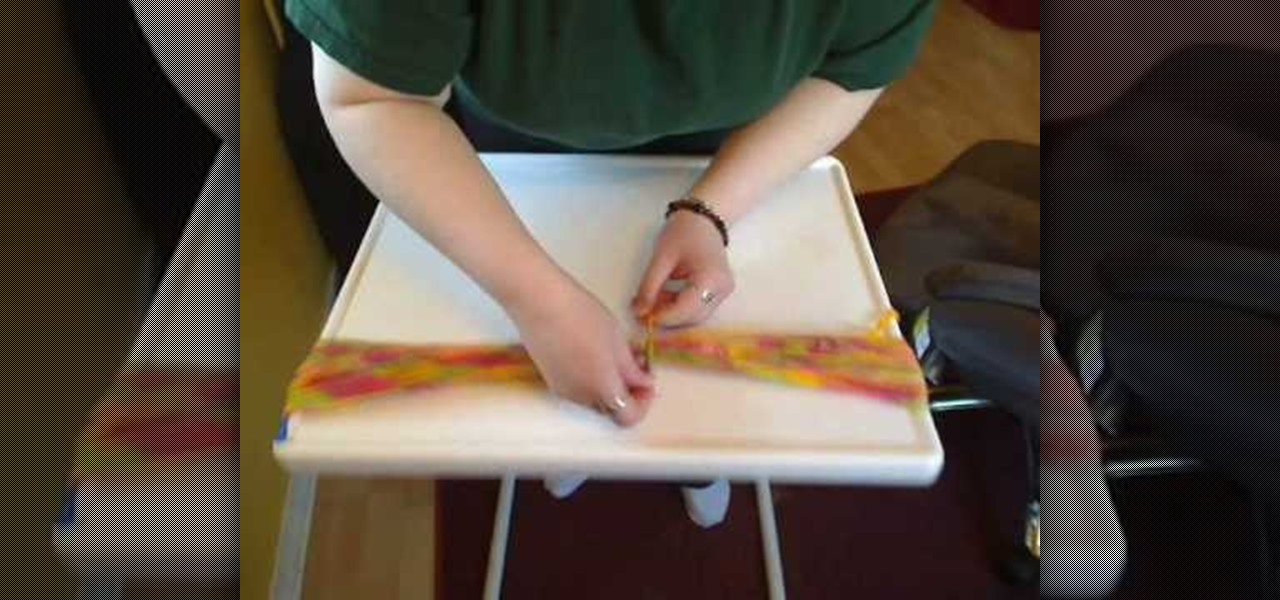
Emily from Girlispoision takes us through crafting yarn falls, a new and interesting sort of hair accessory for girls and women of all ages. First, obviously, you need yarn. Second, you'll need a glue stick, for general construction. Third, you'll need a nice large flat surface on which to work. Spreading your yarn out into separate strands, all side by side, you then tie them around the middle, and apply your glue stick, to make sure it will be secure. After snipping it to the desired length...
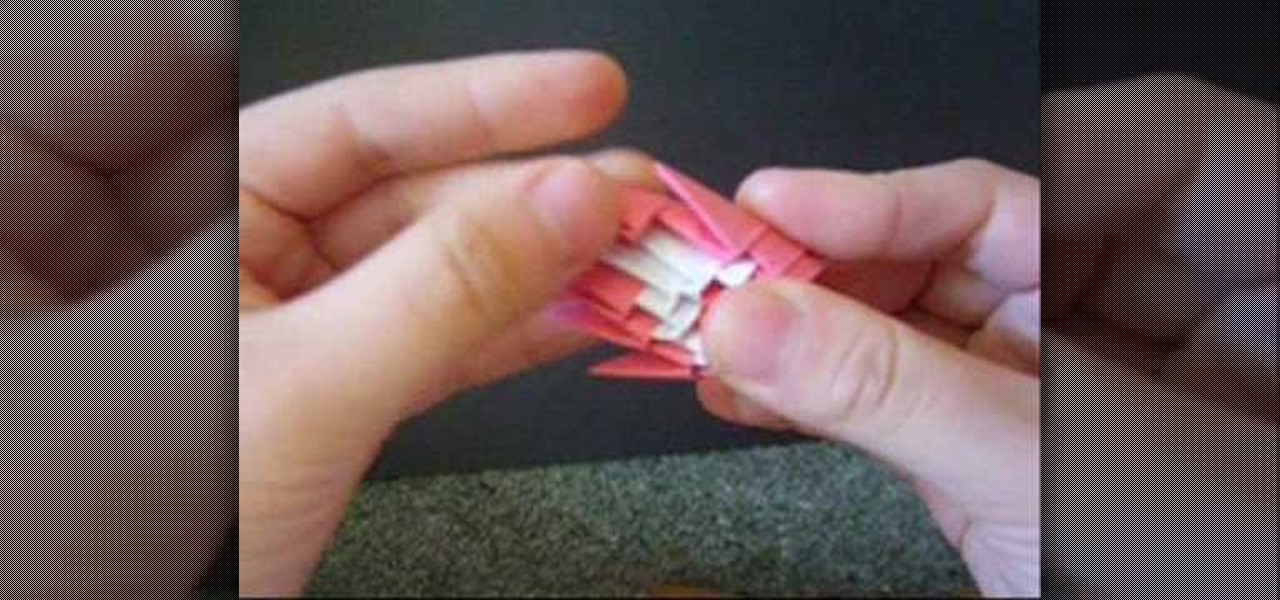
Ready to move past simple cranes into amazing stick-tail peacocks? In this great tutorial, master origami artist Jewellia7777 offers a step by step guide, color ideas, tips, and helpful advice on folding your own origami peacocks. This video teaches how to take this simple structure and construct an amazing 3D origami sculpture that will dazzle your friends and family. If you are having problems unraveling the complexities of modern 3D origami, then this great video is a must-see.
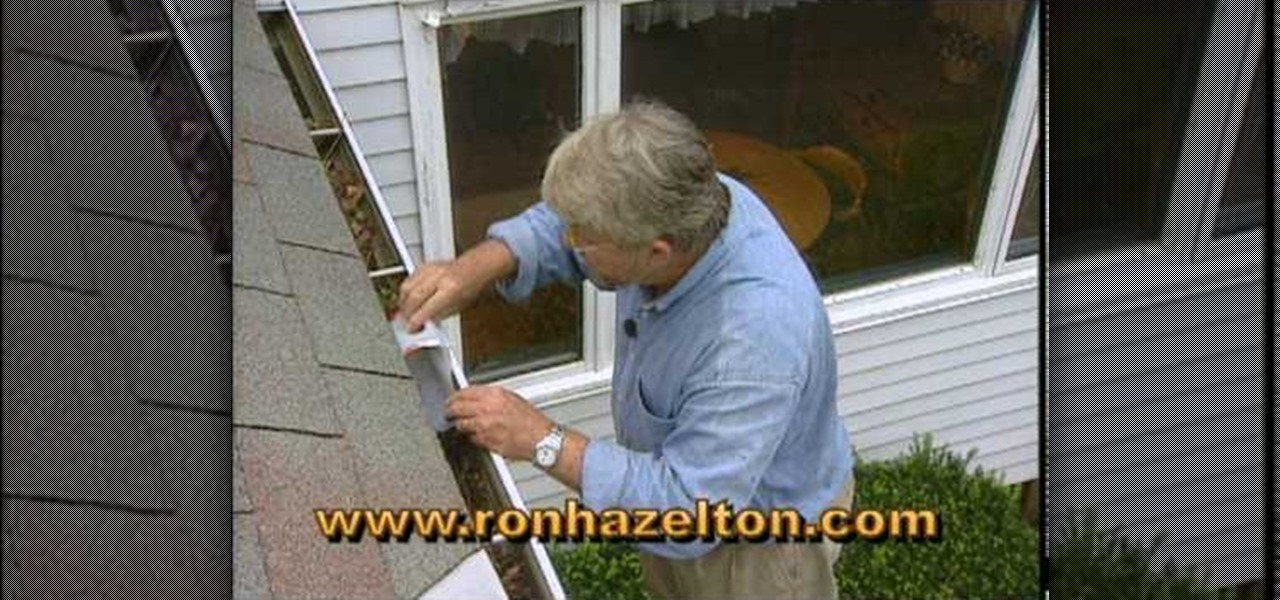
Cleaning gutters is really not that hard. Get out your ladder and position it so that you can reach the gutters. Start by removing all the big stuff such as twigs and bigger sticks that have gotten into the gutter. These bigger items can be removed with your hands. What is left can be pretty yucky? There is a mud like substance that is made up of water, decomposing leaves, newer leaves, and smaller sticks that you won't want to touch. So use a scoop made out of a mild container that is cut in...
It is very simple to cook. First you take one paper bag and bacon and eggs. Then keep the bacon in the bag and keep eggs in a normal water bottle to freeze it. After that you can keep both the bacon and eggs in the paper bag. Then put the bag onto a stick. The bag should stay over the heat with the help of the stick. This process should continue for 7-8 minutes. Then you are ready to eat bacon and eggs.
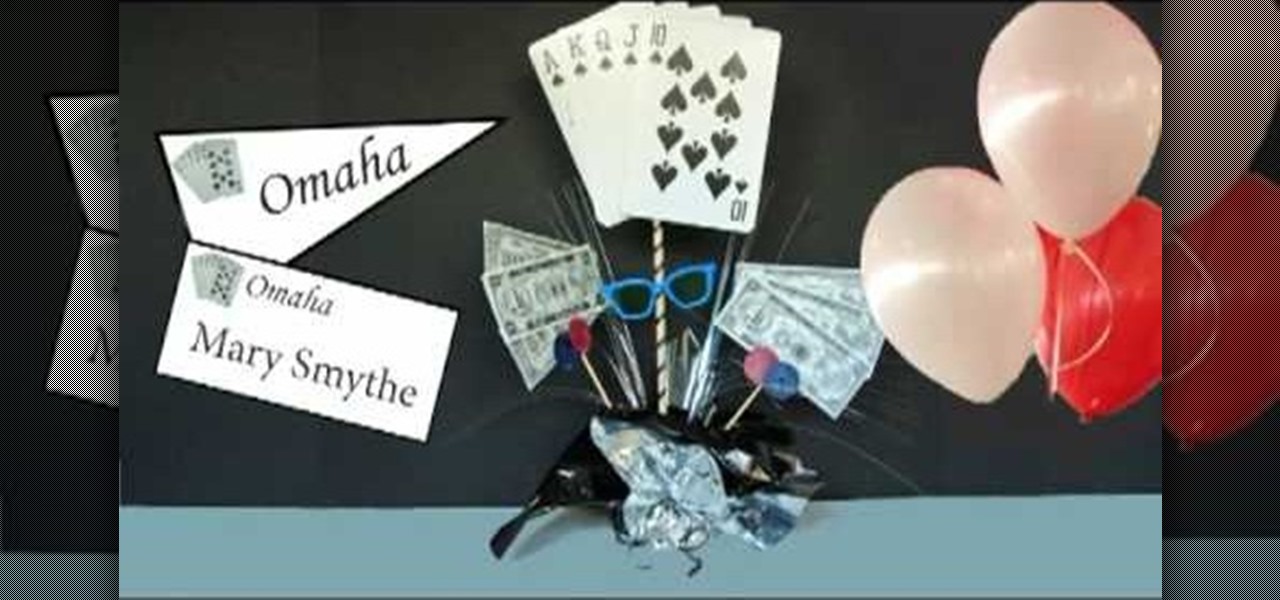
This video is a demonstration by A-BnC parties on the making DIY poker theme centerpiece. This is a rather simple do-it yourself video. The start of video lists a couple of materials needed to make the centerpiece like over sized playing cards, play paper money, power chips, card stock, shish kabob sticks, optional sun glasses and a just add sand centerpiece. The optional things required are glue and scissors to make changes to the materials and to stick them together. Following this video on...
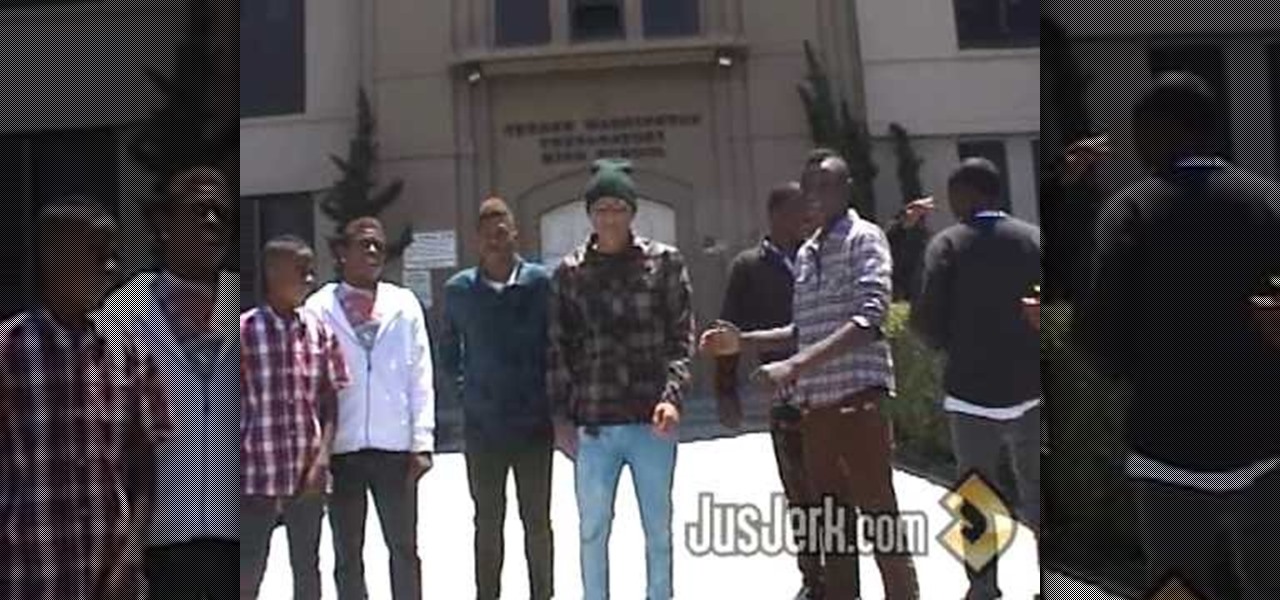
JusJerk and Jerk dance crew, the Stick Figures demonstrate how a "Pin Drop" is done in the world of Jerking, and later, how variations of the Pin Drop (sometimes also referred to as the "Knee Drop") can lead to multiple Pin Drops in a row and/or some pretty impressive acrobats. Later in this tutorial, the Stick Figures show how to do "The Break Leg Pin Drop" by dipping and "breaking the legs". We're guessing they mean this figuratively.
This is the correct way to block an incoming high ball with proper overhead batting in hurling.
This is an introduction to overhead batting, i.e. blocking an incoming high ball. This is a defensive move in hurling.
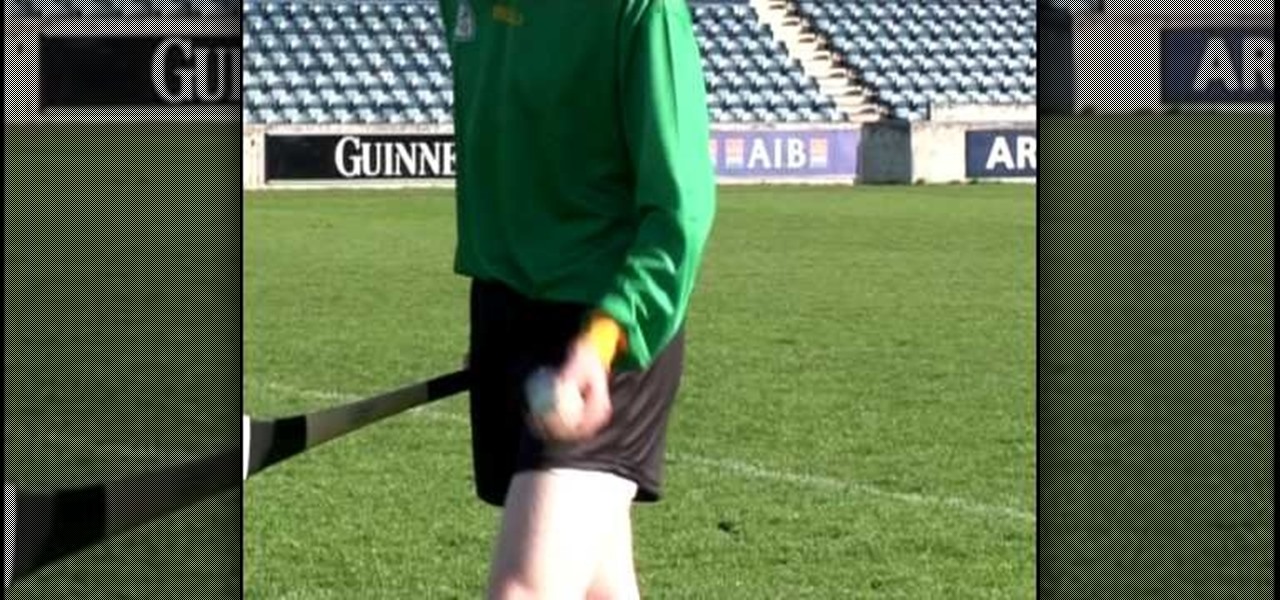
This hurling video covers common errors and how to fix them when learning the hand pass in hurling.