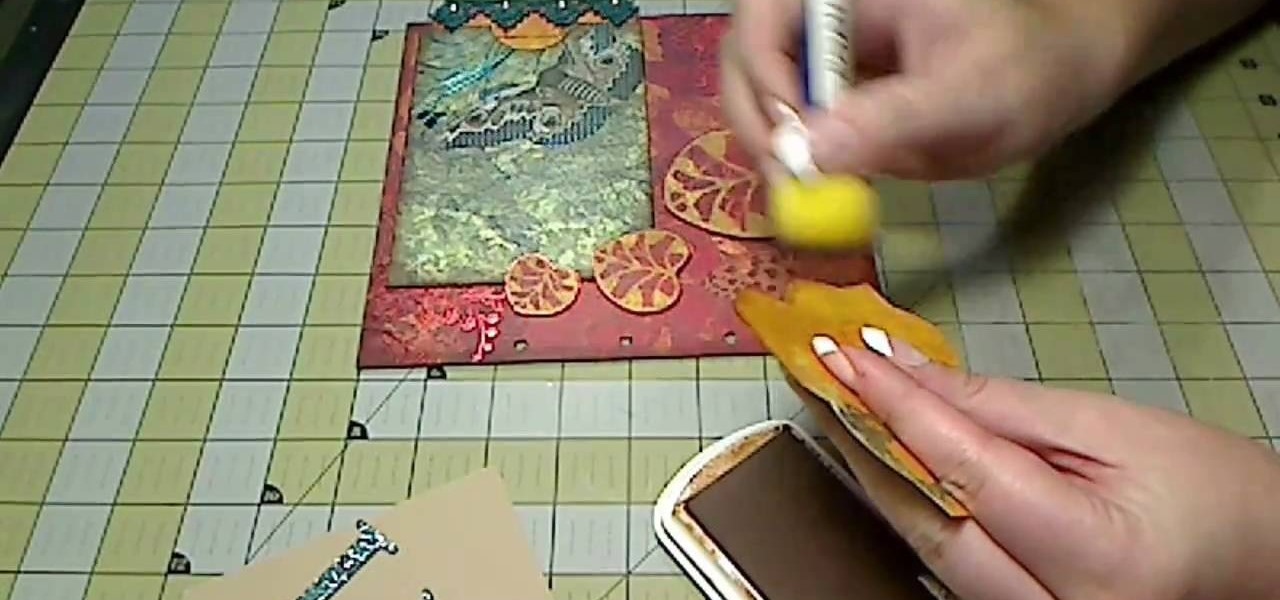
Leaves are changing colors, the weather is getting cooler and people are talking about pumpkins. It must be fall! This tutorial shows you how to create a beautiful mini scrapbook celebrating everything there is to love about the fall and everything in it!
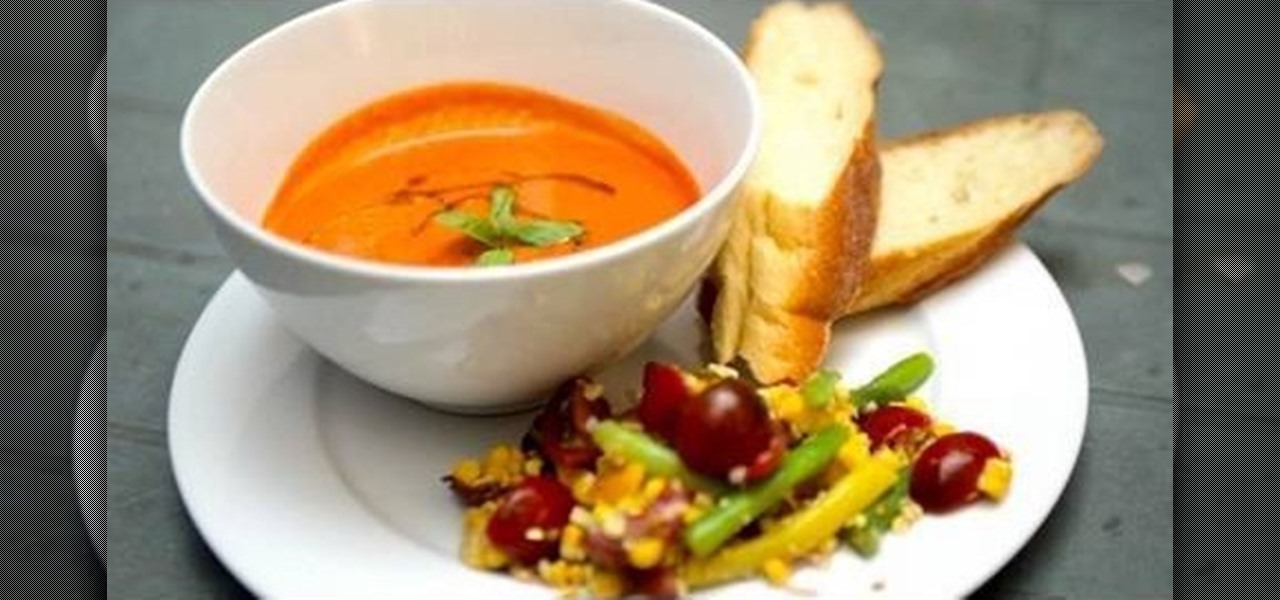
Gazpacho is a lovely cold soup dish that originates in Spain. Made mostly out of raw tomatoes, it is chilled before serving to combat the hot temperatures during the summer.

Most of us are familiar with the names Pikachu, Jiggly Puff, and Maril. If you grew up during the late nineties, then it was virtually impossible to get away from Pokemon fevor, and these were the chubby and cute crowd pleasers that everyone loved. But, if you were (or are) a true Pokemon fan, then you know that Pokemon lore extends far beyond a yellow electricity-conducting rodent.
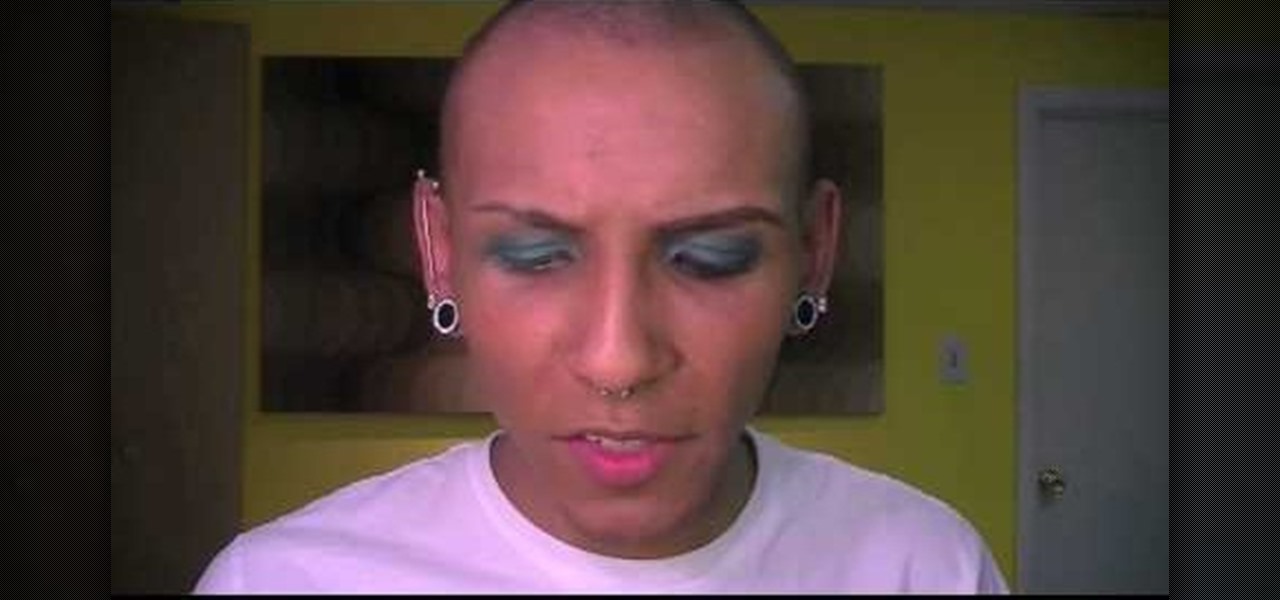
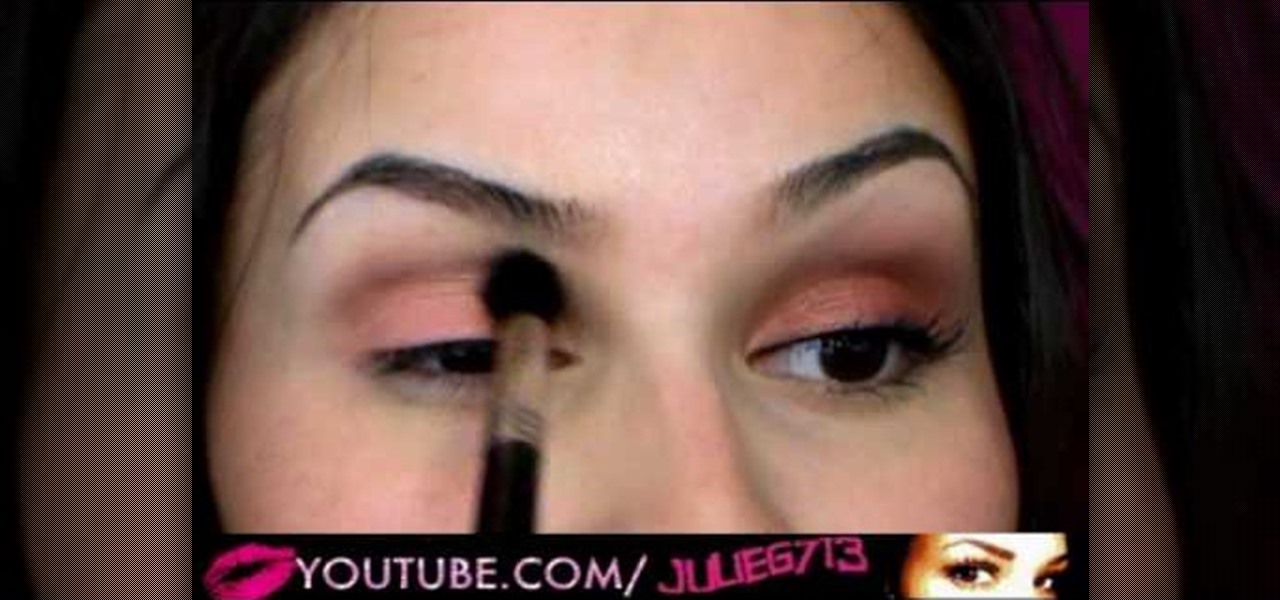
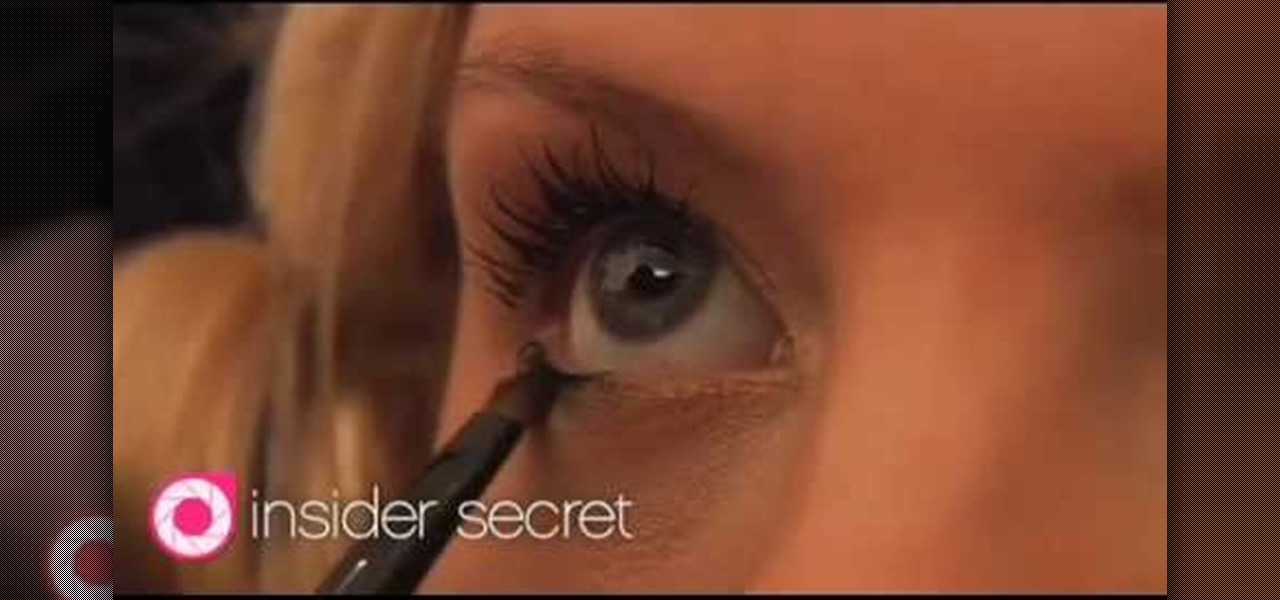
Eye makeup doesn't have to be super complicated or take half an afternoon to do in order to be bold and beautiful. In fact, there are many ways you can simplify your makeup routine, cut out colors, and save time while still making your eyes pop.
Art should be playful, not intimidating. And with this video tutorial, you'll see just how easy crafting can be. Learn a basic watercolor technique that will make your creations stand out and sparkle.
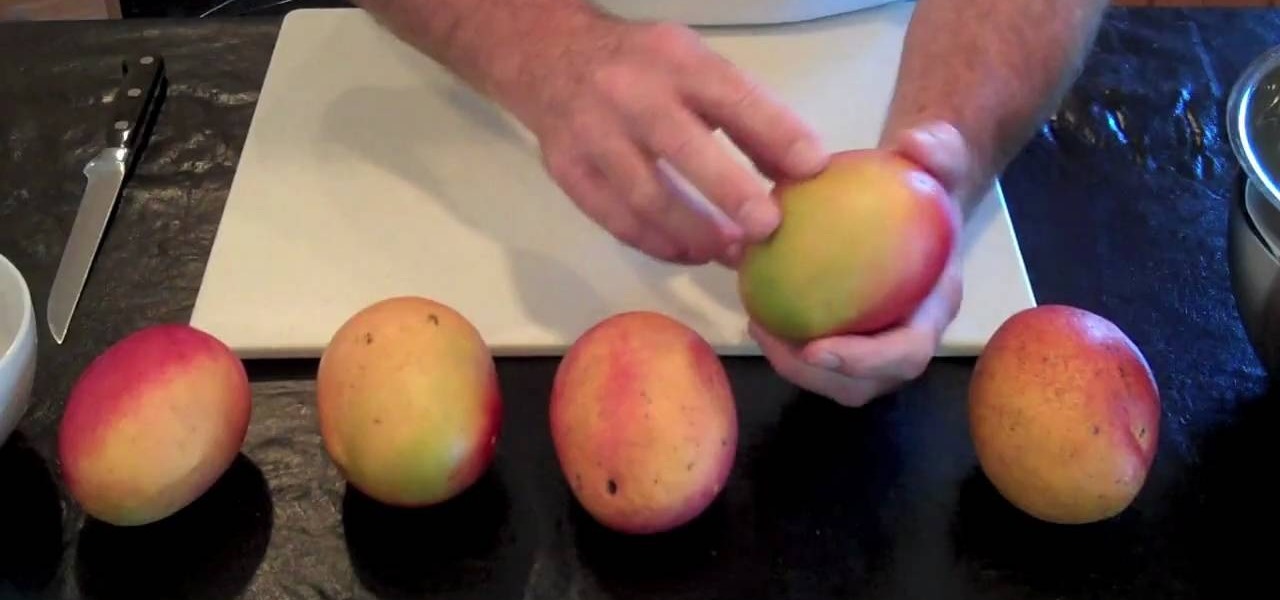
Just because the grocery store sells produce, doesn't mean it's all good and ready to eat. Mangos are a particularly tricky fruit to get right… er… ripe. Tommy Atkins mangos the more common mangos, and are usually grown in Mexico (originally Florida). When choosing a Tommy Atkins mango, you need to look for a mango without bruising and with as much color as possible. Green is not quite ready yet. Red is excellent, but a beautiful mix of red and yellow is the best.

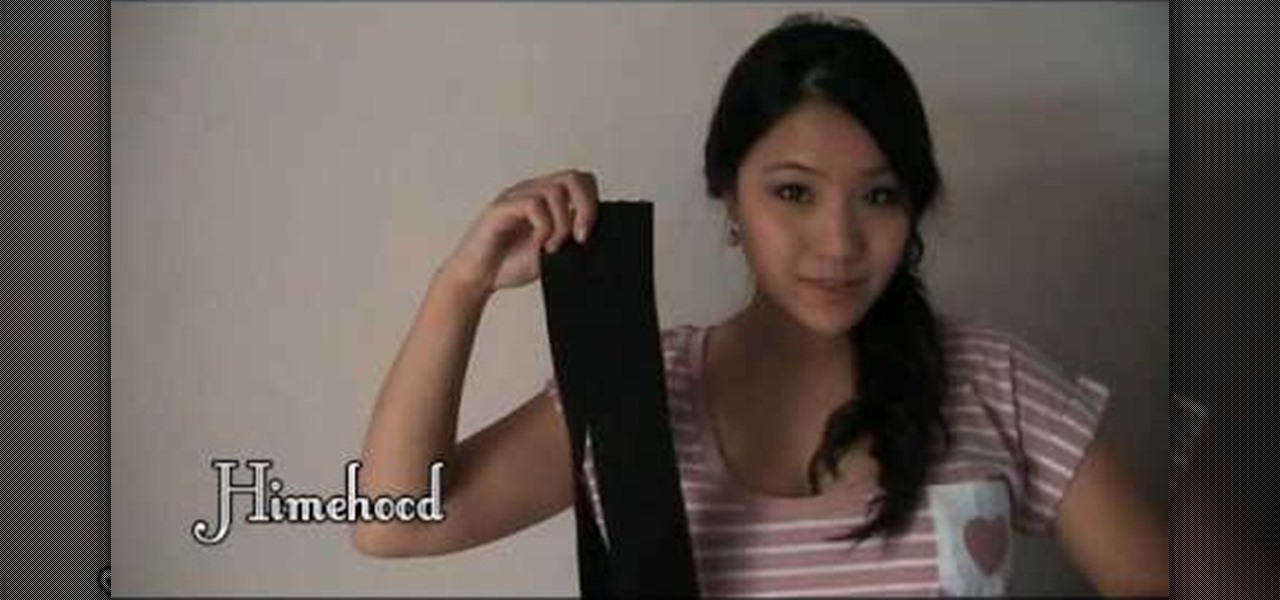
Belts make almost any outfit look better, especially dresses that are a little too loose in the midsection or need some extra tucking in to really underscore your beautiful hourglass shape. Belts come in all sorts of colors and shapes, but a scrunchy belt is among the most comfortable belts to wear.

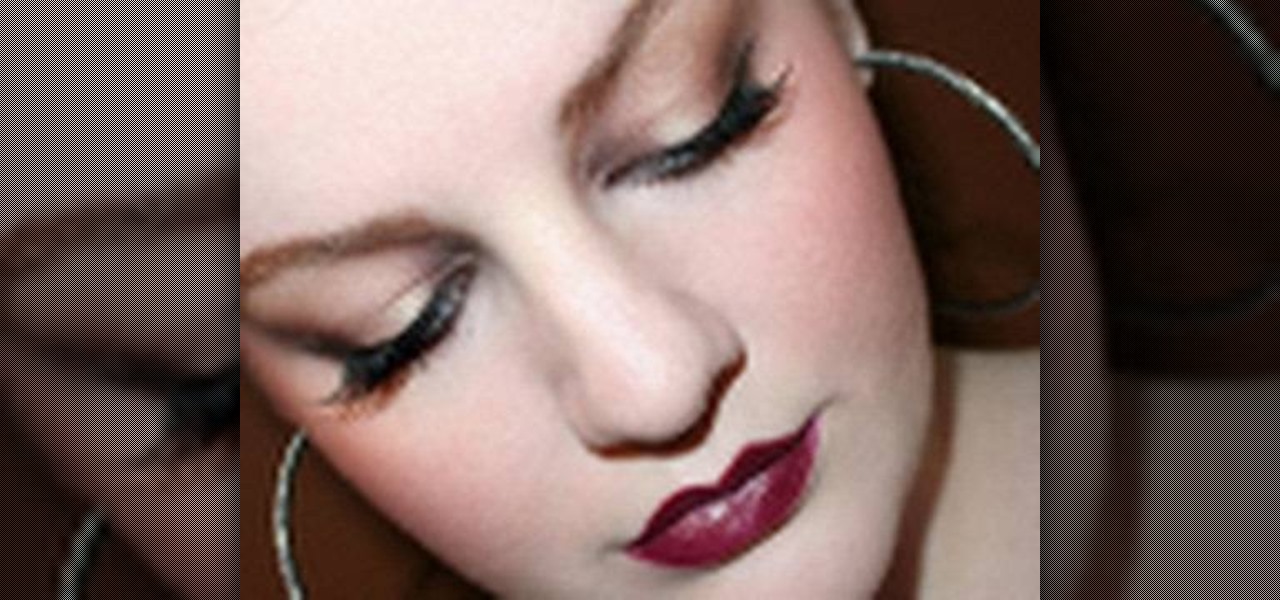
Any good makeup artist will tell you both that good makeup starts with good skin and mature/older women look much more radiant with less thick foundation and eye shimmer.

Want to look like a blond Playboy bombshell? This tutorial goes into a red rust/silver smokey eye that complements blue and gray eyes (you can always wear contacts in those colors if you have them). The look is inspired by Kendra from "The Girls Next Door."

Not every look has to be loud and colorful. Sometimes you just need a simple, natural day time look.

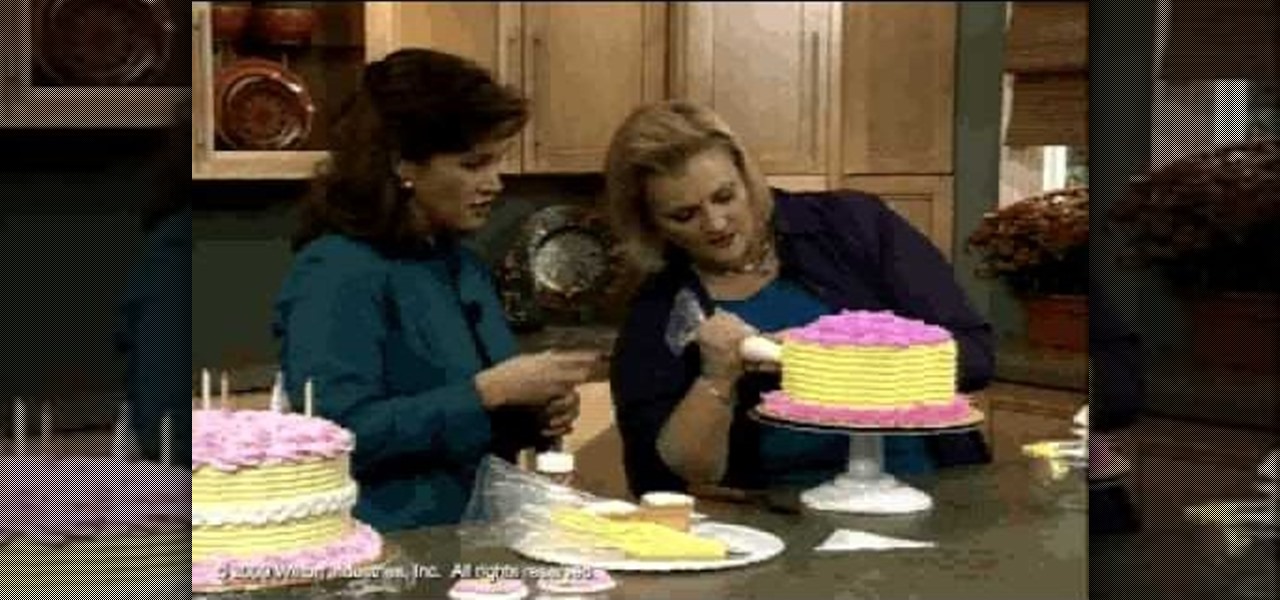
Wilton Cake Decorating demonstrates how to make and decorate a beautiful World of Swirls Cake.

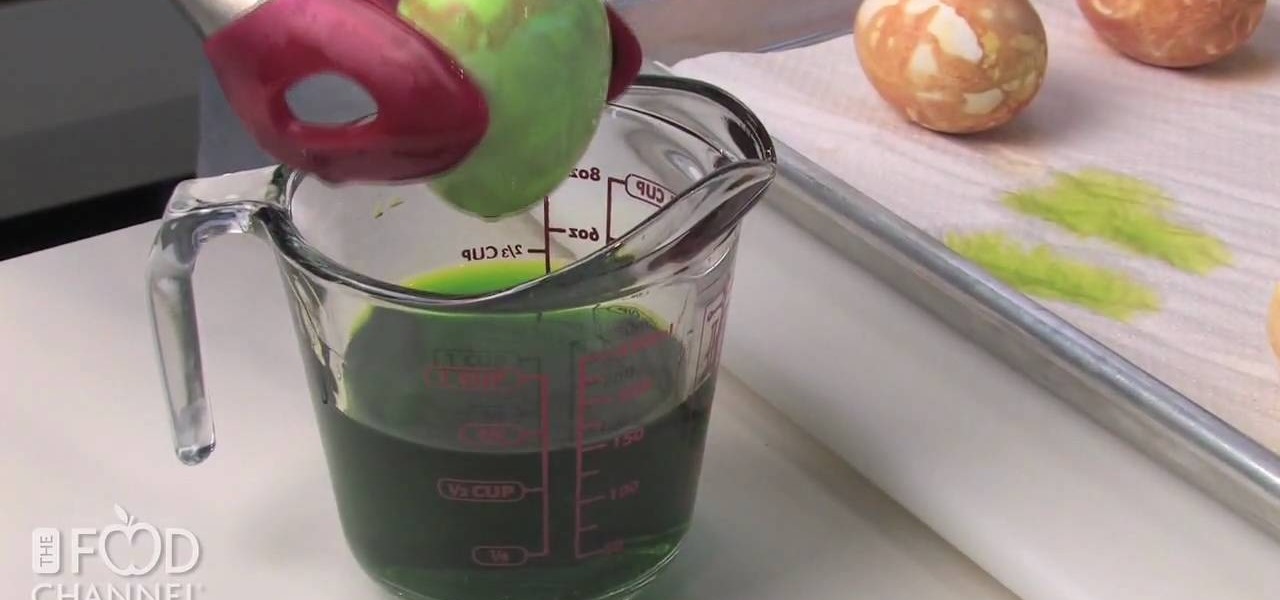
Naturally dyed eggs is the way to go for Easter time. Aside from just using your normal dyes for Easter eggs, add a unique look by just using onion skins. Onion skins will dye your Easter eggs with a cook natural color, great for eating or for decoration.

Corinne from crafts beautiful magazine teaches how to make a photo wallet. Get an A4 colored paper. Fold about an inch on both short edge and one of the remaining 2 longer edges. Bring the top part to the bottom of the longer edge and tuck it inside the fold. Divide into three. Put a ribbon around it and decorate the way You want it. Follow these steps and You'll be able to make Your own photo wallet.

Nothing is more beautiful than a girl with naturally pretty skin, without all the help of the makeup... but who are we kidding? Everyone needs a little touch up and color up to make them look alive and well! In this makeup tutorial presented by Smashbox Cosmetics, learn how to get that fresh, natural look with your makeup.

Check out this cool technique for mixing nail polish colors. Learn how to apply a black and green mottled nail art with this manicure tutorial. You will need a base coat, two colors of nail polish, a toothpick and a clear top coat. This is a beautiful look for long or short nails and acrylic or artificial nails. With this how to video and you will be able to create this black and green mottled nail polish look.

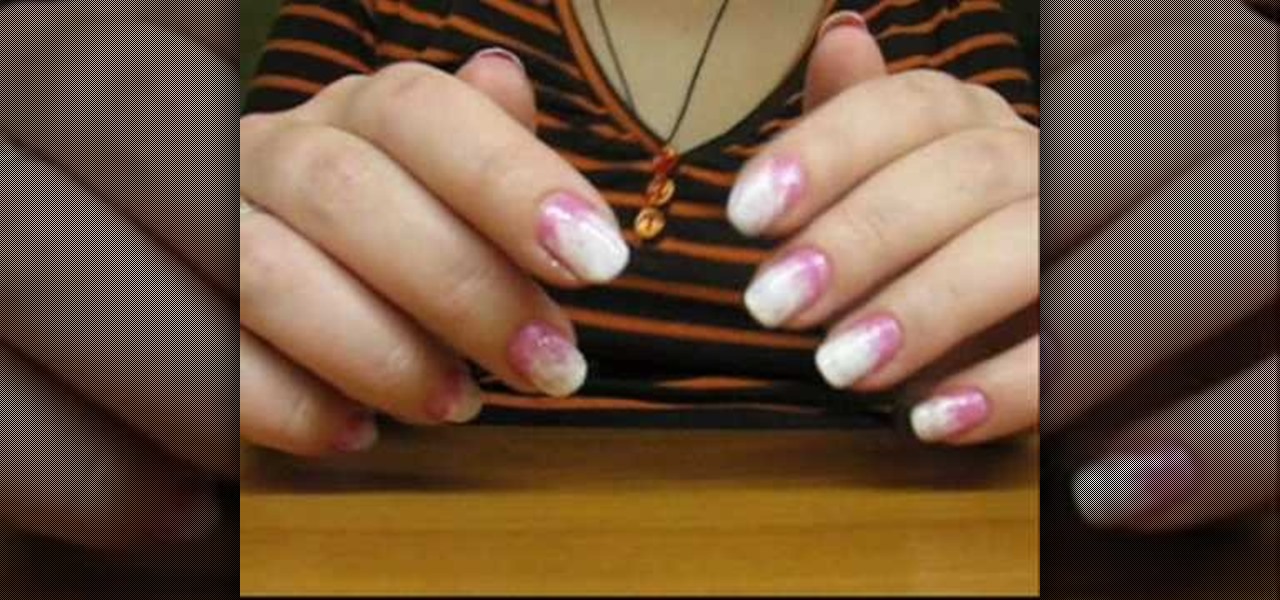
Tired of boring one color nails? Check out this manicure tutorial that teaches you how to create a pink and white fading effect on your fingernails. You will need a base coat, bright pink nail polish, white nail polish, and a clear top coat. This is a beautiful look for short or long natural nails or acrylic and artificial nails. You can create this effect with any color nail polish. Watch this how to video and you can create a pink to white fading effect on your fingernails.

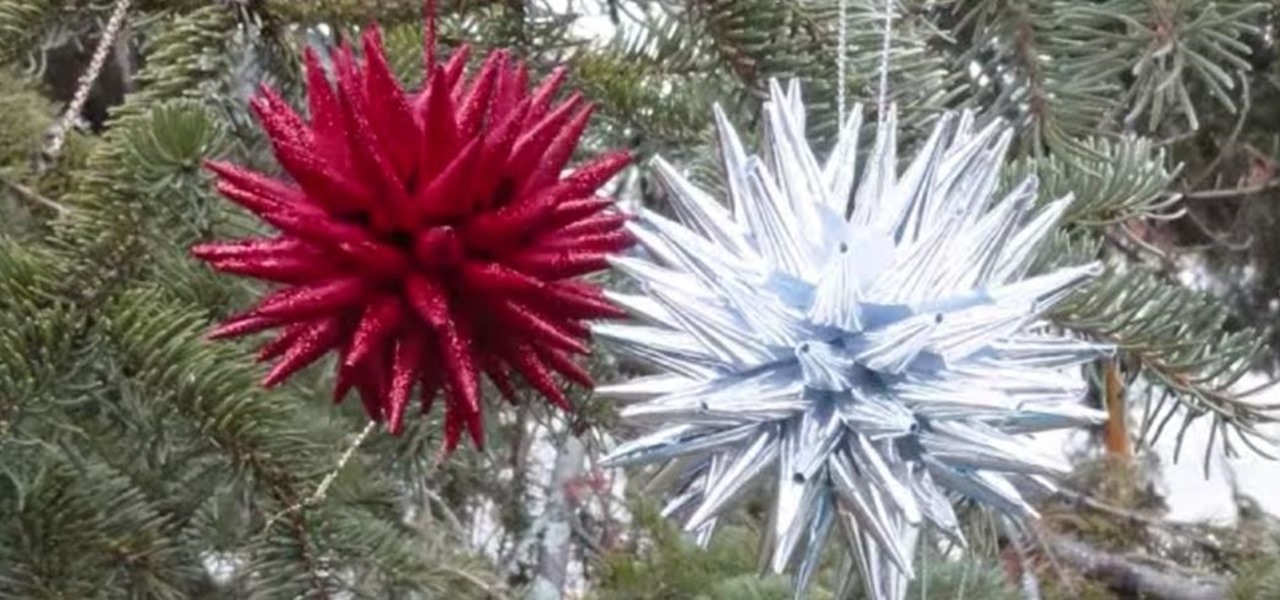
To be honest, these Christmas ornaments look more like sea urchins than stars to us. Either way, these festive ornaments are beautiful and cheap alternatives to purchasing standard ornaments at the store. Give each ornament character by using a different color or pattern paper.

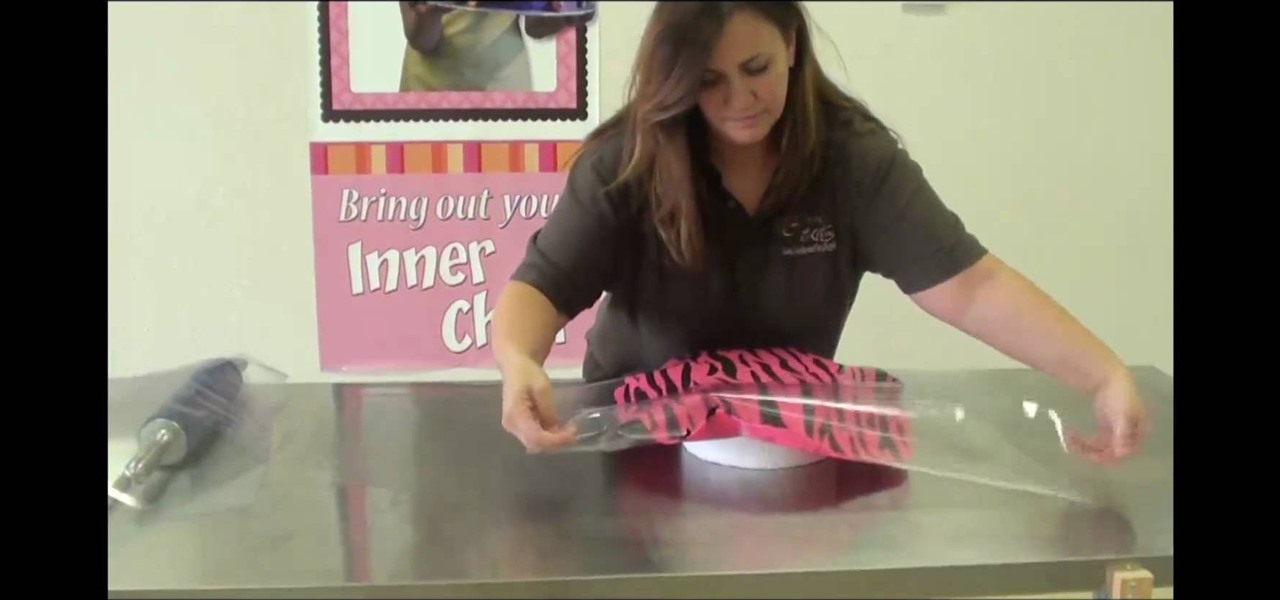
Plain white fondant looks elegant and classic on its own - just think beautiful wedding cakes and birthday cakes - but sometimes white on white just gets plain dull. For times when you crave a little more pizzazz in your life, or at least in your cake decorating, check out this video to learn how to add zebra stripes to your fondant. If you're really adventurous, turn that white fondant pink with some food coloring!

In this tutorial, we learn how to do the glitter windows technique when card making. First, you will need to pick an area in the card where you want the window to be at. Then, grab a piece of card stock and stamp the areas out where you want the empty space for the window to be. Next, set this aside and grab another piece of paper in a different color. Apply glitter to this, then let it dry before attaching the cut out piece onto this. Now you can use this for the rest of your card and have a...

In this tutorial, we learn how to gel your flash to blend it with ambient light. First, you will need to be indoors with lights on and grab your camera. Make sure you have a separate flash on the camera, then take an amber colored film strip and place it over the flash. Next have your subject sit down and start taking pictures. Use different shades of amber and when you see the pictures it will have the background light more dim than the subject in the picture. When finished, you will have a ...

The runways are not the likeliest of places to look for makeup trends that are immediately wearable (think the recent fashion show in Spain where models went bald and wore thinning gray beards), but this fall the overall makeup trend has been one that's surprisingly translatable off the runway.

In this tutorial, we learn how to create "viva la diva" lip art. First, prime your lips and blend it out with clean fingers. Next, take your favorite type of lipstick and then use lip liner on the edges. Blot the lipstick on the back of your hand, then apply the lipstick again. Next, grab rhinestones and apply them on your lips using a q-tip and Duo glue. When you are done with this, apply a clear lip gloss to the top of your lips. This will give you a glam look with beautiful rhinestones on ...

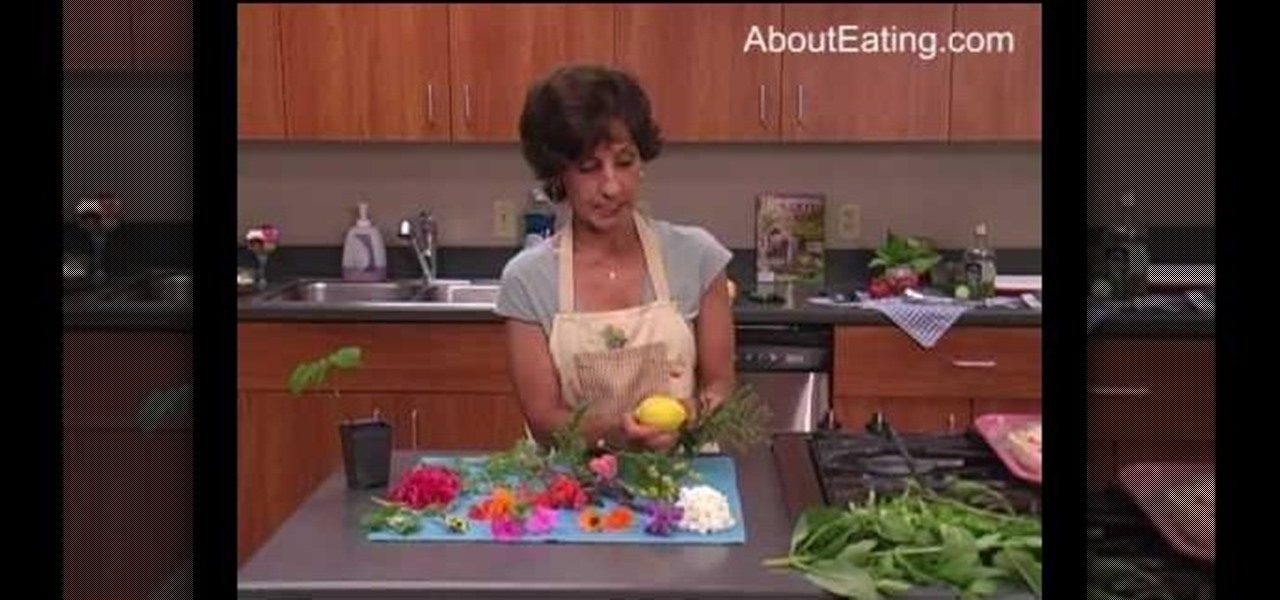
Rita Heikenfeld from AboutEating discusses some of the flowers that are not only beautiful but also edible. It is important not to eat flowers that have been sprayed with chemicals. Some of the more common edible flowers are the zinnia, petunia, and the marigold, which has a delicious citrus flavor and is used in bath oils. Impatiens are edible (just the flowers, not the leaves) and come in a variety of colors.

First of all take two pieces of FIMO- one white and the other red color. Now roll them flat on the table into rectangles. Now cut triangles out of them and then join together to form a rectangle which has more white than blue color. Now use a rolling pin to flatten their surfaces. Use a ruler to lift them off the table top. Now fold it in half and roll it again in the same direction. Don’t roll it too hard. Now keep rolling and folding in the same way. Now when you go thinner while rolling it...

To decorate a fall flower centerpiece for your home, create a table centerpiece. Get some dry flowers with attractive colors of your choice. Take a metallic pot for centerpiece. Place a Styrofoam ring in the bottom of pot or vase. Carefully insert stems of dried flowers into the foam. The interior design technique is to be perfect to fall, so that it looks natural. Make sure to have the tallest flower at the center of the pot. Work from the center outwards applying more flowers and stems. Mak...

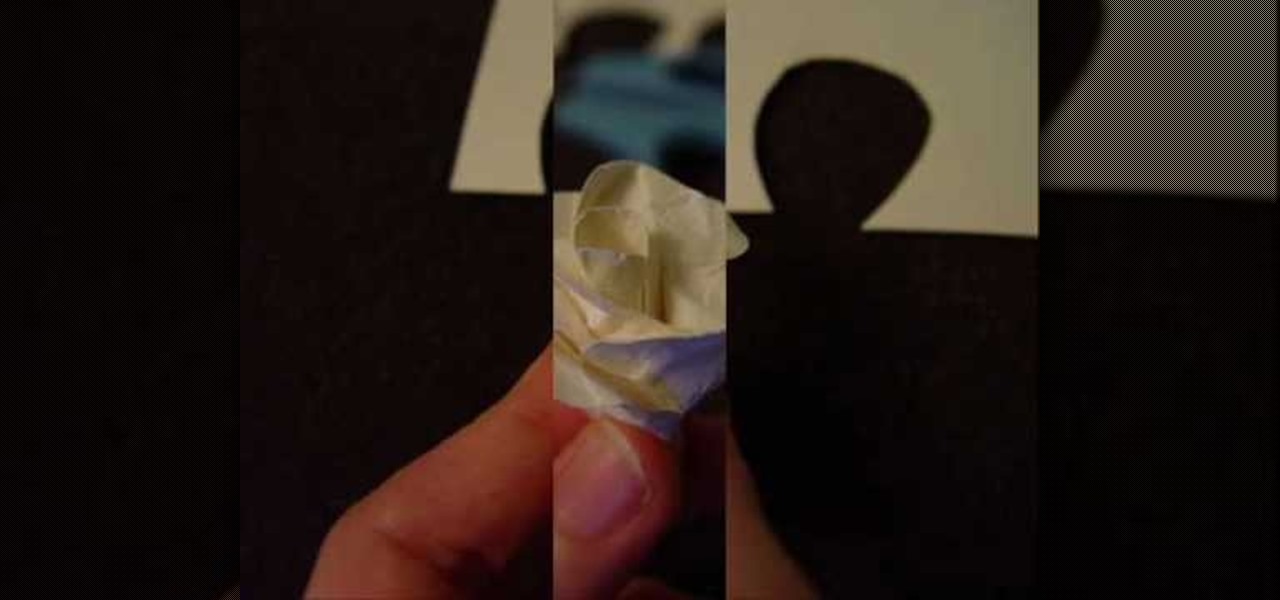
This tutorial demonstrates how to make simple yet beautiful paper roses using only a few materials. The image displayed at the end of this video is just one example of how realistic a paper rose can look. In order to do this, you will need at least one sheet of plain or colored paper, tacky glue, wire and a pair of scissors. Initially, you must first cut your paper in to the shape of your pedals, then crumple them up. Crumpling your pedals not only makes them more flexible, but can also add a...

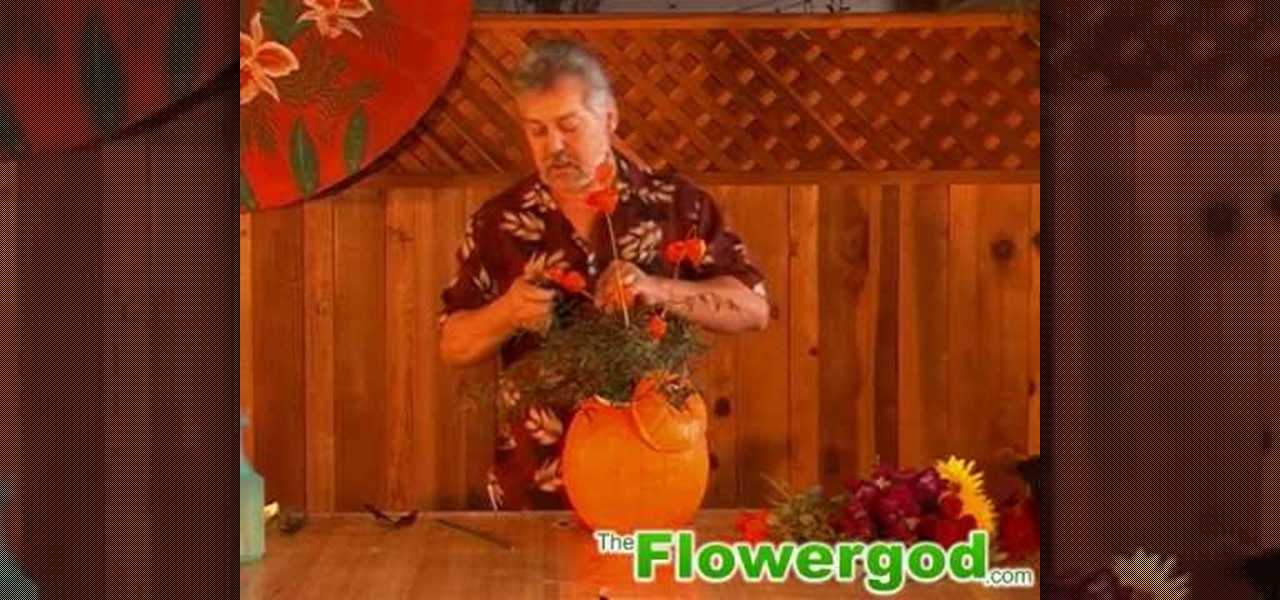
He starts with a pumpkin and some flowers from the supermarket, and some greens that he trimmed from a bush in his yard. He first cuts off the top of the pumpkin and cleans it out. He put newspaper in the bottom of the pumpkin, then puts a container with floral foam inside the pumpkin so the foam is sticking up a bit. He attaches the lid of the pumpkin to the foam with a piece of wire. He starts with the foliage and then begins adding flowers. He puts a tall stem of Japanese Lantern in the mi...

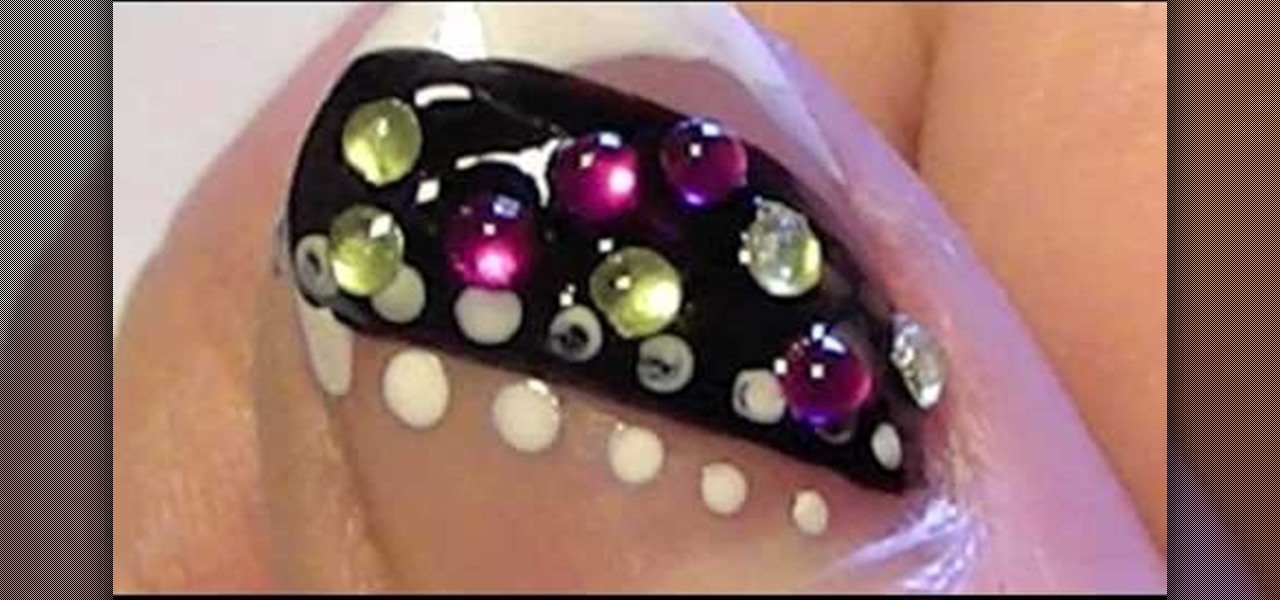
The rhinestone studded nails will be more attractive. To make your nails a perfect complement to any acrylic or polished nails use your wildest imagination to make it more attractive. The following steps will help to make beautiful, rocker rhinestone studded nails. The first step is to clean the nail surface where you want the stickers to be placed. The second step is to apply a base coat, and the third step is to apply nail polish color. The fourth step is to peel off the stickers carefully ...

Tell a friends you care by making him/her a friendship bracelet. Not everybody wants to show off their friendship to everyone, but if you do, this video tutorial will show you how to make a friendship bracelet, specifically the arrows and twist friendship bracelet. This is a beautiful pattern and looks rally nice when you use two shades of two similar colors.

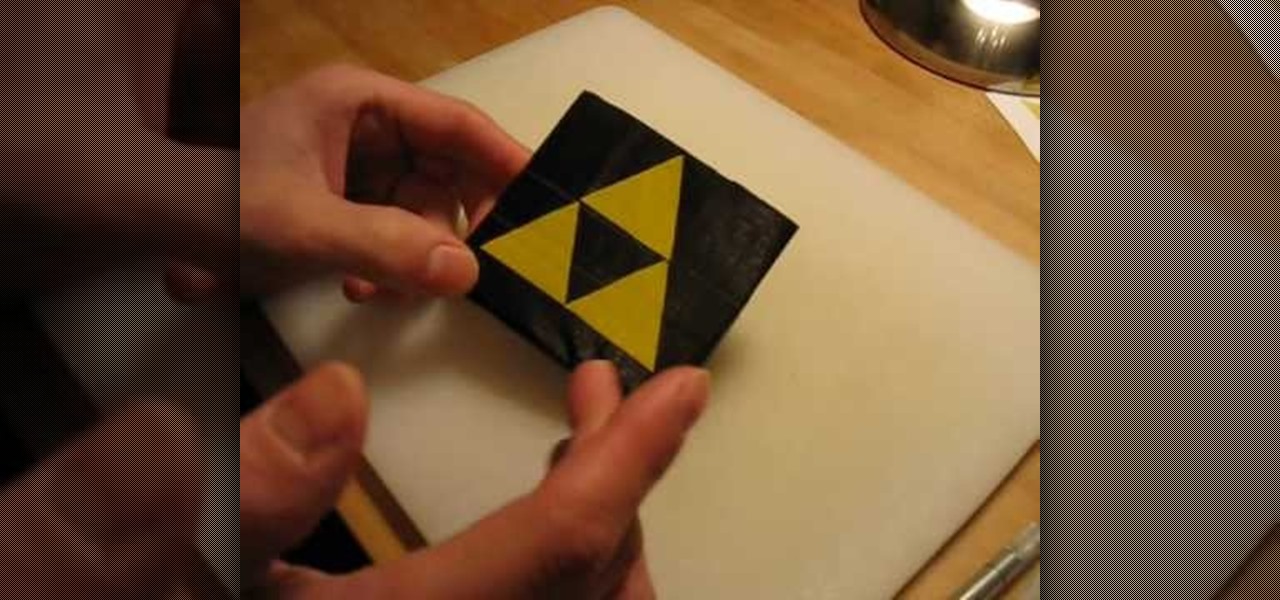
Feel and see just what duct tape is capable of! You can practically do anything with duct tape! This video tutorial will show you how to make decorative designs on your duct tape creations. There are two concepts to decorating your duct tape designs with more duct tape, and that's using stripes and squares, and using stenciling. Make all of your duct tape wallets and checkbooks and whatever more beautiful with colors.

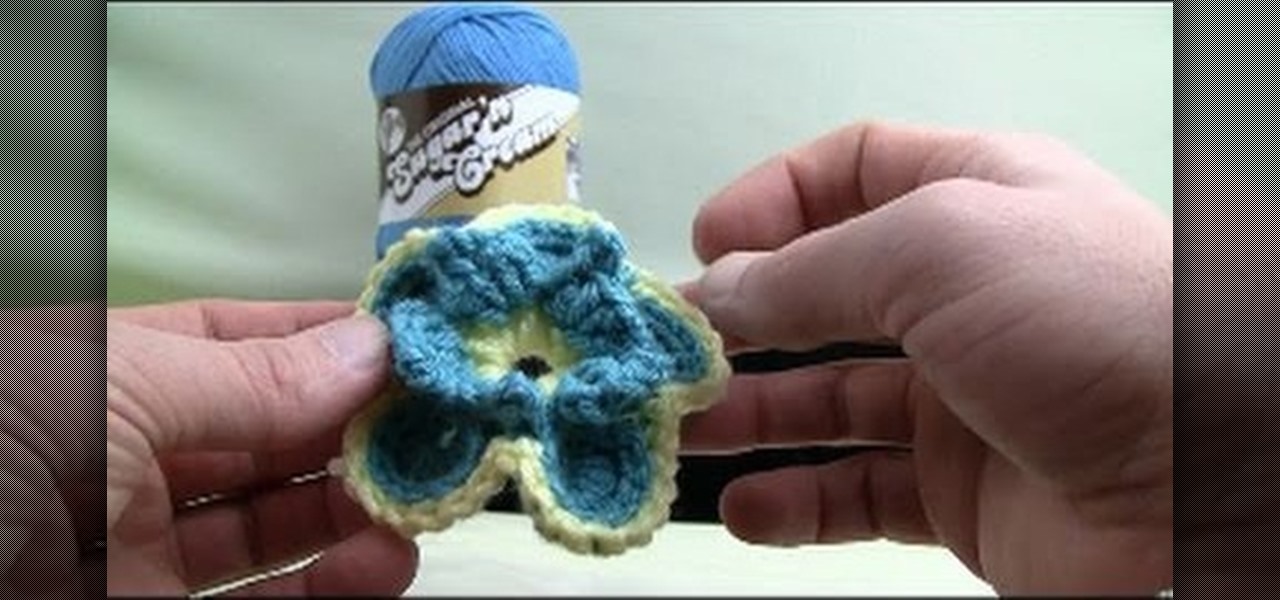
A pansy is a delicate, two-tone flower. This tutorial shows you how to crochet an entire bouquet of beautiful pansies. This makes a great gift or get well present - especially if your recipient is allergic to flowers! Make sure you choose your yarn carefully.

If you've ever taken astronomy before, then you know that the brightest flames - and the brightest stars - burn blue. So if you'r still making your origami stars blue, it's time to think outside the box.

Once your Thanksgiving dinner table is set with beautiful gourds, autumnal leaves, and candles and your turkey, green bean casserole, and pies are out of the oven, it's time to mess everything up. While a beautiful dinner presentation is great and all, unless you plan on having your guests rip off drumsticks from the turkey caveman-style you'll probably want to carve the bird.

Frankly we think that all the Disney princesses are beautiful, though Snow White, the original Disney princess, does have a special place in our hearts. With a voice as sweet as honey, milky white skin, and apple red lips, she is the picture of perfection.

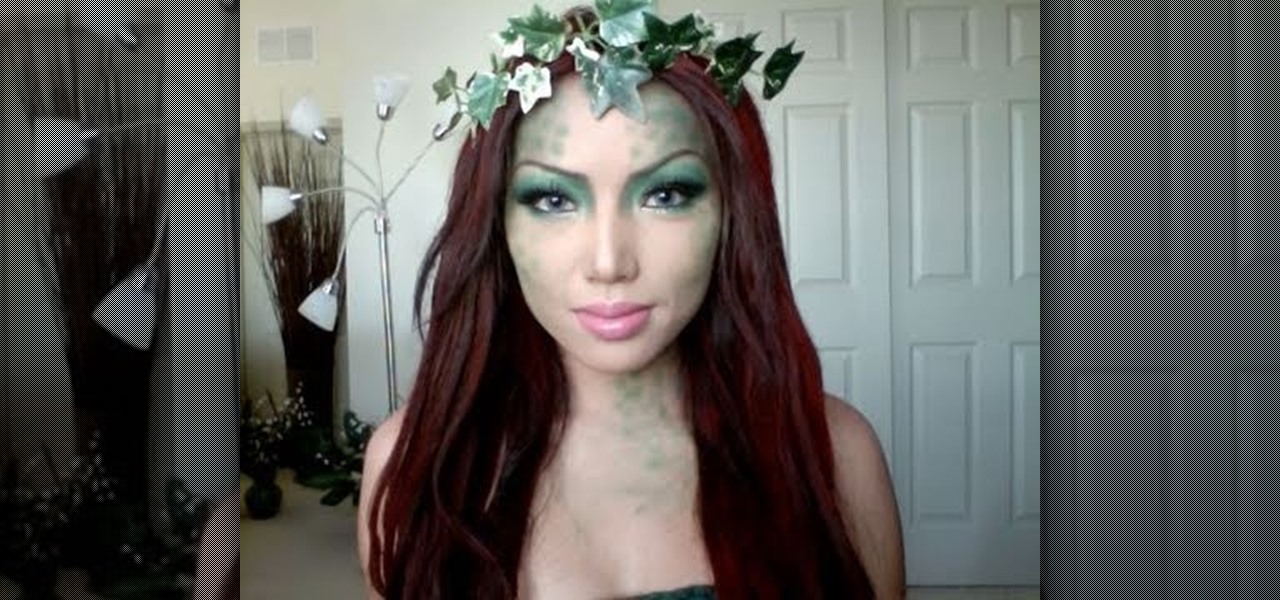
This Halloween makeup tutorial is great because it can be easily altered to fit the costume you're wearing. While the original look is intended for a sultry mermaid or a sexy swamp girl (yes, swamp girls can be sexy), you can wear this look with a bit of glitter for a forest nymph or fairy look.

There are lots of key parts to creating beautiful makeup, but if you had to ask us for the most important step we'd without a doubt say foundation. Good skin looks good no matter what other type of makeup you decide to you put on, whether it's smoky eyes or red lips. That's because beautiful, flawless skin acts as a smooth, pretty base.

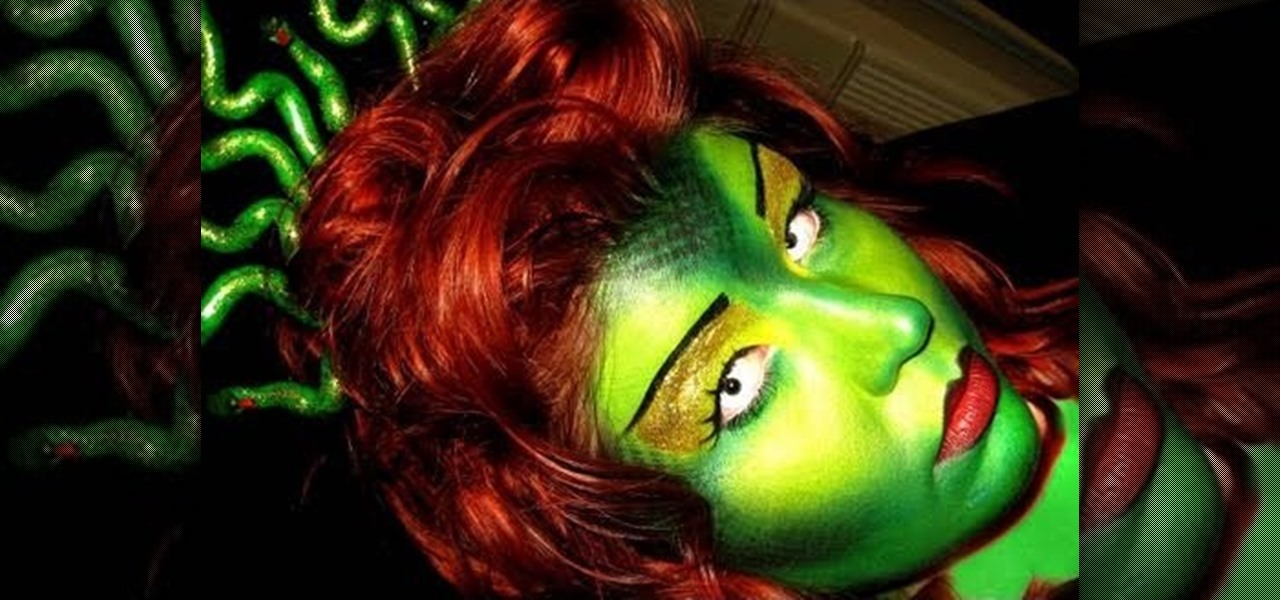
Wear this Medusa makeup look out on Halloween and guys will literally die in awe of your beauty. The infamous Greek monster Medusa was, after all, once a beautiful woman, and still quite beautiful even after she turned into a large snake with a headpiece of writing, slippery snakes.

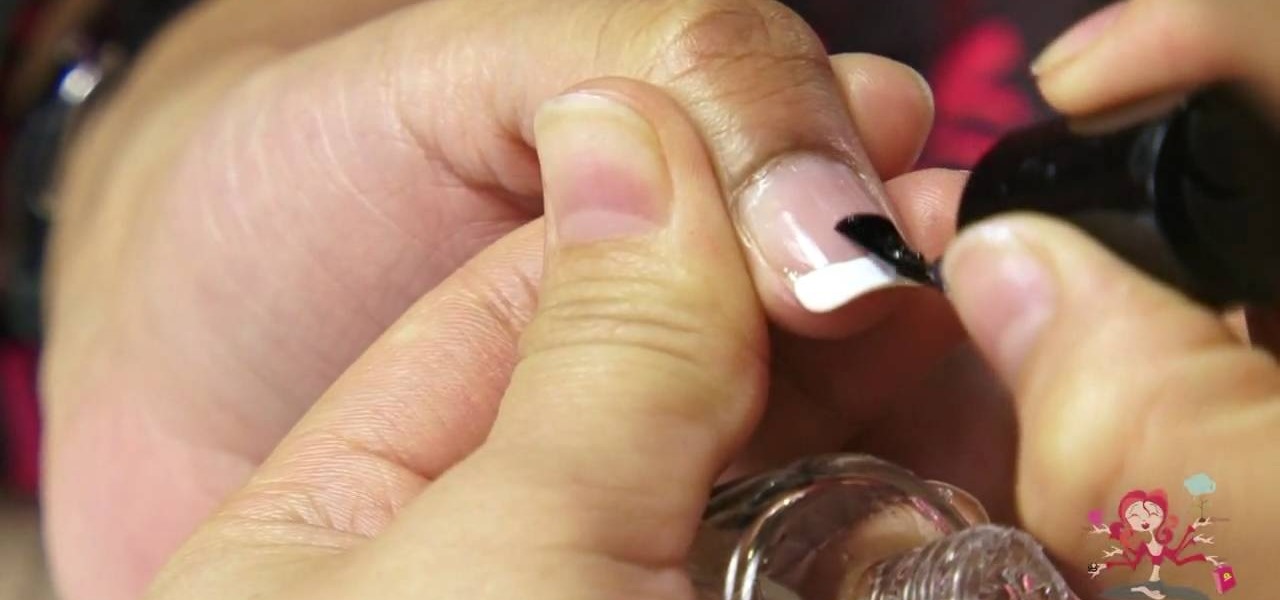
Classic French manicures, like the LBD, will navigate you where you need to go in timeless elegance and style. And really, French manicures require little time to apply, so the next time you're headed out to your job interview or frat party try painting on this beautiful manicure!

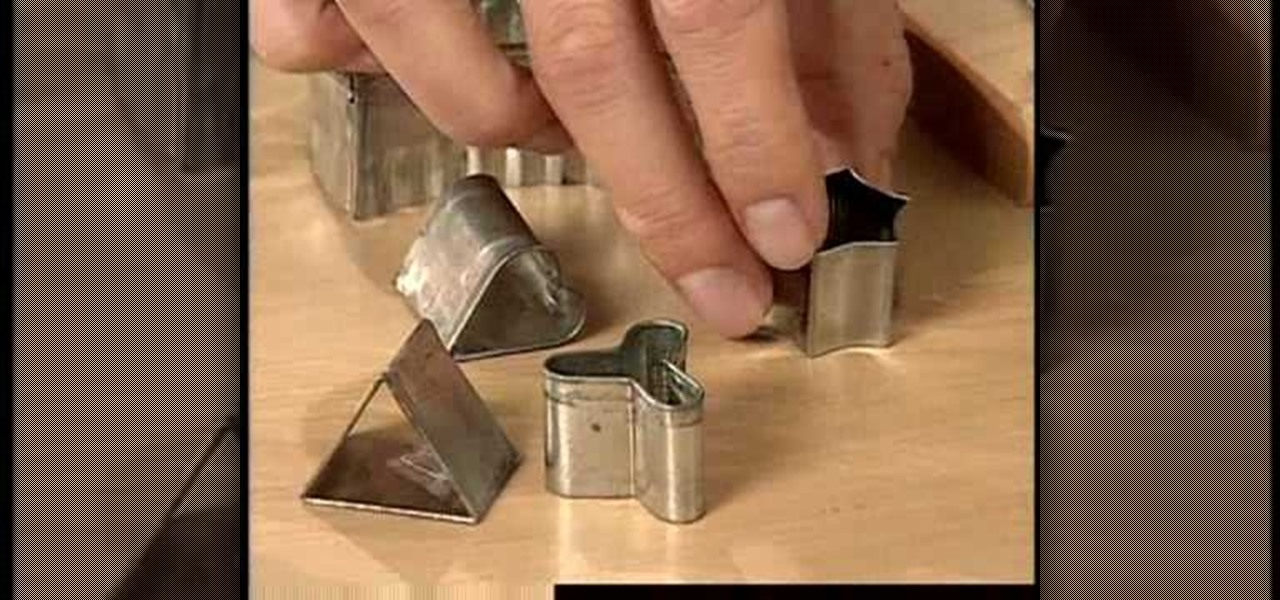
Like the marvelous and awe-inspiring stained glass windows at Gothic cathedrals and churches, staine glass cookies offer a beautiful glimpse into history and tradition. With see-through tinted windows and intricate designs, these cookies are as interesting to look at as they are good to eat!

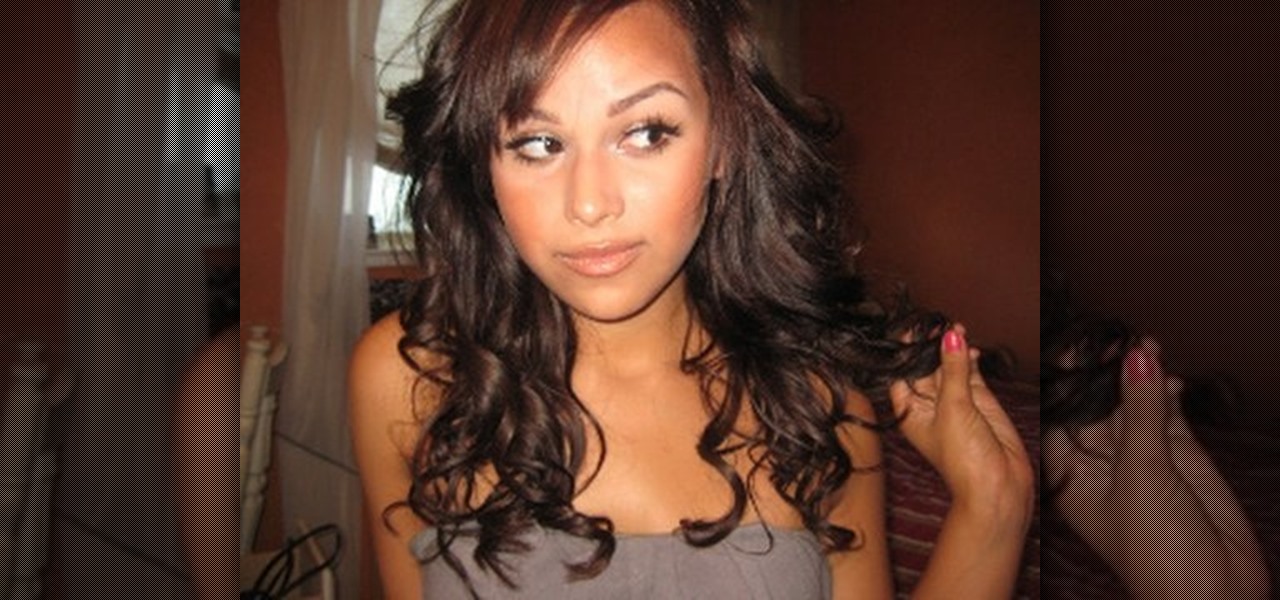
Shirley Temple curls aren't the only way you can curl your hair. Forget those iron-fisted curls of your childhood and make your hair curly and beautiful the adult way by watching this video.


