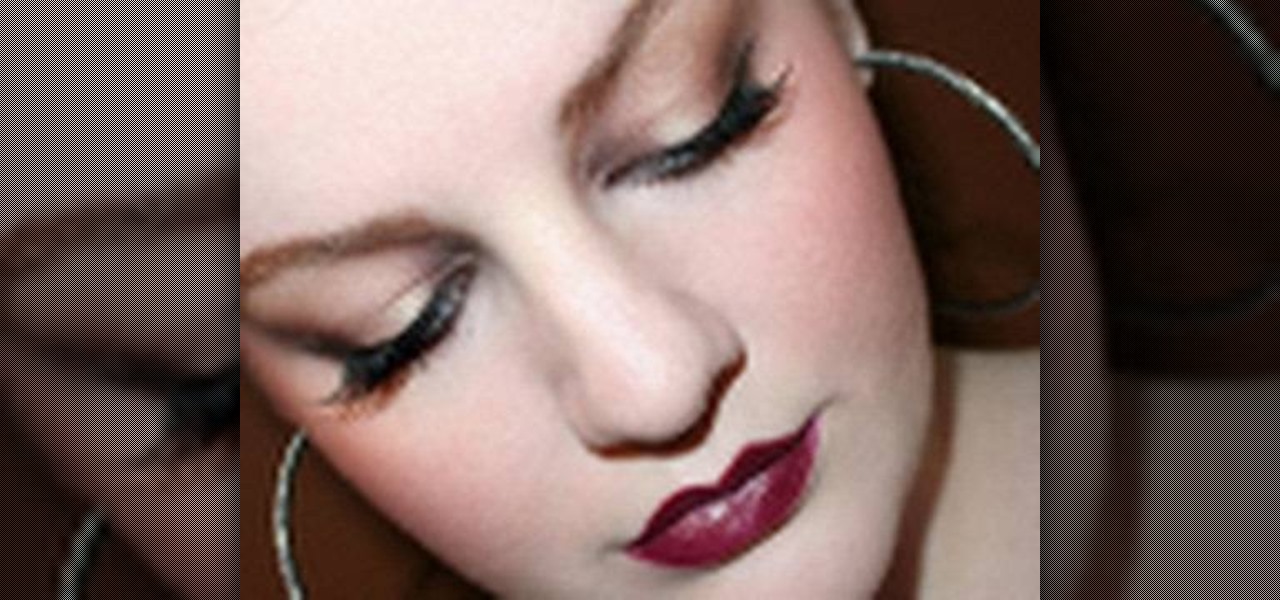
In the "Black Swan," Natalie Portman plays a veteran ballet dancer driven mad by the new young starlet in her company who threatens to usurp her place. Pretty soon, her dark and dreary mental state begins to affect her physical appearance as well.

Even if you're a pro at doing makeup for school and for special events, doing makeup for photos is a whole other ballpark. Whether you're taking photographs with flash or with soft studio lighting, how the camera lens sees your face is very different from how the naked eye sees your face.

Minimalists are the opposite of pack rats. Whereas pack rats thrive on the philosophy of "more is more," minimalists belive emphatically that "less is more." And if you're a decorating minimalist, that means using the fewest decorative objects possible to achieve a satisfying and cohesive room.
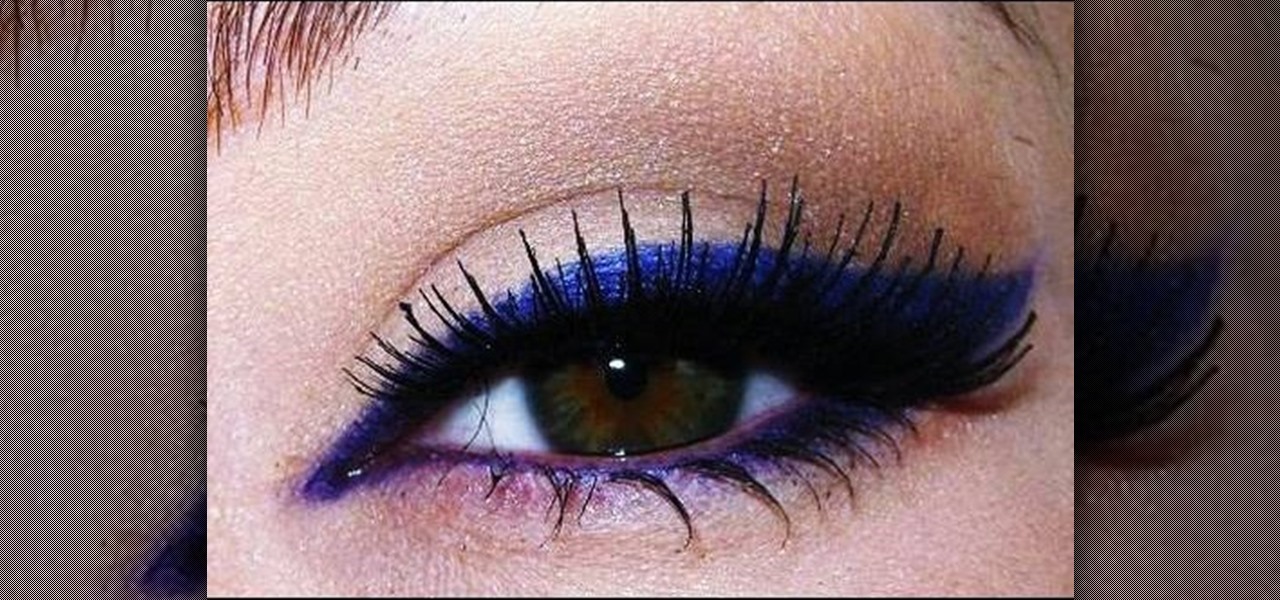
Winged eyeliner is a makeup look that girls either love or don't attempt to try because it seems to hard. As habitual winged eyeliner wearers Lauren Conrad and Blake Lively prove, winged eyeliner is extremely sexy and also elongates and brightens your eyes.

To be honest, these Christmas ornaments look more like sea urchins than stars to us. Either way, these festive ornaments are beautiful and cheap alternatives to purchasing standard ornaments at the store. Give each ornament character by using a different color or pattern paper.
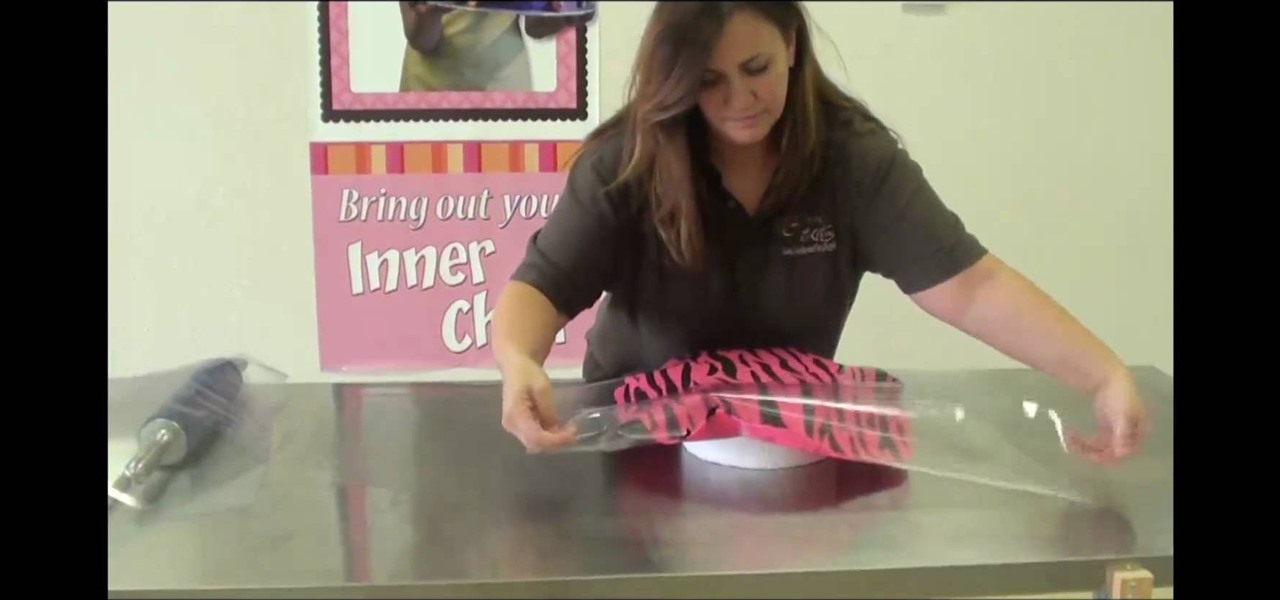
Plain white fondant looks elegant and classic on its own - just think beautiful wedding cakes and birthday cakes - but sometimes white on white just gets plain dull. For times when you crave a little more pizzazz in your life, or at least in your cake decorating, check out this video to learn how to add zebra stripes to your fondant. If you're really adventurous, turn that white fondant pink with some food coloring!

In this tutorial we learn how to say number 1 to 10 in Vietnamese. When you learn how to say this, make sure you have the accent down right or understand how to read the language. M™t = One, Hai = Two, Ba = Three, Bon = Four, Nam = Five, Sau = Six, Bay = Seven, Tam = Eight, Chin = Nine, and Muoi = Ten. Listen to the video so you can hear how to properly say each of the words. These are pretty simple and basic, so you shouldn't have any problem saying them at all. Enjoy learning this beautiful...

In this video, we learn how to make & decorate puffed-up petal cupcake. Start off by placing the food coloring inside the fondant and then rolling it with your hands. After you roll this out in one color, then cut it into thin strips. Pinch the sides together and then let them sit to keep their shape. From here, you can combine these together to create a beautiful flower on the top of your cupcake! These should dry overnight, then you can stick on the cupcake for a very unique flower that's u...

The biggest triumph and novelty about James Cameron's "Avatar" was that though we were watching seven foot-tall blue people jumping around big, glowing trees, we became so immersed in the experience that we forgot they weren't human. Bring the "Avatar" experience literally to life this Halloween by dressing up as the beautiful Neytiri.

In this tutorial, we learn how to bleach your teeth for really cheap. First, buy the Plus White teeth whitener kit from a store or online. Once you have the whitening kit, grab plastic teeth molds and see how they fit in your teeth. Once you do this, add some of the whitening gel to the molds, then push them into your mouth on both the top and the bottom. Make sure to rub the gel all the way around your teeth as well so you have a layer of gel all over. Leave this in for the recommended amoun...

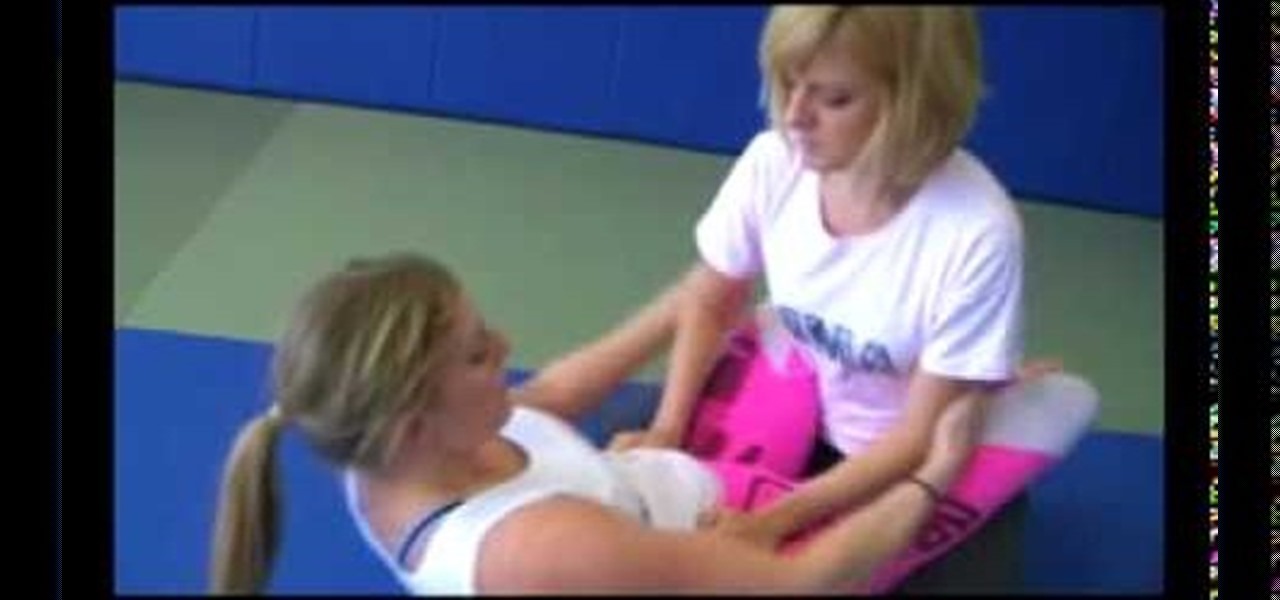
When your opponent mounts you they probably think that they have an advantage. There are ways to counter it though, and in this video Hillary Williams and Joanne of MMA Girls will teach you how to get heel hooks in on a mounting opponent.

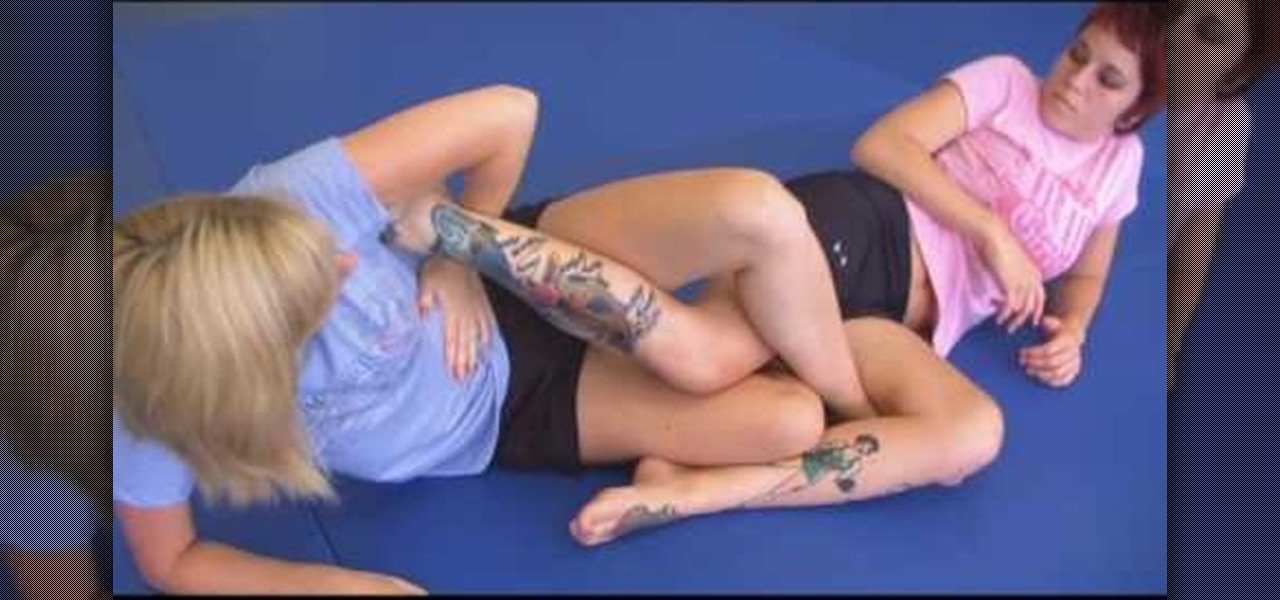
The straight ankle lock, like many hold and submissions in MMA, looks like two people playing Twister except one of them is in extreme pain. Watch this video to learn when and how to use a straight ankle lock from Joanne and Risha of MMA Girls.

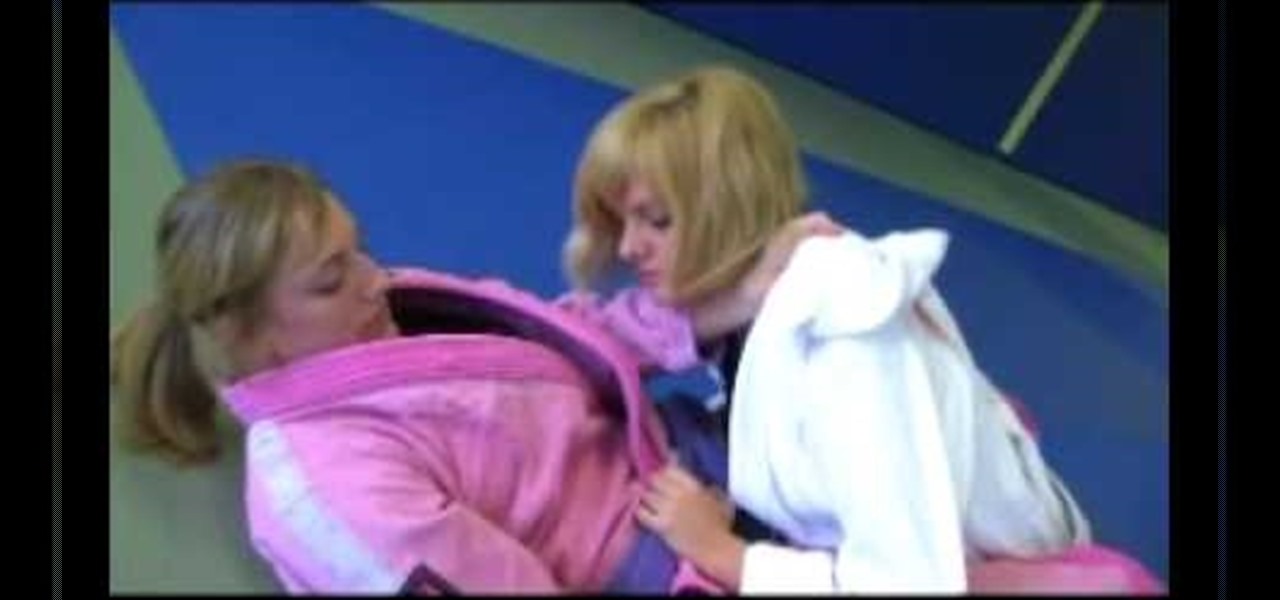
Not since the days of Royce Gracie have MMA fighters regularly worn a gi during fights, but in jiu jitsu and other types of fighting they definitely still do. Watch this video to learn how to do a gi collar choke from guard, with female BJJ practicioner Hillary Williams demonstrating on Joanne of MMA Girls.

Taking someone down from standing is oftentimes the best way to gain the advantage in an MMA fight. In this video UFC star Joe Lauzon demonstrates how to do an armdrag to double leg takedown on the lovely and sporting Joanne of MMA Girls.

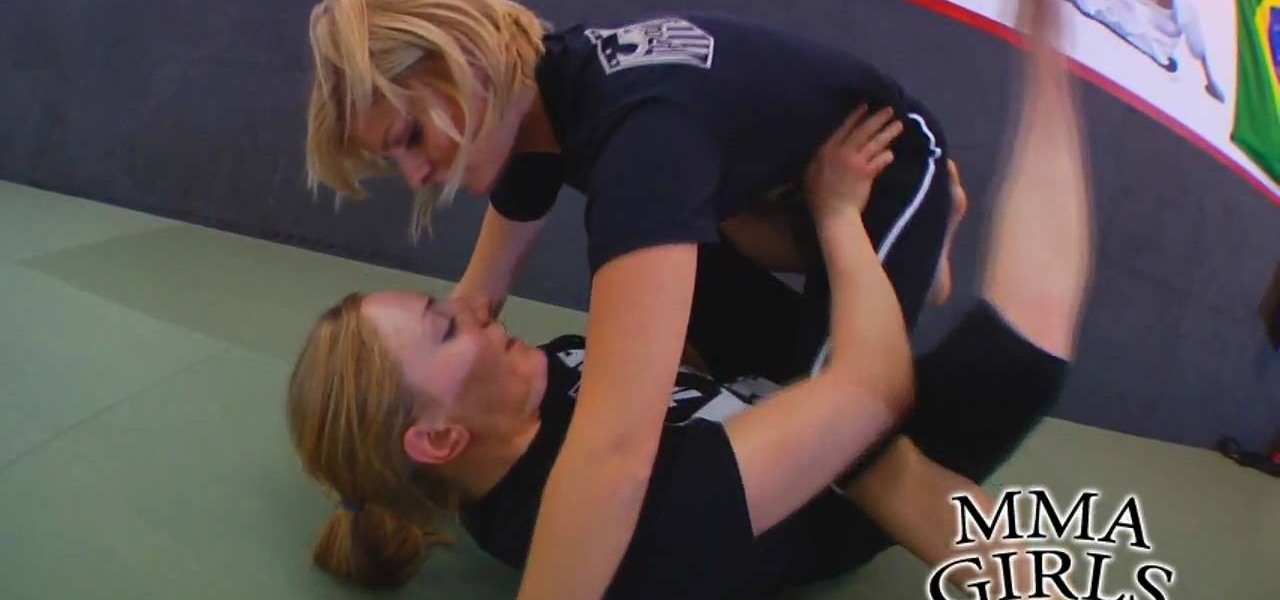
Girls can fight MMA too! And quite well, it would seem. In this video Brazilian Jiu Jitsu expert Hillary Williams will teach you how to a flower sweep from guard to get on top of your opponent and turn the tide of the fight.

During the rest of the year we doubt you'd be even remotely interested in watching a makeup tutorial on how to look like Ursula from "The Little Mermaid. After all, the evil sea queen was a (literally) big pain in the ass for everyone and looked more frightening than beautiful in the beauty department.

In this tutorial, we learn how to do the glitter windows technique when card making. First, you will need to pick an area in the card where you want the window to be at. Then, grab a piece of card stock and stamp the areas out where you want the empty space for the window to be. Next, set this aside and grab another piece of paper in a different color. Apply glitter to this, then let it dry before attaching the cut out piece onto this. Now you can use this for the rest of your card and have a...

In this video, we learn how to install a pebble tile wall with Lowe's. First, you will need to measure out your walls to figure out how much of the tile you need. Now, lay down a drop cloth on the floor so you don't get the floor messy. Next, turn the power off and remove the outlet cover and outlet from the wall. After this, wash the walls so they are clean, then apply your waterproof sealant from top to the bottom. Apply two full coats and make sure they dry completely before you move on. N...

In this tutorial, we learn how to gel your flash to blend it with ambient light. First, you will need to be indoors with lights on and grab your camera. Make sure you have a separate flash on the camera, then take an amber colored film strip and place it over the flash. Next have your subject sit down and start taking pictures. Use different shades of amber and when you see the pictures it will have the background light more dim than the subject in the picture. When finished, you will have a ...

Did you know that chapstick dries your lips out? Sounds counterintuitive, given that chapstick claims that it prevents chapped lips, but chapstick actually contains an ingredient in it that parches your skin.

A 1965 Mustang is a beautiful piece of machinery, but like most classic cars they require constant maintenance. Watch this two-part video to learn how to replace the axel seals and shoes and the wheel cylinders on your own classic beauty.

If your fortress is pretty big and advanced, watch this video. It will give you some advanced tips on building a nearly complete fortress, then show off the creator's beautiful, 20-tutorials-in-the-making fortress.

The runways are not the likeliest of places to look for makeup trends that are immediately wearable (think the recent fashion show in Spain where models went bald and wore thinning gray beards), but this fall the overall makeup trend has been one that's surprisingly translatable off the runway.

Could Katy Perry look any hotter in her new music video for "Teenage Dream"? In the song, Perry sings about how the guy of her dreams thinks she's pretty without any makeup on, and as such she wears minimal makeup in the video. Just some simple neutral shadow and glossy pink lips are all she sports in every scene of the video, shot in her hometown of Santa Barbara.

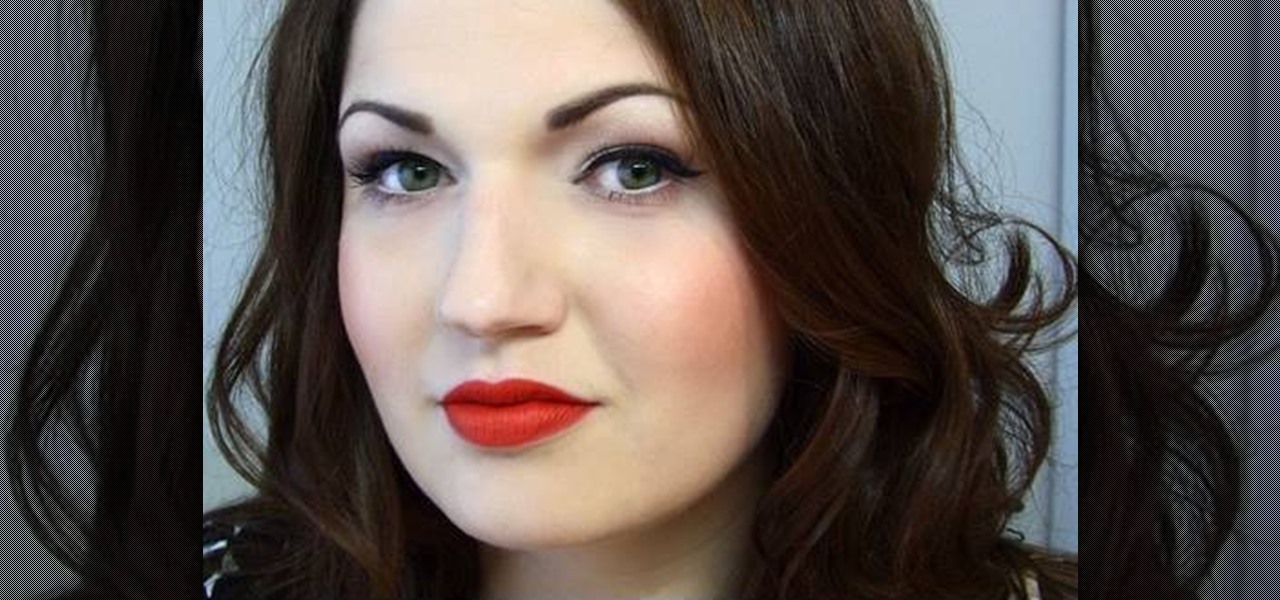
Dita Von Teese knows makeup. And by that we mean she probably has a whole closet of the stuff, given the fact that she says she takes hours to put on her "lady face" before heading out the door. And with her beautiful retro red puckers, siren eyes lined with liquid liner into a cat eye, and softly flushed pink cheeks, it's easy to see why she puts in the effort every day.

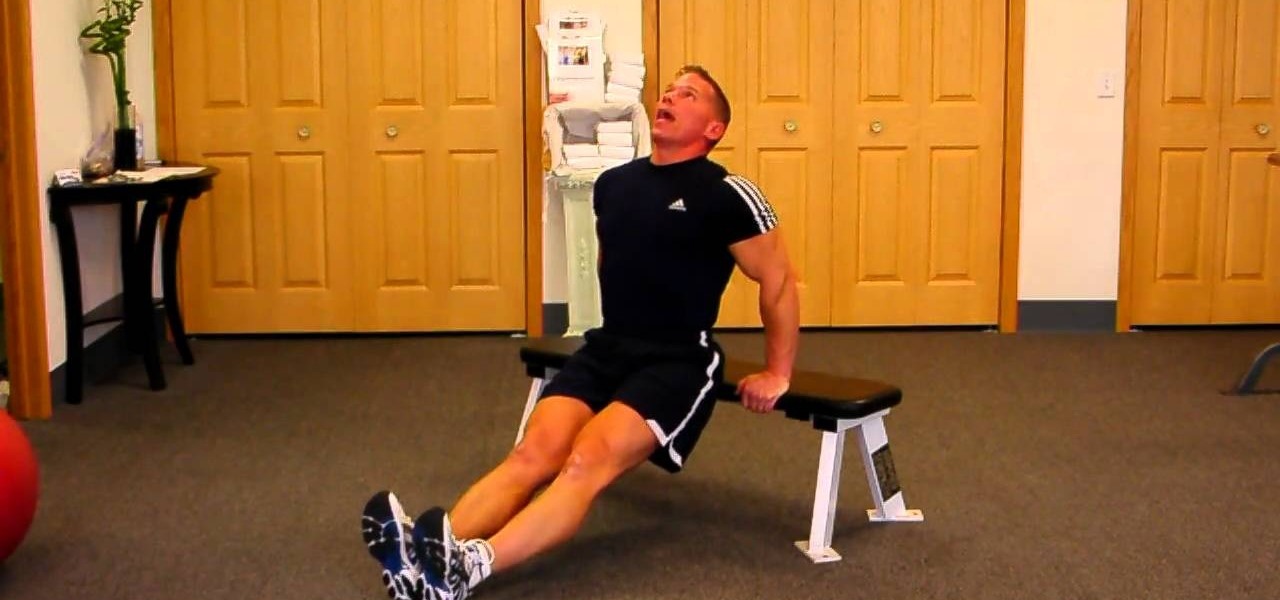
Seated dips are one of those exercises that looks easy but is a real pain to actually do. While you can do seated dips on the floor, doing them on a bench with your feet flexed adds an extra dimension of height that will increase muscle intensity and heart rate.

Ah, this dinosaur origami project takes us back to the good old days, when Power Rangers was the bomb and all the girls wanted to be pink ranger kelly with her skirted pink costume and pink pterodactyl robot thingy.

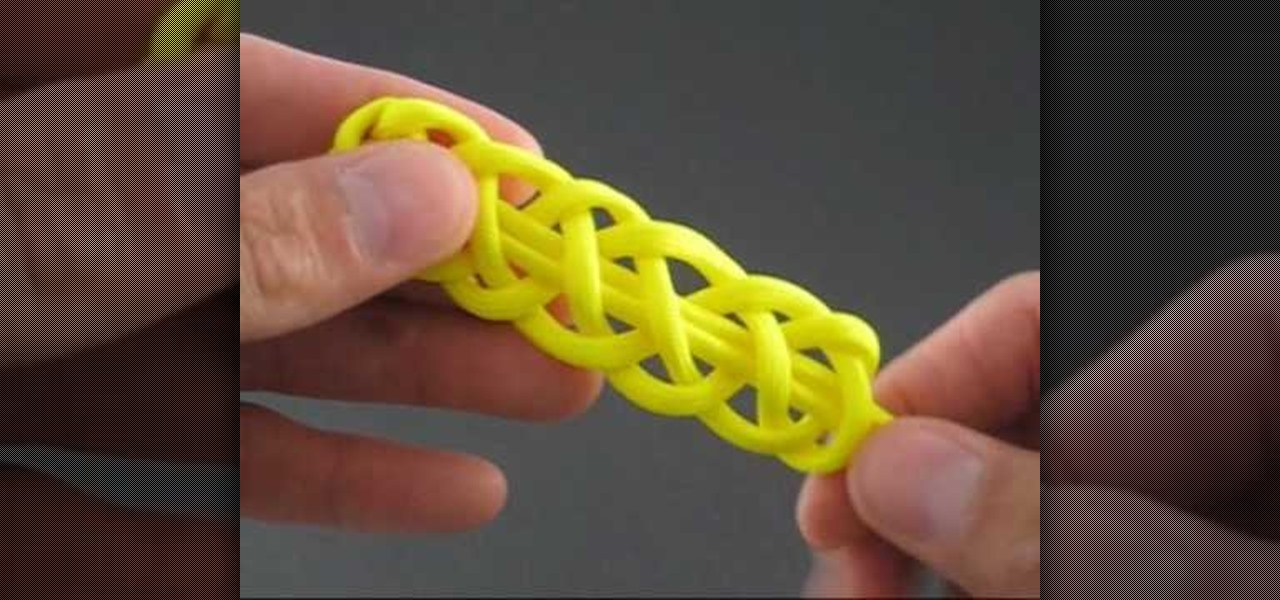
If you need to take up a hobby, you could try taking up making cool, decorative knots. This hobby isn't too hard to take up and can result in beautiful looking pieces of art that you can sell or just giveaway.

In this video, we learn how to write the letter T in calligraphy copperplate. Start by drawing a thick line that follows out a loop that curves to the left hand side. After this, create a loop at the top of the line, on the left hand side. Draw this out and cross the line over the top to make the T shape, ending with a slight curve at the end. To make the lower cased letter, draw a thin line, then draw a thick line over it, then cross a thin line across the top middle of the letter. Now you w...

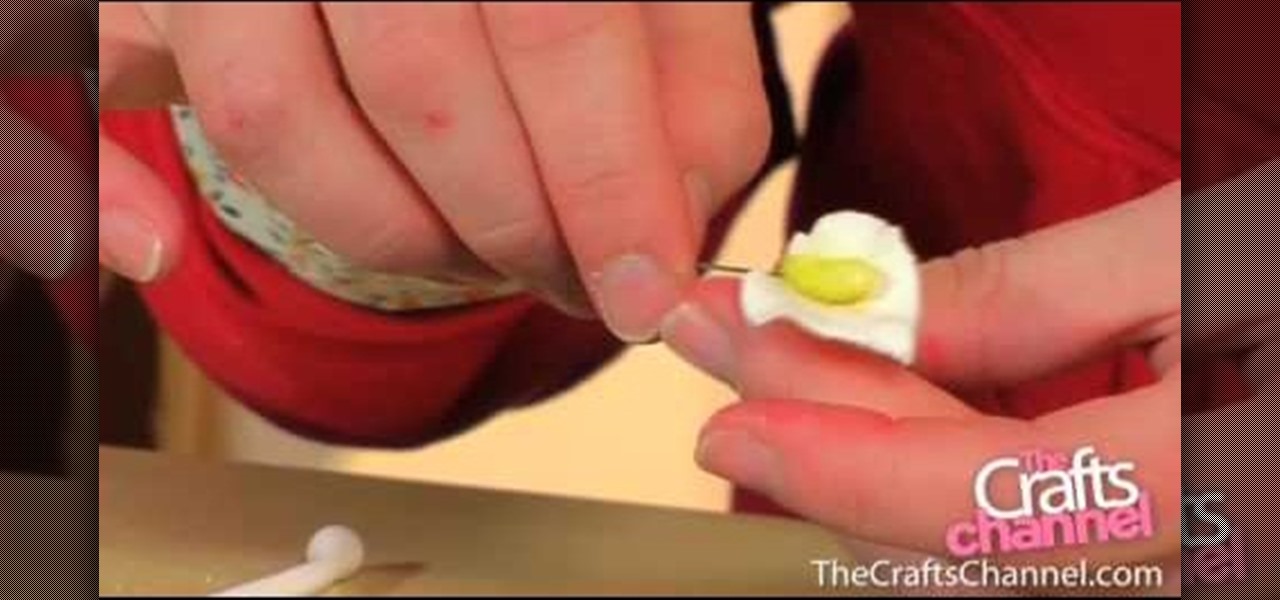
In this tutorial, we learn how to color a sugar crafted lily petal. Insert your paste onto a green wire, then cover the paste with clear edible glue. Then, place the piece into yellow sugar sprinkles. After this, create your petals out of gum paste and push down on the edges to create a petal shape and feeling. Next, apply the glue onto the center of the flower and add this onto the piece that you just made, wrapping it around. After this, wait for it to dry and you will have a beautiful lily...

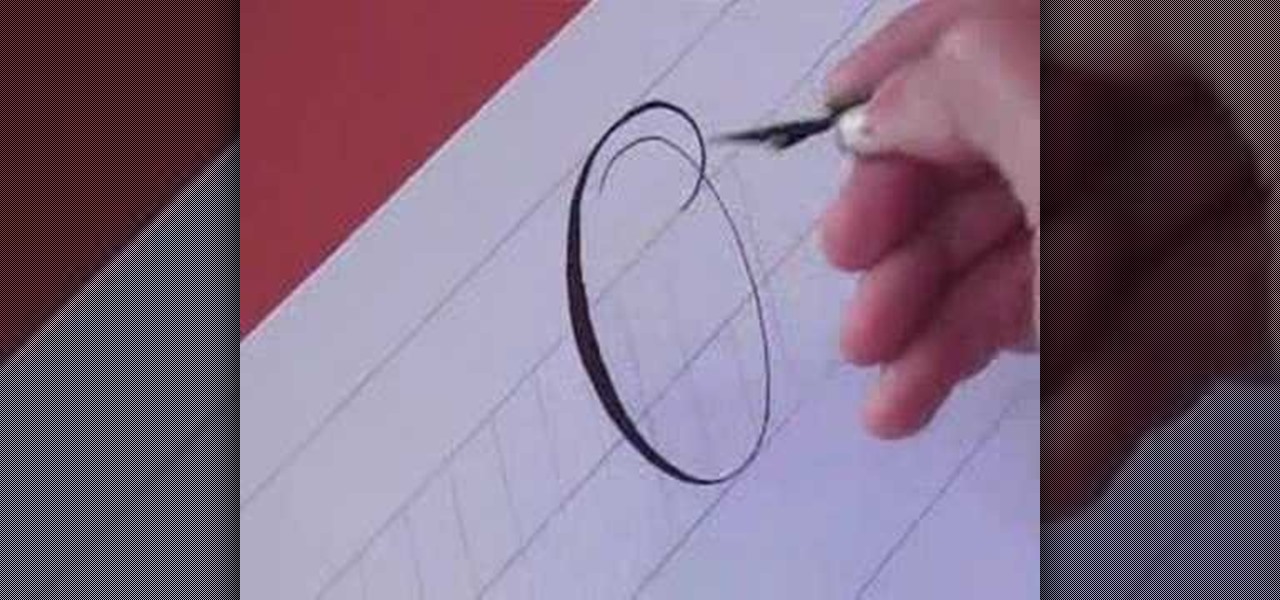
In this video, we learn how to write the letter O in calligraphy copperplate. Take your calligraphy pen and make a medium thick half loop at the top, dragging it down into a thicker line on the left side of the word. Then, continue onto the other side of the O with a lighter touch of the pen making a very thin line, finishing with a loop in the middle. Make the smaller O just like normal, making the thick line on the side and finishing with a small loop bending out to the right at the end. Wh...

In this video, we learn how to write the letter "S" in calligraphy copperplate. First, dab your calligraphy into ink, then start to writ on a your paper. Make a large half bowl shaped curved line, then make a loop and go down, creating a curved line with a dot at the end. To make the lowercase letter, make a thin line, followed by a thick outer line that curves into the large line making a lower case s. When you are finished with both of these, you will have beautiful letters that look great ...

In this tutorial, we learn how to make a snowflake with beads. You will need: clear crystals, beads, and thread. First, string six beads onto the thread. After this, string a crystal next to the beads. Now, tie this and start to repeat the process on the left side of the beads. Continue to do this process until you have created a shape that looks like a snowflake. You can do as many or as few of these as you would like. This creates a beautiful necklace, or you can use it as a bracelet if you...

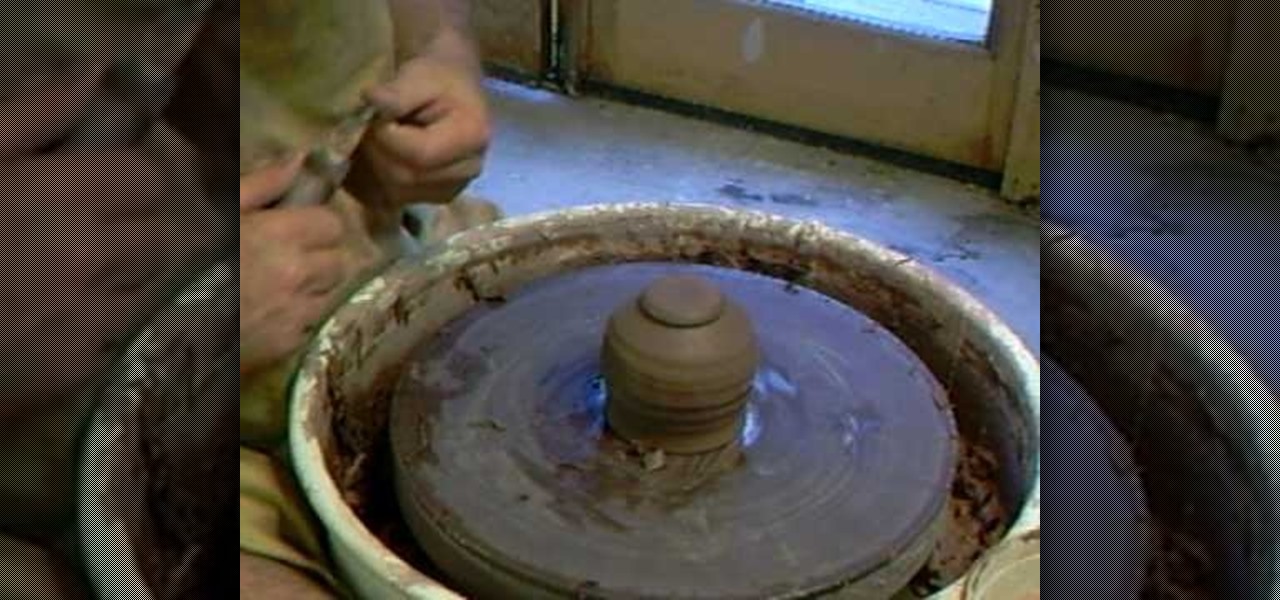
Even the best potters don't always get a perfectly finished vase, pot, or jar immediately after throwing. In fact, it's actually quite common for a potter to go back over his work and trim off or reshape the uneven parts to achieve a balanced finish. This is precisely what master potter Simon Leach does in this pottery video.

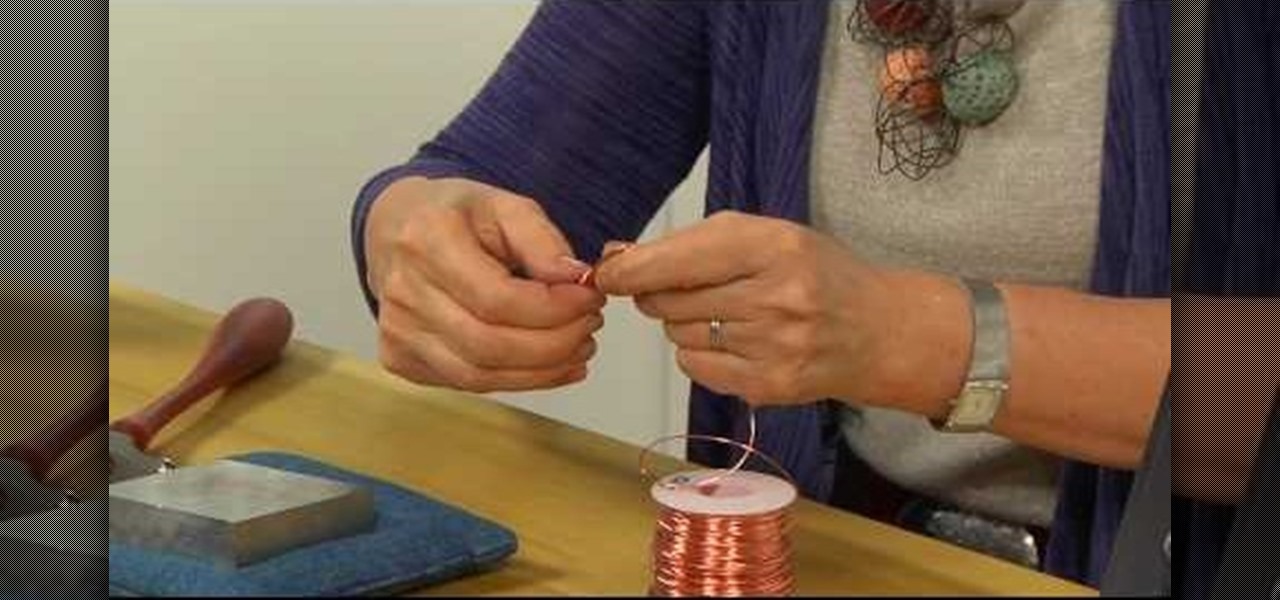
Wire jewelry is one of the most beautiful types out there. With a delicate appearance and ability to bend into gorgeous curvalinear patterns or wrap endlessly around necklace pendants, wire jewelry is also easy to maneuver for beginners.

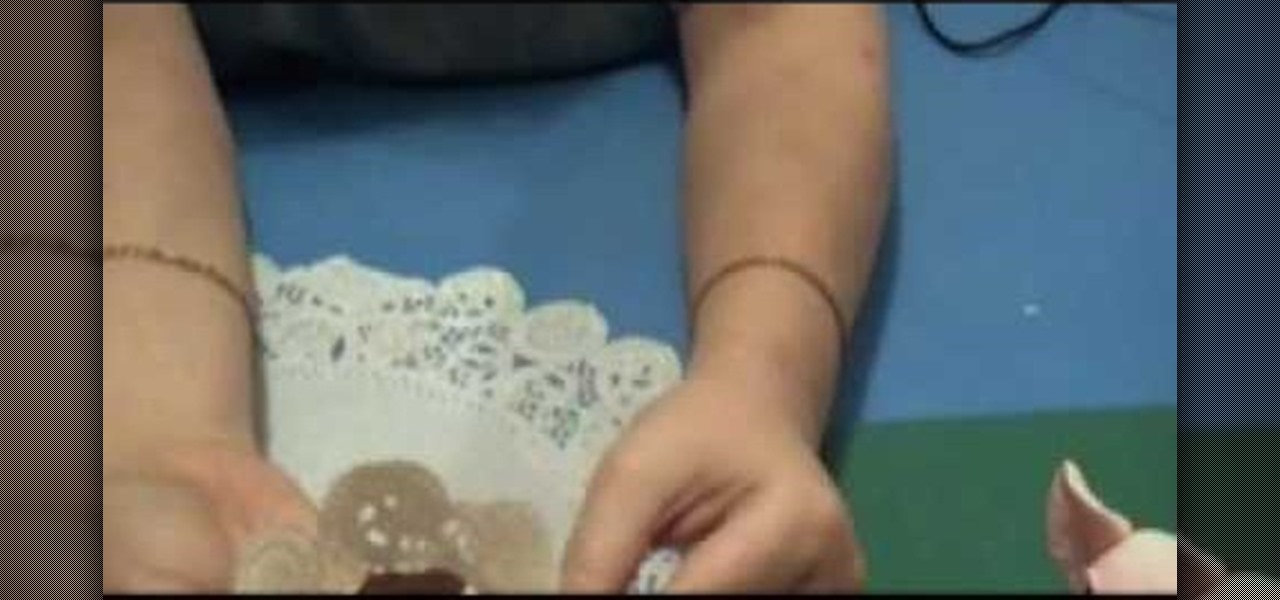
Cupcakes like to get dressed up according to the occasion which they'll be visiting: Evil, spider web-covered cupcake holders for Halloween and prim, delicate lacy holders for spring events. But we know that times are tight and it's not always fun purchasing bag after bag of cupcake holders.

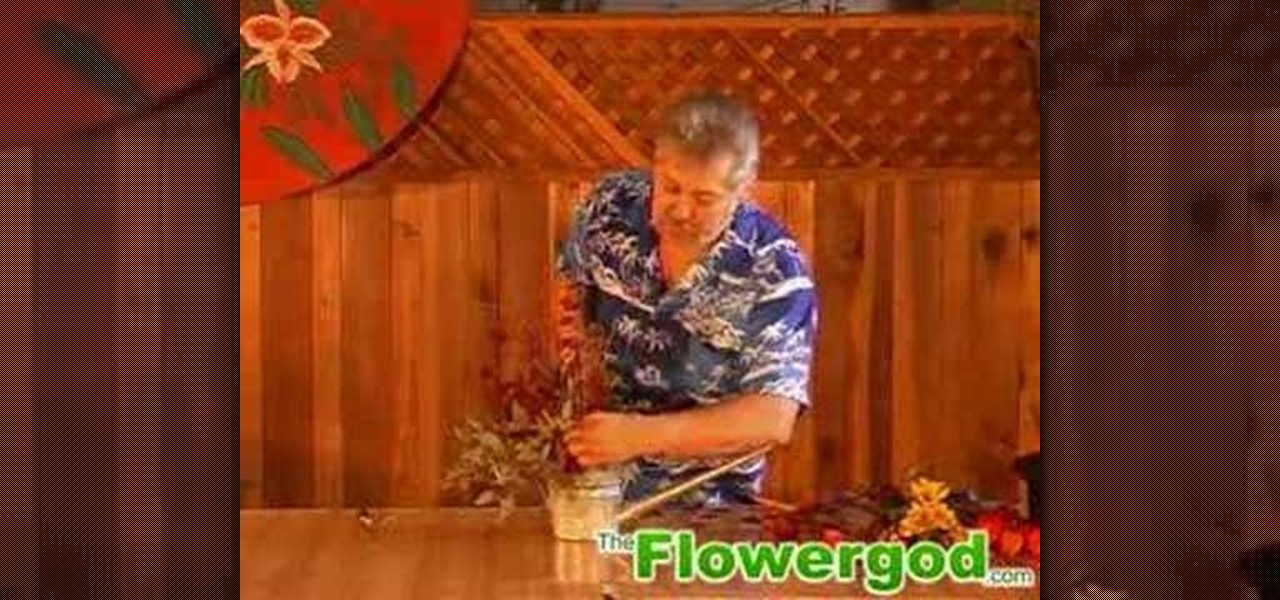
In this tutorial, we learn how to design a fall centerpiece in a watering can for a home. Start off by cutting branches off of a willow and placing it into a watering can. Next, arrange Japanese lanterns around. After this, cut alstromeria and seeded eucalyptus and place them around the can where you feel they fit best. The best part of this arrangement is that you can arrange it however you want! You can add different types of fall flowers and add more or less of flowers you prefer. When fin...

In this tutorial, we learn how to hold an acoustic guitar for the right posture while playing. The guitar should fall naturally onto your lap and your right hand should fall across the top. You may want to hold the guitar while hunched over, but you need to sit up with the arm bent so the circulation to your arm doesn't get cut off. You want the arms and body to flow and be natural so you don't tense up and you play beautiful music. The more you play the guitar, the more comfortable you will ...

In this tutorial, we learn how to create "viva la diva" lip art. First, prime your lips and blend it out with clean fingers. Next, take your favorite type of lipstick and then use lip liner on the edges. Blot the lipstick on the back of your hand, then apply the lipstick again. Next, grab rhinestones and apply them on your lips using a q-tip and Duo glue. When you are done with this, apply a clear lip gloss to the top of your lips. This will give you a glam look with beautiful rhinestones on ...

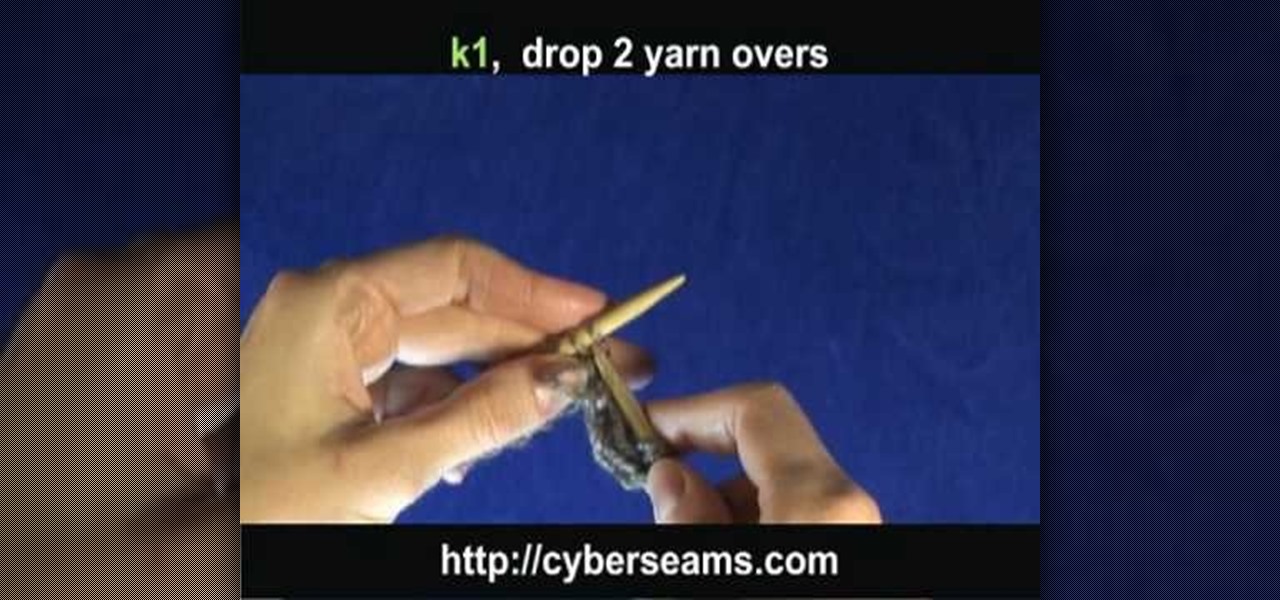
In this tutorial, we learn how to knit a scarf pattern. To do this, you will first start by casting on the first 20 rows. After this, you will knit for 2 rows, then you will do a k1 knit followed by a k1 at the end. Repeat this until your scarf is the desired length. Bind the knit off at the end and cut off any additional string that is left over. When finished, you will have a beautiful scarf that will keep you warm and was made by you! If you aren't familiar with knitting, you will have to ...


