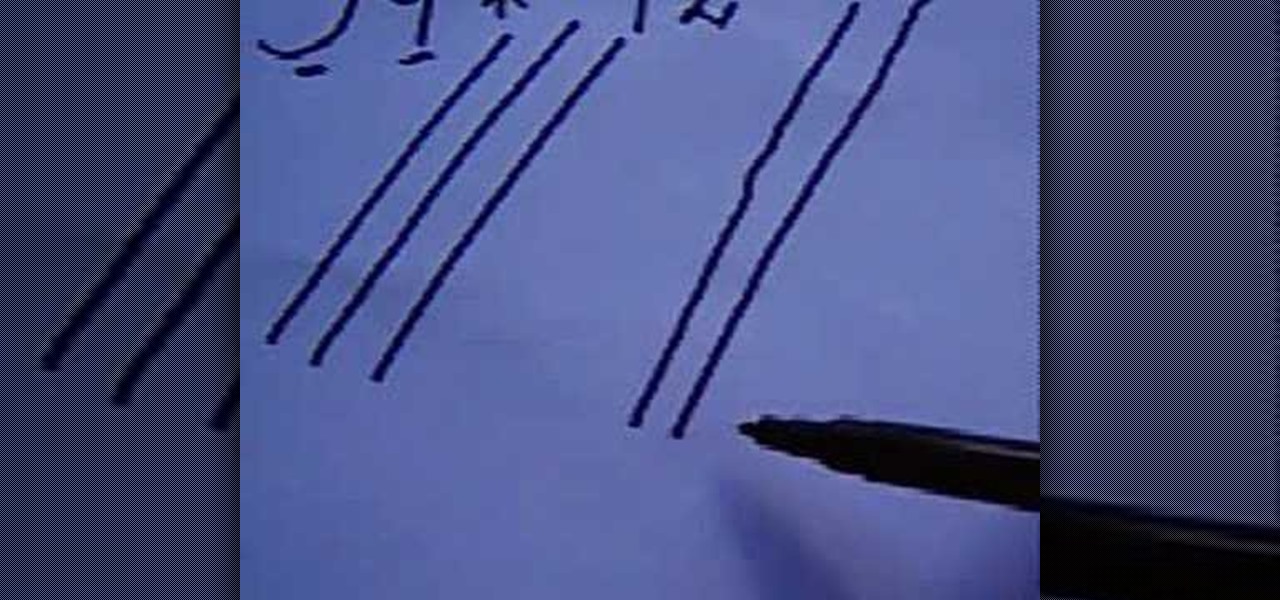
How To: Multiply two double-digit numbers with an intersecting lines method
This is an interesting trick to solving multiplication problems. It involves multiplying 2 double-digit numbers with hand drawn, crisscrossing lines.


This is an interesting trick to solving multiplication problems. It involves multiplying 2 double-digit numbers with hand drawn, crisscrossing lines.
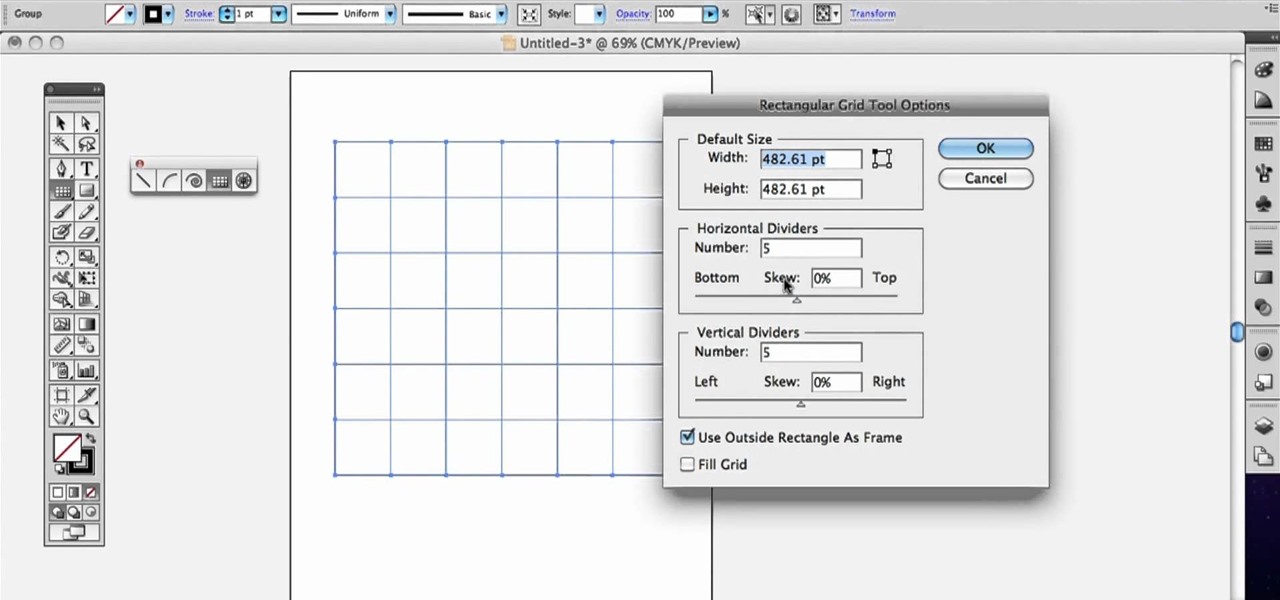
In this clip, you'll learn how to create line segments with the Line Segment tool when doing design work in Adobe Illustrator CS4 or CS5. Whether you're new to Adobe's popular vector graphics editing software or a seasoned professional just looking to better acquaint yourself with the program and its various features and filters, you're sure to be well served by this video tutorial. For more information, including detailed, step-by-step instructions, watch this free video guide.

In this video, we learn how to write numbers in calligraphy copperplate. To write the number five, you will simply make the shape of the number, but add in a thick edge to the bump and curved edges to the end. To write the six, use a thick line on the side of the number and a thin line for the circle in the middle. To make the seven, the top should be curved and thick, and the lower line should be very thick with a straight edge. To make the eight, draw the number so that the left edge is thi...
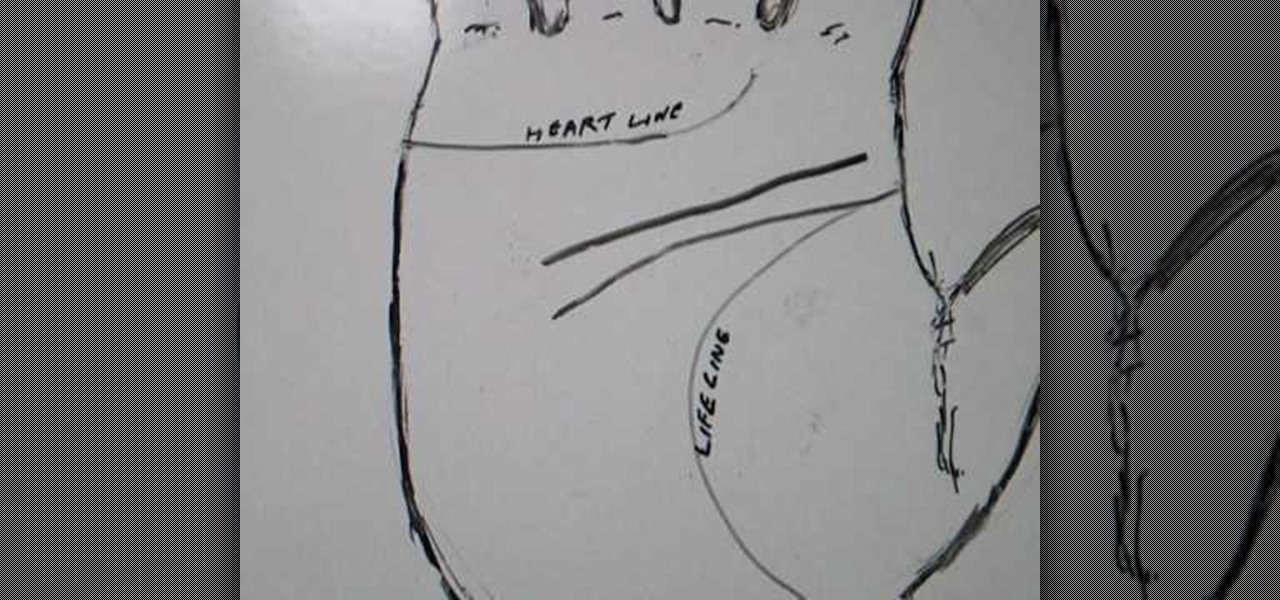
Palmistry expert Peter John lays out in four lessons the key to understanding the double head line when giving a palm reading. Learn what it means when the head line connects to the life line or heart line, or how to tell an ambitious person from an intuitive one by looking at their hand.

In this video, we learn how to write the letter "r" in calligraphy copperplate. Start out by dipping your calligraphy pen into ink, then creating a curved line with a dot at the end of it. Next, fill in the line so it is smooth and there are not ragged edges. Next, draw a large swirl on the left side next to the curved line, then draw it over to make the initial loop on the "r". After this, create a loop in the middle, then draw it back down to make the end hump of the "r". After this, draw i...
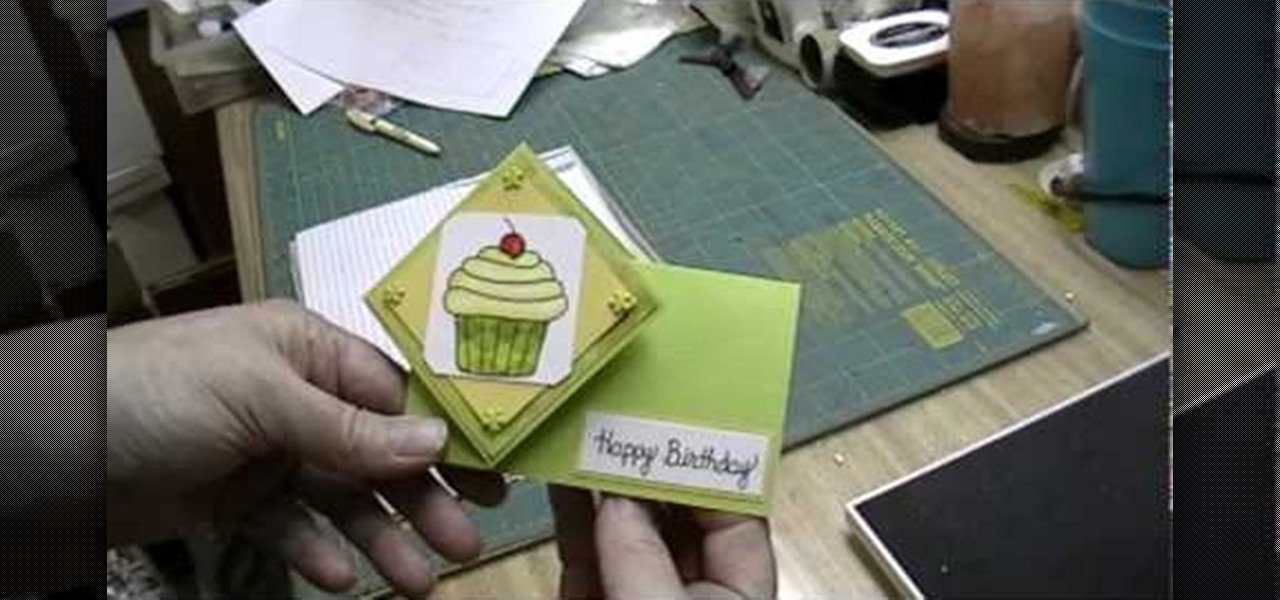
In this video, we learn how to make a twist turn style card. The card will open with a neat pop out image on the front of the card! First, get an 8 1/2 x 5 1/2 piece of card stock and then score it 2 and 3/4 inches from the left edge and 4 inches over from the left edge. Then, turn the card the other way and find the center, then score from the right end to the very first score line. Then flip the card over and score the rest of the center line up to the first line. Now, make a score line fro...

This video teaches you how to apply make up for a vampire look. Start by applying black eye-liner to your upper and lower lash line. Make sure to apply it pretty thick. Next, blend out the liner with a flat brush. Blend up on the upper lash line so that the liner is covering the eye lid. Blend the lower lash line downwards. Next, take a fluffy brush and dark red eye shadow and apply to the inner half the upper lid and also to the lower lash line. Add the same shadow to the inner corners of th...

Using just the airbrush in MS Paint you can make a cartoon dog on your computer. Start off by making a circular shape using the airbrush, keep at it until it is dark and prominent and then color in the lower half of the circle, this is the nose. Now start making a line from the bottom of this circle downwards, slowly start curving the line at a ninety degrees angle. At the end of this line attach a semicircle to it so that it is perpendicular to the line. Above this line also make three small...
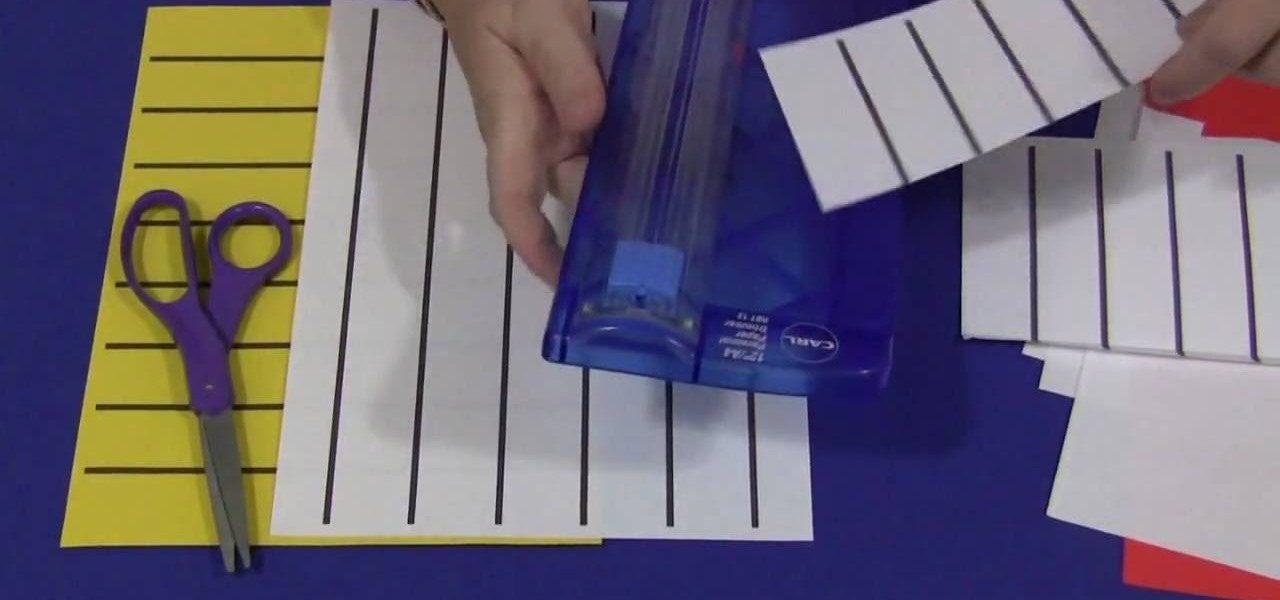
Shelley Lovett has some tips for helping a young child learn how to use scissors. The first thing you need to do is make sure you have paper and child size scissors available for the child to use. A full sheet cut in half is usually more manageable for a young child to work with. Have the child take the paper and just make cuts into the paper however they feel comfortable. Using colored paper can make it more interesting for them. After that very beginning practice stage has been accomplished...
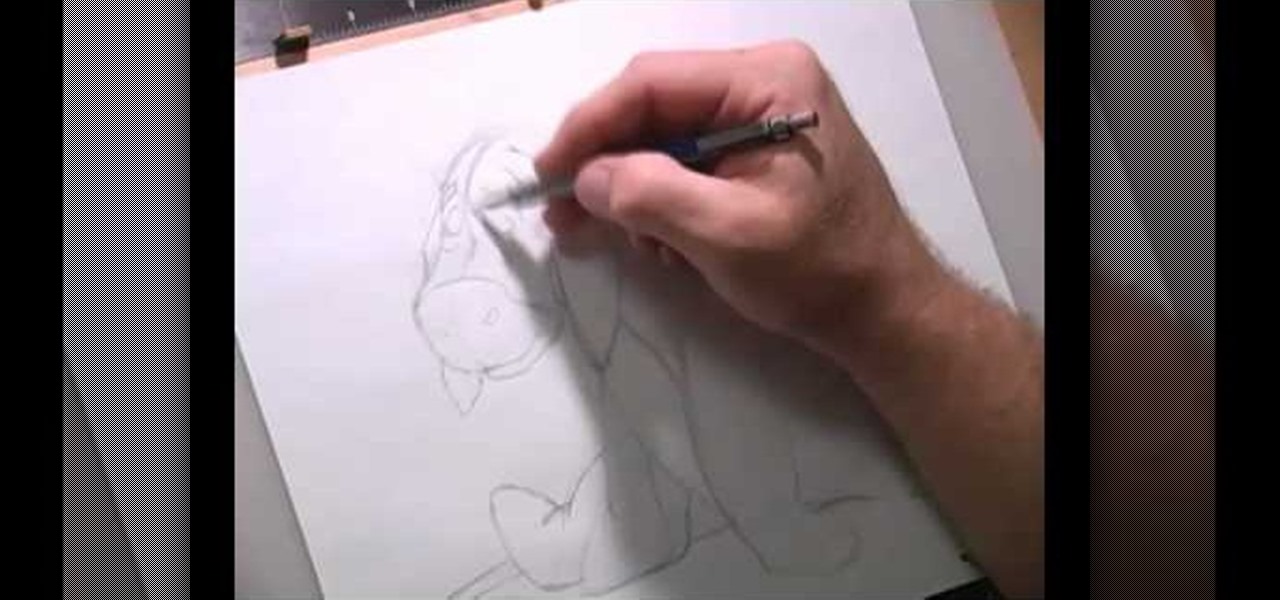
The user demonstrates how to draw Disney's Eeyore in this video. The first step is to draw a circle about the size of a 50 cent piece for his head and add construction lines to it, including one across the lower part of the circle to use as a reference. The user also suggests creating a mark below the "head" to mark where the end of Eeyore's jaw will be. Then, starting at the bottom cross line, he begins drawing the rounded area of his snout. Next, he draws a straight line from the other side...
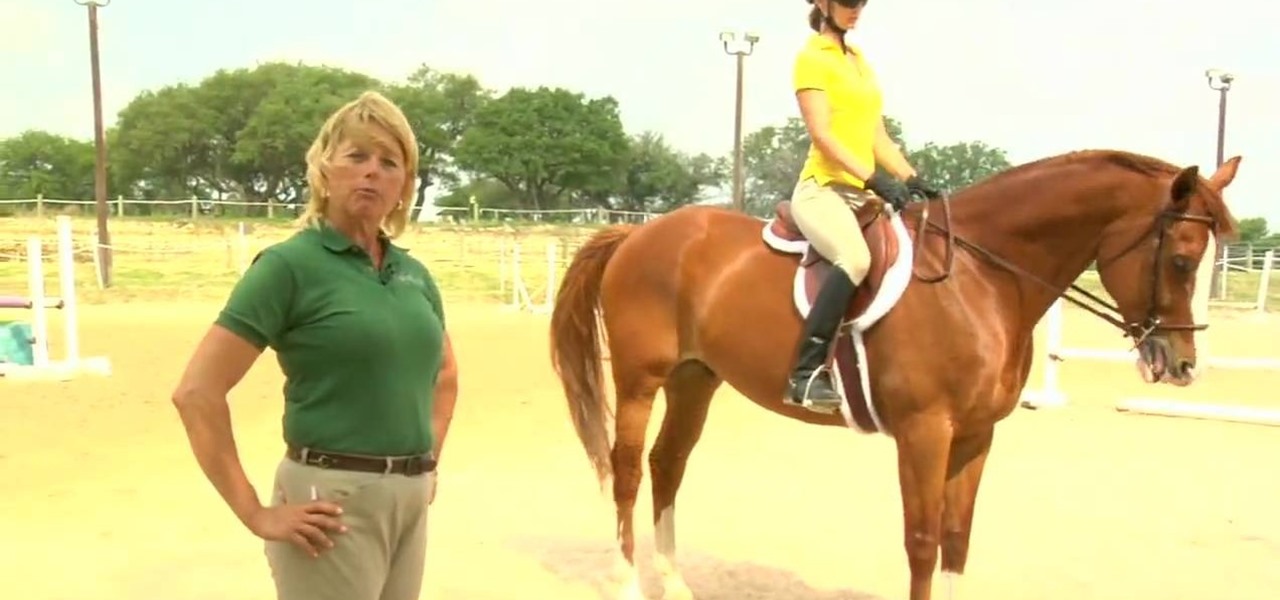
In this Outdoor Recreation video tutorial you will learn how to ride a horse with some basic instructions. This video is from Livestrong. The first lesson is how to create a correct back position that enhances our ability to stay balanced in a saddle. You should create a straight line from ear to shoulder to hip to heel stay right in that position. If the leg moves too far forward, you will feel you are falling back from the saddle. There should be another simple line. From the elbow to the h...
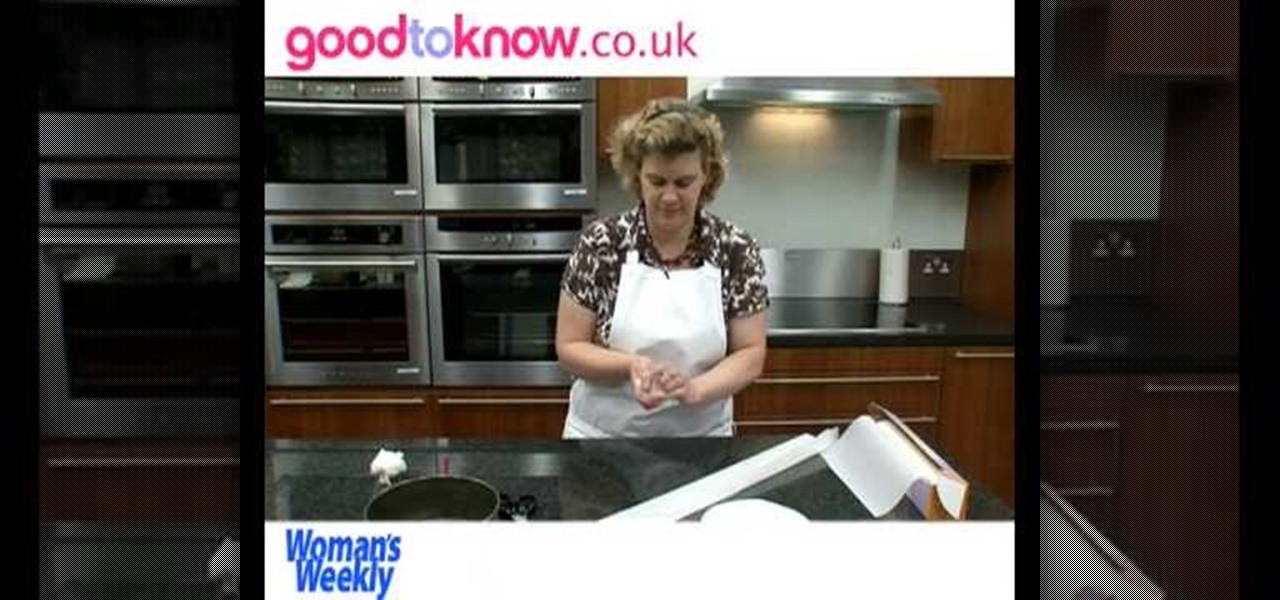
This film from Woman's Weekly shows you how to line a round cake tin. First you take non stick baking parchment. Fold the paper to double thickness, then rest the tin on top and draw around it with a pencil. After that, then cut just inside the pencil line to compensate for the thickness of the tin. For the sides, you roll the tin on its edge, allowing some extra for overlap and a little extra height above the tin. Make a fold a couple of centimeters from the top and then make some cuts from ...
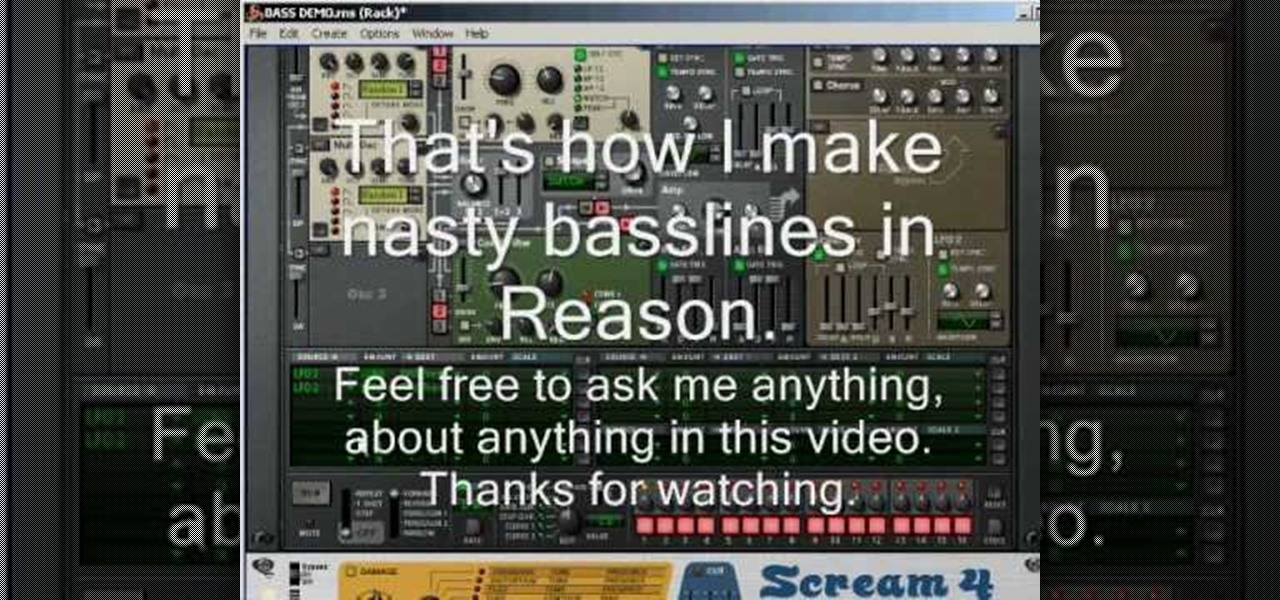
This video demonstrates how to design drum and bass lines in a Reason 4 program. This video does not have a speaker rather it shows you on the computer how you would make these lines. Music plays at sometimes but mostly it is various screens and demonstrations of making the base lines. There is text to help you out on the screen. If you follow the steps in this video, you'll be able to create a basic drum line using Reason 4.
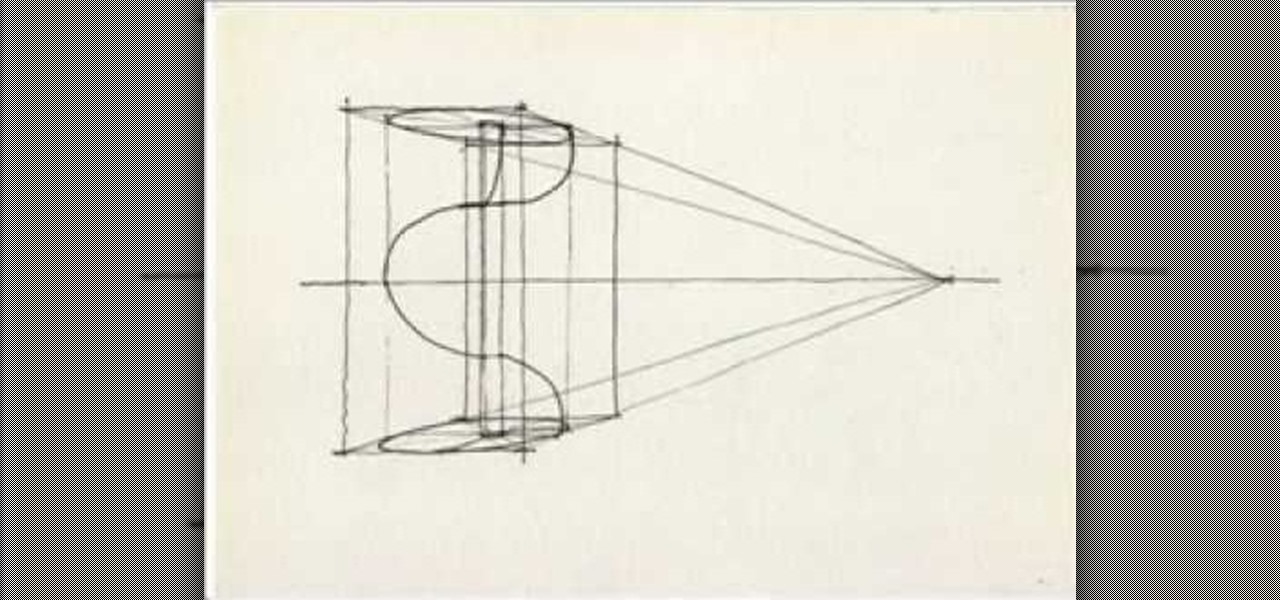
This video shows us how to draw a spiral staircase in a very simple way. Firstly a horizontal line is drawn and upon that a rectangle is drawn. Then four lines are drawn from the four corners of the rectangle and all this four lines are meeting at the same point on the horizontal line which was drawn previously. Then another rectangle is drawn behind the rectangle intersecting the four lines drawn from the four corners of the rectangle. And at the rare end, numbers of lines are drawn in betwe...

This video teaches how to tie the Dropper Loop fishing knot. The presenter explains the uses of the Dropper Loop, then begins the instructions. First, make a loop in your line, remembering that the size of this loop will affect the size of loop you have when the knot is tied and sizing accordingly. Take the end of the line and make another loop that goes inside of the big loop and then wraps around the line 4 times. Now you have a big loop, and a length of wrapped line with a hole in the midd...

In this video, Tom Leese, Director of Instruction at Angel Park Golf Club, gives pointers for your pre-shot routine in golf. Important in the transition from the practice range to real games, your pre-shot routine helps you get situated and ready to play real competitive golf. Tom explains, first, how to set your lines, taking a straight and purposeful line down course where you want your ball to go, and remaining fixed on it, as you approach your tee. Then, when positioned at your ball, he t...
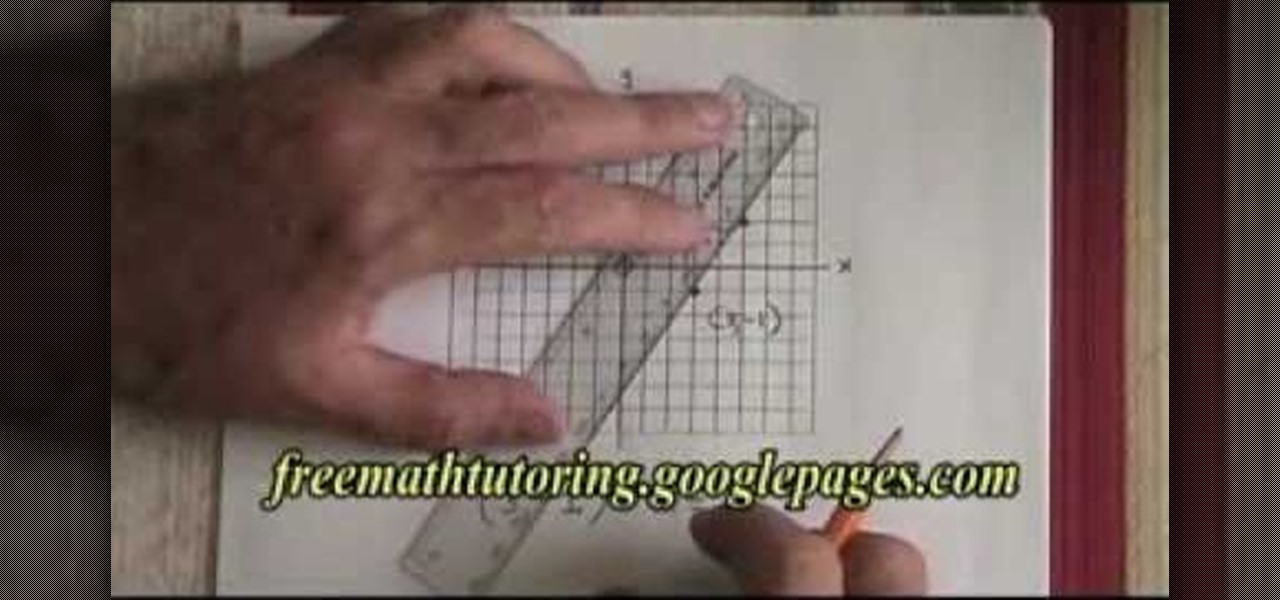
In this video the tutor shows how to graph a straight line using the rise over run method. The rise over run trick allows you to graph a straight line as long as you have a starting point and a slope value in the form of a fraction. The first step is to graph the starting point. In the second step he states that the numerator of the slope is rise and the denominator of the slope is run. He says that the rise is vertical and the run is horizontal and shows how do rise and run using those value...
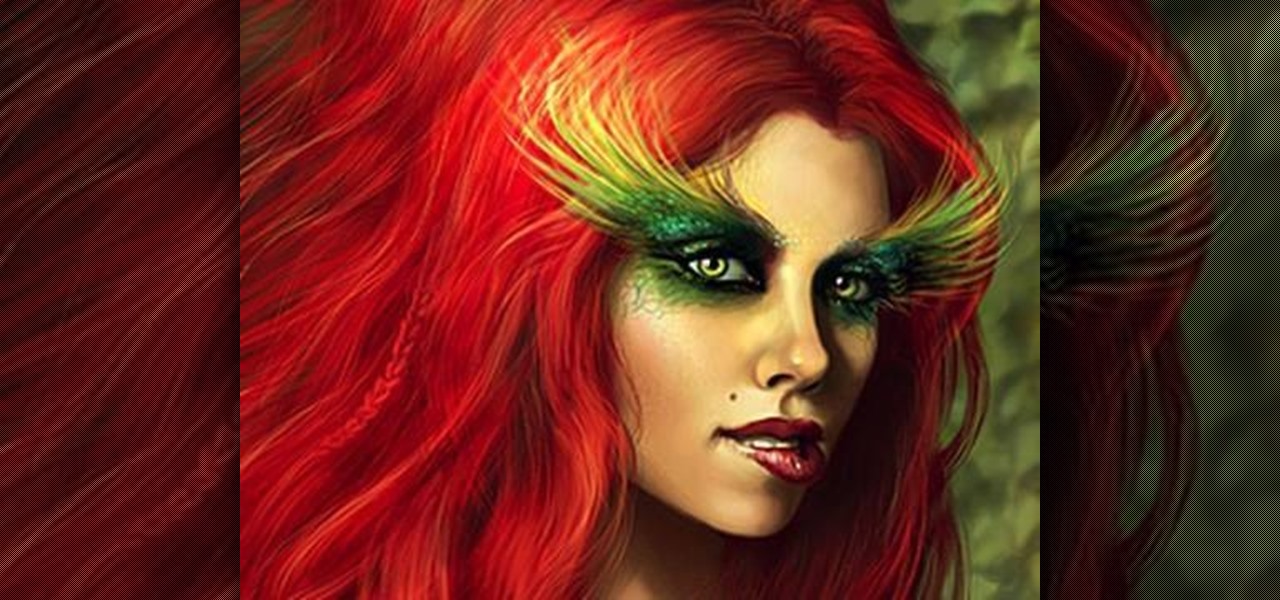
Jessica Harlow presents a great look for Halloween. She mostly uses eye shadows by "Beauty from Earth" and "Obsessive Compulsive" brands, but thinks it is OK to use colors from any 88 shade shimmery shadow palettes available in the market.
Design your own clothes by making sewing patterns, but pay attention to the details. You Will Need
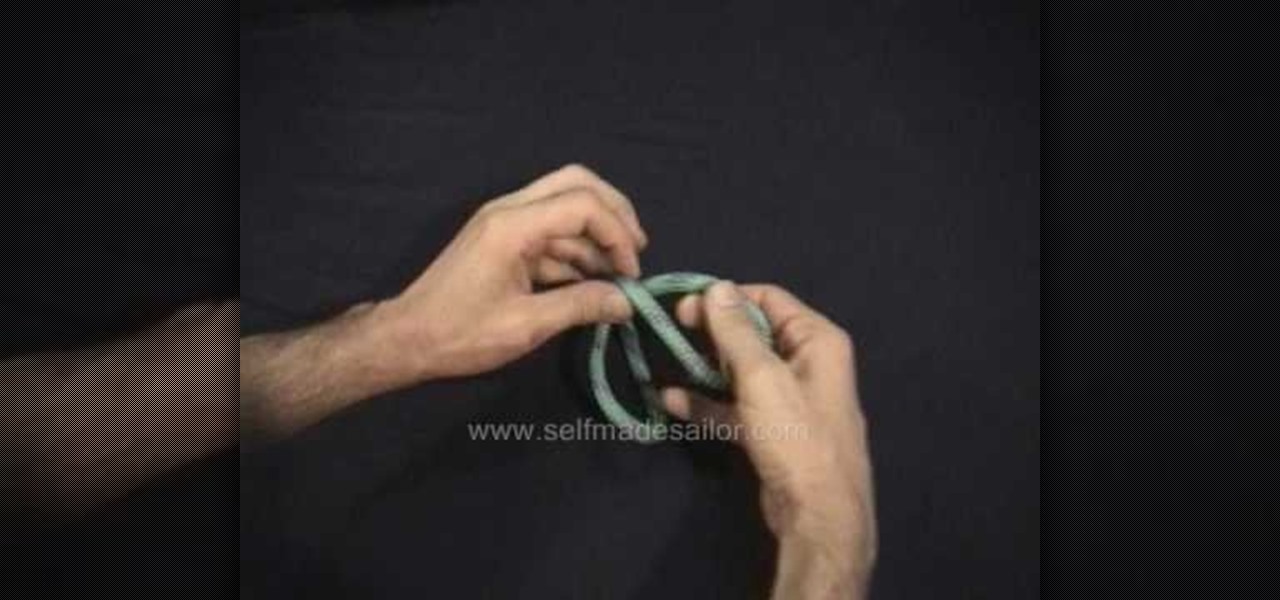
Learn how to tie a Heaving Line or Franciscan Monk's Knot - a practical and decorative knot used to add weight to the end of a heaving line, or to finish a Monk's belt rope ends. This is a fine knot for camping, climbing, sailing or Boy Scout training.
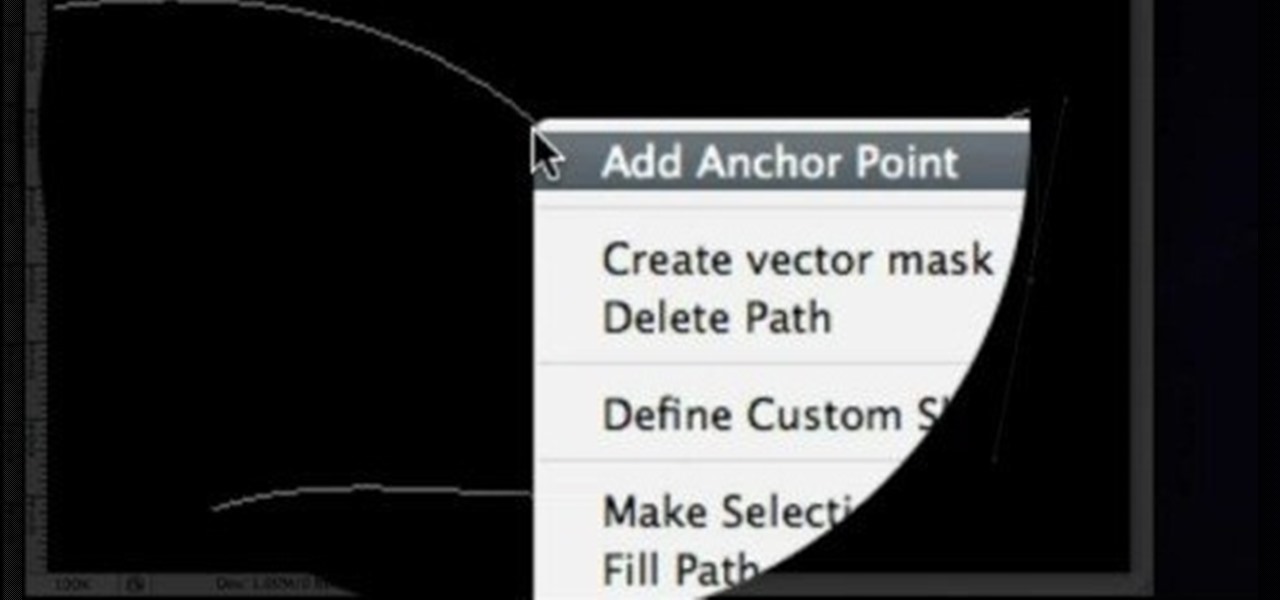
This image editing software tutorial shows you how to create a solid curved line in Photoshop CS3. You will learn how to stroke that path and create nice curved line effects in Photoshop CS3.
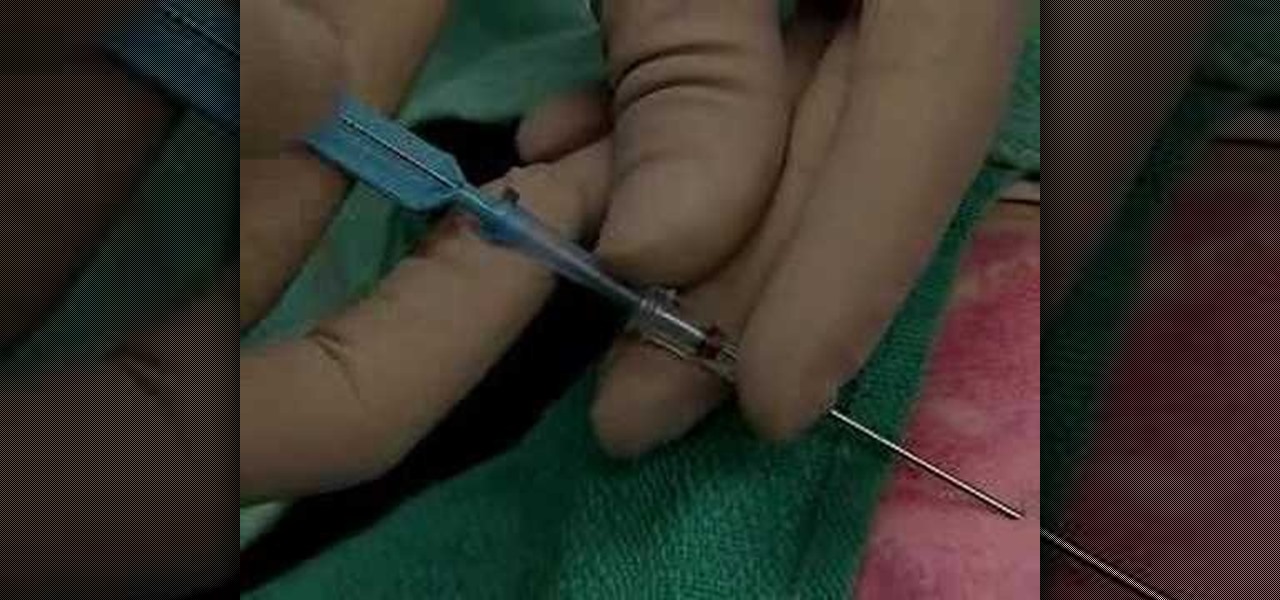
This medical how-to video demonstrates how to insert a central venous catheter line. The method used to insert the venous line is the landmark base technique. Always prepare the skin by wiping it with antiseptic. The patients head should be tilted slightly to the left. Follow along and learn how it's done.
Why did I write this when they're tons of scanning tools available.

Line breaks signify not only the ending of one line of thinking, but the beginning of another. We use them to emphasize points, to fragment information, to shift tone, and more. They're important in getting our message across properly, which is why I'm always disappointed when I can't insert a line break into my masterful Instagram caption.

Veering from common practice, XDA commenter, "the_commenter", discovered a changelog for the upcoming version of Android 4.4.3 tucked away on Google's servers.
In this web design tutorial learn how to use the straight line tool. Although the straight line tool might seem like a useless tool I can tell you from experience it is very useful. Especially if you have ever attempted to draw a straight line with a tool other than the straight line tool. There are many ways you could use the straight line tool such as dividing content, design graphics, separating navigation menu headers and much more. My recommendation would be that you take a look at some ...
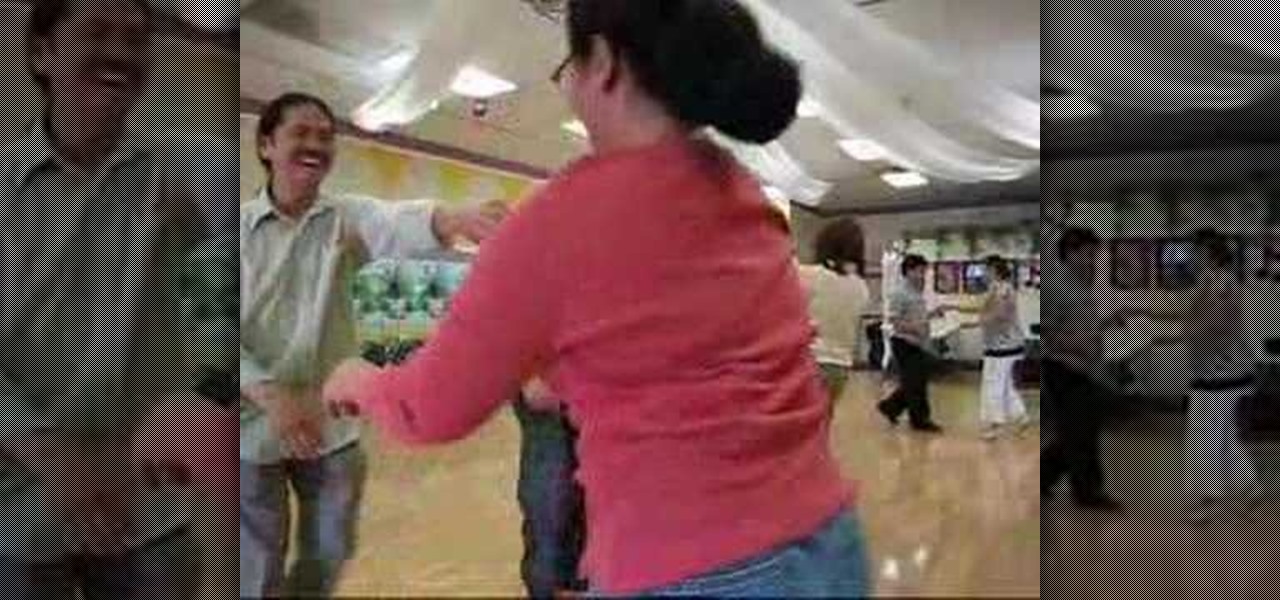
It's time to boogie! Get your shoes on, put on your dancing shirt, turn off your phone, and tell your friends you've gone on a permanent vacation! The boogie line dance is a simple line dance - easy enough for a toddler to learn, but hard to forget! This instructional video will get you up and boogieing in no time. So don't be shy, watch this dance video and get your boogie on.

The first step in drawing a Christmas tree in Microsoft Paint is to open up the program and click on the line button on the left hand side of the toolbar. Start with where you want the top of your tree to be. Click and pull down the cursor about an inch and a half on a 45 degree angle. Click again. Now take the cursor and go to the right about an inch. Click again. Repeat three more times making each 45 degree angle line a little bit longer than the last. It should zigzag angling towards the ...
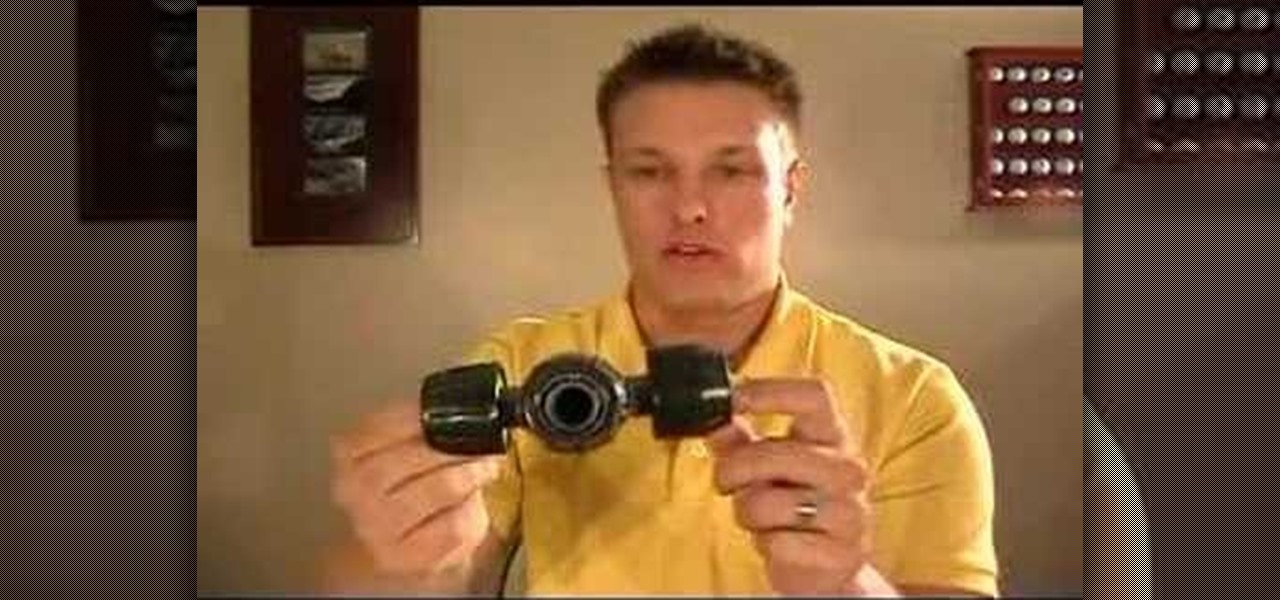
Teeing off sprinkler lines is something you'll probably have to do if you're trenching or pulling that plumbing pipe for your sprinklers underground. It allows you to run your main lines closer to the middle of your yard and then branch off to each individual head.
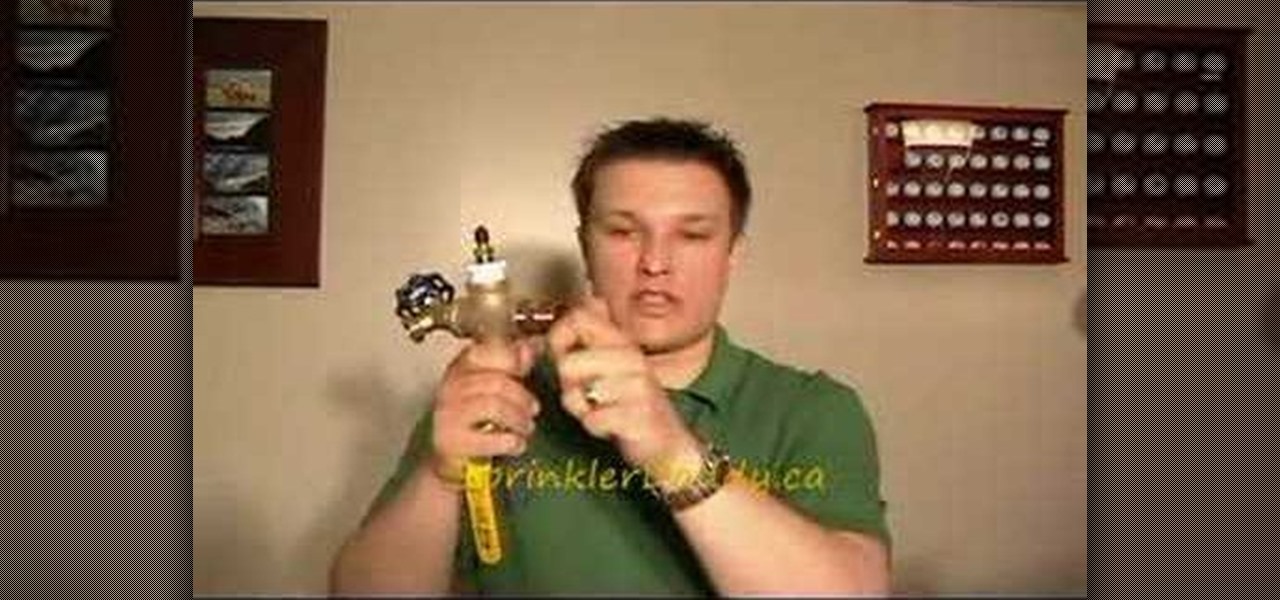
Connecting your sprinklers to the water line is actually fairly easy when you're installing your own sprinkler system. Basically, you just go to your outside tap, screw it off and screw in your house connection.
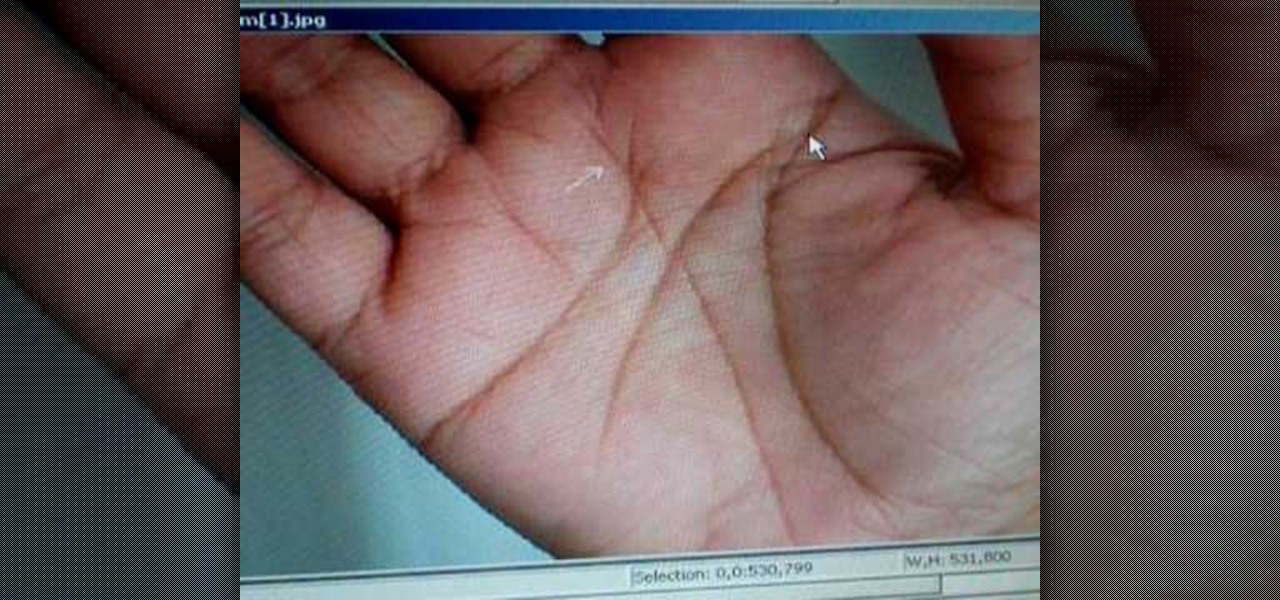
In this video, Peter John analyzes the right hand in palm reading. Once you have the hand turned over, you will see lines that are underneath the middle finger. The half line means that someone is emotional because the line arcs more than usual. The person also likes to show their emotion and have the emotions shown to them. Then bait line on the side of the hands should be slightly clear, which will tell how affectionate someone is and how much they show love. Right hand palm reading can be ...

In this tutorial, we learn how to draw Danzo. To start, you will draw the outline with the light touch of the pencil. After this, draw in the final outline darker and then erase the background lines. Next, you will add in the details around the character and then add in lines to show creases and make it look more realistic. From here, you will add in shading to make the drawing have some more depth. After this, you will finish up by cleaning any stray lines with an eraser. You can also use th...
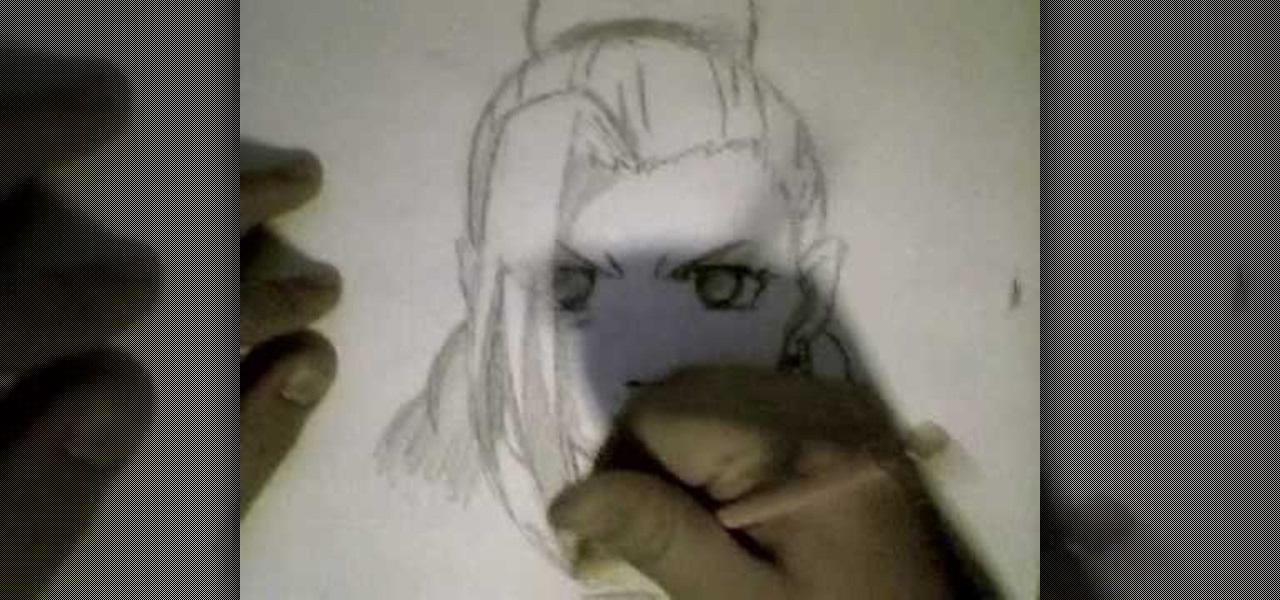
In this video, we learn how to draw Ino from Naruto. Start off by drawing a circle for the head, then drawing lines in the middle to create reference for where the facial features will go. After this, draw in the hair on the top of the head along with the eyes, eyebrows, and creases of the eye. Then, draw the jaw line around the face and erase the lines you used for reference. After this, add in additional lines and hair to make it look more realistic. Use shading around the face to show ligh...
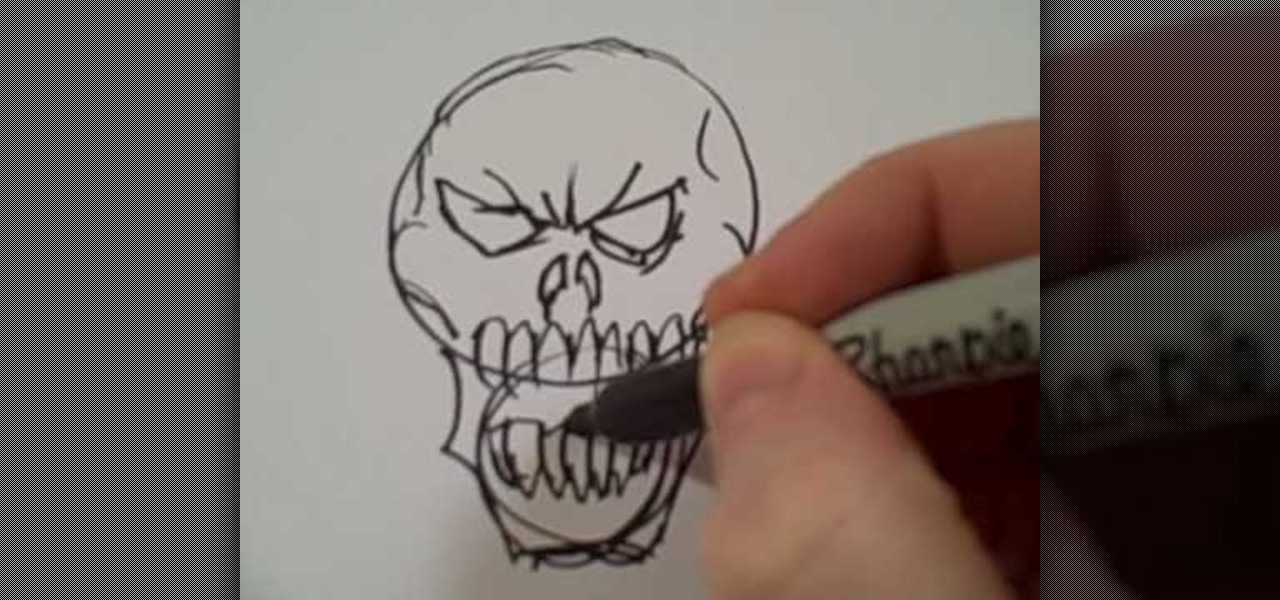
In this tutorial, we learn how to draw skulls the easy way. First, draw a round circle on the page followed by a smaller one connected at the bottom. From here, draw in two sideways triangles on the middle of the large circle. Then, draw in lines on the face and create the section of the nose. After this, draw in large teeth on the skull and then connect lines around the circles to make the jaw line. After this, draw on lines around the skull to make it look like it has depth. Then, shade in ...
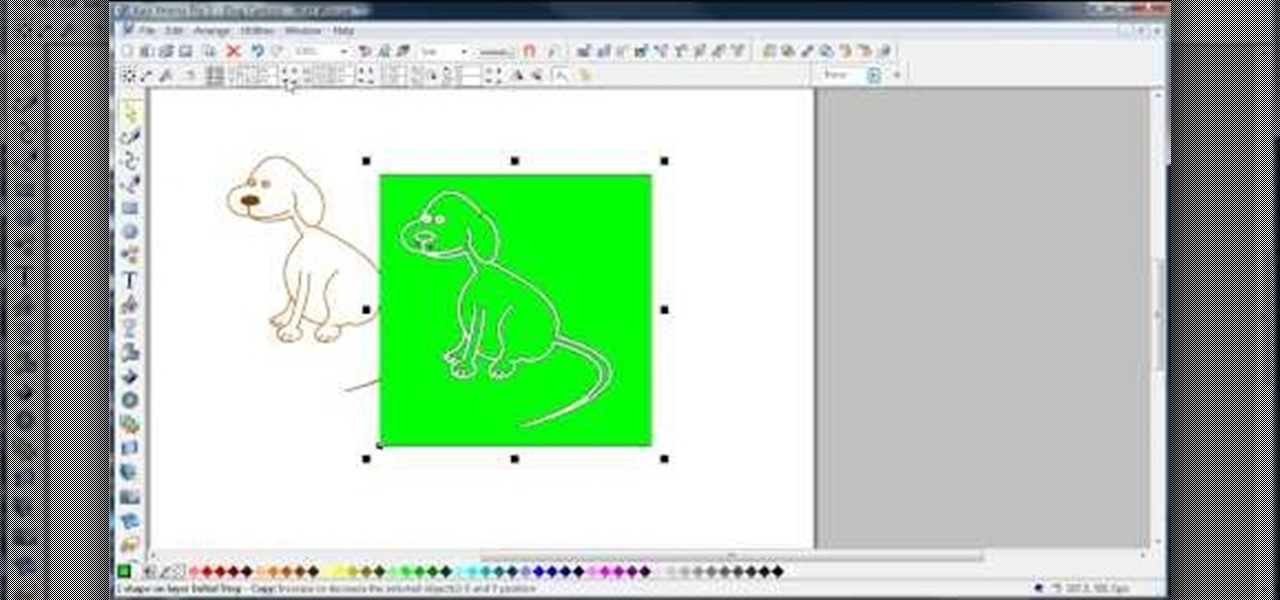
In this video, we learn how to join lines in Xara Xtreme. All the lines in this are independent, but they can be joined together to make an object. First, open up the object gallery and then duplicate the layer. After this, copy the image and increase the line size by four pixels. Then, go to "arrange" and "combine shapes". From here, the shapes will all combine together to make one total image. Make a rectangle around this and then select "subtract shapes". Combine the layers to finish, then...

In this tutorial, we learn how to draw eyes with a pencil. First, draw the outline of the eye, giving it an almond type of shape. From here, you will add in the lines to the eyes and shade it in to make it look more realistic. Add in the crease above and below the eye, then draw another line on the bottom for the lash line. Then, darken in the areas around the eyes, then add in the lashes to the top and the bottom of the eyes. Shade in the pupil, then use lines to create a more realistic insi...
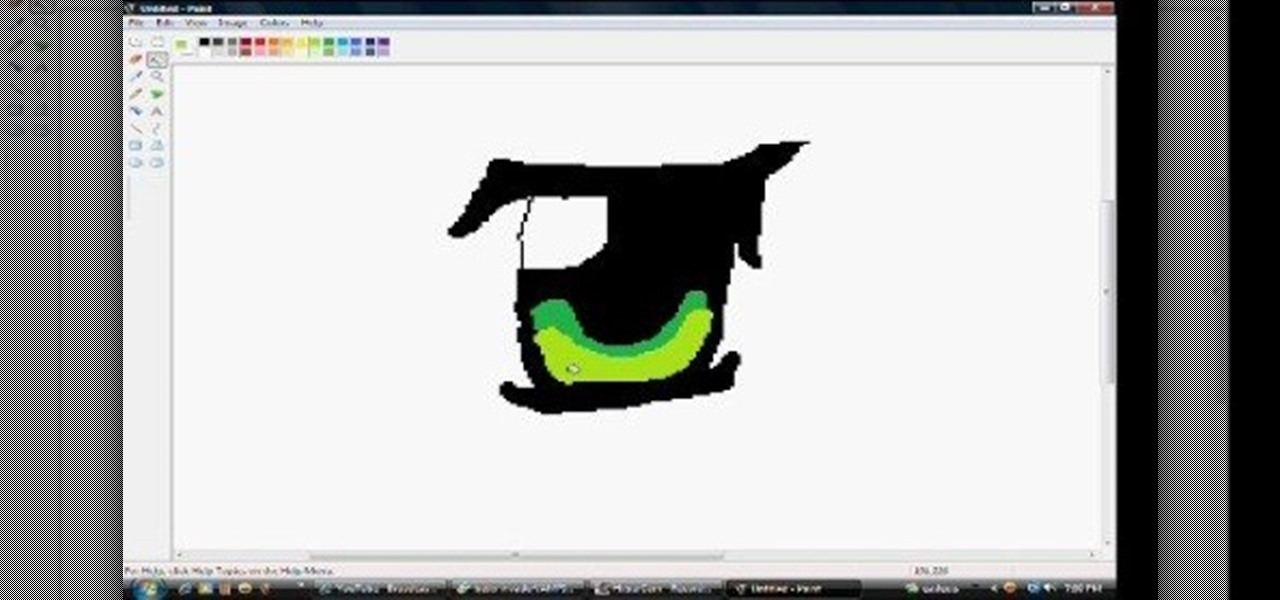
In this tutorial, we learn how to draw anime eyes in MS Paint. First, open up MS Paint and then grab a marker that is thick. From here, draw in a thick line that will be the top of the eye. Then, draw in the round area underneath the eye and the pupil inside of this. Draw in the bottom lash line of the eye, then start to add detail to the middle of the eye. Use the dark line to create a thicker line around the pupil, then fill the eye in with black. Leave a white part to make the eye look glo...
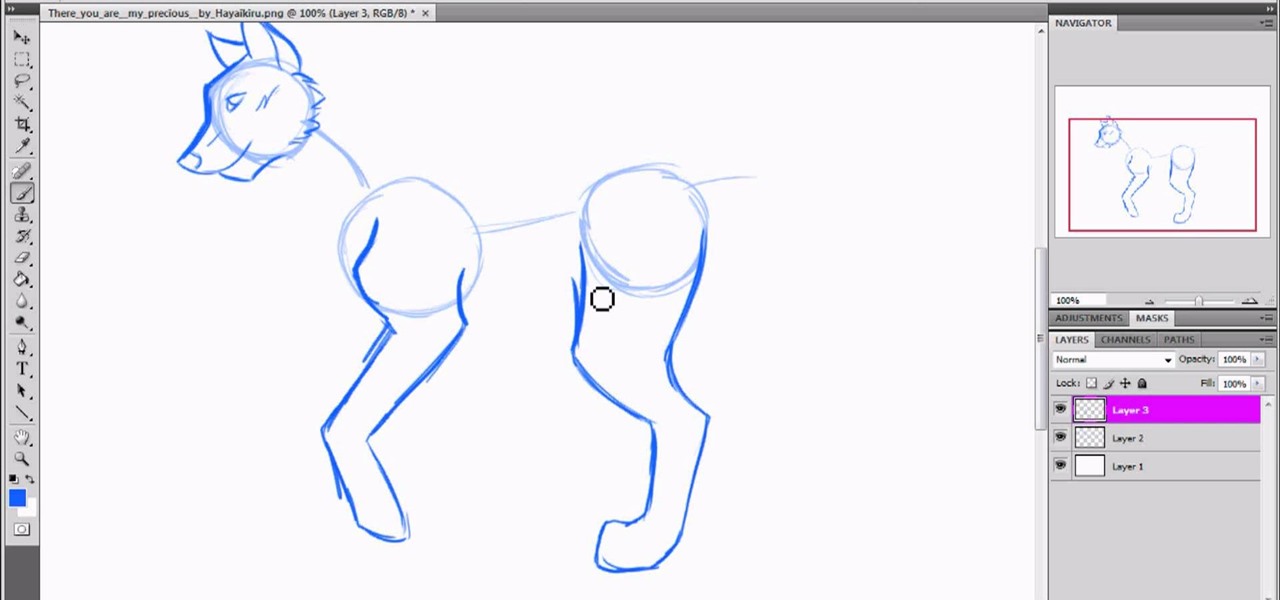
In this tutorial, we learn how to draw a wolf with basic guidelines. First, draw in circles from where the main sections of the wolf is. Now, draw a line connecting all of these and draw in the details of the face. Now, draw the back legs starting with the front leg and then the back leg. After this, draw in the stomach and the main part of the body. Erase the circles and background lines, then draw in the hair of the wolf and the stomach. Create a tail on the back, then add in the ears and t...
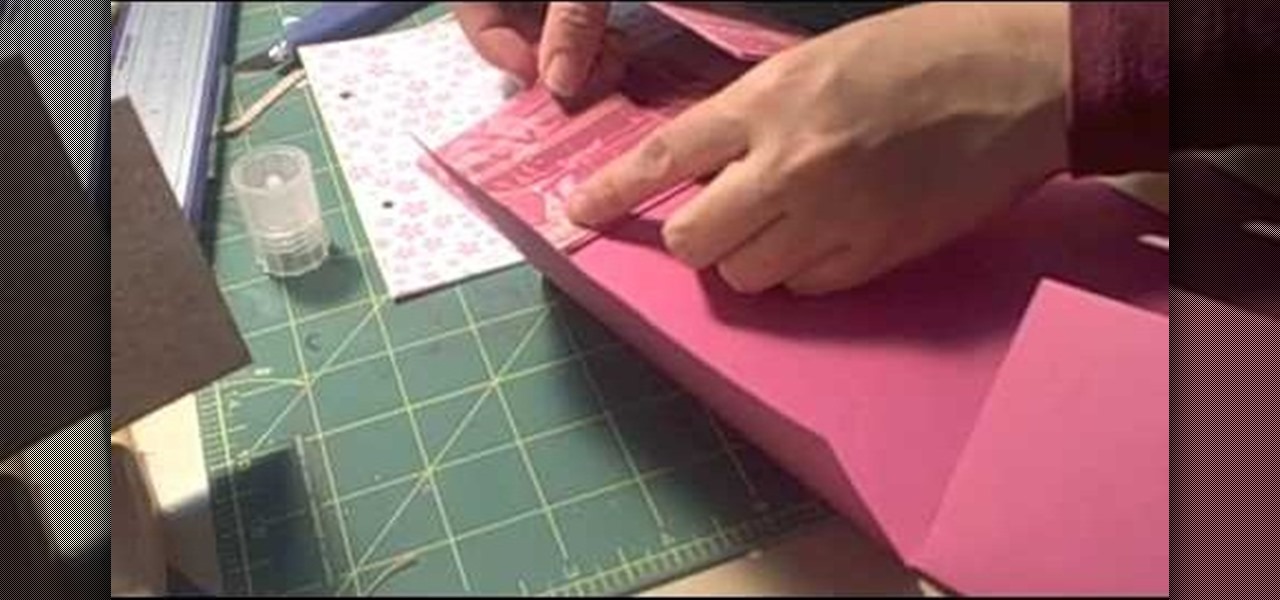
This video tutorial is in the Arts & Crafts category which will show you how to make a flip square album. Take a 12 x 12 inches square cardstock and make a score line at 3 inches on all 4 sides of the paper. Now cut along the score line at the top and bottom of the paper up to the 3 inch line. Next you fold along all the score lines inwards and you have all the flaps ready. Then mark along the edge of the center part of the sheet and punch two holes for tying the album as shown in the video. ...

In this tutorial, we learn how to draw Tenten. To start this character, draw a light circle along with lines in the middle for reference points. Use a bolder line to draw the chin and then the eyes, nose, and mouth. also make sure to draw in slight eyelashes and eyebrows above the eyes. After this, draw a line around the head and erase the background lines. Draw ears on the top and then start to fill in the hair for the bangs on the front of the face. Finish this off with a headbands, then dr...