The Clinch Knot is used to secure your fishing line to your fishing lure. In this video, learn how to tie a secure clinch knot, step by step. You can't fish without a sturdy lure, so watch the video and practice until you master the knot on your own. Once you've got it, attach your bait and you are on your way! Happy fishing!

Make your own luck by having a well-prepared monologue in your acting arsenal. This video acting lesson will teach you some steps for breaking down a monologue into a context that will give you a better understanding of the character, allowing you to enhance your skills. Delivering a monologue doesn't have to be intimidating, so with a little prep work and the steps in this how-to video, you'll be preaching those lines in no time.
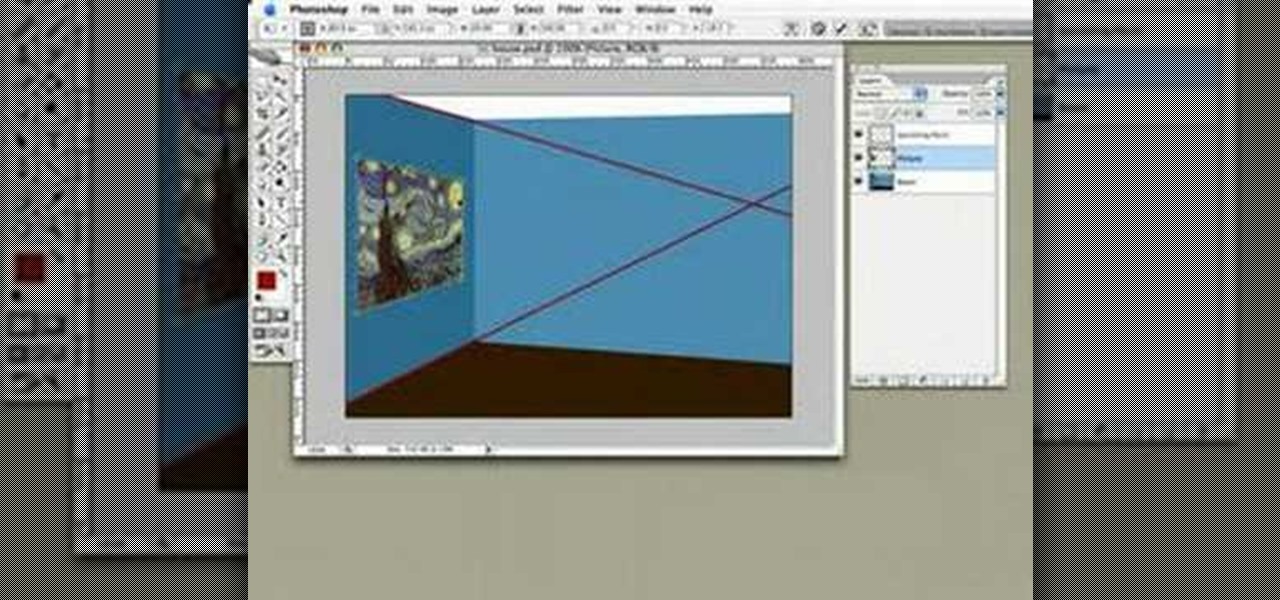
This is a tutorial video from Sessions Online Schools of Art & Design's "Photoshop Basics" course. This video is part of Sessions' Graphic, Web, Multimedia Arts, Digital Arts, and Marketing Design certificate programs. You are distorting layers using the transform tool. Use the line tool to check the work. GO Edit: Transform - Distort.
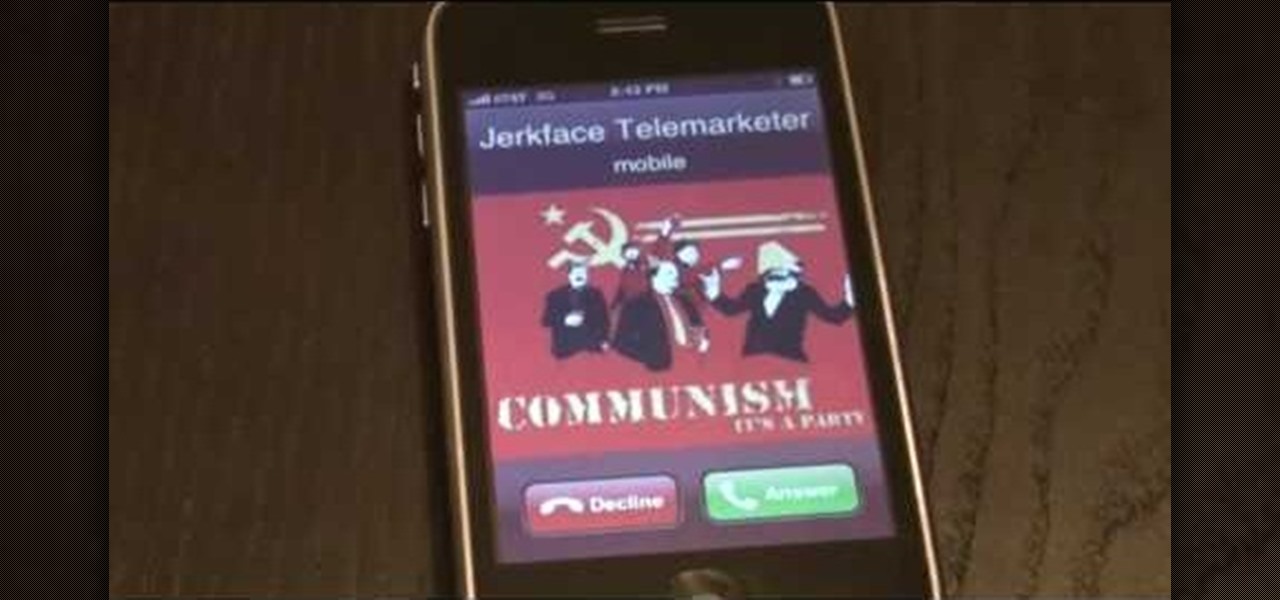
HouseholdHacker reveals the trick to seeing blocked numbers. Find out who is prank calling you or catch a secret admirer with Trap Call: http://www.trapcall.com
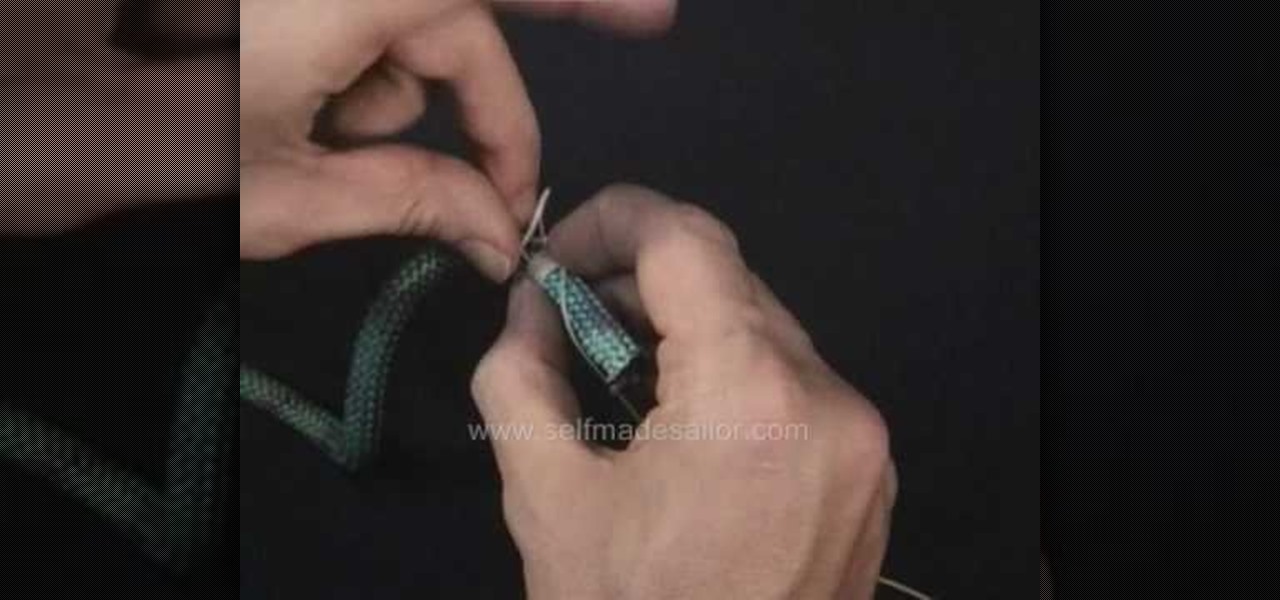
Learn how to tie a Whipping - How to apply a whipping to a line to protect it from unraveling or to form an aglet at the end of a rope. This is a fine knot for camping, climbing, sailing or Boy Scout training.

Learn how to tie a Draw or Thief Hitch - a means of securing a rope with two standing ends - one end is load bearing, and the other can be pulled to release the knot. I used this knot extensively for raising the mast on my first trailor-sailor - Tie this above the spreaders, stand the mast up, then pull on the release line to untie it without having to climb aloft. This knot can be used in sailing, boating, general use, camping and bondage.

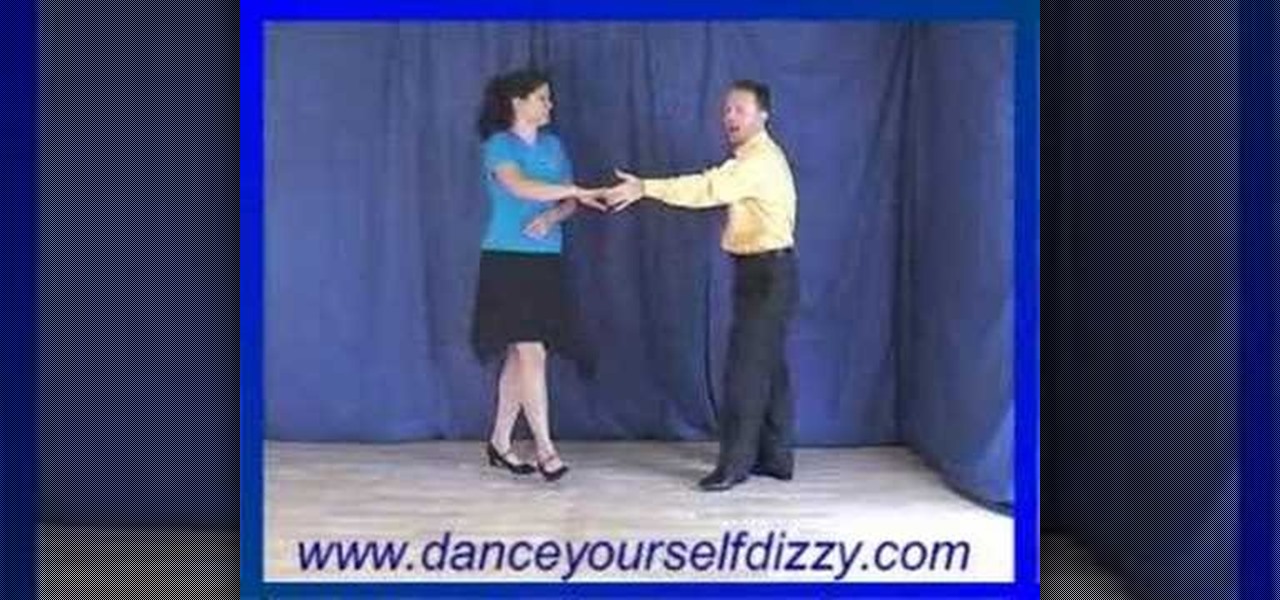
Here's a weekly on-line Modern Jive dance lesson from Dance Yourself Dizzy. This is a two part step by step from the man's perspective showing the steps in lead during basic modern jive dancing. Jive is a style of swing.
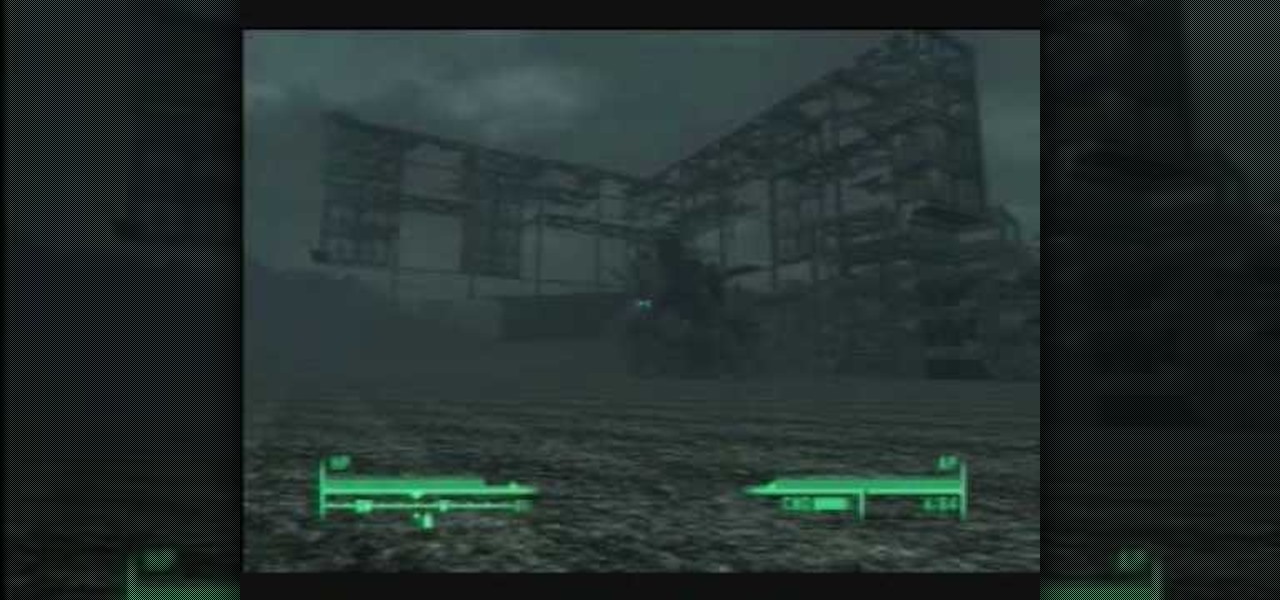
Here's how to get outside the map, thru a hole in one of the invisible barriers that would otherwise prevent this.
A fashion portrait should convey emotion and follow a story line. Delightfully, besides these two rules, it doesn’t have to make sense. Art photography can be dramatic or goofy. Make sure you don't just leave it all for Photoshop. Make an effort to get the right lighting before you start flashing away for your beauty shot or headshot.
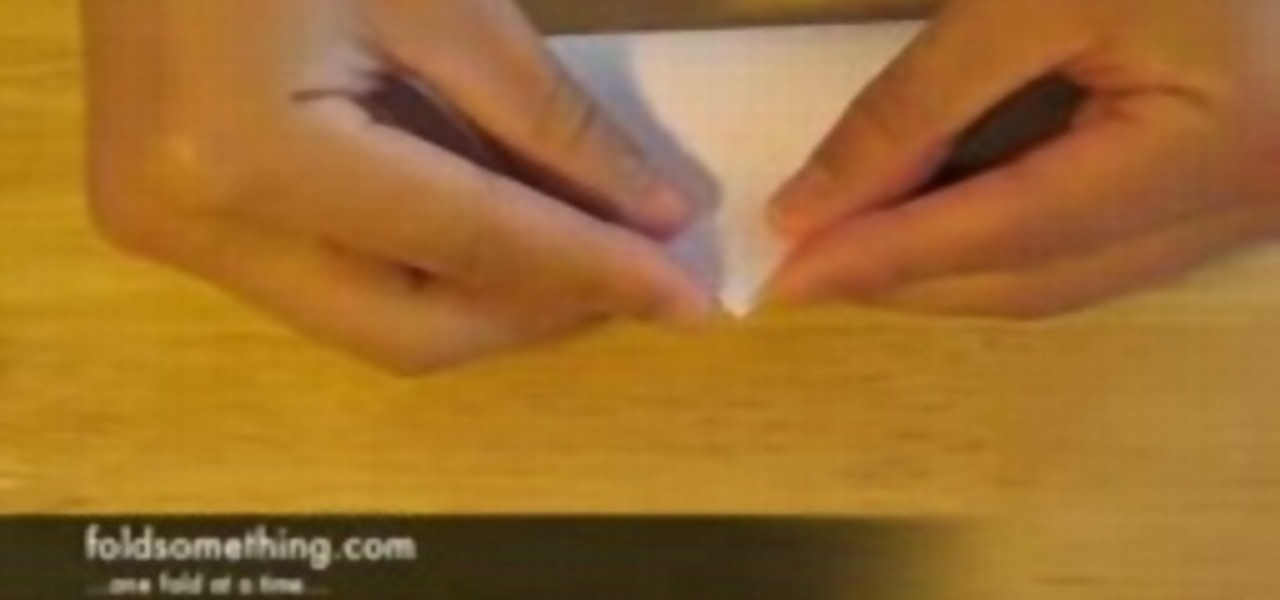
Here's a short video on basic origami techniques. You've got to know how to line up folds and make a proper crease to be successful at origami. Watch this video if you are a beginner to origami. These origami tips are very helpful.
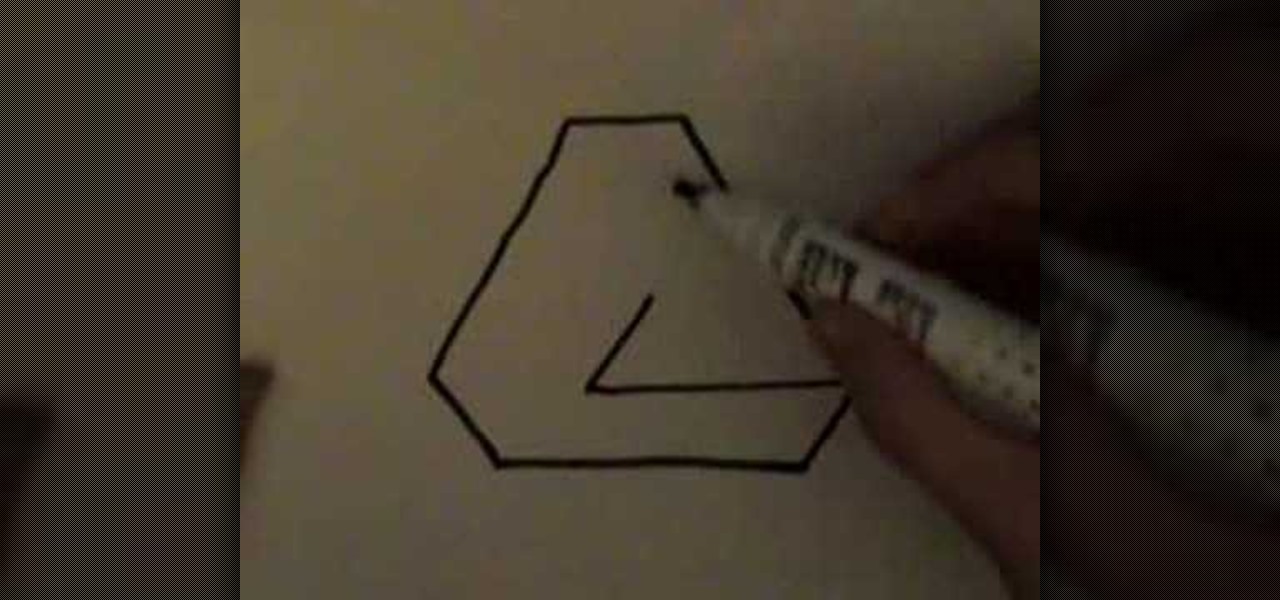
This is a short instructional video showing you the easiest way to draw an impossible triangle. Follow along with the demonstrator to capture the lines to sketch this physical enigma. Just because it can't exist, doesn't mean you can't render it. Watch this video tutorial and learn how to draw the impossible triangle.
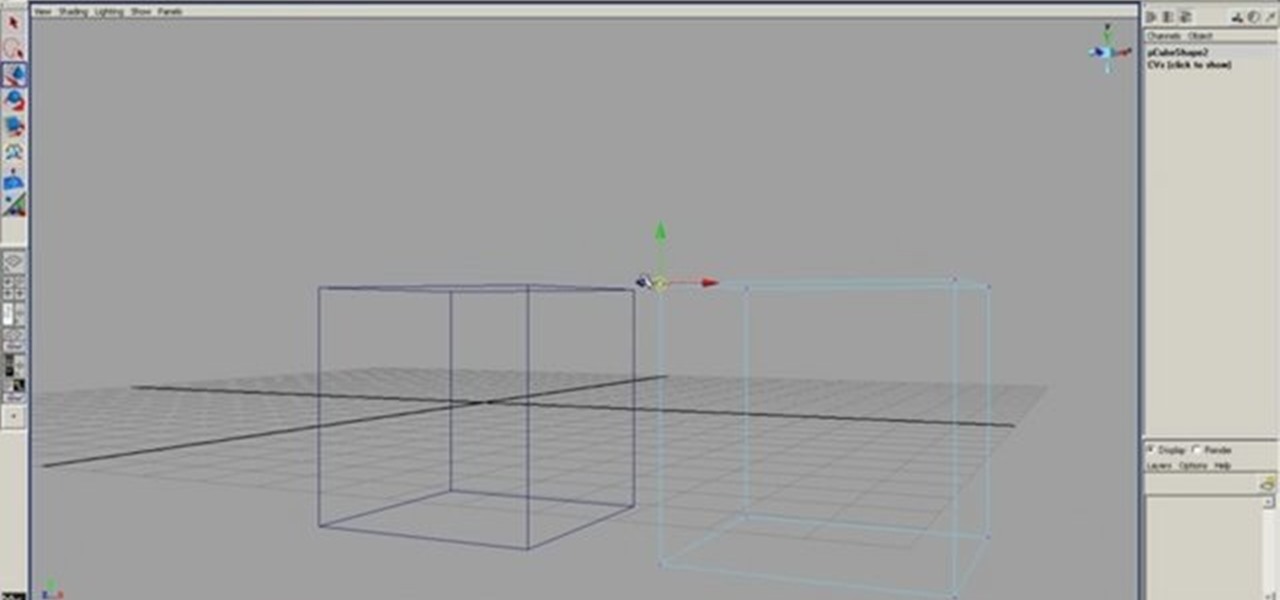
This 3D modeling software tutorial will show you how to snap points in Maya 8.5. There are multiple ways to snap points which will be covered. Snapping points is one of the most important things to do when vertex modeling in Maya since it allows for ultimate control. Learn how to use snapping to line up your objects to the grid, a vertex or a curve in Maya 8.5.
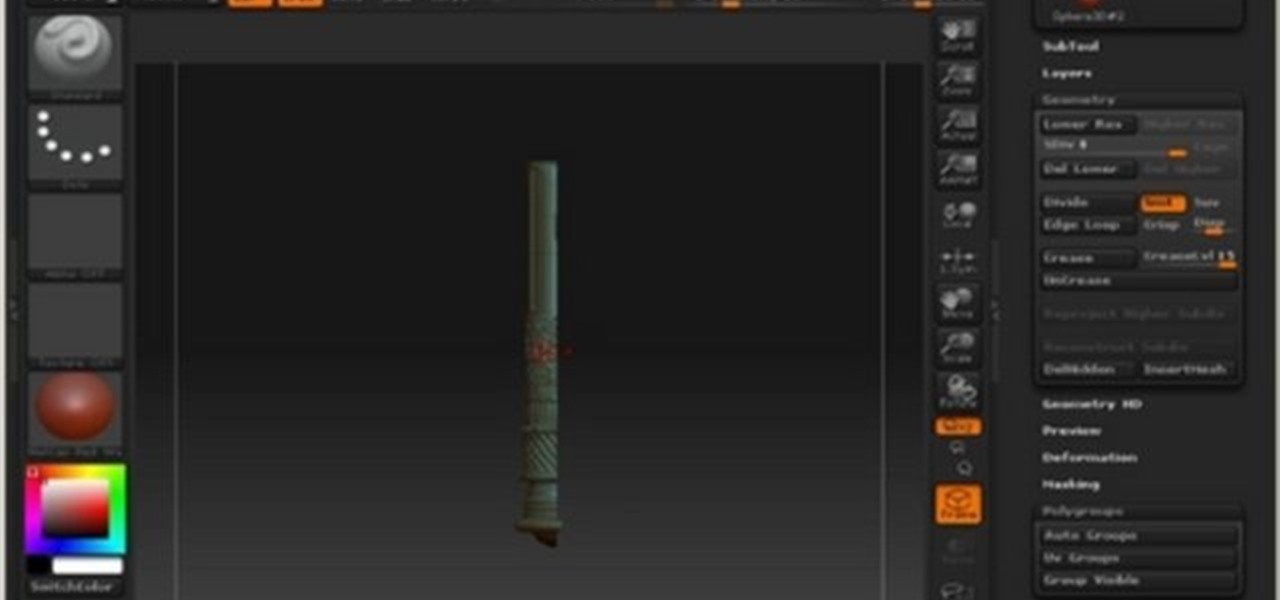
This software tutorial shows you how to mirror geometry when modeling in Zbrush. This is a more non-organic method of sculpting in Zbrush but it allows you to duplicate details on both sides of an object without having to redo the details. Learn how to mirror geometry in sections using masks, and how to make sure the seams line up and keep your scuply accurate in Zbrush.
Here is a tutorial on using Httrack to download websites for off line viewing.Httrack is a website copier and 99% of the people on the web will use this software responsibly. This tutorial is for that 99%. Using Httrack is a great way to download a site you need to modify when the site server passwords have been lost.
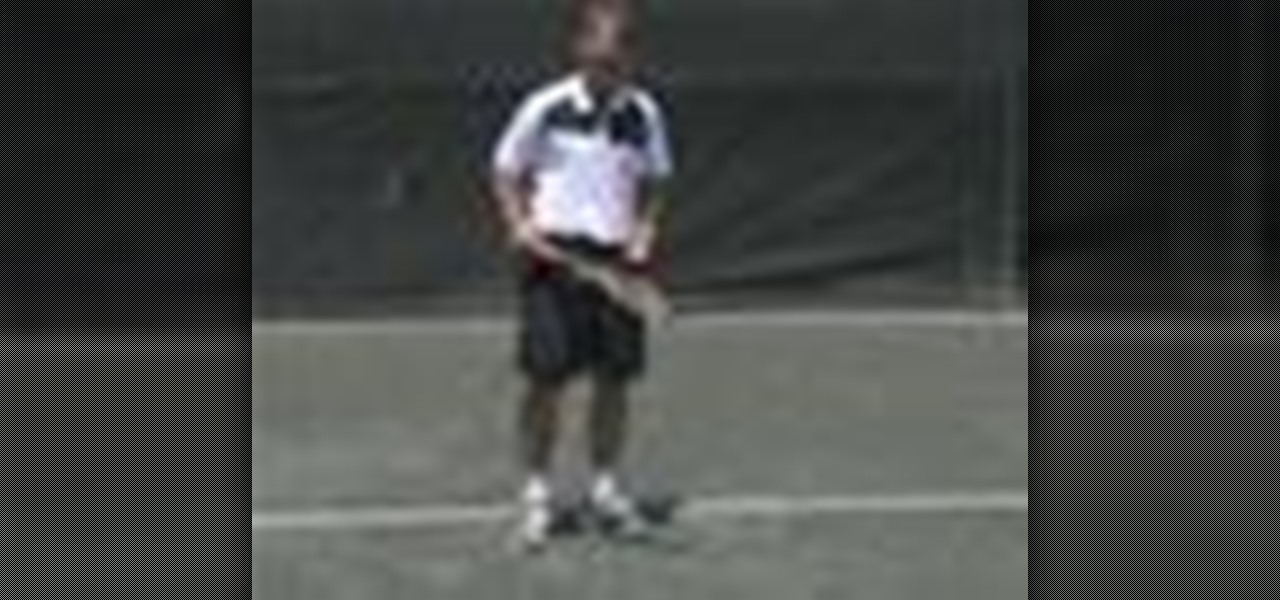
Want to improve your tennis skills? Check out this instructional tennis video that demonstrates how to hit a tennis ball across the court in this video tennis lesson.
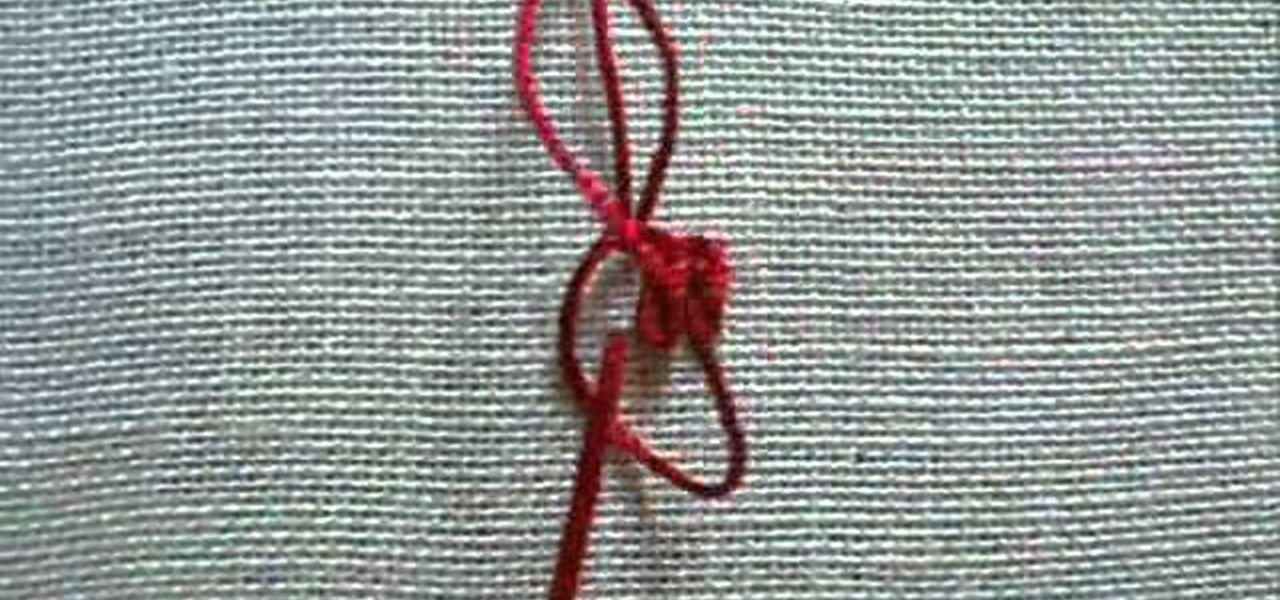
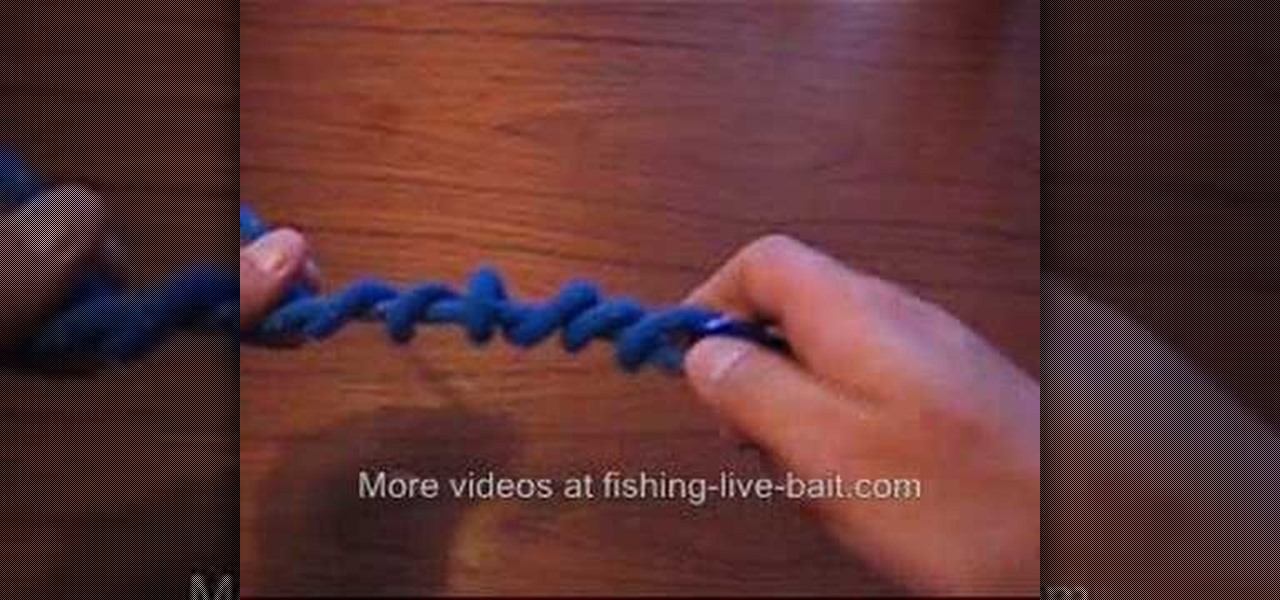
The World's Fair Knot was invented by Gary MArtin and was selected as the best knot out of 498 entries in the great knot search at the 1982 world fair. It is simple, quick to tie and can be used with most monofilament line diameters. Watch this video tutorial and learn how to tie a world's fair knot for fishing.
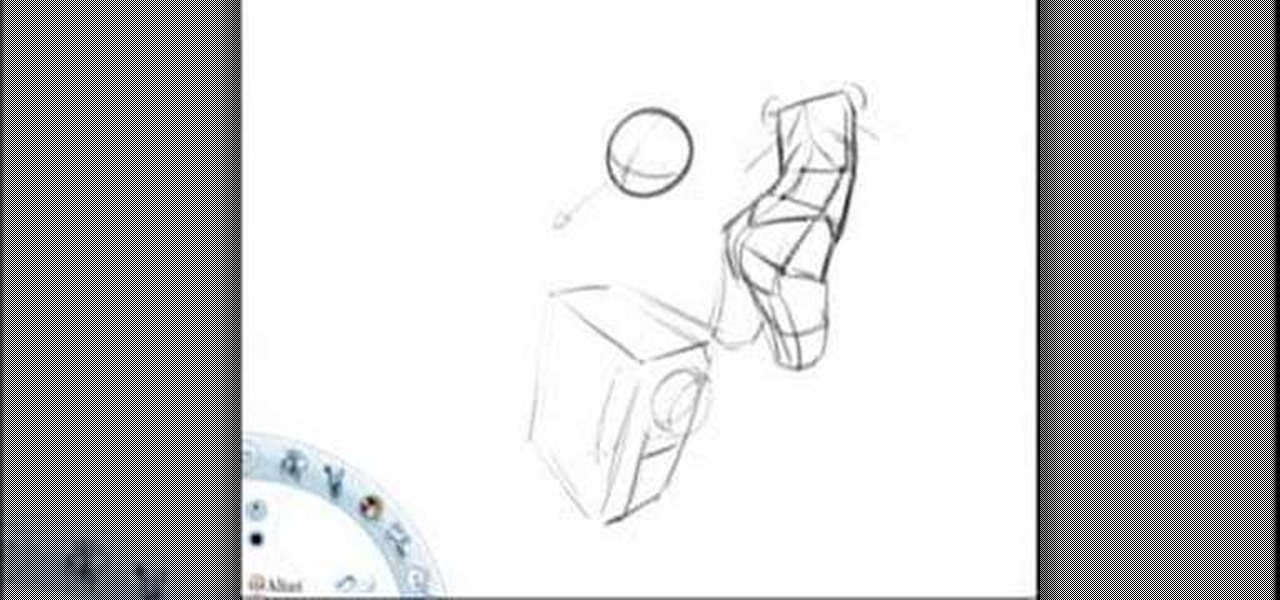
Use everything you've ever learned about drawing inanimate objects to draw the human figure. You will need to use efficient lines and accurate perspective to draw a number of basic shapes that will come together in the shape of a human body. Watch this instructional drawing video to begin drawing figures in perspective. Even if you are not an expert at anatomy, you can calculate what simple shapes look like in perspective and carve back into the basic forms.
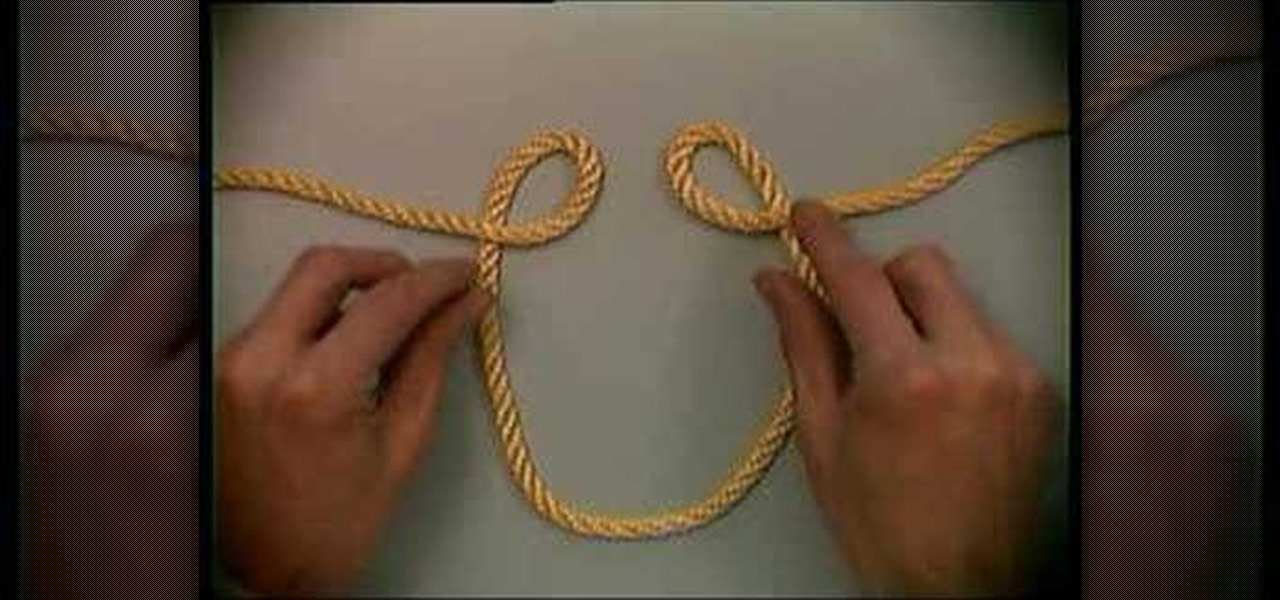
The Alpine butterfly knot is very similar to the Lionsmen's knot, and is often used in mountaineering. It's great for making a foot hold in the rope line. Follow along with this video survival training tutorial and learn how to tie an Alpine butterfly knot.
Doesn't it feel like any time you need your lip balm, your favorite tube seems to have grown legs and walked away? Stop standing in line at the store to buy new ones and learn how to make your own beeswax balm at home.
Another hand embroidery stitch that's great for beginning embroidery - the whipped running stitch. It's a simple, quick stitch to work. This stitch is one of many line stitches that can be used for bold or delicate outlines, depending on your choice of thread. Watch this video from Needle 'n Thread to see how it's done.
Here's a video tutorial from Needle 'n Thread for another hand embroidery stitch - the rosette chain stitch. The rosette chain stitch is much like the oyster stitch, but it's worked in a line, or around curves. The oyster stitch is more often seen individually.
Can't afford a hot tub to attract all the hot babes? With these 5 easy steps, you'll have the chicks lining up to your pickup in no time!
For beginners that want to know how to play the slap line, learn it here. She won't let her down, not at all, but you can let her down. So don't.
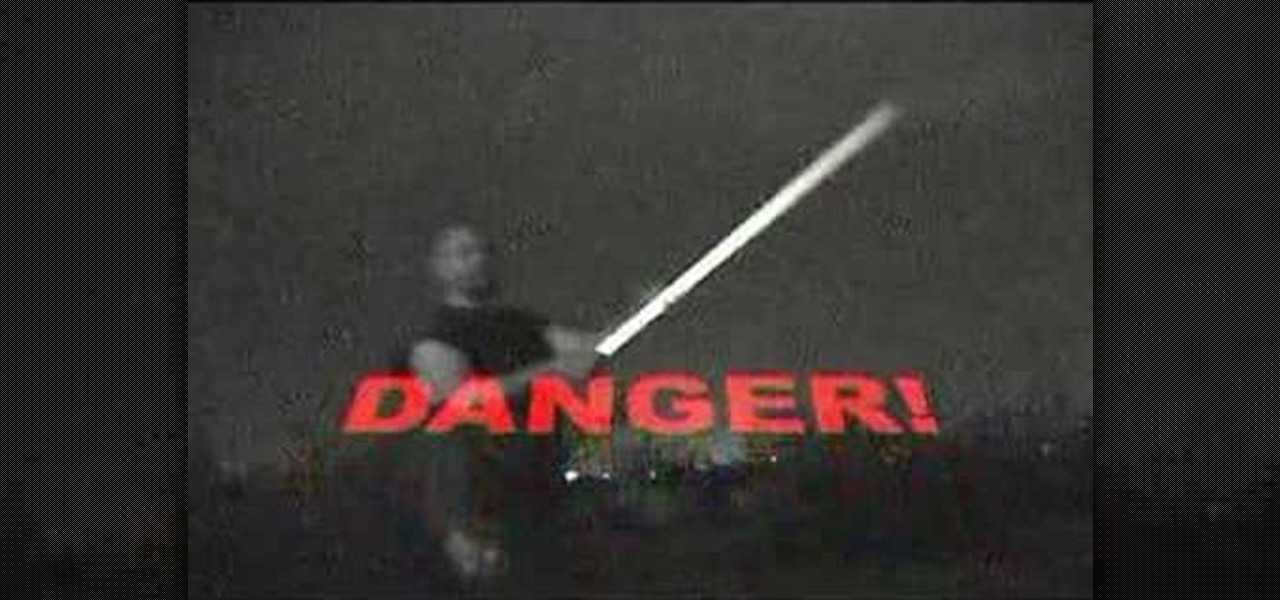
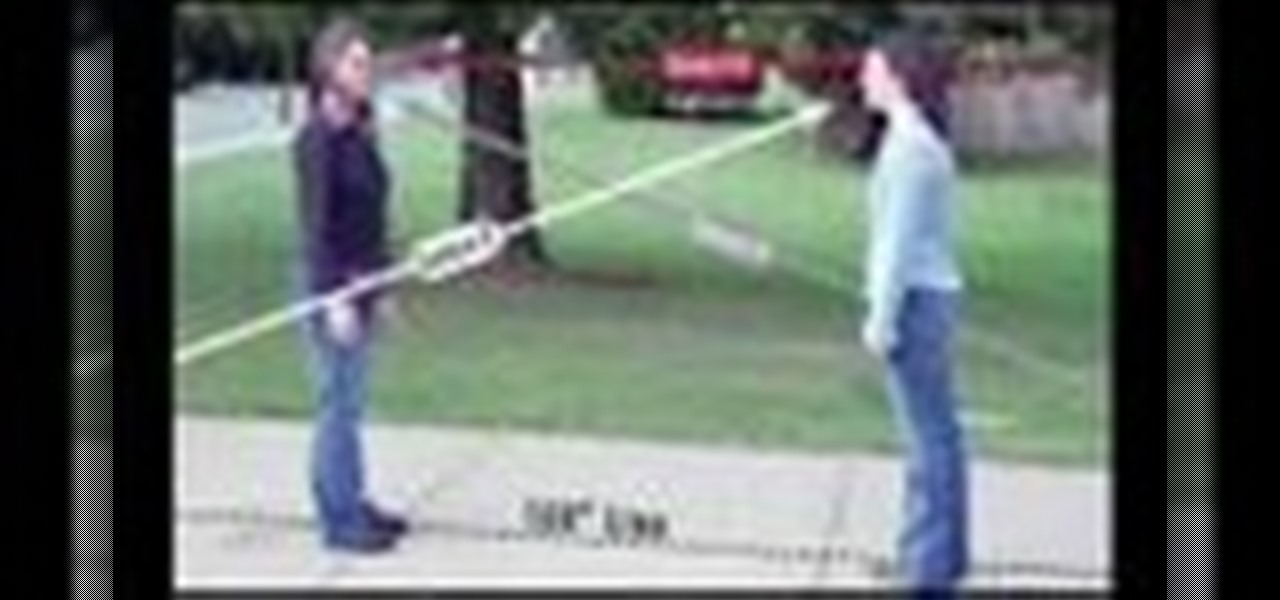
In this video watch a simple experiment of lighting a bulb and a fluorescent tube. Makes you wonder if being so close to power lines radiates people. Hmmmmmmm
Also known as the Line of Action, the 180 Degree Rule is an important fundamental to communicating the action through careful camera positioning. Jennifer O'Rourke walks us through it.
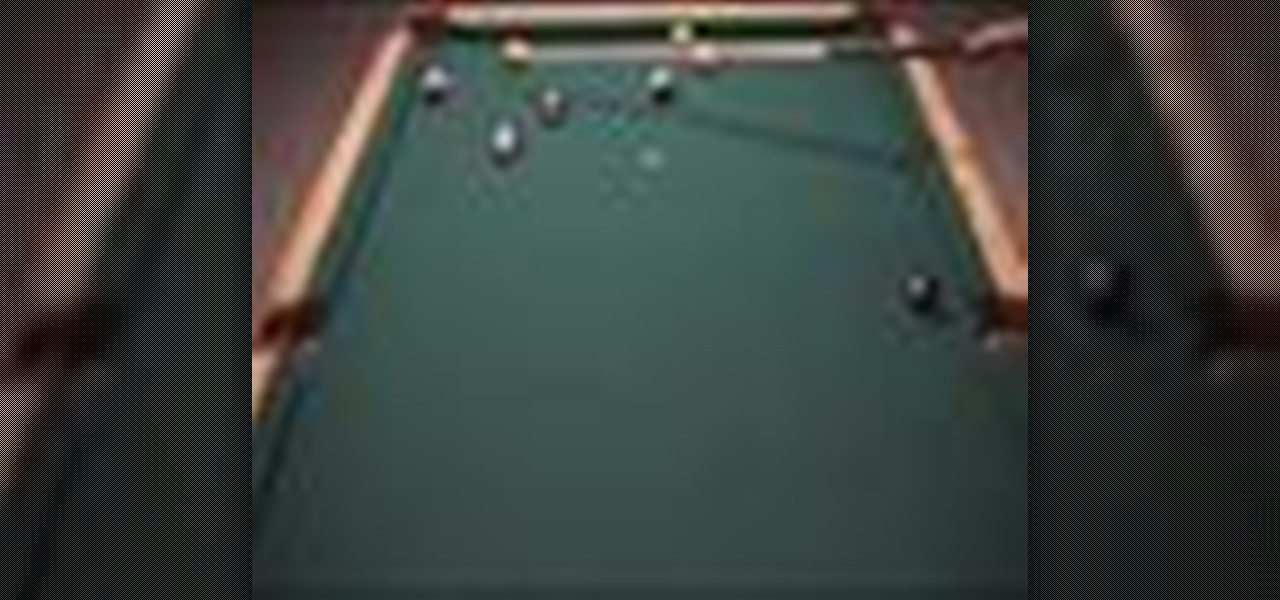
This pool shooting tutorial demonstrates how to control the cue ball using reverse English, opposite to the one that seems obvious. This will help line the ball up where you want it, preventing it from going too far down the table and allowing you to win the match.
The axel kite trick is basically a 360 degree flat turn on the center (axel) of the kite. Watch and learn how to do this core freestyle trick. It's absolutely key to learning advanced tricks. This is a sample from Prism Designs' Freestyle Pilot instructional DVD on dual-line kite tricks.
So now you've completed everything that the Dark Brotherhood quest-line in The Elder Scrolls V: Skyrim has to offer. But now what's left to do? Anything? Well sonny, there is something you could do! After you complete the quest-line, one of your goons will suggest to you that some upgrades are in order for the sanctuary. Doing so will add some really cool bonuses.
In this video, we learn how to draw animal paws from the front. First, draw the wrists for the paws and make the bottom part wider. After this, draw on the nails on the very front of the wrists. Make sure to add on a pointed tip for the claw on the top of the nail. After this, start to add in additional lines around the joints in the paws to make it more bold. Then, you will need to add in additional lines on the sides to make it look like hair. This will complete your paws, have fun with the...
In this tutorial, we learn how to draw fold legend Bob Dylan. To start, you will first draw the hair and the head along with the upper body, hands, and guitar. After this, you will start to add in the facial features. Draw on the eyes and add lines to make the face look more realistic. Make sure it looks like he is holding the guitar with his hand, showing one hand around it. After this, you will need to add color to the drawing on both the clothing and the skin. To finish, you will erase any...
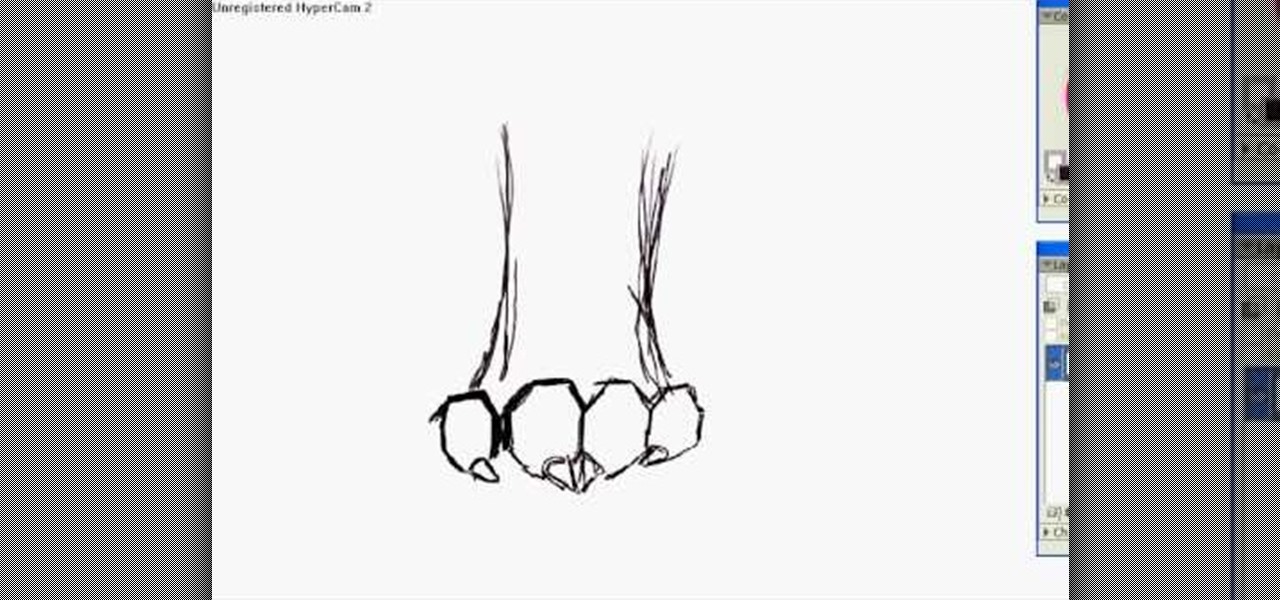
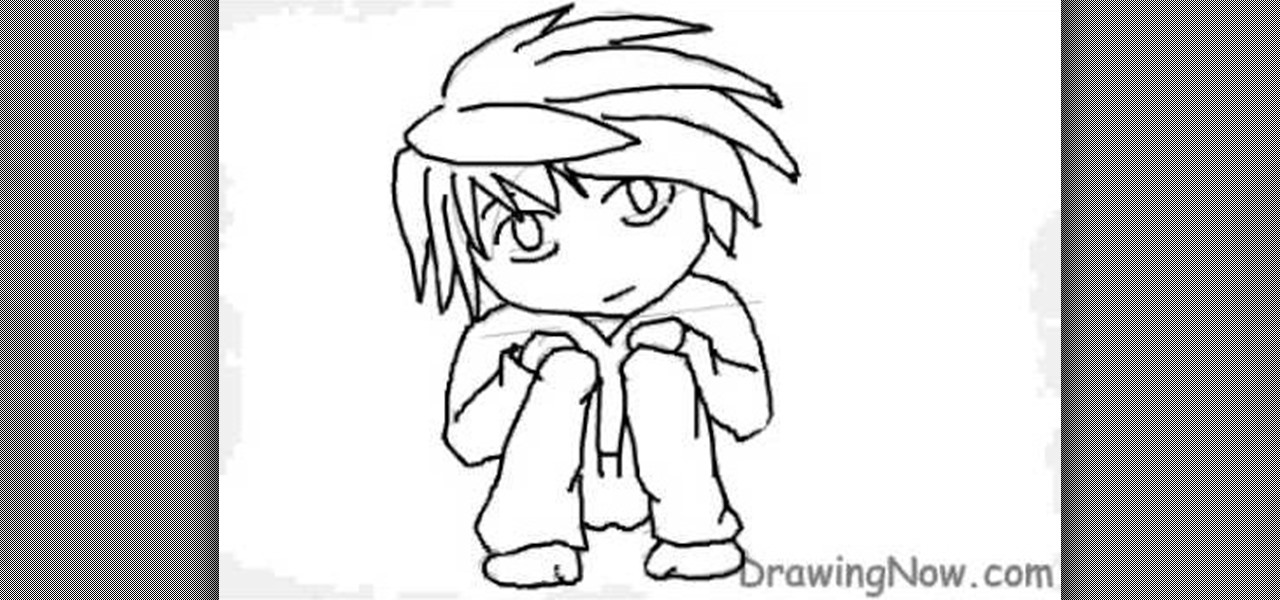
In this video, we learn how to draw a chibi L. As with any drawing, you want to start with the outline of the character to get a feel for where all the parts are going to go. After this, you will use a different drawing material to draw over this and create the final lines for the Chibi L. After this, start to draw in the details of the face and the rest of the body. Also make sure you draw in the hair, adding lines to show where the different strands are. Finish this off by coloring the skin...
In this tutorial, we learn how to draw a female face with hair. First, draw the head and then draw the shape of the chin. From here, you will draw the bangs and the hair. Draw the hair with wavy lines to make it appear curly. After this, draw on the features of the face with a darker marker. Make sure to add in small details and lines to make the face appear more realistic. Then, start to add in the details of the hair and give her a smile on the face. Finish the upper body and then add in so...
In this drawing tutorial, we learn how to draw a chibi Sokka. Start off by drawing a round circle for the head of the character. After this, draw on the ears to the sides of the head. Then, draw on the hair on the back of the head followed by the facial features. After this, draw on the body, but don't draw a neck because this character doesn't really have one. Once you have the outline finished, start to use a darker marker to create the clothing and other details onto the character. Clean u...
In this video, we learn how to draw Hinata. To start, you will draw a circle with lines in between it to place where the eyes will go. Next, you will draw in the eyebrows and the other details around the face. After this, draw in the bangs and the hair, adding lines for them to show the different details. After this, you will draw in the area of the neck and then the clothing on the upper body. Finish off the details in the eyes and then shade in the hair and around the body. When finished, s...
In this tutorial, we learn how to draw a twisted skull. First, draw the outline of the skull and then start to draw in the jaw line around the middle. After you have this drawn out, draw in the teeth on the top and bottom of the face. Then, draw in the eye sockets and the nose shape. From here, start to add in lines that look like cracks around the top and sides of the skull. There is no perfect way to draw this, draw it how you feel it should look! Add in some shading to show the depth and c...
In this tutorial, we learn how to get Leona Lewis' Avatar themed "I See You" makeup look. First, you will need to apply black eyeshadow to your entire lid up until you reach the crease. After this, use a brush to blend the color out and create a winged effect on the outside corner of the eye. Next, apply this color on the bottom lash line, making a slightly smudged effect with your finger. From here, you will apply a teal colored shadow all over the eye and on the outside flare as well. Then,...
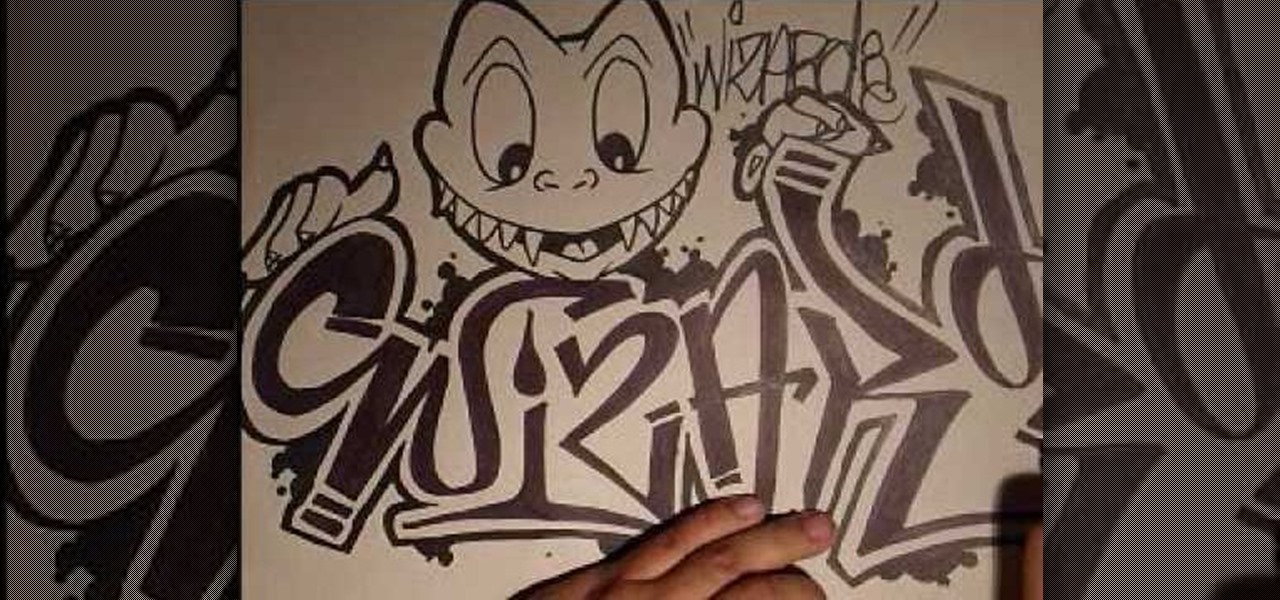
In this video, we learn how to draw a graffiti character. Start out by drawing two large eyes with small pupils at the bottom of them. Next, you will draw a nose and a mouth with pointed teeth. From here, you will draw the head around this and the jaw line for the mouth. Shade in the mouth and add lines to the face, then draw graffiti letters for the name of the character right underneath it. When you draw the letters, make sure to drag the letters out to make them flare more and stand out. W...
In this video we learn how to make a rose out of paper. First, draw on a piece of paper four squares with a diamond in the middle. Fold it in half then flip it over and fold it again. After this, you will fold it again, folding it in half several times. you should have small lines all over. Then, take the line and make a diamond shape out of it. Fold this down in the middle, then take the creases and start folding around this. Twist the bottom into a stem, then you will have the rose and can ...
A fancy, elegant hairstyle doesn't have to be a pain in the ass to maintain. In fact, there are certain hairstyles that look gorgeous even as you've just woken up and are getting out of bed.
In this tutorial, we learn how to draw a neighborhood using an imaginary box. First, draw a straight line and then the boxes should go around it. Continue to draw additional boxes around the line, then fill them in with the outline and further details. Draw in the roof, walls, windows, and doors. When you finish with the details, start to shade them in and then add in the street details. Make sure to give the ground some rough edges and also add in lights on the street. Add as many details as...