
How To: Join two pieces of leather-hard clay together
Check out this video to learn scoring techniques of joining two pieces of stiff leather-hard clay. Following are some steps you will see demonstrated


Check out this video to learn scoring techniques of joining two pieces of stiff leather-hard clay. Following are some steps you will see demonstrated
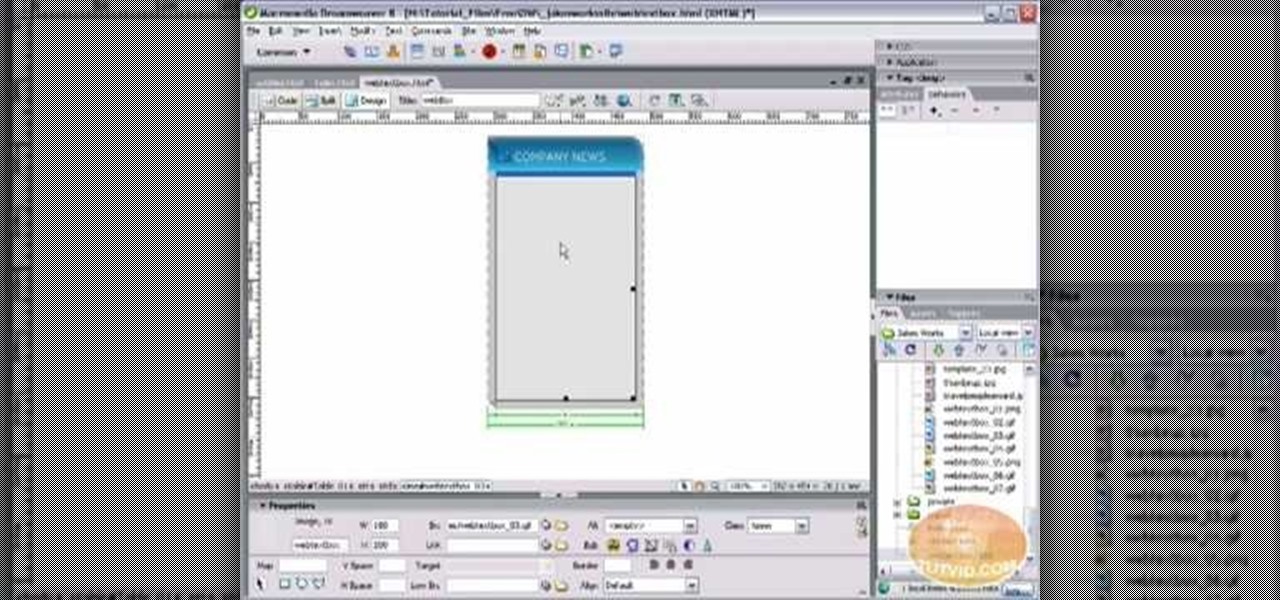
Learn how to create a web text box using Dreamweaver that get bigger or smaller depending on how much text you place in it. Also make a header that spans the users screen not matter what size.
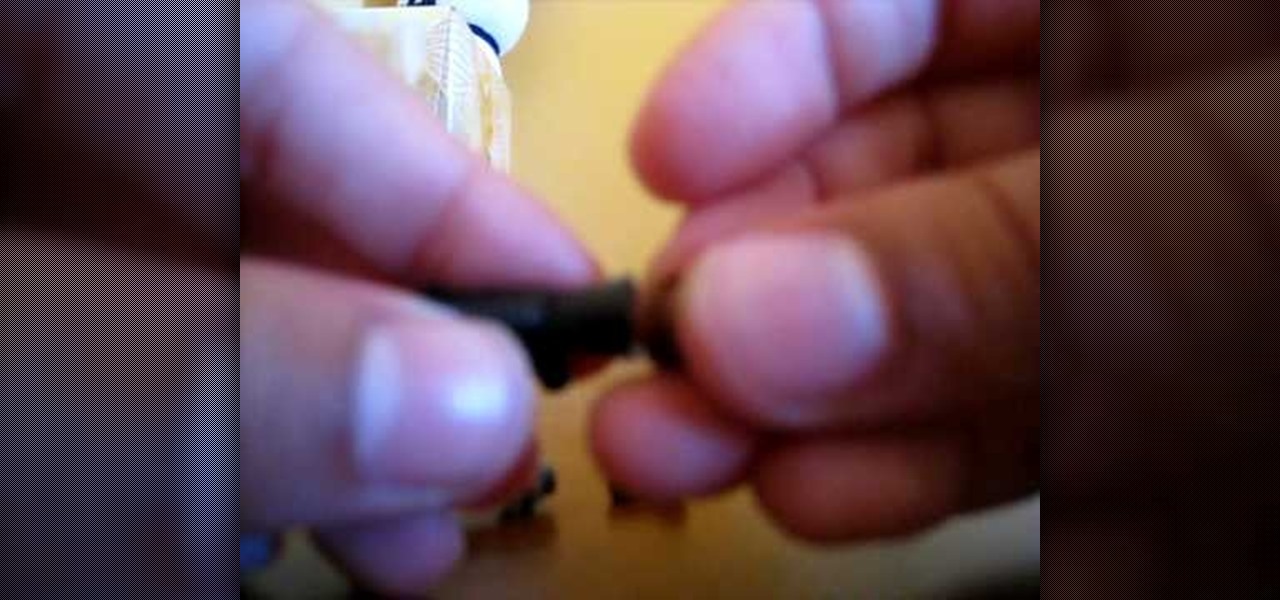
This is a Hobbies and Toys video tutorial where you will learn how to make a LEGO mini gun. For making this toy, you will need the LEGO mini gun kit. The mini gun consists of eight parts. Probably the pieces do not have names. So, the kid who is demonstrating in this video keeps referring all the parts as pieces. You first take the long grey piece and put a small light grey piece on top and push all the way down. Then you take another similar piece and fix it at the top and leave it aside. Th...
Watch this high speed instructional video to experience the art of paper piecing. Paper piecing is essentially quilting with scraps of fabric and paper. This video tutorial demonstrates paper piecing from a pattern. Design your own patterns and enjoy this crafty combination of quilting, sculpture and collage.
Vegetable biryani is an Indian rice dish bursting with flavor. With so many layers of delicious spiced vegetables and rice and so many levels of flavor, it is definitely a satisfying meal all by itself. Watch this how to video and try this vegetable rice recipe for a very popular and widely recognized Indian dish.
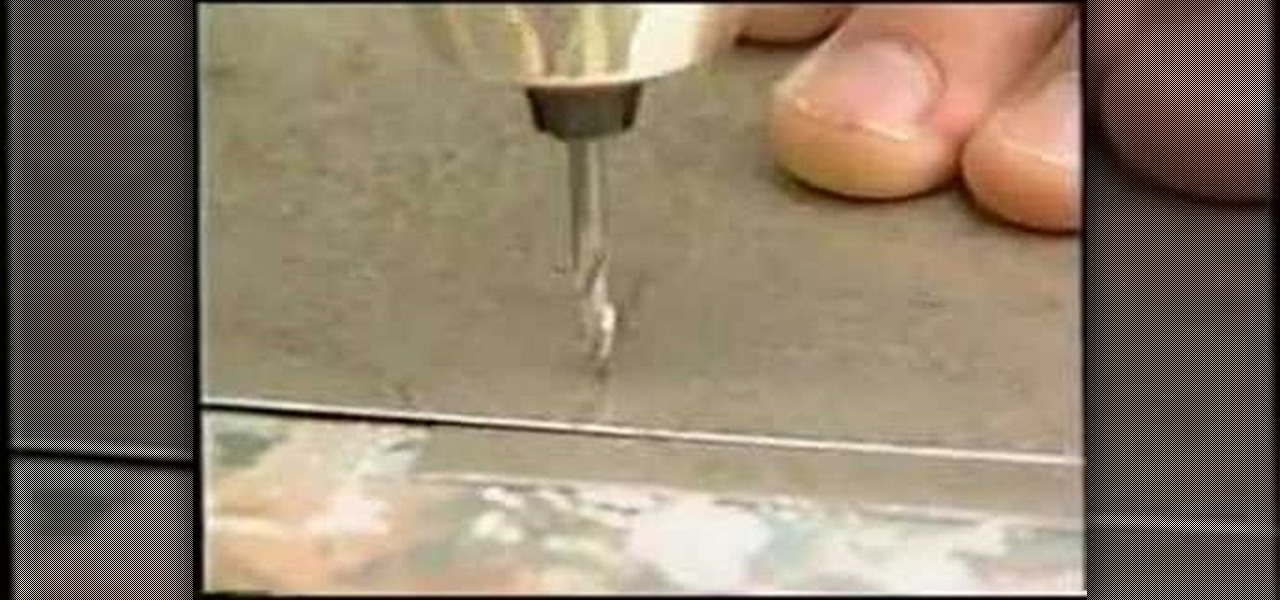
Tim Carter demonstrates how a pop rivet tool works to connect two pieces of thin metal. Some projects, such as working on your aluminum gutters, will require you to connect two pieces of thin metal. An effective method is the use of a pop rivet gun. Most pop rivet tools come with an assortment of pop rivets and some 1/8" drill bits.
Sure, there's six steps, by why are there eight videos? Well, why don't you just keep reading, or watching?

The Button Flower Quilt pattern was designed in the spirit of the American Arts and Crafts movement of the early 1900's. In this episode of Designing by Thread, Terry shows simple techniques for machine applique and strip piecing
Do you have a major mosquito problem? Well, here's a solution used by the military to drastically cut down their numbers.
Video: . Whether you are gardening, cooking, riding a motorcycle or just want to cover up on a bad hair day, doo rags are easy to make and fun to personalize to suit to your style. If you would rather just download the durag pattern click here.
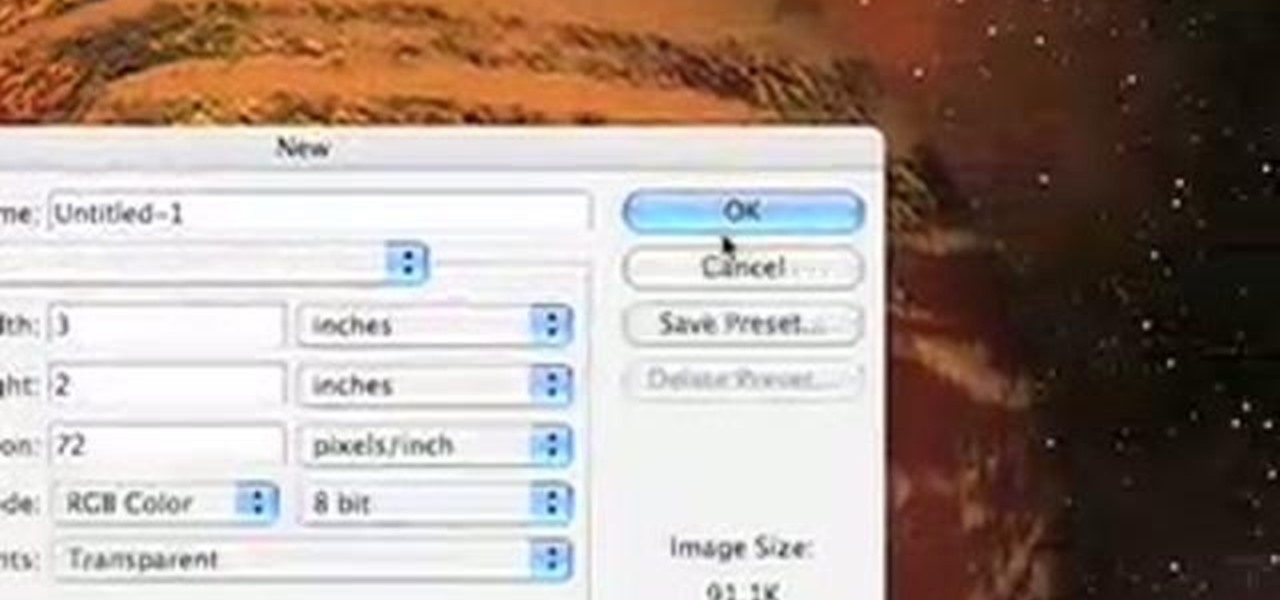
Even people who are new to using Photoshop will be able to understand this simple tutorial. Take a piece of text (a single word, a heading or even a whole line) and then apply a series of effects to the text to give a perspective look. Then apply the drop shadow effect for a little greater depth. This is a great look for a logo or any piece of text you want to draw attention to!
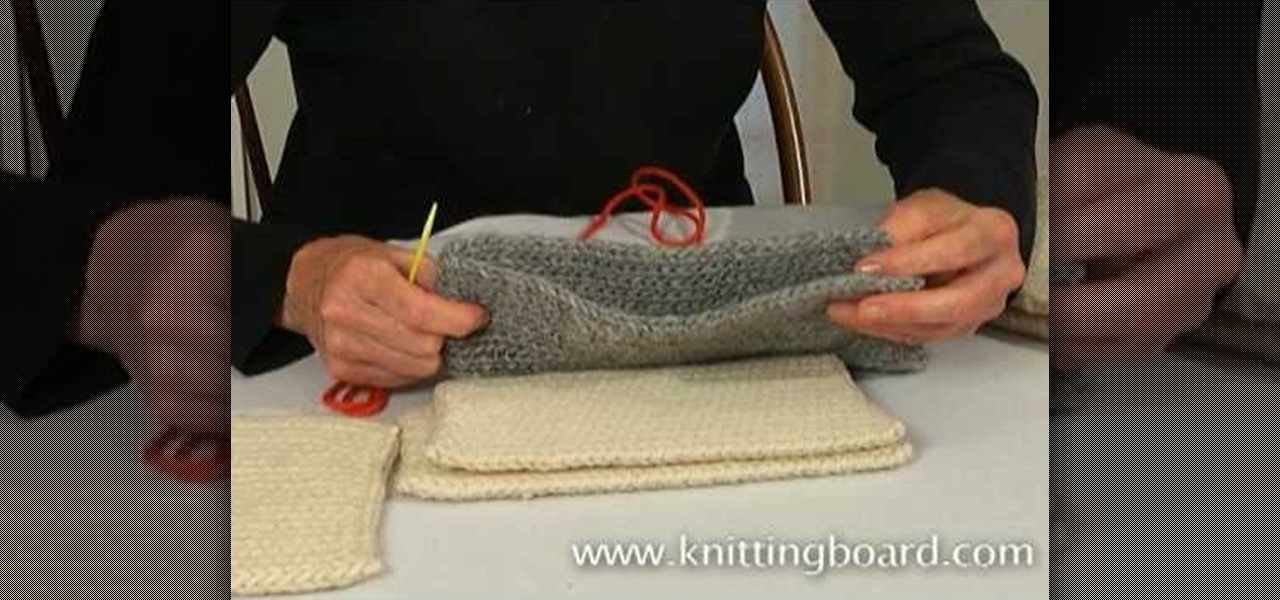
Tie loose ends together - in the literal and original sense sense of the phrase - by sewing together the ends and/or hems of your knitting projects like a pro. Whether you're fusing together two pieces of wool-knitted cloth to form the back of a beautiful winter sweater or just want to join patchwork knits into a rasta-cool beanie, knowing how to stick pieces together is integral for a tidy project.
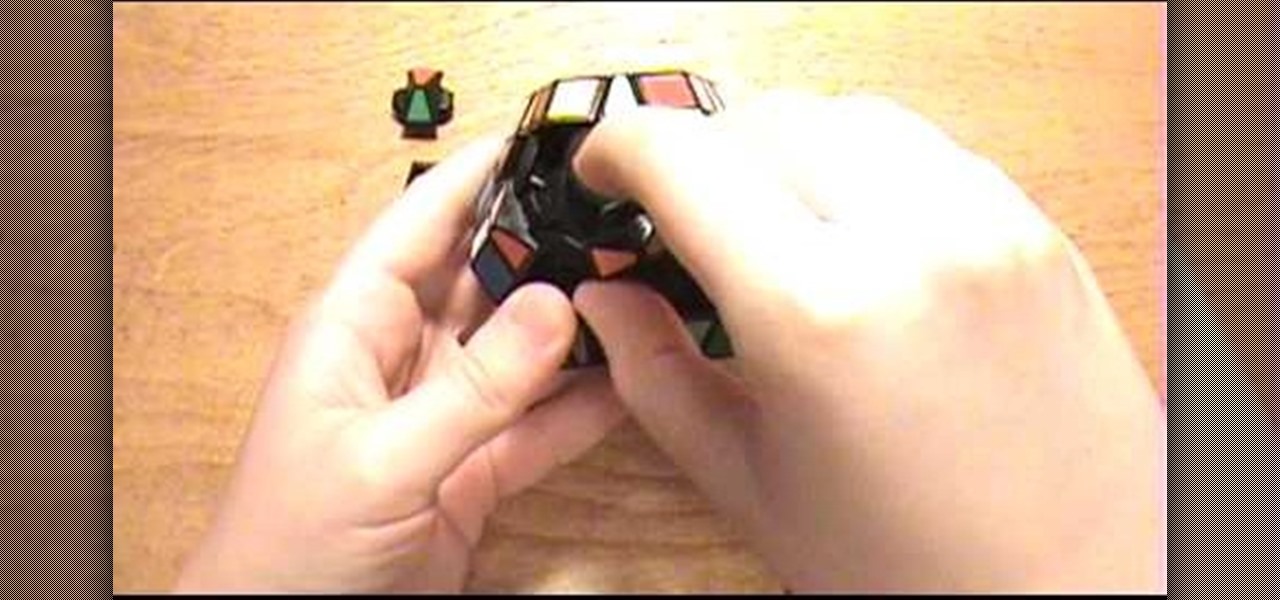
If you're looking for the right way to take apart your Holey Megaminx puzzle, this video is for you. Part by part, piece by piece, this video will show you how to break it down then build it all back up.
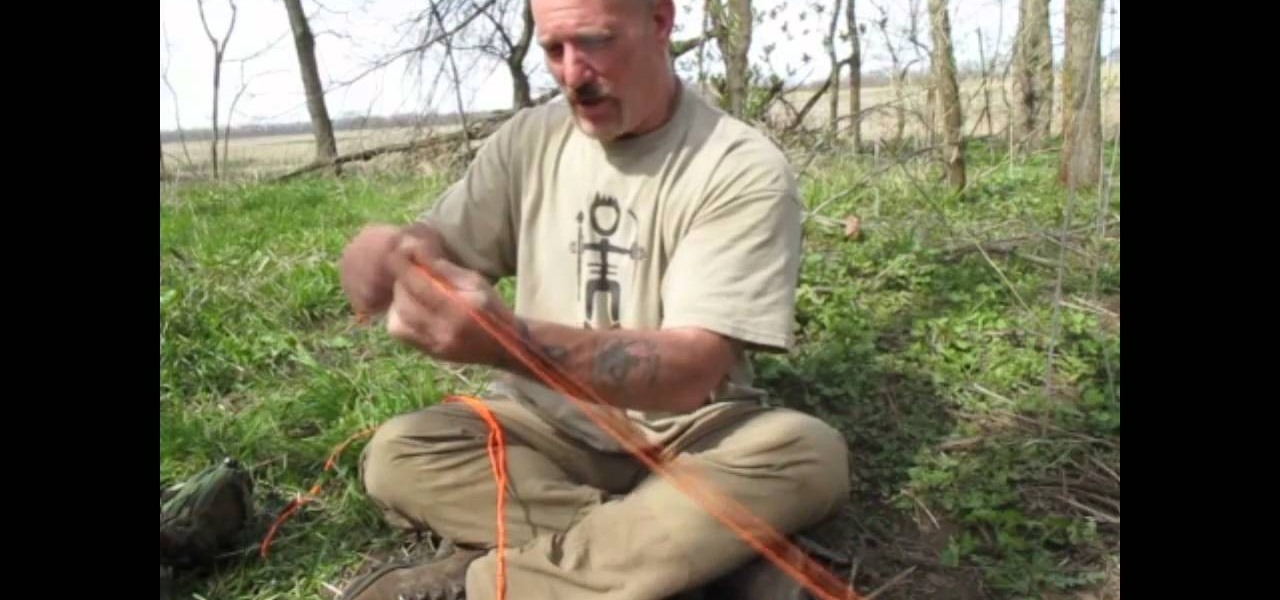
You're in the wild, without rope or string and you need something to tie down your tent. What do you do? Well, if you have that ever handy roll of duct tape you're in luck. This survival tip shows how to turn a piece of duct tape into a handy length of cord to use however you please.
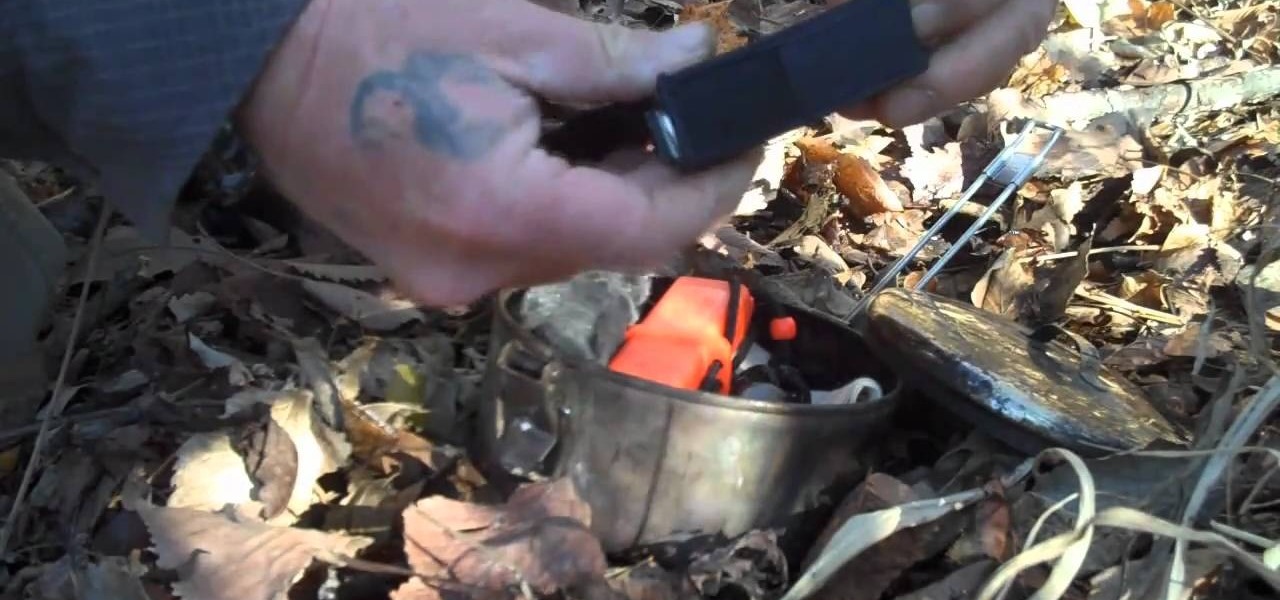
This survival video offers up two pieces of useful information: how to scout and choose a good location to hunt deer and how to use the Kodiak fire steel tool to light a fire. These two pieces go hand in hand when you're out in the wild looking for food and needing a way to cook it.
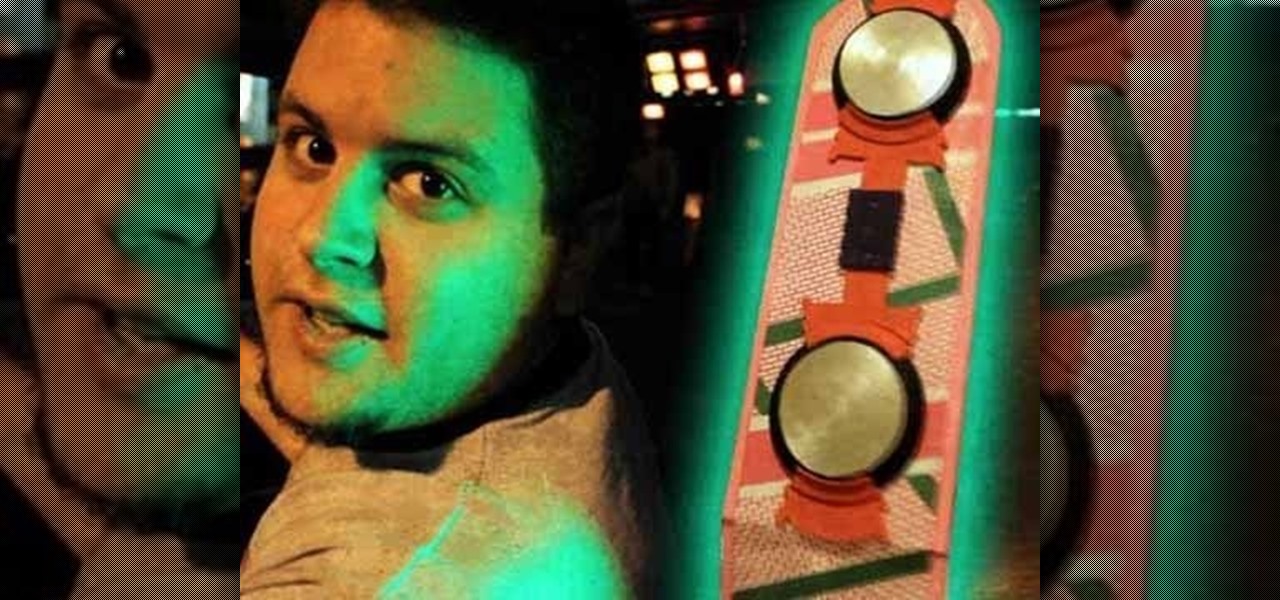
Make your own hoverboard prop from the Back to the Future movies! You can do this whole project for about twenty dollars. You will need a large piece of foam board, green posterboard, some Tupperware, a few pieces of hardware, scrap Velcro, metallic plastic and paint and brushes.
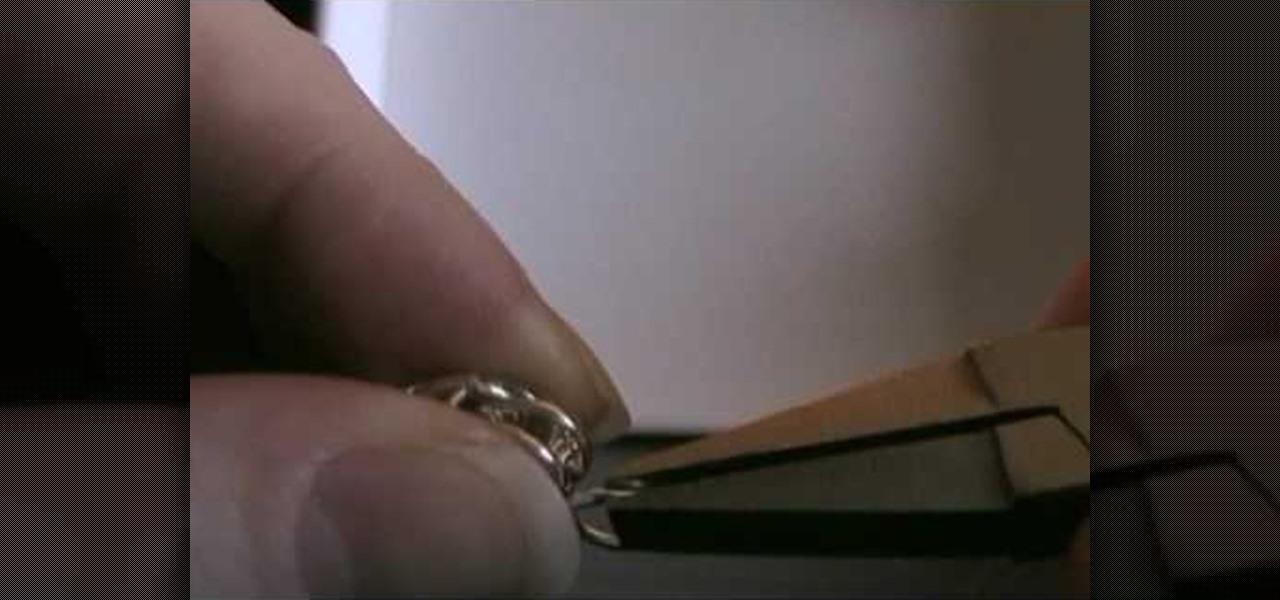
This tutorial shows you how to make pieces of chainmail jewelry by using the Persian style - also called the woven-V style. This is a simple pattern that builds off the tradtional four in one style, which you can use to make any number of jewelry pieces.

Who said that you couldn't have a trick and a treat at the same time for Halloween? When you first take a look at this project, you just see a folded and pleated piece of paper. But upon closer inspection, you'll find that this is no ordinary piece of paper but an evil green witch complete with pointy hat and crooked nose.
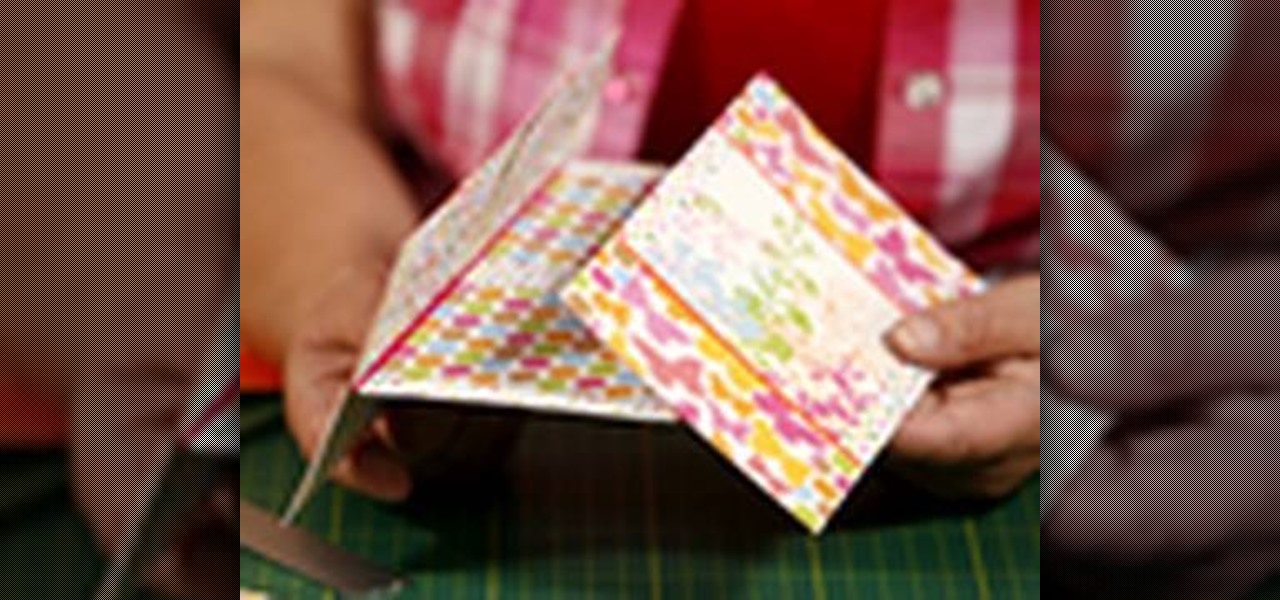
In this tutorial, we learn how to make an endless card. An endless card is a card that folds a ton of different ways, so it can be used over and over again without having to replace it. To make this, you will first need to take a piece of card stock and score it where you are going to fold it in the middle. After this, take a smaller piece of paper, then score it so you can fold it into three different squares. Do this again for another sheet of paper. After this, you will want to adhere to d...
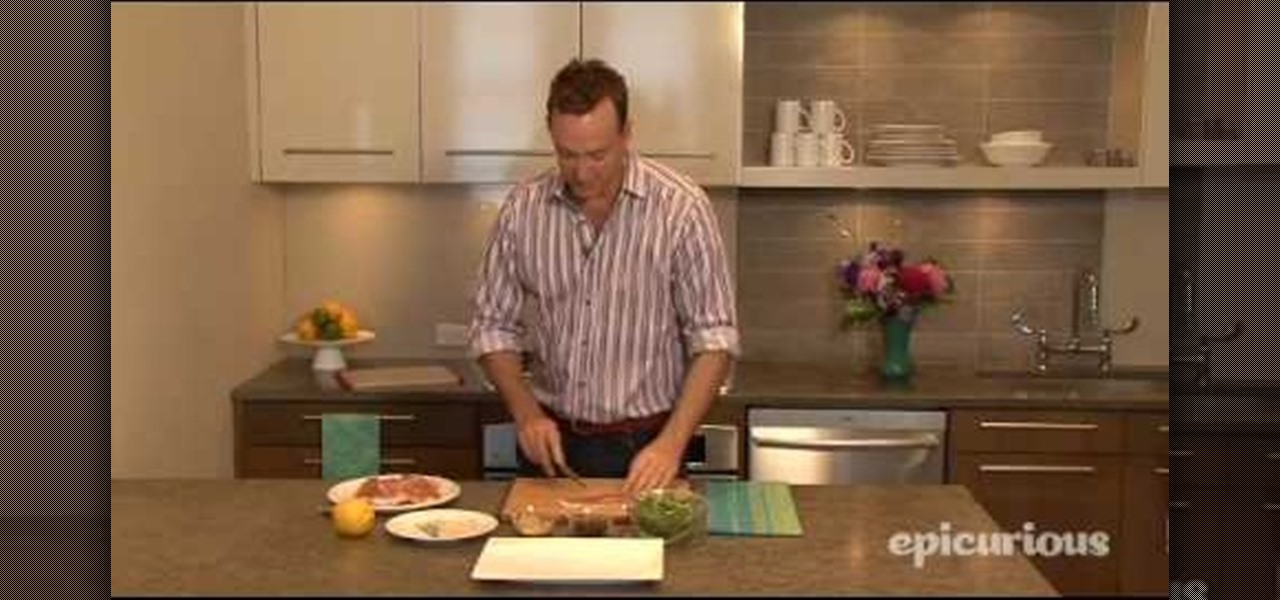
A quick and easy hors de ouevre made by wrapping a piece of thinly sliced prosciutto around a piece of gorgonzola cheese, fresh arugula, currants and pine nuts. Then toast briefly in a toaster oven (making sure it doesn't burn!) and then serve at your next party or gathering.
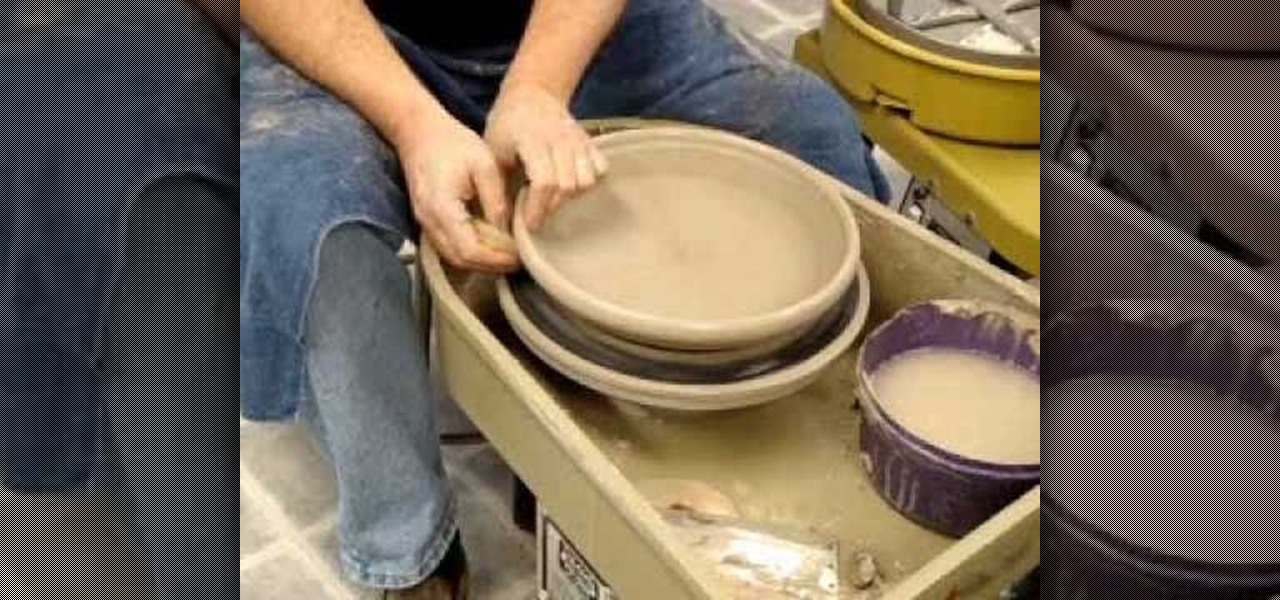
Are you looking to make your pottery projects more quickly and with less stress? Then this is the perfect tutorial for you. Lakeside Pottery shows you step by step how to flatten and shape a flat form pottery piece using a chattering technique.
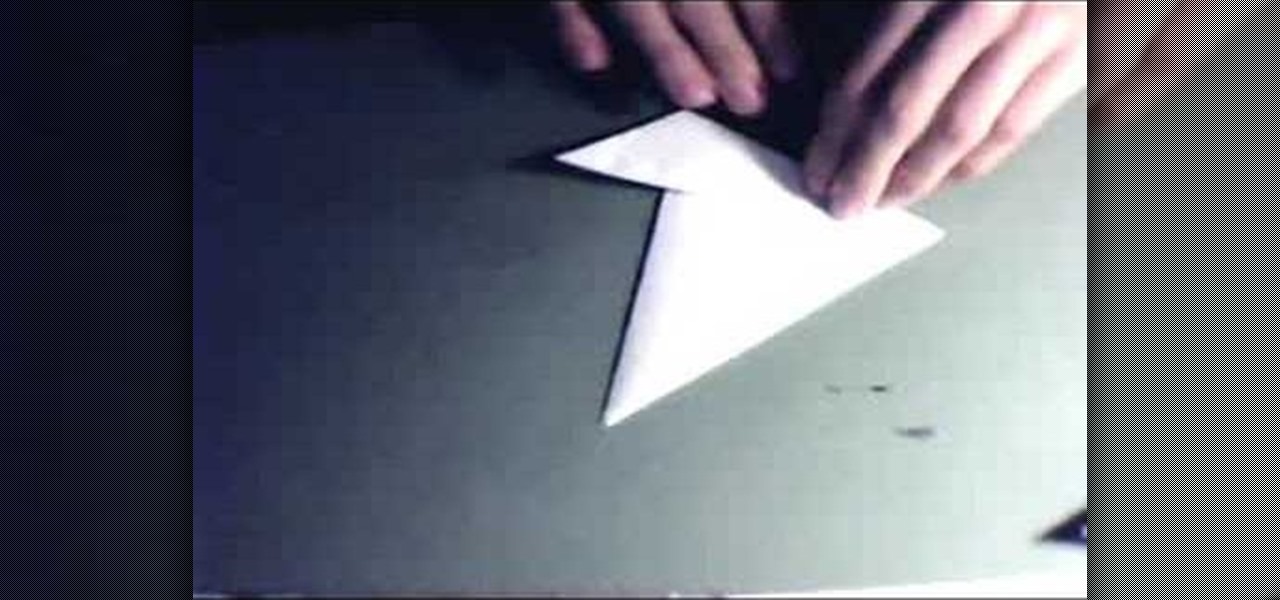
Claws make a very cool costume piece for all sorts of costumes, from Wolverine to werewolves to whatever sort of freeform clawed monster you can conceive. This video will show you how to make some cool finger-claws (not Wolverine-style) out of paper. They are surprisingly intimidating given that they are made out of paper, and will go a long way towards creating whatever creature costume you're working on.
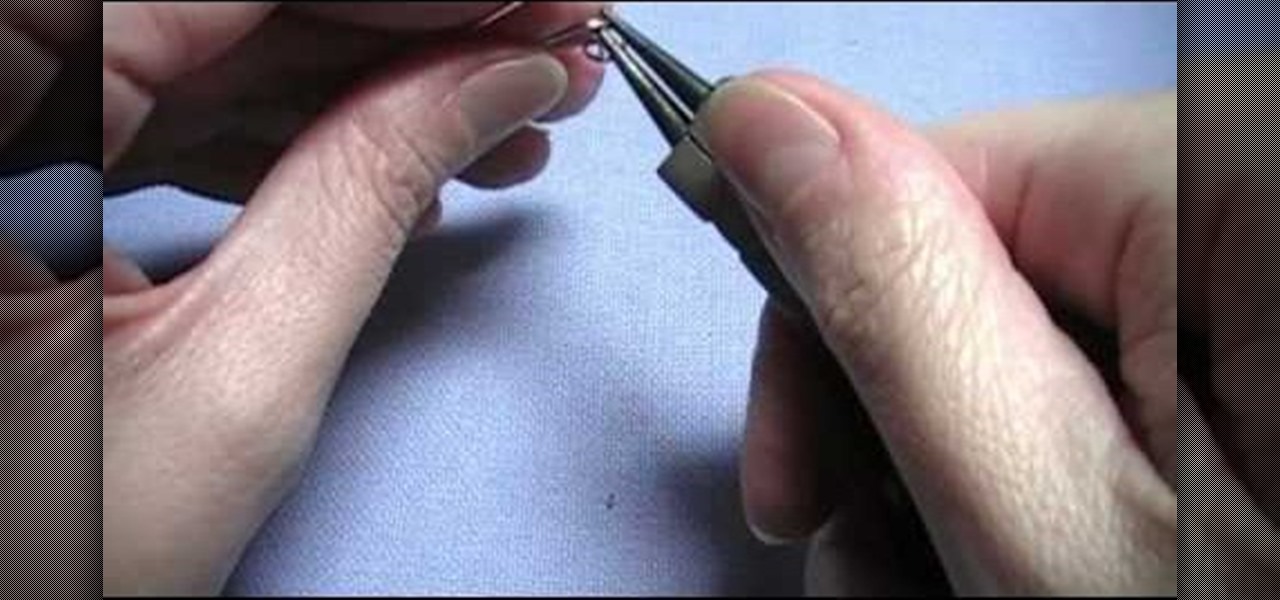
Wire hearts are cute, friendly jewelry pieces that are as versatile as they are attractive. Composed simply of a bent and twisted piece of wire, they can be shaped into bookmarks, earrings, necklace chains, and bracelets.
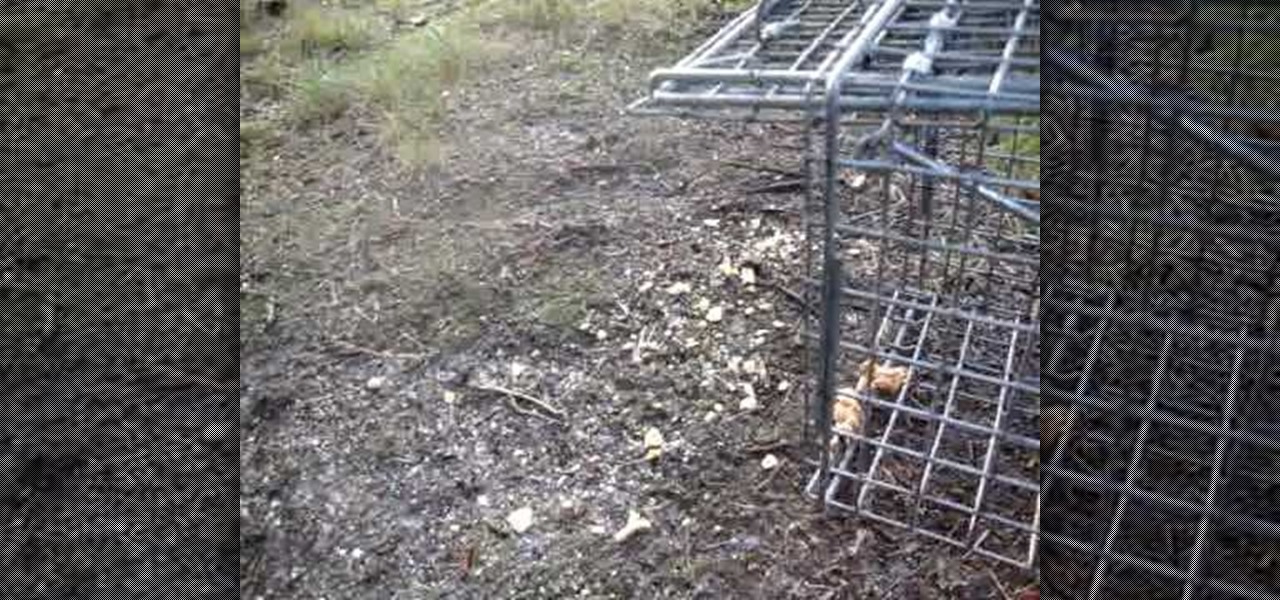
You can find a humane squirrel and rodent trap at most all-purpose stores, this video recommends Home Depot and will cost about thirty-five dollars. To bait it you will need some peanut butter and crackers. Take out four crackers and break them in half. Spread some peanut butter on one side of each piece. In the middle of the trap there is a trigger that is raised when active. Place two pieces of the cracker behind the trigger deep in the cage. Next place two pieces upside down on the trigger...
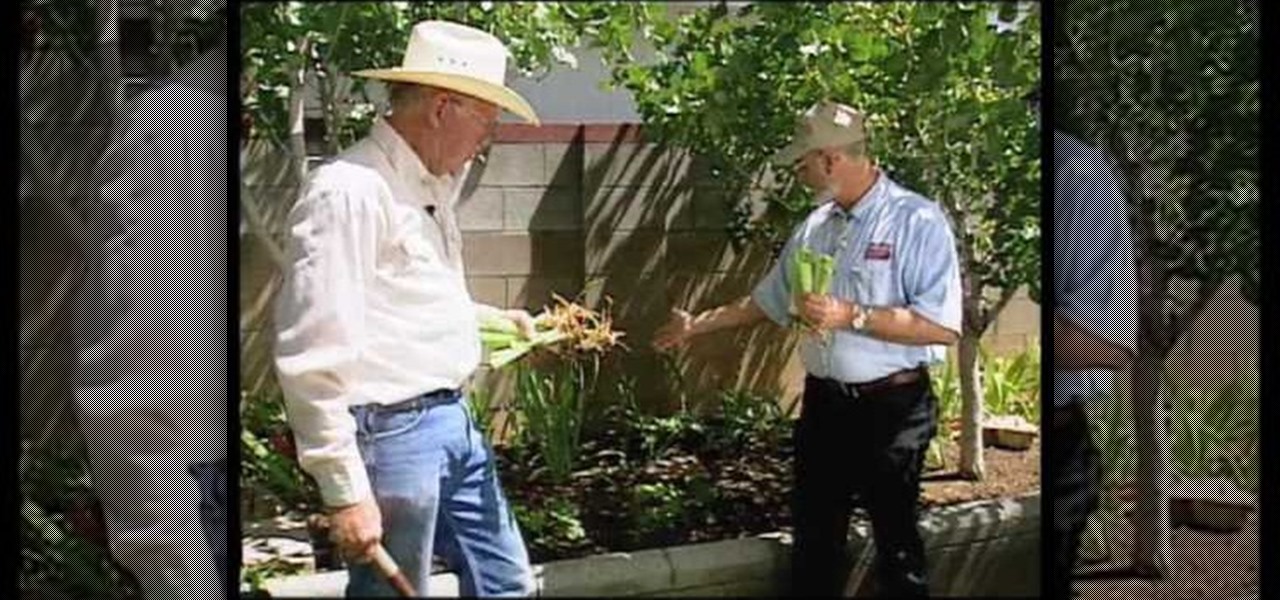
In this how-to video, you will learn how to divide and re-plant irises in your garden. First, dig out the iris. Clean out the old, dead leaves and take the dirt off. Trim the leaves off as well. Break off the pieces, as these can become a new plant to grow. Several pieces can be broken off, allowing you to grow even more irises. Discard the part that is left over. You can save the pieces for a little while, but it is better to plant them soon. Irises do not require a rich soil to grow, so kee...
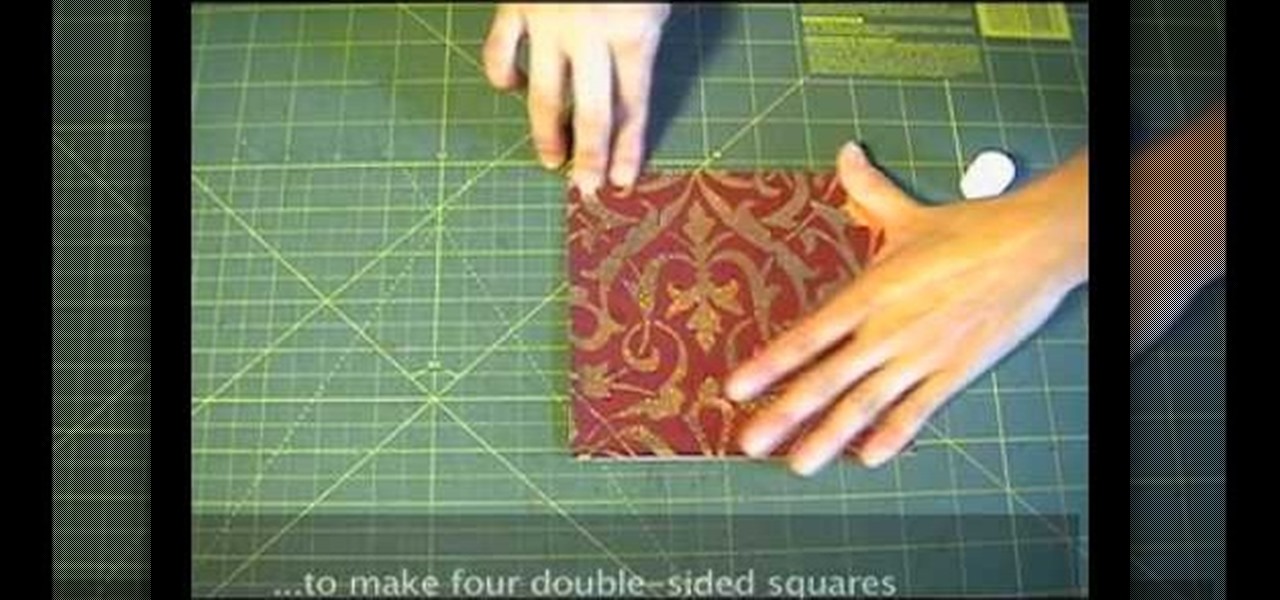
Shiho Masuda Teaches you to make 3-D origami star using recycled materials. The materials required are leftover wrapping paper, ribbons, two 3. 25" cardboard squares, ruler, scissors, glue, double sided tape and an X-acto knife. She cuts out 8 6"x6" squares from paper and glues them back to back to make four double sided squares. The four pieces are folded into 3"x 3" squares and stuck together with double sided tape. The 2 cardboard pieces are covered with paper and 12" ribbons are taped to ...
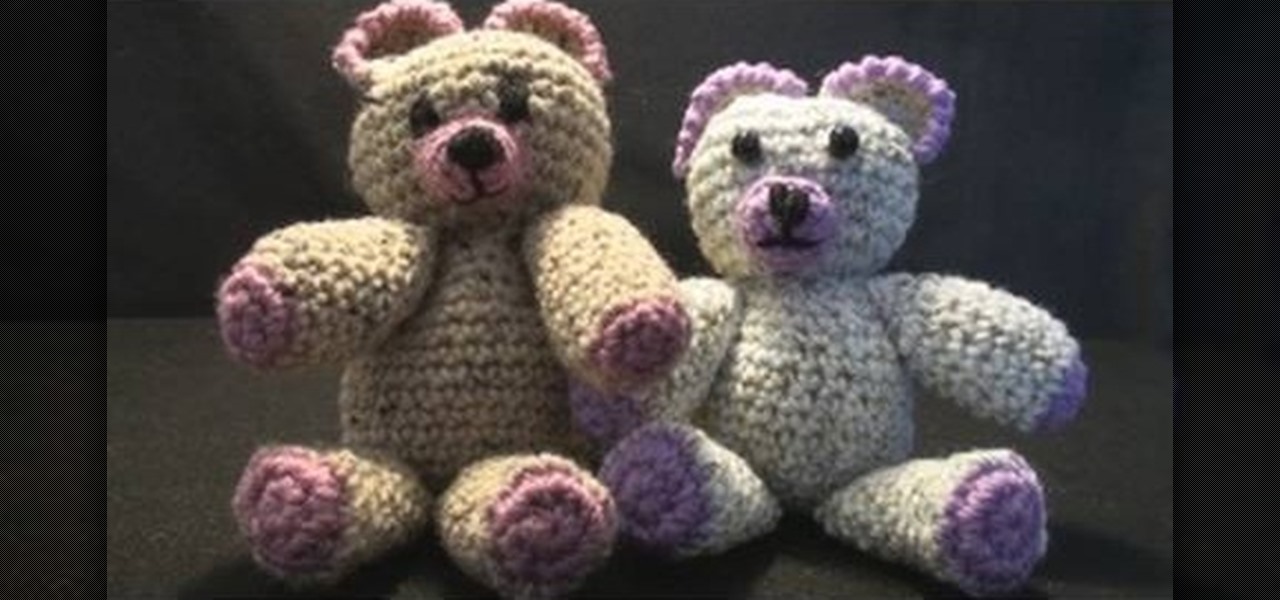
Using a size g four millimeter crochet hook, and four ply yarn Teresa shows you how to make a crochet bear. We start with the magic circle, and work six single crochet through the center. Pull the center rope close. From this point onward she begins detailing how many loops are in each part while the video demonstrates her completing the loops in each of the color segments. Piece by piece she combines the pieces together until she has created a crochet bear. Completing this project would take...
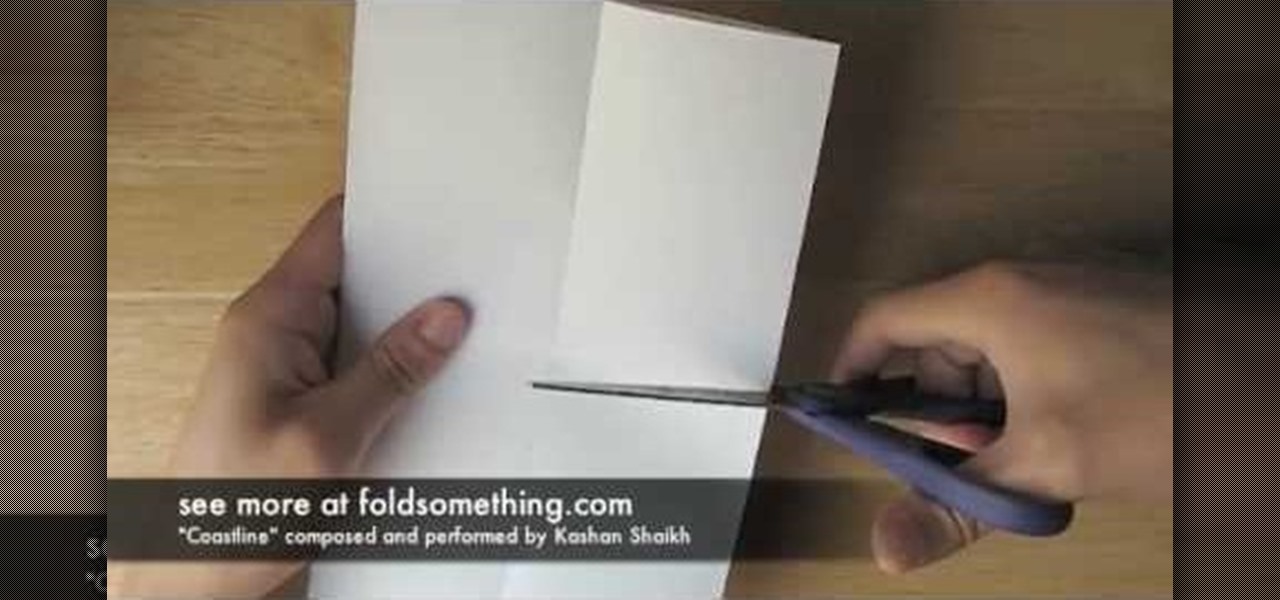
It is simple to make a booklet from one piece of paper. Take one A4 size paper then fold it to equally, then unfold it and you can fold it to right of edge and left of edges both sides are equal. Then unfold you can see like zigzag and cut it to middle point of the paper and fold it to use booklet. It is comfortable and easy to use it.
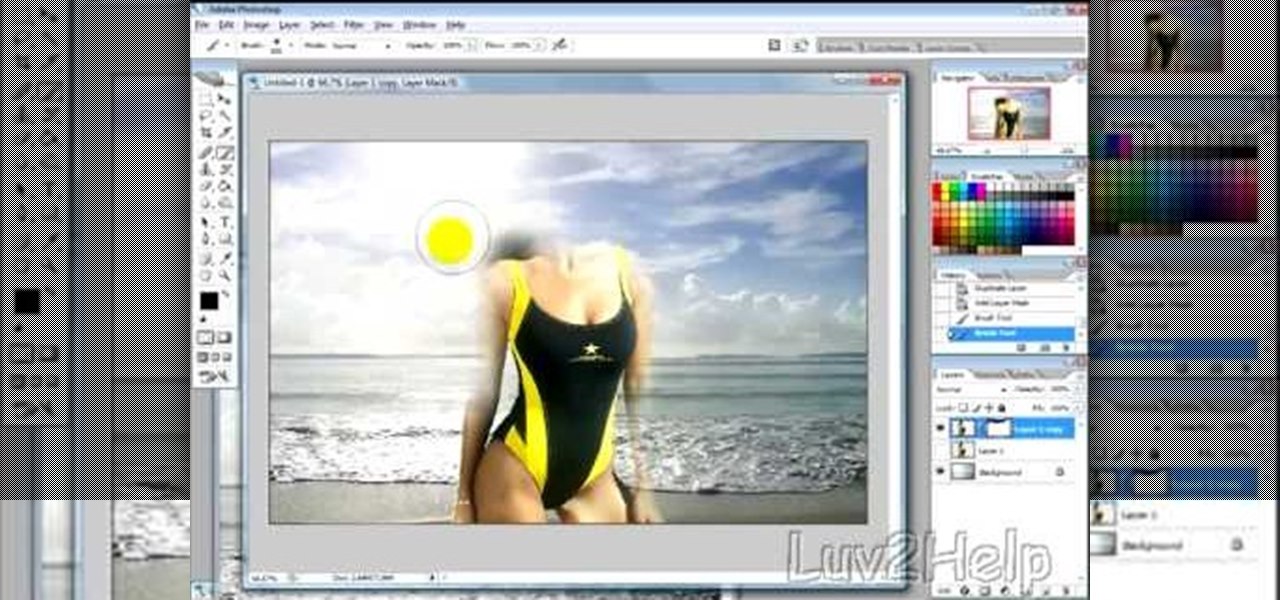
In this video tutorial, learn how to make any piece of clothing on a man or woman invisible.

Learn how to turn a t-shirt into a sexy one piece swimsuit. This swimwear project is cheap and easy. The sexy GiannyL demonstrates this DIY closet hack that's simple and cheap. All you need is a t-shirt, pins and a sewing machine. Cut along the pattern Gianny L has demonstrated and sew. Voila! You have a dead sexy one piece swim suit.
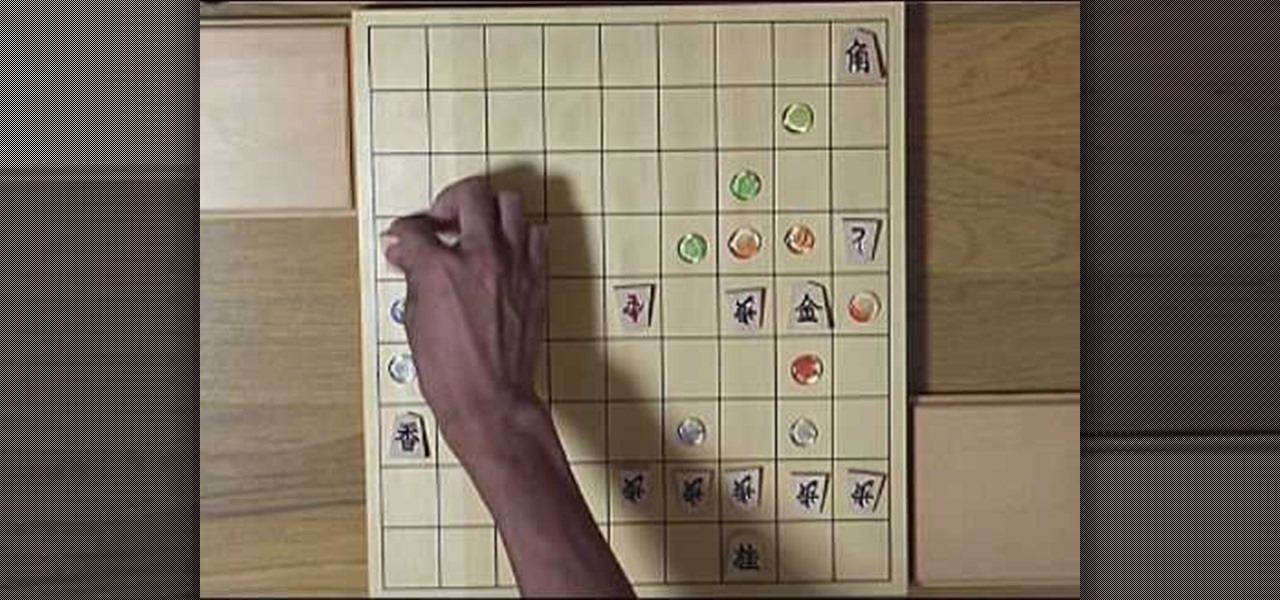
Do you like chess? How about Japanese chess? Aren't there different chess variants in Japan though? Maybe, but this specific chess variant is called Shogi. The chess-like game Shogi is won by capturing the king, just like chess, but defeat is conceded at mate, or when mate becomes unavoidable.
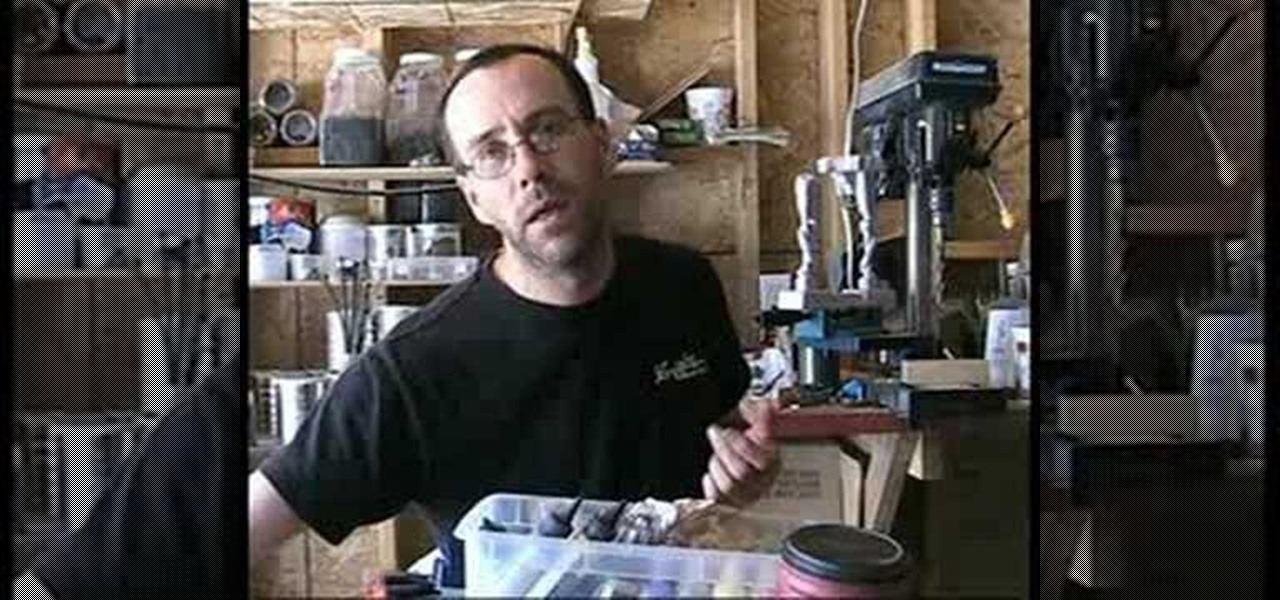
Watch this instructional video to make cheap molds for casting miniatures. You can then duplicate pieces for building your diorama or game terrain. Sculpt original forms using polymer clay, and layer on latex to make a cheap rubber mold. Or, you can use pre-made forms to press shapes into a soft mold. This video provides several modes of creating plaster forms and duplicates for miniature sculptures.
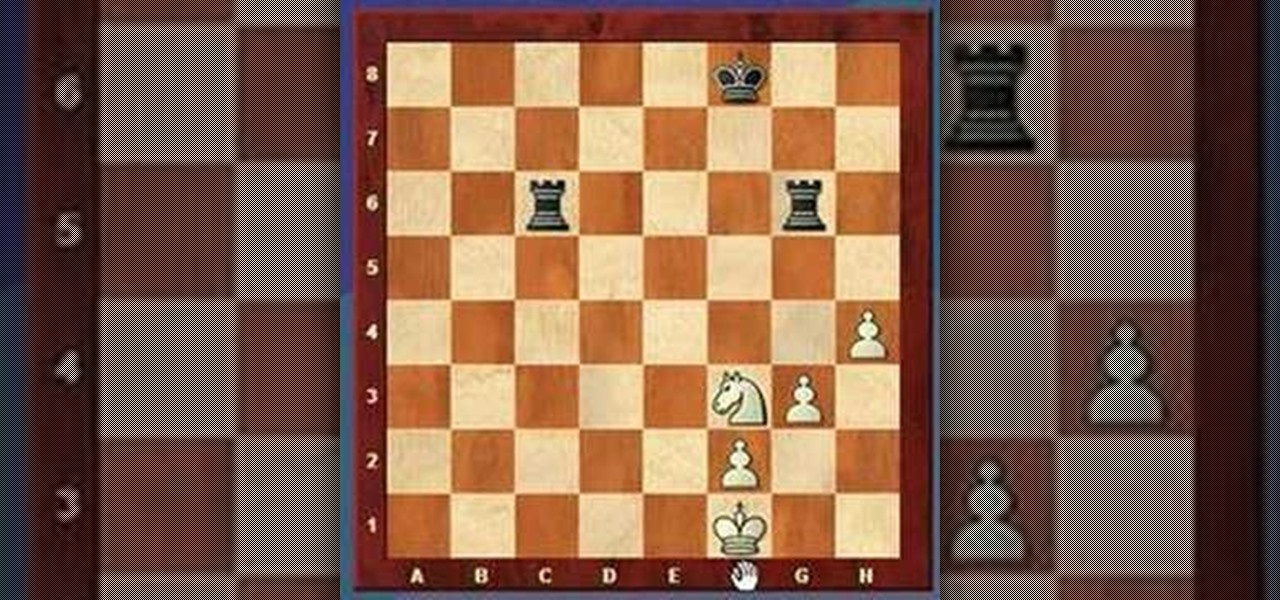
Do you know what a "double attack" is in a chess game? Well, the "knight fork" is basically the same thing; a simultaneous attack of one piece against two opponent pieces. Don't let your opponent win! Use this.
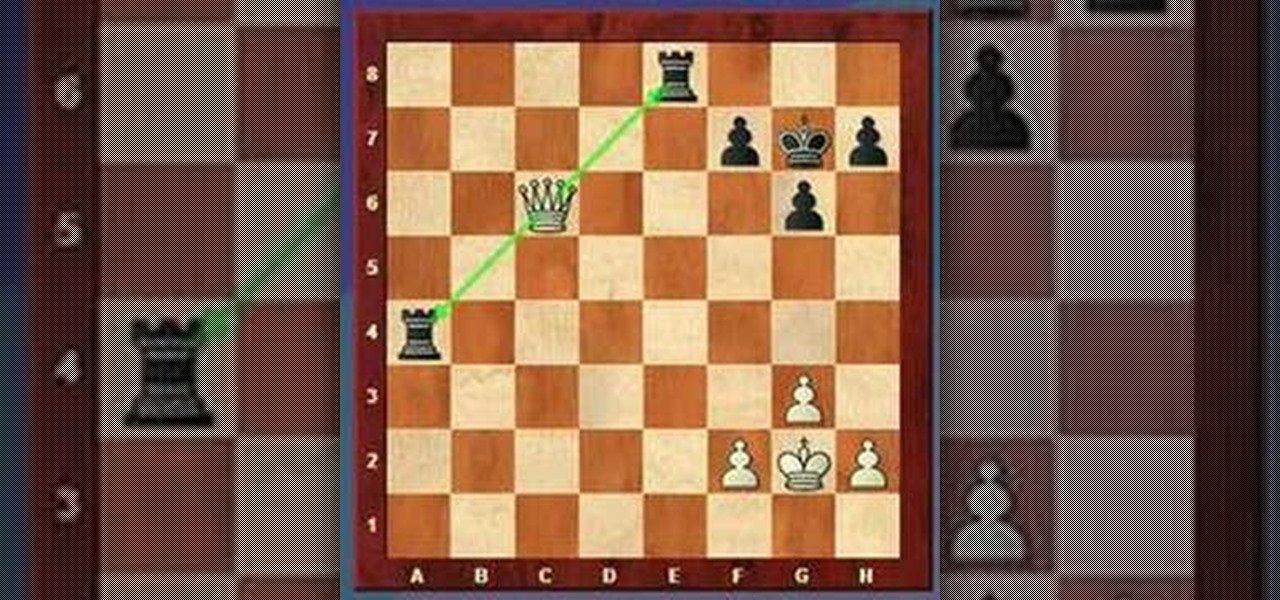
Having trouble with your chess game? Well, try this "double attack" method to do a simultaneous attack of one piece against two opponent pieces. This is also referred to as the "fork."
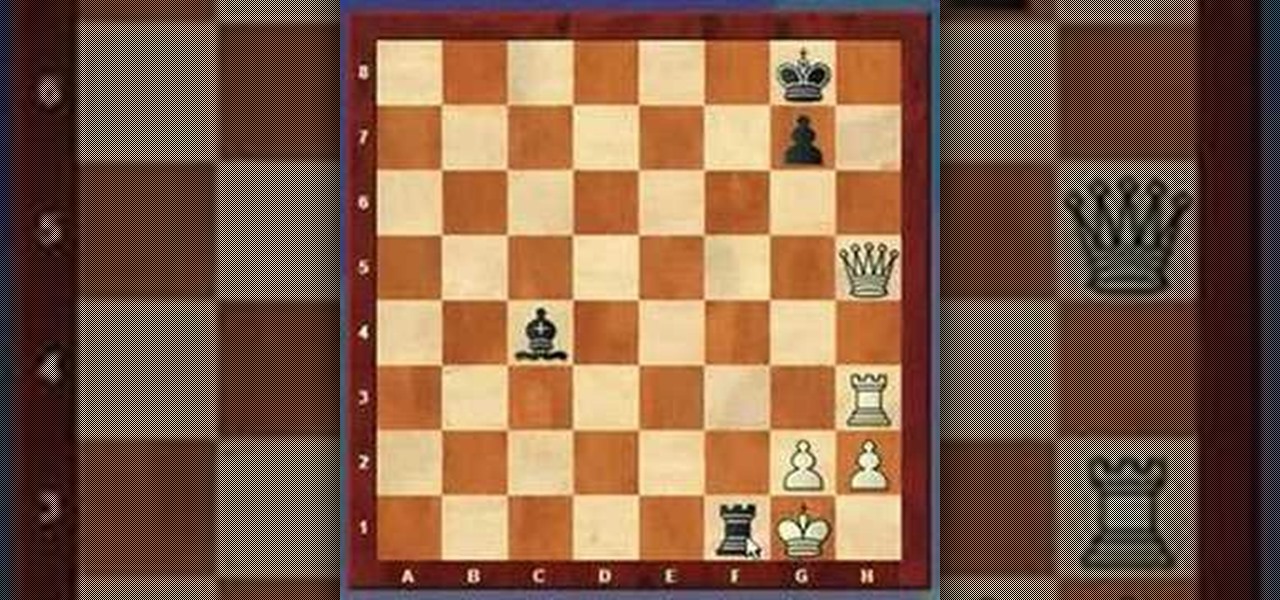
So, you know how to move those pesky chess pieces around on the board, and you know how to capture your opponents pieces, now what do you do? How about check, checkmate, and stalemate?

Check out this video for a step by step process on how to use just one piece of paper to make a book with 16 pages. (Do it the origami way!) You can even make it into a flip book later.

Jennifer Fesco teach you how to fold a beautiful Japanese cube from six pieces of paper. The cube can be used as a Christmas ornament or a gift box. You will need 6 pieces of origami paper, a pencil, a ruler, a paper knife, a protective surface to cut on. A glue stick is optional.
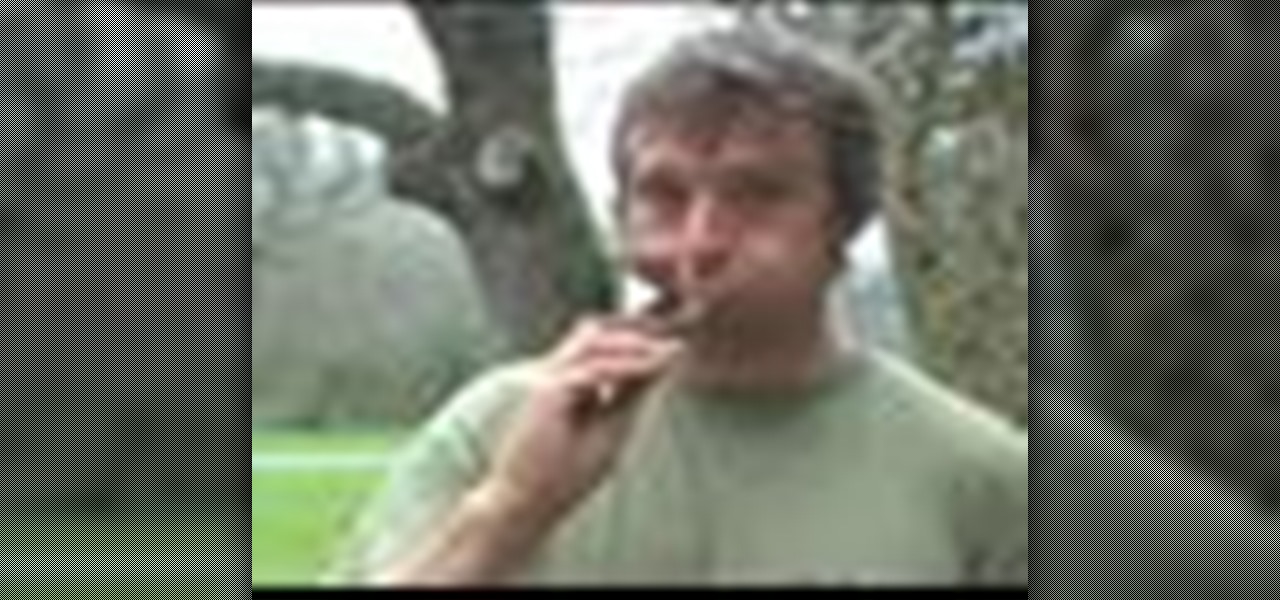
Andrew Price of Dryad Bushcraft demonstrates how to make a whistle out of a piece of willow that could be useful for fun and recreation as well as survival situations.
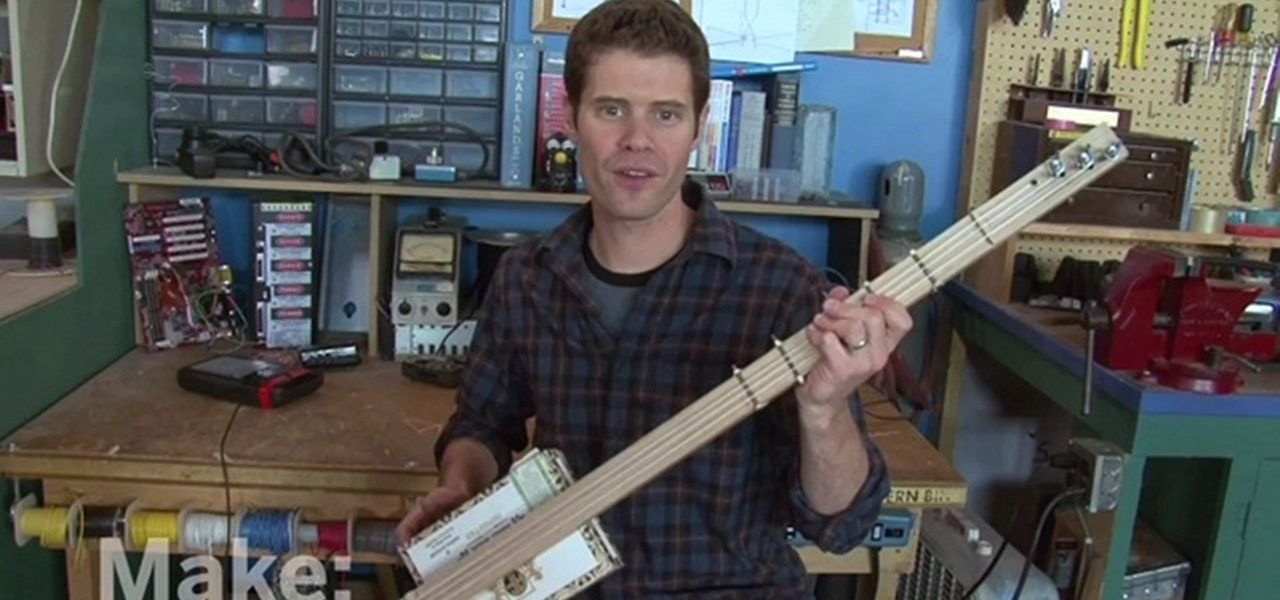
This video will show viewers how to simply make a 3 string guitar using an empty cigar box, a piece of oak, some string, and a few eyebolts. You start with a 1 by 2 piece of oak which is about 3 feet long. First, you should begin by making some markings along one side of the oak, first at 1/2 an inch and then at 1/4 inch spacing after that. Drawing 3 symmetrical lines where the strings should go, drill holes at the intersections of the lines you have drawn. The holes should be made using a 1/...

The make-up artist Kandee Johnson demonstrates how to create a cute look of big dolly eyes for Asian girls. The first step is to make the eyelid look bigger and lighter by using a white eye pencil from Sephora. The second step is to use a light-colored eye shadow from Mac, which needs to be applied all over the lid and under the eyebrows. Then take a black pencil and accentuate the outer corners to make your eyes look bigger and rounder. Start from the outside and work your way in to create a...