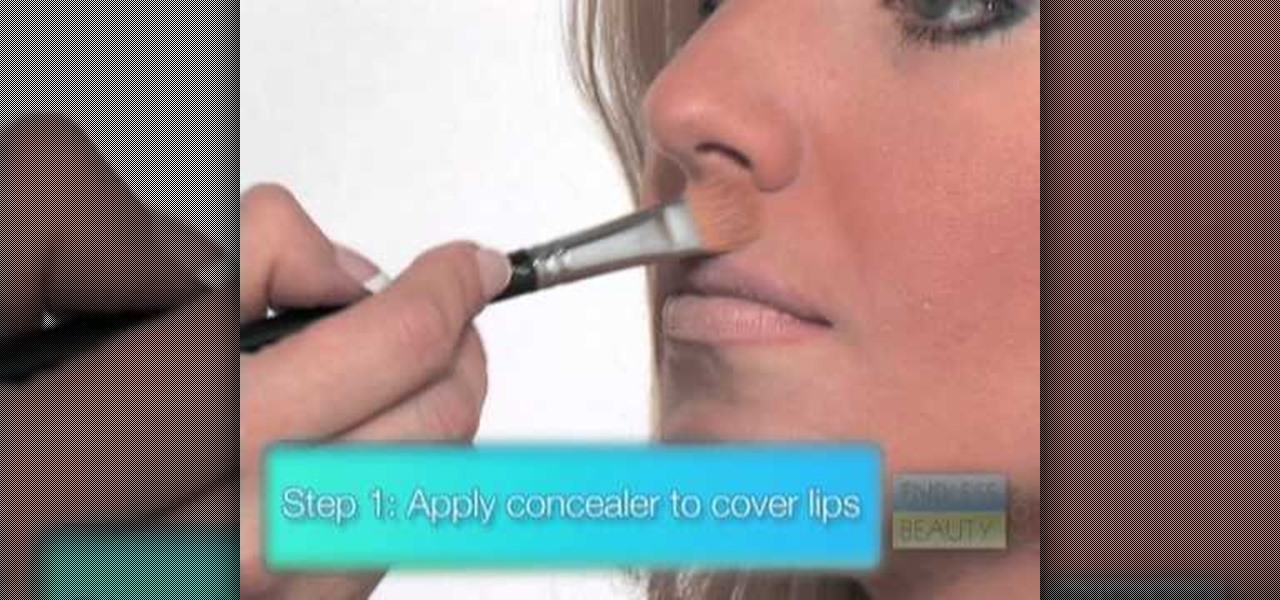
It goes without saying that superstar Angelina Jolie was born a bit...genetically gifted. Natural huge cat eyes, long black hair, a body to die for and those unforgettable beestung lips have made her one of the most beautiful women in the world.

Football season is in full swing, and while it's fun painting your face half in blue and half in yellow, there are less tacky ways for showing your love and support for the Minnesota Vikings.
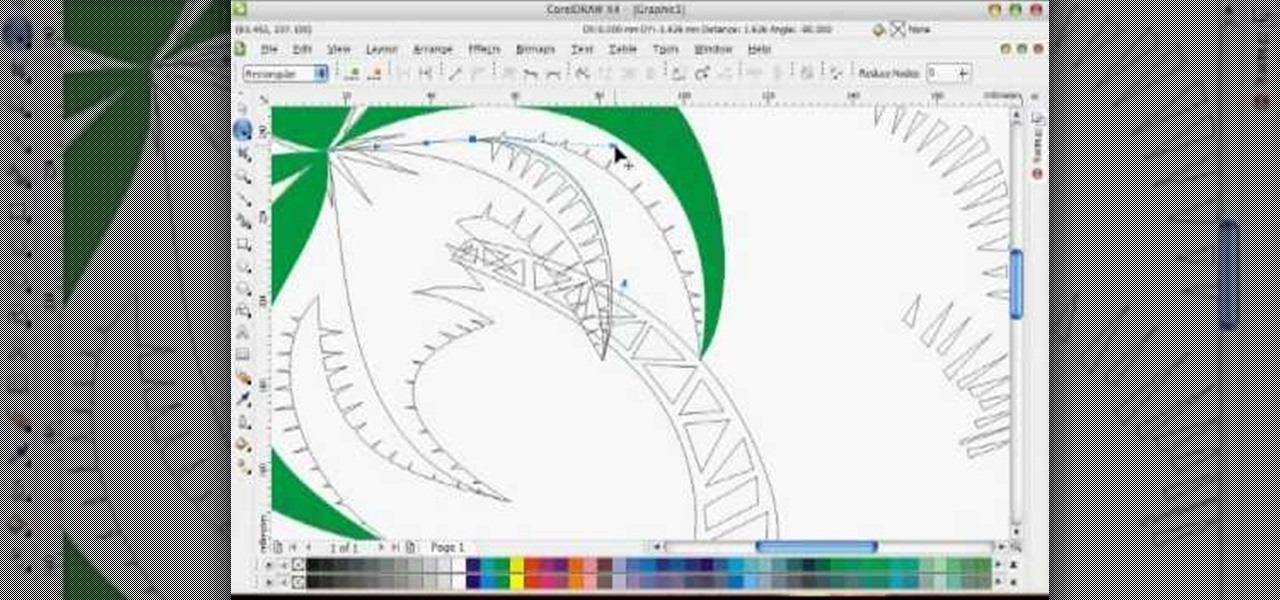
In this tutorial, we learn how to draw a vector art palm tree in CorelDraw X4. Start off in the CorelDraw program and create the base of the tree with a drawing tool in black. After this, draw small triangles inside of the base of the tree and then draw the leaves and branches of the palm tree. Fill this in with small spikes and then erase the middle nodes. From here, use a shaping tool to make the spikes on the palm tree more rounded and lifelike. After you do this, start to color in the ent...
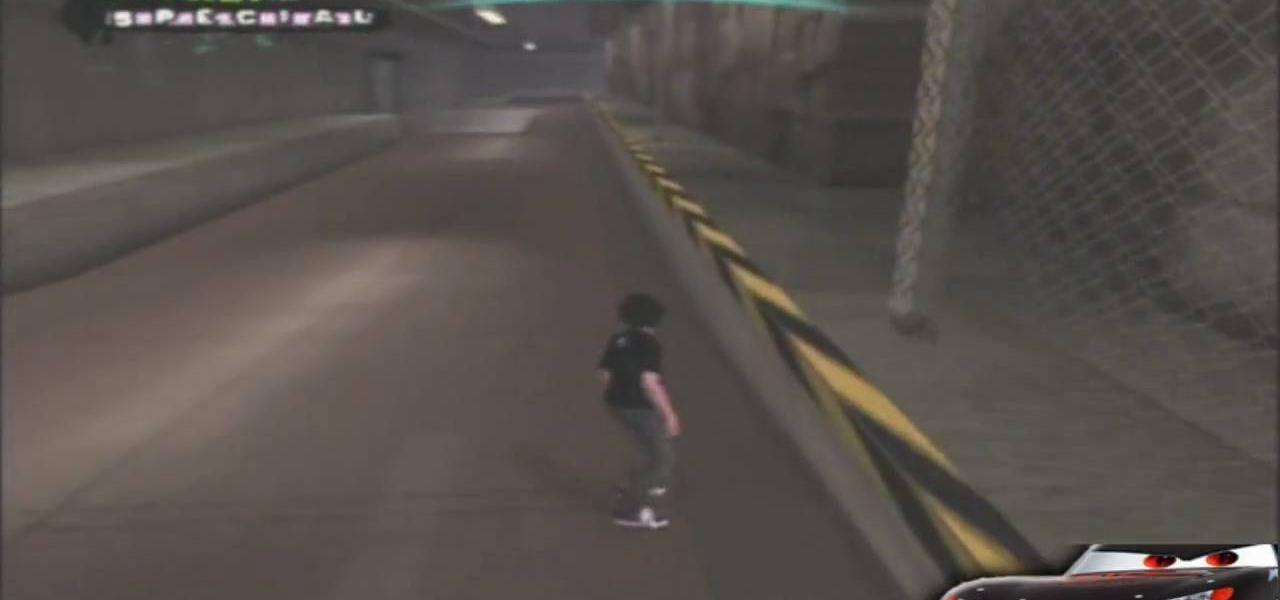
In this tutorial, we learn how to do the "Out of Vans Skate Park" glitch in THAW. First, turn on low gravity, then head to the hallway that leads into the skate park. Sticker slap to climb the fence, then find the area behind the fence and behind the black and yellow tape. Use a super jump to get out of this area, or walk around it until you find a wall that you can walk through. Once you find this, get on your board and ride to the balcony above you. Now, press 'x' to get on your board, and ...

There's nothing more refreshing than biting into a scintillating Jerk chicken salad marinated with a hot and spicy sauce of black pepper, scallions, orange juice, and...rum? That's right, rum will add the perfect zing of flavor to this salad.
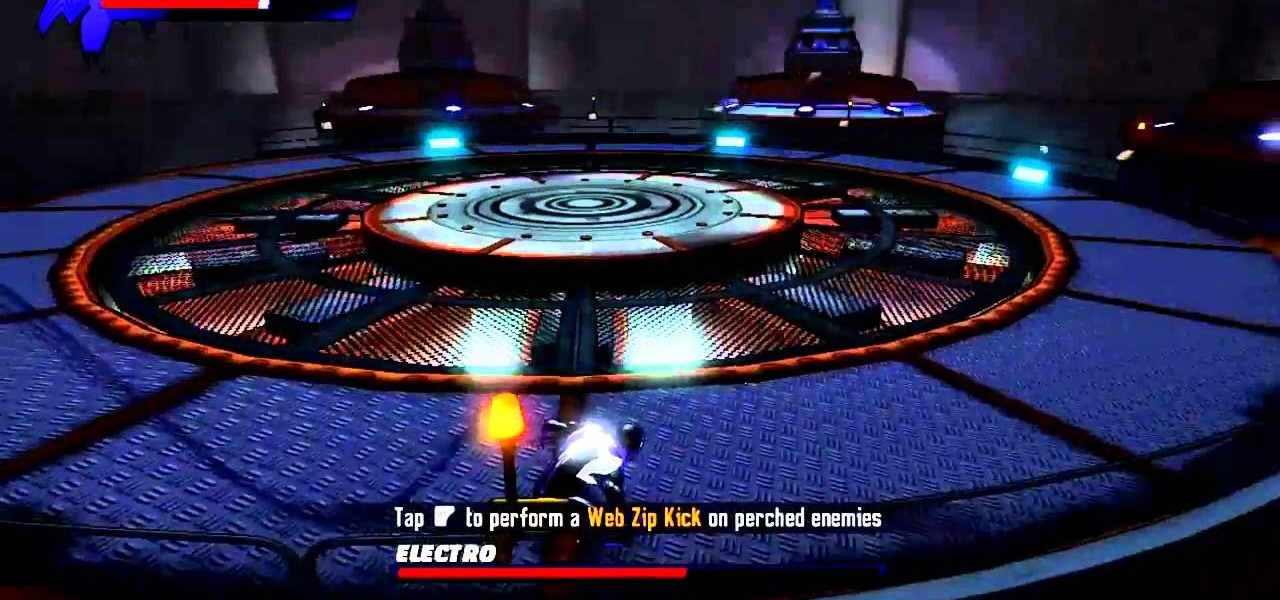
Black Suit Spidey, on the hunt for a fragment, and running out of options. That is, until he stumbles into an over electrified power station. You guessed it, it's Electro, and he's feeling a little more...juiced up than usual, and he's got a fragment. Guess it's up to Spidey to save the day again, all in a days work. In this video you will get a full walkthrough of the entire chapter along with the final boss fight.

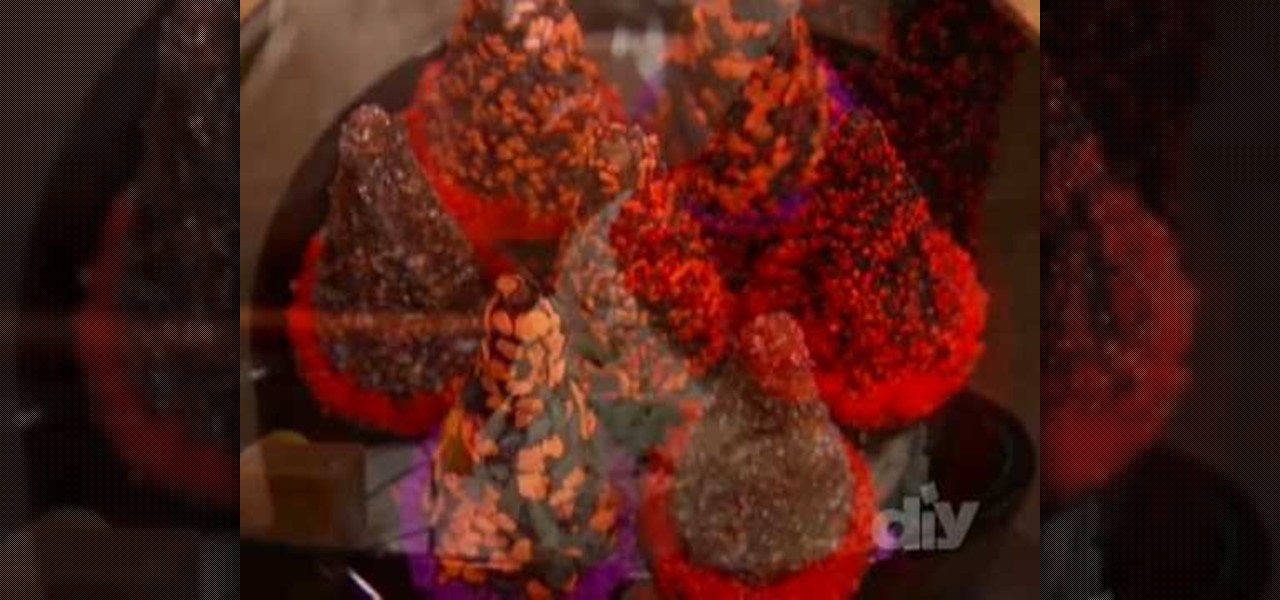
During Halloween, party planning can get really hectic. Between baking and cooking party food to picking up plates and utensils at the store to putting up black and orange streamers, there's more than enough stuff to do to give you a panic attack.
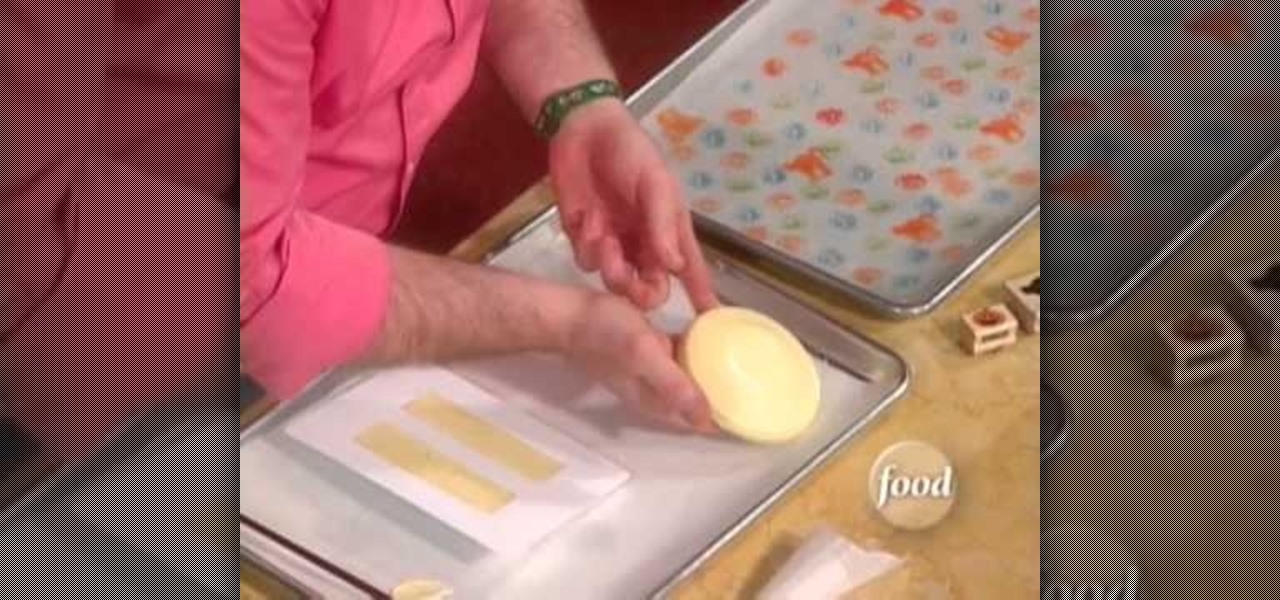
No self-respecting Halloween celebration would be complete without a fair share of caramel apples and witch-themed goodies for kids and adults alike to nom on.
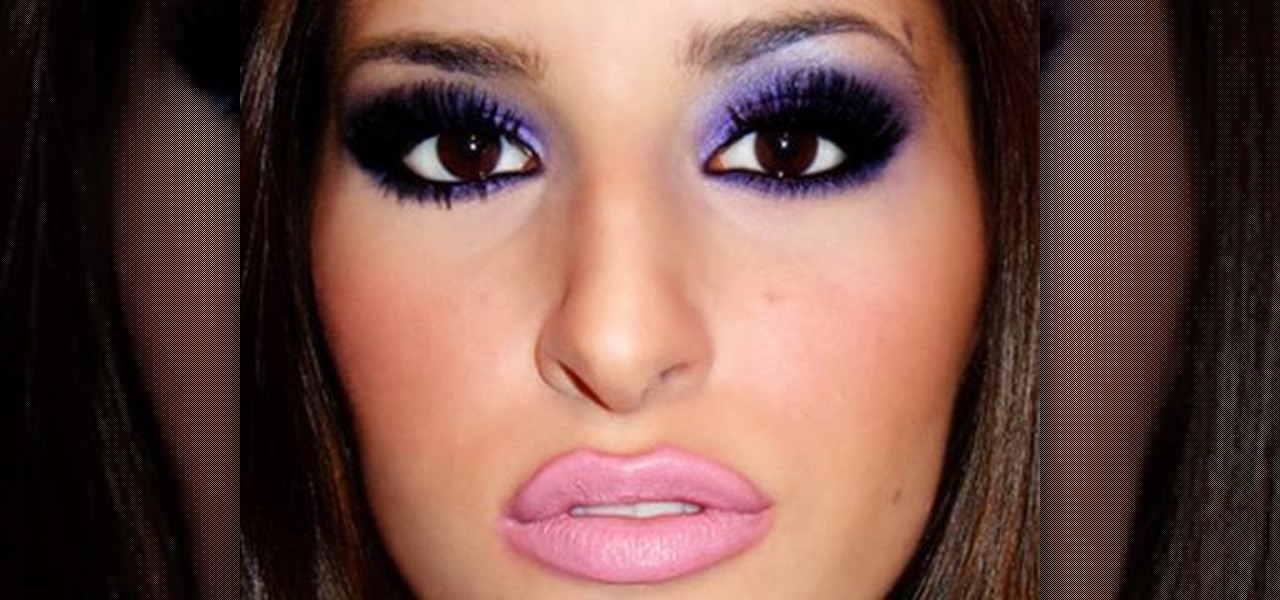
In this video, we learn how to get the Daisy of Love inspired makeup look. First, apply primer to the eyes, followed by a shimmer purple shadow. Pat this on so there is a lot of shadow on the eye. Now, blend this upwards and out so you reach the crease of the eye. Now, take a black shadow and define the outer v of the eye, blending in the colors. Add in more purple after this, then apply eyeliner to the top and bottom of the eye. Apply a light highlight underneath the eyebrow, then apply fals...
In this video, we learn how to convert an image into a sketch in Photoshop. First, open up Photoshop and open the picture you want to convert. Now, click the layer and unlock the background. After this, go to "image", "adjustments", and remove all the saturation from the photo so it's black and white. Then, duplicate this and invert it by going back to the adjustments section. Now, go on the top of the layers tab and select "color dodge" from the drop down menu. Now, go to "filter", "other", ...
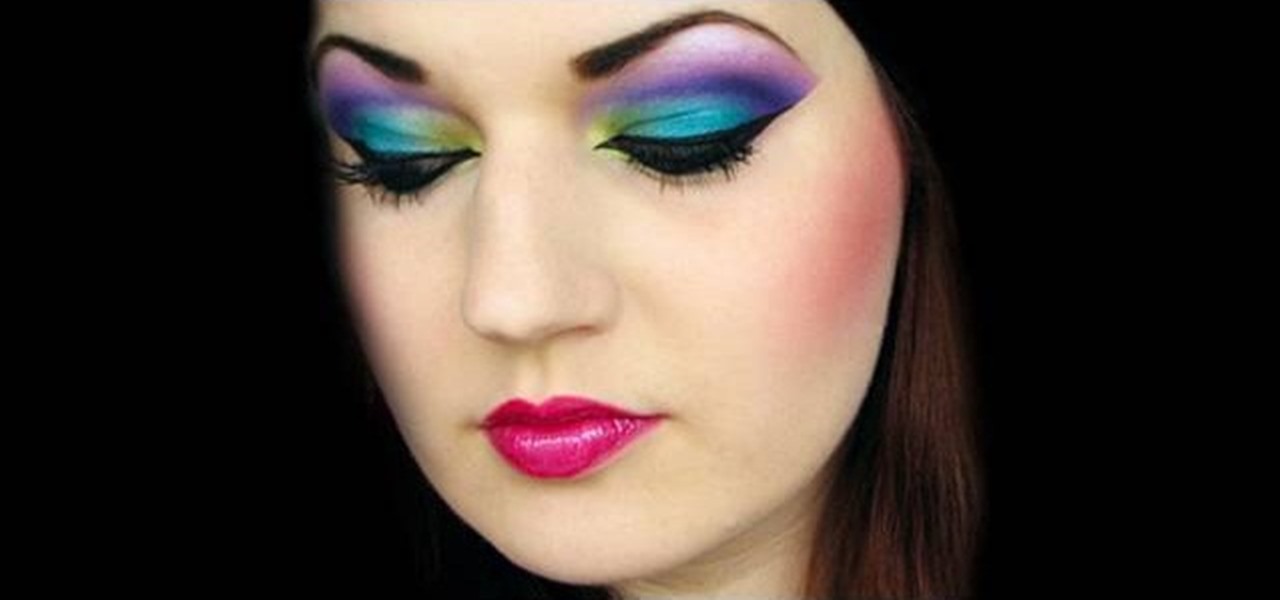
In this tutorial, we learn how to create a sea nymph makeup look. Start by applying purple shadow the eyelids, then apply a darker purple color over the top of it. Now, on top of this, blend a black to the eyelid colors, then line the top and bottom of the eyes. Draw a rough outline on your face next where you are going to apply the sequins. Start to color in your face where the sequin face mask is going to be, and color it blue and bright yellow, or whatever matches your mask. When finished,...
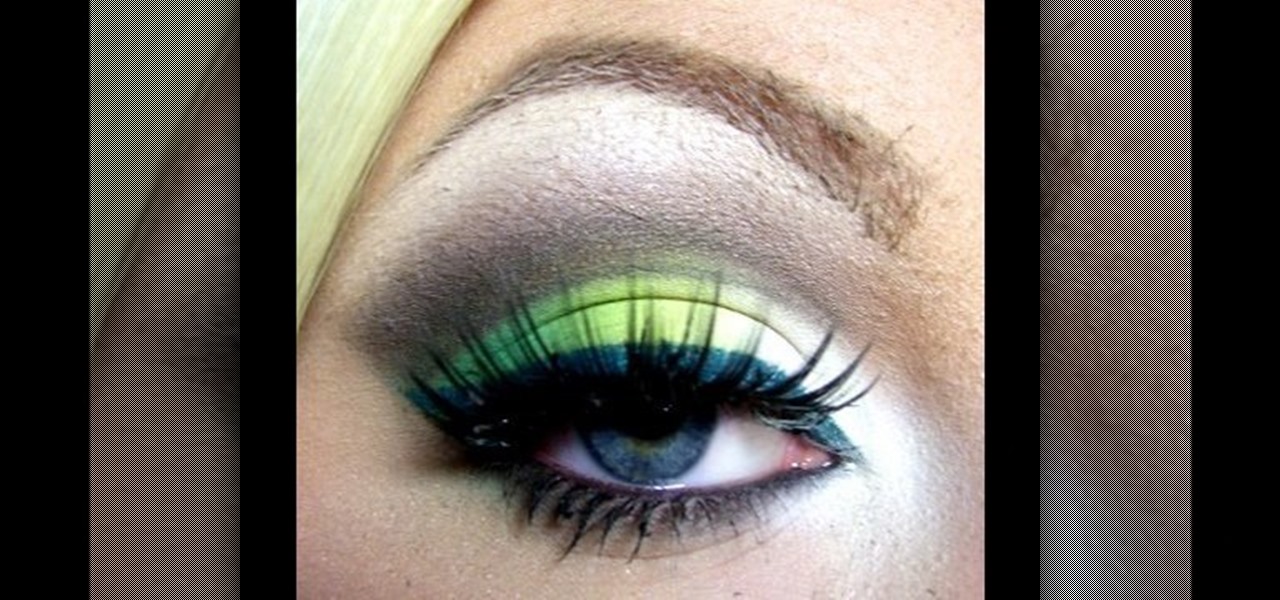
In this tutorial, we learn how to do an Arabian peacock makeup look. First, add primer to the eyes, then apply yellow shadow on the inner crease of the eye. Then, take a lime green color and apply it next to the yellow, blending in on the edge. After this, apply a turquoise eyeshadow and pack it in to eliminate fall out. Blend this outward, blending with the other colors. Apply a piece of tape on the outer corner of the eye to create a cat eye. After this, apply a dark purple to the crease of...
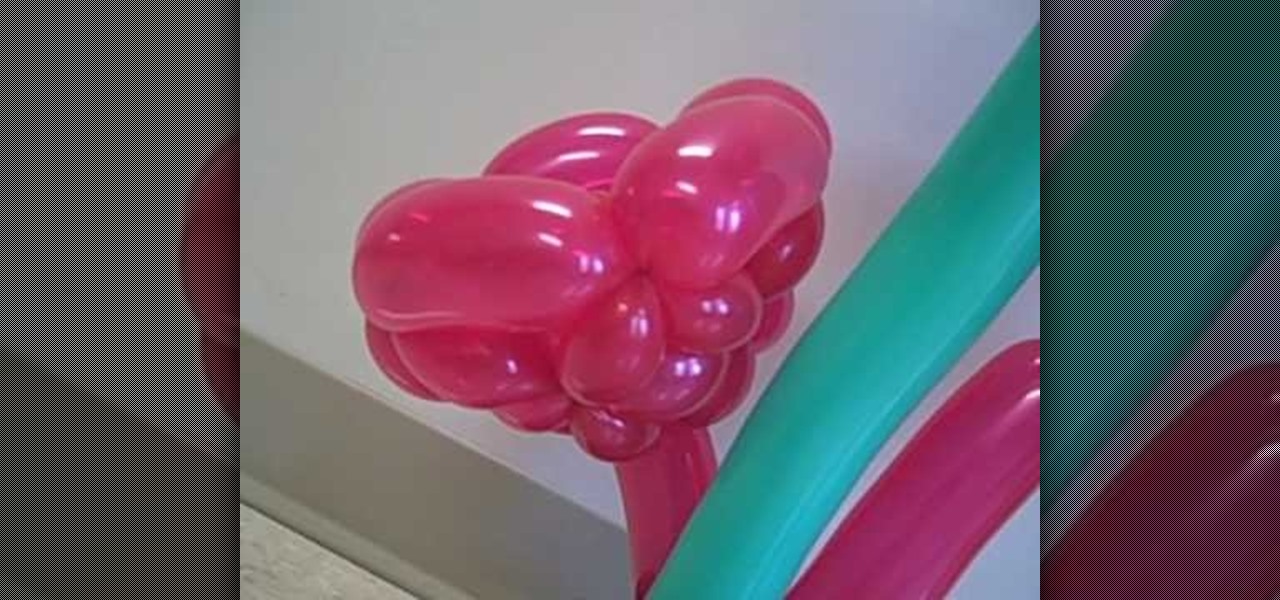
Make flowers out of balloons
In order to create your own Megan Fox inspired makeup look, you will need the following: liquid liner, primer, eyeliner, false eyelashes, mascara, eyebrow pencil, bronzer, blush, lip gloss, lipstick (brown and pink), and foundation.
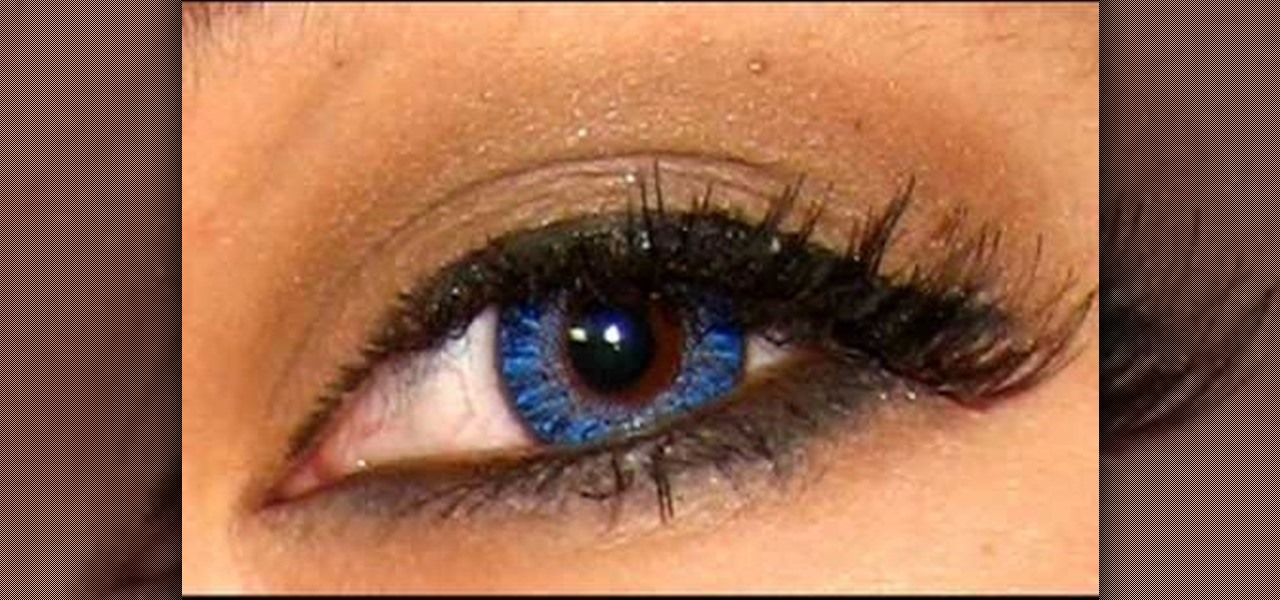
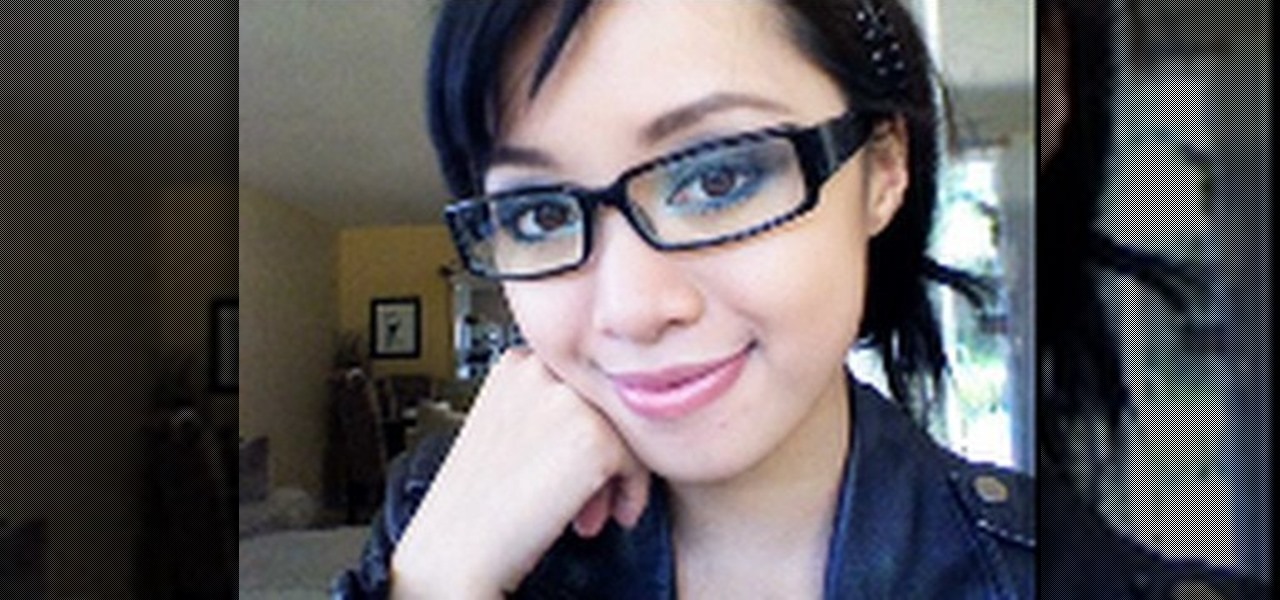
In this video, we learn how to wear smoky royal blue eyes with glasses. First, find the dark circles of your eyes and apply concealer to them to cover it up. Next, apply concealer to the face and define your eyebrows. After this, apply a silver shadow to the eyes, followed by a blue to the crease of the eye and on the inner corner. Apply a gray shadow to the crease of the eye, then take a bright blue shadow and blend it into the eyelid, avoiding the middle of the lid. Next, apply a black shad...
Fried tuna? Pasta shells? Count us in. Combining our favorite comfort foods (fried anything and delicious carbs), this pasta dish is wonderful for serving at your dinner table after everyone's had a long day and wants to relax with a delicious, warm meal.
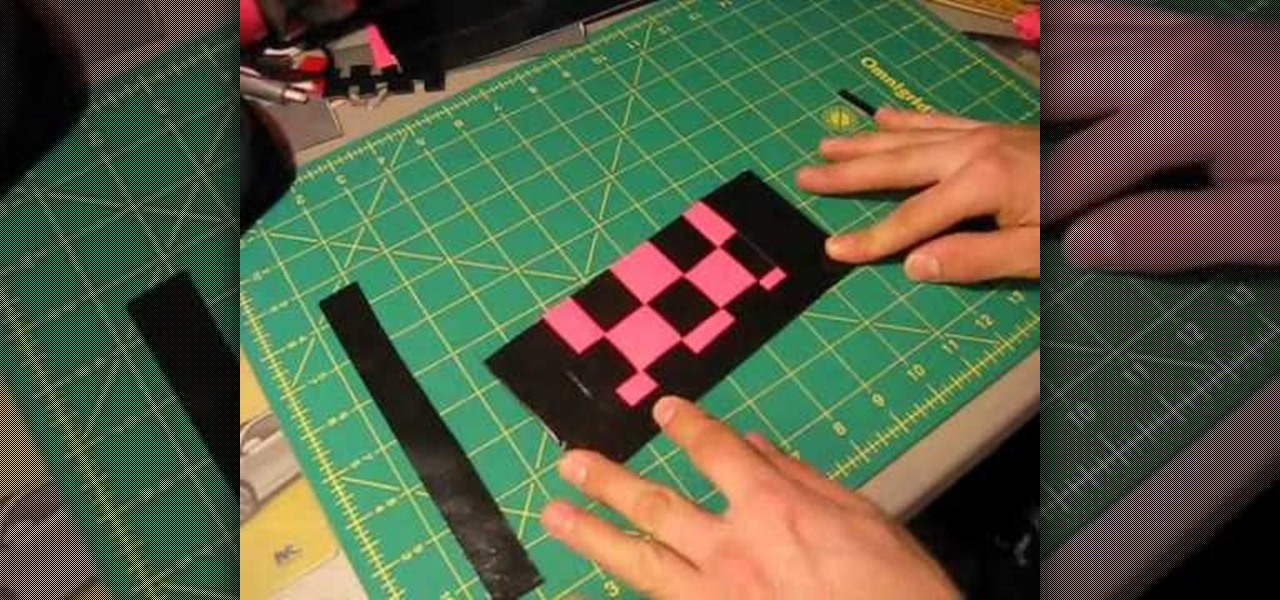
Hold your moolah in style using this duct tape wallet. Leave your friends with their Dior clutches and fancy business wallets - this duct tape wallet is SO much cooler! Featuring a woven pattern, you can weave two duct tapes in whatever colors suit your fancy.
In this video, we learn how to get a spring makeup look with greens and whites. Start by applying a highlight underneath the eyebrow, brushing it on slowly, then blending down. Next, apply a white eyeshadow to the inner corner of the eye, into the middle of the eyelid. Follow this by applying a neon yellow color to the middle of the eyelid, then slightly blending the two colors together on the edges. After this, apply a dark green shadow to the outer edge of the eyelid and blend with the neon...
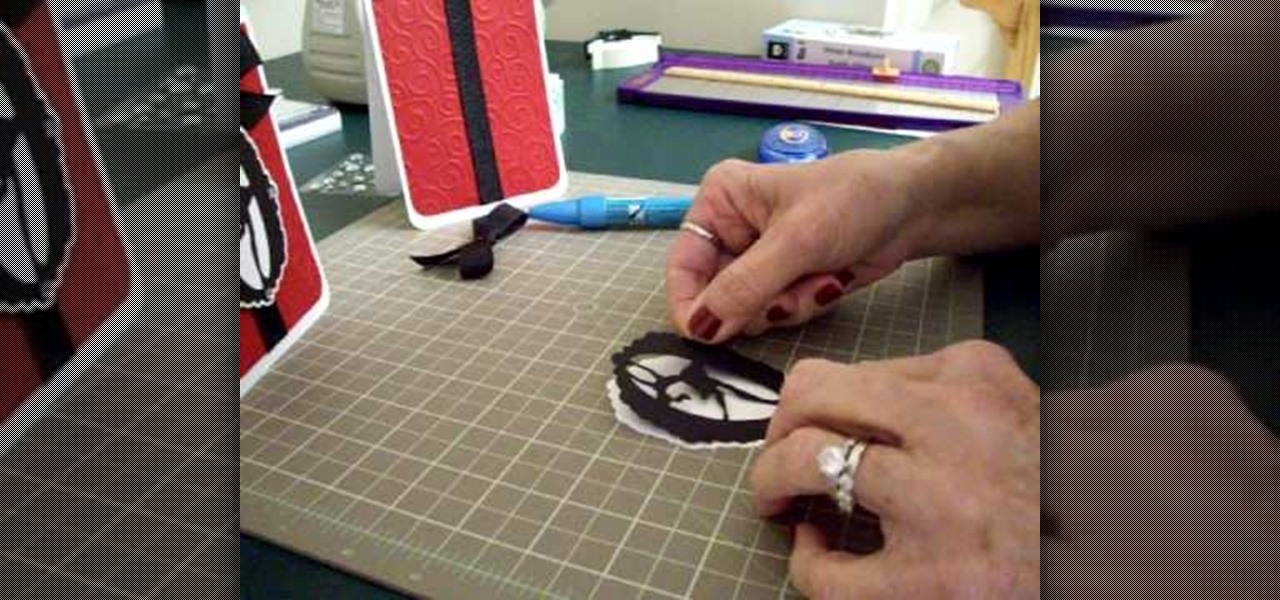
Make a simple, elegant card using Winter Woodland. Go to page 50 of manual. Cut tag and skater at 3 inches. Use 8 1/2 x 11 cardstock and cut vertically to 4 1/4 inch. Fold from top to bottom. Round corners of cardstock and red matte. Make red matte 4x5. Run red matte through cutter bug using swirls folder. Insert between two plates and run through. Place black grosgrain ribbon down the center. Stick to front of card. Glue skater to background. Place square crystals around skater. Create and p...
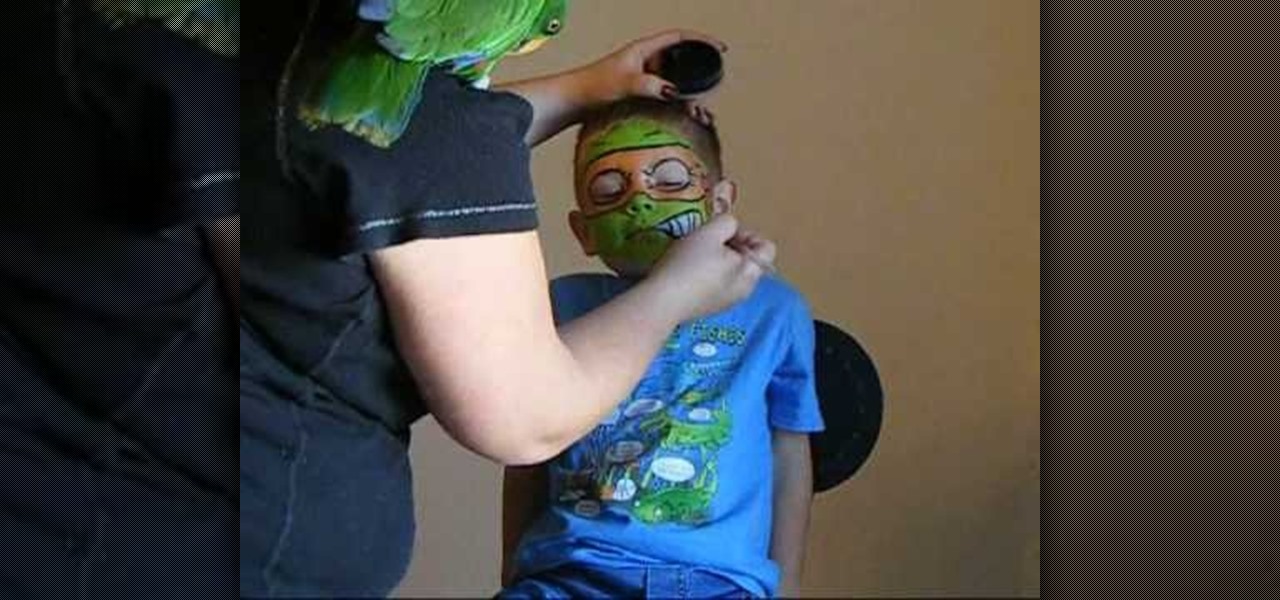
We are painting the ninja turtle-Michelangelo. Use orange metallic to cover over face. Put orange metallic around the eyes and ears. Use green metallic on forehead and across the nose, chin, mouth and cheeks. Use white close to the mouth for smile and teeth. Take black paint and give a bandit face. Outline the eyes, forehead. Place wrinkles around the eyes and make knots on the side of the face to make it look like a tie. Make the ninja turtle mouth smile.
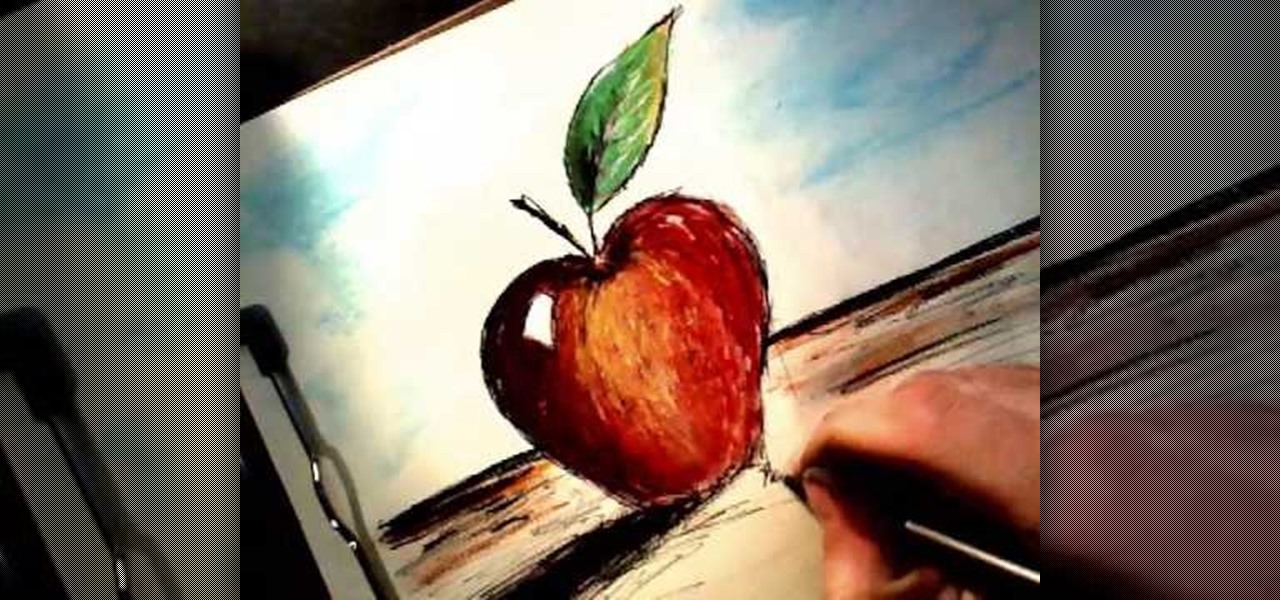
In this tutorial, we learn how to draw an apple. Start by drawing the outline shape of the apple. It looks like a slight heart shape in the middle of the apple where the stem is. After this, start to fill in the apple with lines to make it look more realistic, then draw the stem and a leaf coming out of the top middle of it. Color in the leaf with browns, blacks, and green. Then, draw lines on the bottom of the paper to make it look like the surface. Finish by coloring the apple red, making d...
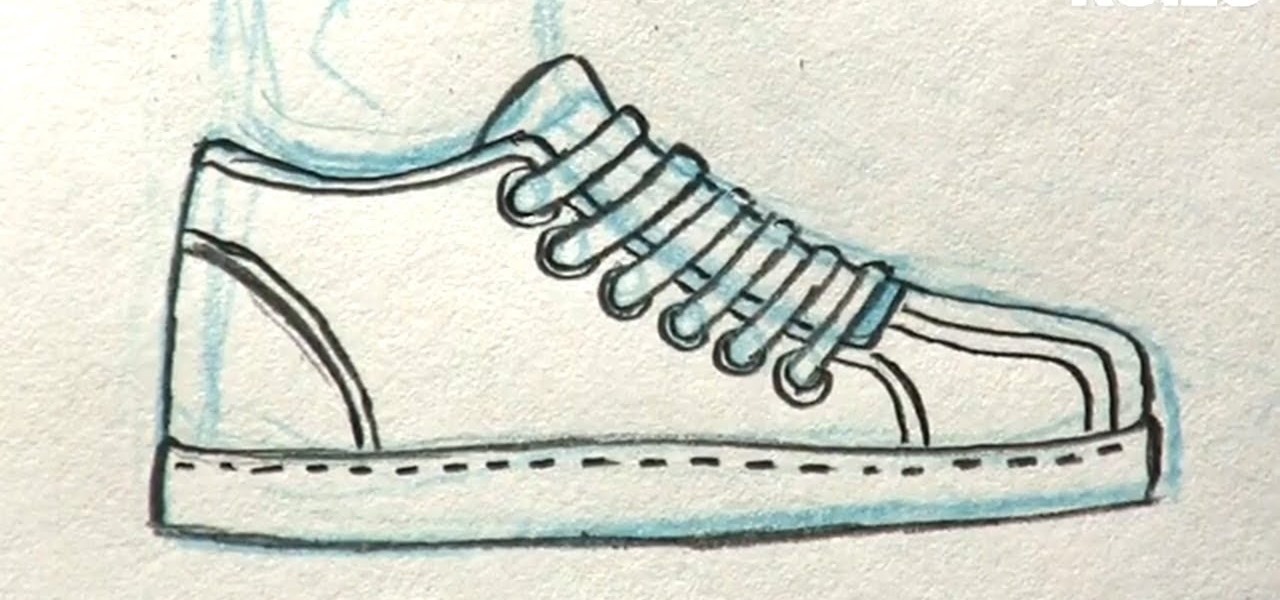
In this tutorial, we learn how to draw manga shoes. First, you want to sketch the basic shape of the foot. On top of this, you will draw a rough shoe shape with a different colored pencil. Next, draw in the details of where the laces are going to go, and where the lip of the shoe will be. Also draw in the soles and any other details you feel you need. Switch over to a black pencil to draw in darker details and add in shading throughout the drawing. When you are done, sign your name by your dr...
In this tutorial, we learn how to get the "naughty" look with your makeup. First, apply primer to your eyes, then brush on a light eyeshadow underneath your brows and into the crease. Next, apply a purple shadow on the crease as well as on the upper eyelids. Now, take a sparkly silver color and brush it onto the inner corner of your eye. Next, take a dark blue color and brush it onto the crease of your eye, making sure it matches with the other eye. To finish off this look, apply more of the ...
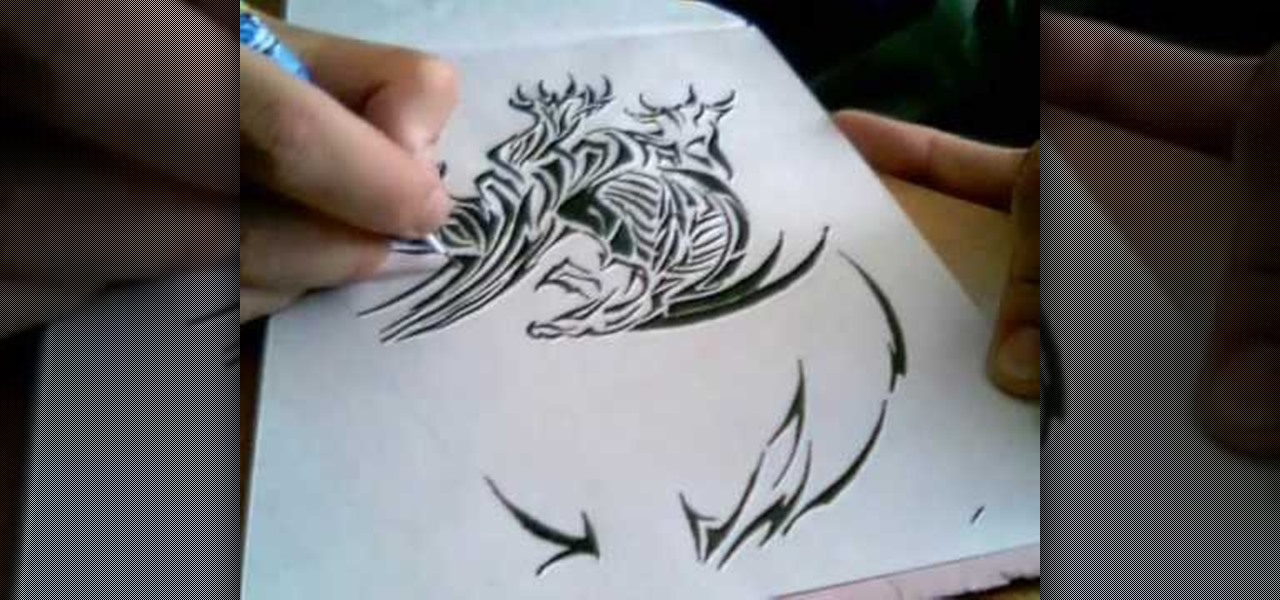
In this tutorial, we learn how to draw a tribal style dragon. Start off by drawing the wings of the dragon, adding in tribal designs on the inside of it. After this, start to draw the head of the dragon, as well the inside of the face. Also, draw the legs and the claws of the dragon. Add in more details until you have a full dragon design. Use a pen to fill in the lines on the tribal design. It will sort of look like a zebra pattern with the black and white colors rotating. When finished, sig...
In this video, we learn how to change the color scheme in Word 2007. First, click on the Word orb in the upper left hand corner. After this, go to the options menu to change your settings. On the new window that pops up, you will see an option to change the color from blue to silver or black. Choose which color you want to have as your background on this software, then click on "ok". Now your color scheme will be changed to not reflect the blue that you usually see when you star this program ...
In this tutorial, we learn how to polish your boots to ROTC standards. You will need: Kiwi black shoe polish, scissors, and an old t-shirt or cloth. First, take your scissors and cut out a section of the t-shirt to make it the size of a wash cloth. Next, rub some shoe polish onto the cloth after flattening it and wrapping it around your index finger. Now, place your shoe on the table next to you and start to shine it over the entire shoe. Make sure you dip the cloth in water before and after ...
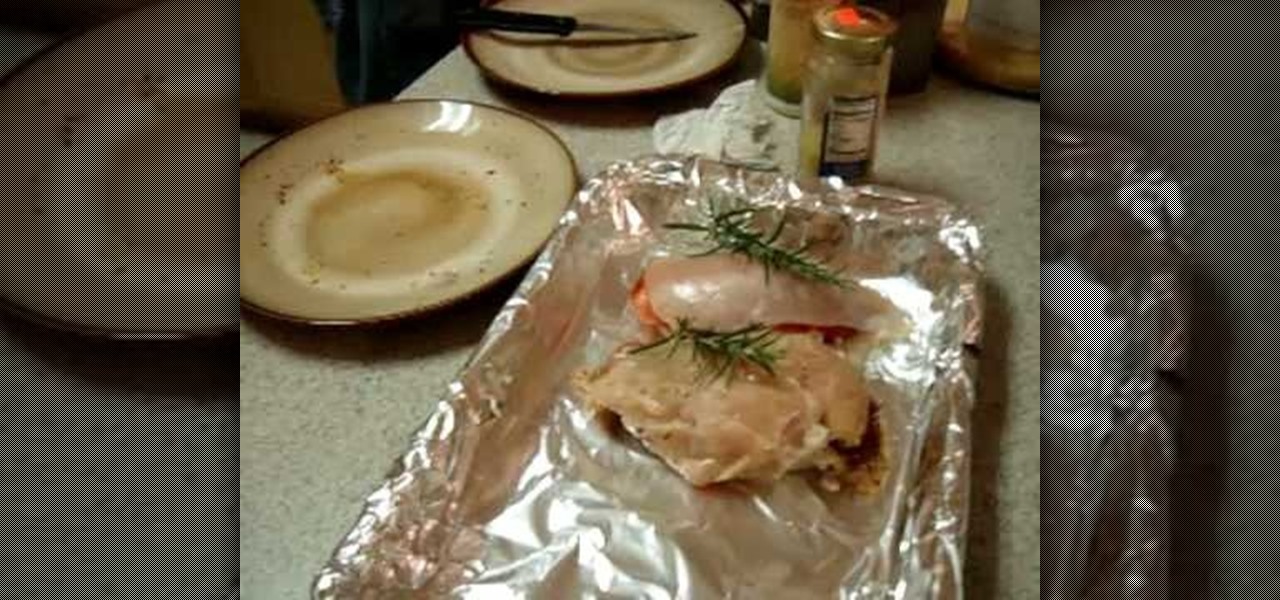
In this tutorial, we learn how to prepare stuffed chicken breasts with ham and cheese. You will need herbs including: pimentos, chopped onions, garlic, and black pepper. First, take your chicken breast and cut it in half. Make sure it's thawed, but slightly frozen in the middle. After this, put the ham and cheese on the inside of the chicken, along with pepperoni, then add in all your different spices and herbs. Next, close your chicken breast up, then place it on a baking tray with foil. Spr...
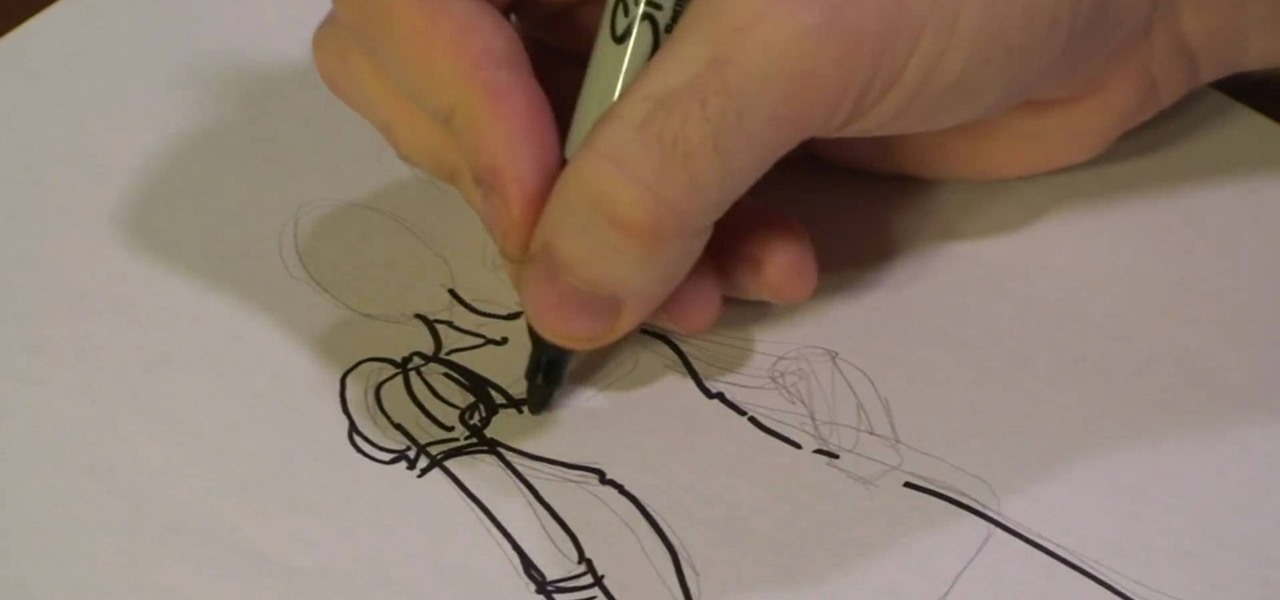
In this tutorial, we learn how to draw couture dresses. First, sketch the body onto the paper and then outline it with a black permanent marker. Make the lines soft and outline the body to have curves like a real woman. After this, start to add in the details of the dress, making the shoulders poof and adding accents to the side shoulder. Next, start to polish up the drawing by defining any lines and making different shapes. Make sure to draw the dress exactly how you want it, showing how it ...
In this tutorial, we learn how to draw an eye in GIMP. First, open up the GIMP software and set up a circle, then color it dark blue. Next, add in light to the middle of the eye, so it looks like a light is shining onto it. After this, make a small circle in the middle of the eye, coloring it black. When done with this, create a new layer and then add brightness to the pupil of the eye. Continue to play around with the contrast and colors of the eye, so it looks more realistic and life like. ...
In this video, we learn how to make a "puppy love" box for Valentine's Day. To key to creating this box is a thin strip of paper that has teeth (pointy spikes) at the end of this. Turn this into a heart shape, then tape it around the heart to make a perfect box. It will be easier to find your center and cold it in half, then place it on the box. Glue the heart onto a black card stock to situate it, then tie a cute ribbon along the edge of the heart. This is very cute and a great idea for Vale...
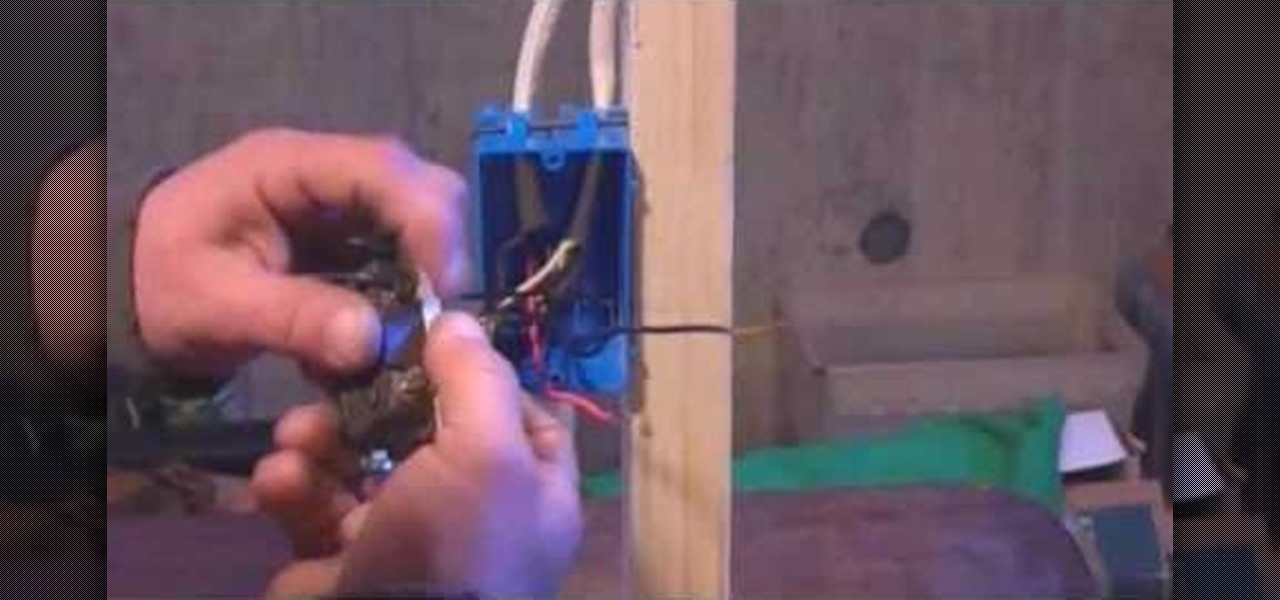
In this tutorial, we learn how to wire a three-way electrical switch. First, you will need to know the difference between the wires that you are using. Once you familiarize yourself with these different wires, you can start to wire your electrical switch. Now, go to your electrical box and tie the white wires together with an electrical nut. Next, tie the copper wires together and you will be left with three wires. Take the wire that supplies the power and attach it to the black common, then ...
In this tutorial, Laurie Lee-Partner teaches us how to renew a US passport. First, you can only renew your passport if you have the current one and it expired less than five days ago. You will first need government form ds-82 and remember to sign it in black or blue ink, then send it in. Next, you will have to send in your passport that has already expired or is going to expire. Next, you will need two identical passport photos that have been taken in the last six months. They must be in colo...
In this tutorial, we learn how to do a quick J-rock hairstyle. To start, you will want to start off by brushing out your hair and straightening all of your layers. After this, do your makeup with thick black eyeliner all around your eyes. Next, hairspray the hair while holding it up, then tease it so it has extra volume, but don't brush it back down. Do this throughout the entire head, leaving the bottom of the hair flat and straight. Next, apply wax and gel to the hair and finish styling it ...
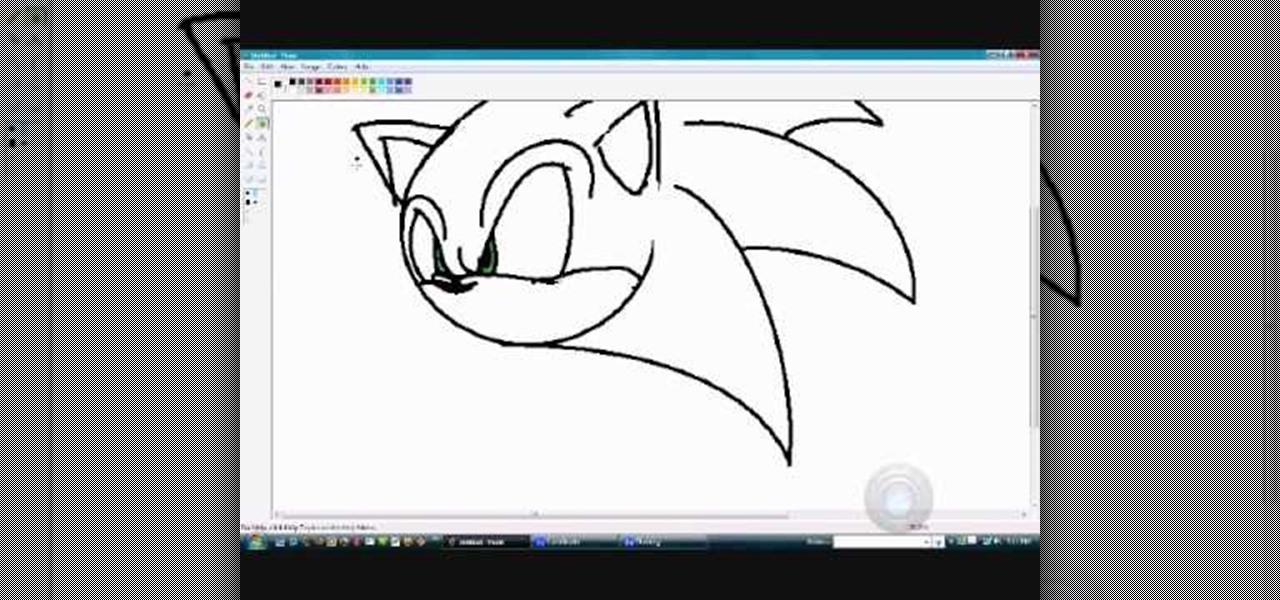
In this video, we learn how to quickly draw Sonic the Hedgehog. Start off by drawing the eyes and eyebrows. Next, draw the ears on the side and connect the head around it. After this, start going to the side to draw the three spikes for the hair. After this, draw in the nose, mouth, pupils, and inside of the ears. Add in shading where appropriate and add highlights to the top of the head. Use a black paintbrush to draw the outline of Sonic darker. After this, finish the picture by coloring it...
In this tutorial, we learn how to draw a 3D ball and cone. First, draw a circle with two lines coming out the side of it. After this, add in shading to the bottom of the circle and then draw a shadow coming out of the bottom of the circle as well. After this, draw a light that is shining onto the ball. Make sure you are drawing a black crayon to get the best texture out of this. Draw in darker lines on the circle, then draw lines over the top of the ball and through where the light is shining...
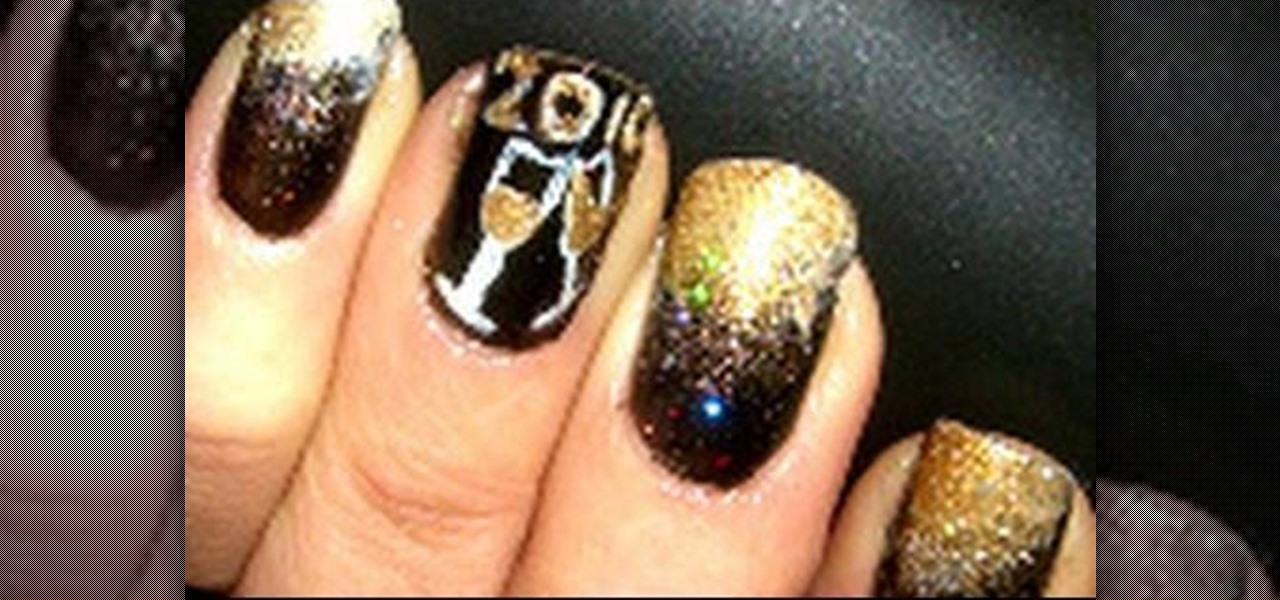
In this video, we learn how to apply gold champagne New Years nail art for New Years. Start off by painting your nails all black and letting them dry. Now, use a thin brush to paint two champagne glasses and the numbers 2010 on the pointer finger of both the hands. Next, paint the top of the nails white onto each of the nails on the hand, except for the pointer finger. Rub out the white a little bit from the top of the nail going down, then apply a very sparkly gold shadow on the top of the n...
In this tutorial, we learn how to make eyes for clay animation puppets. First, drill a hole inside of a block of wood, then insert a bull so it fits snug inside of the hole. After you have done this, use a drill to make a hole that goes half way down through the pupil. Now, use paint to fill in the hole where the pupil would be at. Push the balls into clay to hold them in place while painting. Make sure the dots you have on both eyes are even. When finished, paint a black circle around them, ...
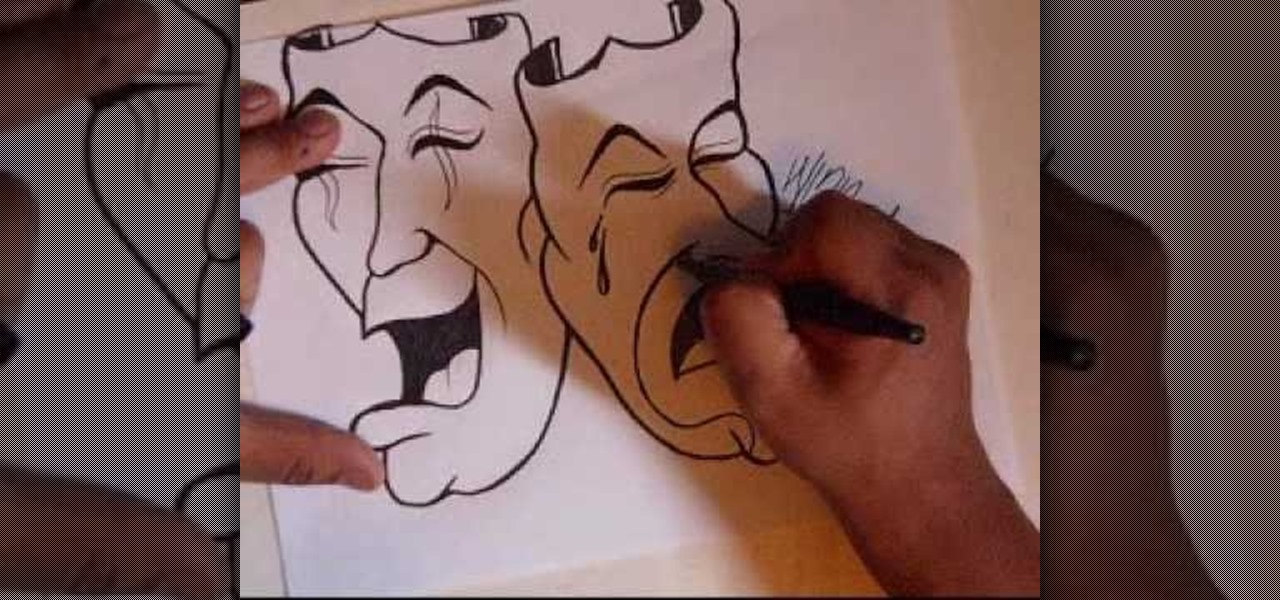
In this tutorial, we learn how to draw smile now cry later clowns. Start off by drawing a large laughing mouth with the tongue inside of it. Next, draw the eyes and then the nose and chin. Draw the eyebrows on the clown so it looks like a clown, with makeup on the eyes and face. After this, add details to the tongue and fill in the back of the mouth with black shading. After this, draw neighboring clowns the same way as the first, just changing up facial features to make them different. This ...
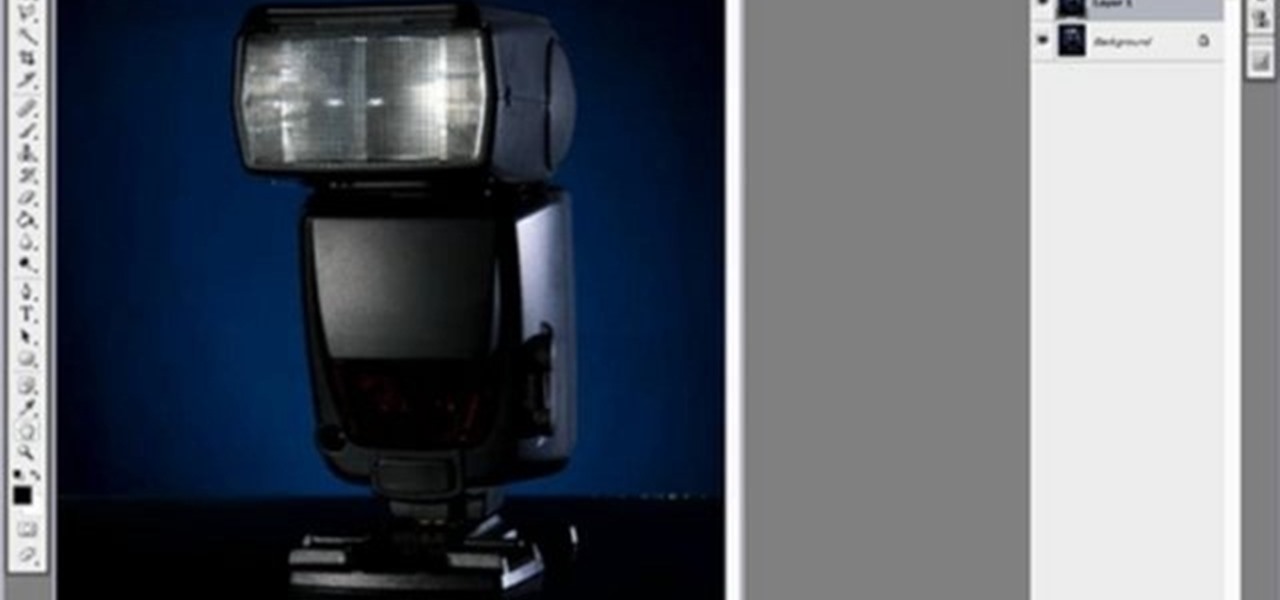
Yanik Chauvin teaches us how to color correct product shots in Photoshop in this tutorial. First, remove some of the black from the image by using your crop tool. After this, if your image is too wide, duplicate your layer and use the marquee tool to edit. Remove any dust spots from your image, to make it look more clear so you have an image that is impeccable. You can do this by creating a new layer and then adding a feather to the image. Continue to go through the editing tools available un...
In this video tutorial, viewers learn how to make a pinhole lens for a digital camera. The materials required for this project are: a camera body cap, X-acto knife, black tape, small drill bit, sewing needle and sand paper. Begin by marking the center of the body cap . Then drill a hole in the center and punch a tiny hole in the center of the sheet metal. Now cut around the sheet metal and sand it flat. tape the metal piece inside the cap and darken it with ink. This video will benefit those ...