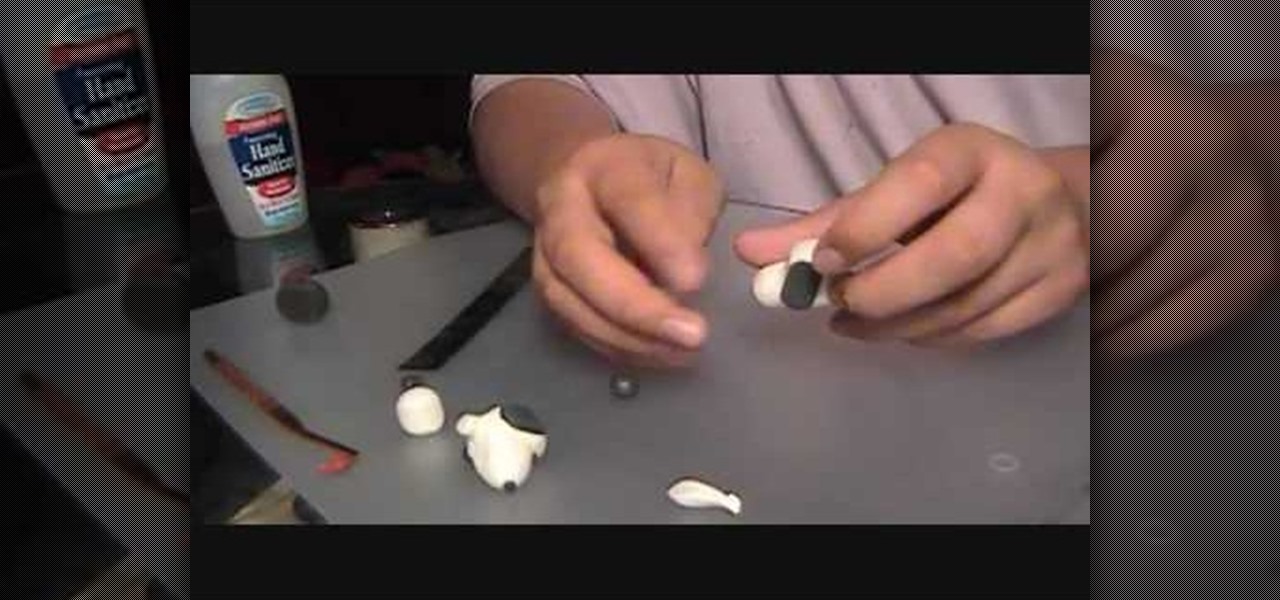
This video describes how to make a snoopy head from a type of polymer clay. You will need both black and white polymer clay, a blending tool and a ruler. It begins with the main part of the head and moves onto creating the correct structure using a blending tool. It advises using your thumbs to smooth away the creases and cracks from the surface of the snoopy head. After the main part of the face is made, it describes how to create the eyes and ears using the black clay. The eyes and ears are...

Create a three-dimensional logo in Cinema 4D and Photoshop with realistic lighting, reflection and shadows. The render is created in 3D inside Cinema 4D using Mograph Text and a bend deformer, textured and lit for initial reflections, and polished in Photoshop with blending modes, blurs and curves. Greyscale Gorilla demonstrates in this informative hour-long video.
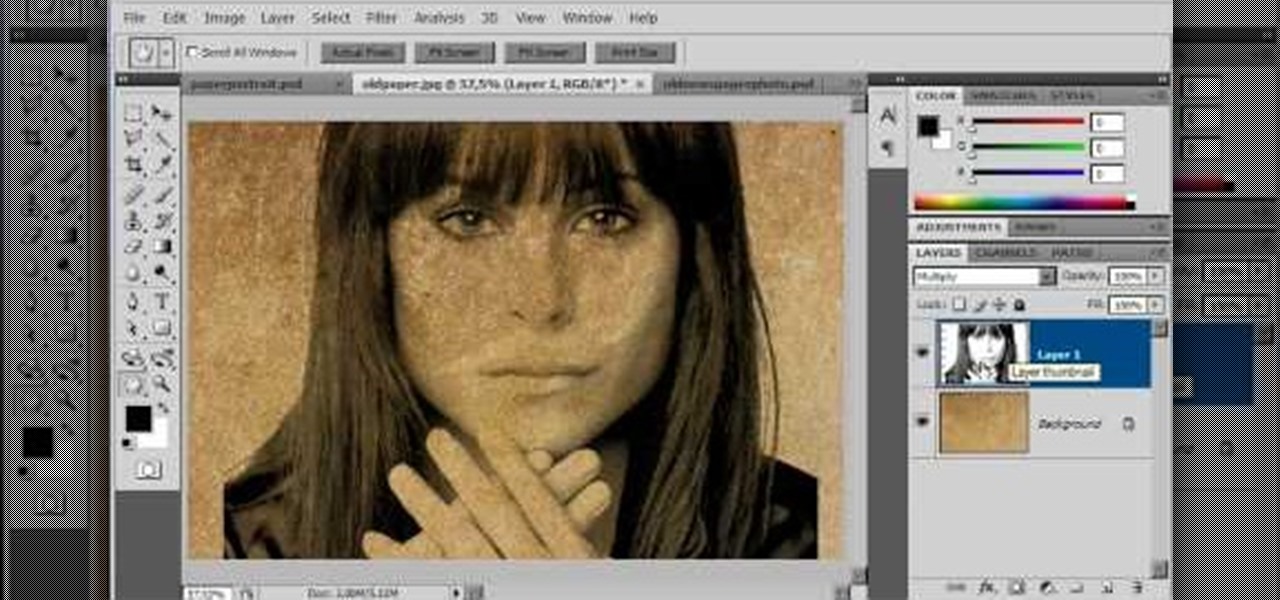
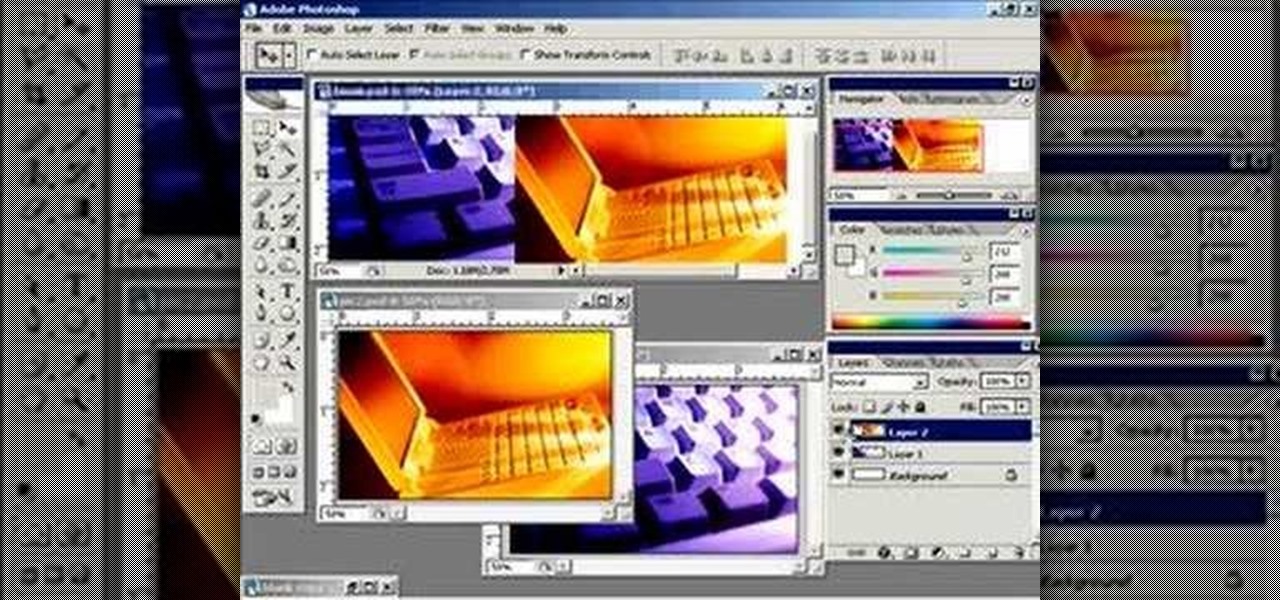
The video is about how an old stalled photographic image with faded backgrounds to a normal image. A nice clean digital image is taken and is mixed with a texture of a paper and produces a final composite image of all effects combined. The procedure is not that difficult but it needs to be followed in a proper order. First the paper texture is taken as a base and then the clean digital image is dragged onto this texture. The blending mode is adjusted from normal to multiplied blending mode, w...

In this tutorial, we learn how to make a stylish Halloween bag tag. You will need: ink blending tool in black soot color, black paint, orange paint, white card stock, stencils, cutters, scissors, and glue. First, place your white card stock underneath the stencil, then cut out the shape of a house. After this, mark lines in opposite directions onto the shape. After this, you should have the shape of a spider web. Next, add the ink pain on the top to highlight the spider web and you will be ab...

To perform the color burst technique using Adirondack paint, you'll need to shake a new dabber really well. Then, you will need to turn it upside down onto a craft sheet, until the paint starts to come out evenly. Once if comes out evenly, you are ready to use. Make sure you recap it, whenever it isn't in use.
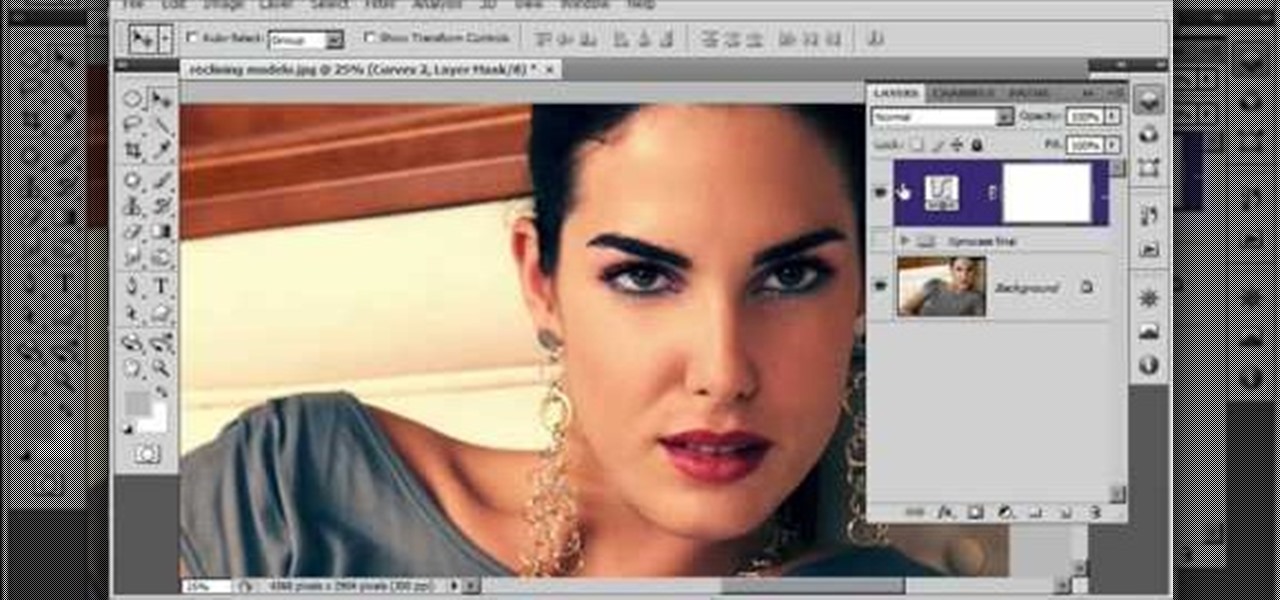
Cross processing is a Photoshop version of slide processing. The result would be you get all these weird color shifts. For reasons best known to people who run the fashion magazines, this look became very popular in the 1990s. Start by adding in a curves layer. Add a new adjustment layer for curves. If you've never used curves before it is recommended that you take a curves tutorial first as for this effect we will need to adjust individual color channels. It is not difficult but if you don't...

This is really cool, you can make these awesome neon glowing lines using your Adobe Photoshop. This is a fun way to make creative and colorful designs and it looks really neat without spending time working on detailed shapes.

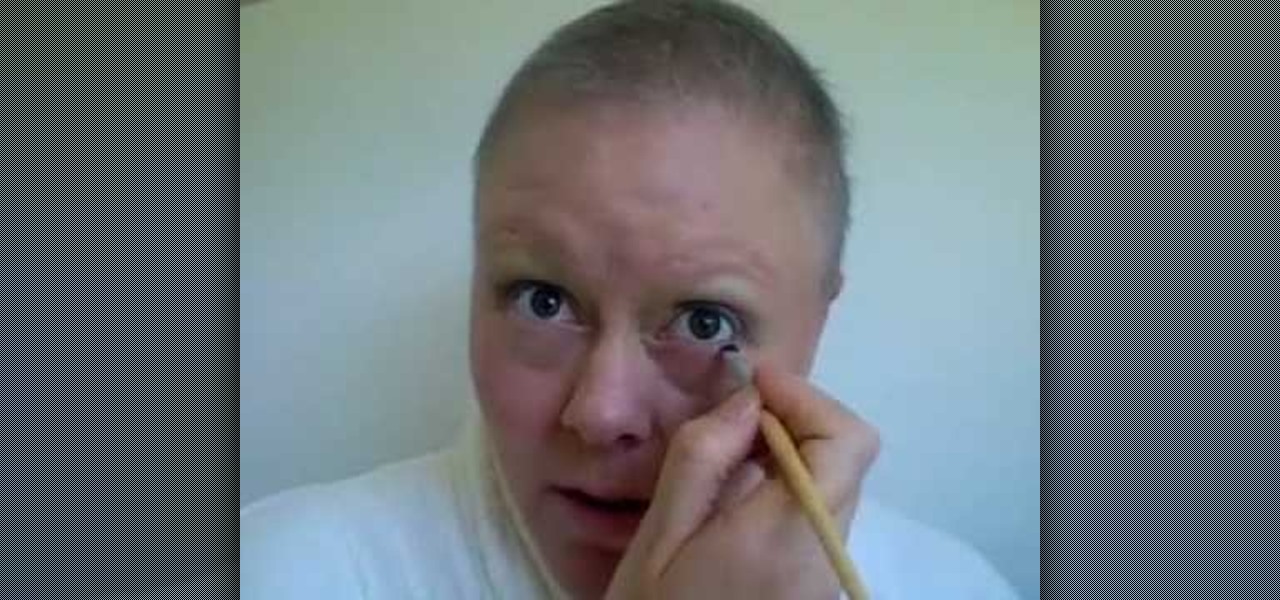
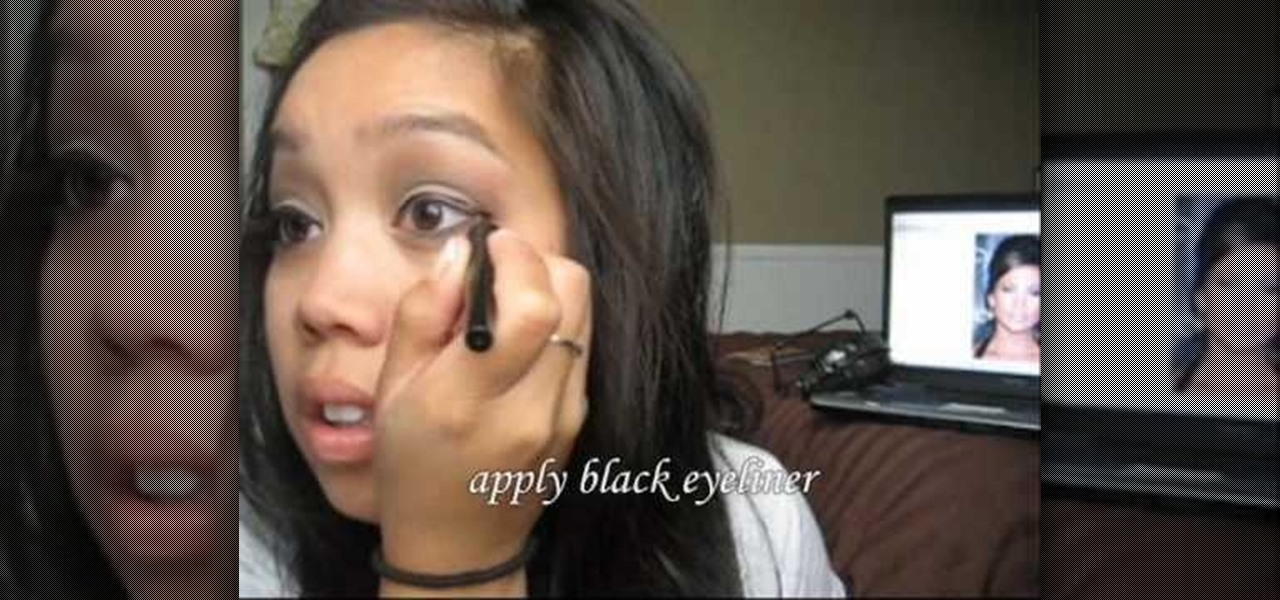
In this video, we learn how to apply bold eye makeup during chemotherapy. First, take a light silver shadow and brush it all over your eyes, including below the brow bone. From here, take a dark brown and brush it into the crease of the eye and blend to the outer corner with a fluffy blending brush. After this, apply black eyeliner on the top and the bottom of the eye. Then, apply mascara to the top and bottom eyelashes and curl if you would like as well. When finished, you will have a bold m...

When we're baking sugar cookies, we all tend to do the same thing: Rush through the boring mixing and baking part, and then spend three times as long on putting on the icing and forming pretty motifs. But to create truly spectacular sugar cookies, there is more to crafting dough then simply throwing in the ingredients and blending.

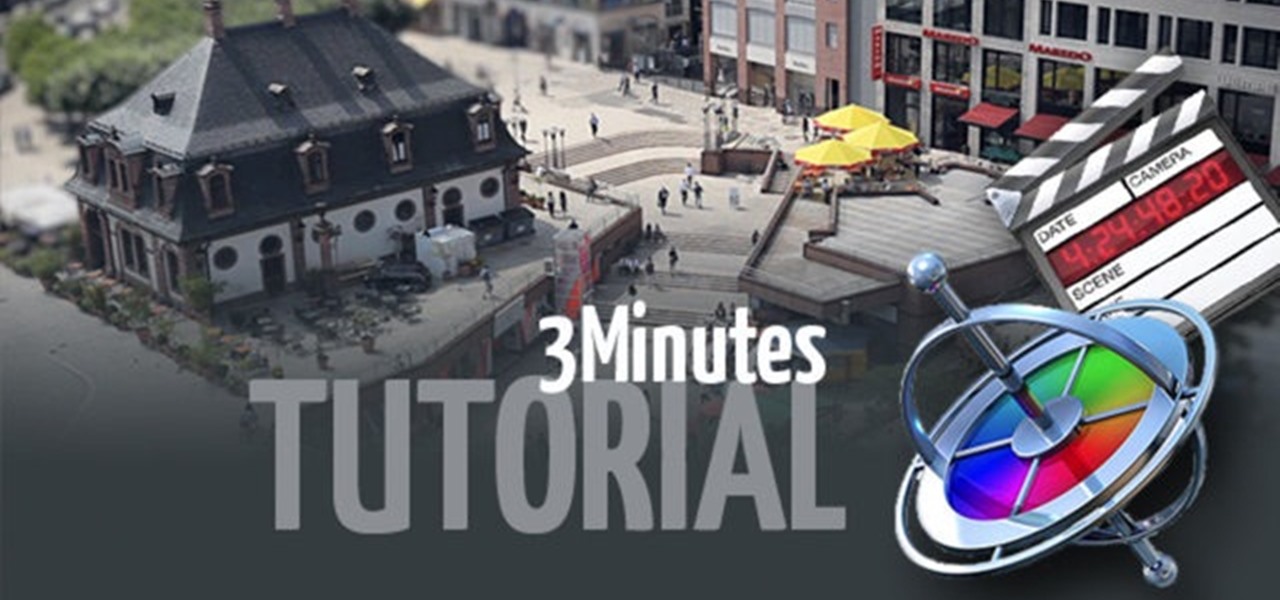
In this video tutorial, viewers learn how to create a tilt shift effect with Adobe Final Cut Studio. Begin by changing the video's speed to 300% and disable the Frame Blending. Now click on Effects, go to Video Filters, press on Time and select Strobe. Change the Strobe rate to 7-15 fps. Now switch to Motion and Duplicate the group. Then create a simple mask in the upper group and apply defocus to the lower group. Under Mask, increase the Feather rate up to 100%. Now add another mask around t...

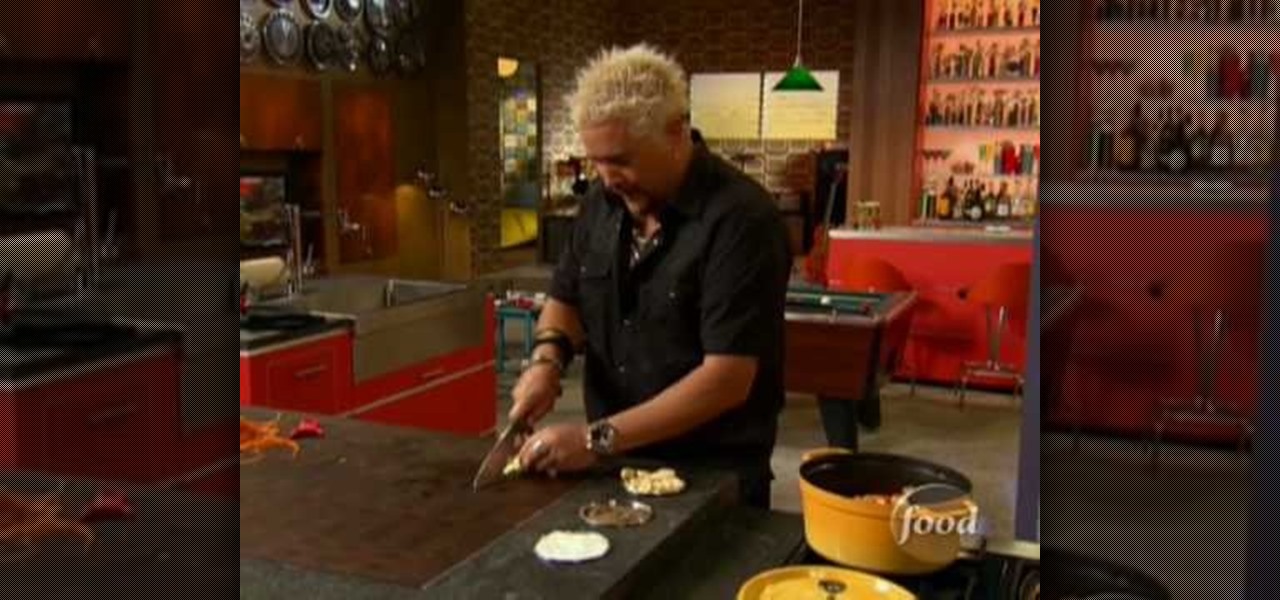
Guy Fieri shows us how to make a creamy and delicious carrot and ginger soup. Start by browning some onions in hot oil in a Dutch oven. Chop up some carrots and potatoes into small chunks and add them to the pot, then add some chopped garlic and ginger. When this is nicely browned, add some chicken stock and leave it to cook on low heat.

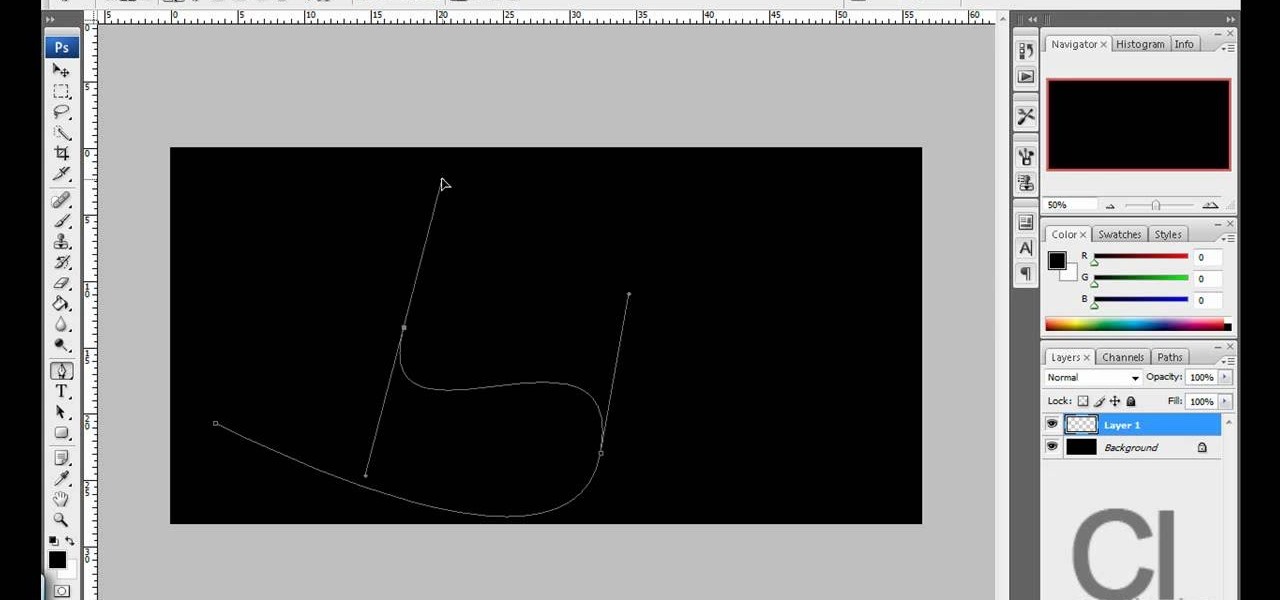
This video will teach you how to create a basic logo in Photoshop CS3. In order to create a logo you need to follow this simple steps: 1. Go to File -> New and create a new document with the width and height 500 px. Set the RGB Color and the background transparent. 2. Fill the background with a black color. 3. Create a new layer and create a perfect circle. 4. Select Blending Options and Gradient and use a light red color to fill the circle. Add the text and use some effects for it. The video...

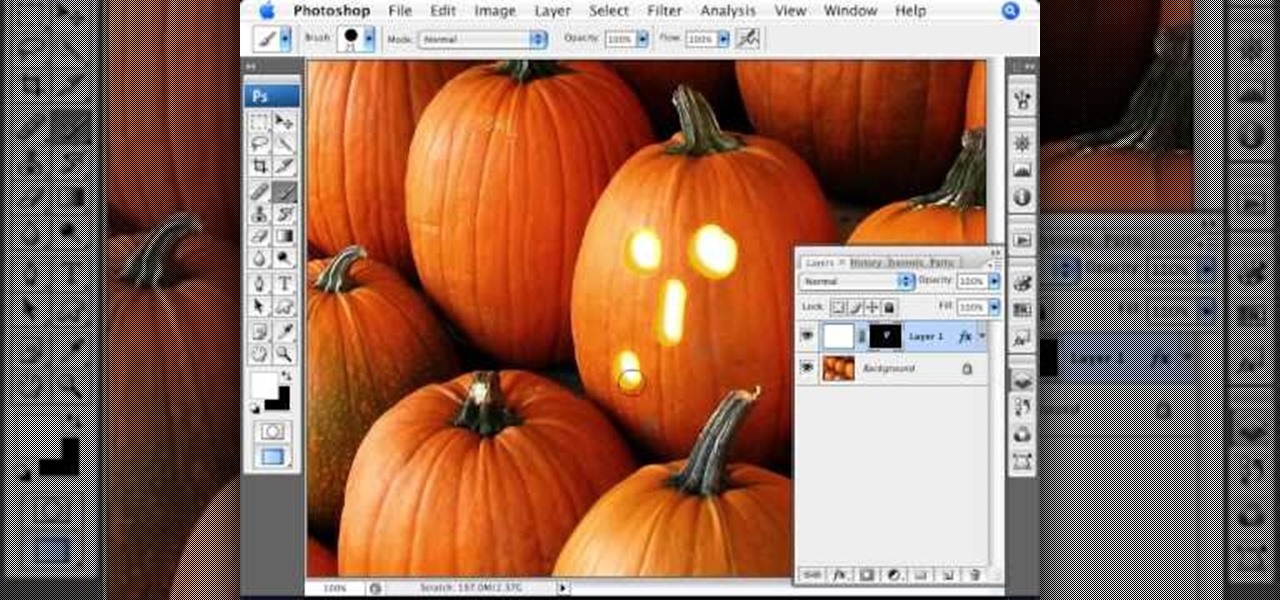
Photoshopuniverse shows the way to create a Jack-O-Lantern in Photoshop. At first you need to collect or take a photo of a pumpkin. Make a new layer, with a white background, then mask it. Fill it with black color. Now go to blending option and give inner shadow, inner glow, gradient layer and outer glow. The major color will be yellow. There will be also a thin stroke. Your brush is ready now with all its effects of a Jack-O-Lantern. After following this video, you can use the same effect an...

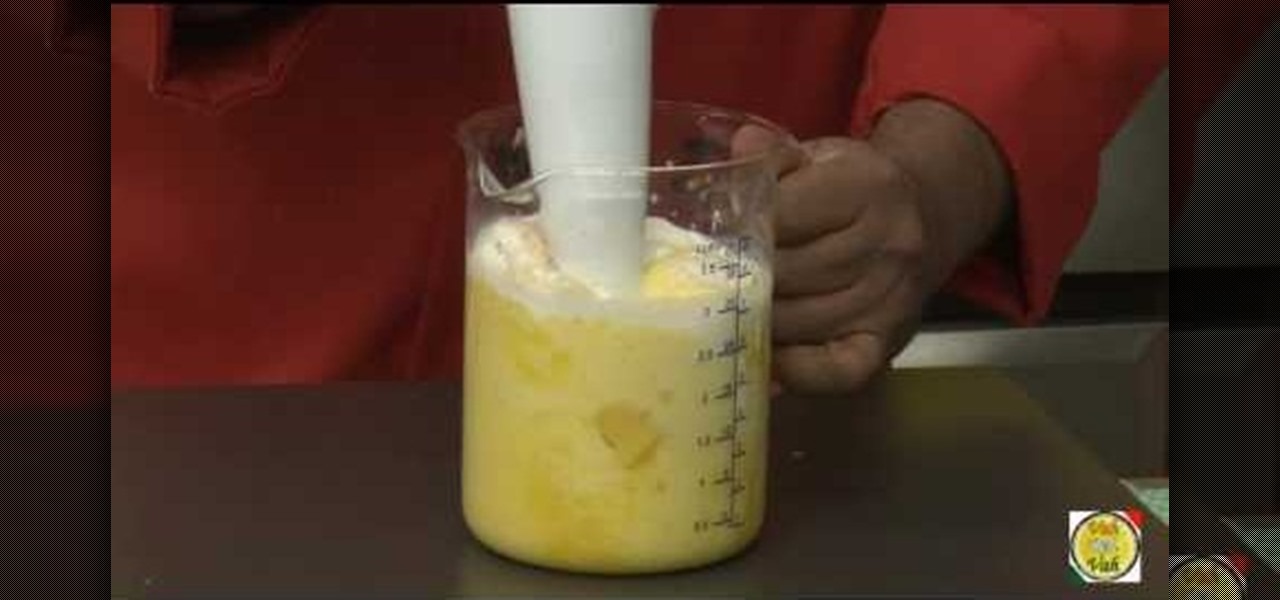
A chef from VahRehVah shows the secrets to making the perfect mango lassi Cut up a mango into small cubes and place it in a small measuring cup. Add sugar to the mango cubes. If using mango pulp instead of cut mango cubes, use less sugar as pulp already has sugar. Using a hand blender, blend the mango cubes and sugar until they are pureed. Add fresh yogurt to the puree and continue blending. If the yogurt is too soft, add some milk to compensate for the softness. Garnish with a slice of mango...

Lasagna is probably one of the most versatile Italian dishes you can make. You can make it with meat or without, add your own vegetables to your taste, and experiment with different flavors of lasagna noodles and spices. Learn how to make a "lazy-man's" lasagna by using store bought sauce and macaroni shells. By blending two flavors of sauces together you can create a more complex authentic lasagna with no effort. This is a simple and filling dish to make on busy weeknights.

In this video host David takes us through how to make a rich homemade Bailey's Irish cream. In quite a jovial way our host begins to run down the ingredients for us, while placing each into a blender (double cream, a very thick full fat whole cream -- chocolate syrup -- instant coffee powder -- whiskey). Then, after blending it for 10 seconds or so, and stirring, you add a bit of regular plain old milk, and continue to blend. And what's next after that? Tasting! With a delicious dessert, and ...

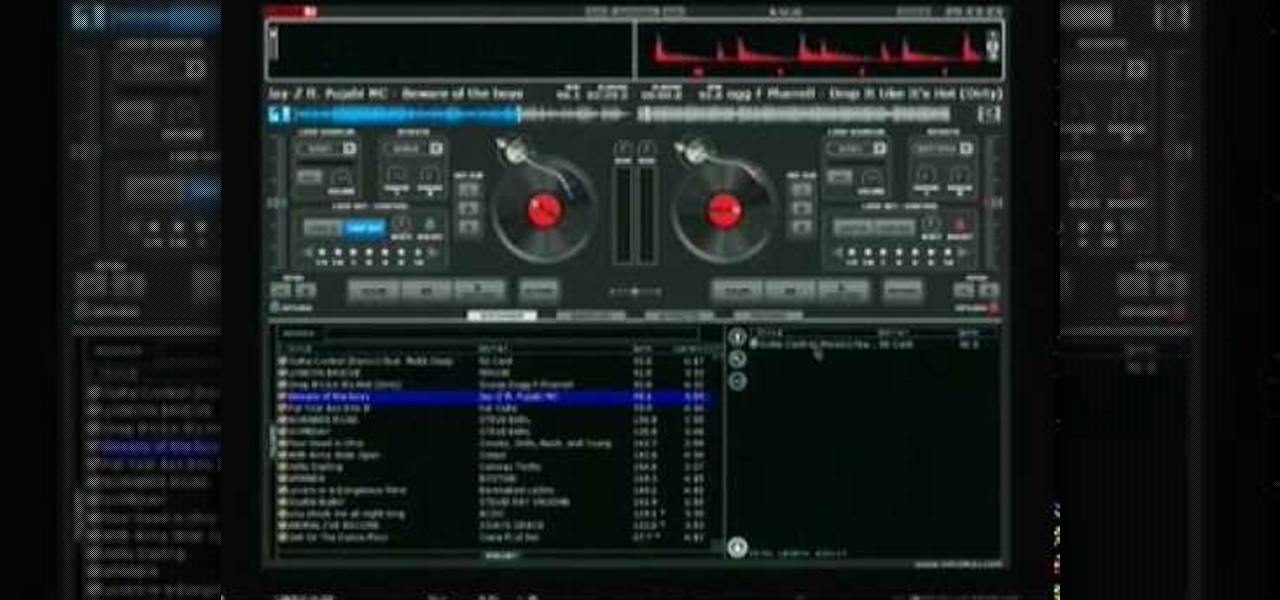
When you're mixing in a club setting, you never want the crowd to stop dancing. Learning how to properly crossfade songs is key in keeping the beat bumping. Master the technique of blending in this video tutorial. Download a free trial of Virtual DJ and start mixing.

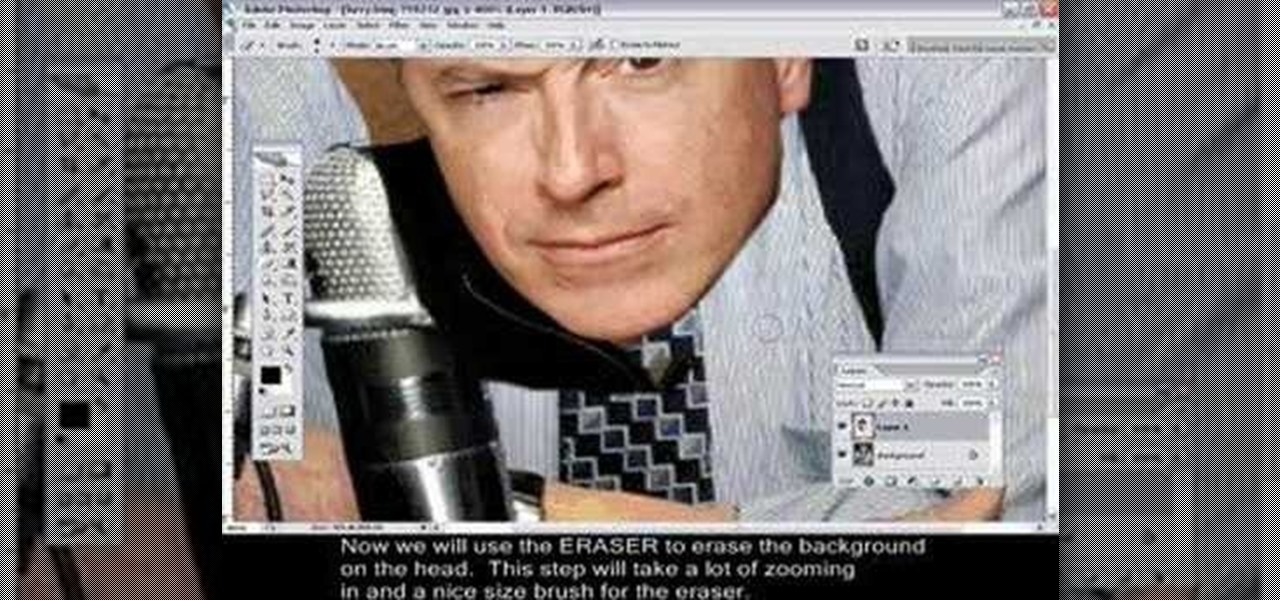
Changing heads is a fun, easy, and valuable technique for beginners that can help build up their confidence in Adobe Photoshop. This Photoshop video tutorial will walk you through the process of extracting the head from one body, resizing it, and blending it on to the body of another picture. By the end of this tutorial, you will become familiar with some basic tools used in Adobe Photoshop, and at the same time, you will learn how to successfully switch heads from one body to another.

A staple of Middle Eastern cuisine, tahini is a delicious sauce made from sesame seeds, garlic and other spices, usually eaten with pita bread. This cooking tutorial walks you through the process of toasting and blending seeds to make tahini. Enjoy with your favorite food and drink!

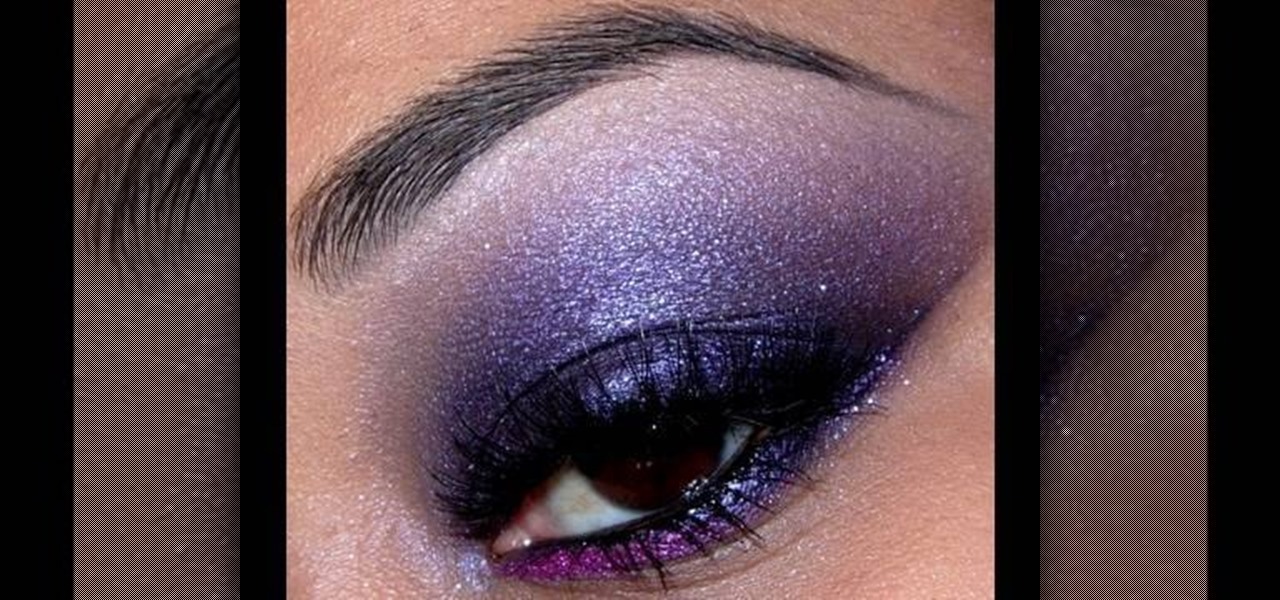
Want to stand out? Try the eye-catching purple smokey eye look demonstrated in this beauty guide from YouTube's Queen of Blending. It's easy! So easy, in fact, that this free video tutorial can present a comprehensive overview of the process in just under three minutes' time. For detailed instructions, and to try this look yourself, watch this helpful how-to.

This technique uses layers, blending modes, and brushes to achieve selective lightening & darkening of an image. Whether you're new to Adobe's popular graphics editor or a seasoned design professional looking to get better acquainted with the industry-standard app, you're sure to benefit from this free software tutorial. For more information, watch this designer's guide.

Learn to use stock photos and blending modes to create a grungy, industrial texture in Adobe Photoshop CS4. Whether you're new to Adobe's popular image editing program or a seasoned graphic design professional just looking to your bag of tricks, you're sure to be well served by this video tutorial. For more information, including step-by-step instructions, and to get started using this effect yourself, watch this free video guide.

If you've ever woken up at 5 AM and hopped out to the beach to watch the sunrise, you know that the sky is the ultimate artist, blending an infinite palette of colors that has been the subject of many paintings, including Van Gogh's "Starry Night."

Before applying any make-up start by thoroughly cleansing the face and moisturizing after cleansing. Start with a good concealer to cover up and blemishes or dark spots. Apply liquid foundation with a stipple brush to ensure all over coverage of the entire face. Now using another brush apply your face powder, you can try MAC skin finish in your own personal skin shade. For the eyes, start with a white shadow and apply all over both lids. Now, take a medium-brown color shadow and apply to the ...

1)Open image, go to channel. Look for the channel that gives the most contrast by going through them one by one.

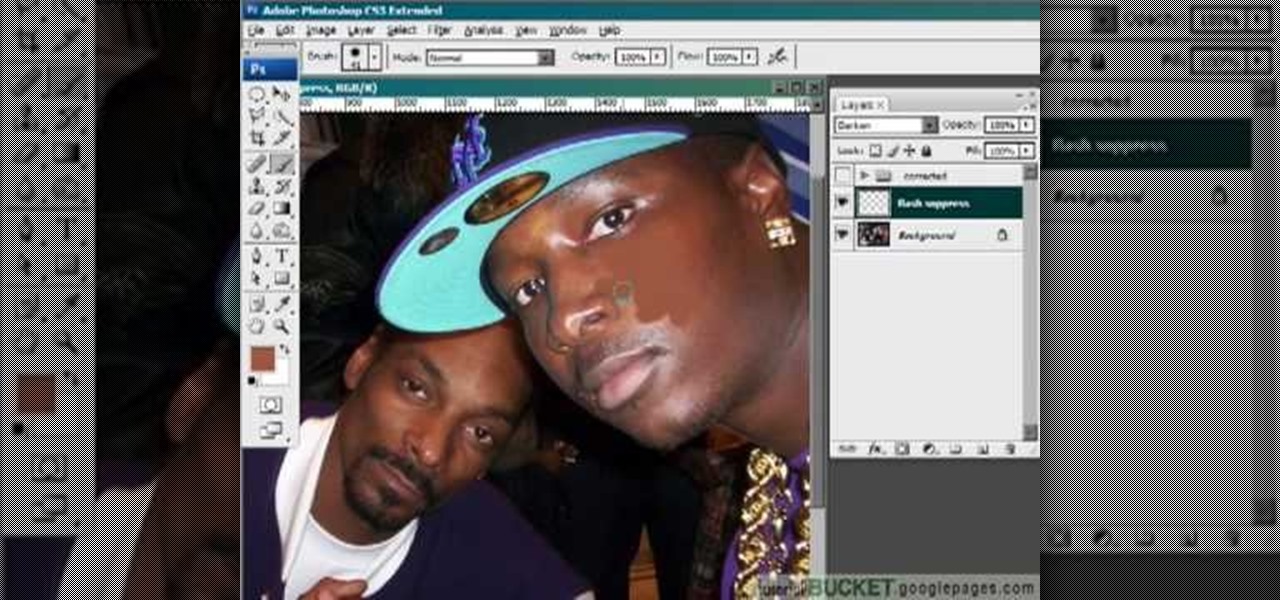
This video gives detailed instructions for removing a hotspot or flash reflection in a photo by using layers and masks. Start by adding a new blank layer and naming it something like Flash Suppress. You will use a special blending mode for this layer called darken. With your paintbrush you will loosely paint out the hotspot, having selected the color tone that you need with the eyedropper tool. Later on you can use layer masks to clean this up. Adjust the opacity of the layer until you have t...

Open the Adobe Photoshop program. Choose a picture with a head shot. This maybe something that is already in your pictures folder on your computer, downloaded from the internet or transferred from your flash drives, and those photos you may have scanned and saved in your computer.

This video shows you how to combine two unique photographs in Adobe Photoshop. Using the mask tool, you can define the level of blur and blending between the two photographs. This is great for slick, professional quality composites.

This makeup palette is the Forest Fairy Sprite Wood Nymph created by MissChievious. Begin with regular foundation. Get a little dark gold and golden cream eyeshadow with a knife & mix it into foundation. Take a large makeup blush type brush & put green shadow around top & sides of forehead blending it up into hairline & around the sides of face, continuing slightly onto the cheek hollows as you might do a light contouring. Take golden cream & dark gold & mix them before applying to center of ...

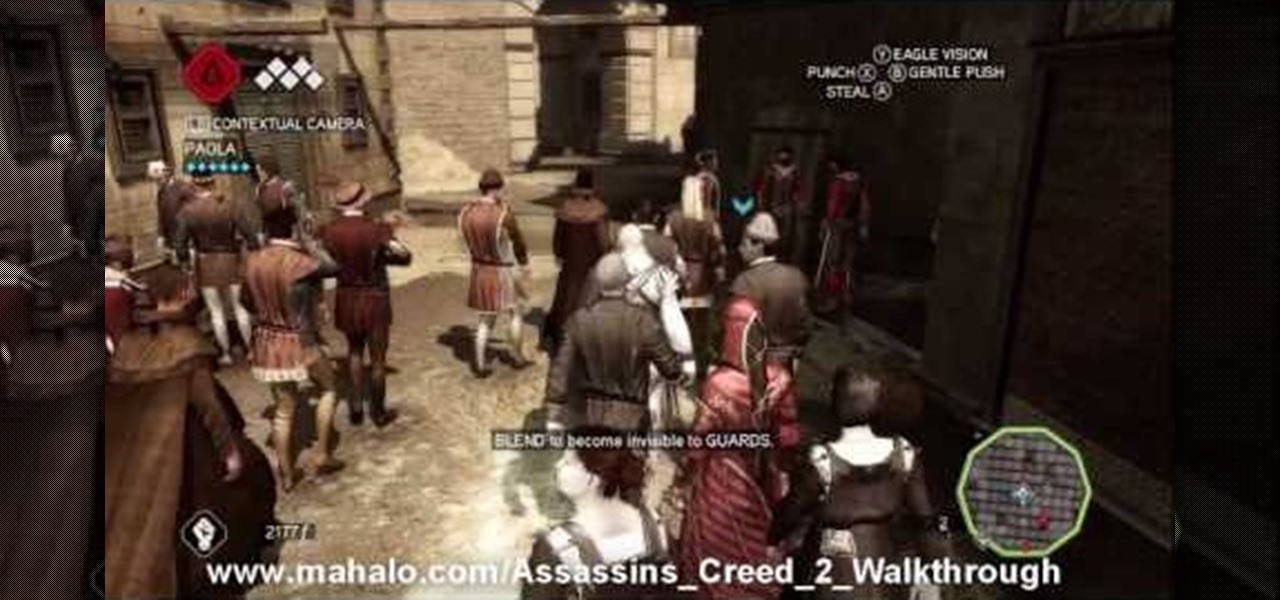
Fitting In: Find your way to the, uh, video arcade and you'll get a cut scene introducing you to the next mission. You'll be introduced to a number of new, basic gameplay mechanics, so nothing's too difficult. At first, you'll learn to blend. Simply walk into the center of a group of women and you should see a white webbing on the ground that lets you know you've blended.

Watch this instructional drawing video to draw a portrait from a photograph in chalk pastels. First draw the outline and fill in a basic skin tone. Build up color and tone by adding layers of pastel, working from light to dark. don't worry too much about blending until you have put down most of the color. Always pay close attention while drawing the eyes to make sure your portraits are accurate and convincing.

Watch this instructional cosmetics video to apply makeup for a Jennifer Lopez look. Products used in this video are a Leow-Cornell 3/8'' brush, 1/2'' Maxine's mop brushes, MAC 219 brush, Sephora 29 blending brush, Ardelle 134 falsies, DUO lash adhesive, and an eyelash curler. For the eyes use Urban Decay primer potion, MAC "fresh cement" shadestick, Revlon colorstay liquid eyeliner, Revlon colorstay pencil eyeliner, and a MAC "wheat" brow finisher.

Watch this instructional cosmetics video to apply M.A.C and Bourgeois Makeup for a pink and black smokey eye. Use M.A.C brushes to achieve a delicate blending effect. Use bold pinks and dark colors for this eye shadowing job.

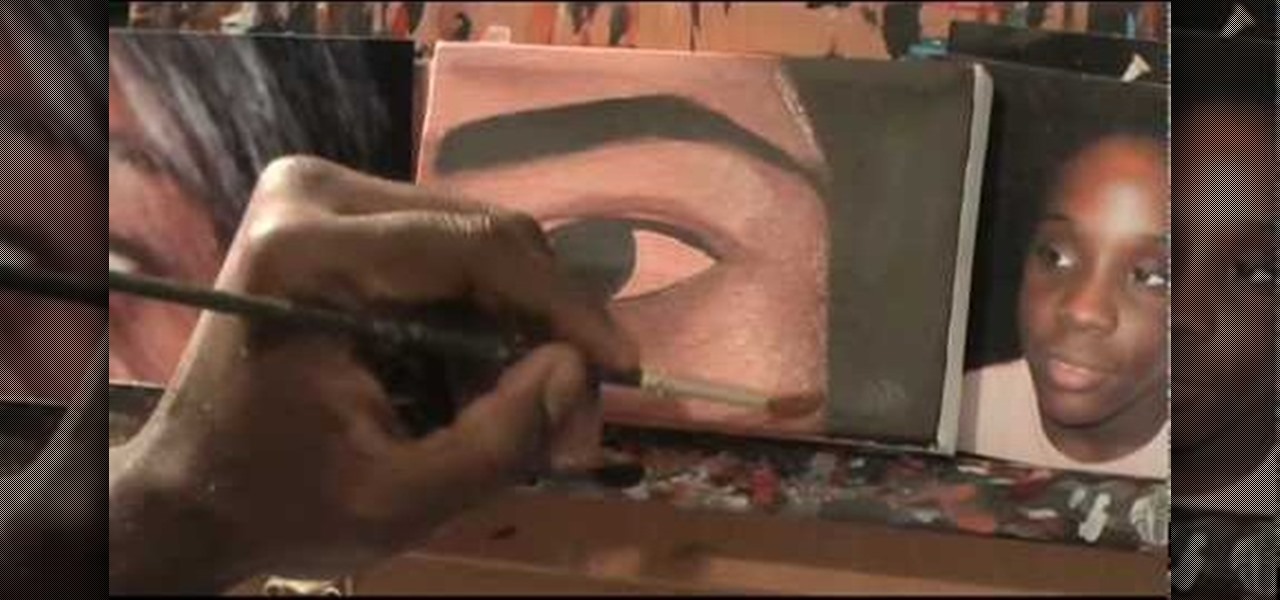
This painting tutorial demonstrates how to make a painting of an eye with acrylic paint. Use a photograph as a reference. Begin with light washes of paint, and slowly lay down more paint mixed with liquid medium or drying retardant. Use small amounts of blending color as a final layer.

In this video you will learn to use Photoshop to turn a photograph into a wall painting. Learn to use cutout filter to enhance the effect. Remember to experiment with different blending modes for your own project!

In this video you'll learn how to play "Mr. Jones" by Counting Crows. It's a good song for blending open chords with your bar code F.

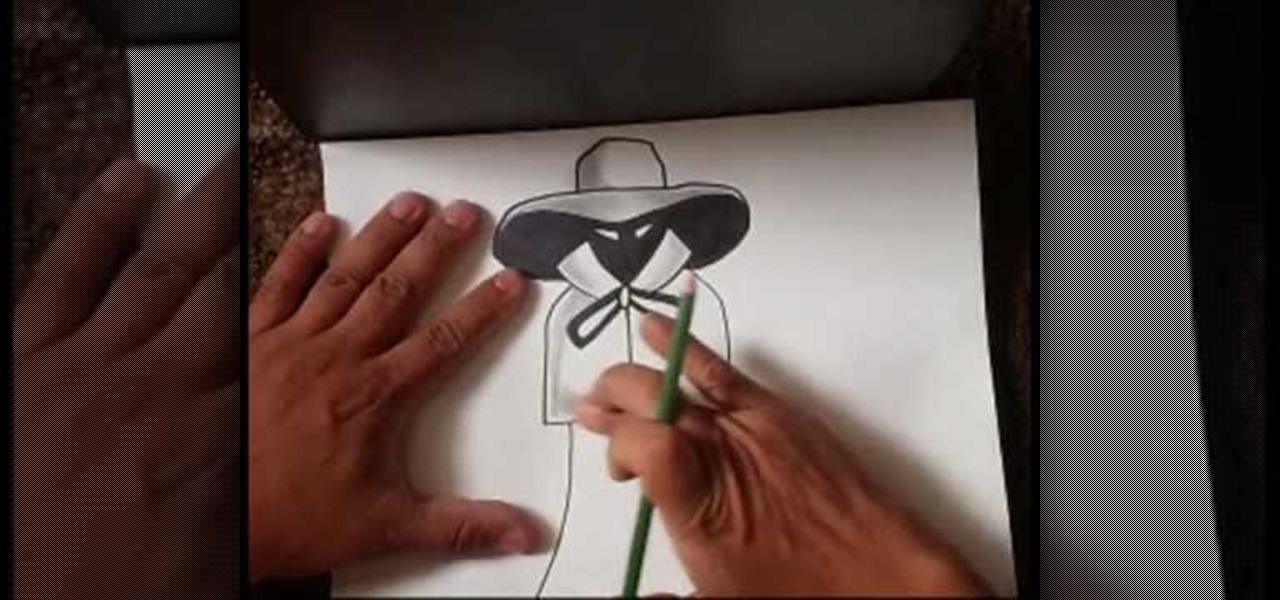
In this tutorial, we learn how to draw a scary character. First, draw the outline with a hat and a cape. After this, use your pencil to color the inside of the hat and the face (except the eyes) completely black. From here, you will shade in the hat by blending in the pencil with your finger. From here, you will color in the bow on the front of the cape and then shade in the sides and the top and bottom of the cape. Use your finger to blend in the pencil and then smudge it around the front of...

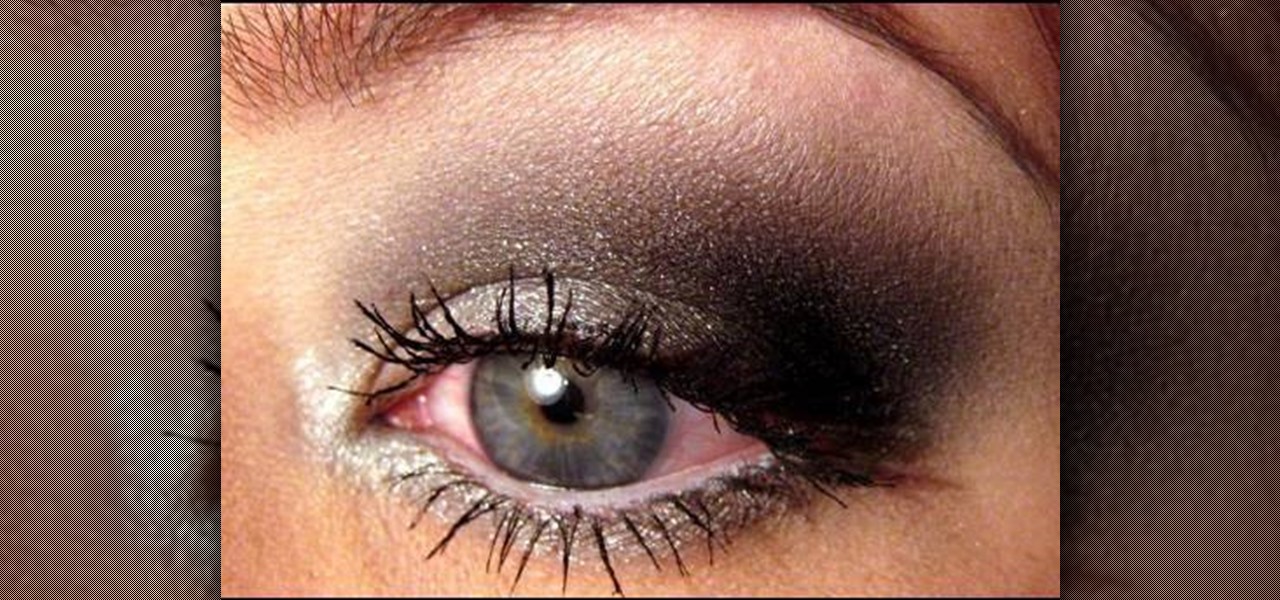
In this tutorial, we learn how to apply a silver smoky makeup look for a hooded eye. Start out with a silver color brushed all over the eyelid. After this, brush a darker color in the crease of the eye, blending in the outer corner of the eye. From here, blend this up towards the brow bone. Place black on the outer corner of the eye to deepen the area, then blend out. After this, apply a light shimmer underneath the brow for a highlight and blend with the bottom colors. Apply the silver color...

Mystery shopping is a great way to make money on the side while getting a chance to shop, check out new stores and restaurants, and over all improve the quality of service at these locations. The key is to not let them know that you are there evaluating them. If you think you've got a knack for blending in, then check out this video. In it you will learn the process of signing up and becoming a secret shopper, what to expect, and some tips for how to carry out your jobs.

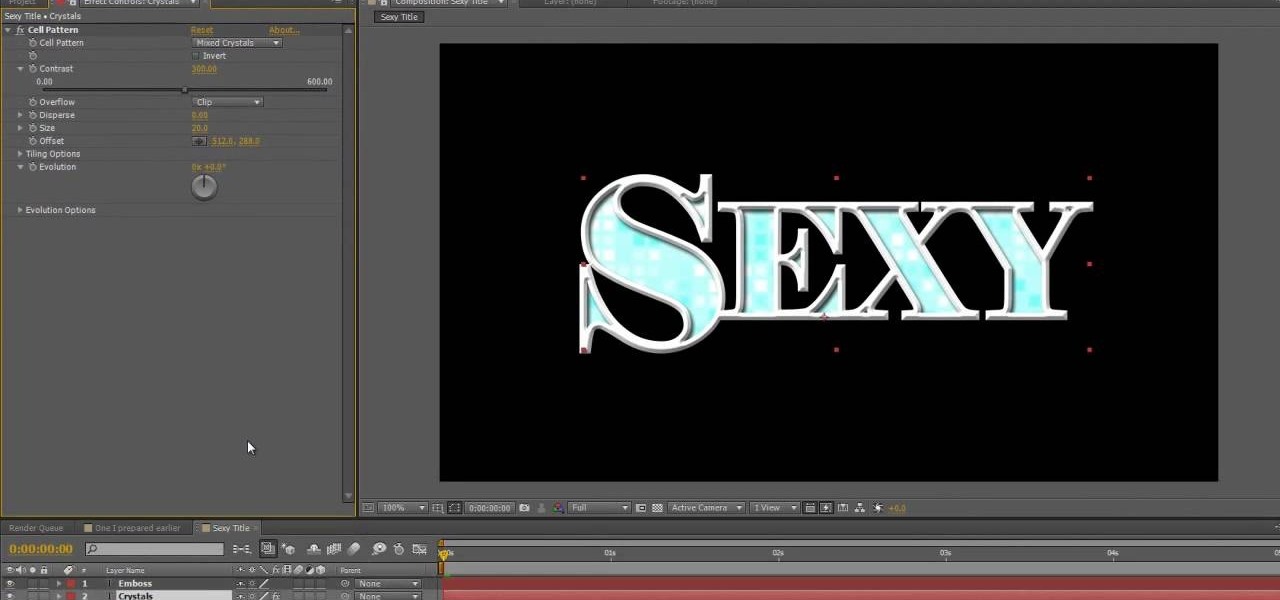
In this clip, you'll learn how to use layer styles, blending modes and cell pattern effect to create a fun, glamorous pre-roll sequence in Adobe After Effects CS3, CS4 or CS5. Whether you're new to Adobe's popular motion graphics and compositing software or a seasoned video professional just looking to better acquaint yourself with the program and its various features and filters, you're sure to be well served by this video tutorial. For more information, including detailed, step-by-step inst...


