The Subject 16 puzzles are part of the subplot to Assassin's Creed: Brotherhood. The first cluster is fairly easy, but just in case you are stuck, this video shows you how to solve them. Choose the right photos, move the pawn and then pick the right dots.
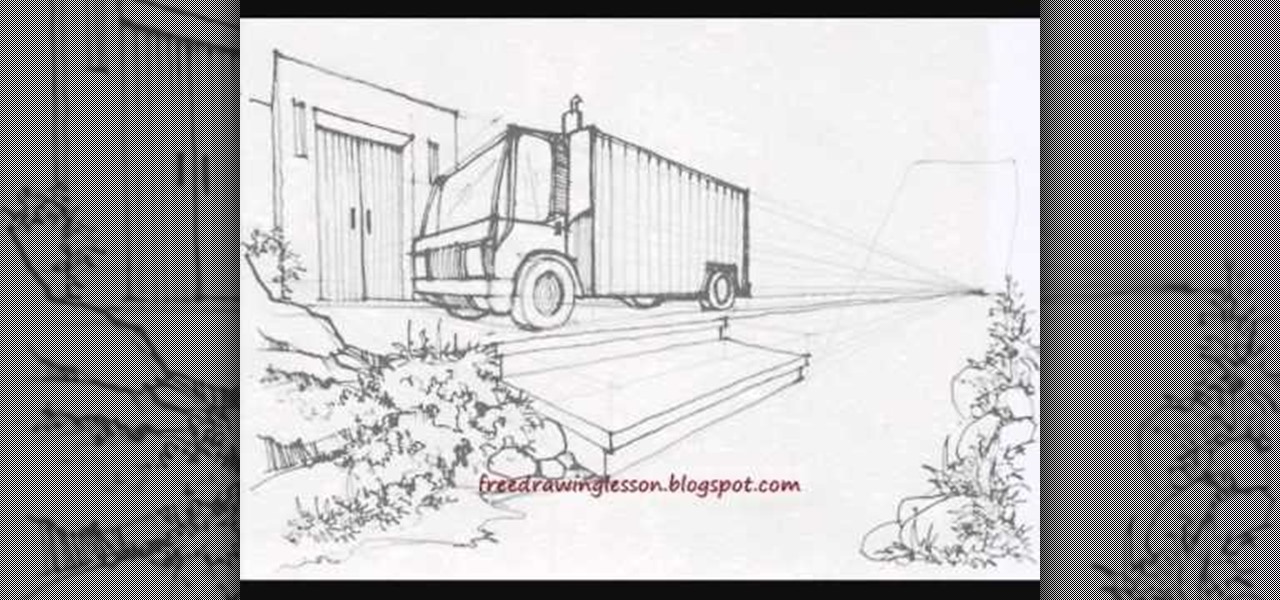
Sometimes the most common, everyday subjects are also the best for practicing basic drawing methods like drafting and shading and contouring. Just take the truck, people, bridge, and garden in this drawing tutorial, for instance.

Chris Rutter teaches us how to use off camera wireless flash in this tutorial. First, attach the flash to the camera and aim it towards your subject. For a more flattering result, place the flash gun on a tripod that is placed on the right hand side of the subject. Now, go to your camera and set the control so that the flash with go at the same time you take the picture. Now, turn the camera on and take a picture of your subject again. Your flash should go off at the other location, and your ...

If you need help with creating a sentence diagram and need help with it for homework or just because, this tutorial is sure to help. In the video, you'll be finding out how to create a diagram for the nominal clause as the subject.
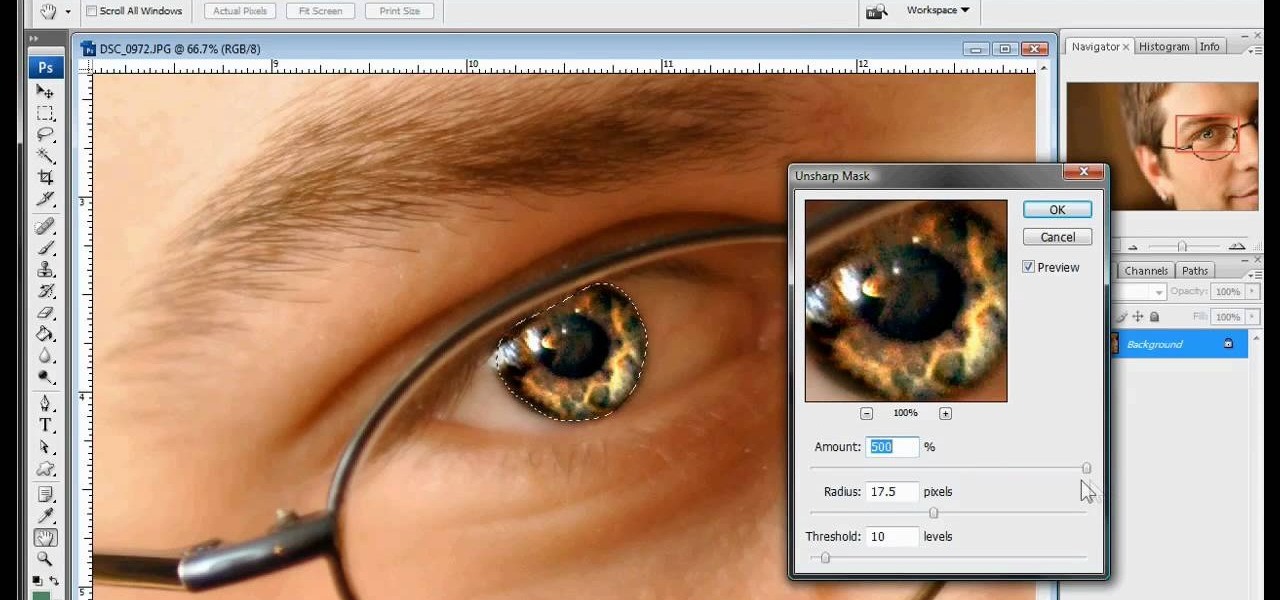
The white bits on a person's face are often what make them appear healthiest and happiest. In this tutorial, learn how to enhance someone's face by improving the white areas of their faces. In it, you will learn how to focus on the eyes and teeth of your subject to whiten and enhance them. With this trick, your subject will appear cleaner, healthier and more alert.

In this tutorial, learn just how easy it is to enhance your subject by changing their backdrop. By changing the background of a photo you can place your subject in new and exciting places, and enhance the color of their skin and eyes with the right color pallette.

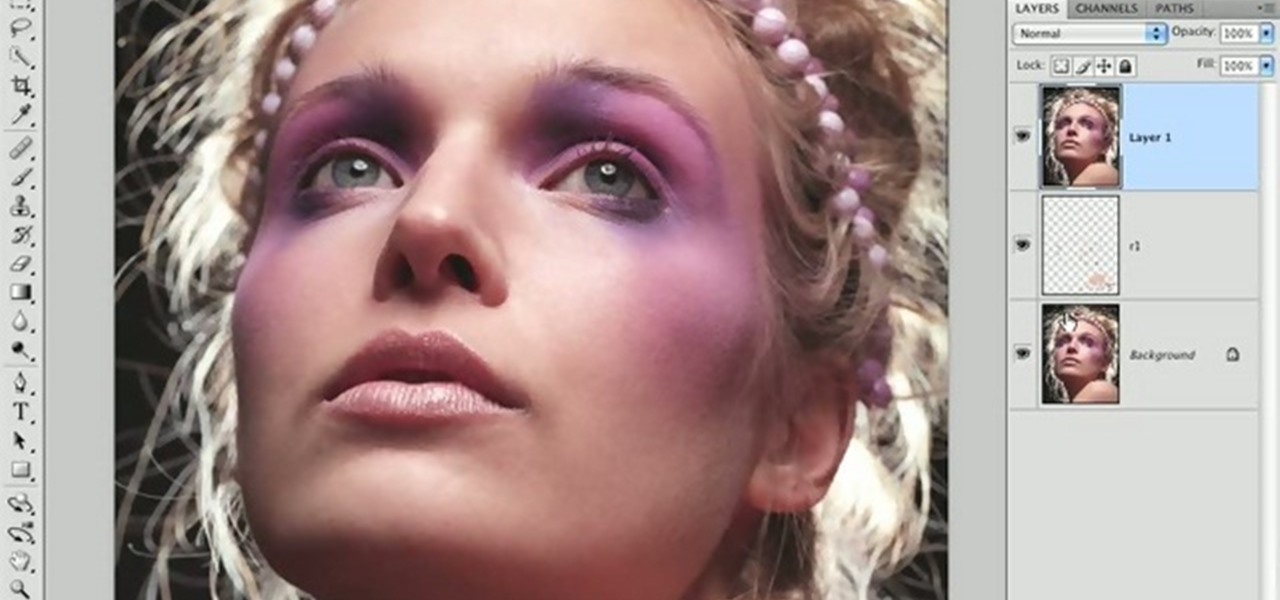
Perfect skin is a big part of beauty. In this tutorial, learn how to enhance the natural texture and tone of your subject's skin in Photoshop CS. By enhancing your model's skin, you will give them a more luminescent appearance and make an overall better picture.

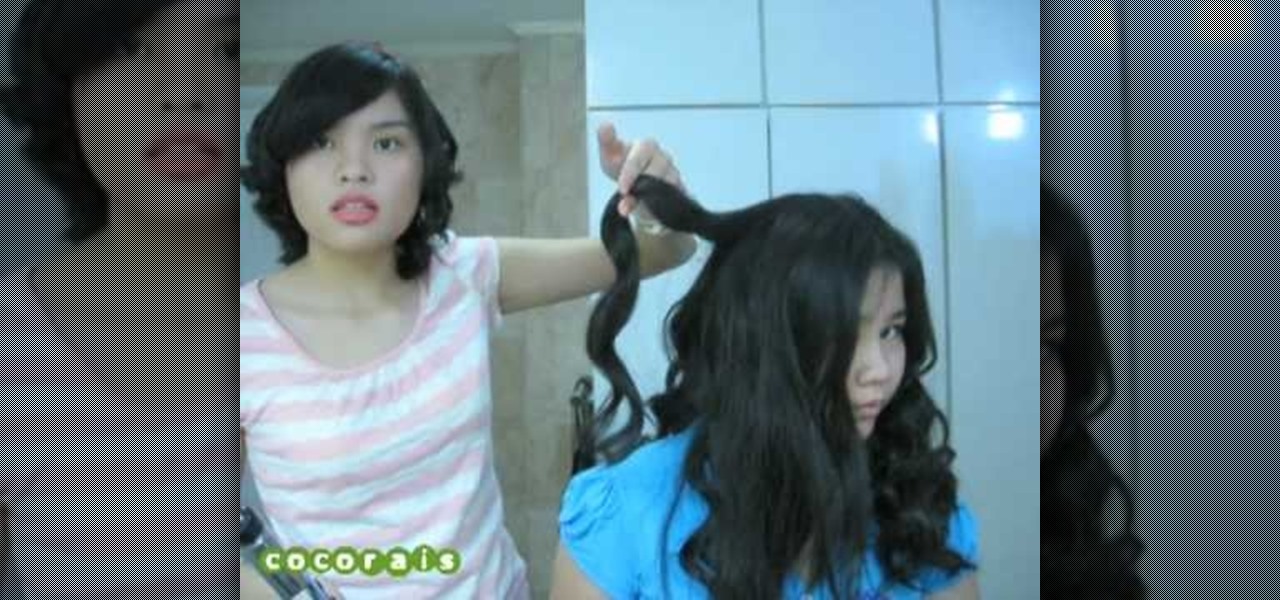
The video begins with a photo of Miley Cyrus with her curly wavy hair. The hair stylist then begins to demonstrate the process to create that same hair style on a subject. She begins by brushing the subject’s hair and then sprays some heat protecting spray onto the hair. The next step is to spray curl boosting spray onto the hair. The hair is sectioned off into small sections. Next is to use a curling iron and wrap the hair around the iron in a spiral pattern and hold for about 30 seconds. Th...

A great photographer is more than a technician, but all great portraits begin with a photographer’s mastery of equipment and technical requirements. Set yourself on the road to greatness by learning the basic components of photographic portraiture. You will need a camera, a telephoto lens, and a subject. Props are optional. Compose your subject by using the rule of thirds, where your subject is either in the left or right third, not the direct middle, for the most intresting pictures.

Depth of field is the term for how much of an area your camera keeps in focus. Moving your camera allows you to keep your subject clear, and make the background blurry. Use this video to get better control of your film making.

In this video an American English teacher shows the difference between subject and object pronouns.

Learn how to mask a subject out of an image and transfer them to a new background using Photoshop.

Learn the subject pronouns and present tense AR verbs in Brazilian Portuguese. Watch, listen, and repeat.

Jerry Hyman has been interested in photography since he was 13 years old, and is a former professional photographer. n the premiere episode of Woven Shadows, Jerry describes the importance of positioning the subject of a photo relative to the light source.

In this Computers & Programming video tutorial you will learn how to create a new account, add and edit in Blogger. First go to Blogger. On the home page click on ‘create a blog’. You will be taken to the account setting up page. Feed in all the details including our email. Then open your email and click on the confirmation link. You will then be taken to your dashboard or your home page. On this page you can click on ‘new post’ button and start writing your blog. When you do this a word proc...

LEGOs are more than just a toy for young children— it's an emerging art form combining photography, stop-motion (i.e., brickfilms), and imitative models that portray today's pop culture as it is. It's something visual culture analysts are sure to be studying over the next decade, and Chris McVeigh, from Halifax, Nova Scotia, is sure to be studied for his LEGO mastery.

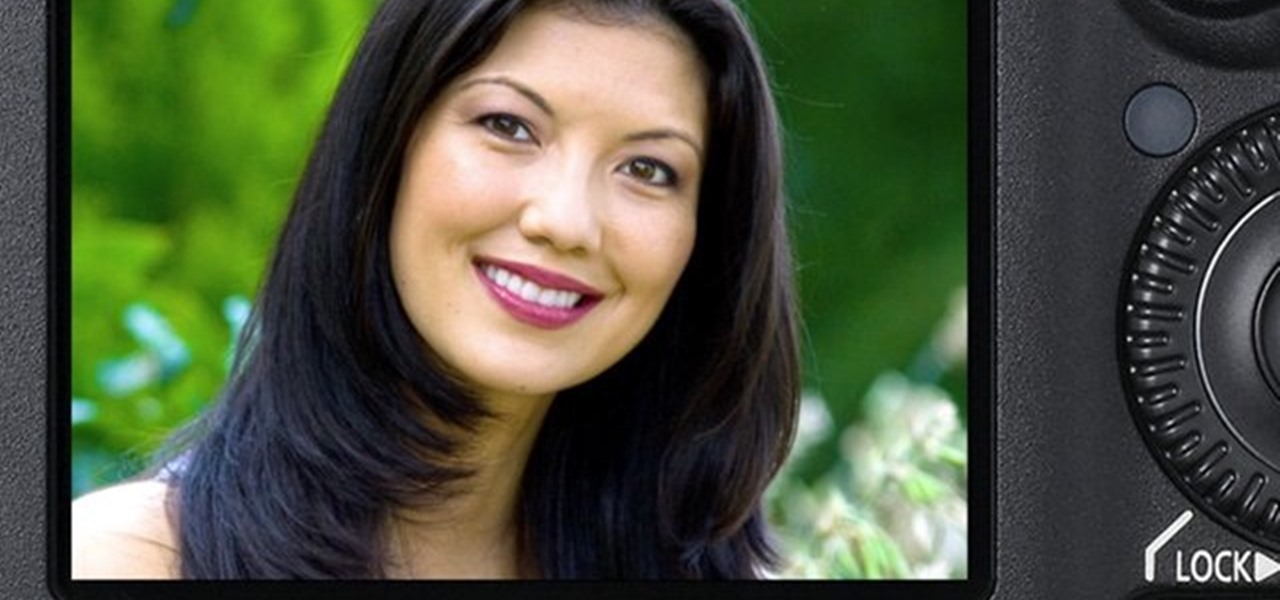
Let your Canon EOS 7D do all the hard work. With the AF Point Selection option, the digital SLR camera will do all the focusing for you. It's easy to compose and shoot in just one step.

In a smaller interview setting, the lighting will be much different than a bigger scene. You will need to have a good focus on your subject's face and body as well as a clear background so your viewers don't get tired. In this tutorial, learn exactly how to set up your lighting for a smaller setting such as an interview while using a Canon EOS 7D camcorder. This clip will take you through a total step by step lesson so you can get started making great films at home.

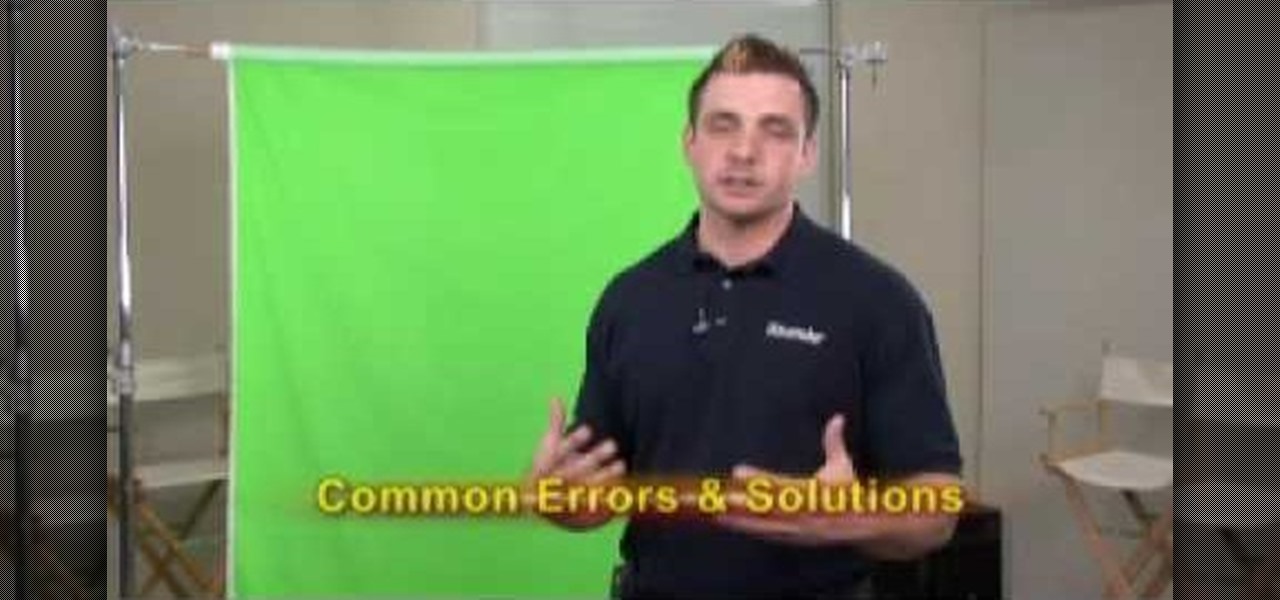
This video shows how to properly set up a green screen, to set up the screen we are taking into account this four factors:

We know your time is valuable to you, so starting this week — and continuing every Wednesday — we are going to release weekly Dev Reports that quickly highlight important news and updates that augmented and mixed reality developers should know about.

In this Fine Art video tutorial you will learn how to focus stack for great macro photos. This video is from EPhotoZine. The idea is to take several pictures of the same subject at different distances. For this you will need focus stacking. If you focus with a wide aperture, everything in front and behind the subject will be out of focus. The idea of focus stacking is to shoot several shots and put them together in a program that automatically brings them all into one. And that is focus stack...

Despite a lack of native kerning tools for typesetting in Cinema 4D, it is possible with a little bit of effort. Letters and characters can be spaced individually using Mograph and the plane effector. Another solution is to first kern the entire block of text externally using Illustrator and Photoshop, and then import into Cinema 4D.

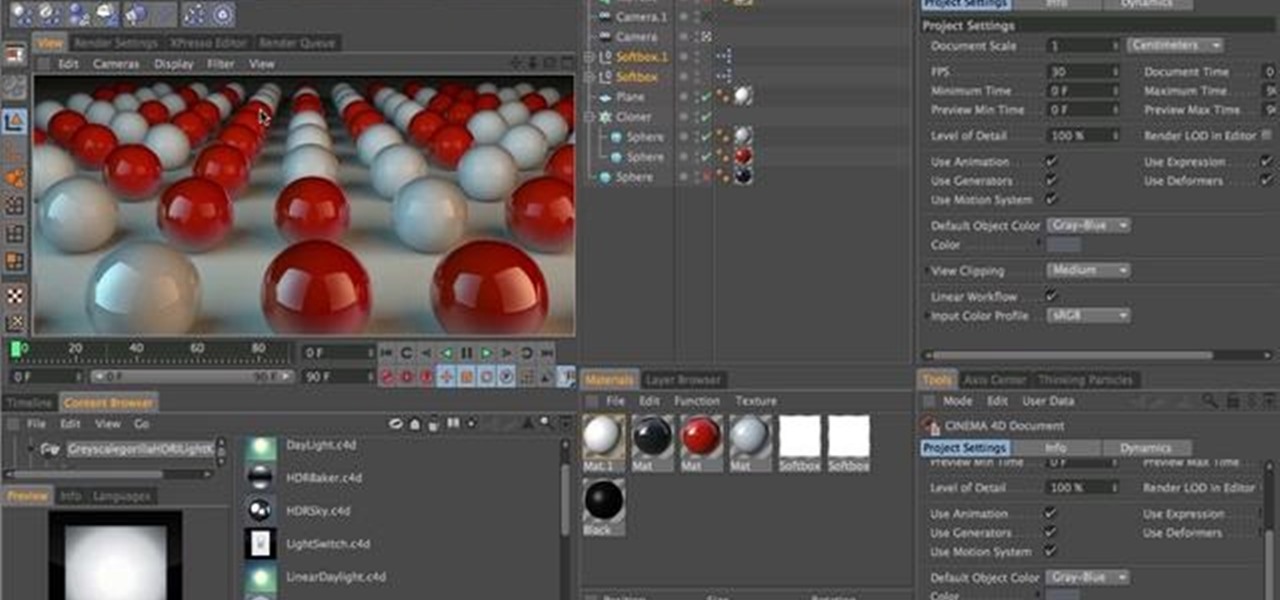
Linear Workflow is automatically activated in new projects in Cinema 4D and is a feature to ensure that lighting falloff is rendered more accurately and realistically on light sources, textures and reflections. Greyscale Gorilla explains the concept in this demonstration video.

Increased productivity in Cinema 4D (or other processor-intensive applications) does not always have a linear correlation wtih the speed of the machine that the work is performed on. Nick Campbell of Greyscale Gorilla explains what exactly it is that a fast machine allows one to do, what kind of machine to get, and what kind of work can one expect to do on it.

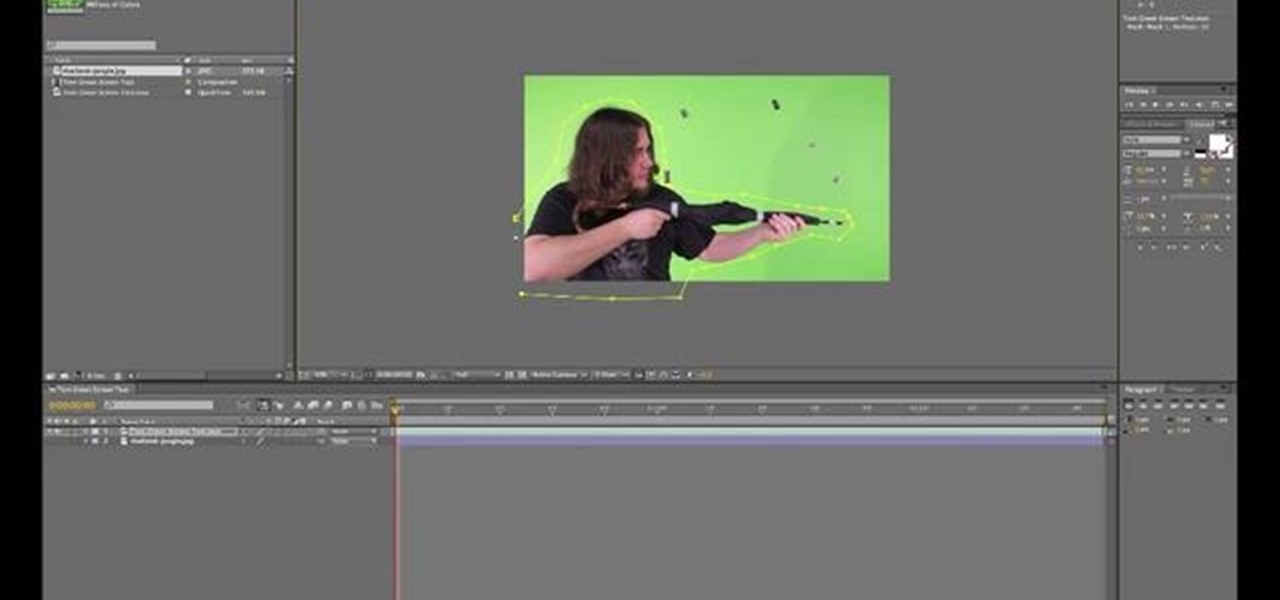
Replicate the Predator-style video camouflage in After Effects by using displacement maps. This uniquely stunning and groundbreaking visual effect has been seen countless times in film and television to show video camouflage, invisibility, heat distortion, holograms, and static interference, among others. This video shows how to replicate this effect by using green screen footage, Fractal Noise and Displacement Maps, all within Adobe After Effects.

In this clip, learn how to generate ordered lists in the WordPress post editor. Every version of WordPress brings with it new features, new functions and new ways of doing things. Fortunately, the very same technology that allows an open-source blog publishing application like WordPress to exist in the first place also makes it easy for its users to share information about the abovesaid things through videos like this one. Take a look.

In this clip, learn how to undo and redo actions in the WordPress editor. Every version of WordPress brings with it new features, new functions and new ways of doing things. Fortunately, the very same technology that allows an open-source blog publishing application like WordPress to exist in the first place also makes it easy for its users to share information about the abovesaid things through videos like this one. Take a look.

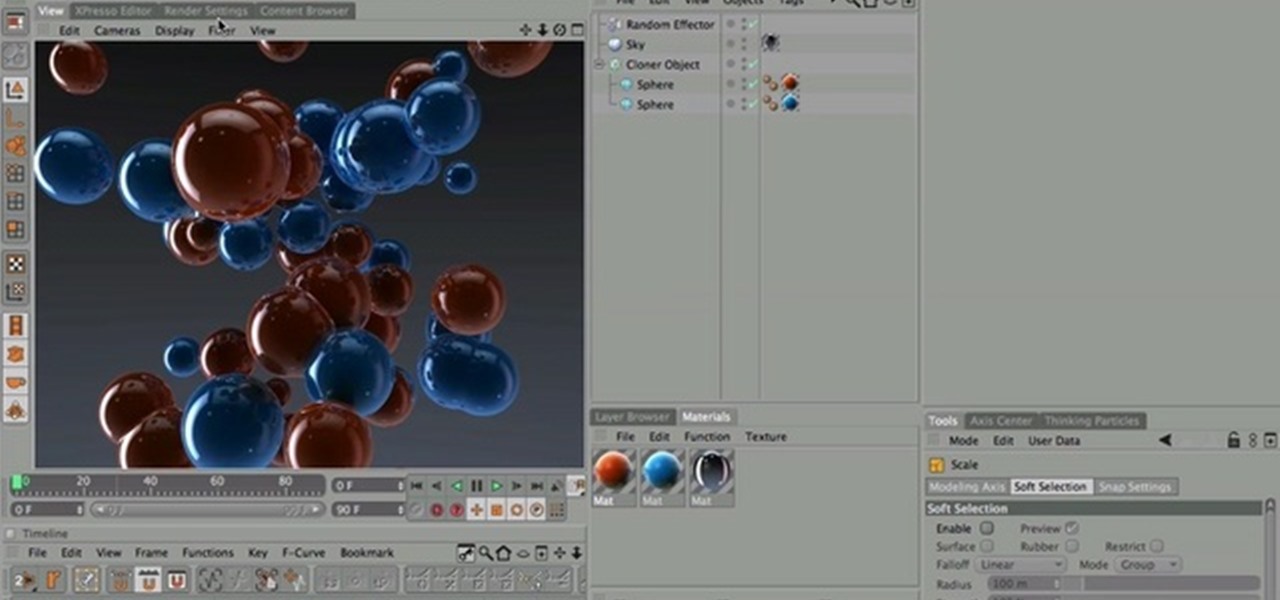
Nick from Greyscale Gorilla shows you the basics of setting up a project file, creating a scene, and rendering a final image in Cinema 4D. He also does a basic tutorial for post-production HDR lighting.

This video tutorial will show you how to apply four styles of lighting. This video teaches you how to apply four styles of lighting, namely Rembrandt, Beauty, Cameo and filling in from the Key Side. You will learn about high contrast lighting schemes, dealing with the amount of contrast used to highlight a person's face, as well as spotlight effects, and how these tend to draw the viewer into the scene. You will be shown how the Rembrandt Lighting setup contains three steps, namely taking a K...

In this video tutorial, learn how to create a really beautiful, eye popping, neon light "magic effect". Brighten up your asthetic presentation with this cool Photoshop trick, originally found on this blog. This tutorial is constructed using Adobe Photoshop CS3, but please note: This trick does work with CS4, but yields sightly different results. One can download the font used in this tutorial, here.

Get all of the info on Thesis themes for you WordPress blog. Watch this video tutorial from 4Blogger to learn how to add a background box and color in a Thesis sidebar.

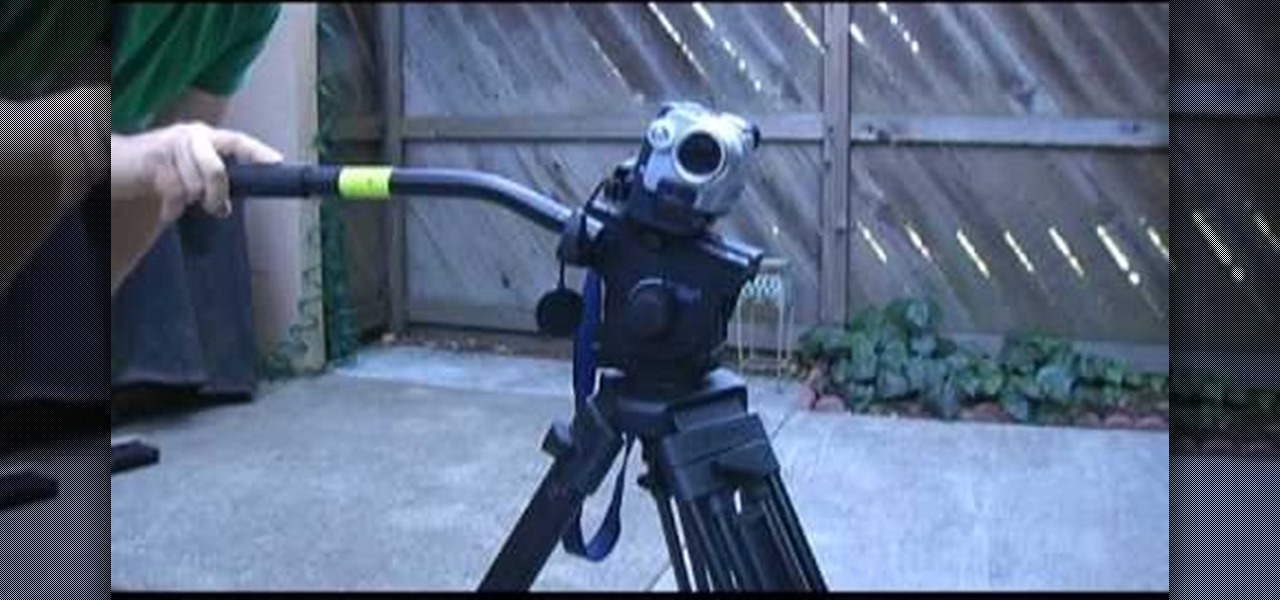
MatttChapman shows you how to add a simple dutch tilt to your filmmaking bag of tricks. Tripods conventionally only pan and tilt, but this trick adds an extra dimension. All you need is a tripod and a camera! It's just a matter of messing with the base plate to get this simple dutch angle.

Using a MobileMe account and iPhoto, it's easy to publish your photos on the internet, whether to a webpage or a blog. NOTE: MobileMe is the replacement for .mac accounts.

Build a hover board (or hover craft) from scratch. Check out www.jasonbradbury.com, the creator's blog.

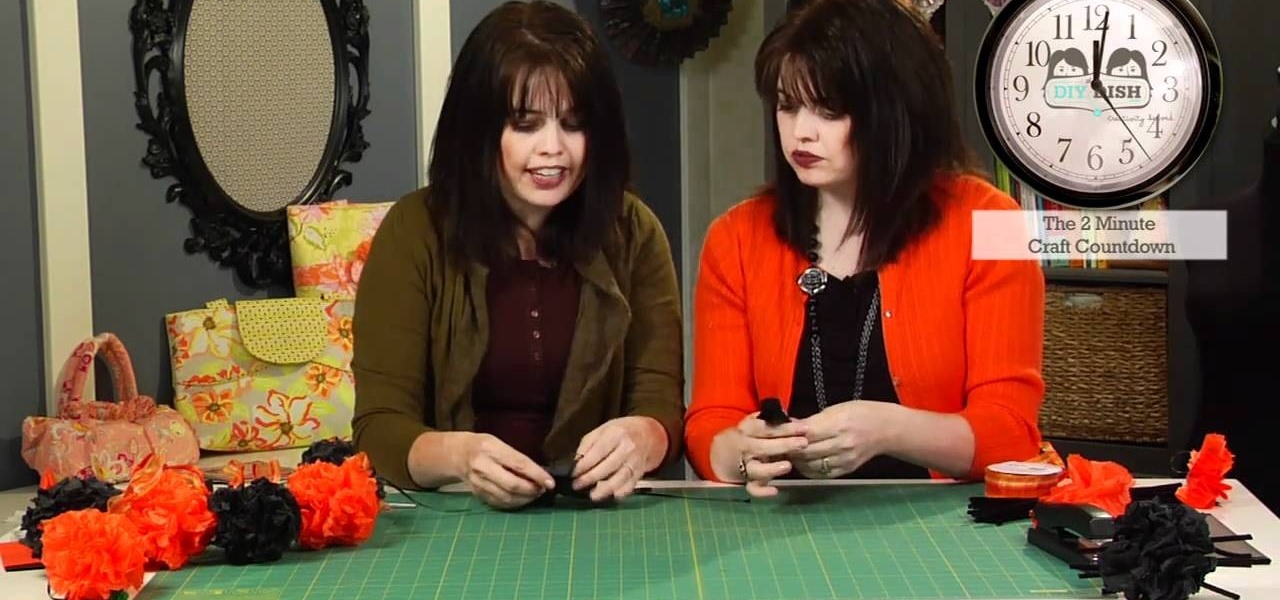
There's always a lot going on in the craft world, with ingenious new products being made every day. But there are also trends in decorating that rise up and end up on every crafter's blog. Right now, that ternd is garlands.

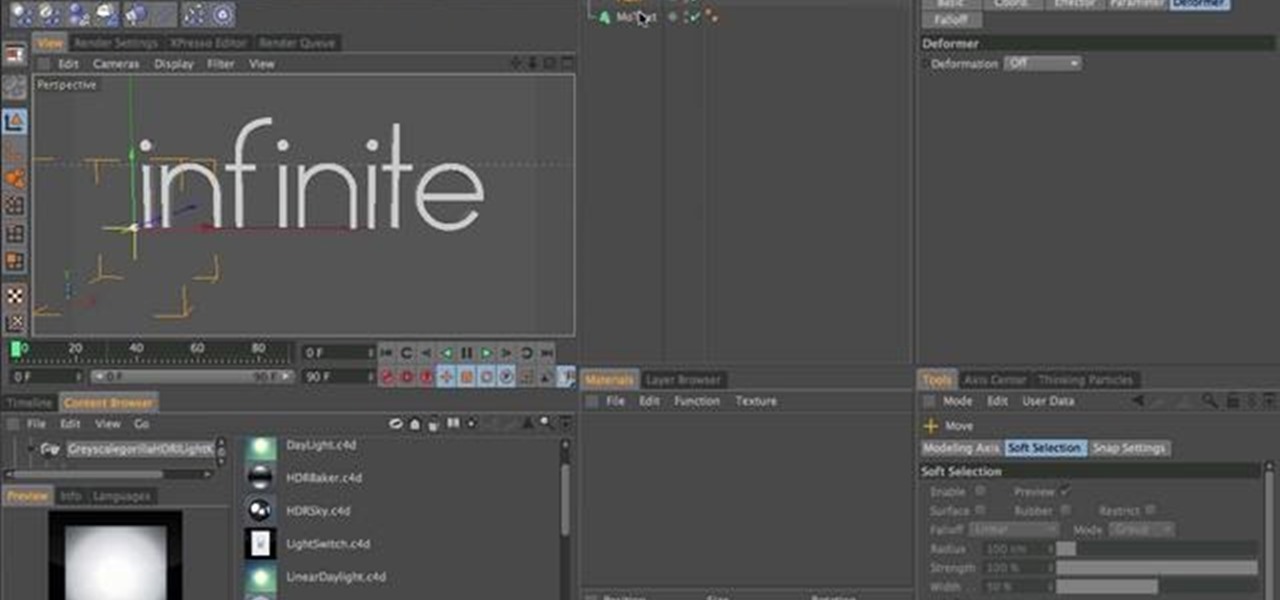
Create a three-dimensional logo in Cinema 4D and Photoshop with realistic lighting, reflection and shadows. The render is created in 3D inside Cinema 4D using Mograph Text and a bend deformer, textured and lit for initial reflections, and polished in Photoshop with blending modes, blurs and curves. Greyscale Gorilla demonstrates in this informative hour-long video.

In this clip, learn how to create a smart sidebar WordPress widget to display your links. Every version of WordPress brings with it new features, new functions and new ways of doing things. Fortunately, the very same technology that allows an open-source blog publishing application like WordPress to exist in the first place also makes it easy for its users to share information about the abovesaid things through videos like this one. Take a look.

See how to enable the multisite function in WordPress 3.0. Every version of WordPress brings with it new features, new functions and new ways of doing things. Fortunately, the very same technology that allows an open-source blog publishing application like WordPress to exist in the first place also makes it easy for its users to share information about the abovesaid things through videos like this one. Take a look.

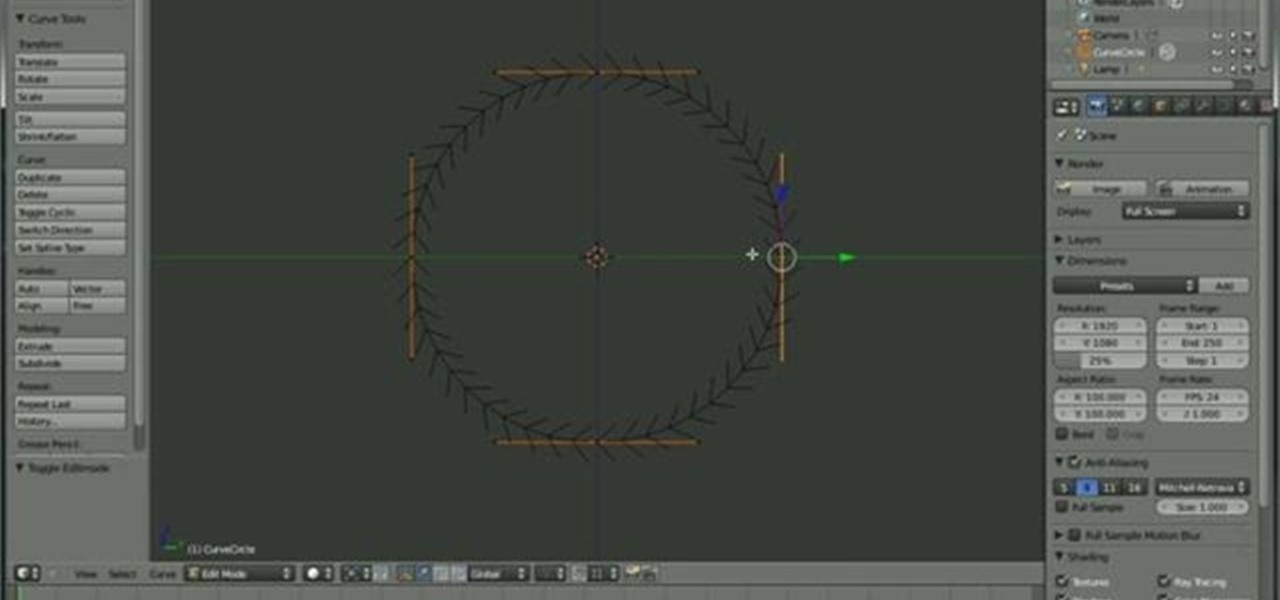
In this video, learn how to make a tank track using the computer program, Blender 2.5. This track is great for animation and design and can be added to any drawing of an army tank. Tracks can be tricky to get right but this video should be able to help you out and walk you through it.

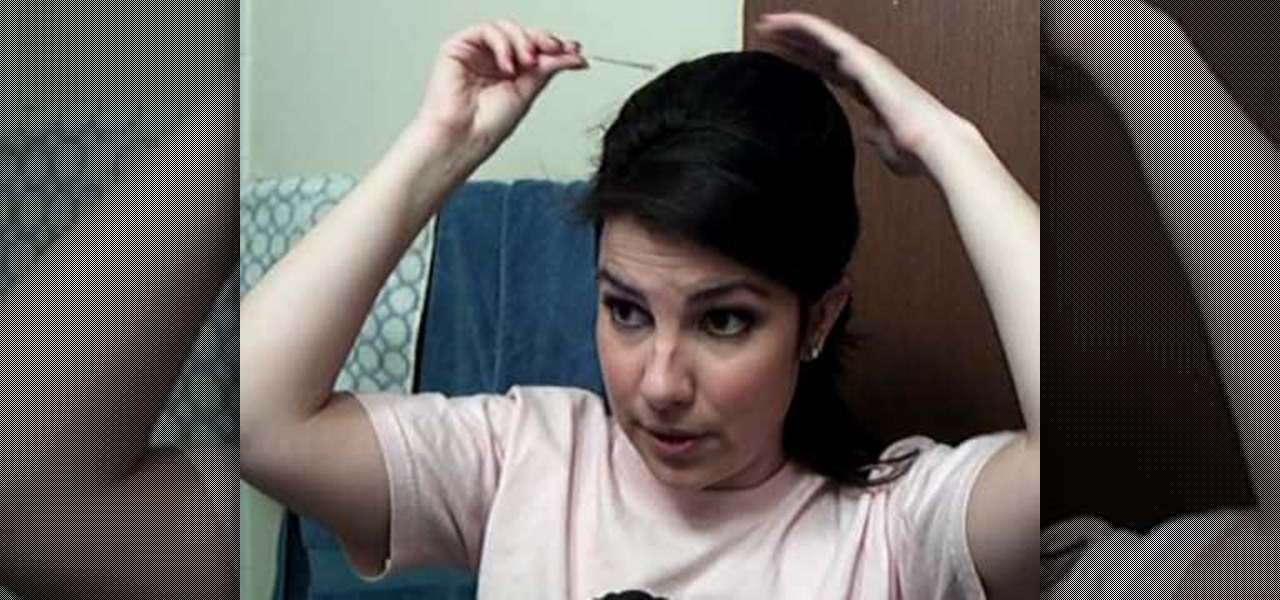
In this video, learn how to use the Classic Bumpit to create height to your hair, and how to style it with a ponytail for a classic glamour look. Watch as the videomaker demonstrates how to keep it from showing and coming out with help from a few bobby pins.


