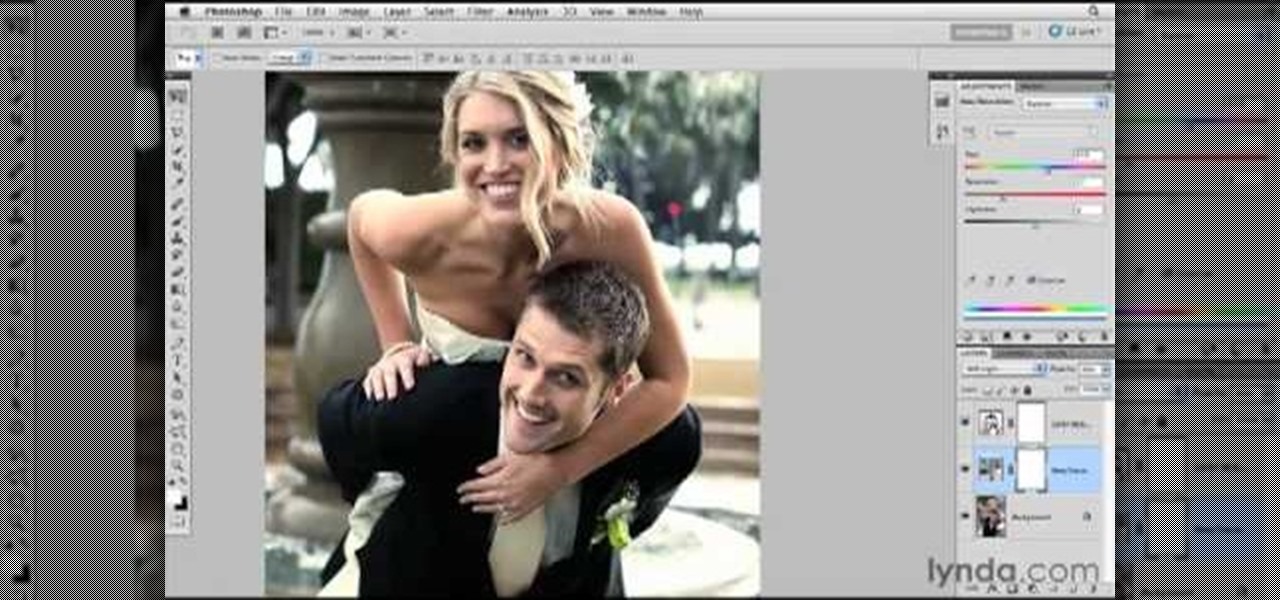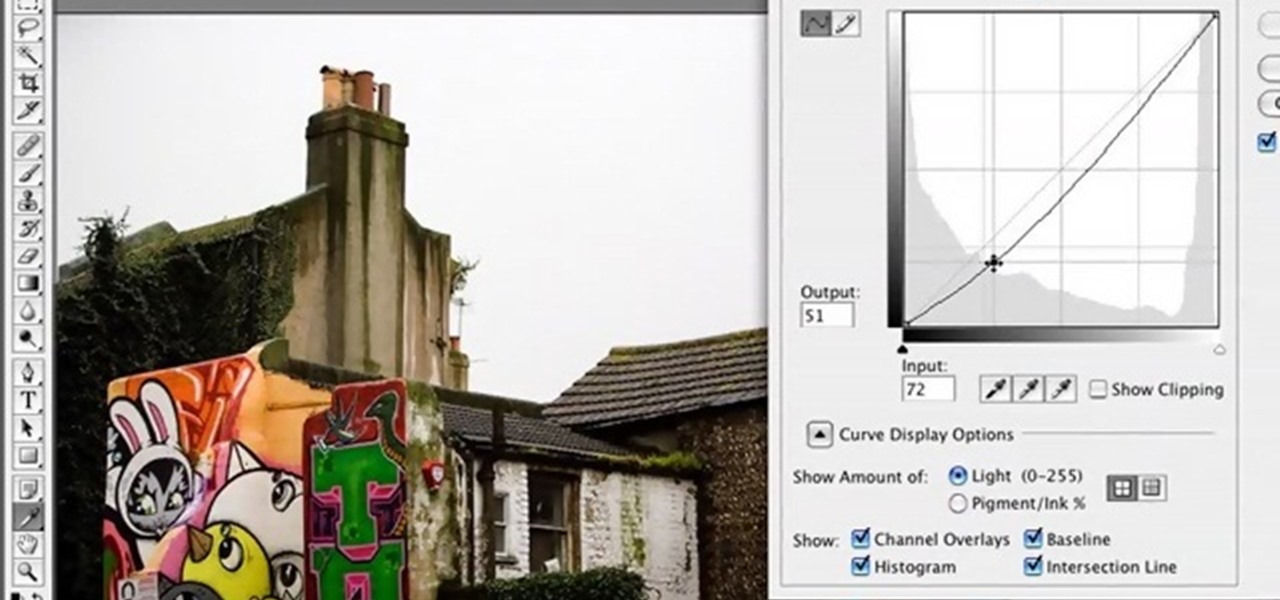
Learn how you can remove the blue haze from photos in Photoshop with this tutorial! 1. Select any image and right click on the menu click on Levels. 2. Select each and every channel and set input levels for red, blue and green and see the preview of the image. Set as RGB in Channels. 3. Now, click on "Sample in image to set gray points" and click on the area of the image which need to be set gray click on ok button. 4. From the picture icons select eye dropper and make sure it is set as 5 by ...

Neutral, universally flattering colors should be the bread and butter of both your makeup collection and makeup routine. Not that we're not a fan of bright and bold hues; it's just that neutrals like taupe, ecru, and smokey grays make every gal look fantastic, no matter her skin tone or eye color.

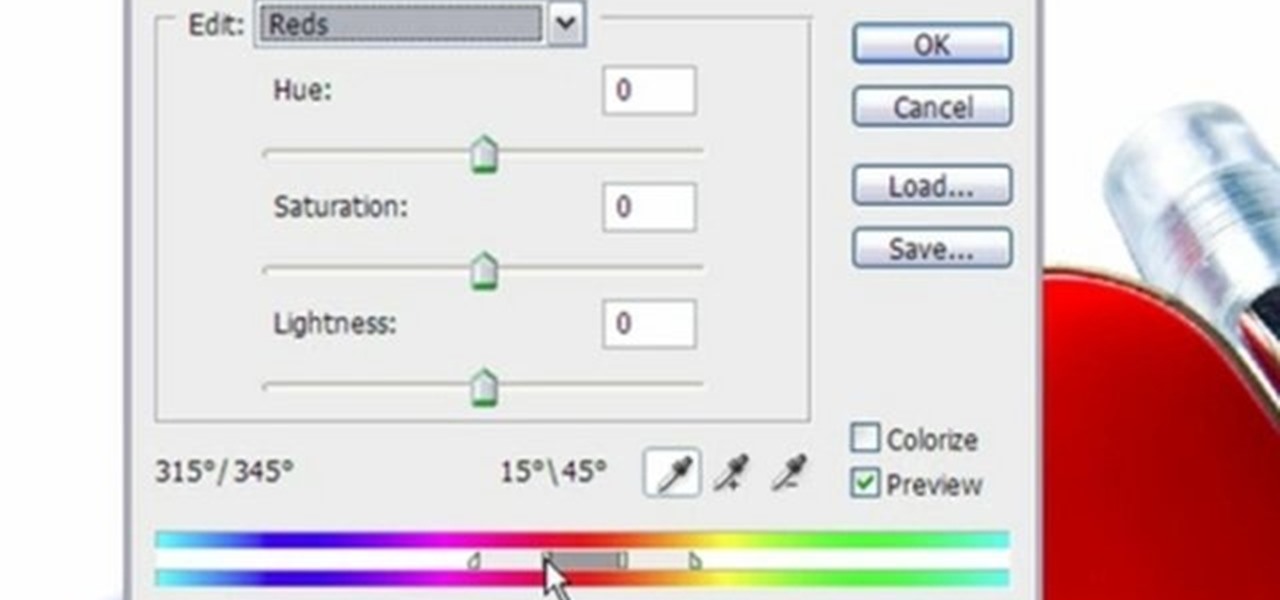
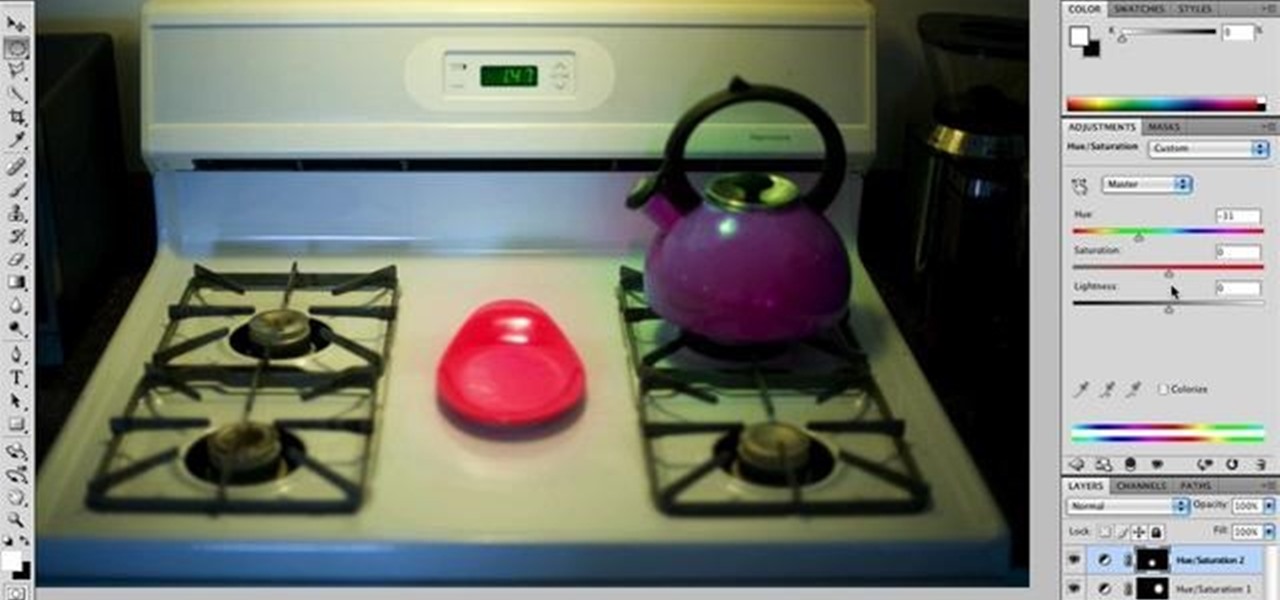
This video shows three ways to change the color of an object in Photoshop. The first method is of hue and saturation. Go to 'Image' & 'Adjustments' and choose 'Hue/Saturation' or press Ctrl+U as shortcut. Go to Edit and choose the color you want to change. As you select the color, a grey bar appears in between the rainbow bars at the bottom representing the color you want to change and the feathering which it will cause. You can change it by sliding it outwards. Slide the 'Hue' slider to chan...

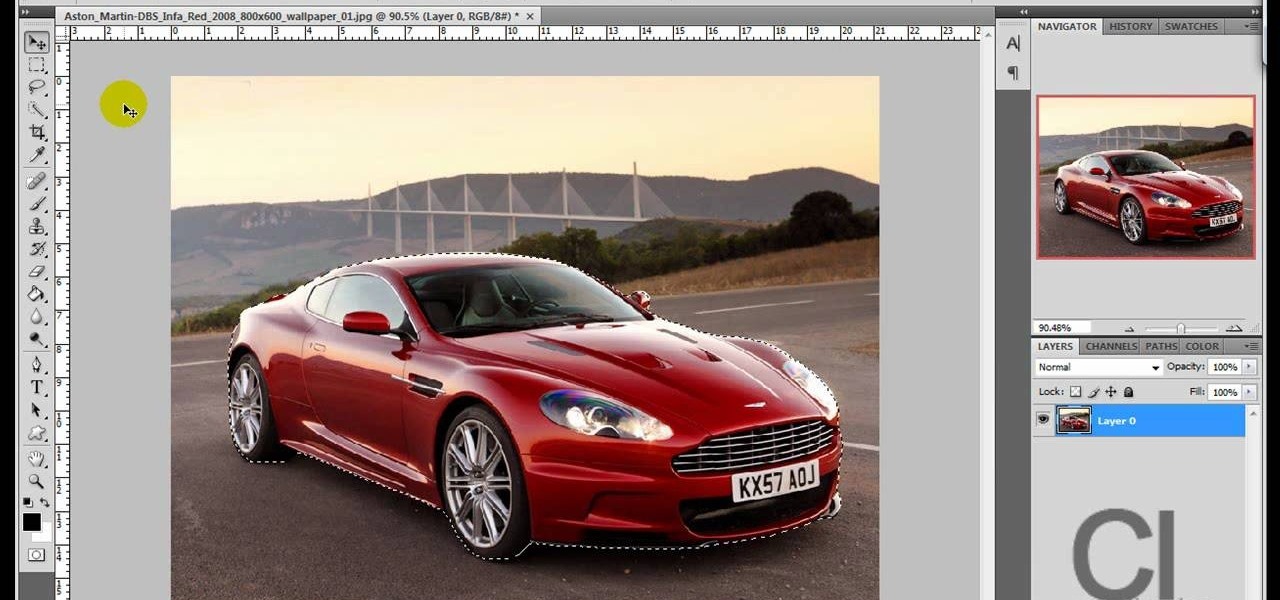
In this video, we learn how to repaint your car in Photoshop CS4. First, open up Photoshop and open up the car you want to change. Now go to image, adjustments, then hue/saturation. After this, choose a yellow hue and click on different areas to change the colors that you are seeing. You can choose a different color if your vehicle is blue, brown, black, etc. After this, move the bar on the hue lever and you can change the entire color of the car. You can change it from purple to pink to neon...

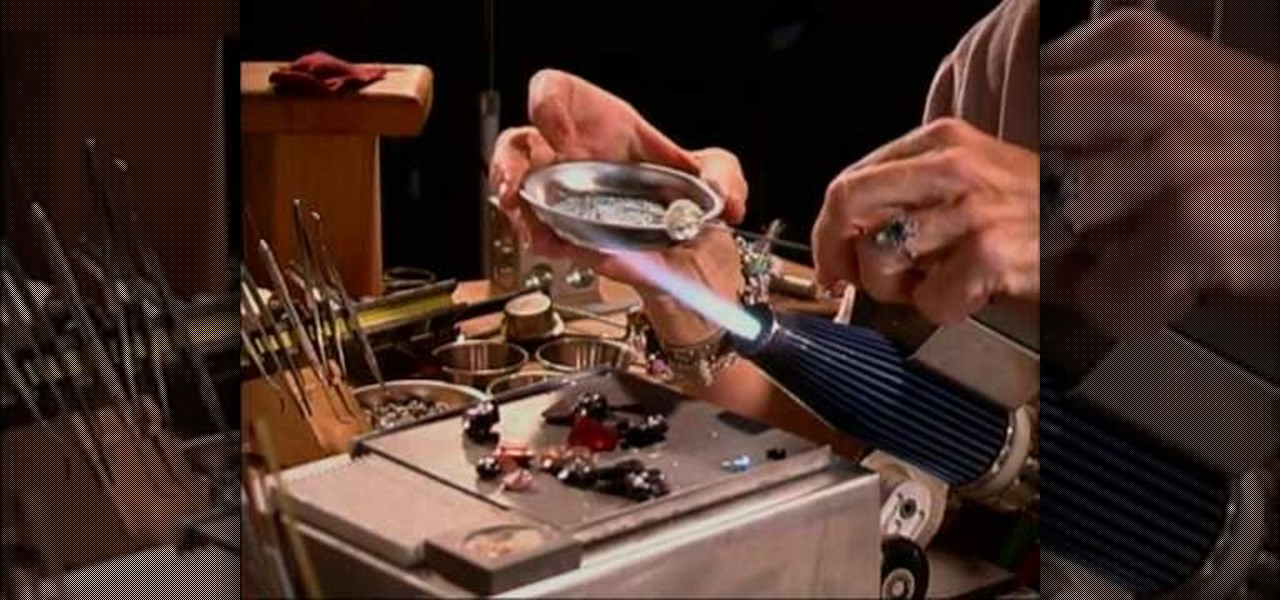
Water beads are gorgeous, luminous beads with surfaces that look like waves on a pond, teeming with various hues of robin's egg blue, sea foam, white, and deep navy blue. Water beads can actually be made yourself from clear glass beads.

Saturated blues plucked from the sultry night sky, warm jewel-toned aureolins that pick up the hues of the desert, and sparkling fuchsias like the colorful wraps and semiprecious jewelry worn by the exotic women of Morocco.

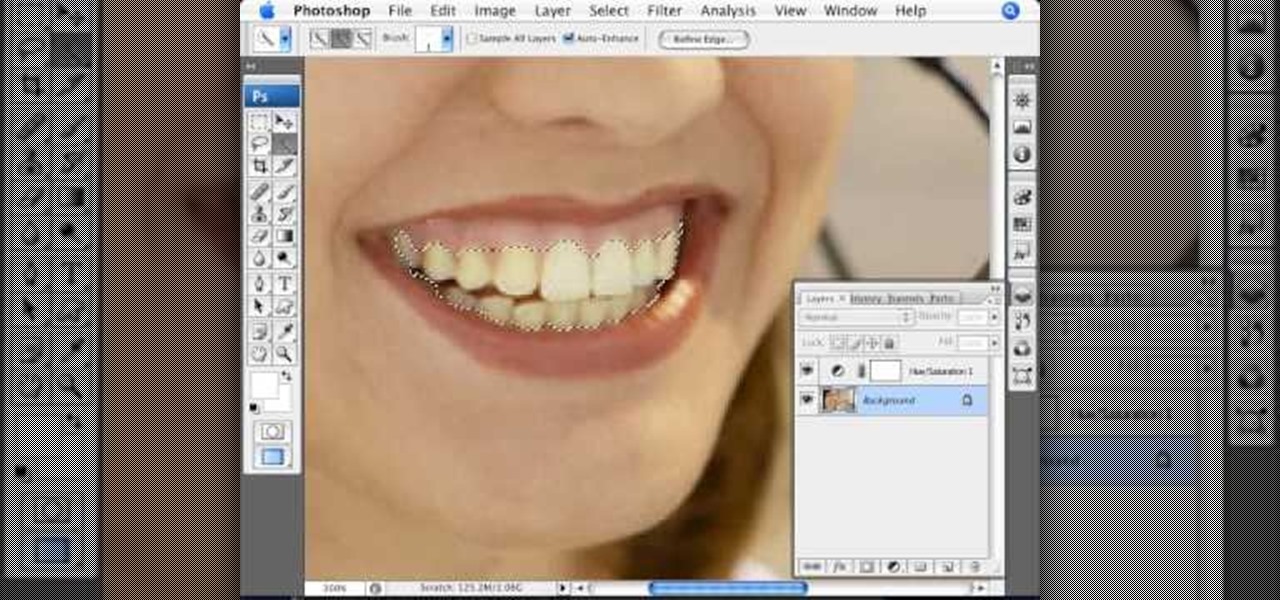
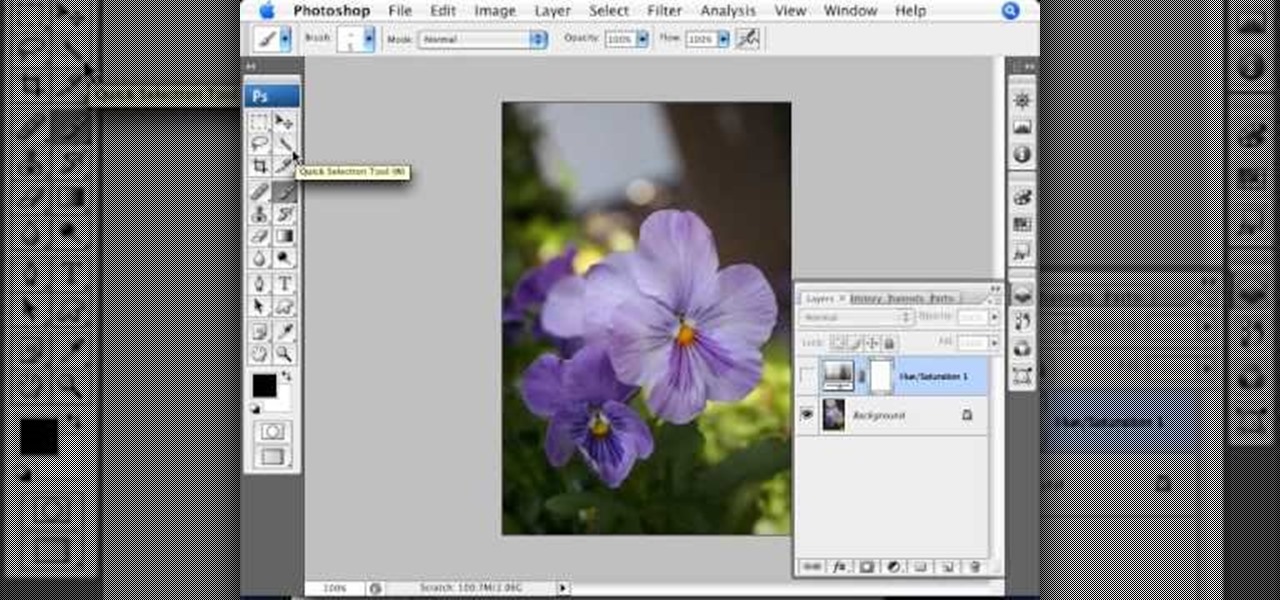
This is a terrific video on how to whiten yellow teeth in Photoshop, taught by Link. First, he zooms in on the teeth and uses the quick selection tool or magic wand. This is a pretty easy task. You just have to click and drag. If you put too much of the gums, you can hold down alt, then drag the areas you don't want. Make sure you use a small brush when using these modifications. All you have to do then, is go into the heat saturation and select shift-control-I, which inverts the selection. T...

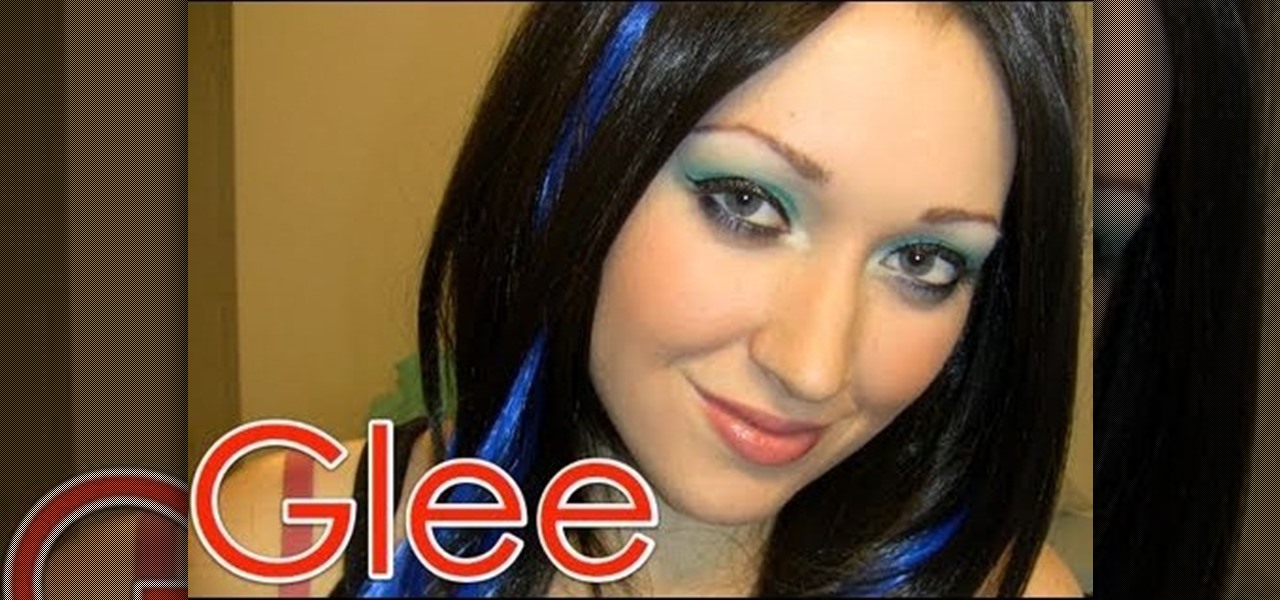
Out of all the funky characters on "Glee," Tina still manages to be the funkiest. Whether it's her midnight black hair, sometimes highlighted with blue and other bright colors, or her eye makeup, which is unfailingly some electric neon hue, Tina loves taking risks when it comes to dressing up.

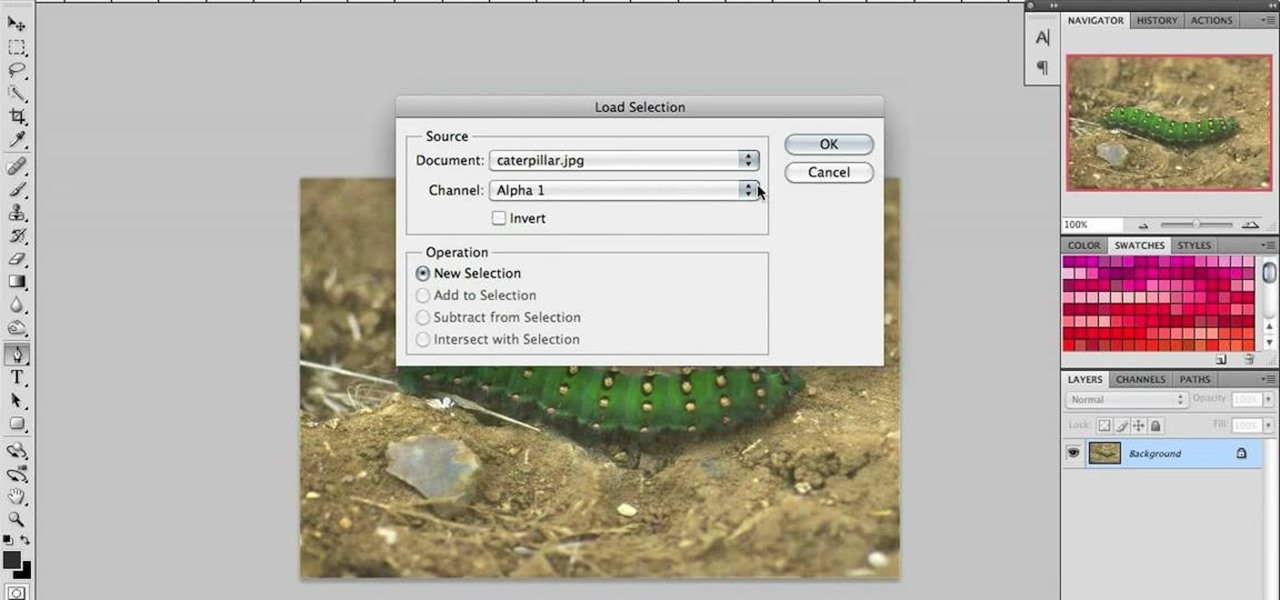
Nick from Greyscale Gorilla gives a great tutorial on not only how to adjust the hue and saturation of various objects in Photoshop, but he also demonstrates how to select and isolate these objects for better chromatic keying.

Pixel Perfect is the "perfect" show to help you with your Photoshop skills. Be amazed and learn as master digital artist Bert Monroy takes a stylus and a digital pad and treats it as Monet and Picasso do with oil and canvas. Learn the tips and tricks you need to whip those digital pictures into shape with Adobe Photoshop and Illustrator. In this episode, Ben shows you how to use color correction in Photoshop.

One of the most popular applications of the cheating tool Cheat Engine 5.6 for the Facebook game Wild Ones allows you to change your pet's color to whatever you want. This video will teach you how to do so by using Cheat Engine to hex-edit your character. This video demonstrates how to make your character blue, but you can use this technique to make them any other standard color.

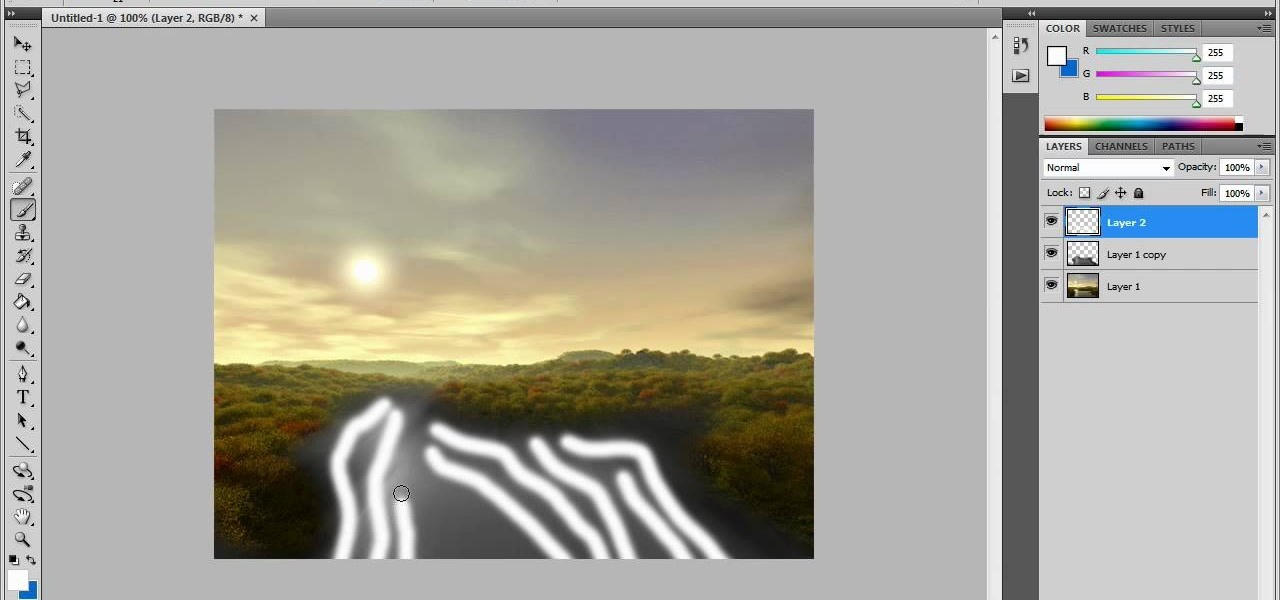
In this video tutorial, viewers learn how to create fog using Adobe Photoshop. Begin by importing the image into the program and duplicate the image. Now go to Filter, select Blur and select Radial Blur. Set the amount to 100, Blur Method to Zoom and Quality to Best. Now select the rectangular marking tool and select the sky. Then open the Hue/Saturation menu and set the Saturation to -100. Use the eraser tool to remove the gray from the edges. Now use the paint tool and paint white streaks o...

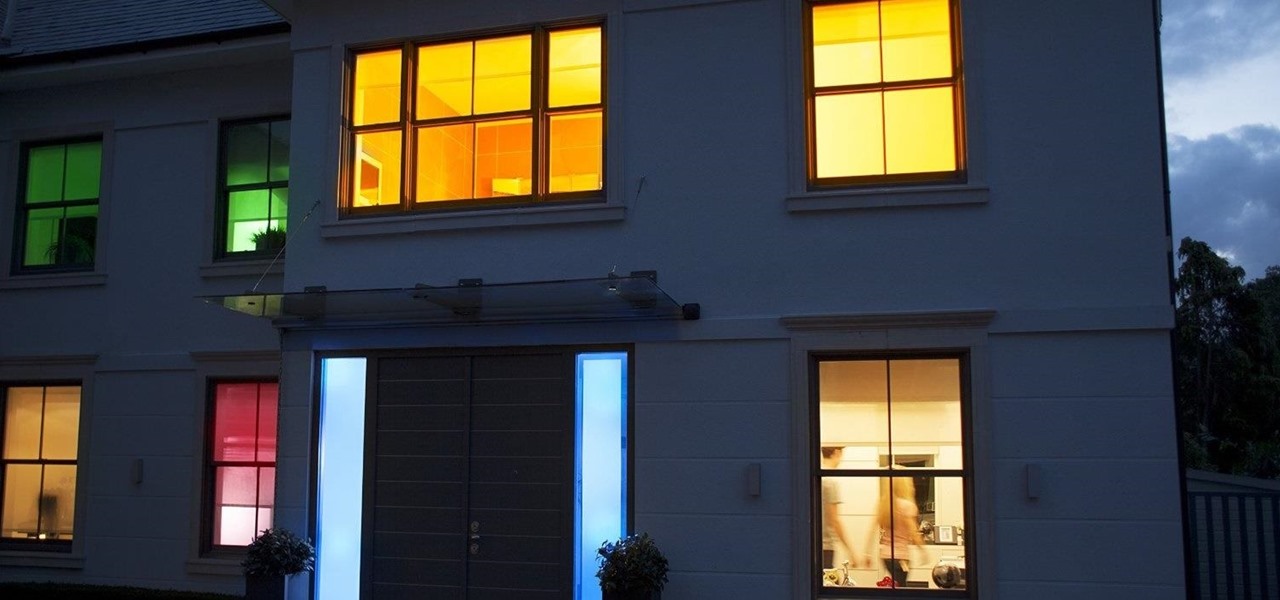
One of the latest home-improvement gadgets out there today, smart lighting, has become more popular as prices come down. That being said, its still quite a penny to shell out. In this article, I'll go through a few of the top products out there today, including the Philips Hue, Belkin WeMo, and Lifx.

Think there's only one way to apply makeup? While it's true that the same general rules apply to shaping your brows and applying foundation, certain makeup tasks like putting on eyeshadow and blush vary in method depending on individual traits like the shape of your face and your eye color.

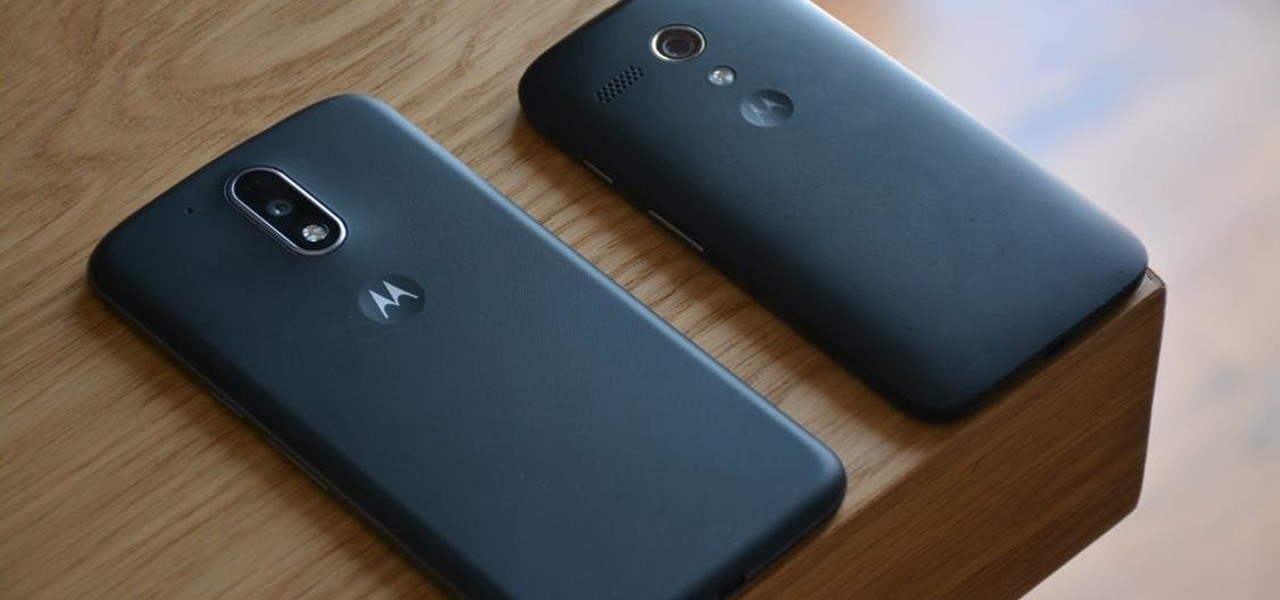
A new leak by frequent tipster Roland Quandt appears to reveal the renders of Motorola's next budget smartphones, the Moto E4 and E4 Plus.

Wow everyone with your soulful brown eyes with this makeup tutorial. This video uses Barry M cosmetics in Shimmering eye crayon in No.1, Grey eyeshadow, No.80 Blue Grey, Orange pigment, Black eyeliner, and mascara. With the makeup tips from this how to video you can really make your brown eyes pop.

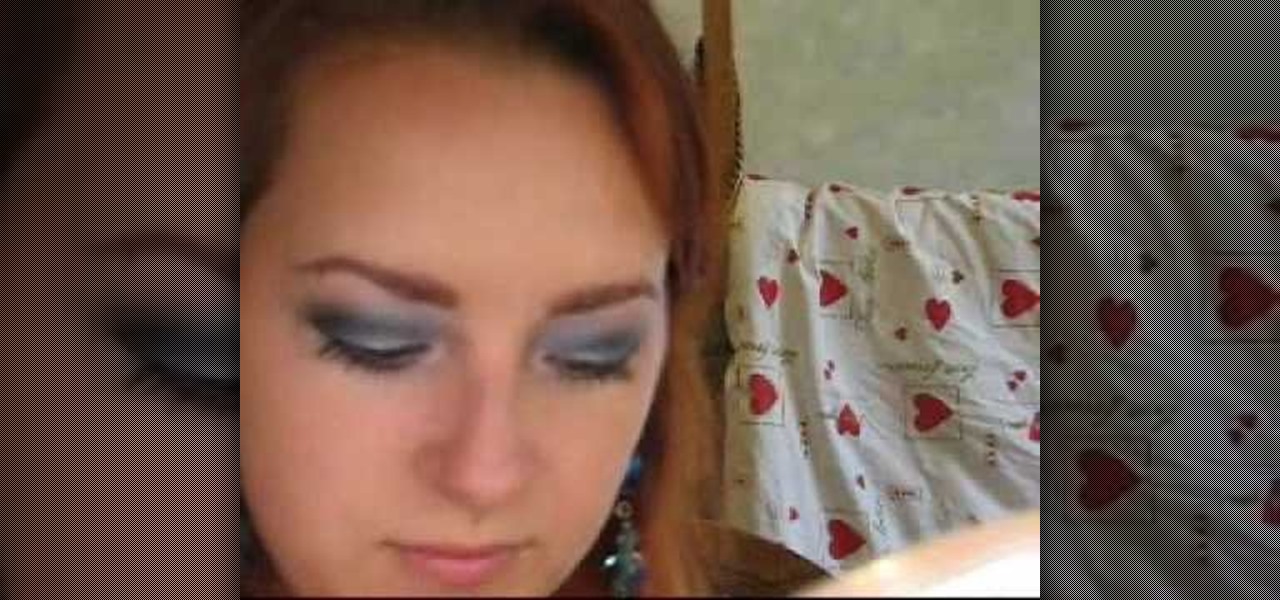
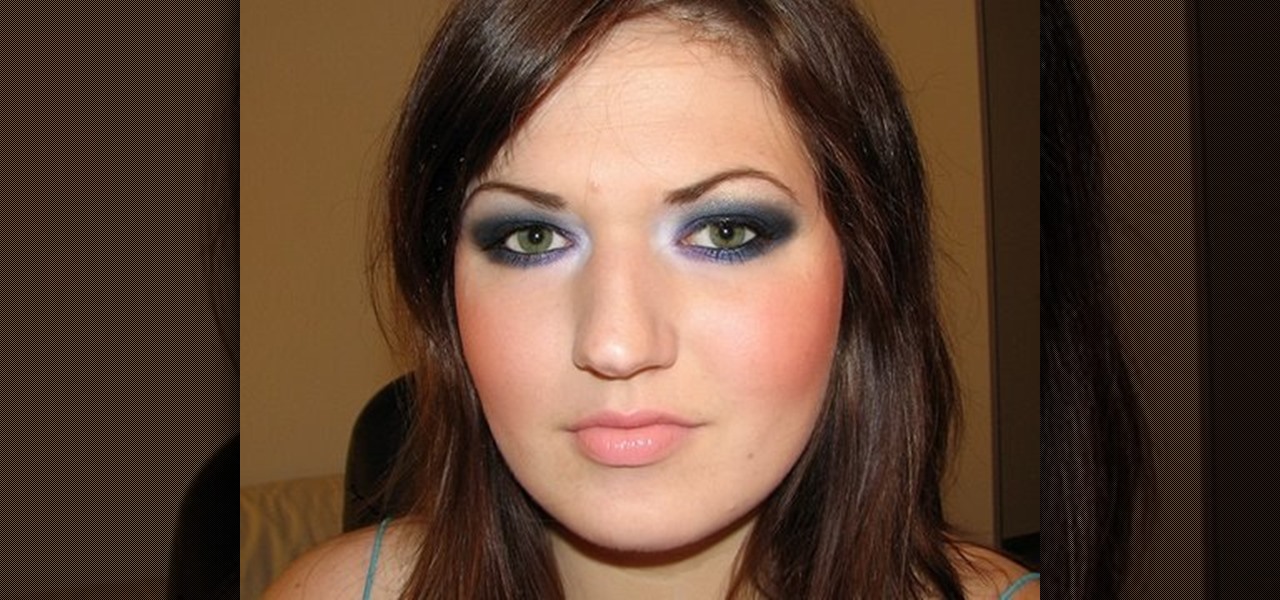
Want to learn how to apply makeup flawlessly? Watch this makeup instructional video to create this blue-grey smokey eye makeup look. May Paris gives helpful beauty tips on creating this beautiful look.

Want to look like a blond Playboy bombshell? This tutorial goes into a red rust/silver smokey eye that complements blue and gray eyes (you can always wear contacts in those colors if you have them). The look is inspired by Kendra from "The Girls Next Door."

Need an introduction to the Hue/Saturation & Color Balance tools? This clip will teach you what you need to know. Whether you're new to Adobe's popular raster graphics editing software or a seasoned professional just looking to better acquaint yourself with the program and its various features and filters, you're sure to be well served by this video tutorial. For more information, including detailed, step-by-step instructions, watch this free video guide.

The blue curacao gives this rum martini it's distinctive hue, and it's light, fruity flavor makes it a great summertime drink. Besides the curacao, you will need: 3/4 ounce rum, 1/2 ounce Midori, 1/4 ounce fresh lime juice, 1/4 ounce simple syrup, ginger beer and ice. Make a Turquoise Blue martini with rum and curacao.

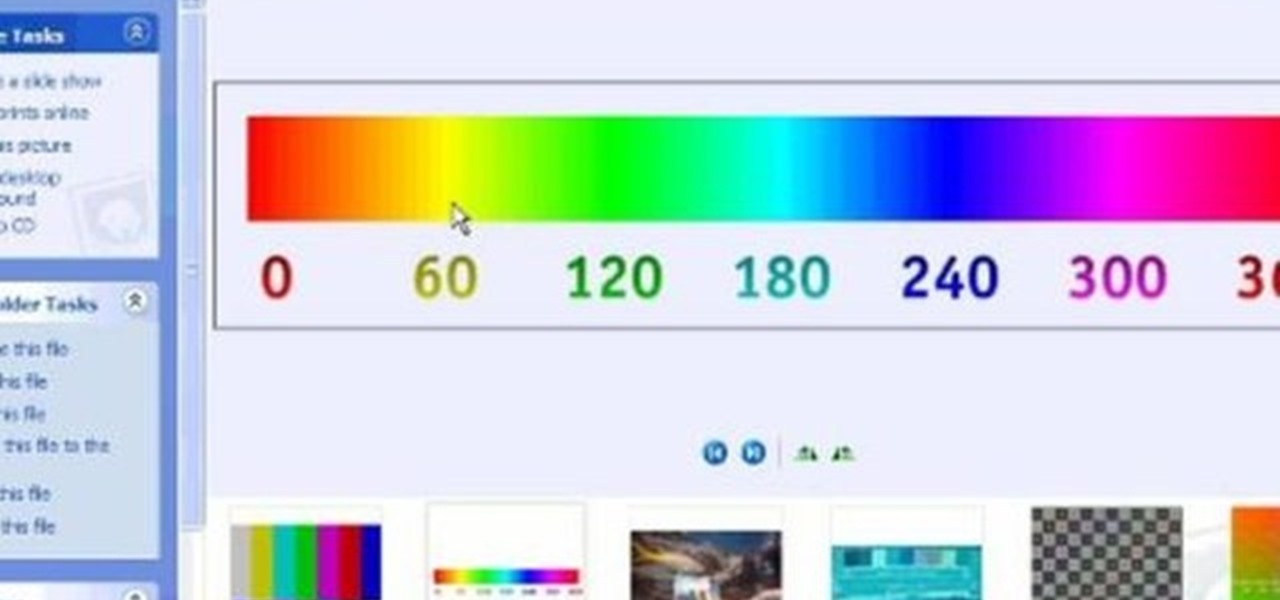
This clip provides an introduction to Photoshop's ever-useful hue and saturation toolsWhether you're new to Adobe's popular raster graphics editing software or a seasoned professional just looking to better acquaint yourself with the program and its various features and filters, you're sure to be well served by this video tutorial. For more information, including detailed, step-by-step instructions, watch this free video guide.

This clip talks about what Hue Saturation Value is, and how to use Blender and the HSV node to isolate a specific color or range of values from an image. Whether you're new to the Blender Foundation's popular 3D modeling program or a seasoned graphic artist just interested in better acquainting yourself with the application, you're sure to be well served by this free video tutorial. For more information, including detailed instructions, take a look!

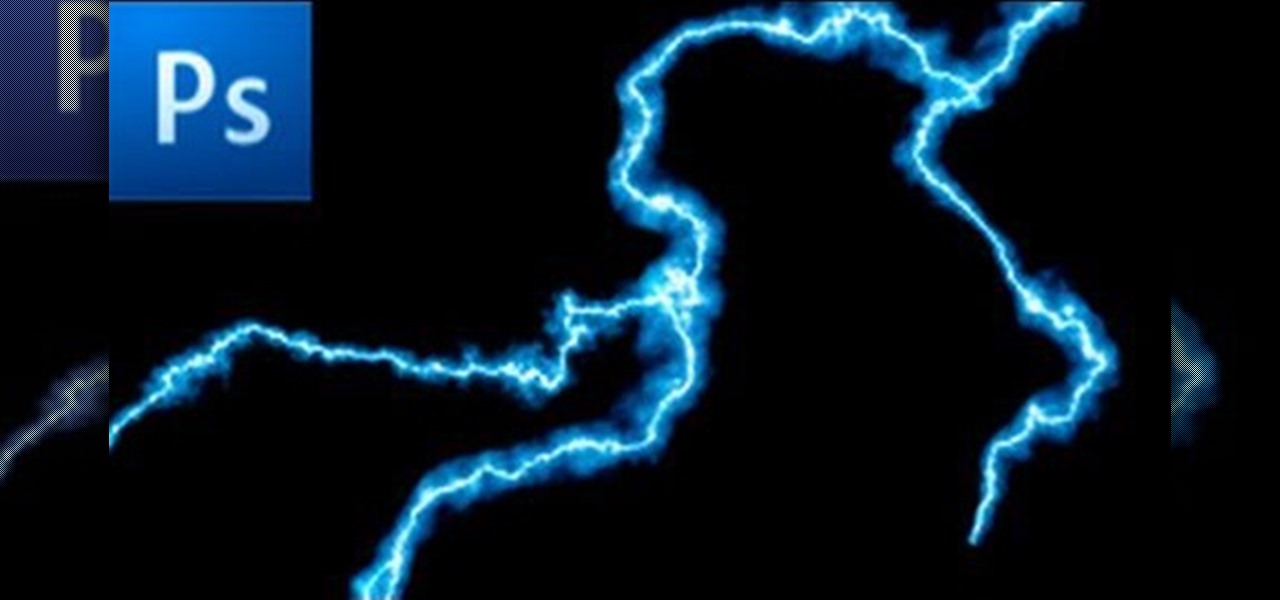
This is a tutorial showing how to make a lightening effect on Photoshop. First click on the gradient tools and then click on the colors. Check to see if there is black on one side and white on the other, if there is then click the ok button. Then hold the shift key while dragging the mouse across the screen. This will make a black to white gradient effect on the screen. After that, click on the filter button at the top of the screen, then click render, and then difference clouds. After the cl...

While it's not the best shopping holiday of the year, Labor Day does have a few sweet deals on smartphones this weekend. There are phones from OEMs such as Apple, Motorola, and Sony on sale, to name a few, from stores such as Amazon, Best Buy, and Walmart.

I got my first Philips Hue White and Color Ambiance bulbs because they're the consensus best of the best for colored lighting. But after spending 90 bucks on two light bulbs, when it came to all the accessories like switches and buttons, I went with cheaper third party options. Little did I know, I was overlooking a great first-party accessory with a surprisingly reasonable price.

In this how to video, you will learn how to create a rainbow effect in your photos with Photoshop. First, open the image you want to edit in Photoshop. Next, edit the hue and saturation. Make sure to desaturate the drawing. Next, create a new layer. Select a brush and choose a blue color. Make sure in the new layer that color is selected. Color the top part of the image. Next, select a purple or pink color and color the middle part. Choose a yellow color and color the bottom of the middle par...

Brighten a glum, overcast picture with this Adobe Photoshop tutorial, which outlines a method for bluing grey skies in the popular image editing program. For a detailed, step-by-step look at the process, look at this free video how-to!

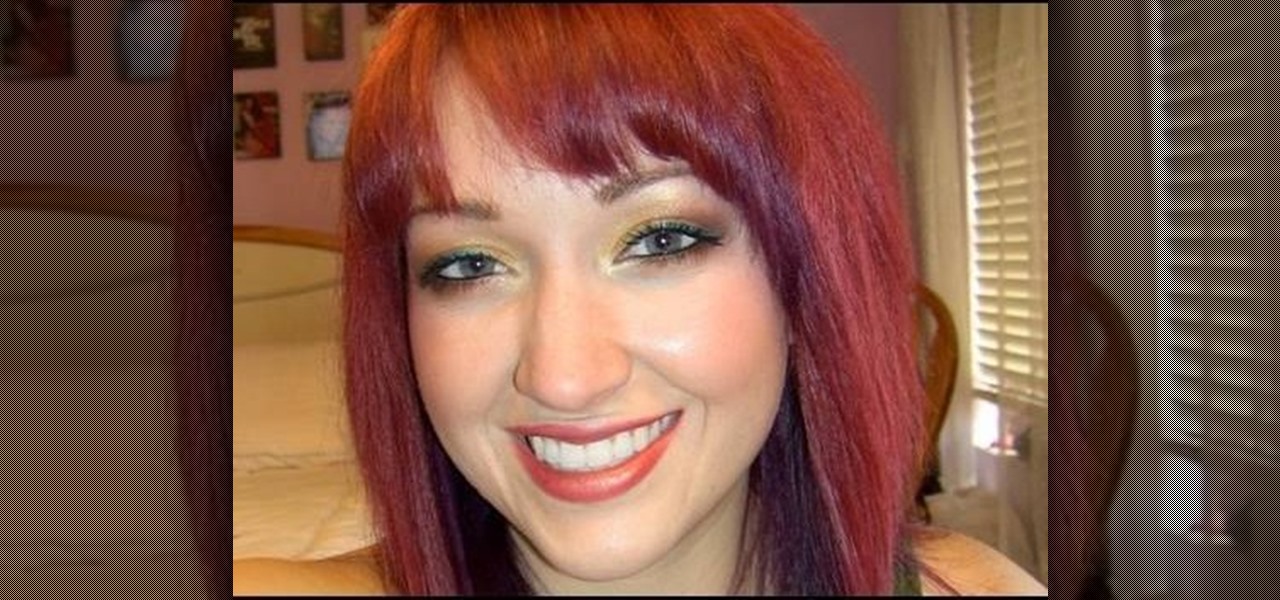
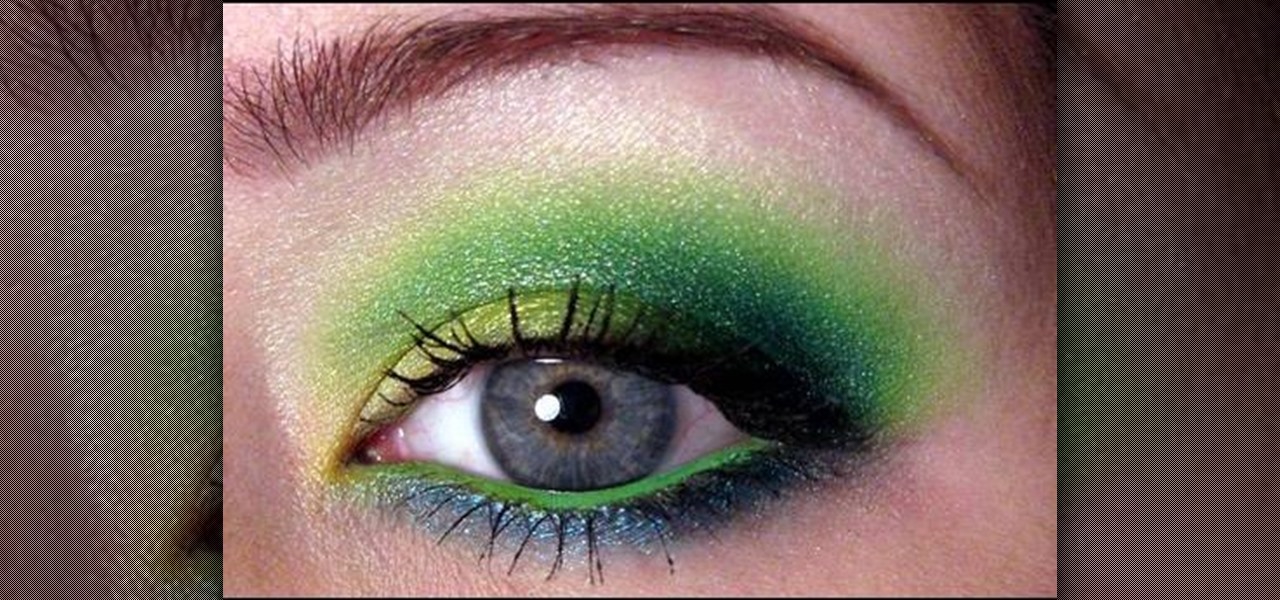
This is a makeup tutorial for applying blue-green and grey eye makeup with yellow glitter. Enjoy!

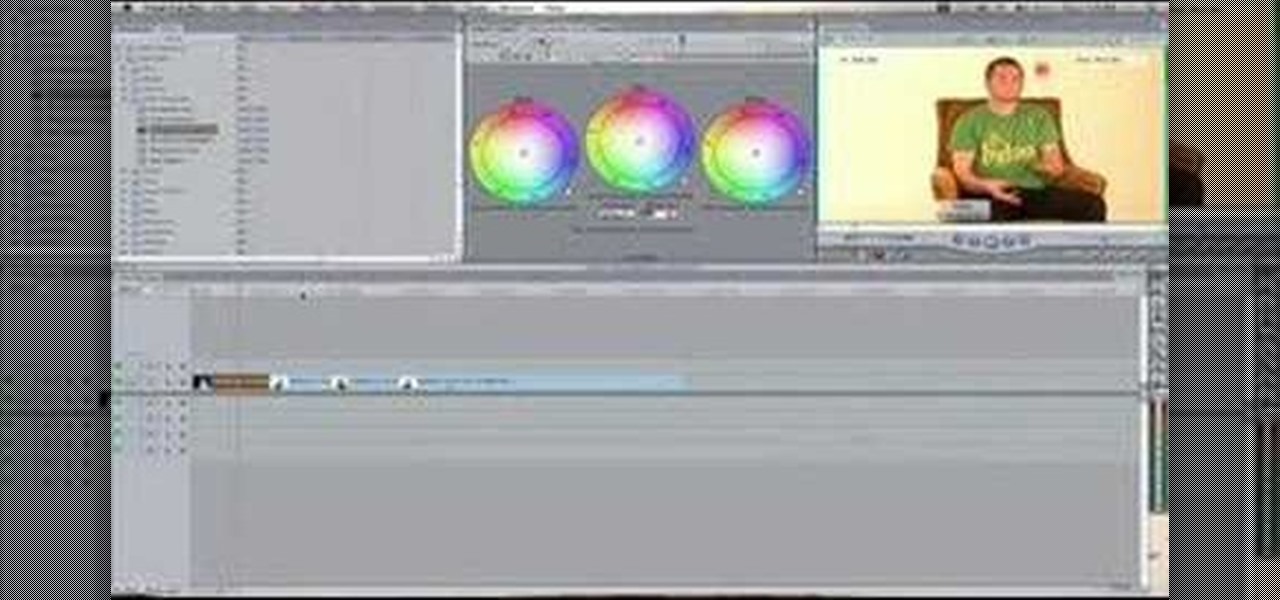
Master broadcast editor Bill Cammack teaches us and Matt how to match color hue in Final Cut Pro. Learn as Master Bill explains the basic technique used for matching shots.

This is a makeup look inspired by MAC's Cool Heat collection. With this video tutorial, you can learn how to apply MAC's cool heat collection in order to create a dramatic appearance.

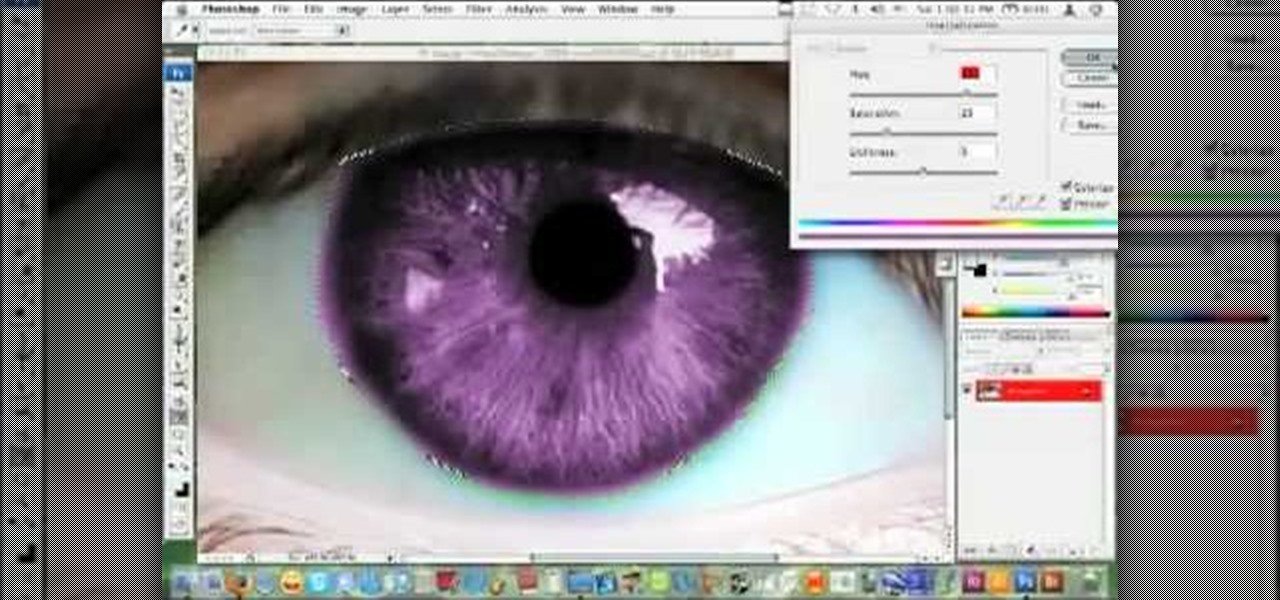
hotarrows223 demonstrates how to manipulate the eye color in a photograph using the masking tool. First, you must open the image with the eyes you intend to work on with Photoshop CS3. Next.], you must zoom in on an eye. You should be at the point where the iris fills up more than half of your screen. After that, you must select the iris, outlining it with the selection tool. Then, select image>adjustments>Hue/Saturation. Make sure all the boxes are checked, then adjust the hue or color bar t...

Blue light (like that from our smartphone) tricks the human brain into thinking it's still daytime, even if it's coming from something as small as a screen. So while you're playing around with your new Pixel or Pixel XL after dark, subconscious signals to be awake are preventing you from getting to sleep as early as you should.

This makeup tutorial makes sea dragons - fuzzy, funnily finned fish that are in desperate need of an appointment with a waxer - look like aquatic goddesses.

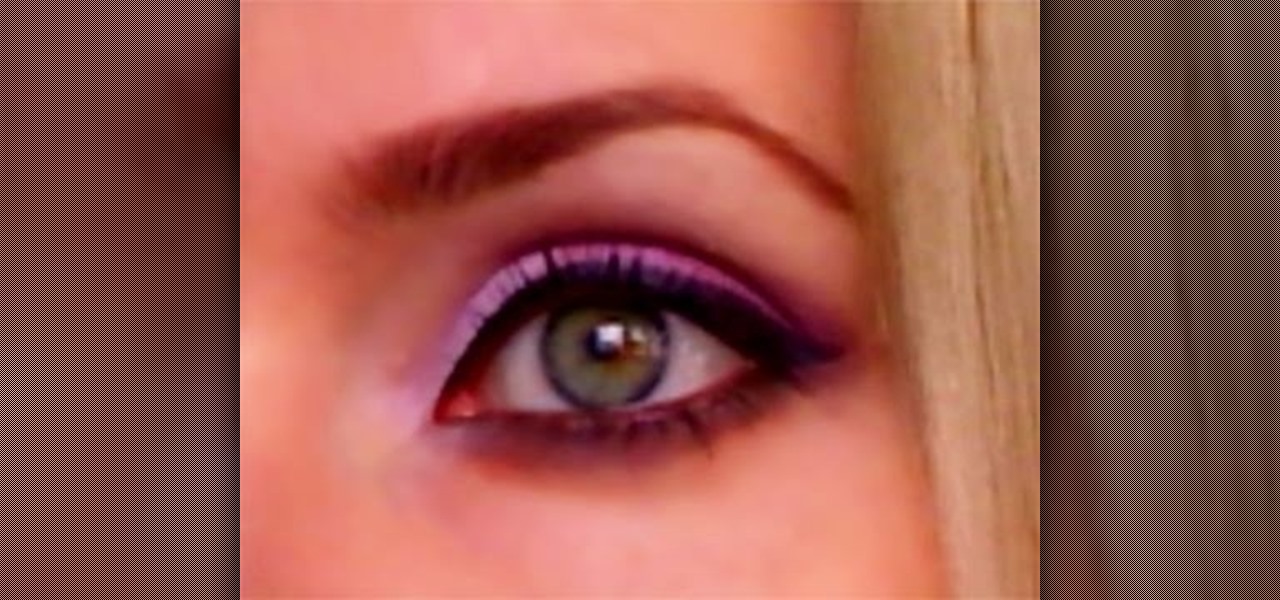
Summer is one of the best times to get creative with your makeup, especially eyeshadow. And purple eyeshadow is perfect for that summertime, flowery look. This is great for anyone with blue, green, hazel, or brown eyes. Watch to see how to create your own version of this purple summer makeup look using the following eyeshadow products from BIGUINE:

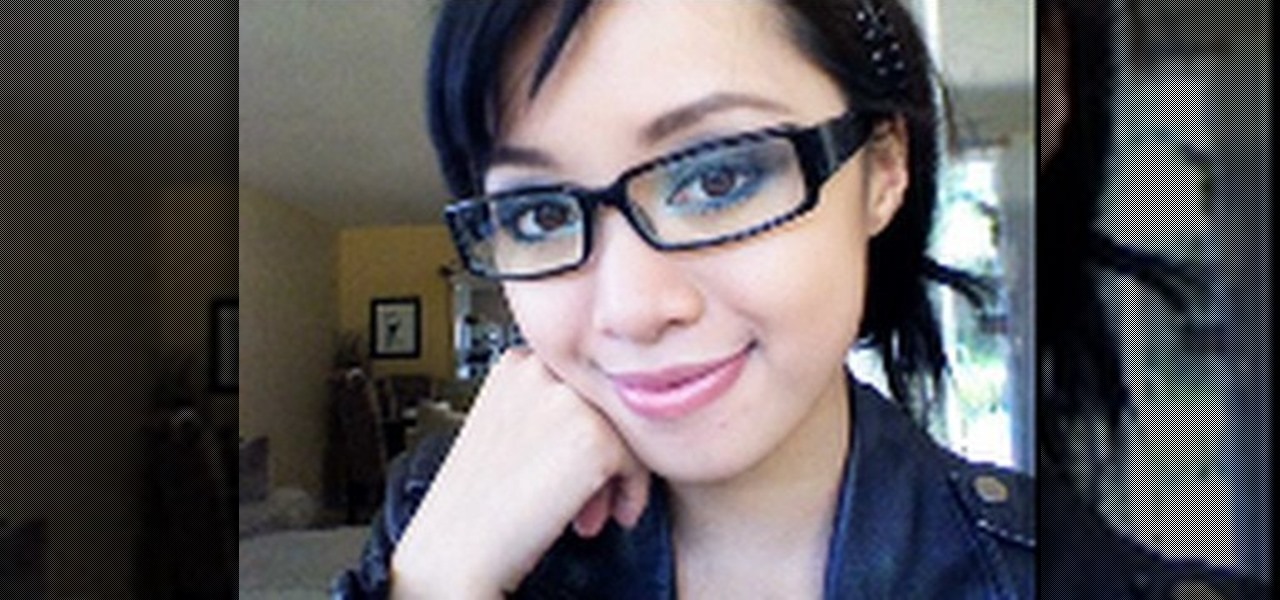
In this video, we learn how to wear smoky royal blue eyes with glasses. First, find the dark circles of your eyes and apply concealer to them to cover it up. Next, apply concealer to the face and define your eyebrows. After this, apply a silver shadow to the eyes, followed by a blue to the crease of the eye and on the inner corner. Apply a gray shadow to the crease of the eye, then take a bright blue shadow and blend it into the eyelid, avoiding the middle of the lid. Next, apply a black shad...

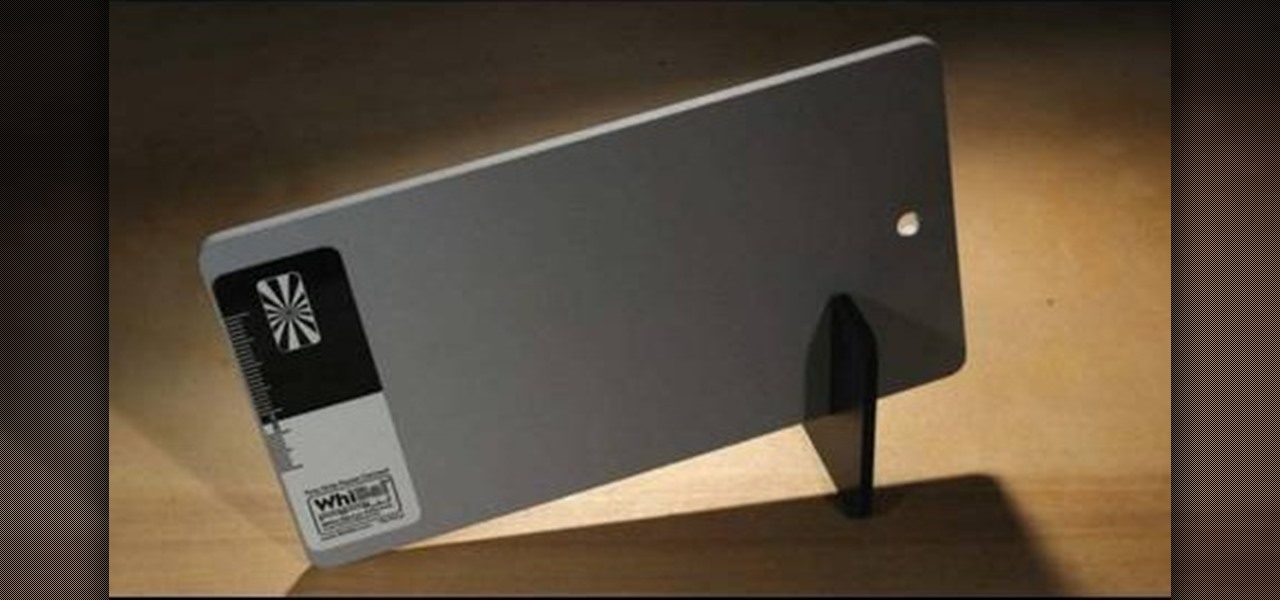
This fantastic, in-depth video dives into the gray card in probably every imaginable way that you could think using the Nikon D3 . Going over various different lighting it can be used for, custom white balance for preset manual, gray source point for white balance correction, accurate exposure in spot metering mode, and adjusting the camera's LCD display brightness, on top of a ton of information!

So the first thing you're probably wondering is who the hell Curly Sue is. Well, Curly Sue is actually a cute homeless girl from John Hues' movie of the same name who has a heart of gold and a hair of curls.

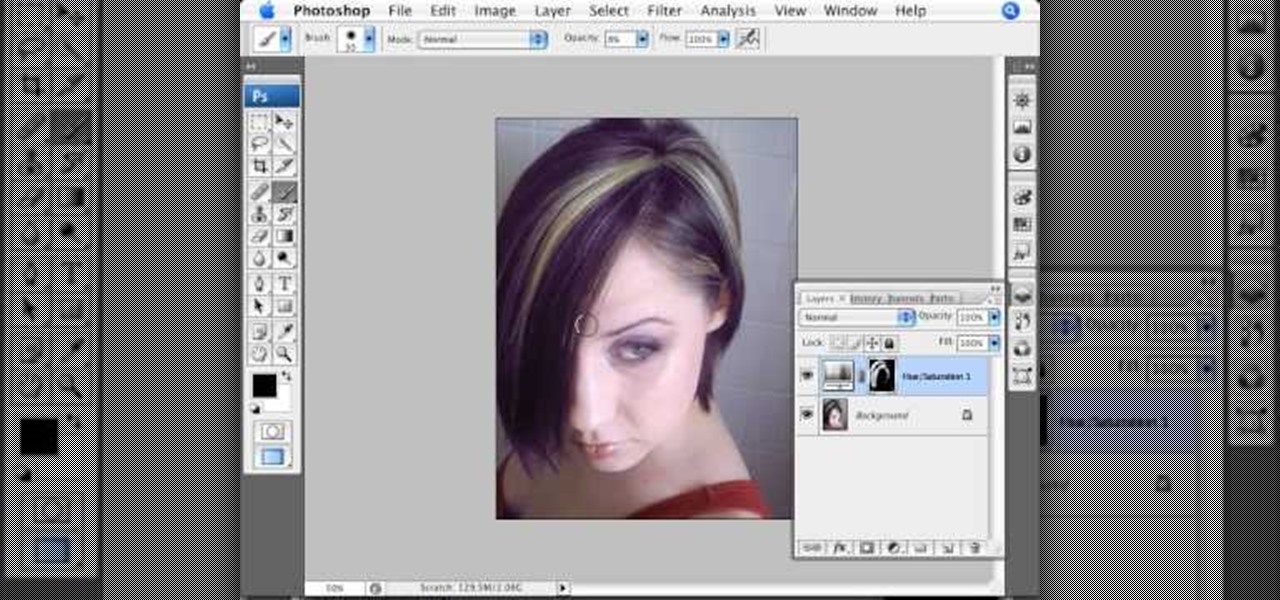
Photoshopuniverse will show you how to change a person's hair color in PhotoShop. You can achieve this by using hue and saturation adjustment layers and set to colorize. Set the saturation to about 50%. Go back to the background layer and select the color range select parts of the hair color, select the parts of the hair you want to change and with the eye dropper click it. Once the selection is made invert the selection the color will change. You can now change the hue to make it what you want.

Use the "Magic Wand" tool to select the color you wish to change. The next step is to open the replace color box. Go to Image > Adjustments > Replace Color. After the Replace Color box is open, you may have to select the color that you want to change in the image. Sometimes, it will automatically select the color you're changing, but sometimes you will have to use the Eyedropper Tool and click a hue of the color you wish to change. After the color is selected in the "Replace Color" box, you c...

This video shows you how to simulate hand coloring in Photoshop. The first step in the process of simulating hand coloring is to turn the image you have chosen into black and white. Following turning the pictures coloring to black and white you must bring up the hue color control panel. The final task includes selecting the object to color within your image as well as picking the color in hue that you wish to use. The coloring must be done manually by the users control of the mouse.


