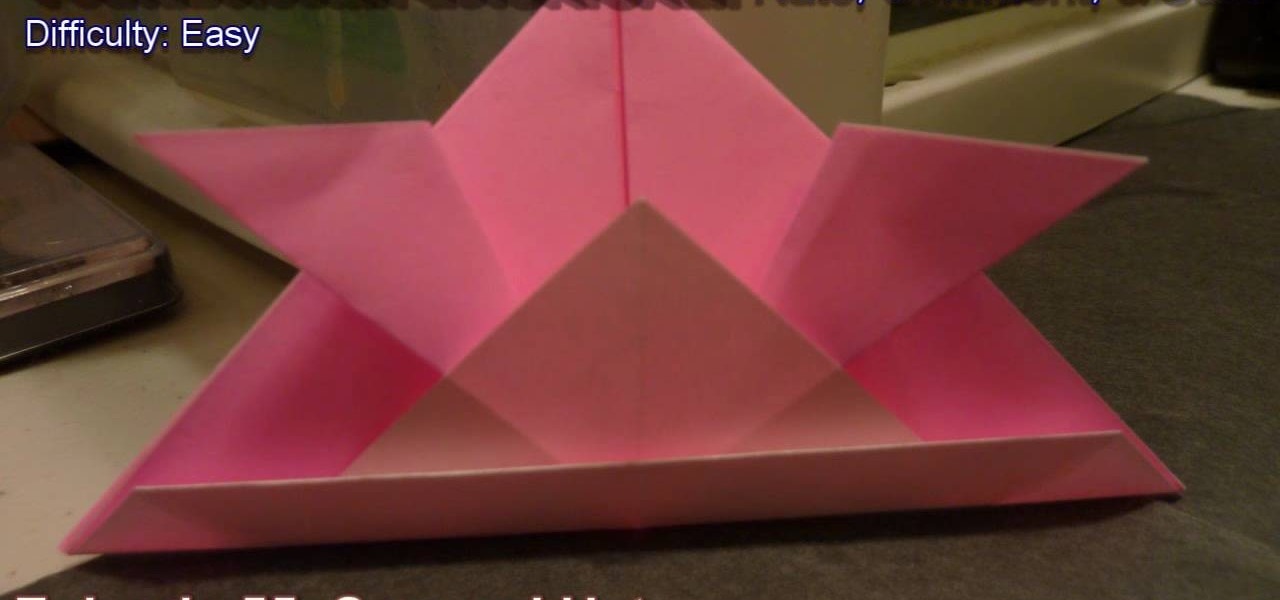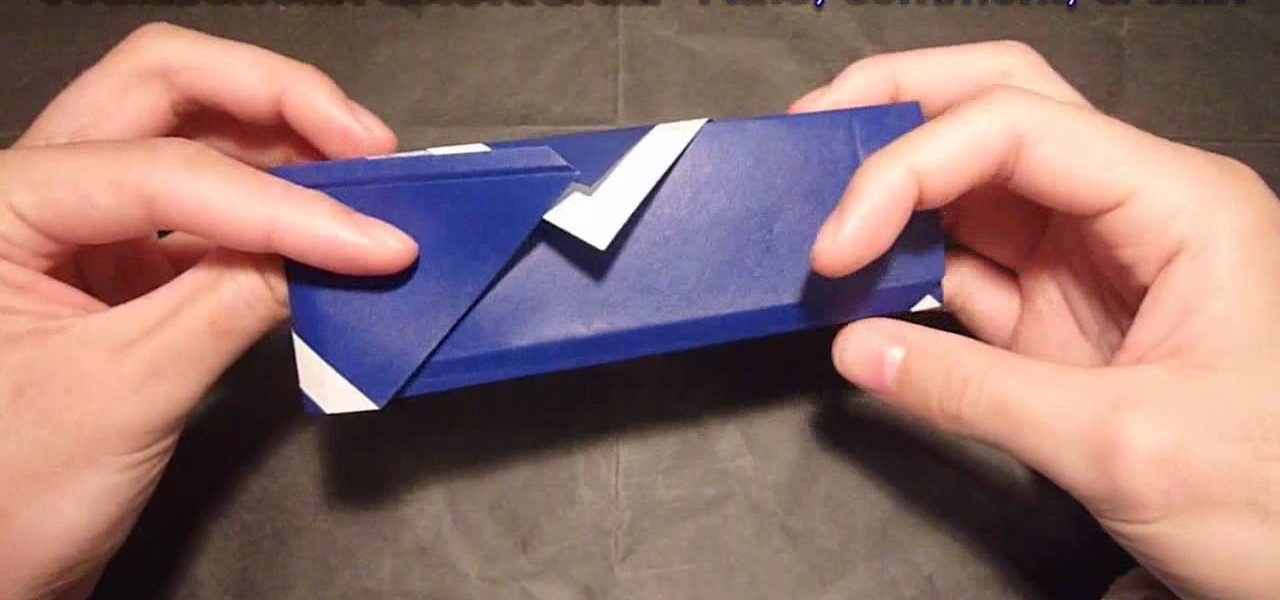
What's so genius about this project? yeah, it may just seem like a plain white piece of paper that you fold a bit to stand up, but you're actually getting two beginning origami projects for the price of one. That is to say that if you learn how to make the origami tent in this video, you'll also be learning how to make a pyramid.
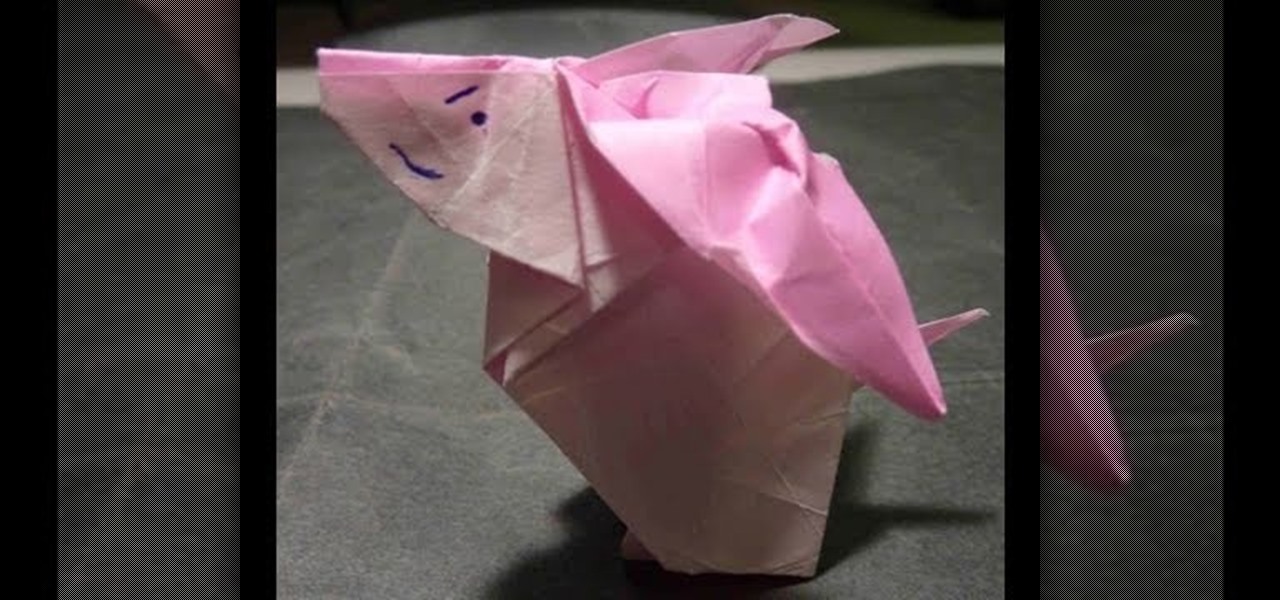
Bunny rabbits don't only have to be reserved for Easter. In fact, bunnies are pretty darn cute all year round. While real bunnies, with their fuzzy fur and floppy ears, are the most cuddly and endearing, for those who can't raise one in their homes, this origami bunny is the next best thing.
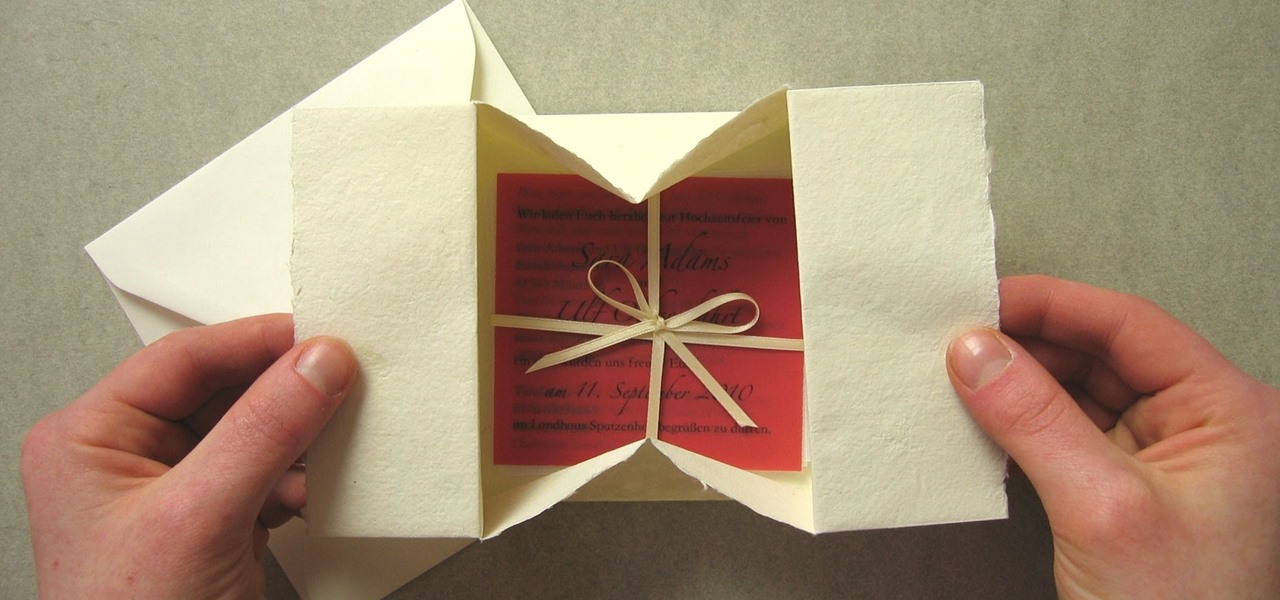
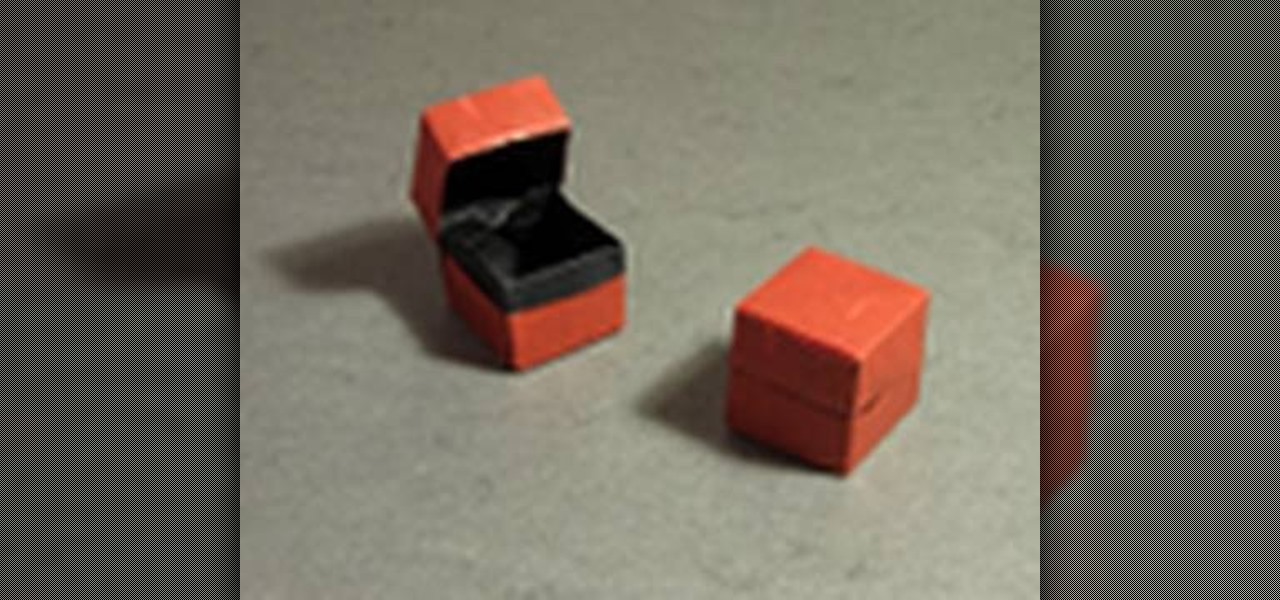
Fold your own gift boxes with this tutorial on how to origami a collapsible box. Traditionally known as a water dish or orisue, this box is a cute way to box up small presents like earrings and necklaces.
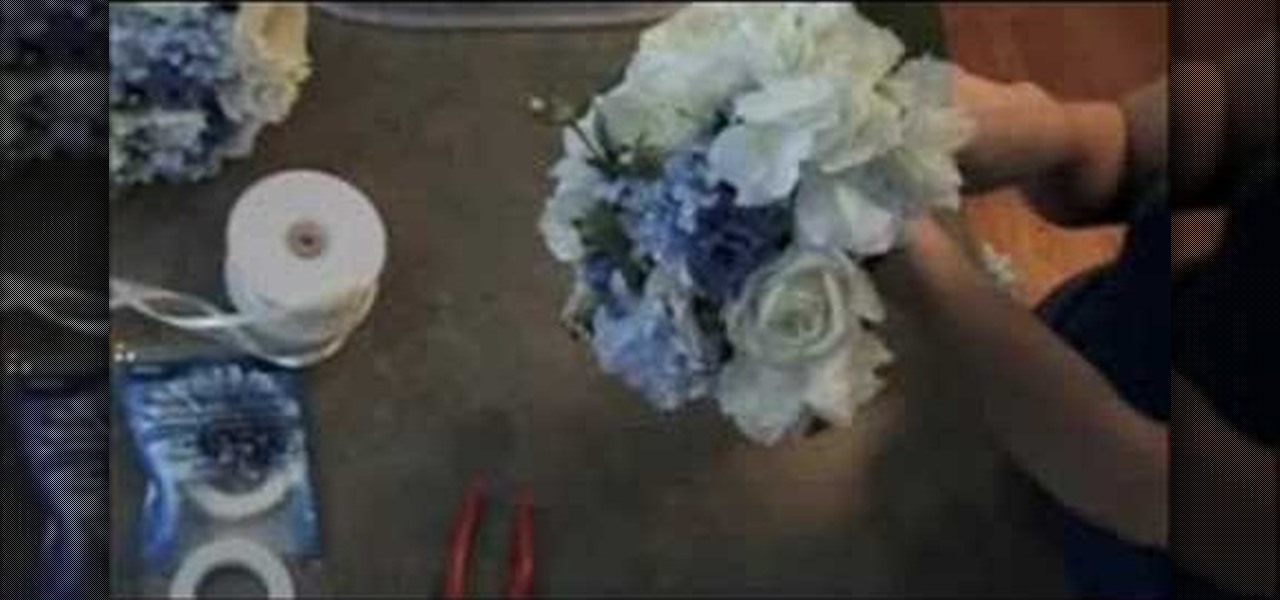
You will need pliers, scissors, fake flowers, stem wrap tape, and some pretty ribbon! Start by separating all of the flowers. Try and create a set of flowers that look nicely together. Match pretty colors with pretty colors. Make sure it is balanced on all sides and not too much of one color in one spot. Then wrap all of the stems together with the tape wrap. Then use the pliers to trim the stems. Then tape all of the stems together. Then you should wrap all of the stems in tissue paper. Cont...
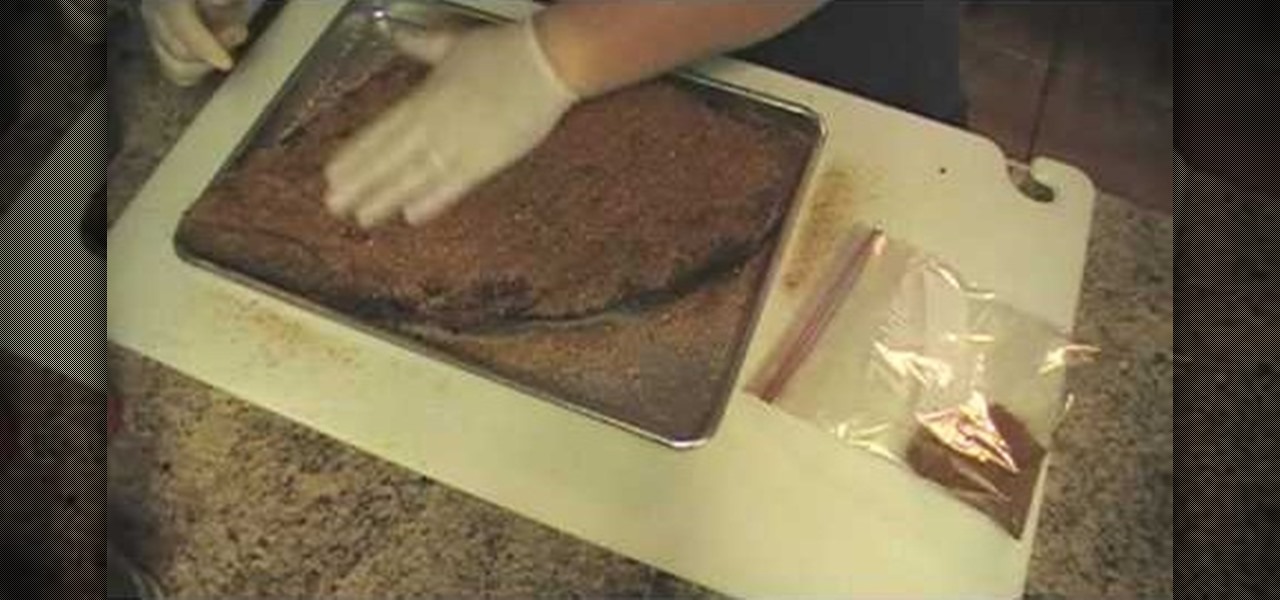
Beef brisket is a delightful tradition that all families will love. But, brisket can be one of the hardest things to BBQ. Check out this tutorial if you are having trouble. This recipe works very well.
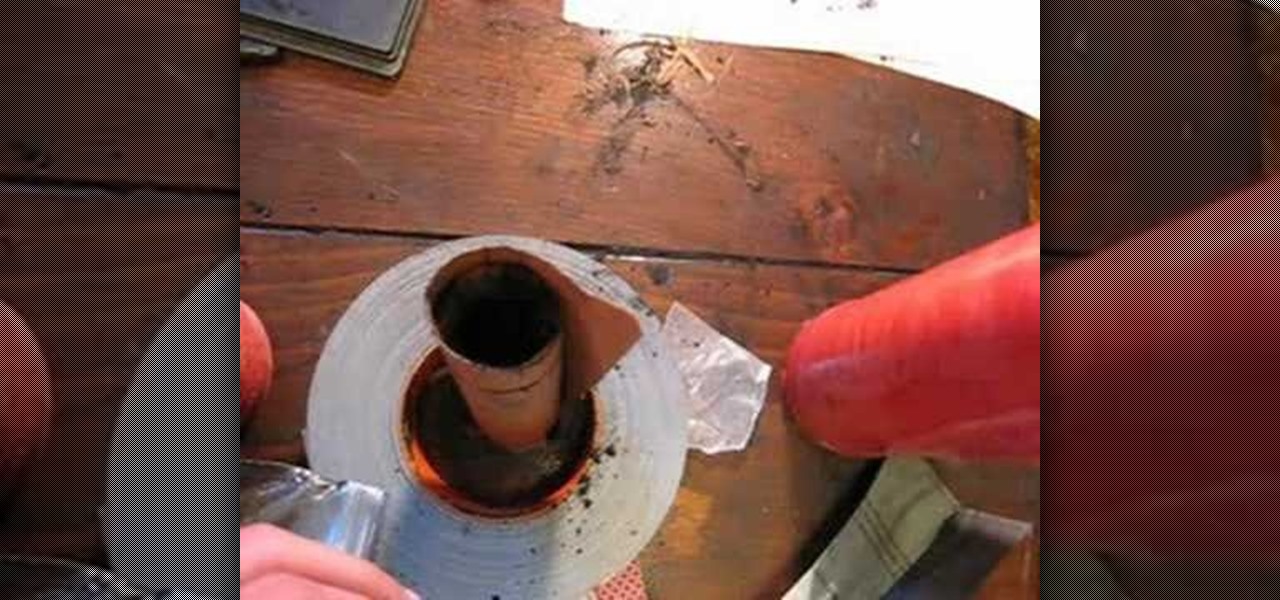
Does your low-budget film need an explosion, a fireball explosion? This video tutorial shows how to build a simple cremora (fireball) and safely use it. There are many filming techniques, you'll have to figure them out on your own though.

The axillary fossa is classically known to most people as the armpit. Here, in this human anatomy video tutorial, you'll see how to dissect the axillary fossa, which in its technical definition is the hollow under the upper part of the arm below the shoulder joint, bounded by the pectoralis major, the latissimus dorsi, the anterior serratus muscles, and the humerus, and containing the axillary artery and vein, the infraclavicular part of the brachial plexus, lymph nodes and vessels, and areol...

You can get that ripped, hard body you've always wanted, without a gym.

This video is about how to make a puppet dragon out of household items. First, a piece of card stock paper is cut in half the long way. Next, you must take an empty 18-pack egg carton and cut off a strip of egg slots. Using a stapler, the two pieces of paper are connected long ways, with the egg strip stapled on top of it. This forms the body. To make the head, a small cardboard box is stapled to one end. A smaller cardboard box (about half the size of the one already used) is glued on top. F...

Hair often looks better when it’s not freshly washed because it’s more manageable. Make the most of those off days with these tips.

Japanese samurai warriors weren't all ferocious. In fact, many warriors prepared for battle by taking long, luxurious baths in concoctions of steamed rose petals so that in combat, their enemies would be taken off guard by the delightful scent just long enough for the samurai to plunge a well-placed katana into his loins.

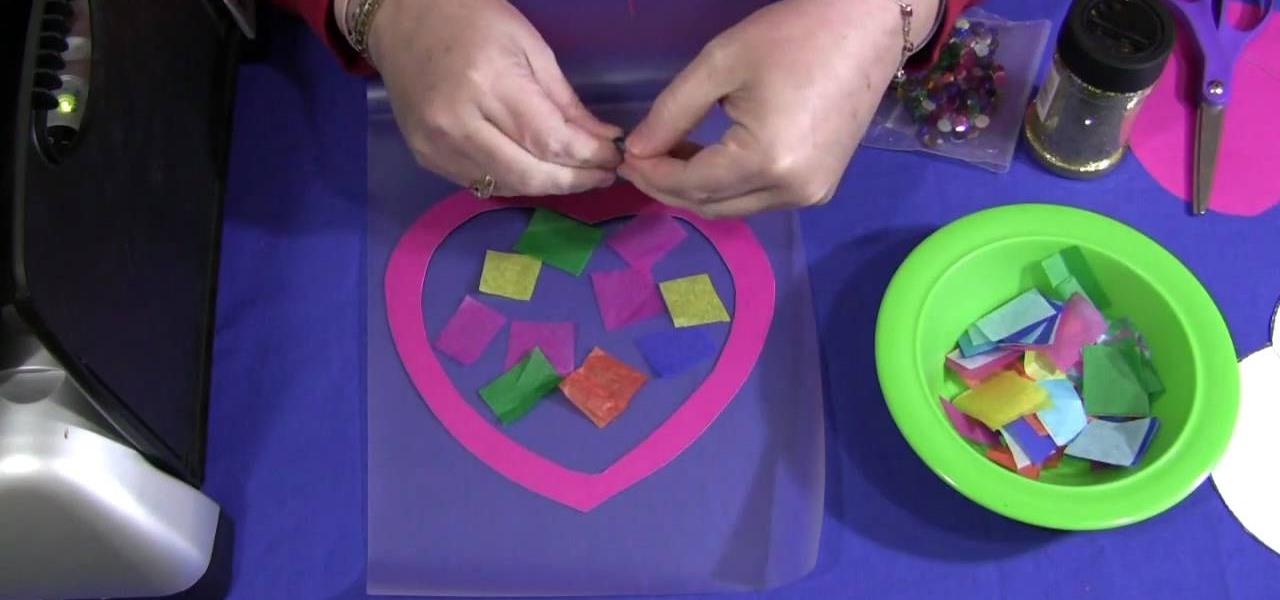
In this video, we learn how to make a sun catcher with your kids. First, you need laminating paper, two paper hearts, and scissors. First, cut the center of one heart out by sticking your scissors in and making your way around the heart. Next, place the outline of the heart inside of the laminating pouch, then decorate the inside of it how you prefer. You can use whatever you want to decorate the inside, including: glitter, crayon shavings, tissue paper, etc. Next, place the paper inside of a...

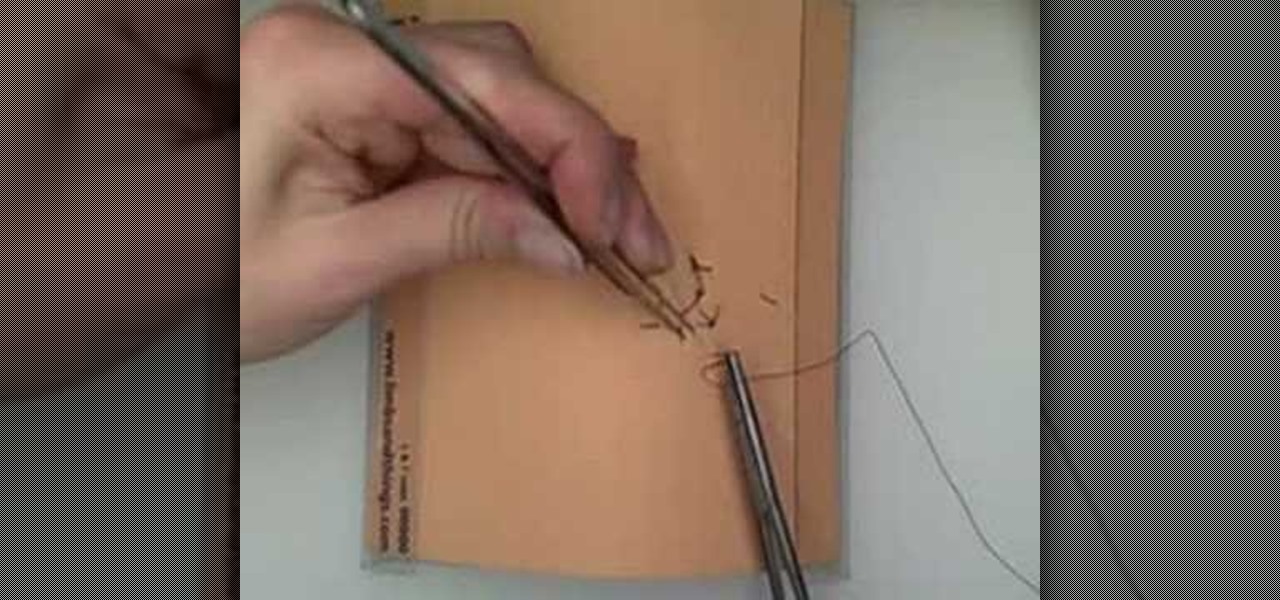
In this video tutorial, viewers learn how to suture. Begin by lifting up the skin on the far side of the laceration with the tissue forceps and insert the needle with some distance far away from the wounded edge. Then lift up the skin with the near side laceration and mirror the course of the needle. Now move somewhat to the right of the subsection of this stitch, parallel to the incision line. Place the second subsection of the horizontal macro-suture like the first part. But this time from ...

Okay, so watching "The Princess Diaries" gave us something of a princess complex. Come on, what girl doesn't want to own her own country (however small and fake), have Julie Andrews as her grandma, and be driven to even trivial places like the nail salon in a limo? Sounds good to us!

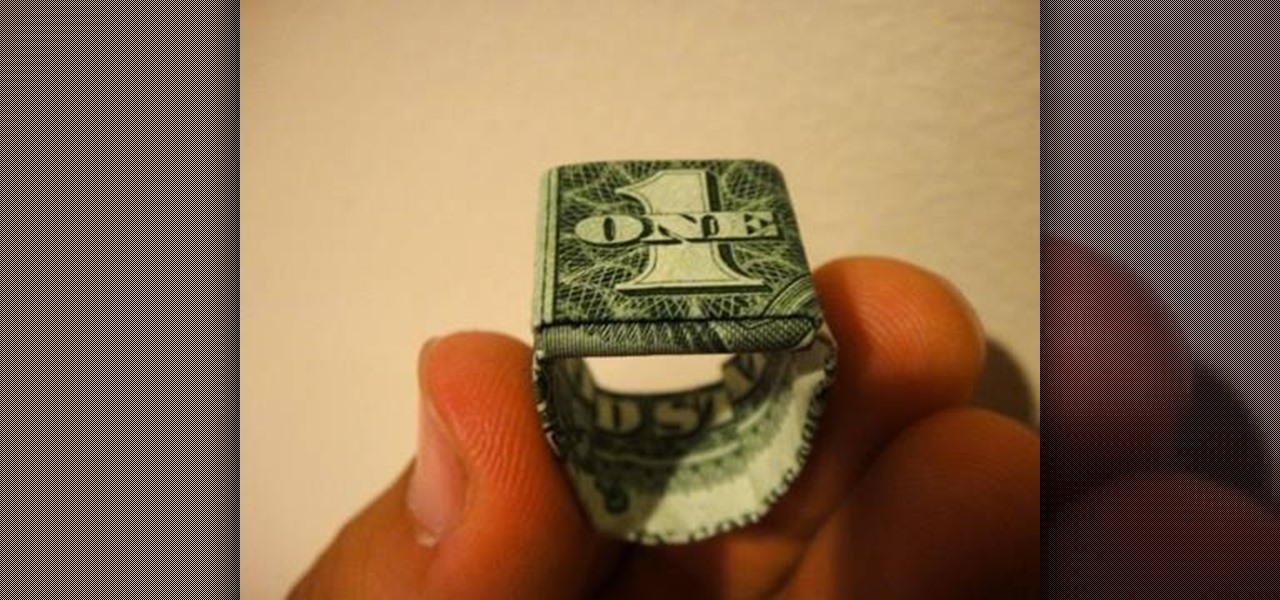
Moneygami is exactly what you think it is - a hybrid of money and origami. Rather than folding origami with your typical origami tissue papers, you can craft yourself something truly special by using money instead.

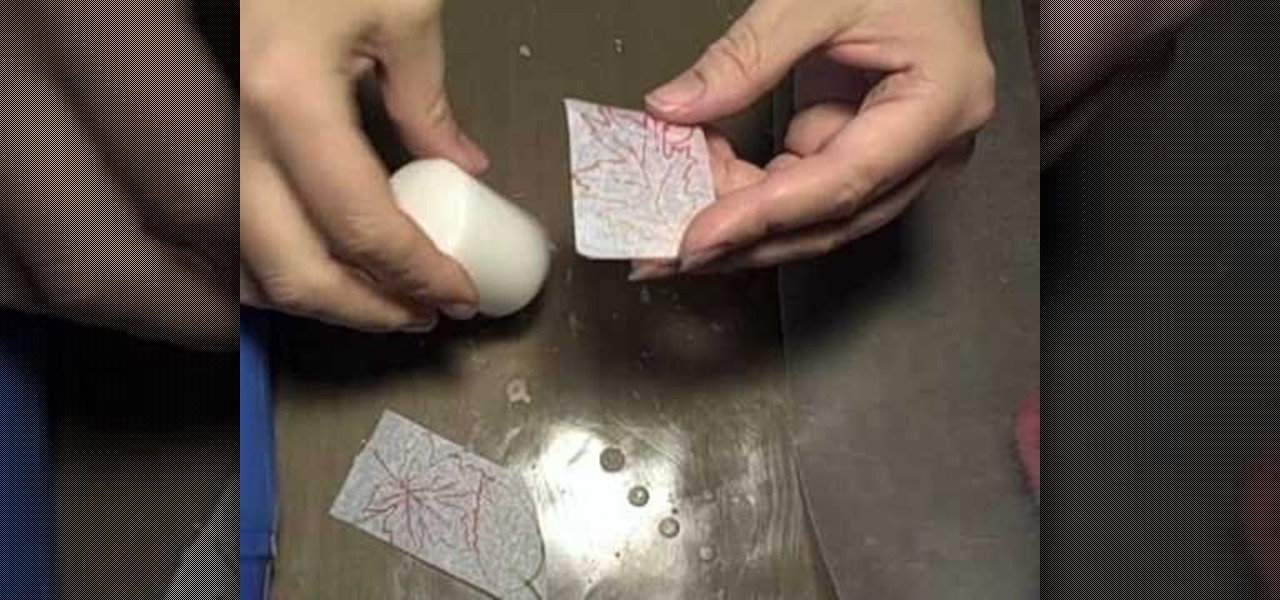
Candles make a lovely addition to any home decor, and they are also fabulous gifts. In this video learn how to make your very own decorative candles for cheap. All you will need to create this funky gift if a plain white candle from any grocery store, tissue paper and some wax paper.

We don't know about you, but we're wondering how the hell Katy Perry even has time to work out these days with the countless number of promotional appearances, hostess jobs, planning a wedding, and singing gigs she's doing on a daily basis. But, after looking at a few recent pictures of the singer's fit and curvy body, she must be doing something to keep all that in shape.

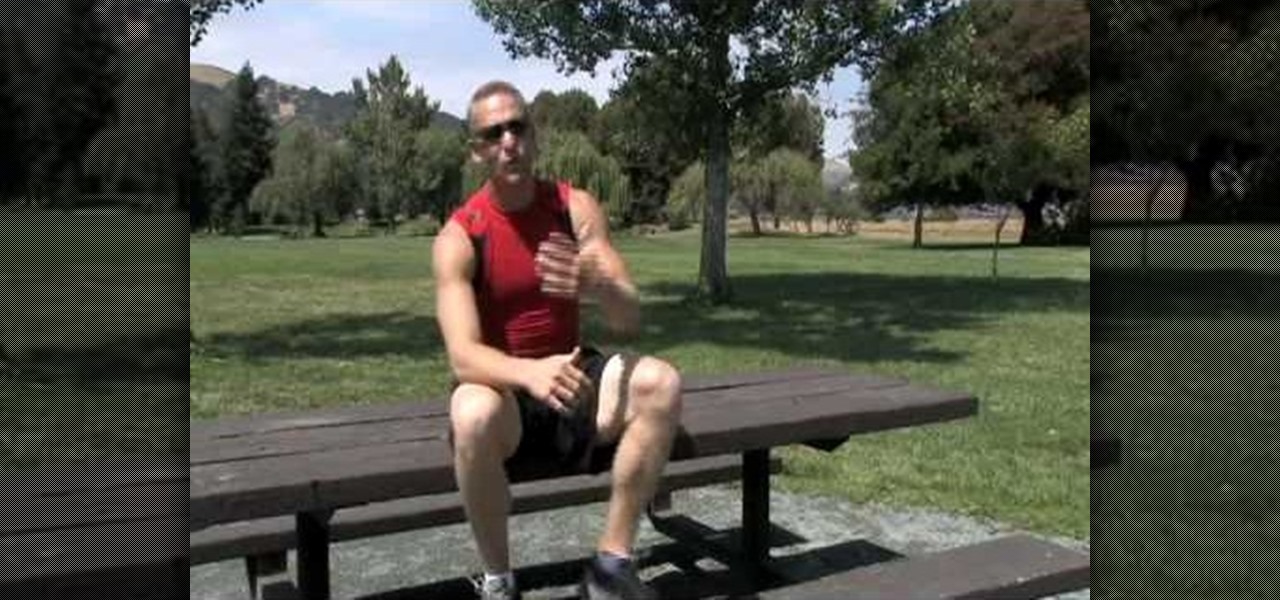
In this video tutorial, viewers learn how to do a body weight workout for beginners. Body weight workouts are recommended for those viewers who don't have access to a gym and would like to exercise. Body weight workouts require no equipment, only the mass of your body. Users work 30 seconds on each exercise. The body weight exercises are: wide squat, plank, split squat, side plank (both sides), hip raises and extending legs and push ups. This entire workout targets the glutes, abdominal muscl...

Infections with group A streptococcus, like Streptococcus pyogenes, claim over a half million lives a year globally, with about 163,000 due to invasive strep infections, like flesh-eating necrotizing fasciitis and streptococcal toxic shock syndrome.

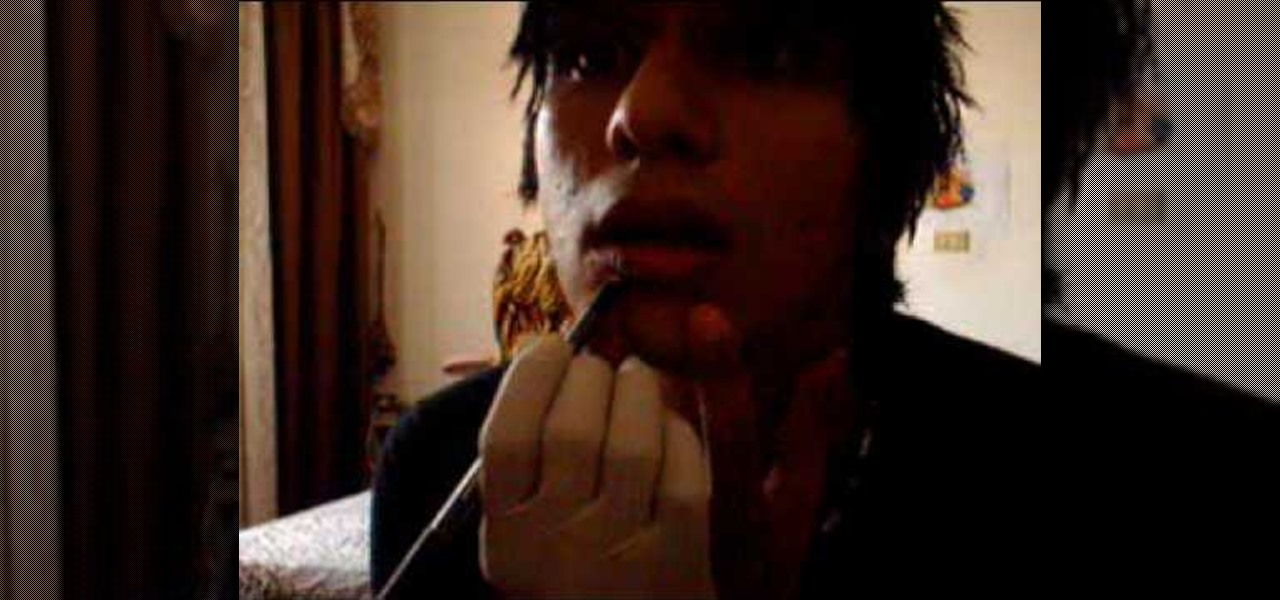
In this tutorial, we learn how to pierce your own lip like an emo kid. First, grab a safety pin and put heat with a lighter to it. Let this cool off, then put gloves on your hands. Mark where you want the piercing to be on your lip and look in the mirror to make sure it's in the right spot. Once you have this spot picked out, then you will poke the safety pin through the spot until you poke through the other side. Use tissues to clean up any blood that comes out. Next, you will slip the jewel...

In this video, we learn how to stretch your ear cartilage. The cartilage on the ear can be stretched just like the lobe, but it's a lot harder. When you do this, you will first need to think about how to do it. The first way is to slide a taper through and then plug it. This is a good option but it will take a really long time to stretch it out. If you go fast, you will get a lot of scar tissue. You can also use a punch that will punch a larger hole, just make sure to take care of it!

The origami version of a box and lid may seem like one of the simplest origami projects out there, but you should consider this origami box and lid the hard mode version of an otherwise beginner origami craft. Rather than use two sheets of paper total - one for the box and the other for the lid - this origami project only involves one piece of origami tissue paper.

Thanks to popular folklore, few of us would be happy to cross paths with a black cat or a raven on our way home. The creatures supposedly bring you bad luck (though, frankly, we've seen our share of black cats who were chubby and adorable).

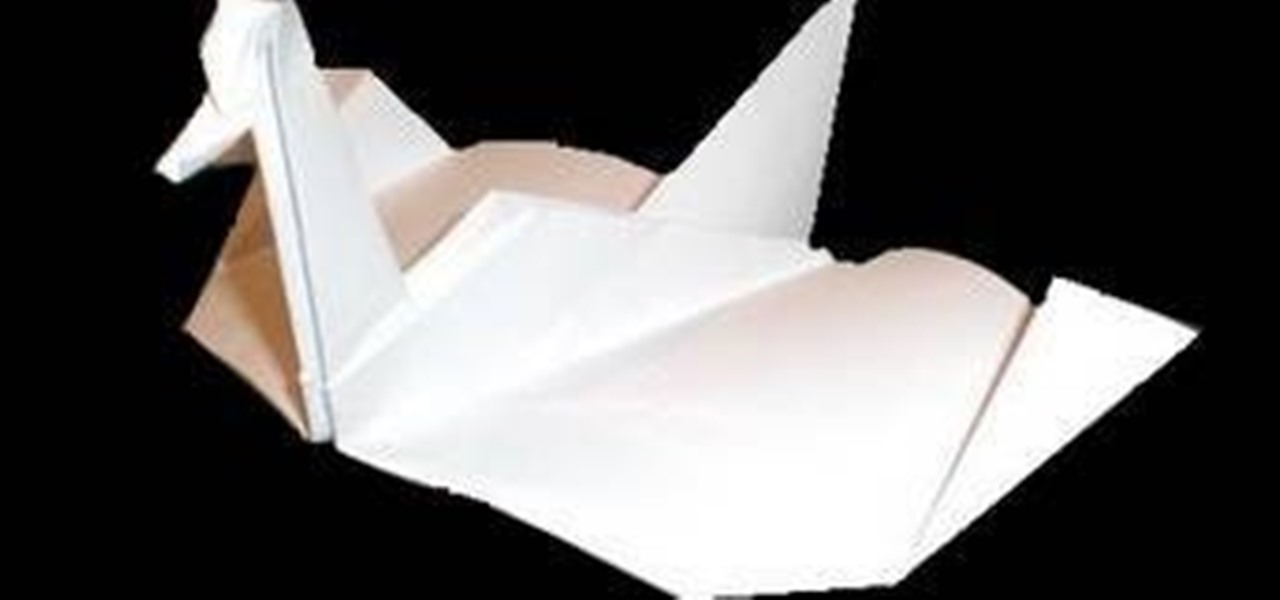
Watch this origami tutorial and in no time at all you'll transform an ordinary piece of paper into a fabulous, beautiful swan, unsuspectingly reenacting the classic gratifying story of "The Ugly Duckling." All you need are two hands with more or less dexterous fingers and a piece of white origami tissue paper or printer paper.

Are you hosting an Asian-themed party soon and need an easy but impressive way to present your utensils (AKA chopsticks)? Then this is the perfect project for you.

In this video tutorial, viewers learn how to prune roses. Users will need a pair of garden trimmers or cutters. Observe the rose stem and check to see if there are any thorns and if it has a black color. If it does, it needs to be cut. Then remove the mulch around the canes. When cutting, go as deep as you can to allow the new cane to fully develop. Cut the cane and make sure that you see clean, green tissue. This video will benefit those viewers who enjoy gardening, and would like to learn h...

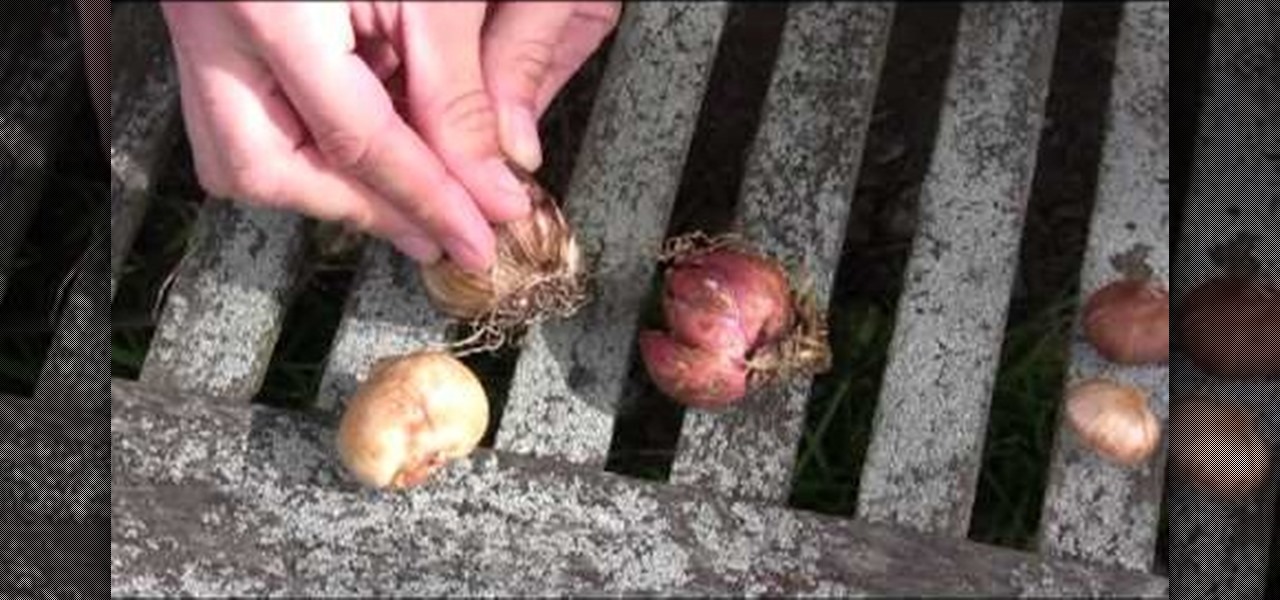
In this tutorial, Scott Atkinson shows us how to identify different types of bulbs. Common types of bulbs are: tulip, daffodil and lily. These are most easily identified but there are many that appear in flowers. A core looks similar to a bulb but it is a solid tissue and doesn't have an leaves, just a hard core with a protective covering. There is also tubers which are what potatoes and other foods grow from. These cause eyes to form and create different types of things to grow. You will now...

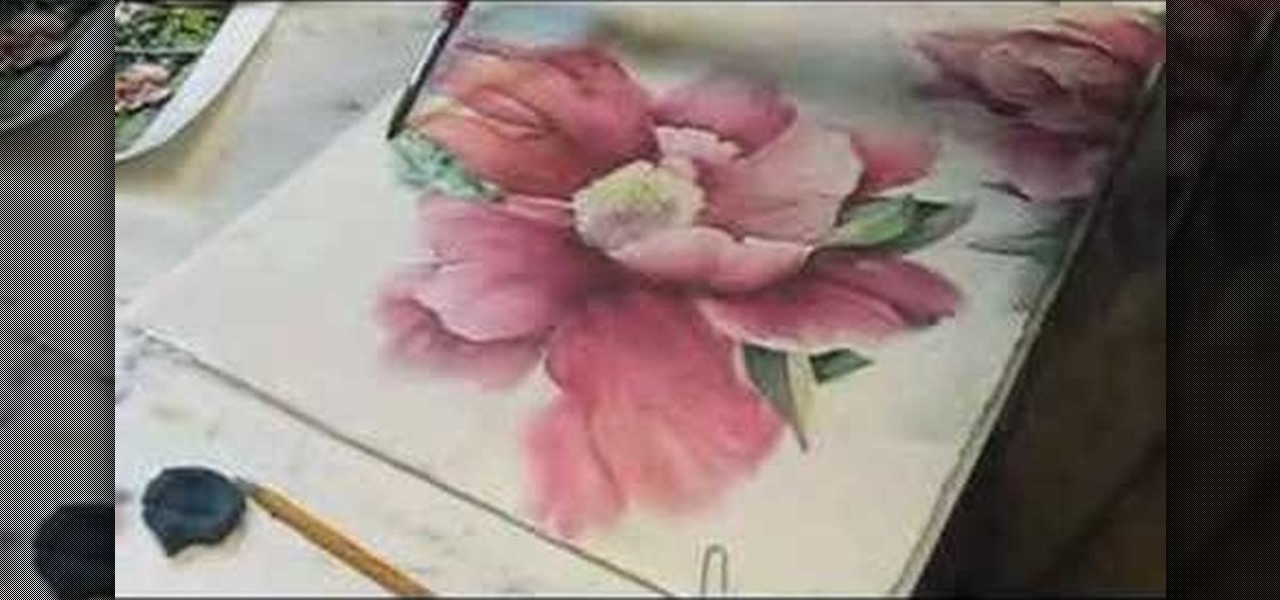
In this how-to video, you will learn how use set up a studio table for watercolor. First, make a water blotter out of toilet paper and tissue folded in half. Fold the towel into the paper. The gator board and paper should be in front of you, with the sketch at the left side. If you are right handed, everything should be on the right side. This allows for ease of painting. The kleenex and trash can should be on the right as well. If you are left handed, everything should be on the left. This p...

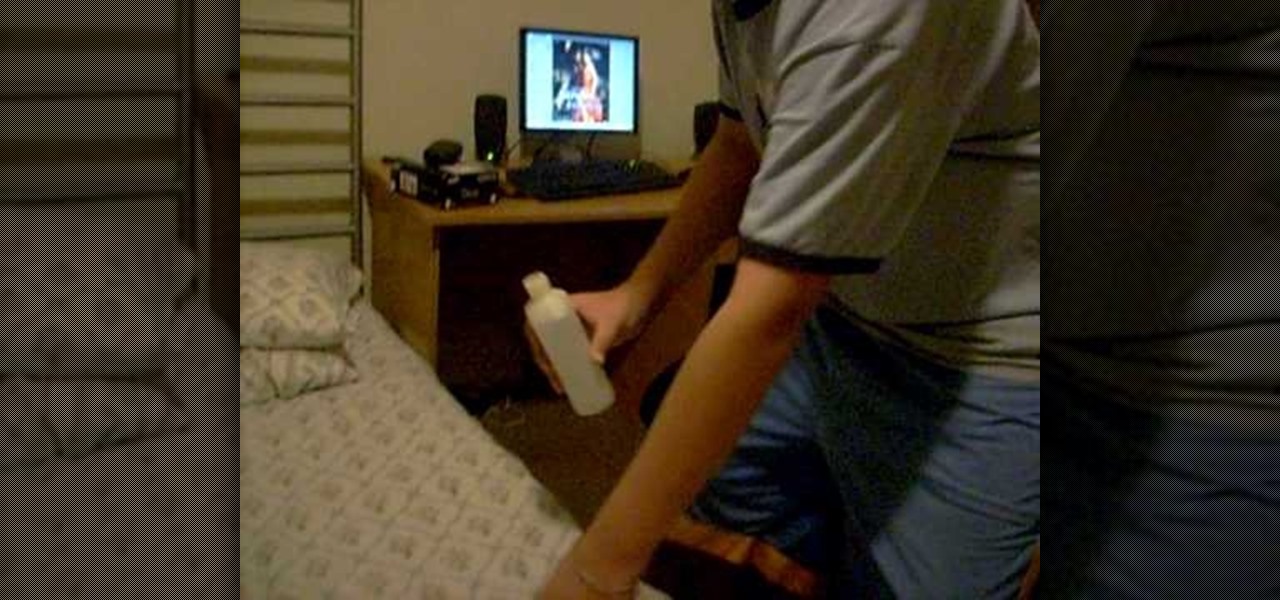
In this how-to video, you will learn how to fix scratched games with a simple solution. You will need a few rags, alcohol, and a surface to place the disc on. Take the rag and pour a tiny bit of alcohol on to it. Next, put the alcohol away. Take the cd and rub it with the rag. It should be rubbed all around the entire cd. Take a dry tissue and rub the cd. Make sure all the alcohol is removed. Your disc should now work with no problems. This video offers a good solution to all your scratched g...

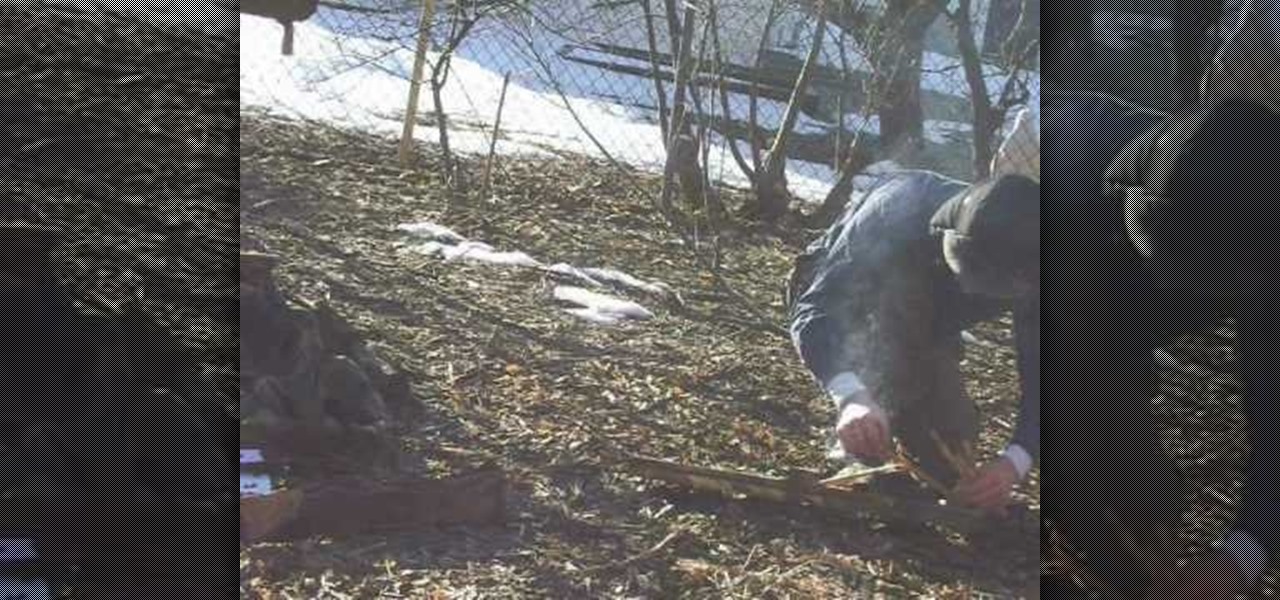
This video shows the viewer how to start a fire using a steel wool and a 9 volt battery. This is done by first selecting a charge battery and clean steel wool. The gently rub the battery terminals across the steel wool and blow gently. The wool should glow and become superheated. This happens because the battery is short circuiting and the very thin steel wool is being melted by the high current. Once the steel wool is hot it can be used to ignite small pieces of flammable material such as ki...

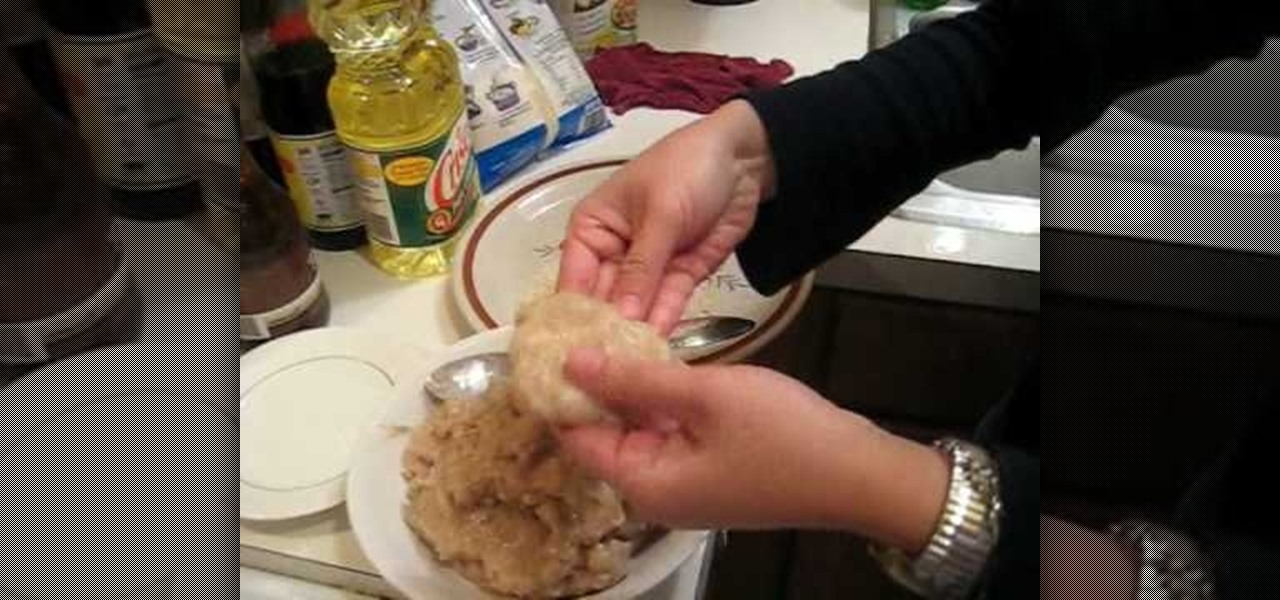
This video is about how to cook Thai shrimp cake. The first step that you will have to do is to peel the shells of the shrimps off. After peeling the shells, the next step is to blend the shrimps. Then the next step is to stop the blender once the shrimps have become smooth enough. And just simply put the salt, sugar, and pepper. Then blend the shrimps again. After blending, place the blended shrimps in the freezer for fifteen minutes. After 15 minutes, prepare the frying pan. Before dipping ...

Neti pots can be used to clean out your nose of dust, dirt and allergens and can help reduce swelling of the nasal passages. Stir half a teaspoon of salt in to a cup of warm water. Salt should be kosher salt or sea salt (DO NOT use ordinary table salt). Pour saline solution in the neti pot, then leaning over a bowl or sink place the spout of the neti pot in one nostril. Tilt your head so that your nose is slightly higher than the mouth, then rotate your head so your ear is facing the bowl or ...

More and more parents are choosing to forego circumcision and leave their newborn sons penises intact. This video is about how to care for your infant's foreskin. In the first few years of life no special form of care is needed for your baby's intact foreskin. Forcing the foreskin to retract is painful and is no longer recommended because it is not necessary. Clean the baby's penis just as you do the rest of the diaper area. Over time the foreskin will begin to retract naturally through norma...

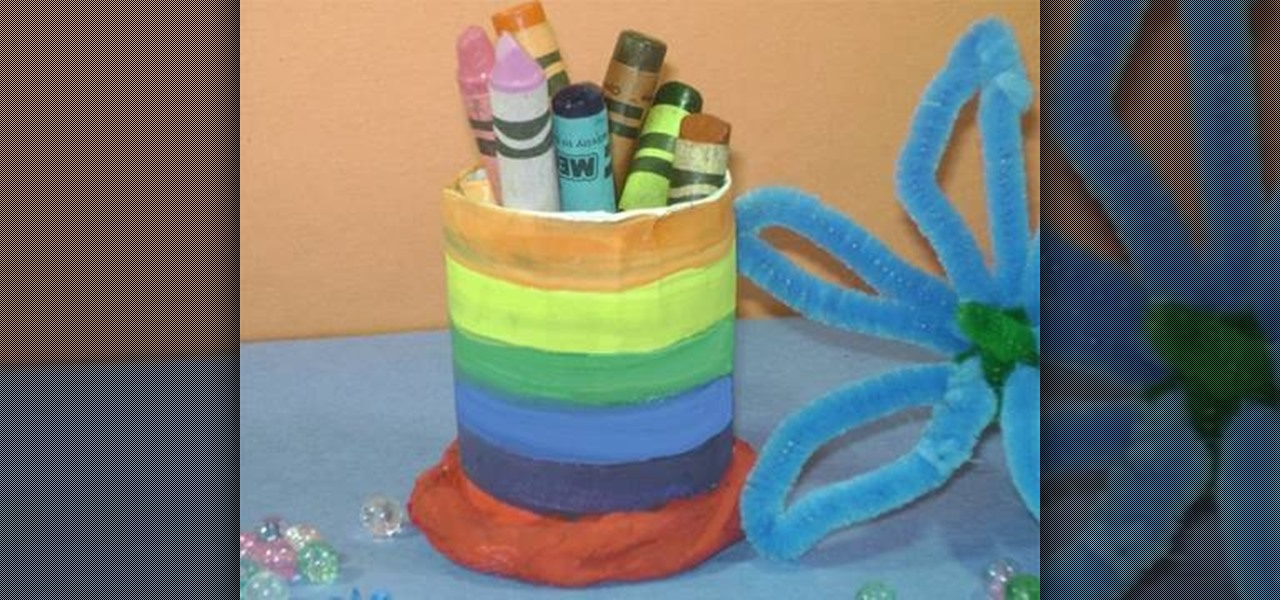
In this video tutorial, viewers will learn how to make a simple pencil holder. This is a child's art and crafts activity. The video provides all the materials that are required in order to make the pencil holder. The materials required include: a toilet paper tube, paint, paint brush, glue, scissors and a sheet of white paper. Users simply decorate the paper with paint and wrap it around the toilet roll. Next, cut another piece of paper for the bottom of the roll and secure it with some tissu...

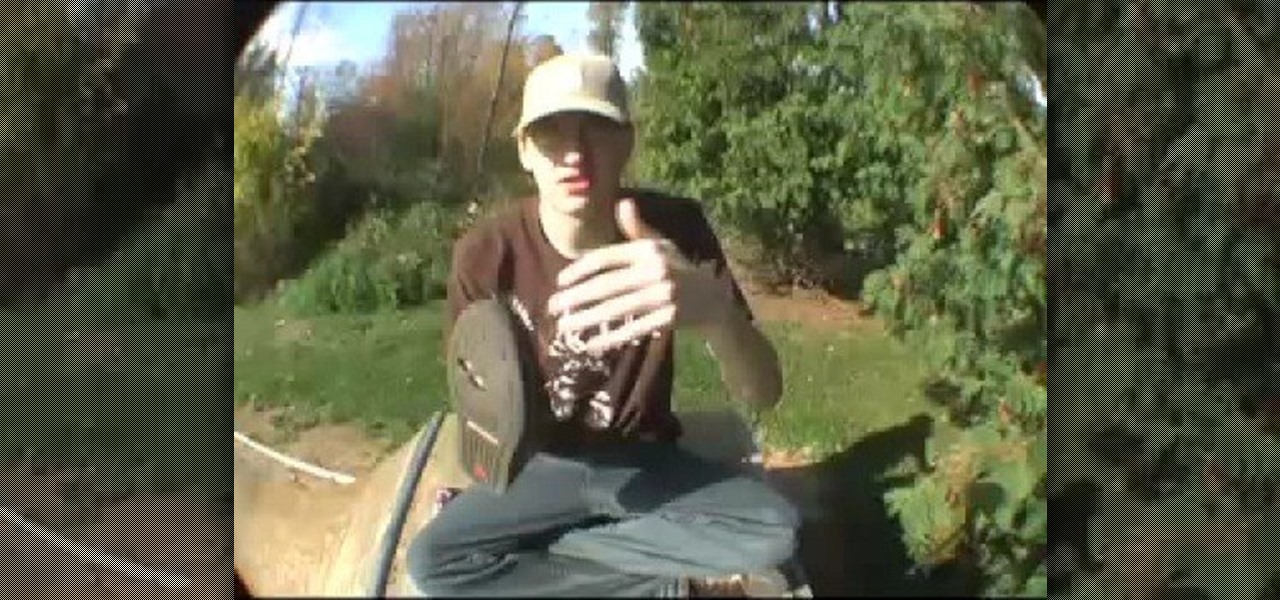
Got holes in your shoes? Don't throw them away. Learn from one wise skater how to fix them up and get back on your feet. Get your hands on some Shoe Goo, which can be purchased at any sporting goods store. Grab a tissue or napkin and use it to plug the hole in your shoe. This will act as the base upon which you'll place the Shoe Goo. Once it's in place, coat the hole completely with Shoe Goo. Use gloves if you prefer, but it washes off your hands easily. Cover the torn area sufficiently that ...

This video teaches the secrets of using acetate sheet to develop watercolor painting. Some tips of using acetate sheet to develop watercolor painting are: Acetate sheets will come to use mainly when painting flowers, nature, birds, animals, etc. (e.g., flower in this video). In this case first finish painting the flower and some easy parts. Now painting the weeds is difficult as you may find it tough to get it in the right area. Now you can place an acetate on top of your painting and draw th...

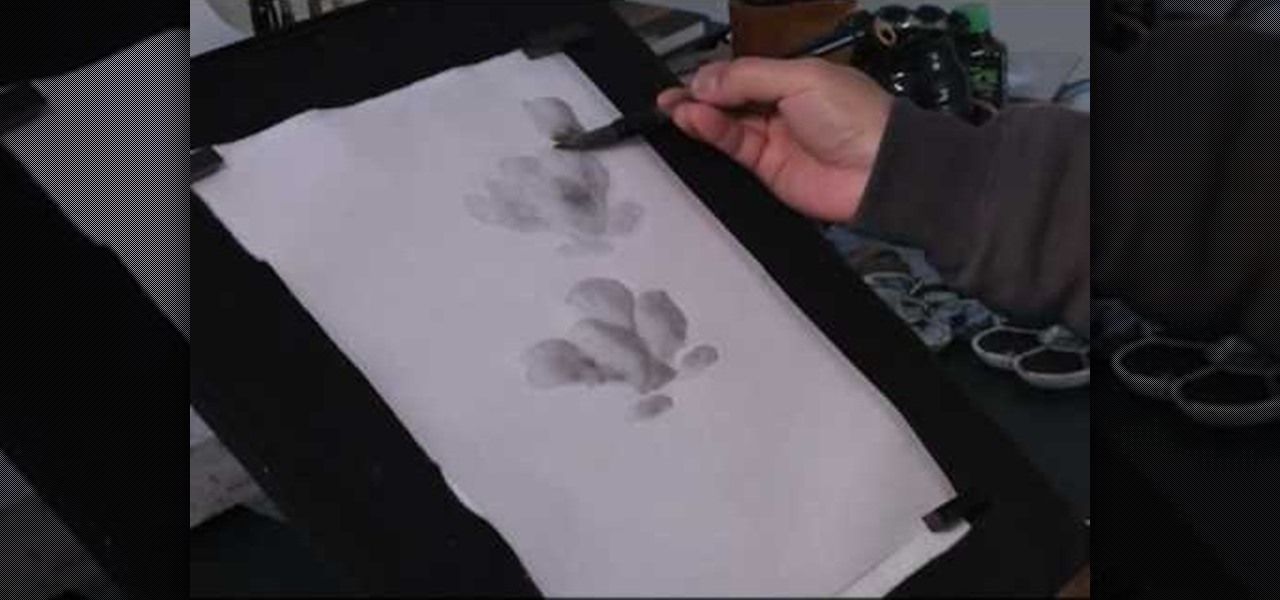
This video demonstrates how to paint a magnolia in ink and water, Chinese style. Make gray ink by mixing water with the black ink. Squeeze the brush with a piece of tissue and dip it in glue water made of peach sap powder mixed with water. When he begins to paint, half the brushstroke is gray and half is clear water. In this way you can use the brush to get darker and lighter shades of gray to make the magnolia flower shape that appears to be shaded. He then uses a stiff brush and black ink t...

Share the joy of the holiday season with this great homemade Christmas gift from your kitchen. Crank up the Christmas music and invite the kids to come make some gingerbread family kits.

An important part of surgery is knowing the various types of closures to perform. This medical how-to video demonstrates a vertical mattress suturing technique. The vertical mattress suturing technique is especially good for laceration repair or wound closure in the operating room when you want to ever the edges. It is an excellent technique for incorporating a large amount of tissue for greater tensile strength. Follow along and learn how it is done.

Melissa Watson from DIY Style shows a way to restructure and re-style something that you already have plenty of, a t-shirt, in this how-to video. Add ruffles and rouching to transform a plain tee into something a little more eye-catching. You will need thread, a ruler, elastic, shears, a marking tool, a tissue-knit fabric, straight pins, and a t-shirt. Watch this video design tutorial and learn how to fashion an old t-shirt into something more stylish.


