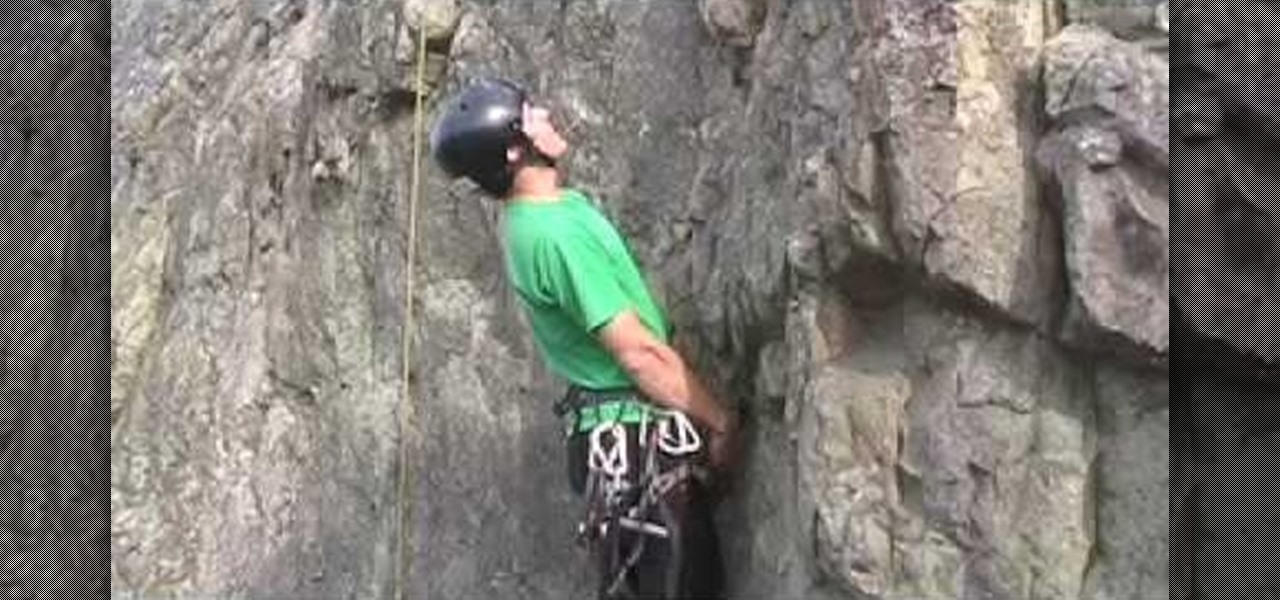
This is part of the How To Big Wall Book. In this segment Chris McNamara demonstrates how to move up the piece when leading as he sends El Capitan. This is import for safe and effective climbing. This will be combined with jumaring techniques for traversing and lead climbing.

This is part of the How To Big Wall Book. In This segment Chris McNamara demonstrates how to set up ascenders before jumaring. This is an important rock climbing technique when climbing big walls outdoors.

This is part of the 'How To Big Wall Book' series on rock climbing. In this segment Chris McNamara demonstrates basic jumaring technique for rock climbing overhang or low angle terrain. This technique for over hanging terrain called jumaring is to reduce arm strain and ascending walls. He then shows you how to ascend a vertical or low angle terrain. This video is shot at El Capitan in California.
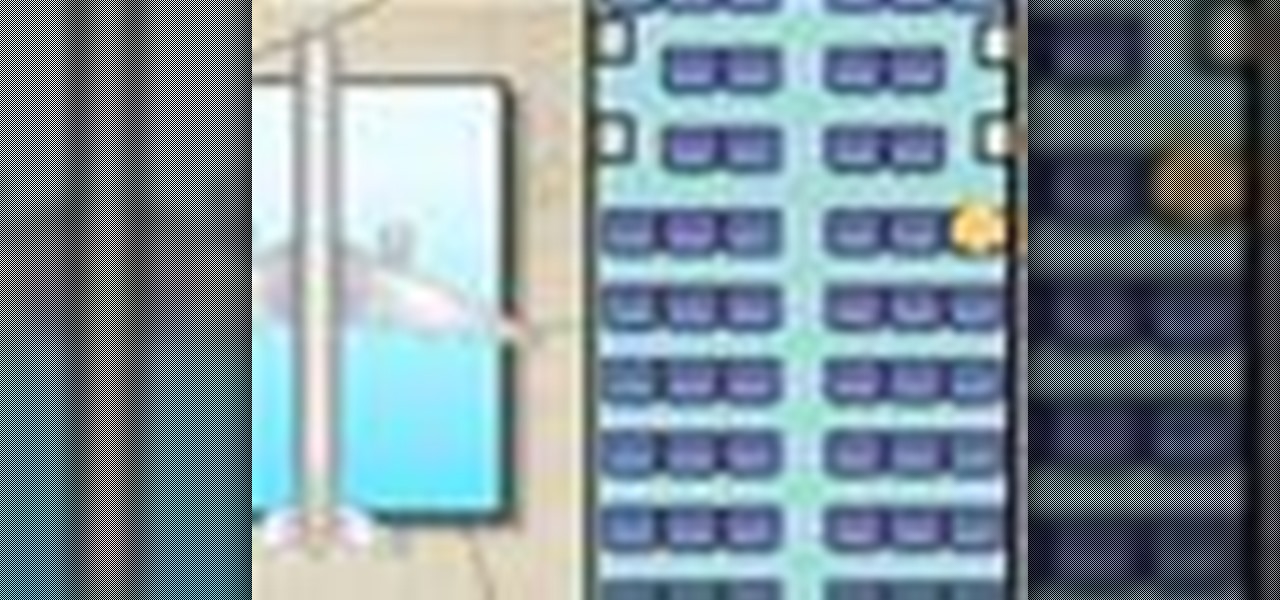
Don't get stuck in a middle seat near a bathroom on your next flight. With a little time and effort, you can be sitting pretty. With more and more airlines offering advance seat booking, it's easier to get a little more leg room, or peace and quiet. Watch this video travel tip tutorial and learn how to pick a great airline seat.

This video knitting tutorial demonstrates a technique for attaching a pocket that is the same as that used for inserting a heel. Following the pattern directions, you knit some of the stitches with waste yarn to mark the top of the pocket. Carefully remove the waste yarn and put the loops above and below onto double-point needles. If you're worried about dropping stitches, you can pick up the loops as you go. Remove all the waste yarn and then go back and pick up the stitches. The loops on th...
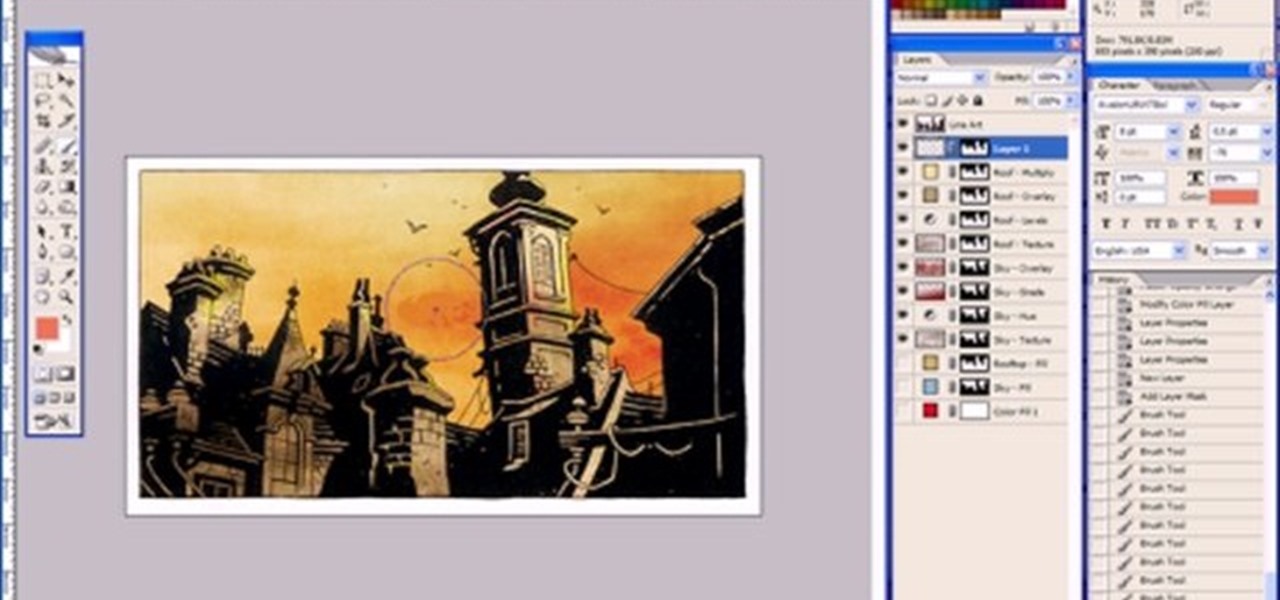
This Adobe Photoshop tutorial is a demonstration of coloring technique using Photoshop CS2's layer masks, adjustment layers, and blend modes. Just like in a coloring book, you can use Photoshop to color in line art as shown in this video.

In this tutorial, we'll look at how to create shadows for simple objects using Photoshop CS2. In this example, you will be creating shadows on books in Photoshop.
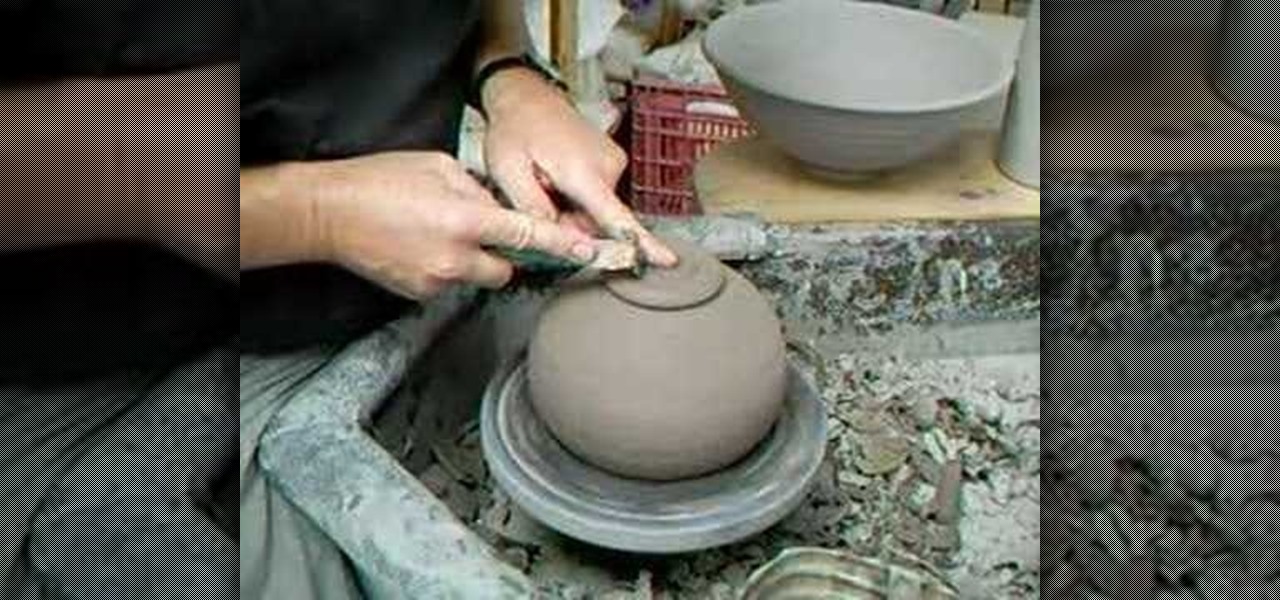
This instructional ceramics video shows you how to trim a round bowl. It is much easier of you have a centered pot to begin with. It is also helpful to leave a bit of extra clay in the base so that one can trim more freely. Once the clay is semi-dry, you can begin trimming. After trimming, smooth the trimming marks out using a rubber rib. A touch of water on the rim will re-elevate the rim after trimming your round pot.
This video shows you how to make an amazing lamp shade with a recycled book.
The Nook Color is great for reading books, but wouldn't it be nice if you could watch movies on it? This video will show you how to run the Netflix app on a rooted Nook Color. You can mod Netflix into playing on your rooted eReader.
The trick to beating this level is to stick a glasses sticker to the boy's face before you start your rookie test. You can't ace the level without doing this! The glasses sticker is on Grab and Swing, behind the books.
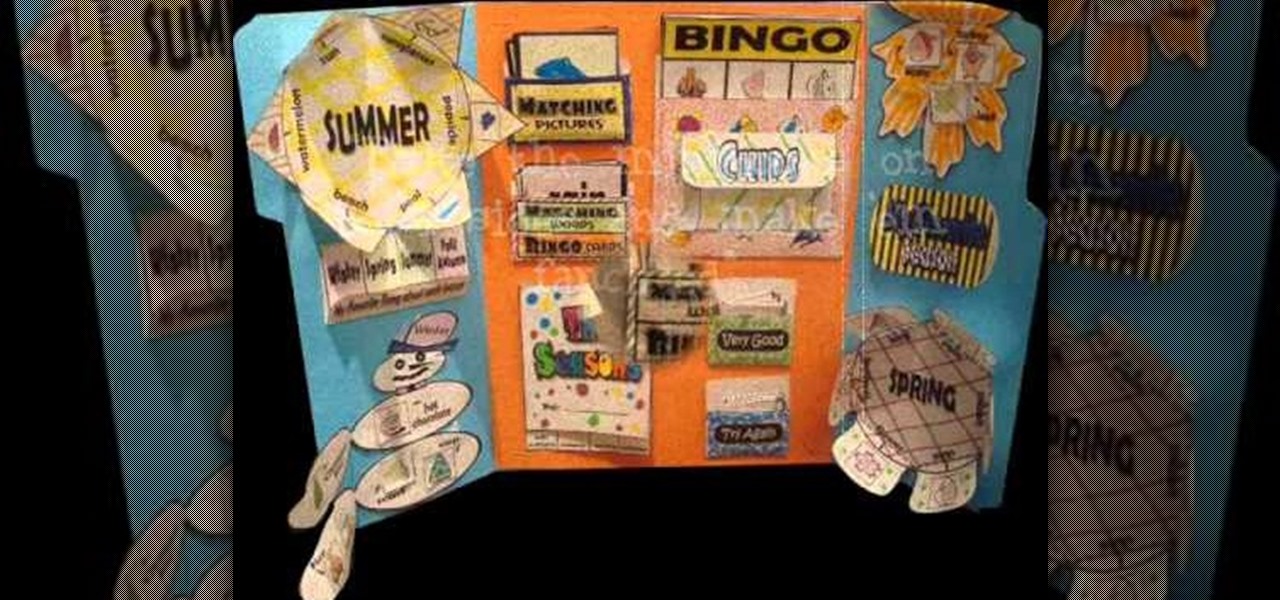
This tutorial shows you an easy and fun way to make two sided lapbooks. These tools are ideal for things like language lessons, where you can show different vocabulary words on either side of the book. All you need are some manila file folders and bright colors.
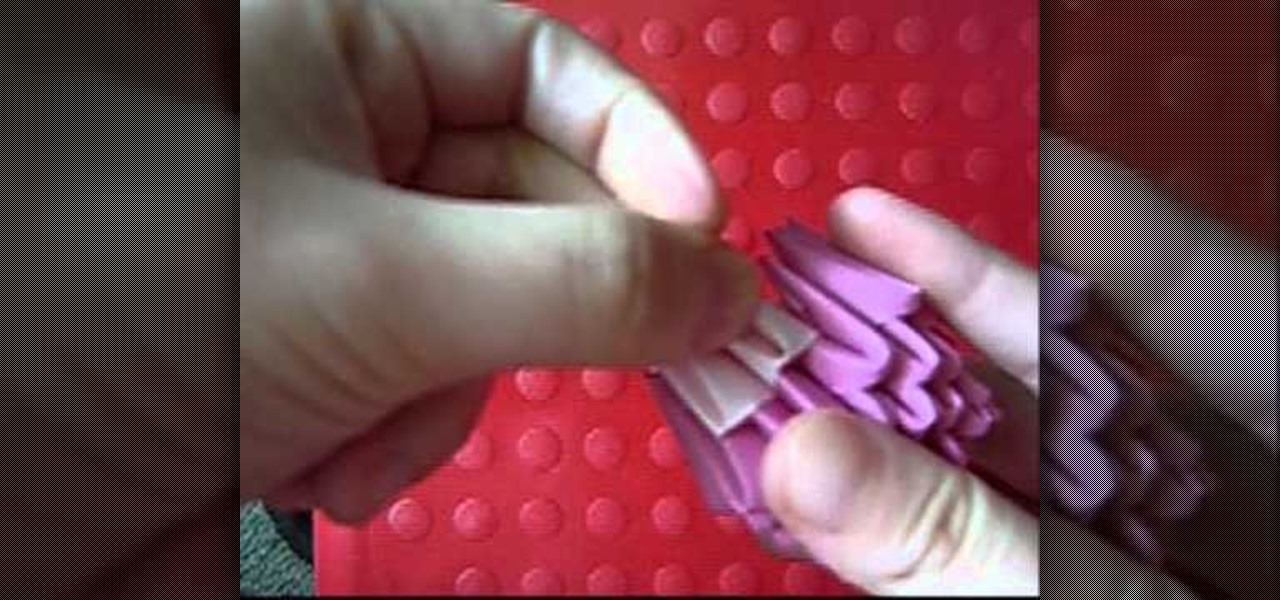
This tutorial has been inspired by the character Piglet, from the Winnie the Pooh books. You'll need to have mastered the basic triangle folding techniques for 3-D origami, and, of course, have lots of pink paper to make this project!
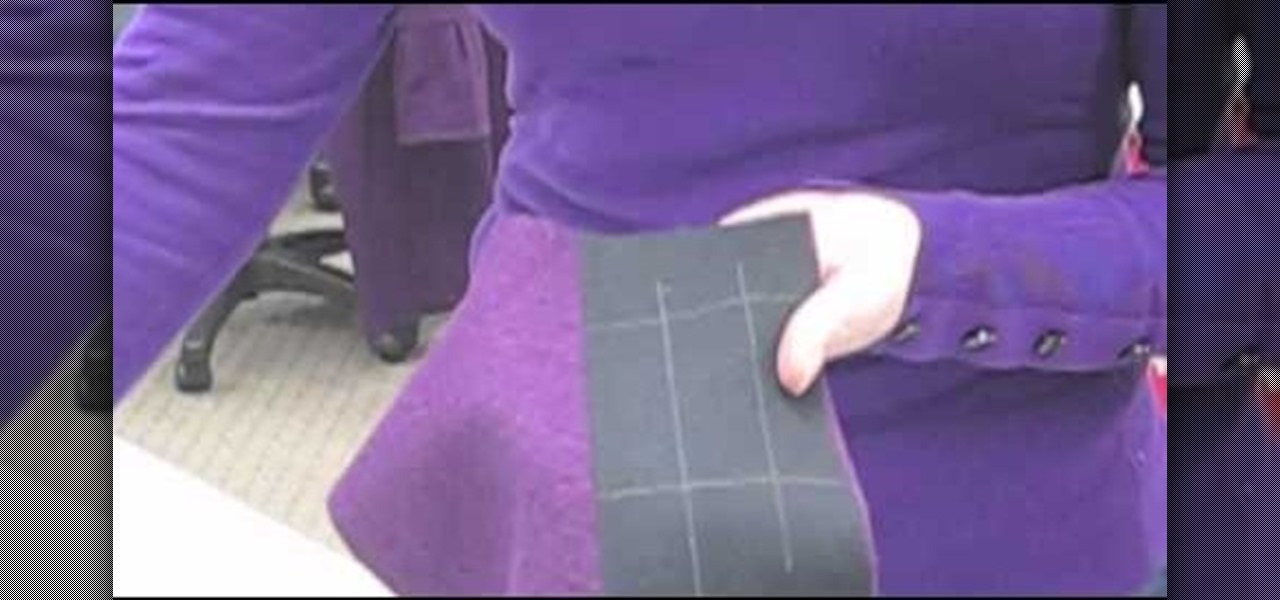
A bound buttonhole doesn't have to be difficult. This video shows you several different techniques taught in various sewing books, and then shows you a synthesis of both methods. Don't worry about having to hand sew your buttons, you can do it all by machine.
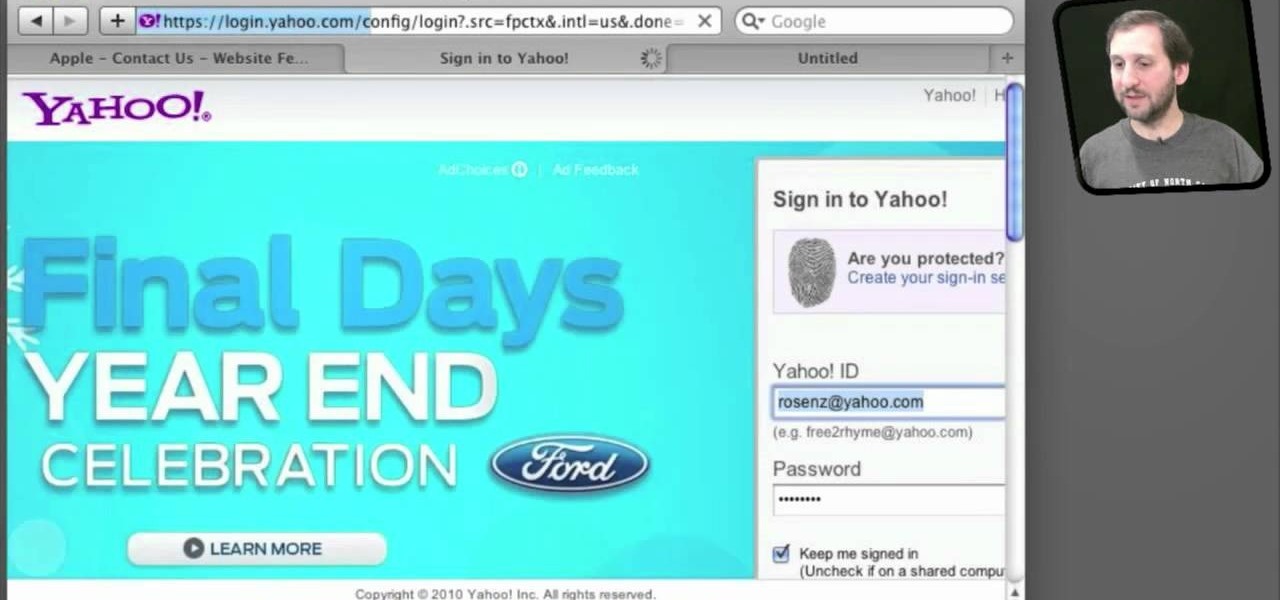
Use the AutoFill feature in Safari to quickly fill in web forms for sites that you visit again and again and save time when logging in. Form entry data is stored in your address book contacts, and from information you have filled out in web forms before. You can see the passwords used by AutoFill in the OS X keychain, and you can also specify and limit general access to those passwords.
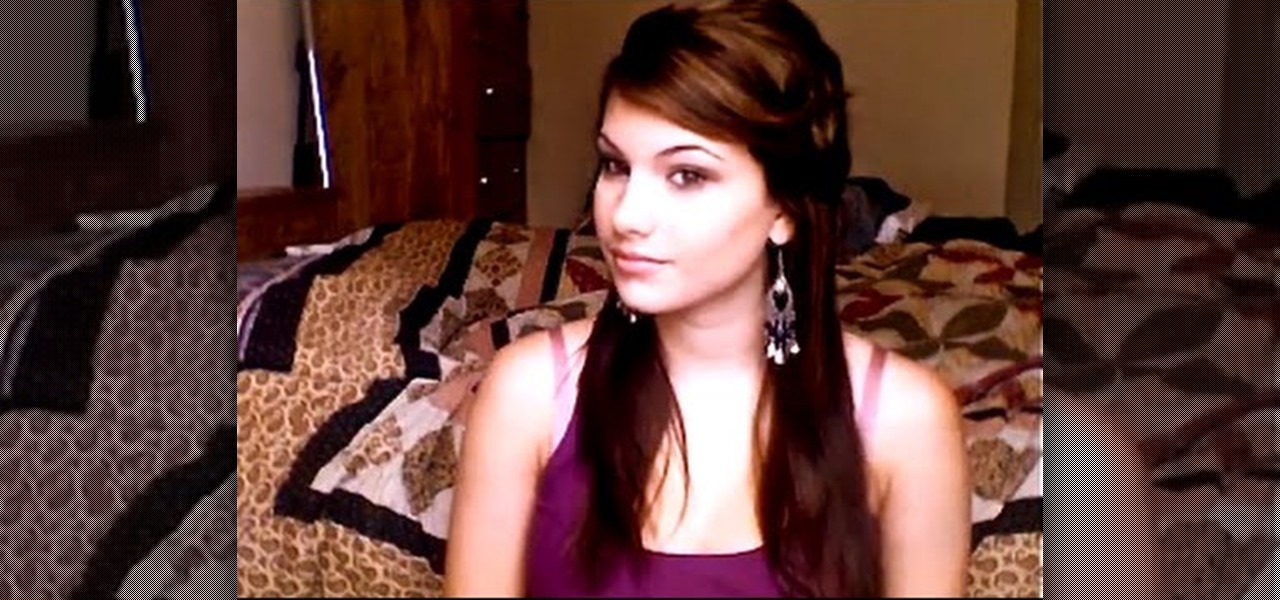
During September, going back to school is an extremely exciting time involving new classes, new books, and new hotties to drool over. Look your best and be the object of the drooling by styling your hair into this easy loosely pulled back look.
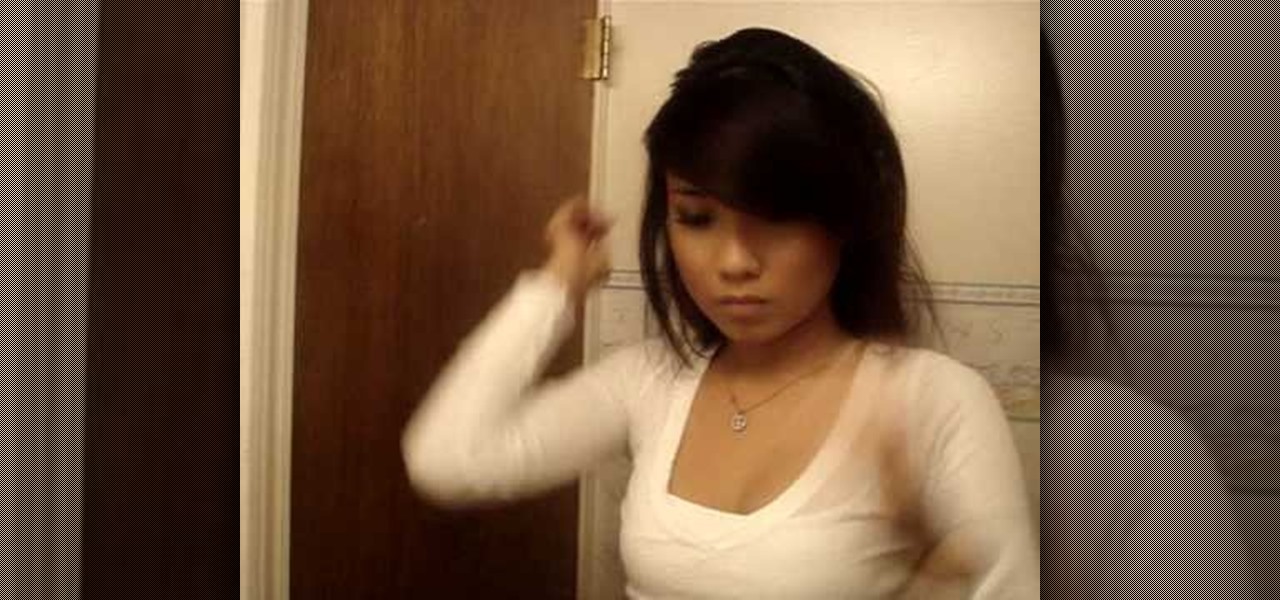
This is one of those hairstyles we remember throwing together at the last moment before grabbing our books and jetting off to school. As simple as they come, this low messy bun basically involves hastily putting together a bun and then adding a headband for chicness.
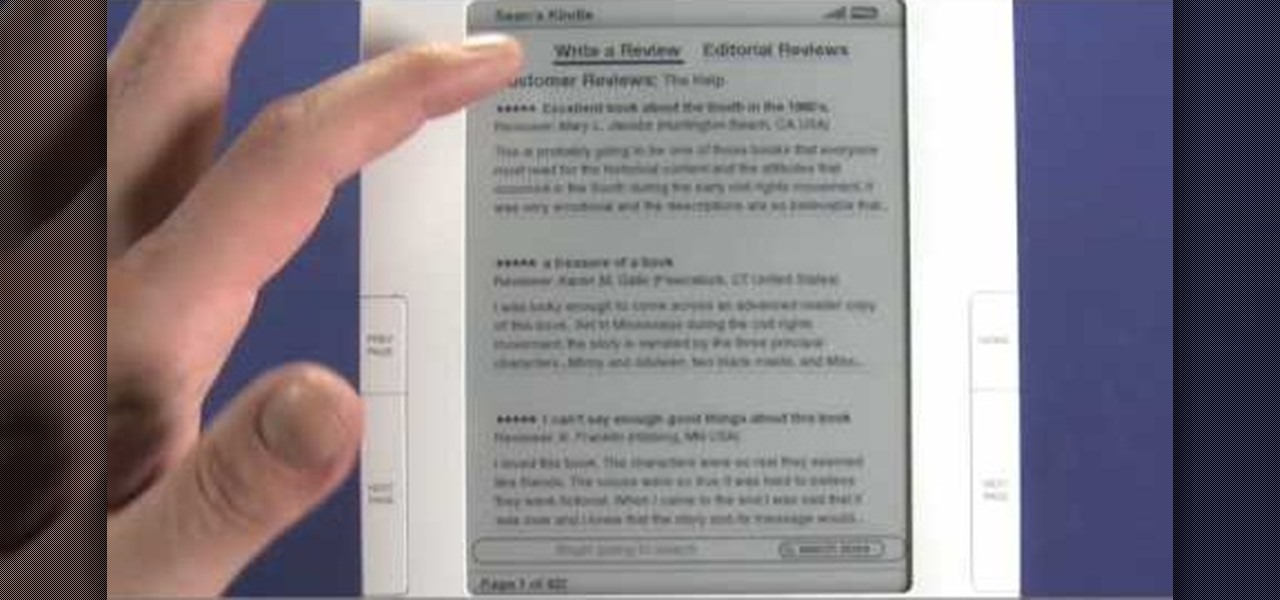
Interested in adding a new book to your digital collection? It's easy! And this brief video tutorial from the folks at Butterscotch will teach you everything you need to know. For more information, including detailed, step-by-step instructions, and to get started buying and downloading eBooks from the Amazon bookstore to your own Kindle 2 or Kindle 3 eReader, take a look.
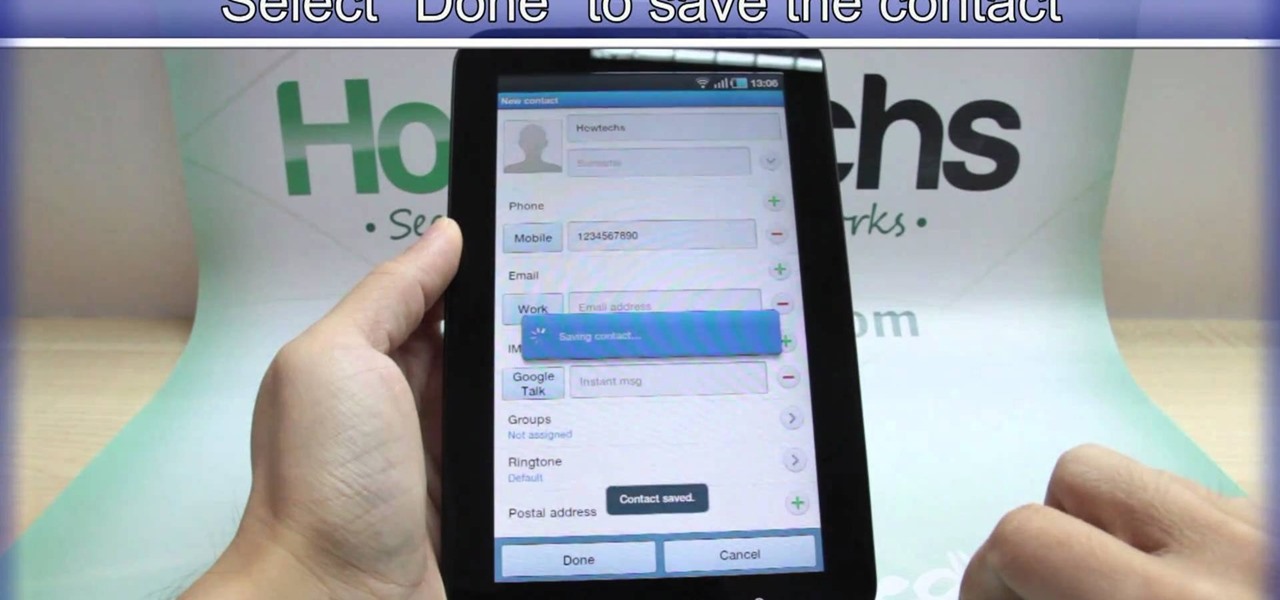
You've got yourself a new Samsung Galaxy Tab and you want to start filling up your contact book, but you don't know how— This video will breakdown the easy steps to adding those new contacts in the Android OS. Simply hit APPLICATIONS, then CONTACTS and select the ADD NEW CONTACT icon (looks like a +) in the bottom left. Fill in all the relevant information and click DONE to save the contact.
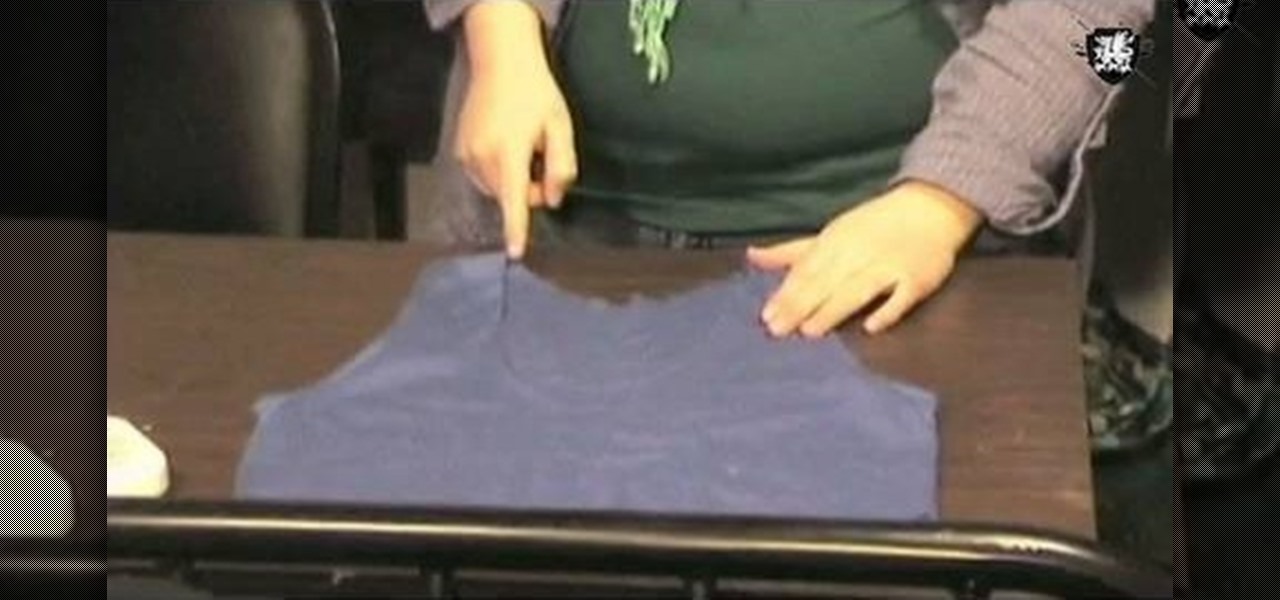
In this tutorial, we learn how to make a summer party dress with Threadbanger. First, take a tank top and mark right under your boobs with a pencil. Then, lay it down on the fabric you want to use and outline it, making sure there is extra seam allowance. Cut one that will be your back and the front. Next, cut off the bottom of the two pieces that you cut, making sure you leave extra allowance again. After it's cut out, sew them all together to make a cute dress for the summer! Adorn with any...
The first step in this video is to draw a rectangle on a piece of paper to gauge the length of the hair stokes. The artist then makes long pencil marks along the inside of the rectangle that are much less defined towards the middle. It is explained that you need to go in one direct with your pencil strokes as going back and forth gives an unrealistic final product. It is shown that you must begin at the beginning of the hair source and bring the strokes downwards for more realism. Four exampl...
This video begins by showing what a folding painting canvas looks like and what the final stretched canvas should look like. The first step shown is to make sure the bars are measured and marked with a simple A and B for easy measurement recall. After a wood frame is added over the canvas you must fold the material over the back of the wood and nail in place. Once the canvas is nailed to the frame you must add A, B, C and D markings to continue proper alignment procedure. The last step shown ...
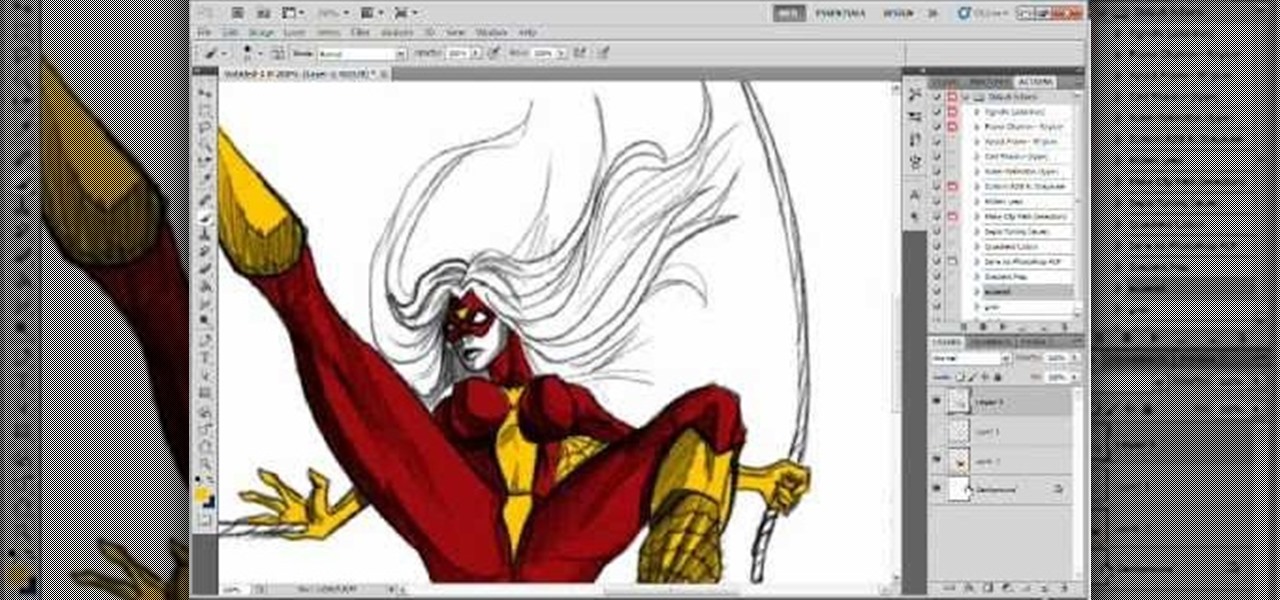
Want to draw your favorite comic book characters? This tutorial shows you how you can use Photoshop to draw a sketch of Spider Woman. Starting with some basic shapes, here's how you can make a realistic and detailed drawing of Spider-Woman.
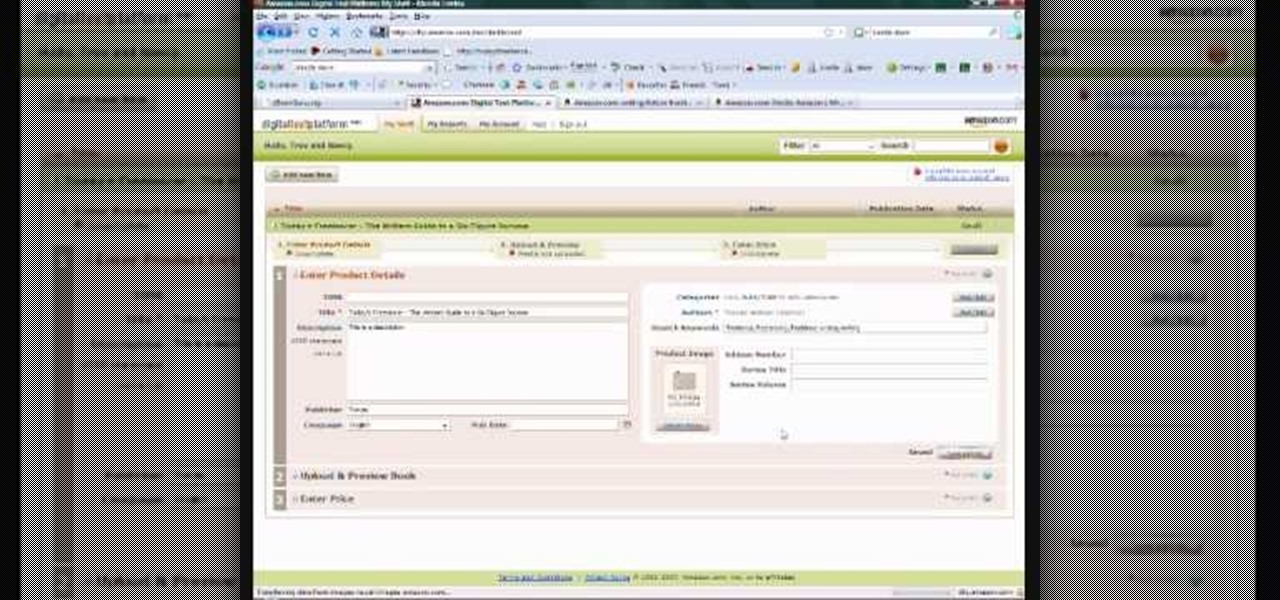
Have a great manuscript you just know will do fantastic on Amazon's e-book store? You can't just upload a straight document for easy reading on a Kindle - here's how you can reformat your file and then upload it to Amazon to be read by anyone with an e-reader.
It really doesn't take a lot of cooking know how - or an ingredients list longer than the last "Harry Potter" book - to create a delicious dish. In this recipe video the focus is on side dishes.
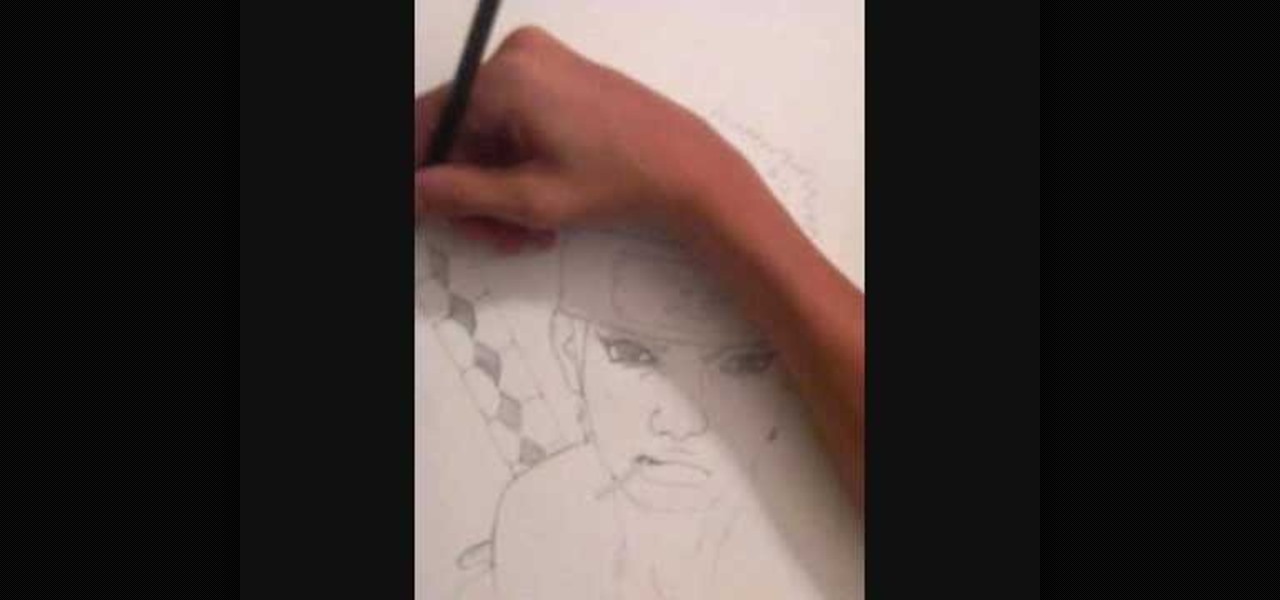
In this tutorial, we learn how to draw Omoi. first, draw the outline of the character with a thin pencil mark. After this, draw in the features of the face and include the details on the eyes. From here, start to draw in the bangs and the hair around the head. Next, you will draw on the headband on the forehead and then decorate the inside with the usual sign. Next, you will draw on the ears and finish with the details on the face. After this, draw on the upper body and then clean up any back...
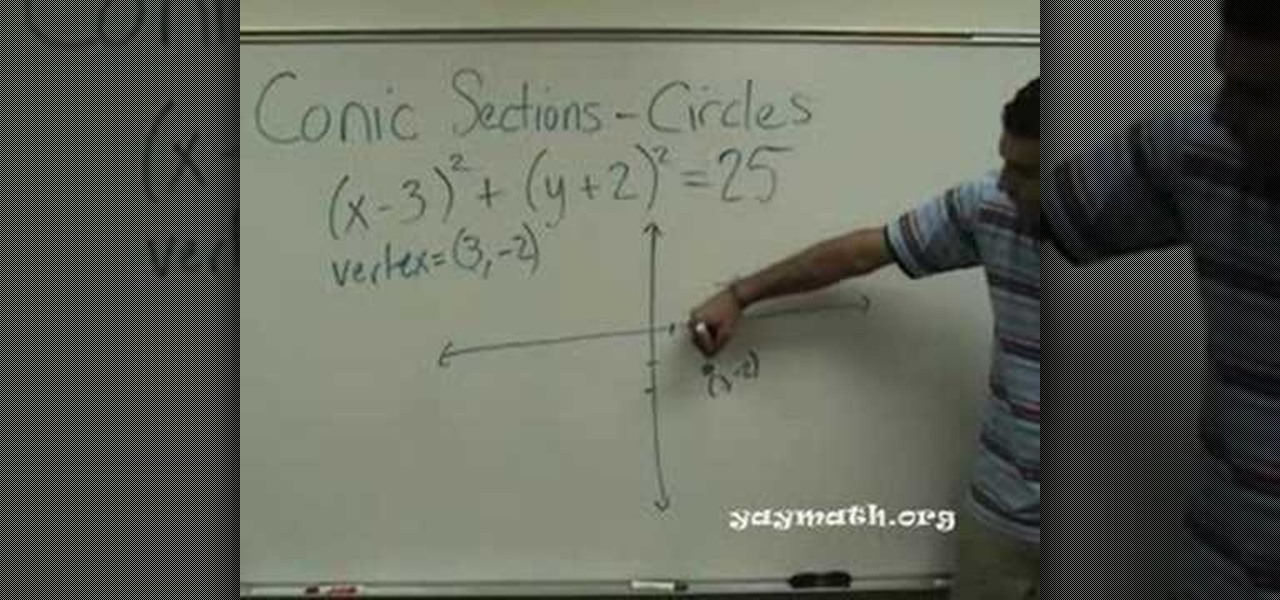
In this tutorial, we learn how to graph a circle. When given an equation to graph the circle, you will first need to find the vertex of the circle. Once you find this, you can use those coordinates to mark the vertex on the graph. Follow the negatives and positives to go up, down, left, and right on the graph. Next, you will need to find the 'r' value of the equation. After this, you will use this to continue to graph the rest of the points around the vertex. When finished, draw the outline o...
In this tutorial, we learn how to pierce your lip and hide it. First, you will need to get a safety pin and clean it off with alcohol or antiseptic. From here, you will then mark the spot on your lip that you want to pierce. Once you have this lined up, you will need to numb the area with some ice so you don't feel the piercing as much. After this, pierce the pin through and then place the jewelry inside. Clean this off when finished with some Listerine. Stick a new stud in your mouth backwar...
In this tutorial, we learn how to pierce your own lip like an emo kid. First, grab a safety pin and put heat with a lighter to it. Let this cool off, then put gloves on your hands. Mark where you want the piercing to be on your lip and look in the mirror to make sure it's in the right spot. Once you have this spot picked out, then you will poke the safety pin through the spot until you poke through the other side. Use tissues to clean up any blood that comes out. Next, you will slip the jewel...
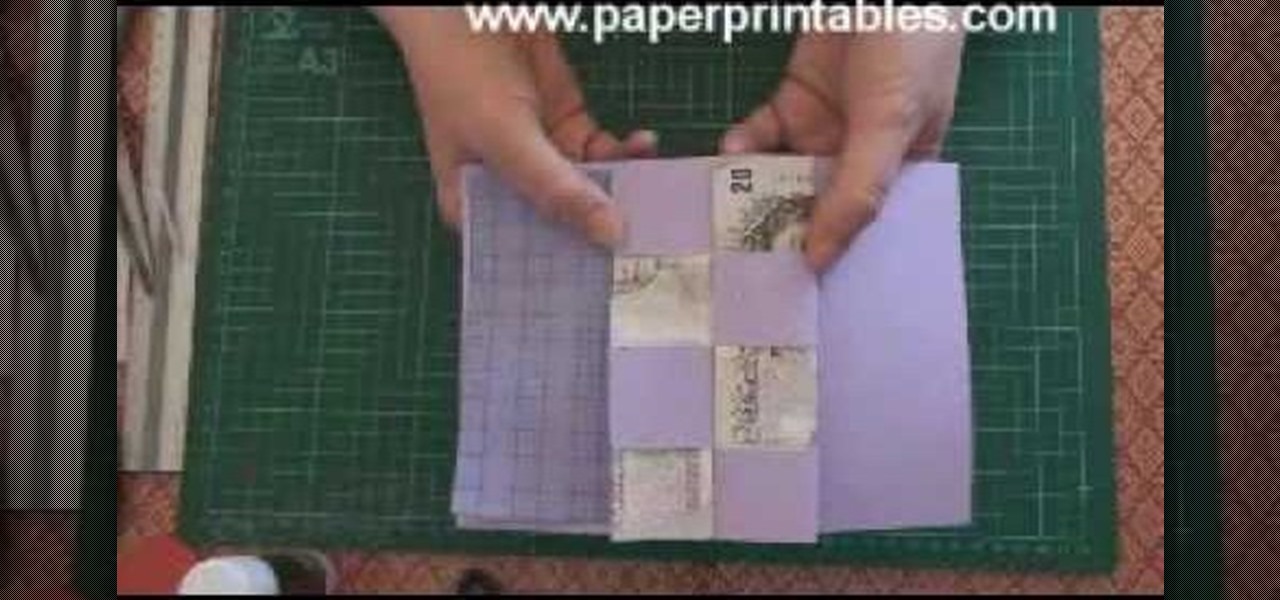
In this video, we learn how to make a pop-up concertina money card. To start, you will first need to take a piece of paper and measure your money on the inside of the paper. Then, cut this out in a strip and cold your money in half lengthwise. After this, measure the depth out from the center using a ruler. Then, fold the paper in half and on the sides where you marked. Then, you will cut three holes in the middle of the paper and these will hold the money in. Stick the bill in the middle of ...
In this video, we learn how to pierce your own lip and avoid infection. First, mark the spot on your lip where you want to pierce it and then check it in the mirror. After this, grab your needle and clean it off with antiseptic or mouth wash that has alcohol in it. Push the needle all the way through the spot on your lip and then place the jewelry into your lip. Once finished, you will need to rinse your mouth out with mouth wash that has alcohol in it. Make sure to clean this regularly so yo...
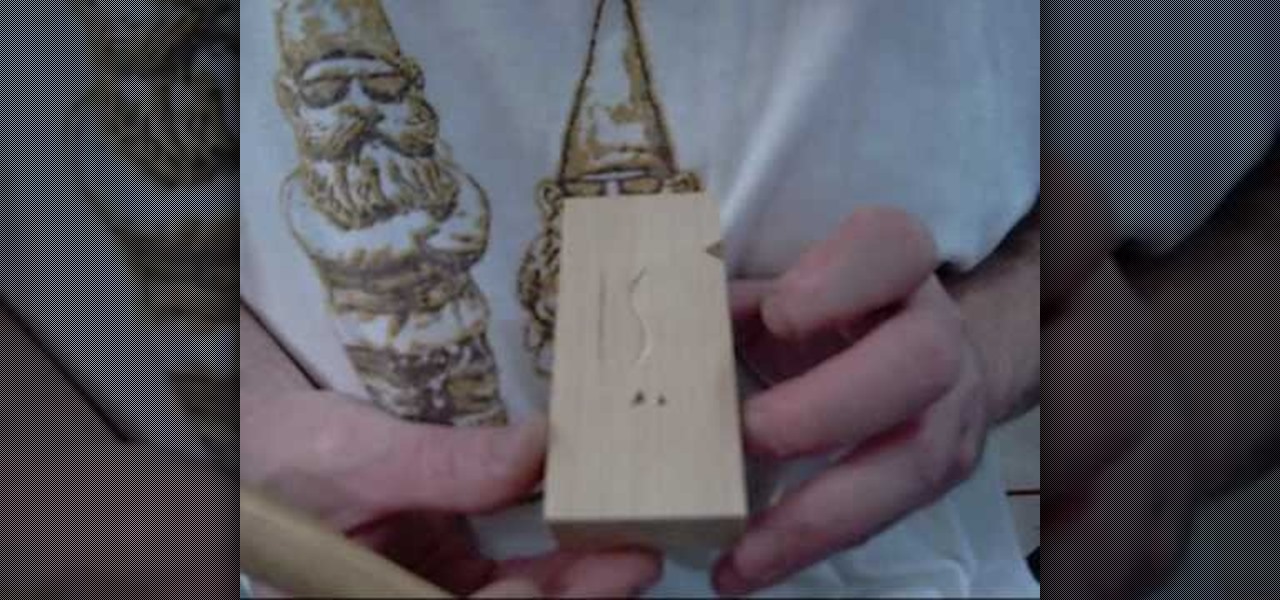
In this tutorial, we learn how to begin using a woodcarving knife. Before you go into the detail, you will want to make sure you have it carved right. The carving all starts in the block of the wood. There will be a couple initial cuts that you will do with a knife after marking the wood with a pencil. Do repetitive cuts to get the right shapes. Also do an 's' curve and hit the lines right. If you want to make this look like a v-tool then you just need to make it with your knife. Have fun and...
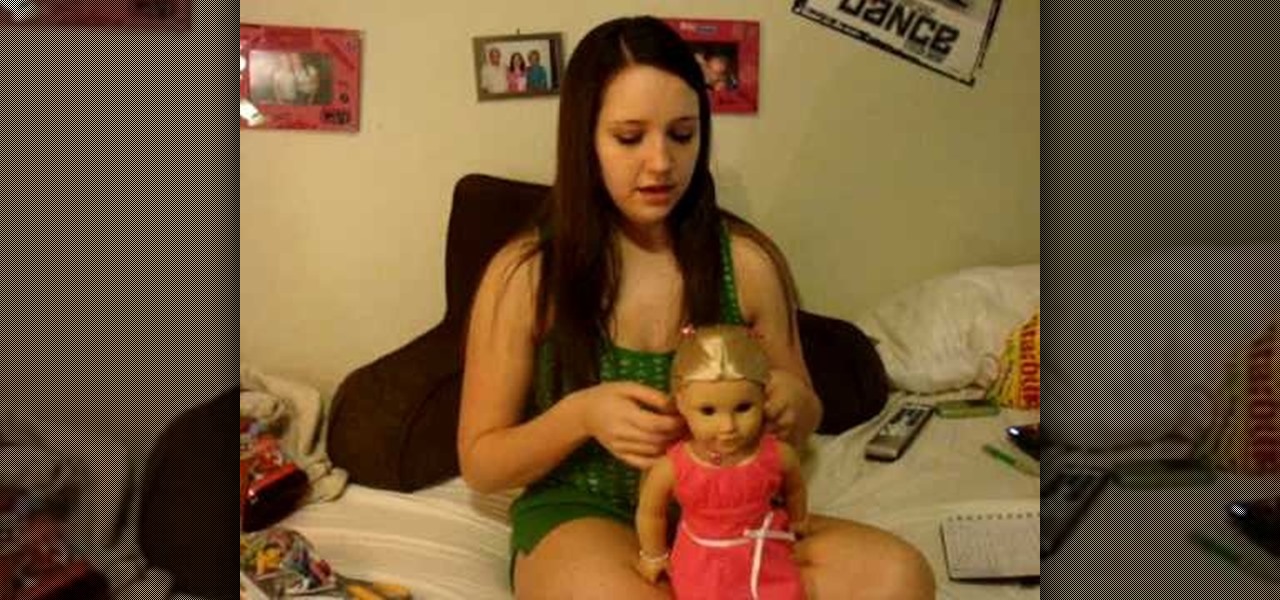
In this video, Sarah tells us how to care for your American Girl Doll. Tip number one is to not put any product on the doll's hair. The next tip is to not wash the hair on the doll unless you absolutely have to. Don't put pressure on her hair as you brush it, use a light touch with a comb. If your doll has frizzy hair, you can clip off the frizzy area with some scissors. If you get a mark on the doll, you can use a Mr. Clean Magic Eraser on her without damaging the skin. If you don't have tha...
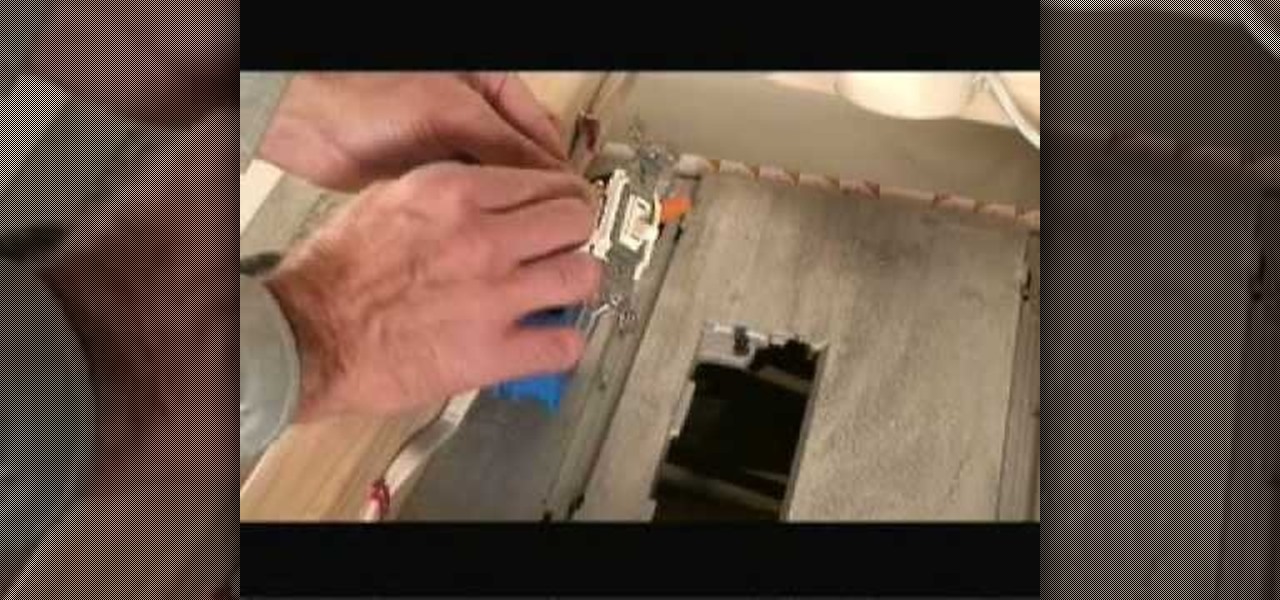
In this video, Mark Donovan teaches us how to wire a light with a 3 way switch. Before starting, make sure the power is turned off from the main circuit panel first, and you test to make sure it's off. You will have two switches for the same light fixture. For a 15 amp circuit, you can use 14-2 and 14-3 wire. These wires will have a black, white, and red wire. The 14-2 wire just has a lack and white wire with a copper ground. The power coming into the base should have all the wires that conne...
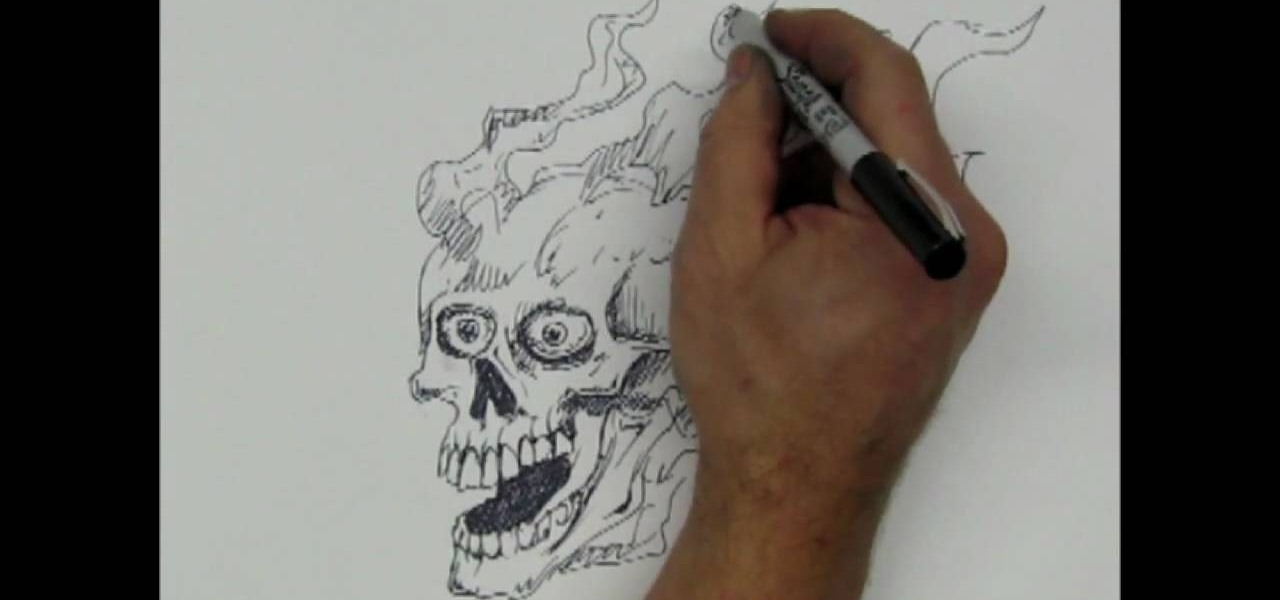
In this tutorial, we learn how to draw a skull with a Sharpie. First you will draw the eyes, make sure to draw lots of little lines around them then cross them to create depth. From here, draw the outline to the head and then the nose and the teeth. Make sure to add lines in around the head to show cracking and marks around the head. Use shading to create darker lines along the head and then add in additional details. Make this unique to you, it doesn't have to look one certain way. When fini...
In this tutorial, we learn how to pierce your own lip safely. First you will need to clean off your needle with a cleaning solution and clean out your mouth as well. After this, you will need to mark the spot where you want to pierce your lip at. Look at this in the mirror to make sure it's at the spot where you want it to be. From here, you will poke the needle through the lip at the spot you want it to be. From here, you will poke the jewelry through and then put the cap on that. To finish,...
In this tutorial, we learn how to fit a dry lining back box. This is very easy to install, and the sides will grip the wires on your light. First, determine where you want your switch, then mark a quick line using a sturdy level. Next, you will cut out a hole in the wall the size of the box. After this, push the box into the wall. Then, you can add in the light switch to the box and secure it with the wires that are inside. This will finish up this project, just make sure the wires are place ...
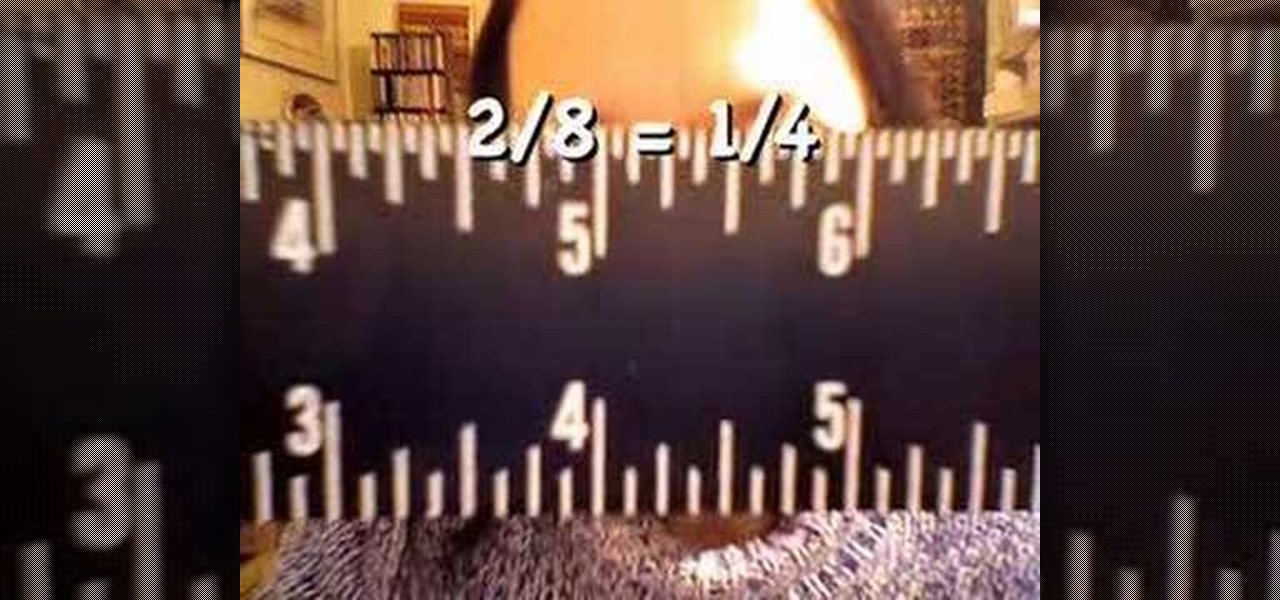
In this video, we learn how to read a ruler. First, grab you ruler and look on the top and the bottom of it. The top is divided into different marks that shows inches, half inches, and quarter inches. If you aren't familiar with reading this, just use the markers at the top to help you count between 1/4, 1/2, 1/8, etc. The other side of the ruler is used for centimeters, which you usually will not use in the United States very often. Learning how to read a ruler can help you get better with f...
In this tutorial, we learn how to make Splinter Cell prop goggles. You will need: goggles, a saw, pipe, a brush, black paint, duct tape, batteries, chop sticks, glue, a ruler, and a pen. First, mark three cuts on the pipe to 3 cm and 5.5 cm. Now, use the saw to cut these. Then, use sandpaper to smooth all the edges. Next, place these onto the goggles and glue them with a hot glue gun. Next, grab two batteries and wrap them in duct tape. Place these with them and then paint these all black. Af...
In this video, we learn how to remove ink stains from your American Girl doll. If you get ink marks on your doll it's pretty easy to get off with just some Oxy spot treatment clear. The main ingredient in it is Benzyl Peroxide, which is an acne medicine. After you have this, you will put a little bit of it onto the stain on the doll. Apply this using a Q-Tip and not your finger, to avoid oils. Press this all over the spots on your doll, then cover the spots with plastic wrap. Put the doll in ...