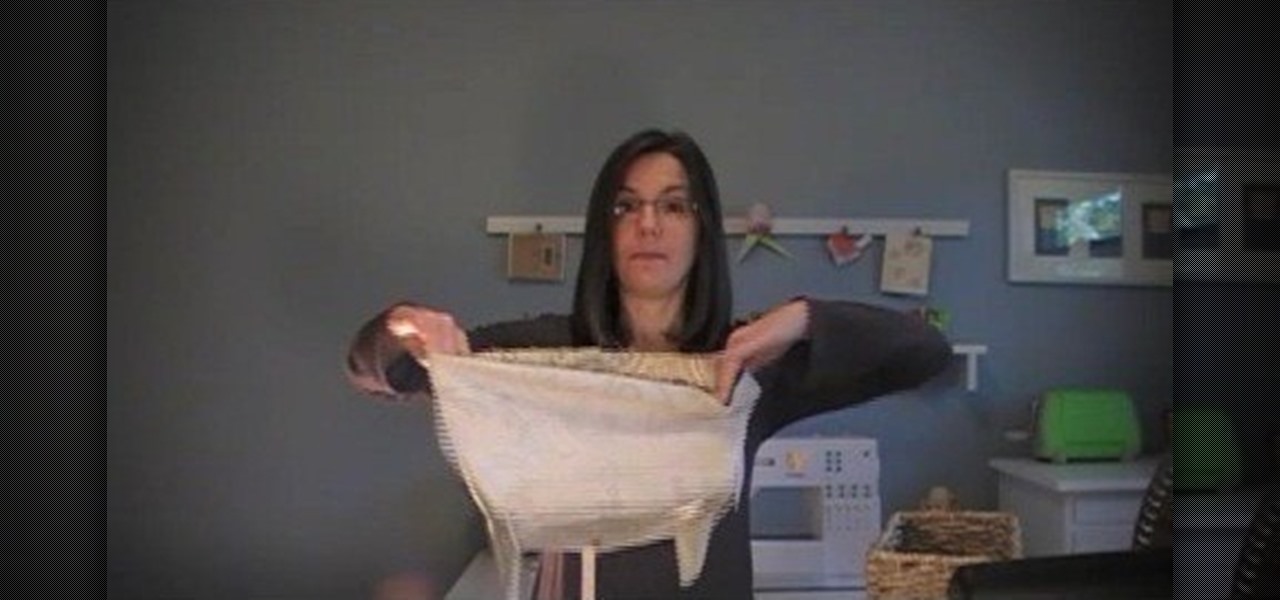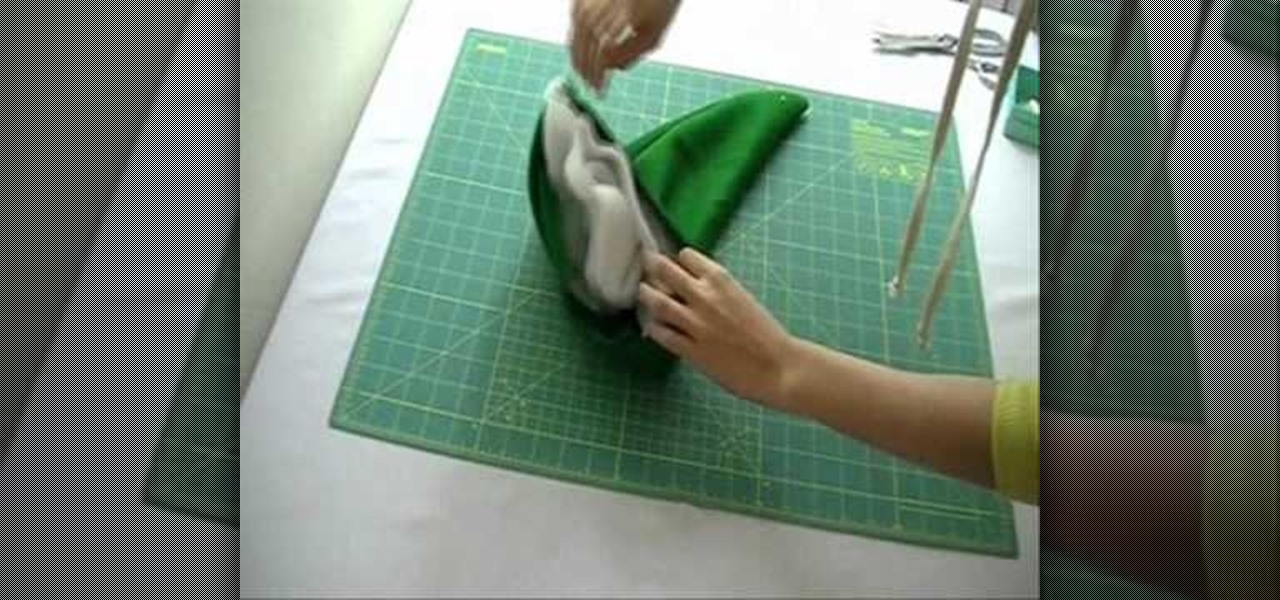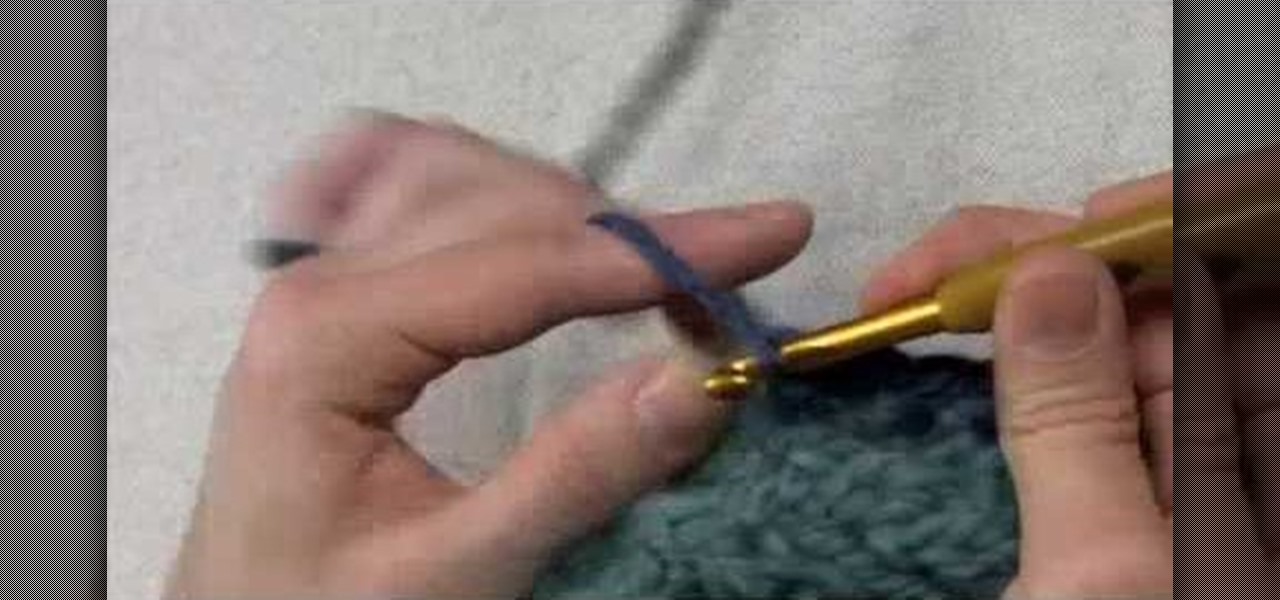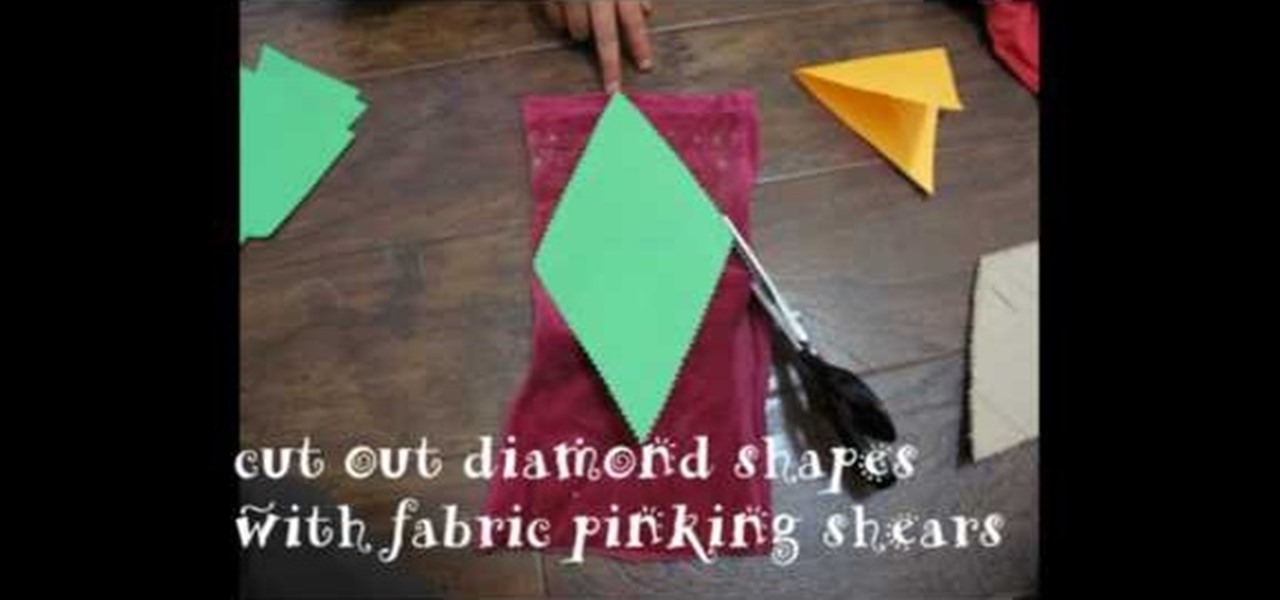
Ah, bunting. In the crafting/Etsy world, bunting is one of the simplest pieces of decor to make as well as one of the cheapest, yet because of its minimalistic simplicity it's also one of the prettiest crafts ever.
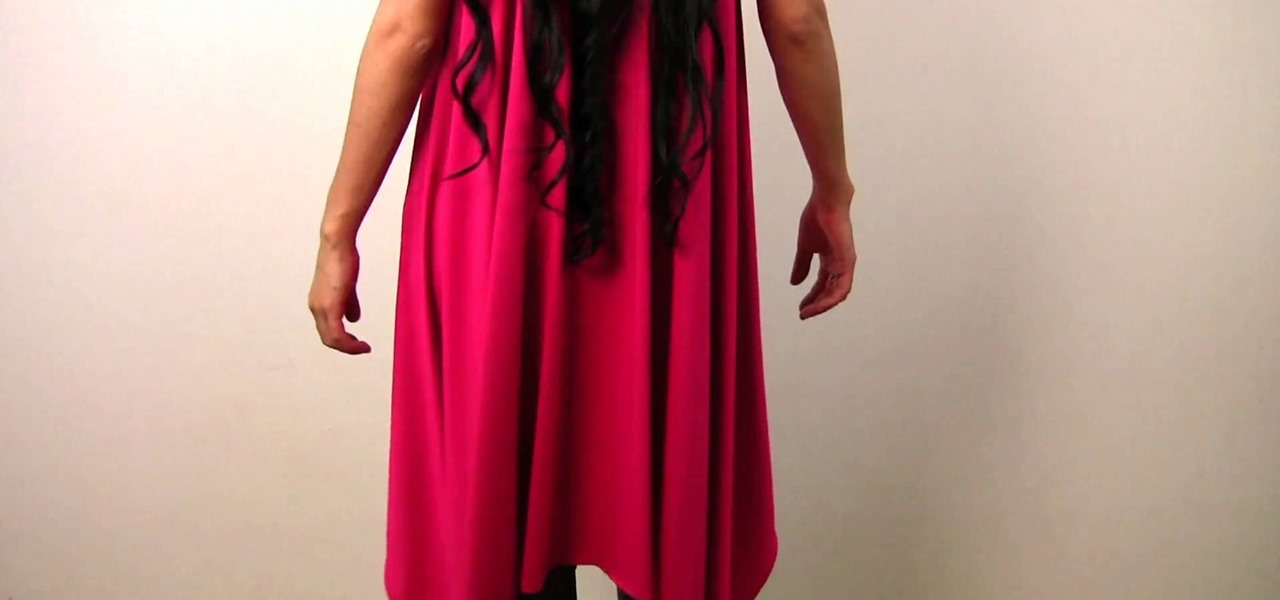
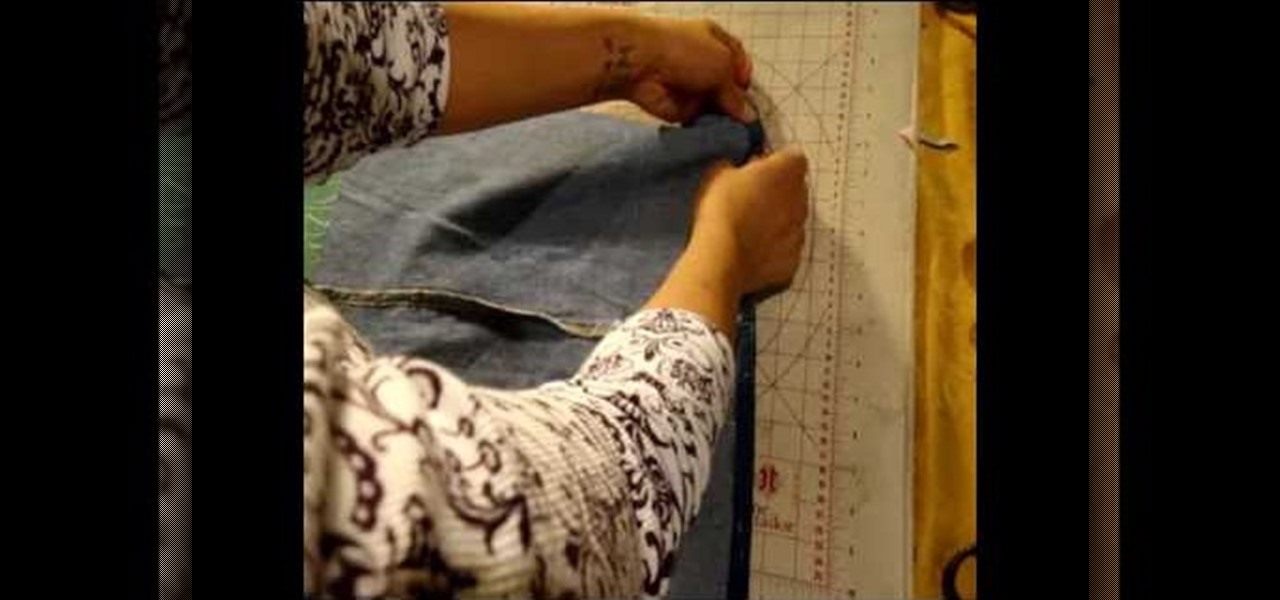
Do you remember how to work a pair of scissors from 5th grade art class? Then you can definitely make this unbelievably easy sleeveless draped cardigan. Taking less than 30 seconds to make, all you have to do is trace two circles the size of your upper arm onto a piece of fabric.

Got about two to three yards of a slinky cloth? Then that's all you need to make yourself a flirty cocktail dress in time for your next big soiree!
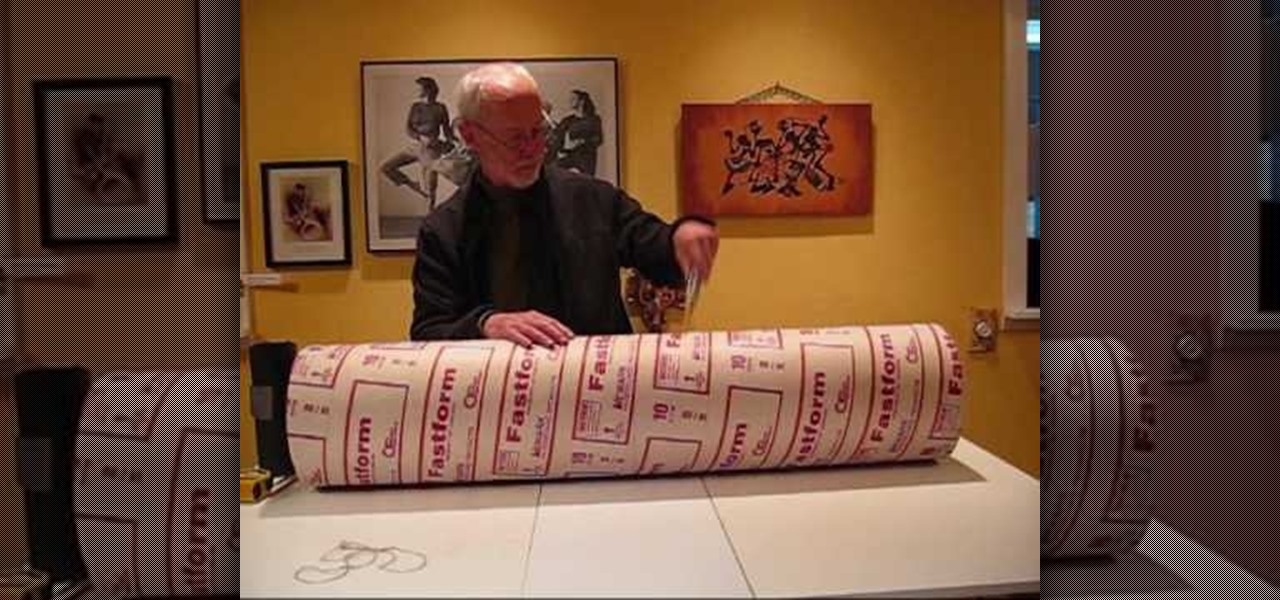
Having a congo drum there for those impromptu African dance groove sessions at your pad is a smart idea, but authentic drums are quite costly.
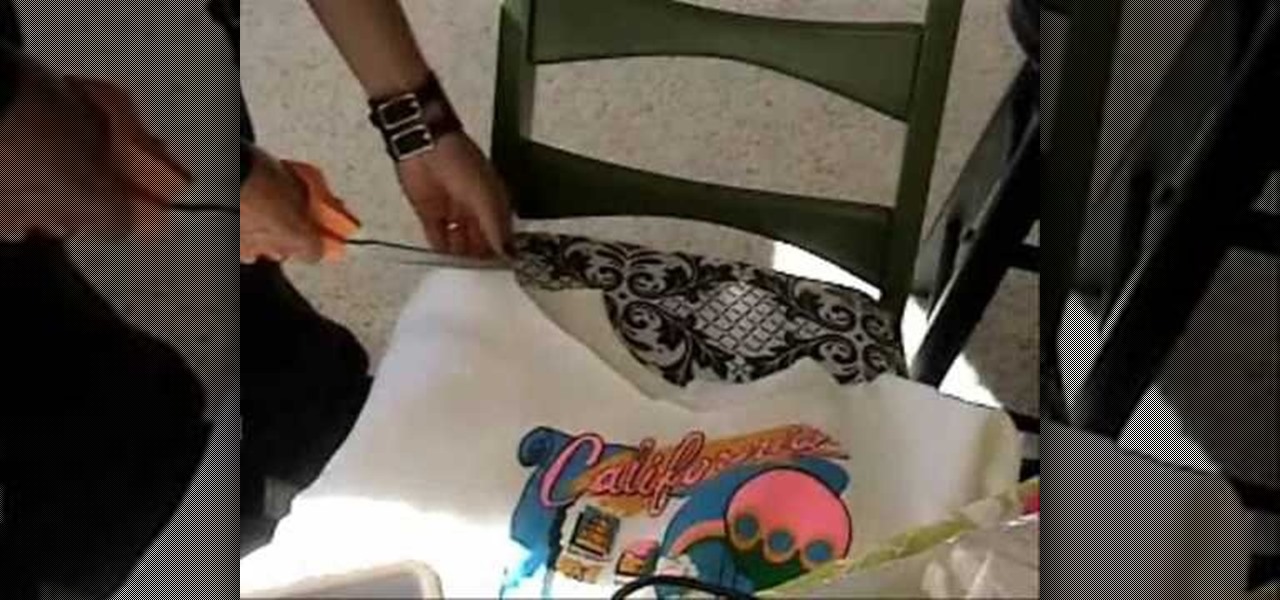
In this video from kandeejohnson we learn how to cut a sports jersey or sweats into trendy summer tops. On a football jersey, she cut the shoulders off, right above the seam. And where there was too much fabric, she folded it and pinned it so it wouldn't hang too low. With a sweatshirt on, look in the mirror and see where you want to cut it. Make snips which will be your mark so you know where to cut. Make a rough cut of it while you are still wearing it. Now take it off and straighten all th...

Curtis Smith, an extension horticulturist talks about using cages for your tomato plants. He says that some people like to stake tomatoes, some like to cage them and some even just let their tomato plants sprawl. He talks to a local gardener who has built his own tomato cages out of concrete wire. The gardener shows his cages, which he built 10 years ago and they still look sturdy today. Curtis gives a few tips like wrapping the cages with a special fabric that lets air and light through, but...

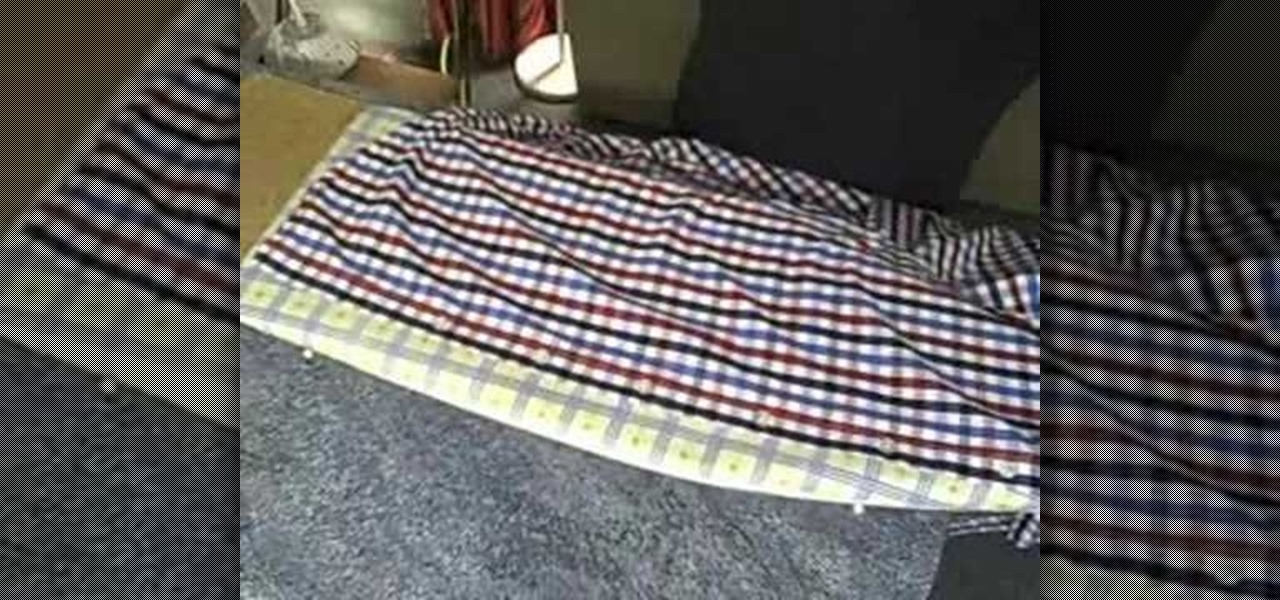
This Home and Garden video tutorial shows how to iron a men's button up shirt. This video will show you how to iron a cotton shirt. Switch on your iron and set it to the hottest setting or cotton setting. Place the shirt on an ironing board and start with the collar. Iron both sides of the collar. Now get on to the sleeves; first iron both sides of the calf and then the whole sleeve. Repeat the other sleeve. Then iron the front of the shirt; pull the fabric slightly to even out the creases, i...

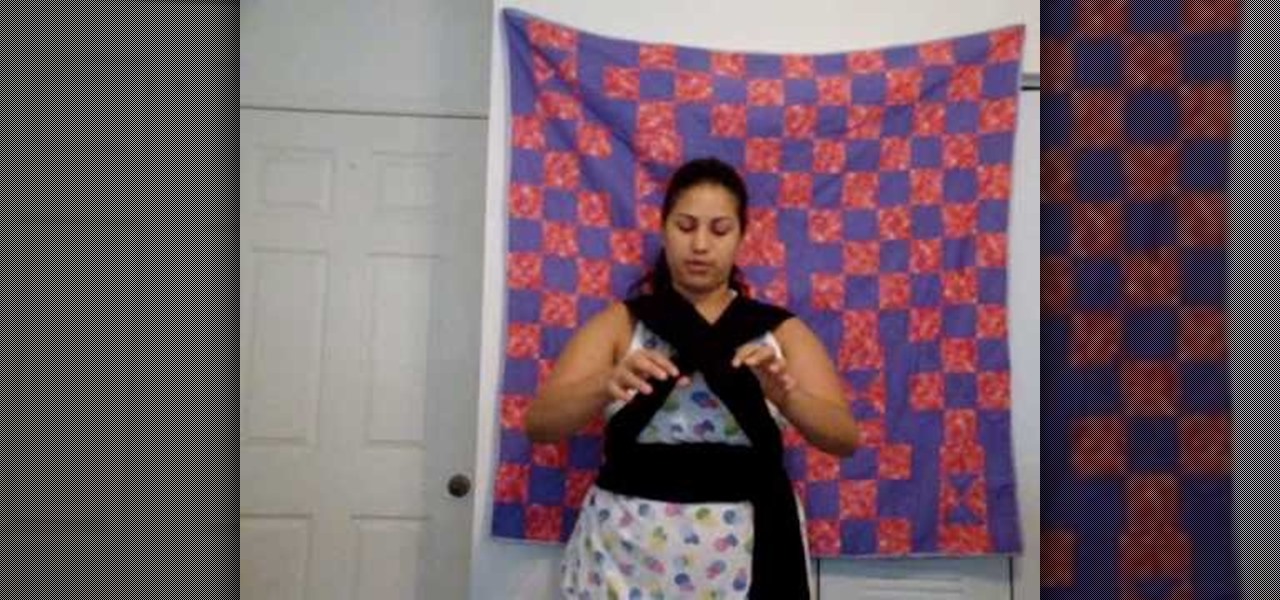
This video tutorial shows you how to use a long wrap product to dress yourself while creating a secure carrier for your baby. The long wrap is brought forward from back to front and round your belly button, criss-crossed over your back and brought forward and criss-crossed once more, then tied. The two criss-crosses (in the shape of an X) help hold the babies legs, as the pass through the criss-crosses and support the baby. You should then try to bring the fabric down as far as possible to su...

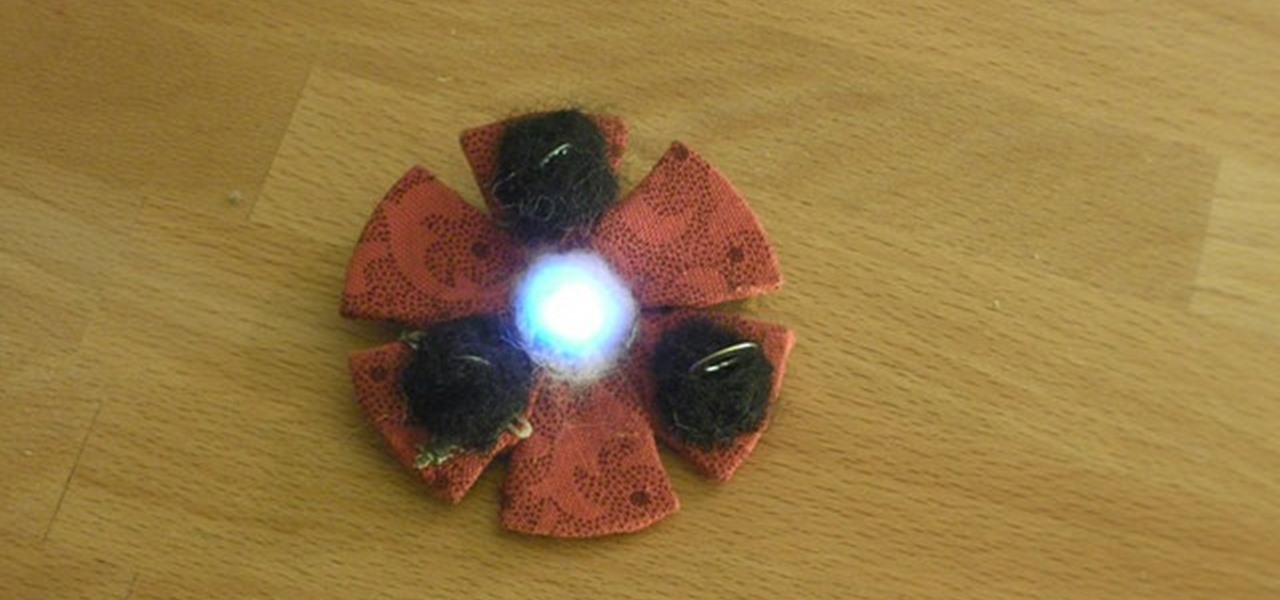
Get started with the LilyPad Arduino! It's a sewable microcontroller that lets you embed lights, sounds, sensors, and much more into your wearables, perfect for clothing and accessories. In this Make Magazine intermediate, soft circuit, video tutorial, you'll see how to sew up this little colorful brooch using a LilyPad tri-color LED and three small potentiometers for a customizable color wardrobe embellishment. Get the details.

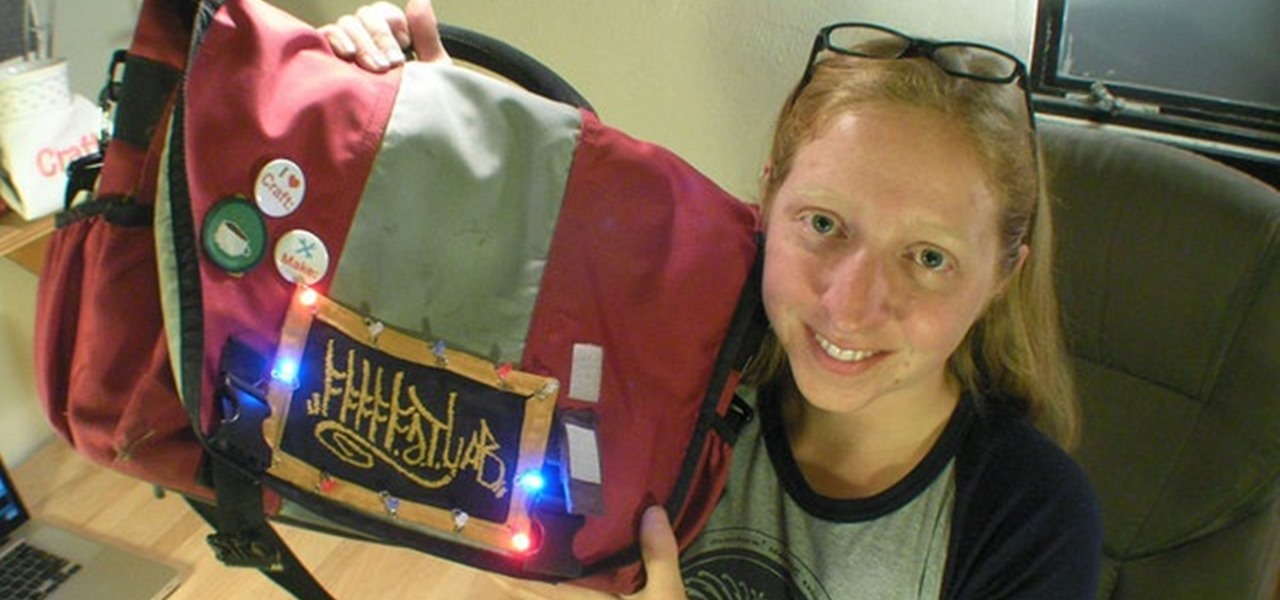
Get started with the LilyPad Arduino! It's a sewable microcontroller that lets you embed lights, sounds, sensors, and much more into your wearables, perfect for clothing and accessories. In this Make Magazine intermediate, soft circuit, video tutorial, you'll see how to make a light-up patch that can be used on your backpack for fun and bike safety. Get the details.

Check out this DIY video tutorial from Curbly, the best place to share pictures of your home, find design ideas, and get expert home-improvement advice.

Adobe Photoshop is an amazing digital photo editing tool that let's you do a myriad of tasks. In this tutorial you will learn how to change the color of fabric, like a dress, from the existing color to whatever you wish it to be. You'll be using the magic lasso and playing with the color balance sliders to make it happen. The video is quick, but should be all you need to get your job done. So go for it and make that red green now!

The ability to see through clothing has been pursued by voyeurs for millenia, and today with the help of cheap video cameras we are closer than ever. This video will show you how to use a piece of blank developed film and IR to see through different types of shirts and other clothing. It also covers the effects of different colors and fabrics on the technique's effectiveness.

What better way to get into the holiday mood than by wearing a festive Santa or elf hat around your workplace? Send your spirits soaring and get ready for Christmas by making your very on Santa hat.

In this tutorial we learn how to edge a knitted piece with a single crochet. Start to attach the yarn to the right side, working in a forward direction. Now, work a slip stitch at the edge. From here, stick the hook in the fabric and pull through one loop. The, yarn over again and pull through both loops with the hook. After you do this, do it over again! You will repeat this process until you reach the end of the row. Once you're finished with the row, you will be finished with the edge and ...

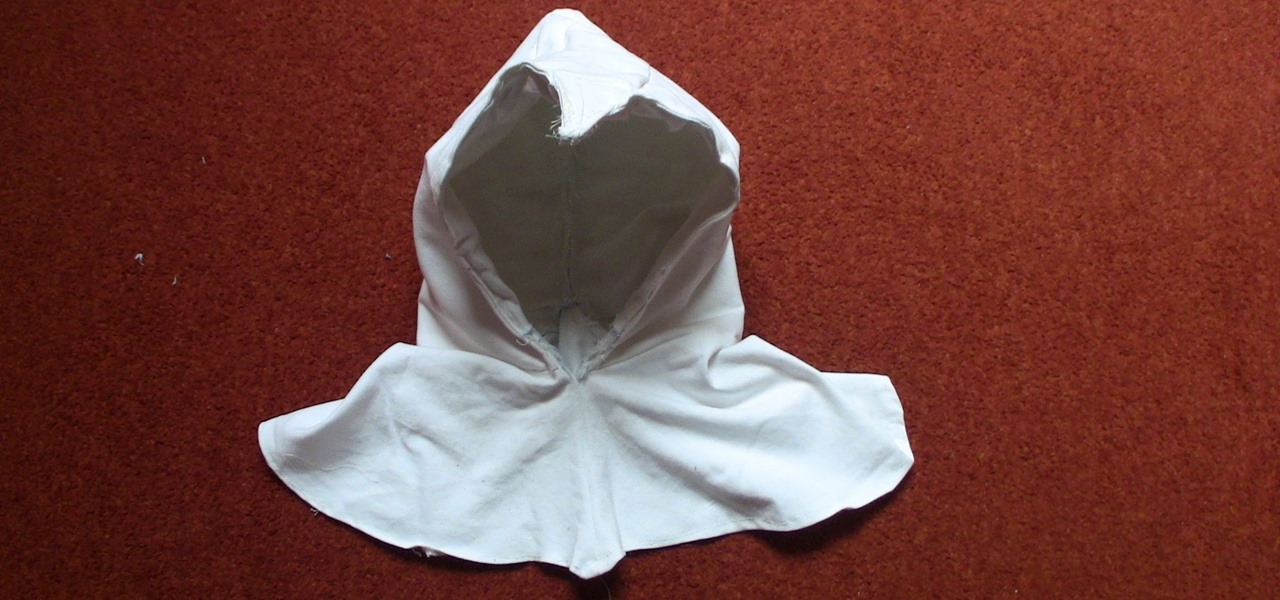
If you've been looking for a sexy contemporary video game character to cosplay or dress as for Halloween, consider Altair from Assassin's Creed. He's sexy, distinctive, and armed with this video you'll be well on your way to having sewed the costume yourself. Specifically, this video will teach you how to sew Altair's hood quickly and easily.

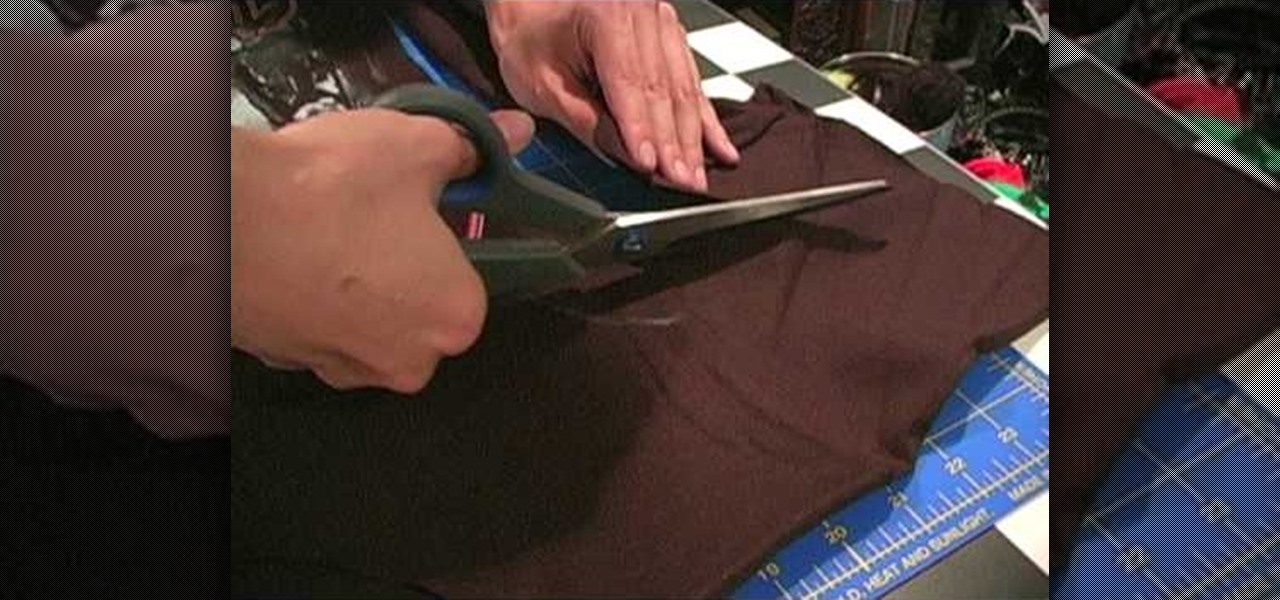
In this tutorial, we learn how to make an off the shoulder t-shirt dress. You will need: t-shirt, scissors, pins, and needle/thread. First, cut a wide scoop and cut off the bottom hem. Next, cut the sides and turn it inside out. After this, measure your bust, waist, and hips and then mark them on the shirt. Now, trim away the excess fabric according to your markings, then stitch up the sides. Once finished, cut off the sleeves making sure the angles follow the arm holes. Now, stitch those hol...

In this tutorial, we learn how to make a zipper belt. First, you will need to take three long zippers and then heat up a glue gun. Apply some glue to the middle zipper, then put the other zipper's side on the side where the glue is. Do this for the other side and wait for them to completely dry and cool off. After this, grab a square piece of fabric and glue the top of the zipper onto this. Press it down and wait for it to dry, then apply Velcro to the bottom and it will stick when you wear it!

In this tutorial, we learn how to make a Max from Where the Wild Things Are. First, you will make the ears and the tail for the costume. Use felt for the ears and a furry type of fabric for the tail and the body. Cut out all of the different materials, then sew them onto a large off white colored hoodie. Once you have finished sewing these on, put the hoodie onto your body to make sure everything is secure in place. After this, put on shorts and sew the tail to those, then you will be able to...

A maxi dress, or a loose dress with an empire waistline, is not only a summer staple. If you add some length to the bottom hemline then you can easily wear a maxi dress during the fall that'll keep you warm, comfortable, and gorgeous looking.

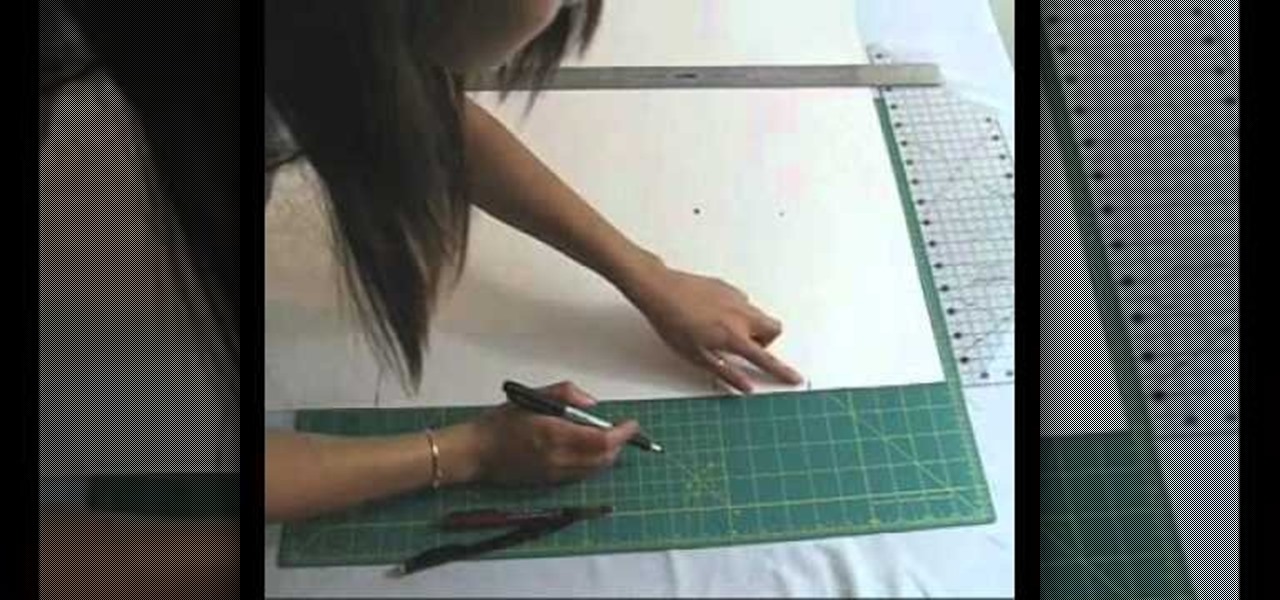
What's the most efficient way to become a fashion designer? By challenging yourself to creating your own clothes from the ground up. And while you probably already know this means cuting, sewing, and embroidering your fabrics, it also means making your own patterns.

It looks like streamlined skinny jeans are here to stay, at least for a few years more, so if your collection of these skinnies has gotten quite large and all your jeans are beginning to look the same, why not try out a fun personalization project to make one pair unique?

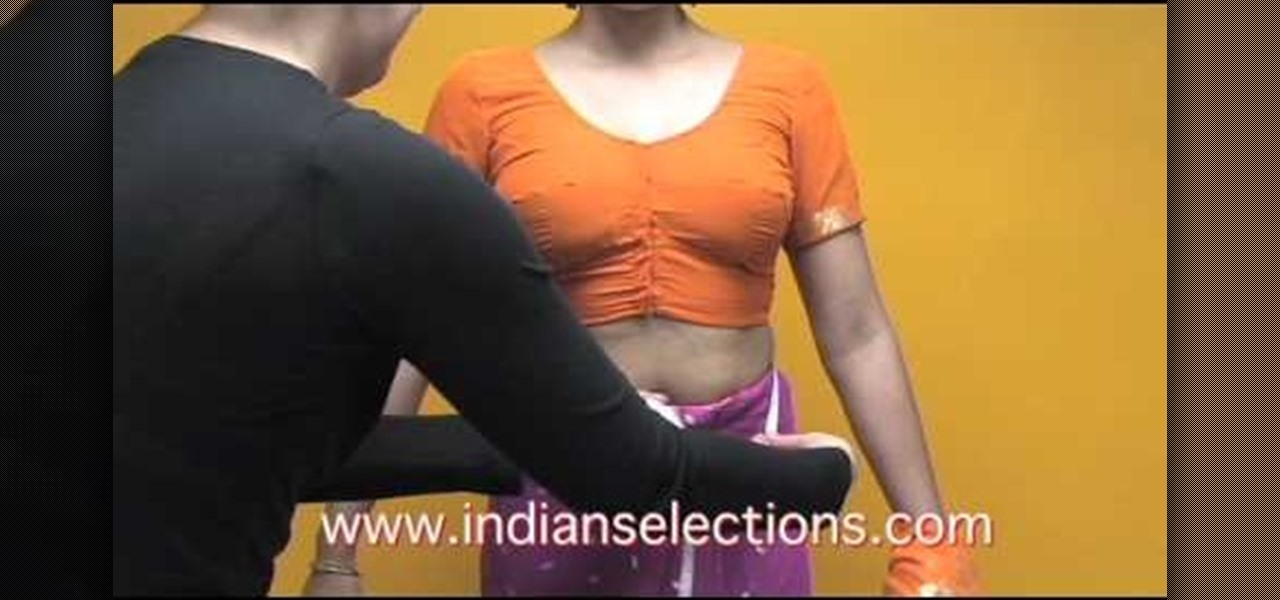
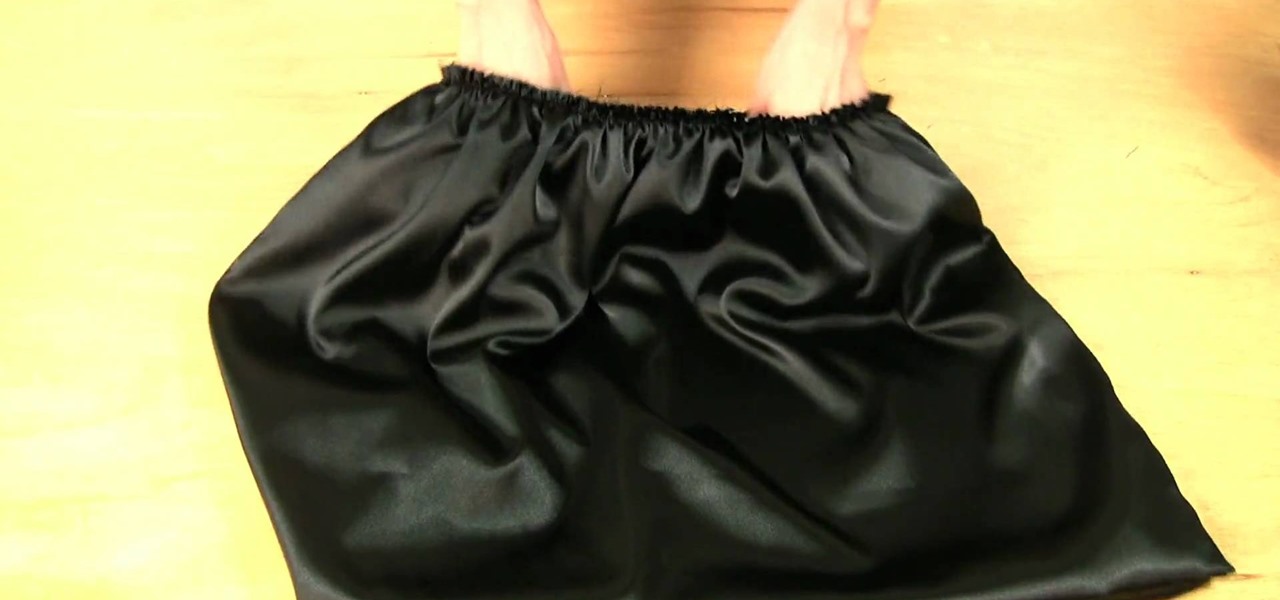
In this tutorial, we learn how to measure your petticoat size for a sari. First, measure around the waist with a measuring tape. This will be a simple measurement of your natural waistline. Next, you will need to measure the length of the petticoat. Measure from the waist down to the ankle. After this, measure out the hip area. The hip is roughly 9" lower than your waist is. After this, you will have all the measurements you need to make the petticoat the right size for your sari. Use your fa...

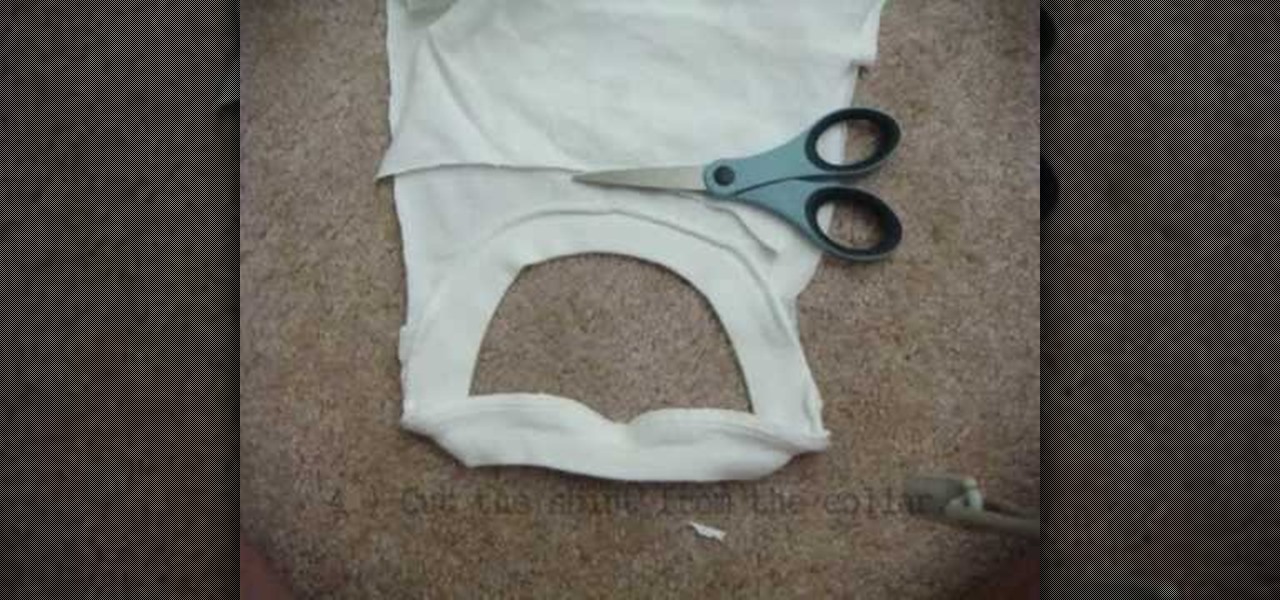
In this video, we learn how to create a knotted tank top. First, you will need to take a shirt that is too large, the cut off the sides of the two sleeves down to the bottom. Next, cut the shirt from the collar and make strips out of the excess fabric. Tie the strips on the back of the shirt going to the front of the shirt and tie it. You can also make a chain shape to make this look more unique. When you are finished with this, you will wear a tank top underneath it, then you can wear this c...

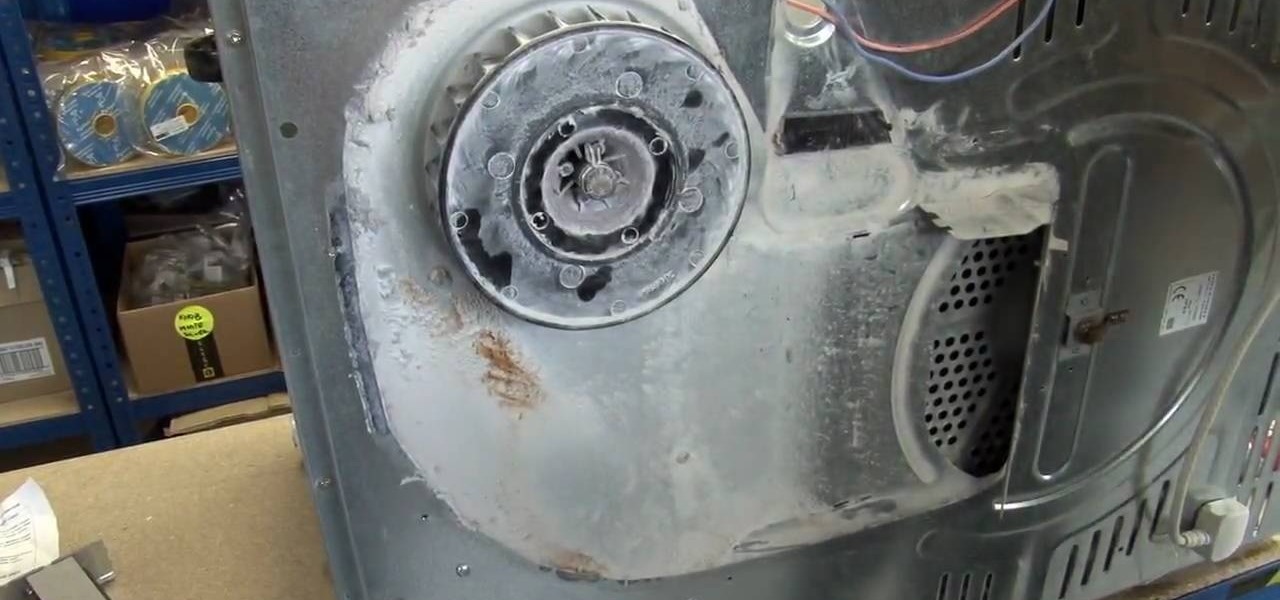
What is the main point of a dryer? To dry clothes, blankets, and other pieces of fabric of course! When you have a dryer that is not heating up, you have a problem on your hands. But, don't call a repairman just yet.

In order to sew on a missing button, you will need the following: a needle, thread, scissors, and a button.

Don't want to throw away that raggedy pair of old Levi's with small paint stains and random tears all over because it's stuck with you longer than your trusty 12-year-old jack russell terrier? We totally understand. Continue to use your favorite pair of blue jeans by watching this video.

Making your own clothes or items from scratch has its advantages. One being able to wear clothes that don't cost very much and will fit you perfectly and the other being that you can design them to look like whatever you want.

If you've purchased a Nook (the Barnes and Noble e-reader), then you probably want to keep it safe and free from cracks or scrapes. While you can certainly purchase a Nook cover from the store, why not personalize it instead by making your own Nook cover?

Bring some excitement to your vest. Accessorize and expand your wardrobe with this stylish multi-functional vest cover-up. This one piece can be re-configured and worn in totally different stylish ways! See how to make a multifunctional vest coverup in this video from GiannyL.

High waists and poofy balloon skirts are both two of the hottest fashion trends this season, seen on stars like Lauren Conrad and Jessica Simpson (yes, of the famous "Mom jean" snafu).

The t-shirt is arguably the most basic part of modern Western fashion. Billions of people around the world wear them every day for ease and comfort. This two-part video will teach all you sewing fans out there how to sew your own t-shirts at home. You can then use these techniques to make other t-shirt based garments like t-shirt dresses and whatever other t-shirt-like clothing that you can imagine. The fabric is the limit!

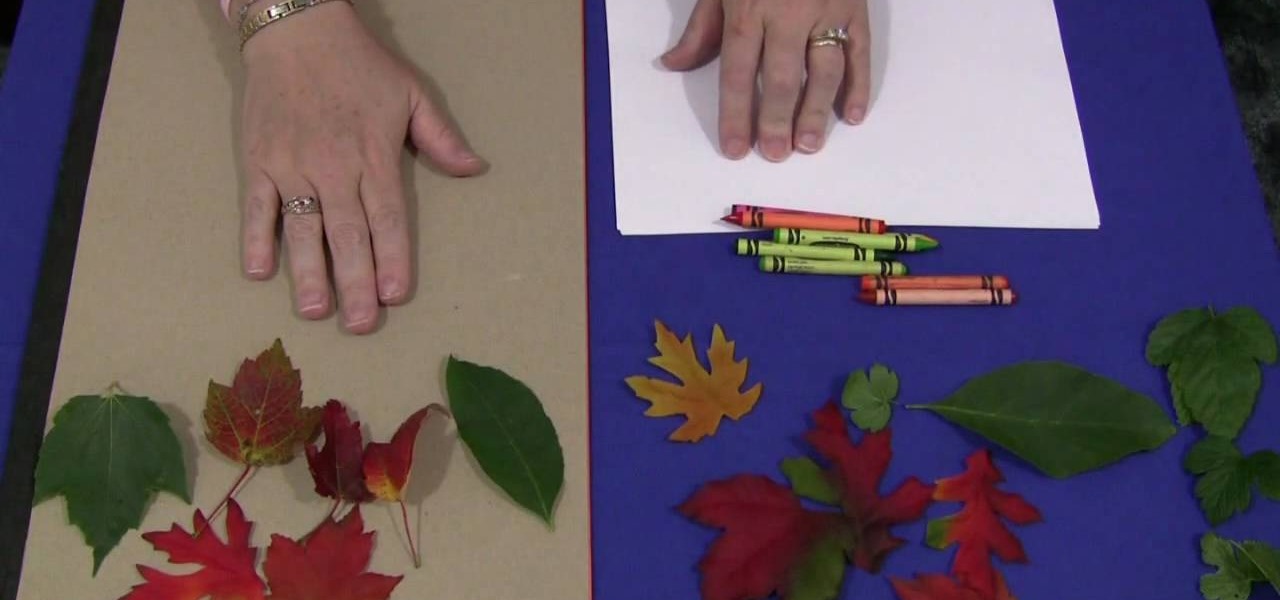
In this Family video tutorial you will learn how to do leaf rubbings for a children's activity. For this you will need a flat surface. If the table top in slightly uneven, put a sheet of construction paper on it. The materials you will need are sheets of paper, crayons and leaves. You can also use fabric leaves if your area doesn’t have any leaves. Take a leaf; put it upside down on a flat surface so that the veins are on top. Put a sheet of paper over the leaf and hold it down with one hand....

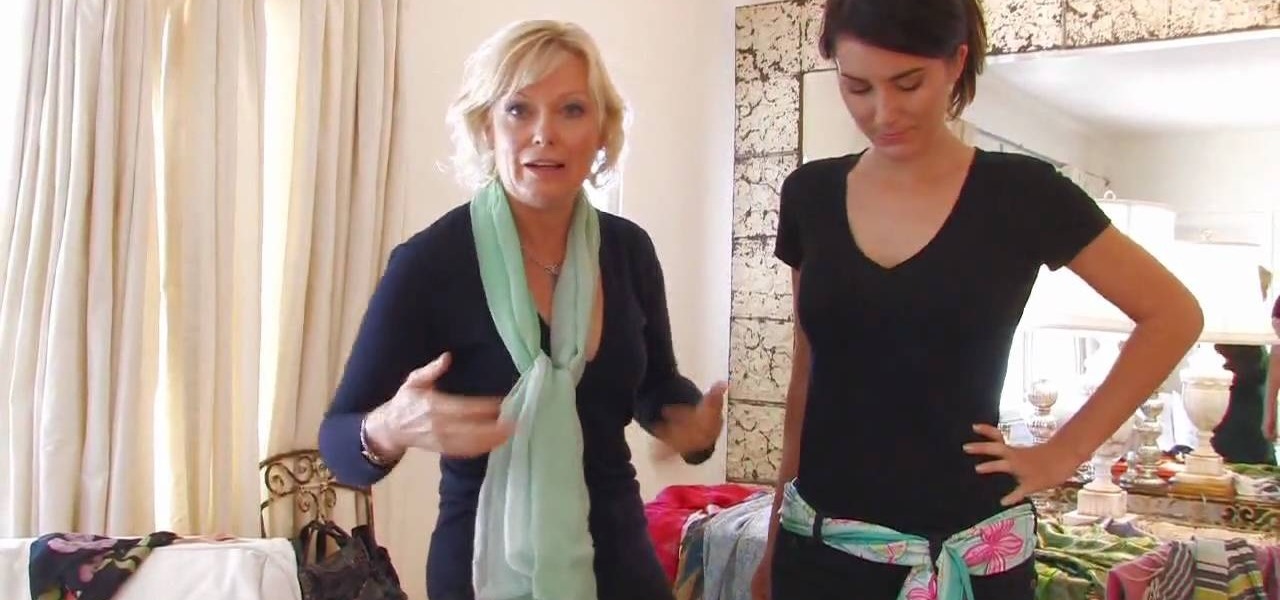
In this Modern Mom video, costume designer and fashion consultant Cate Adair shows how to wear a spring scarf. She shows how to use a long thin scarf as a belt. She threads the scarf through belt loops and tying it in a simple knot around the belt loop at the end. During the video, she discusses using fabric as a scarf, or changing the width of the scarf depending on body shape. Finally, she uses a large square scarf folded in half from corner to corner to tie a "sarong" style splash of color...

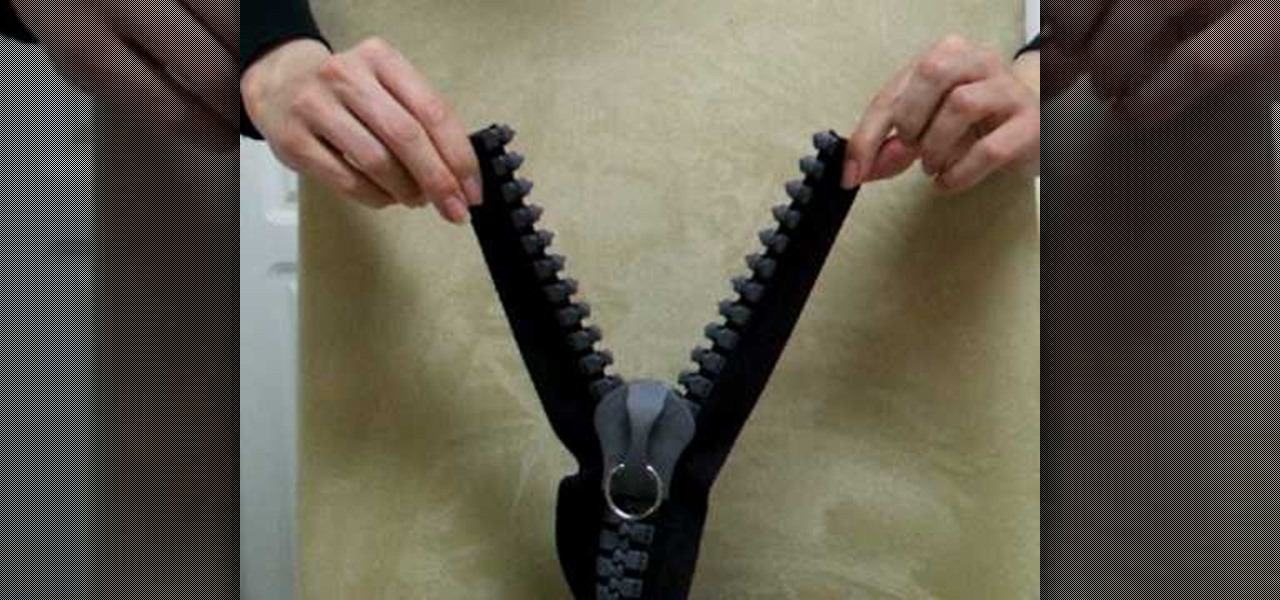
In this video tutorial, viewers learn how to attach a giant slider to a zipper chain. This task is very simple and fast to do. This zipper is for large materials that can not be enclosed with the regular sized zipper. The slider is removable and able to reattach to the zipper chain. It is very convenient and makes the zipper look more neat. Just set the slider on the top of the connected teeth track and pull it up. Then twist each side and pull down. This video will benefit those viewers who ...

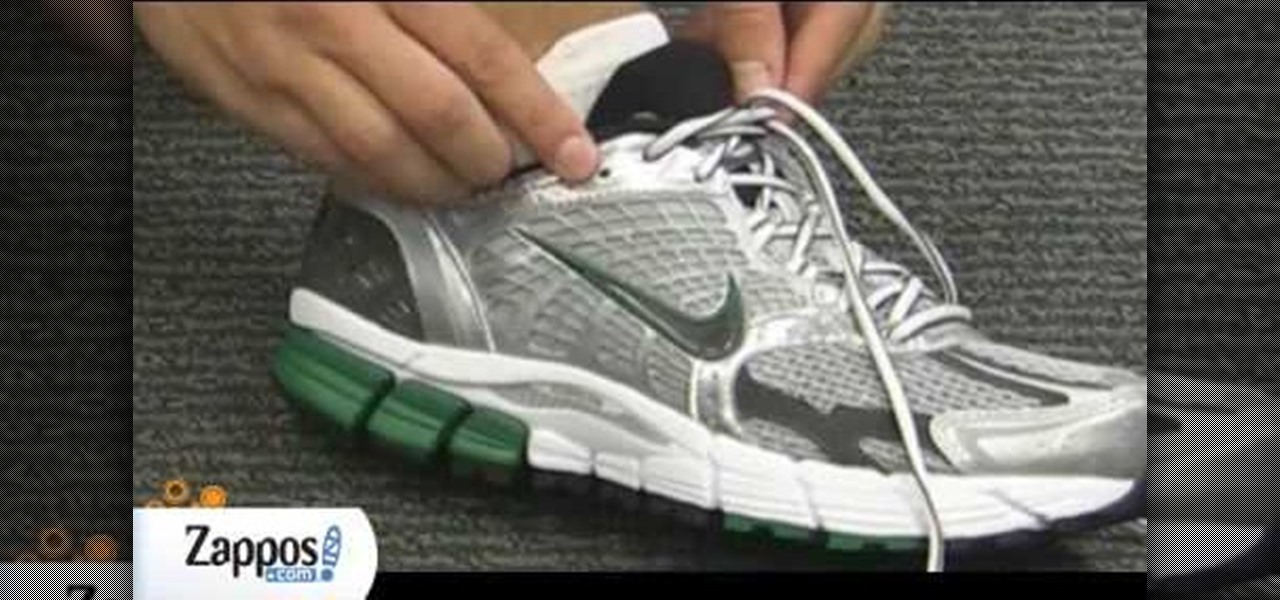
This video demonstrates that just because a shoe feels loose doesn't mean it's the wrong fit. Many shoes have a back eyelet that rarely gets used, but if you put your laces through it before tightening, it will raise the fabric of the shoe to give more support to the heel. If your shoe doesn't have this extra eyelet, you can create false eyelets by creating loops with your laces on the top two eyelets of the shoe, then lacing them through those fake eyelets before tightening. Both of these me...

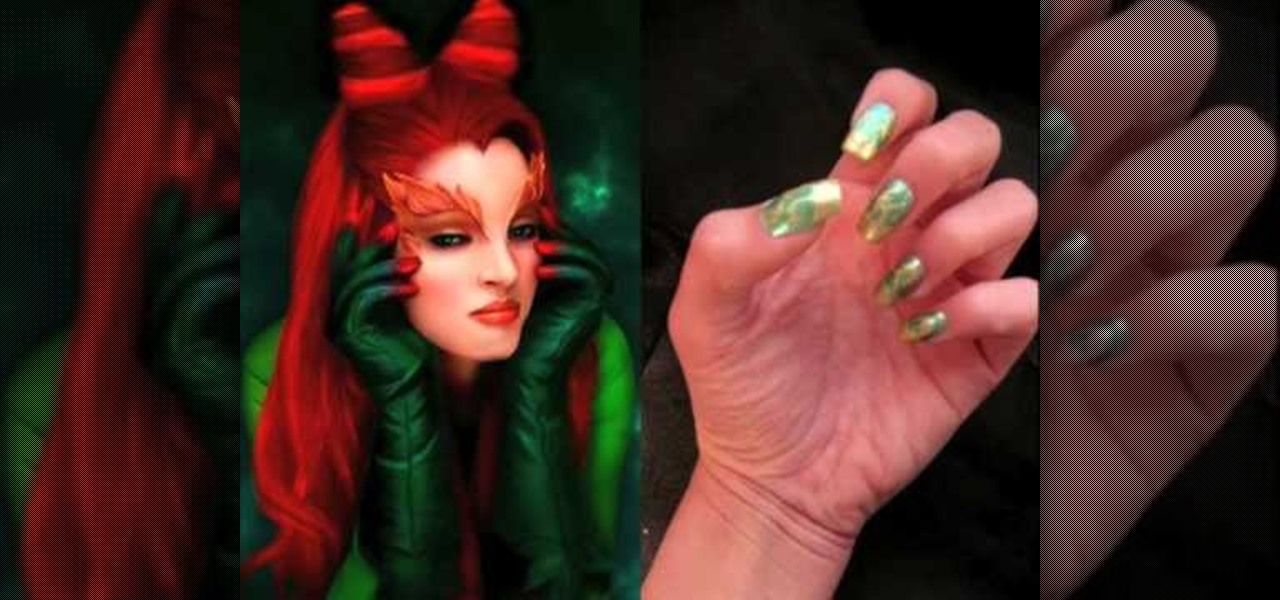
This video demonstrates how to make nail art inspired by the character Poison Ivy. You'll need a nail file, three non-fabric Band-Aids, scissors, toothpicks, green metallic and gold nail polish, and top coat. First file nails into a square shape. Cut each Band-Aid in half. Paint over entire nail with metallic green and let dry. Cover the lower part of the nail with the Band-Aids, and paint the tips with metallic gold polish, let dry, and remove Band-Aids. Create a vine design on each nail by ...

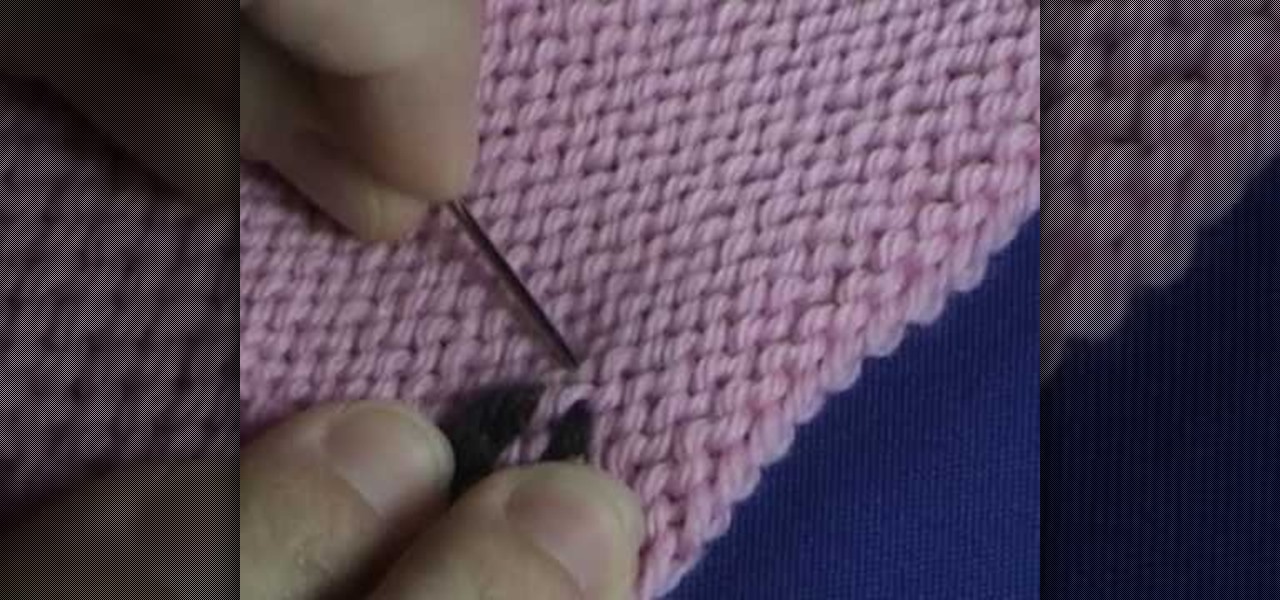
Let the Knit Witch show you how to weave the ends on your stockinette stitch project with this video tutorial. She takes a simple swatch of knitted pink fabric and shows you how to accomplish this simple but useful trick with black yarn so that it can be easily seen. Don't let your yarn unravel or ruin a project by skipping this easy to learn step! She explains it so clearly and demonstrates the technique so thoroughly that you'll be sure to have mastered it in just a few short minutes!

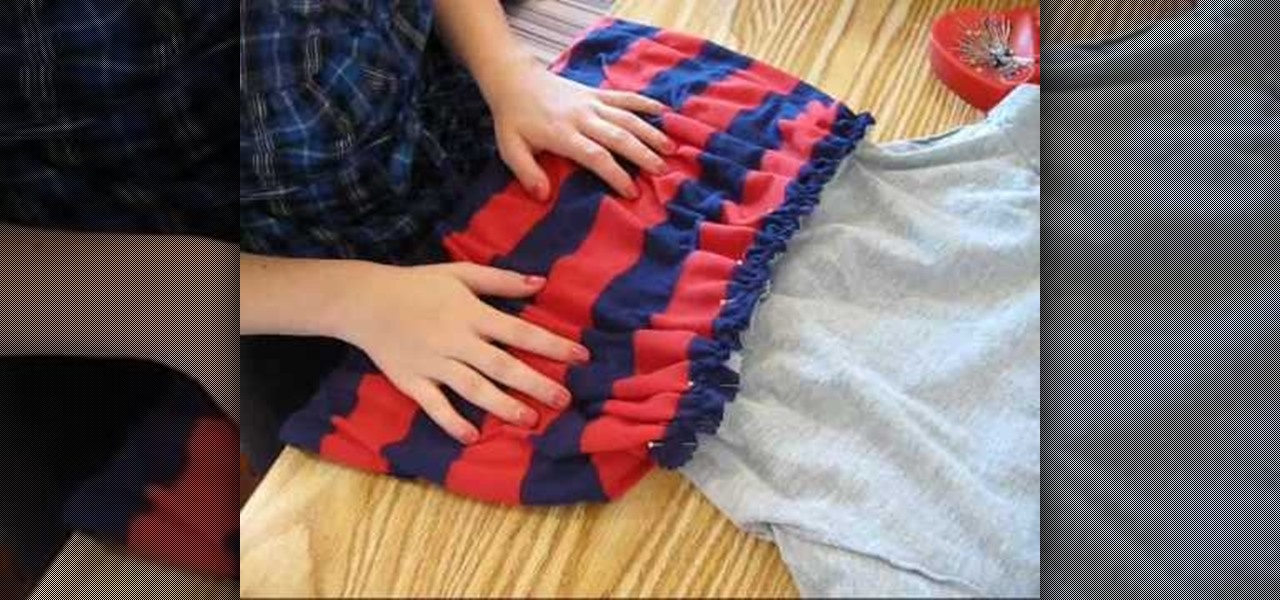
In this video, she shows you how to make a graphic tee into a baby doll dress or tee. She starts out by showing you where you need to cut the graphic tee for it to lay correctly. Then once you have that done, on to selecting a fabric for the bottom of the shirt or dress. She uses a stripped jersey knit and sews both of them together using a traveling stitch. She then shows you what the finished project would look like as a baby doll dress in the end.

Learn the basics of crumpling and tearing in Houdini 10. This cool crumple and tear effects can make destruction look more realistic in any 3D scene.


