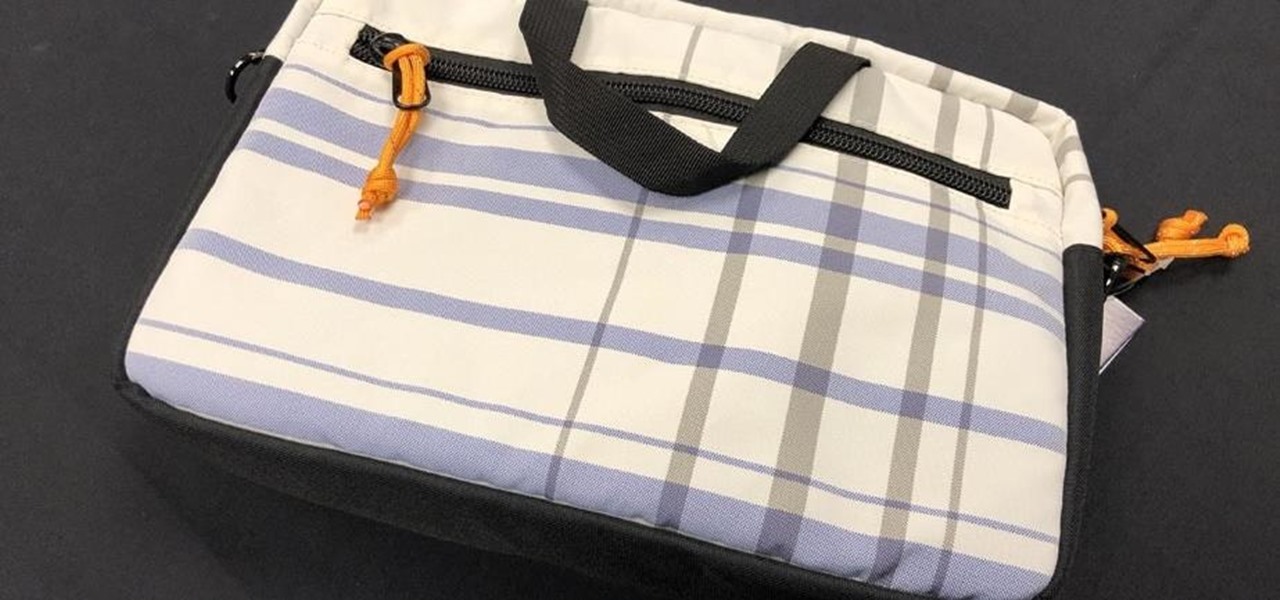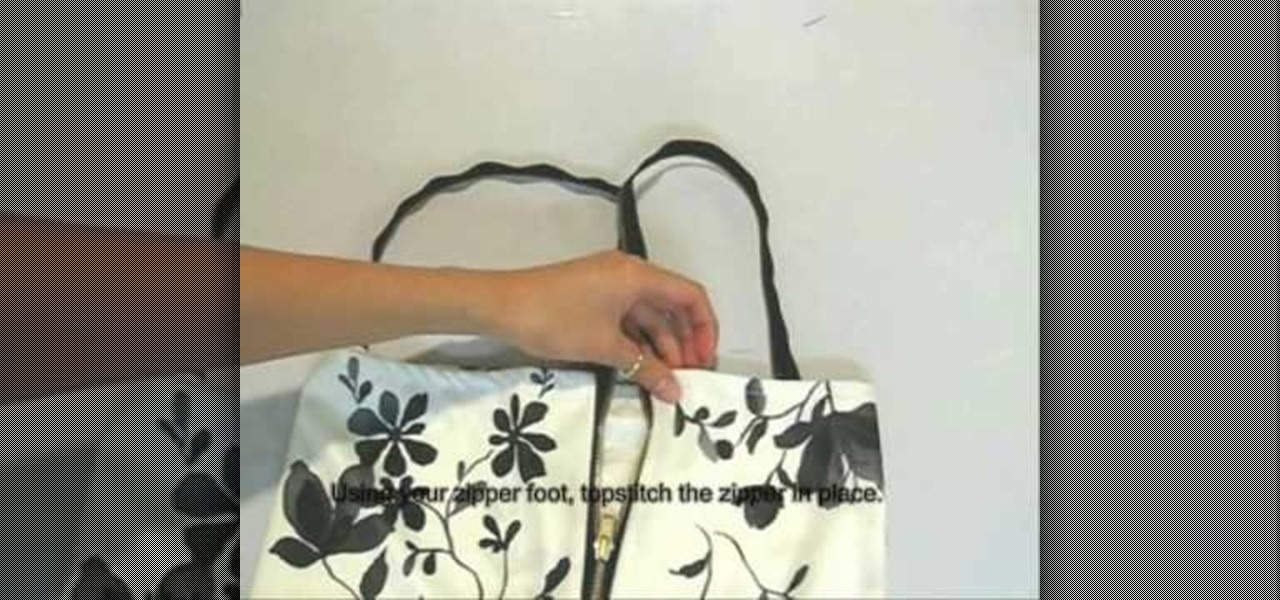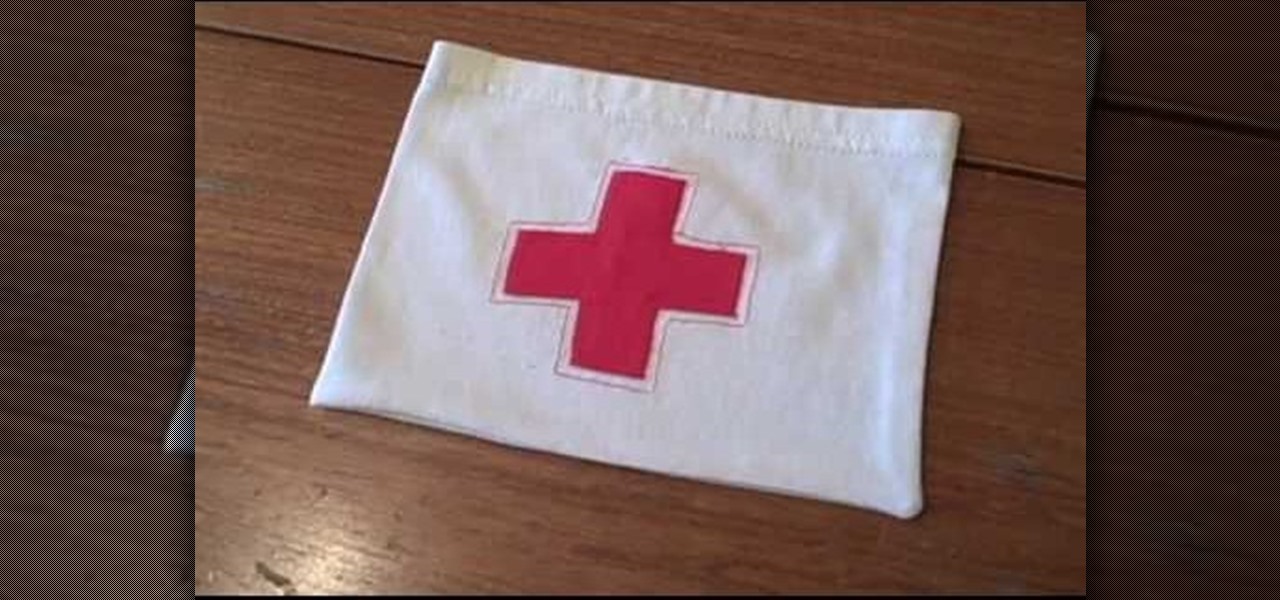
Whitney shows a quick way to make a bag out of t-shirt sleeves. This bag has so many household uses and is easy to make. You'll need a sleeve, safety pins, scissors, scrap fabric, pins, thread, an iron, and a ruler. Start by cutting a 1 inch wide strip of fabric and any design you'd like. You can make the bag as large as you like. Cut your rectangle using the ruler. Position your design to the fold. Sew around the design you choose, refold your rectangle and pin. Sew along those two lines. Tu...

In this tutorial, we learn how to set rhinestones using a Bejeweler. To do this, you will first need to prepare your Bejeweler and the fabric you are using. Lay out the pattern on your fabric and use tape as a guide for any letters you write. The rhinestones may move during this, just push them back in with tweezers. Once the Bejeweler is plugged in, rest it in a stand since it will become hot. Once it's ready, place it over an individual rhinestone for around 15 seconds. When time is up, lif...
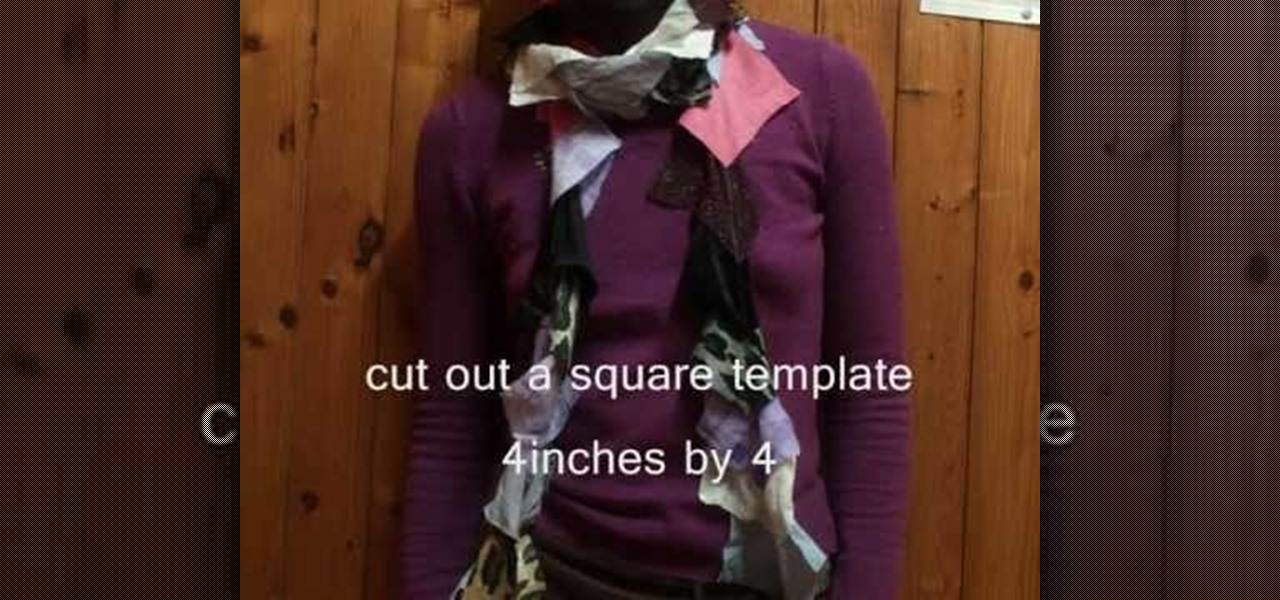
Chantelle Fashion demonstrates how to make a lucky scrap scarf. First, cut out a four inch by four inch square template. Gather all of your fabric scraps and put them in a bag. Close your eyes, think thoughts of luck and pick out a color. Use the template to cut the scrap fabric into a square. Repeat the process until you have between 60 to 70 squares. Keep the squares in the order you picked them. Layer the squares on top of each other, pinning them together. Then, sew the scarf straight dow...
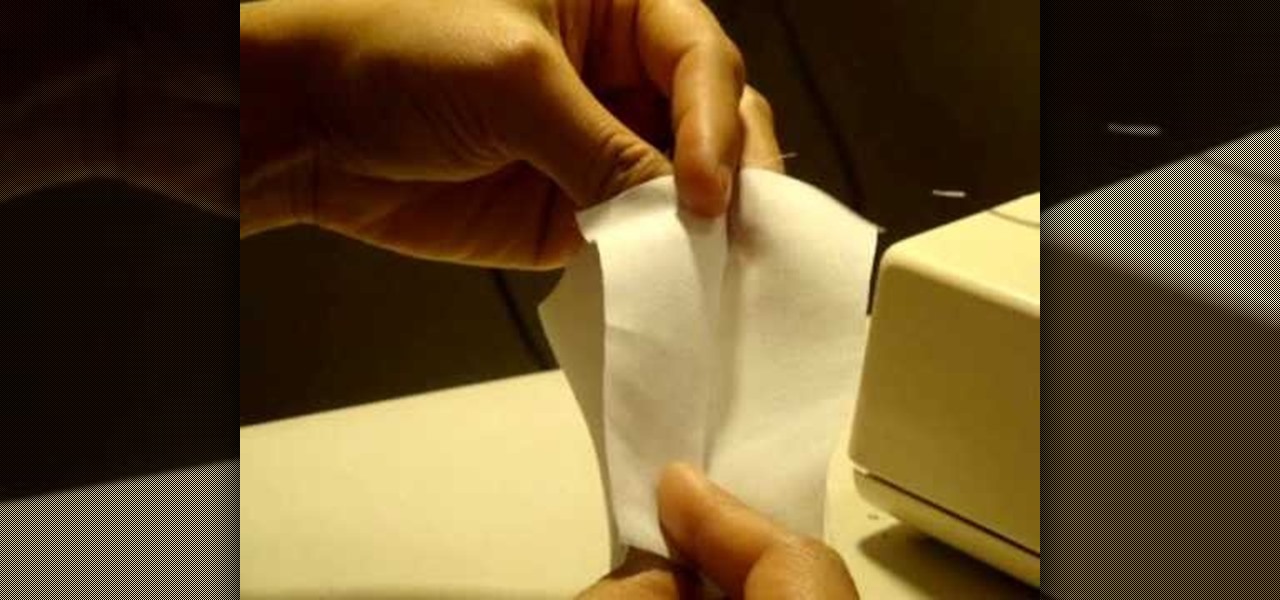
The video shows how to finish garments with serger or French seam. If you have a serger sewing machine then you can straight away place the seam along the seam and stitch on the machine. The advantage of this machine is that it gives 3 fledge serger stitch at one go. If do not have a serger machine then you can use the French seam. First the rough seam is stitched on the wrong side of the fabric and frayed edges are trimmed. Now the fabric is turned over and ironed over the stitch and a strai...
This video shows you how to make your own home made Christmas reindeer decorations. You need some floral fabric, scissors, a few feathers, and some artificial eyes. Draw a reindeer template on some cardboard, using a cookie cutter if you wish, and cut it out. Paint some glue thinly on the reindeer shape. Lay the fabric on the glue and spread it out with your hands. You can use anything for this, even wrapping paper. This crafty look is very fashionable at the moment. Attach the plastic eyes a...
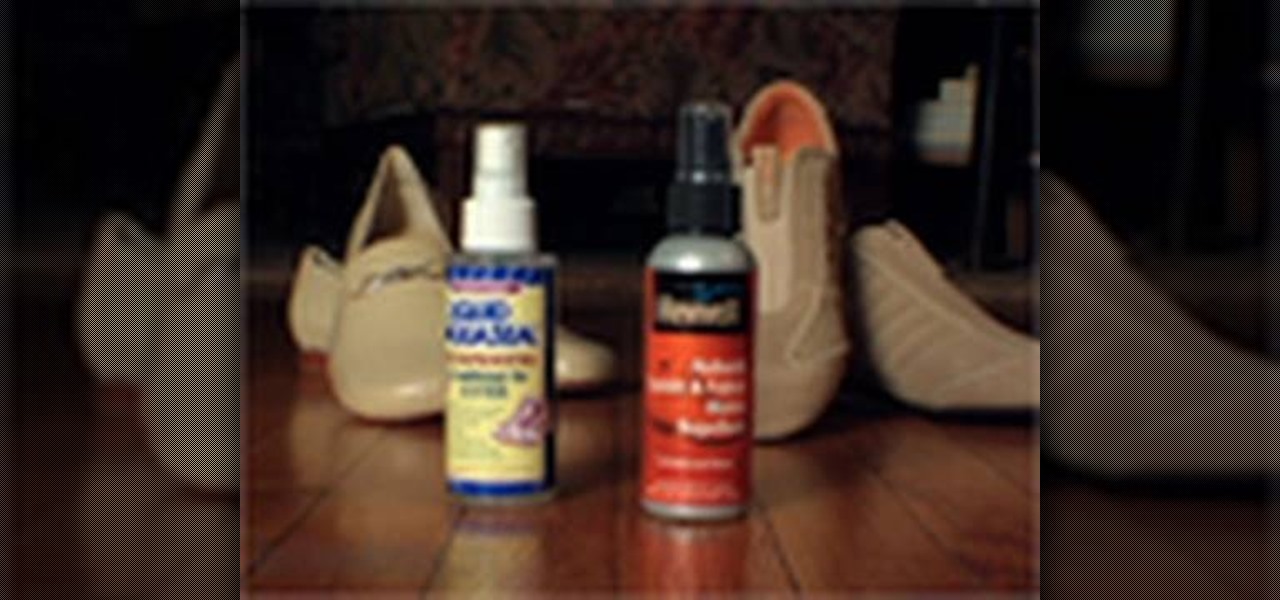
Good Housekeeping shows you how to save your shoes and delicate garments from exposure to rain and mud. If you get mud on your suede shoes, wait until the mud completely dries, then brush the dried mud off with a soft brush. Remaining stains can be safely removed with the delicate side on an emery board.

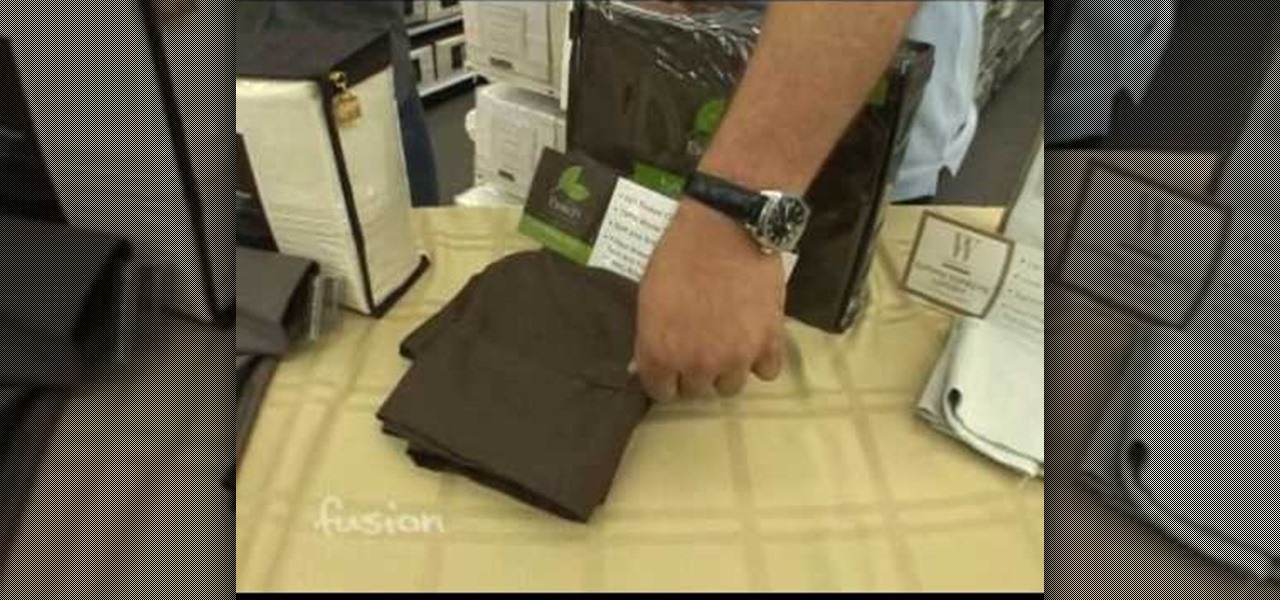
This link shows a talk with Chase Voelker from fusion who gave detailed information about how to select the right sheet for our bed. He describes about the selection of sheets based on the thread count, tensile strength and fabric hand etc. He had described about these concepts and had illustrated some approved brands of bed sheets. Suphima supreme luxury, Beech etc. are the example of branded sheets. Depending on how we like to sleep we can select sheets of different thread count (400 to 500...

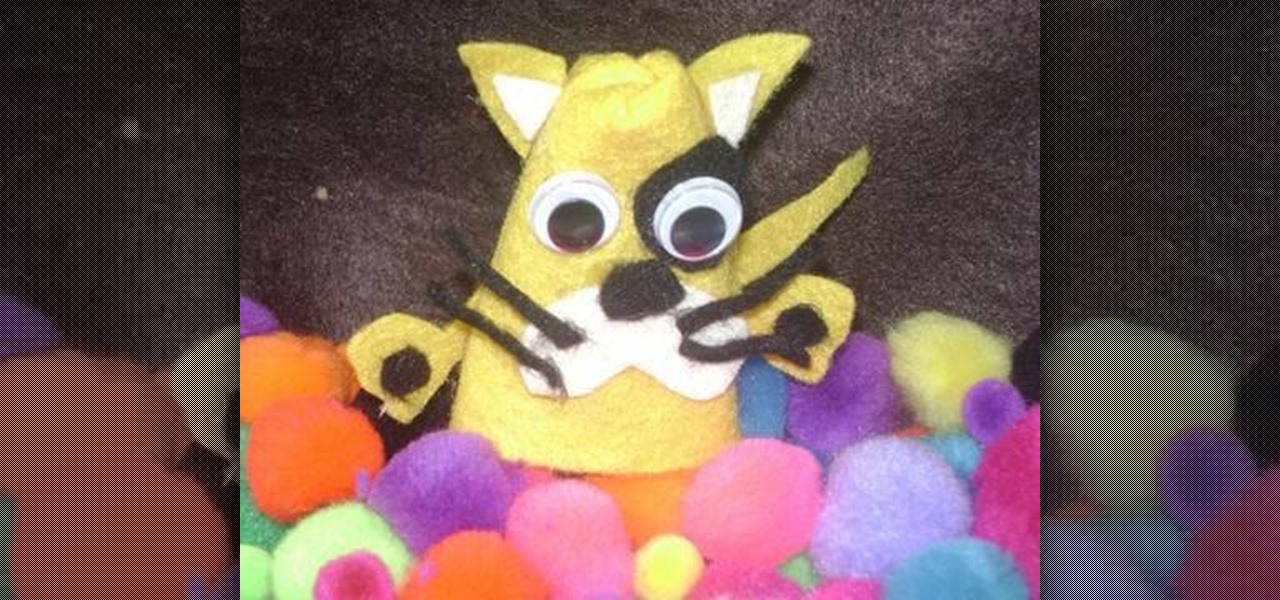
This is step-by-step video tutorial on how to make a basic but adorable cat puppet. The kids will have such a good time cutting and gluing the materials to make their very own puppet. The process is very quick and very easy. The materials you will need are: Felt (black, white and yellow), 2 googly eyes, scissors, and fabric glue. First cut out 2 triangles for the ears. Glue the circular edges of a half circle of felt together and glue the ears to it. Glue the eyes, nose, mouth, whiskers, and ...

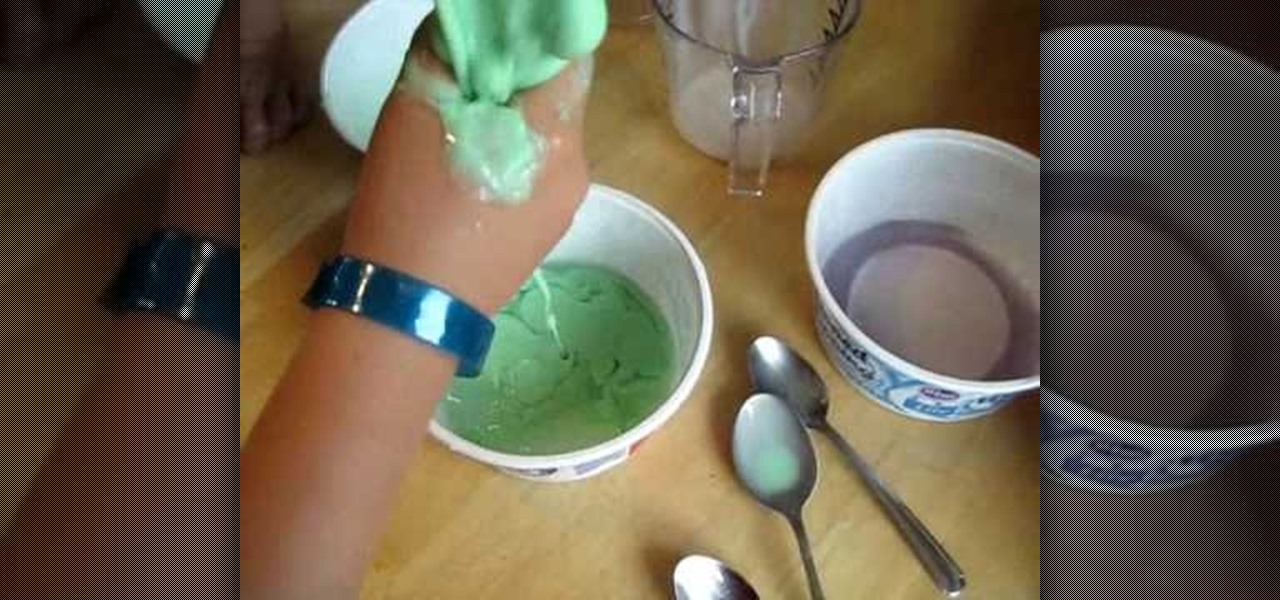
Why pay for slime when you can easily make it in your own kitchen? It stretches, bounces, molds, breaks, and gives kids hours of fun. This instructional video demonstrates just how easy it is to make flubber at home. Just follow the illustrated directions and you'll be having slime-related fun in no time.

Watch this video to learn how to sew by hand! You need scissors, thread (or floss), a needle, and fabric. First, stick your threaded needle through the cloth and pull the thread through. To make a running stitch, push it back through to the opposite side. Your stitches should look like a dashed line. For a whip stitch, keep pushing the needle through the fabric from the same side each time, near the edge. It will wrap around the edge. To tie it off, push the needle back through the loop of a ...

This video gives us Missa from Fashion Club teaching us how to make a cute and simple ombre bag for the beach, or to use as a summery everyday tote bag.

In this how-to video, you will learn how to wear and make a toga on your own. You must need a fabric, clips, and a friend to help you make the toga. You can go to any place that sells fabric for the cloth. It must be 1x3 yards. Have your friend wrap the cloth around you twice, clip it at the side, and throw it over a shoulder and clip it in the back. Upon viewing this video, you will learn the easiest and most effective way to make and wear a toga, making it no problem if you ever need one ri...

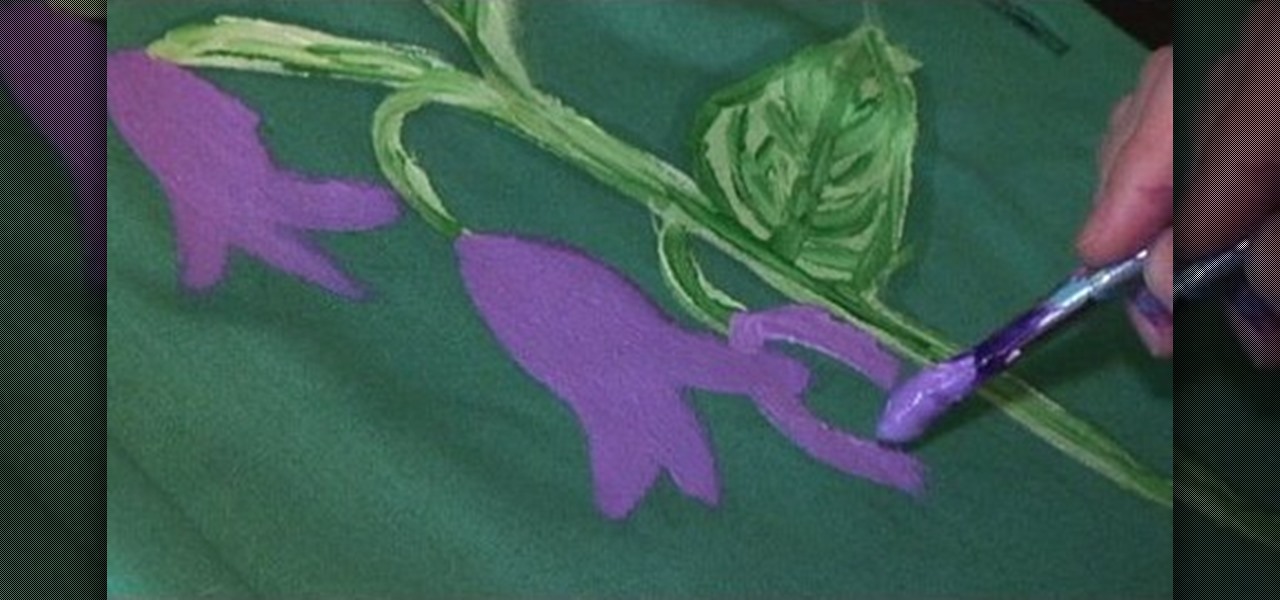
This week, Kenley Collins, of the Project Runway fame, shows us how to turn an old vintage skirt into a summer must have with fabric paints. Follow along with the tips in this how-to video, and revamp some of your own old clothes.

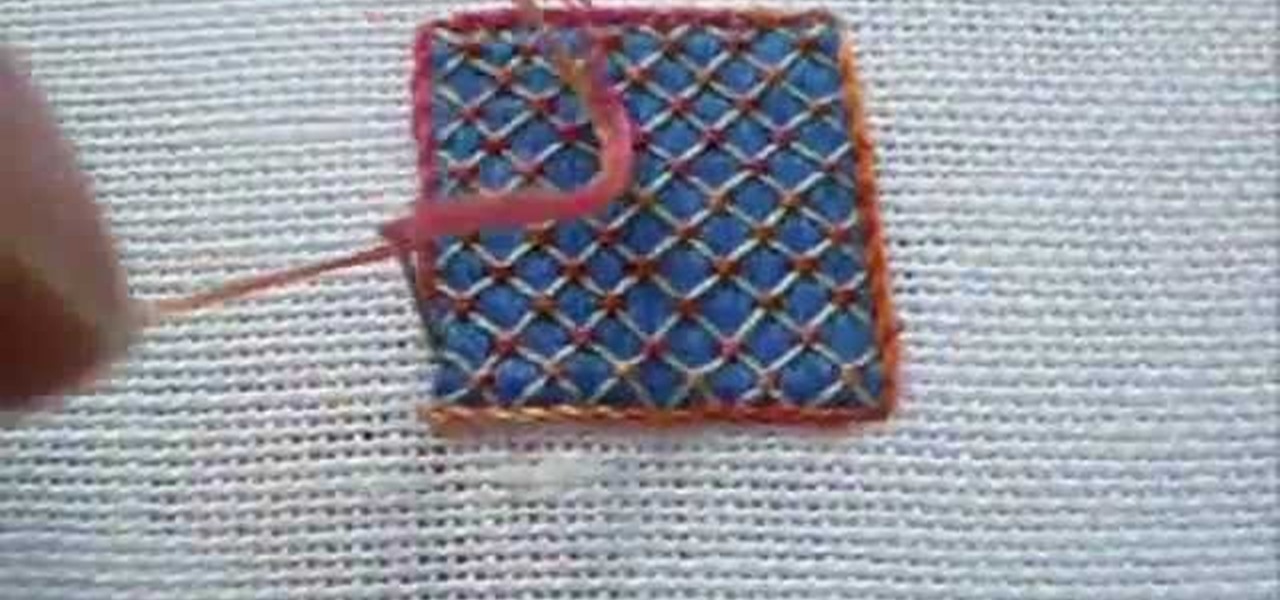
Lattice work is used as filling or for backgrounds. Worked on a plain ground (with only the fabric behind the lattice stitches) it can be easily managed by beginners. Adding a colored background (for example, a background worked in satin stitch) kicks the stitch up a notch to intermediate level. Here's a video tutorial from Needle 'n Thread on working lattice stitch over a satin stitch ground.

Create a custom, colorful purse using a vintage book and coordinating fabric. Read the accompanying article at http://www.curbly.com/Chrisjob/posts/...

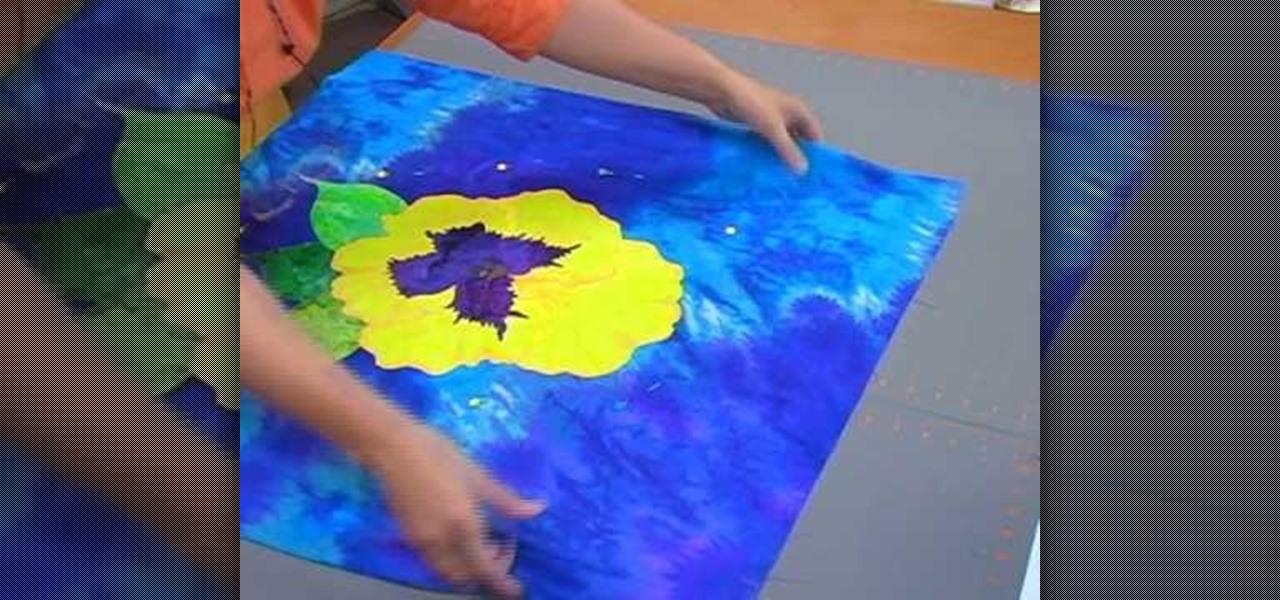
Be sure to click on Chapter Two for the entire tutorial! In quilting, trapunto is creating raised images or sections of fabric on the surface of the quilt with batting. Learn about applique trapunto in the first part of this two part tutorial.

I'm here at the annual AWE event in Santa Clara, California, and the venue is just as packed, if not more so, than last year.

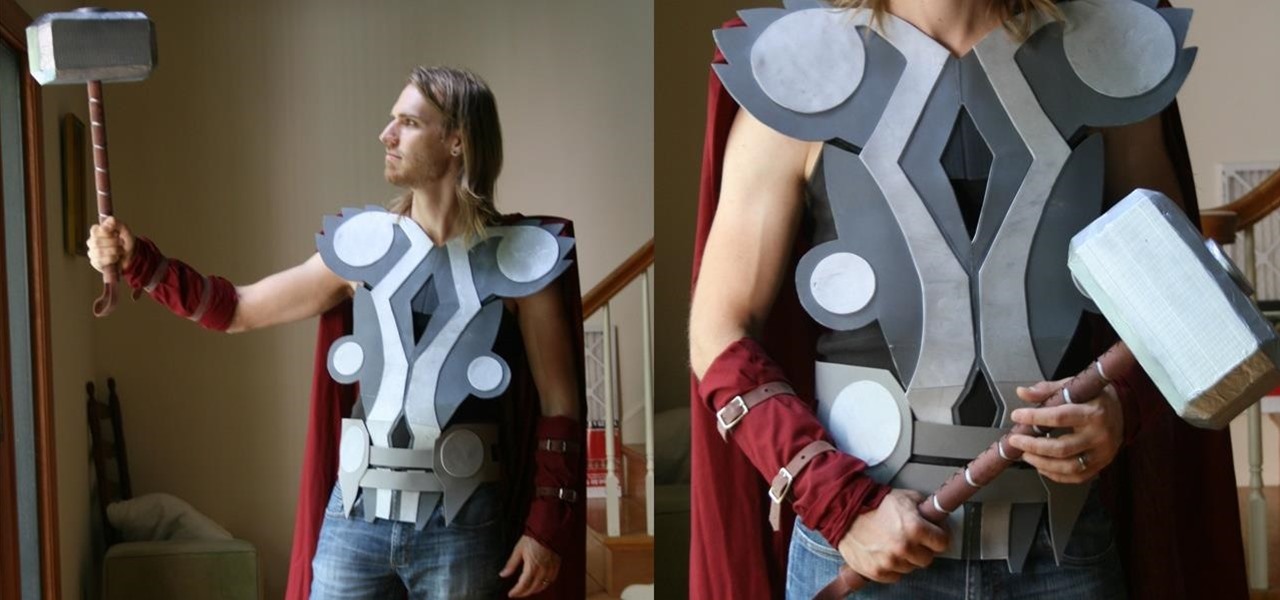
With the explosive popularity of both Thor himself and The Avengers, Thor is an obvious good choice for a Halloween costume. But you don't have to opt for one of the pricey, pre-made costume choices found in every Halloween store in every city. Instead, craft your own in just a few steps, saving yourself money in the process.

If you're a Febreze fanatic, you're well aware that the "odor eliminator" can be pretty pricey, and that's reason enough to stop buying it.

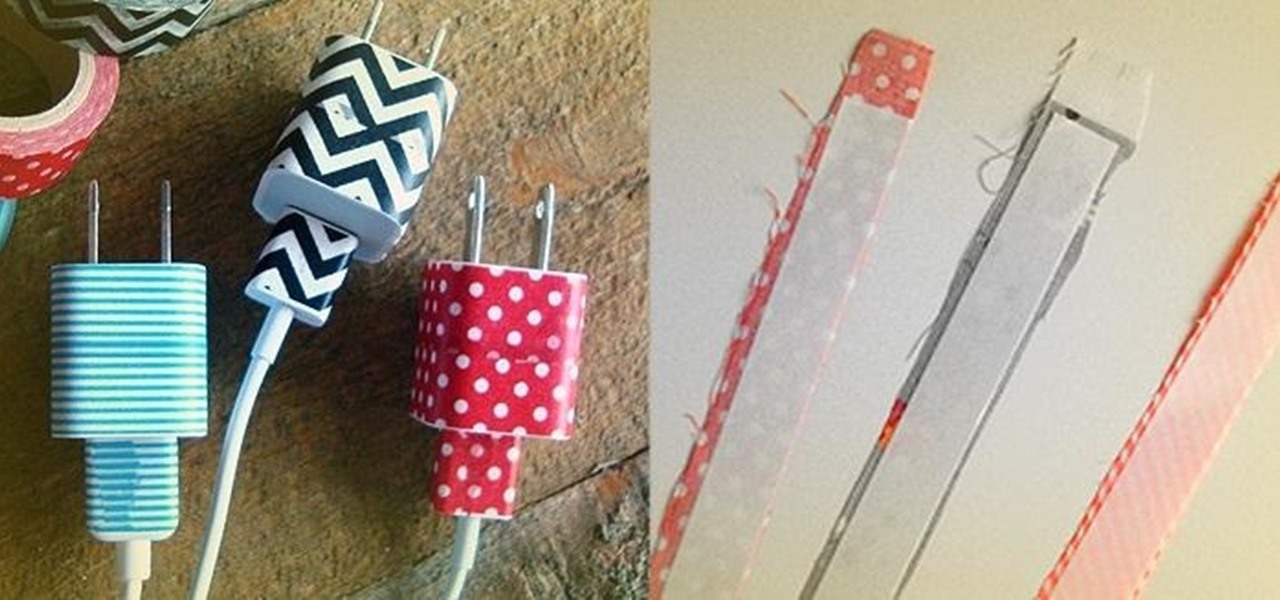
There are thousands of uses for tape, and plenty of different types of it, too. Masking tape is perfect for labeling, double-sided tape is great for crafts, and duct tape is good for...well, just about everything.

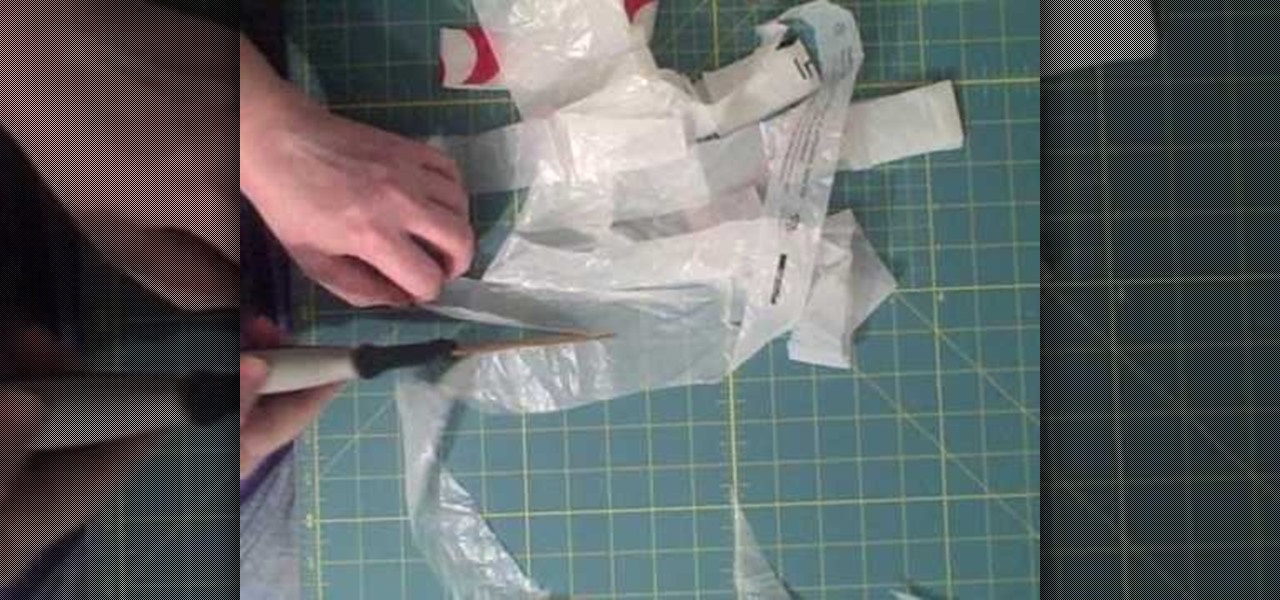
Plastic bags on their own aren't quite strong enough to hold anything too heavy (at least not for an extended period of time), but when broken down into "plarn" - plastic yarn - they can be woven into some very sturdy fabric.

First of all you need some basic tools like sewing machine, scissors, pins, ruler, measuring tape and thread. You also need a printed knit of size 1.5 yard or 1.4 meters ad a separating zipper of size 18 inches or 46 cm. First you have to start by making the straps and bodice. Cut off two rectangles those measures from the top of your bust to the bottom of your bust. The length should be enough to go all the way around your upper half. Place these two rectangle pieces together. Now separate y...

This video shows how to make a cute vintage looking jewelery box. A cardboard cheese box forms the body of the jewelery box. Other items you will need include mod podge, white glue gesso, masking tape, ribbons, a mirror from a compact, some fabric, and some faux pearls and flowers. Begin my removing the labels from the box. Paint the inside and outside of the walls of the box and the lid. Paint the areas of the box that you just primed with gold metalic paint. Now use the box to trace three c...

"I'm Rey." That's what a lot of people will be saying again this Halloween, as Rey costumes are sure to be another favorite of trick-or-treaters and cosplayers. Yes, on Oct. 31 we all have a chance to be the scavenger of Jakku who just so happens to be the "new hope" for a Jedi renaissance.

Guardians of the Galaxy wowed moviegoers this summer with its sassy, strong team of intergalactic superheroes. From Groot, the ever-growing tree, to Rocket, the rough-around-the-edges raccoon, the film had an unending supply of unique characters—but no one stood out as much as Gamora.

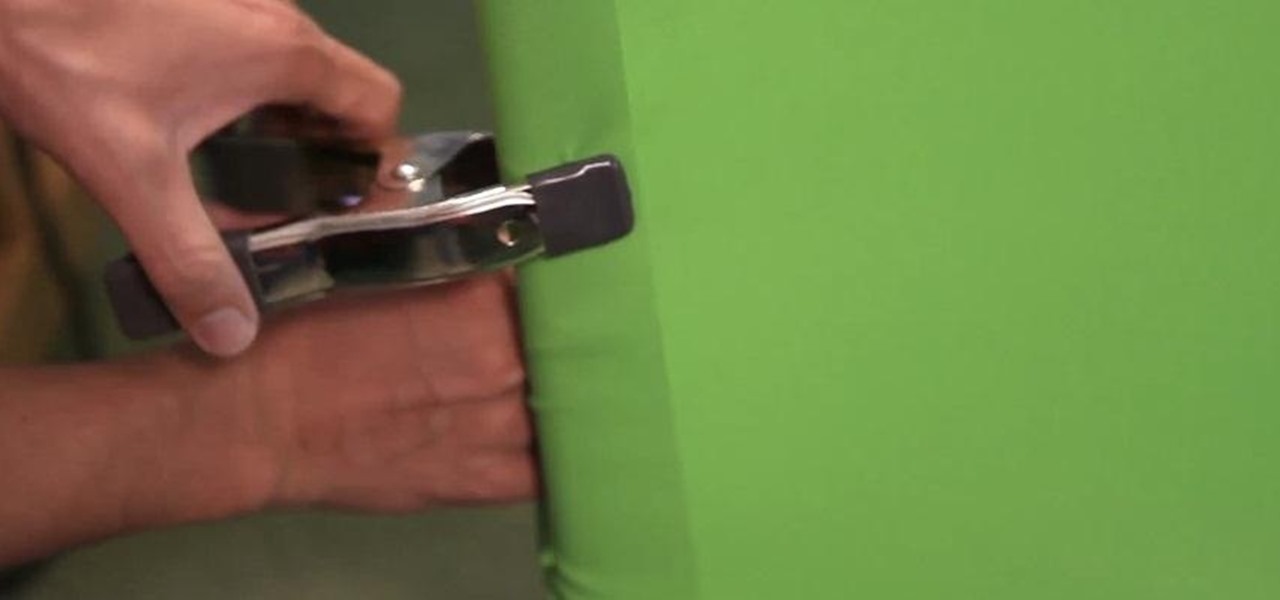
There are plenty of ways to create decent looking special effects on a budget. You can use basic, inexpensive materials to make ground explosions or realistic looking alien landscapes. But nothing says Hollywood quite like your own green screen.

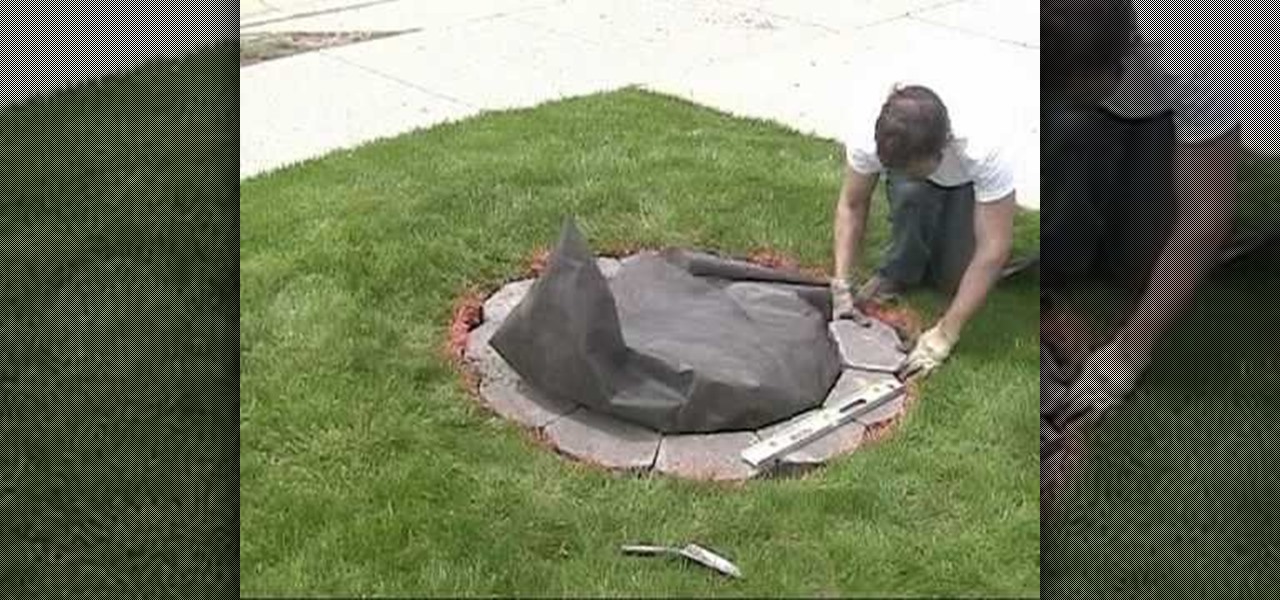
Chris from Backyard Gardening shows us how to build a raised island garden bed with retaining wall bricks.

Learn how to remove ink stains from fabric. Getting ink out of fabric is a tricky business, often best handled by a dry cleaner. If you want to try it yourself, though, here's what to do.

Crochet an alt turning chain for half double crochet Double crochet leaves a hole in the fabric. The special stitch makes the fabric more dense. You will have to go back and double crochet.

In this tutorial, we learn how to make a long drawstring skirt. You will need: knit stretch fabric ( 1.5 yards), safety pin, scissors, marking tool, and measuring tape. First, measure your hips and decide if you want your skirt to be tight or loose. For a tight fit, you want 2 inches of ease and for a loose fit, you will want 3-4 inches of ease. You can now decide how long you want your skirt to be and add 2 inches to that. Now cut your fabric and fold it in half, then cut it straight down. A...

In this video tutorial, viewers learn how to make a tied fleece blankie. Select any colored fleece and a coordinated patterned fleece. Purchase one yard of each fleece. Cut the fleece so that you have two pieces of 36 x 30. You will need a pair of scissors and a ruler. Sandwich your fleece together and lay it on a flat surface. Make your first cut at the 4 inch mark. Continue to cut in on strips until you reach the end of the fabric. Then turn the corner and cut a 4 inch square out of the fab...

Is you favorite pair of jeans suffering from a hole in the knee? No problem. Extend the life of your clothing by using patches to cover worn or torn areas, or to embellish tired items and give them a fresh new look.

It’s easy to make those telltale sweat spots disappear if you know what to use on them. Don't throw away those white shirts, learn how to get rid of sweat stains instead.

Wash your window blinds with a minimum of mess. Howcast presents you with tips on how to effectively clean your window blinds. Blinds can be tricky to clean, so pay attention.

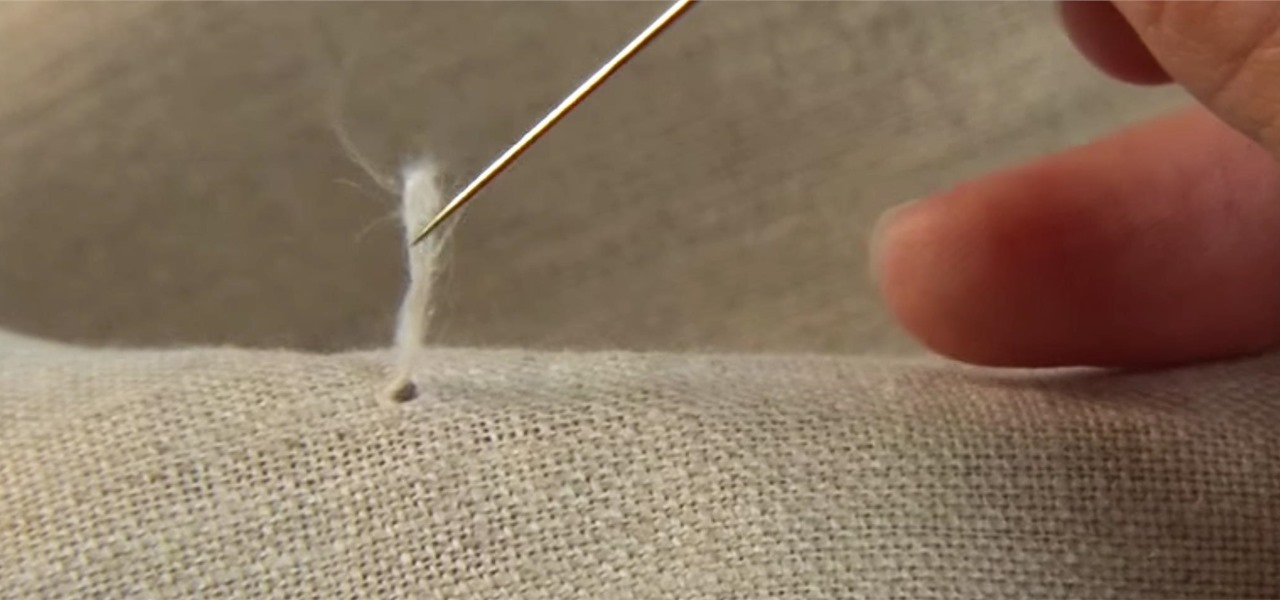
You just bought a new loose-knit sweater, slipped it on, and your ring, earring, smartwatch, or even your fingernail snagged a piece of thread yanking an entire loop loose in the fabric. It's happened to me more times than I can remember, and if you cut that eyesore away you're asking for trouble. However, there is a quick way to fix it while maintaining the longevity of your sweater—without giving money to your dry cleaner. Begin by assessing the size of your sweater's damage; is the snagged...

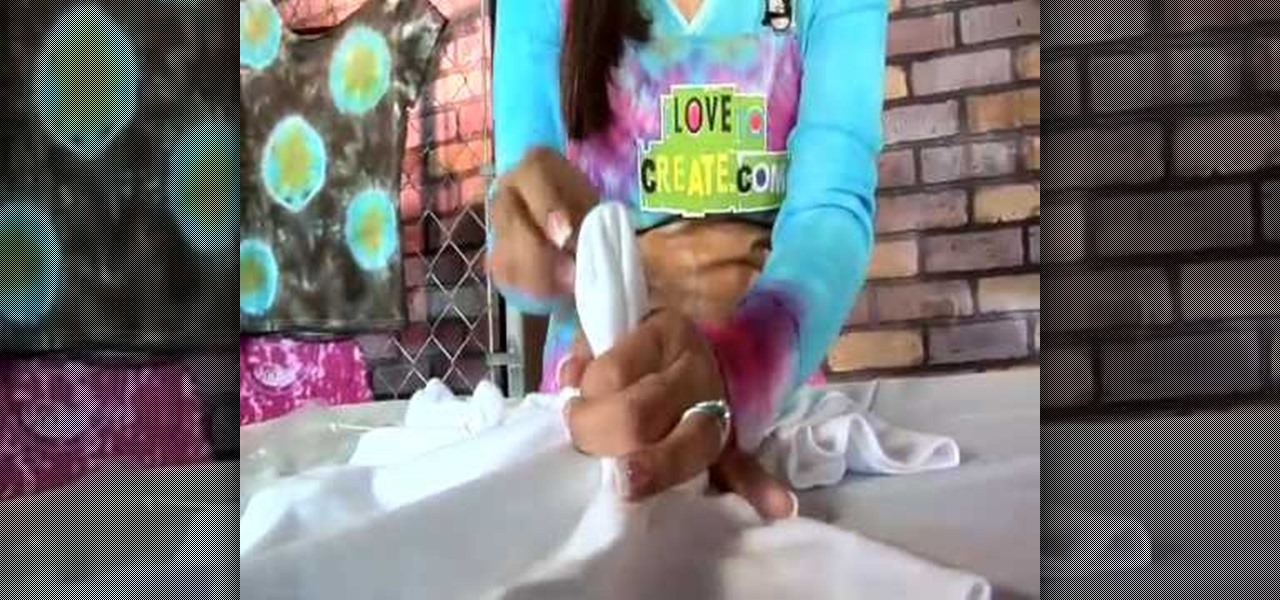
Most people (who have never done tie dye before) think that tie dye is simply squirting a bunch of psychadelic colors onto tied up fabric and going crazy with it. But there's more to tie dye than trippy rainbow hues and organic designs. There is more than one way to add a tie dye effect to a shirt or scarf.

Perfect for any outdoor or summer special occasion! You don't have to spend a lot of money on an expensive evening gown--make your own at home! This free pattern video shows you how to take your own measurements, and then turn a few yards of nice fabric into a classy evening gown.

This is an incredibly easy dress to make. All you need is a yard or two of a stretchy fabric (knits work best). Sew a few seams, and then add a pretty flower or other sort of trim or applique!

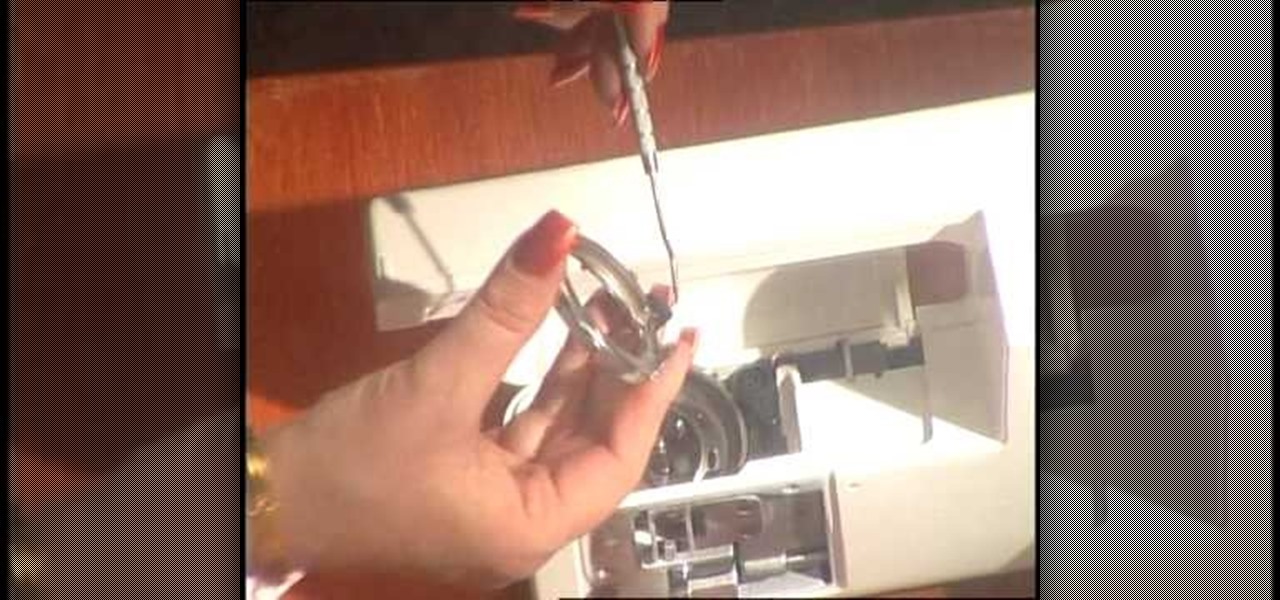
Sewing is an expensive enough hobby without having to factor in repair costs, as well. You can save money (and have more cash to spend on fabric and notions!) by fixing your own machine at home. This video shows you how to clean and fix the bobbin case area, which can often get cluttered with lint and fuzz.

This is a fun project that doesn't take much in terms of time or resources. You can even make it out of your scrap fabric! Use whatever notions or embellishments you want to create a lovely, Victorian inspired pillow at home.


