In this video, we learn how to take better digital pics using color and white balance. Color is one of the most powerful elements in any photograph. This can be powerful enough to be the subject of any photograph. Consider the colors and see how you can make them be the main object in the photo. Use your white balance on your flash to get the photo to show the color or the lack of color a lot better. The camera has to know what kind of light it's in to reproduce this correctly. Just change th...
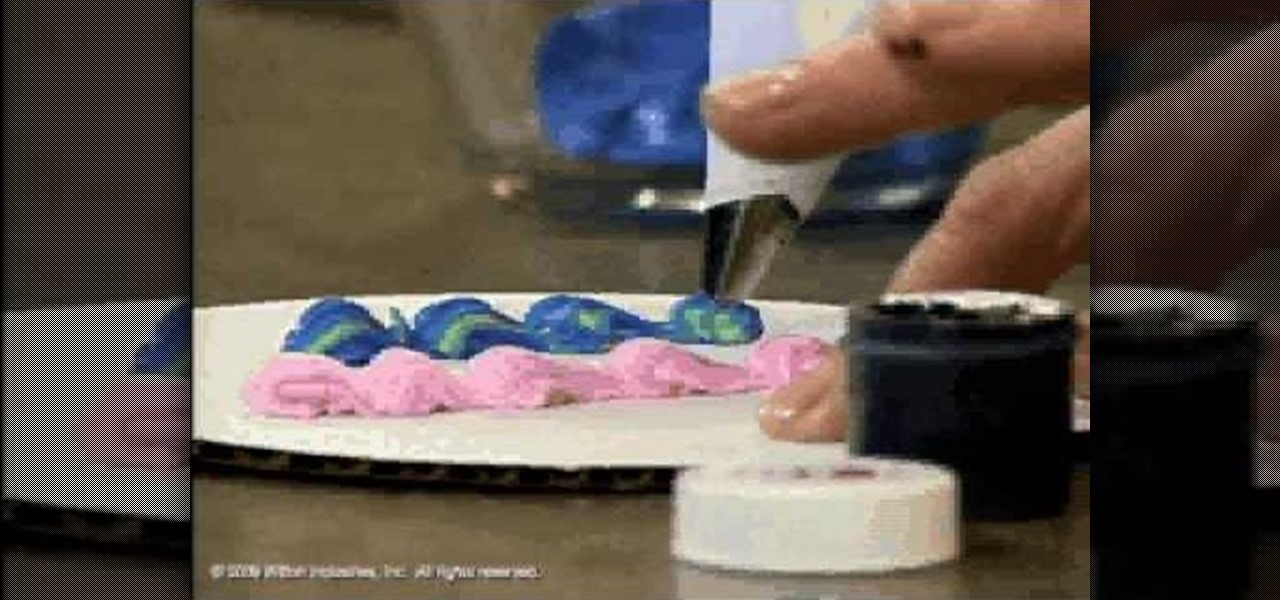
In this tutorial, we learn how to choose the appropriate color for cake decorating. First, spoon your icing into a bowl and then add in a small amount of food coloring. Start to mix this together, then add in additional icing if you want a darker or a brighter color to your icing. Experiment with different colors if you feel comfortable with using different ones. Take a parchment bag and roll it into a full, then stripe up the bag. Then, fill the parchment with some icing and this will create...
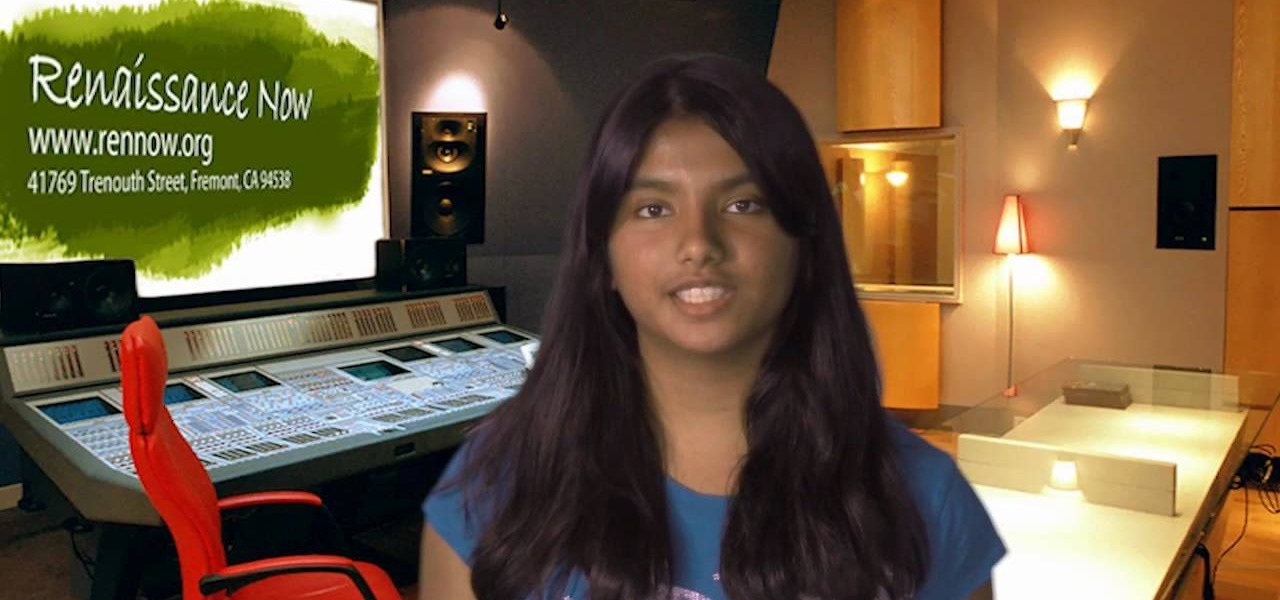
Has white balance always been a problem in your photographs? Getting the perfect color in your photos is tricky business, even on digital cameras. This video will give you the ultimate information on customizing the white balance and color temperature for your film, video footage and pictures. Ritwika teaches how to obtain accurate color balance using various custom white balance techniques.

In this video, we learn how to make friendship bracelets: The Wrap. First, clip your strings to a clip board at the top. Then, separate them into three colors, two strings for each color. Then, wrap the other colors around one color until you reach the end, then push it up to the top and continue to do this. Once you reach down the top of the bracelet, switch the colors and start to wrap the other color doing the same process. Then, switch to the last color and continue to do this until you a...
Add some color to your next project which uses rub ons! This tutorial shows you how to take several colored ink markers, color in your rub ons and then transfer them to your current project for a unique and colorful addition!
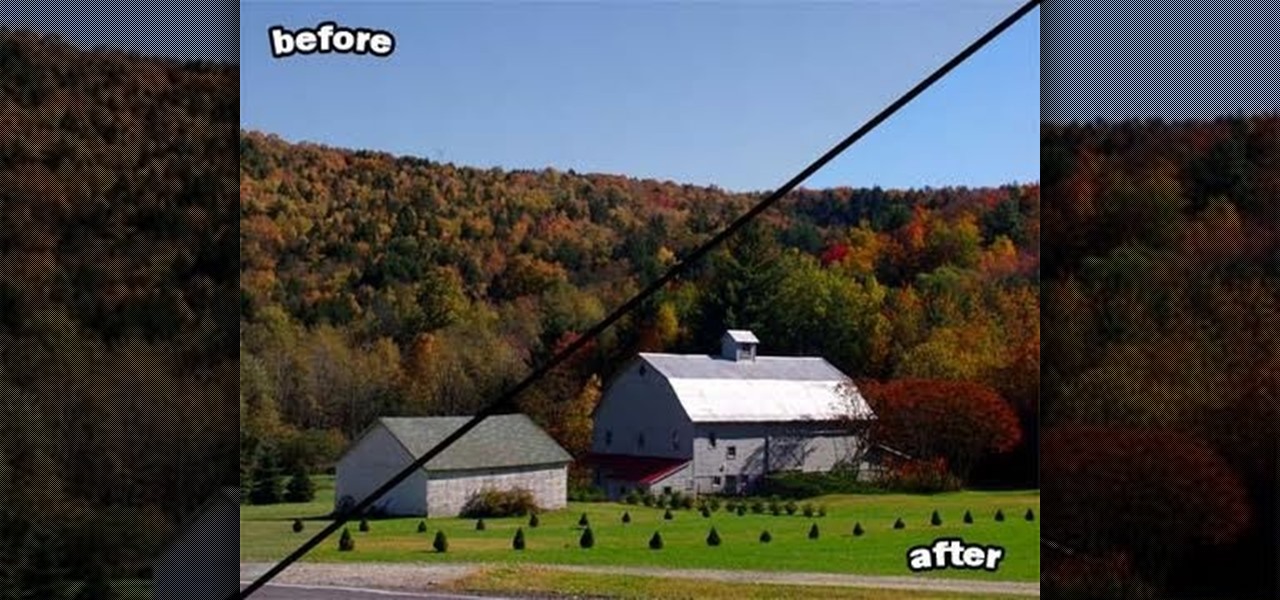
Bring out all the colors in your photo! Make them extra saturated so your image has exceptionally vivid colors. This tutorial shows you how to use the luminosity and other light effects in Adobe Photoshop to make the colors really pop for your project.

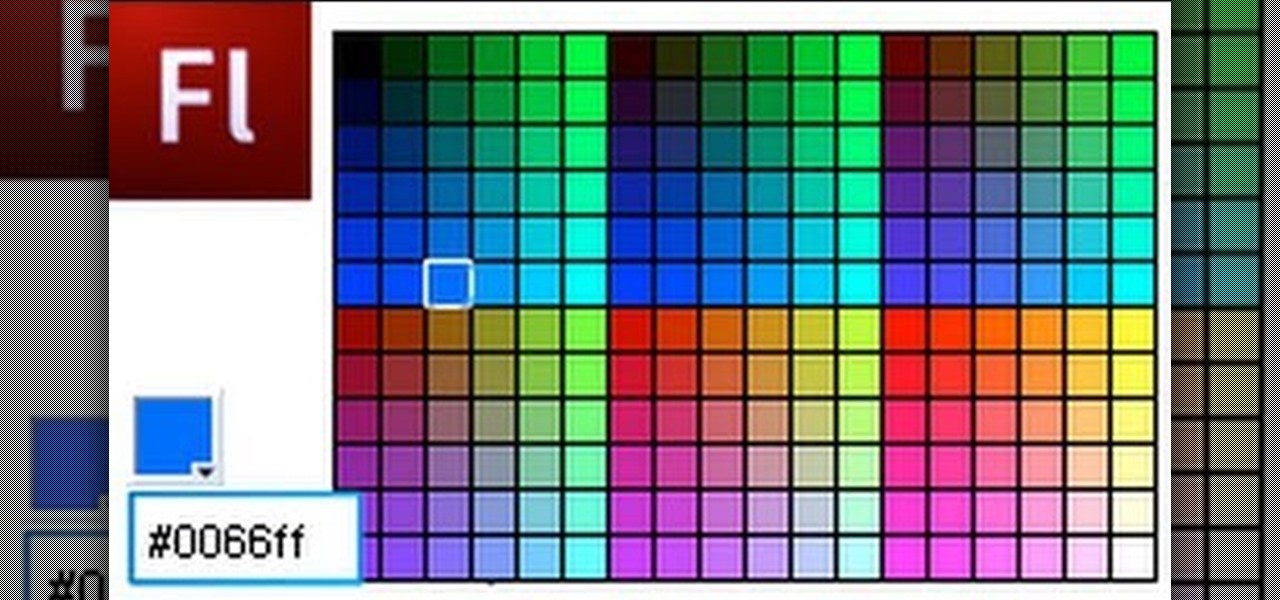
The Color Picker component lets users change colors of a designated item - like choosing red lilies or white lilies in a Flash-based game. This tutorial demonstrates how to construct your items in ActionScript 3 and then attach them to the Color Picker function in Adobe Flash.
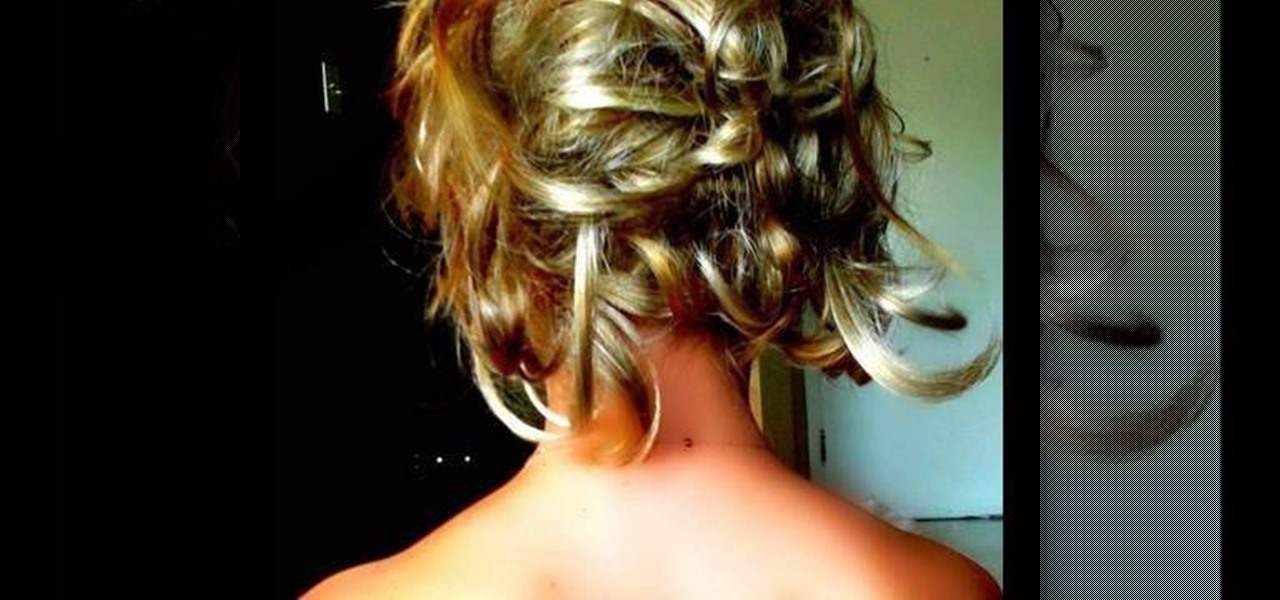
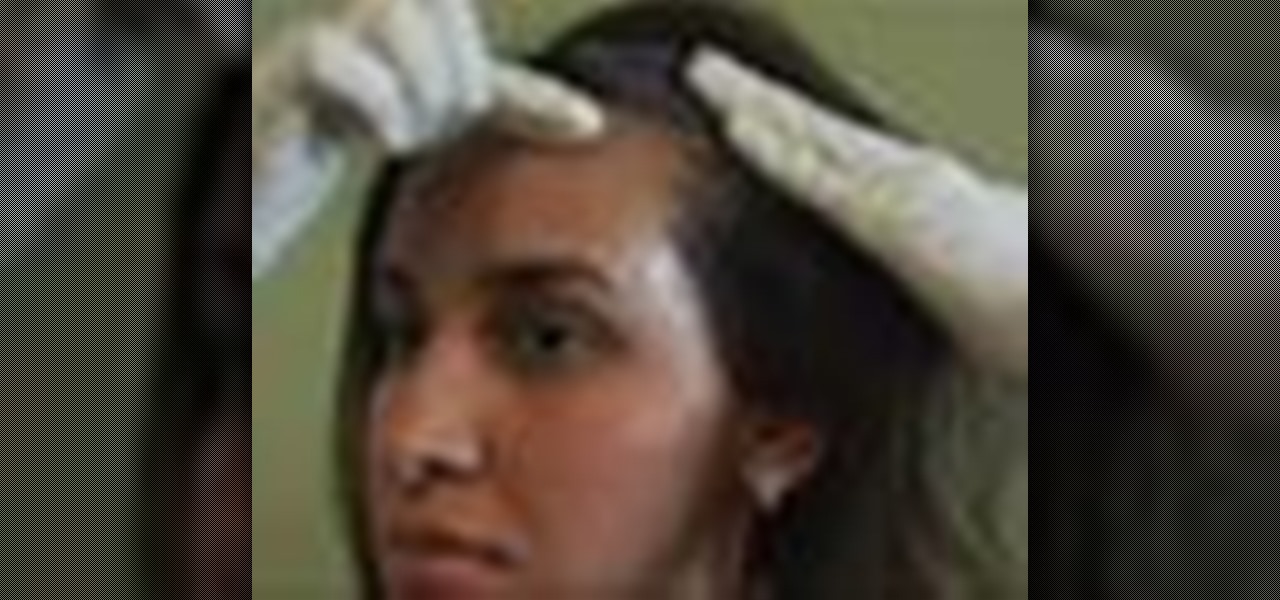
It's hard sometimes to get perfectly matching hair extensions for your color of hair, but even if you can't get those perfectly colored hair extensions, this video will give you some tips to making those extensions blend in with your natural hair color and hairstyle.
In this tutorial, we learn how to draw the characters Bolt, Mittens, and Rhino. Start off by drawing the body of bolt, then drawing the bodies of Mittens and Rhino on both sides of the dog. Start to draw in details after you get the main bodies drawn, then use a dark line to outline all of the animals. After this, start to color all of the different animals. Also, color the background of the picture bright red with a touch of yellow in the middle. Finish this off by adding in further details ...
Maybe it's just us, be we think that graffiti characters that aren't in some way colored or shaded in just look like drawings from a coloring book. Of course, if the coloring book were rated R.
In this tutorial, we learn how to say different colors in Italian. To begin, if you want to say the words "the color", you will say "I Colori" in Italian. Next, the color white is "bianco", which is the color of snow. Orange is said "arancio" and pink is said "rosa". Red is said "rosso" and green is said "verde". Blue is said "azzurro" and purple is said "violetto". Gray is said "griogio" in Italian and gold is said "oro". Learning all of these different colors can help you speak to people wh...
In this video, we learn how to change the color of clothing in Photoshop. First, click "enhance", then "adjust color", then "saturation". Now place a magnetic lasso around the shirt color you want to change. You can now use a slider to go through all the different colors, and pick that one that you want to use in the picture. Play around with the saturation, hue, and brightness to change what the color looks like in the picture. If you want to add more contrast, it will look more real like it...
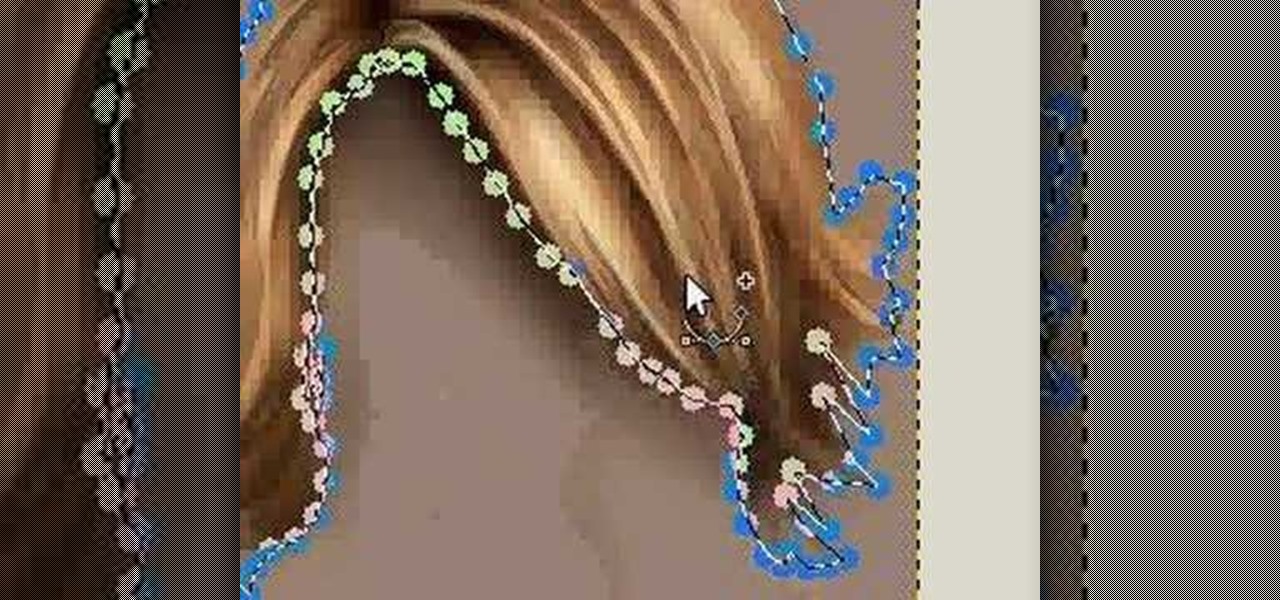
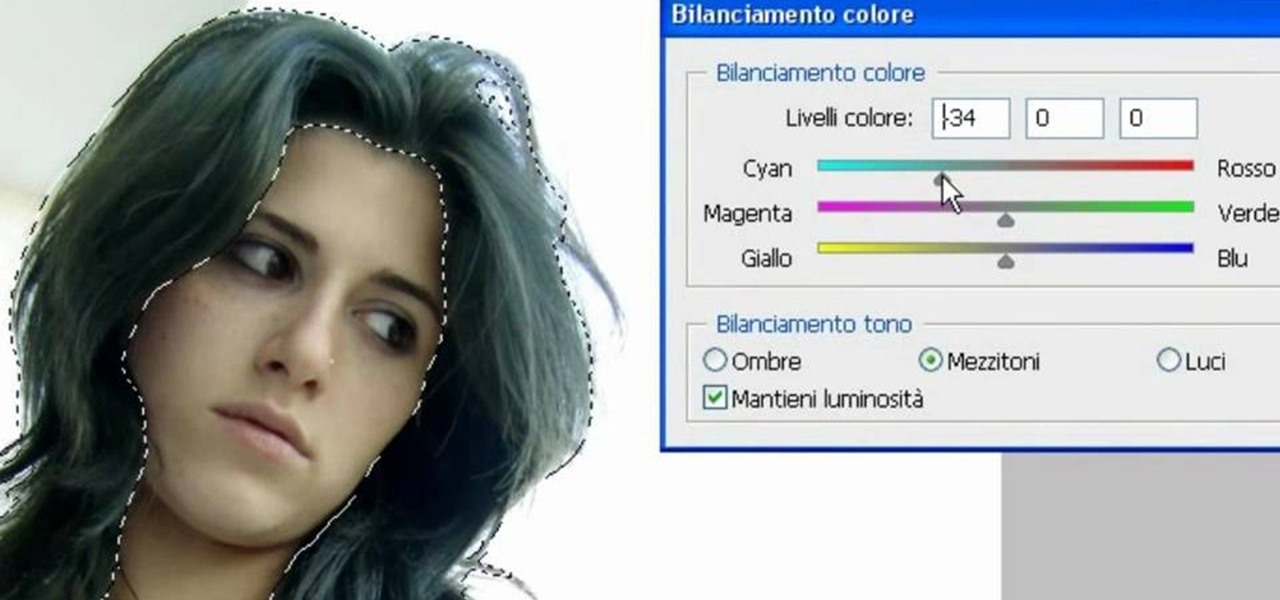
In this how to video, you will learn how to change hair color in a photo using GIMP. First, download and install the program. Open it and find the image you want to change. Next, zoom in to get a full view of the hair. Now you should go to the paths tool. Highlight all around the hair to select it. Once this is done, go to select and select From Path. Marching ants should go around the selection. Now, go to colors and select Color Balance. Adjust the color sliders to change the hair color. On...
In this how to video, you will learn how to draw a Cookie Monster cupcake. First, draw two circles for the eyes. Follow this with a furry texture oval shape for the face. Add a mouth with a cookie in it and draw the bottom as a cupcake wrapper. Draw the pupils of the eyes. Next, color the face a blue color. You can draw the cookie inside of the mouth a brown color. Use a black color to outline the areas around the mouth. Fill in the chocolate chips of the cookie with a darker brown color, and...
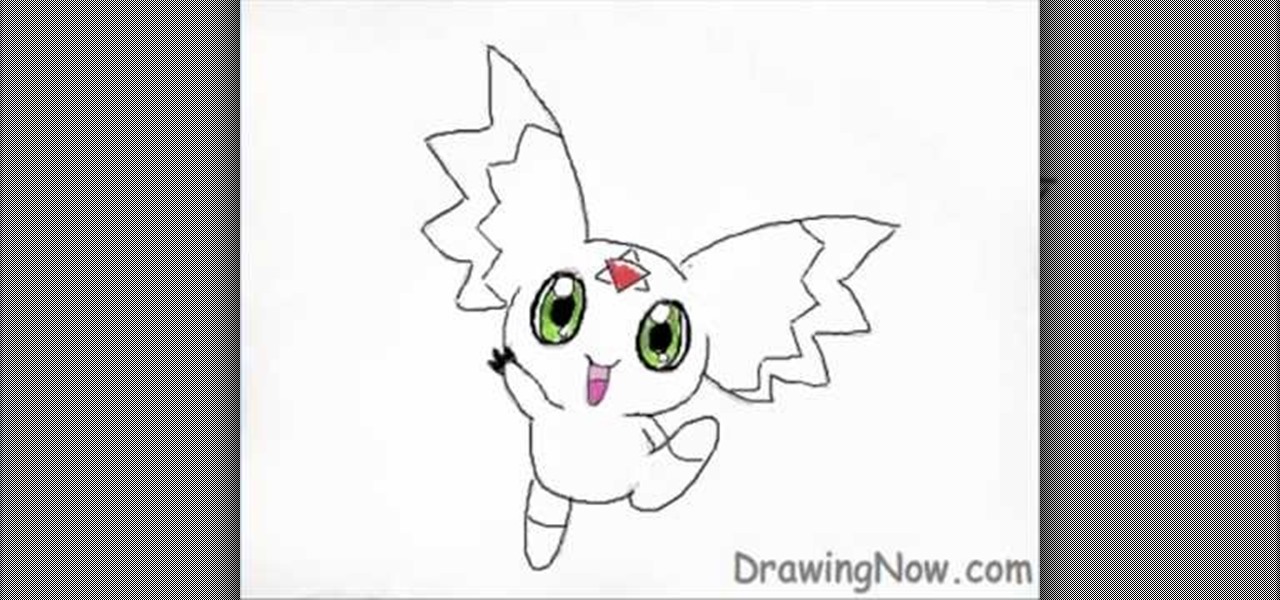
In this how to video, you will learn how to draw Calumon from Digimon. First, start off with two circles for the head and body. Next, add the ears and oval shapes for the feet. From here, you can trace these shapes to create a more accurate depiction of Calumon. Go into the face and two ovals for the eyes. Draw two ovals inside the ovals for the pupils. Fill it in with black. You can also add a circle at the top of each eye to create a highlight. Next, draw a border in the interior of the ear...
You can make beautifully decorated cookies with just powdered sugar, water, and food coloring. Before you start decorating cookies, it is important to understand color theory. Primary colors are blue, red, and yellow. When you mix those colors you get secondary colors. Blue and red make violet. Red and yellow make orange, and blue and yellow make green. If you mix all three primary colors together, you get brown. To make black color, mix together green and red and a few drops of blue. Also, p...
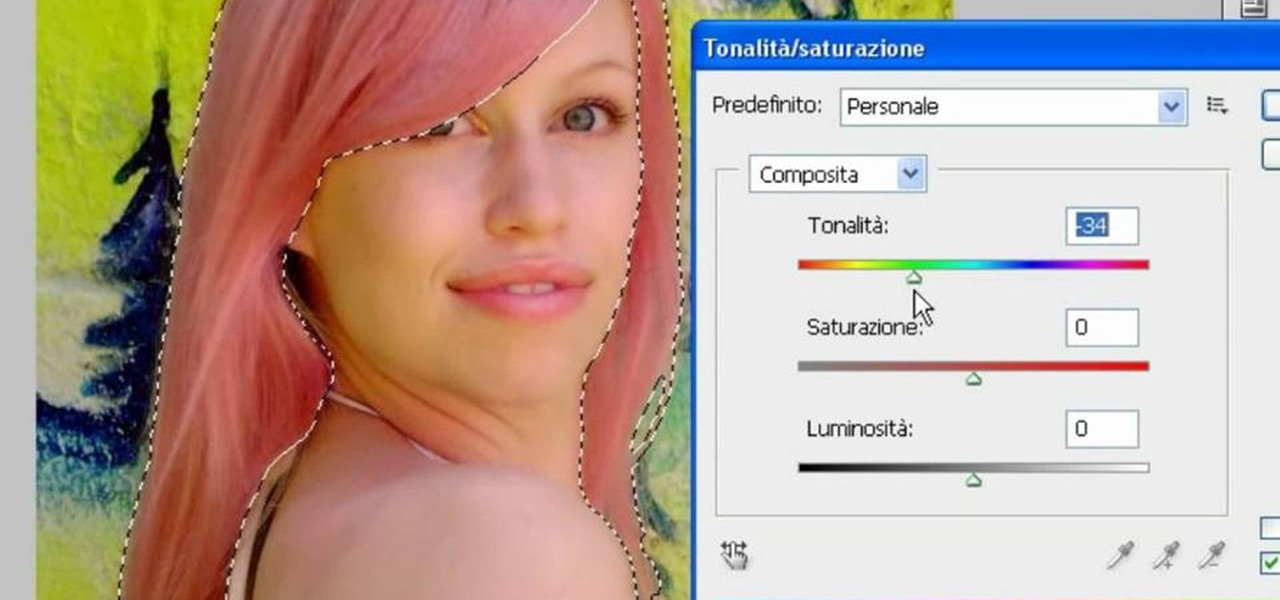
In this video, we learn how to use PhotoShop to change hair color.. First, select the mask tool inside PhotoShop. Now, zoom in on your picture and brush the hair that you want to change the color of. Zooming in and using smaller or bigger brushes will help you be more precise. After this, zoom out and press on the mask tool to create your selection. Then, select the marquee tool and right click and choose "inverse selects". Now, click on "image", "regulations", then "tonality/saturation". Now...
preparedpantry describes the process of covering sugar cookies with fondant.
In this how-to video, you will learn how to single out a color in an image with Photoshop. First, go to select and click Color Range. Select all the color of the image by clicking around the object while holding shift. Once it is selected, click okay. Your selection will be made. Go to the magic wand tool. Hold shift and select the color areas that you have missed. Now, go to select and press inverse. This will select everything but the object. Go to image and adjustments. Now, drag the satur...
In this video, we learn how to change the color of dark hair in PhotoShop. First you will want to open up PhotoShop and open up the picture you want to change, zooming in so you can see the hair up close. Next, open up the mask tool, then use the brush to color the hair. This will only highlight the hair to change the color in the future. Use different sized brushes when you need to. Once you've done this, click on the mask tool to create the selection. Now, select the marquee tool and click ...
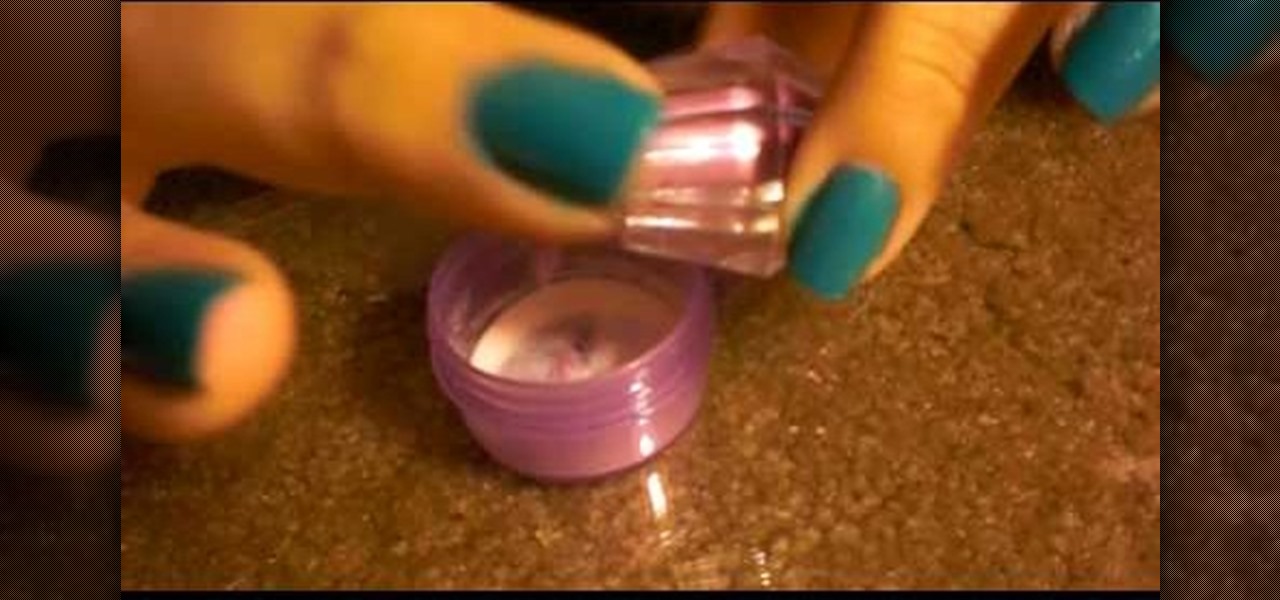
Alwaysnforever559 teaches viewers how they can make their own color acrylic for nails! First, you will need a container, a clear powder (Acrylic) and an eyeshadow color that you will like for your nails. Pour in the acrylic clear powder in the container and pour the same amount of your simmer or eyeshadow color into the container. Close this container and shake the ingredients to mix them up. Now, your powder should be a mix of the white and the eyeshadow color you put in. First, get your bru...
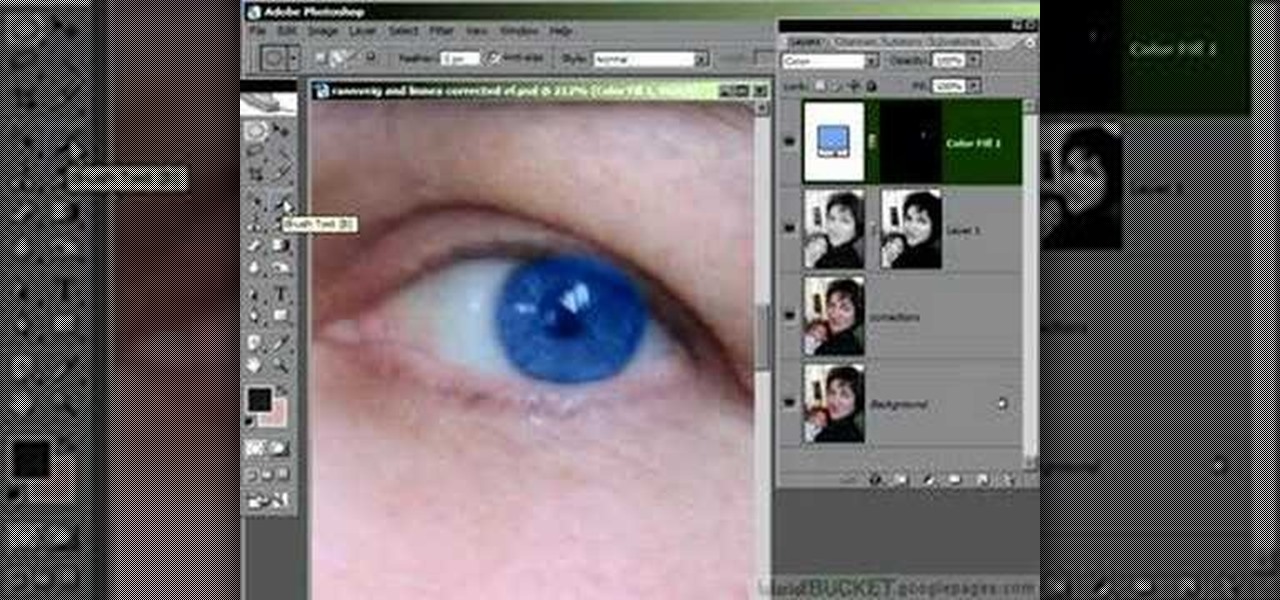
This video guides you through a process you can use in Adobe Photoshop CS3 or CS4 in order to change a persons eye color. The computer user shows how to first select only the iris of the eye by guiding you through which tool bar buttons to use. You should then zoom in close to the eye in order to very accurately select just the iris. Once the iris is selected you will go to the select menu then click "New Fill Layer" then "Solid Color..." When the dialogue opens up you will change the Mode to...
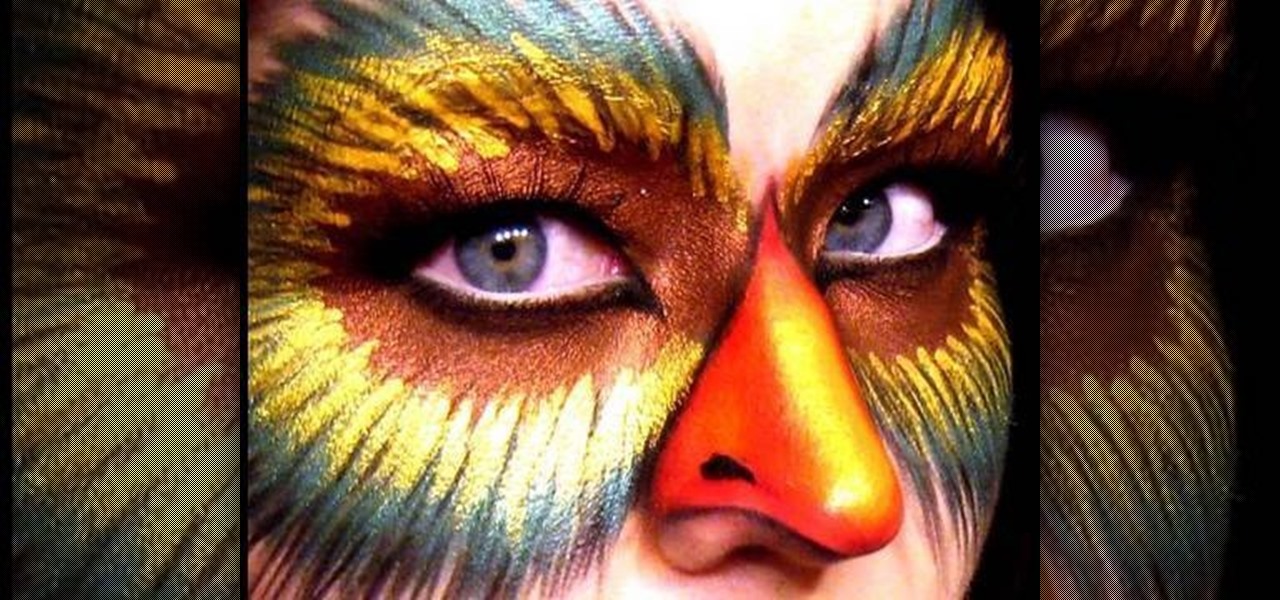
In this instructional video we can easily learn how to apply a mysterious bird lady makeup look for Halloween.
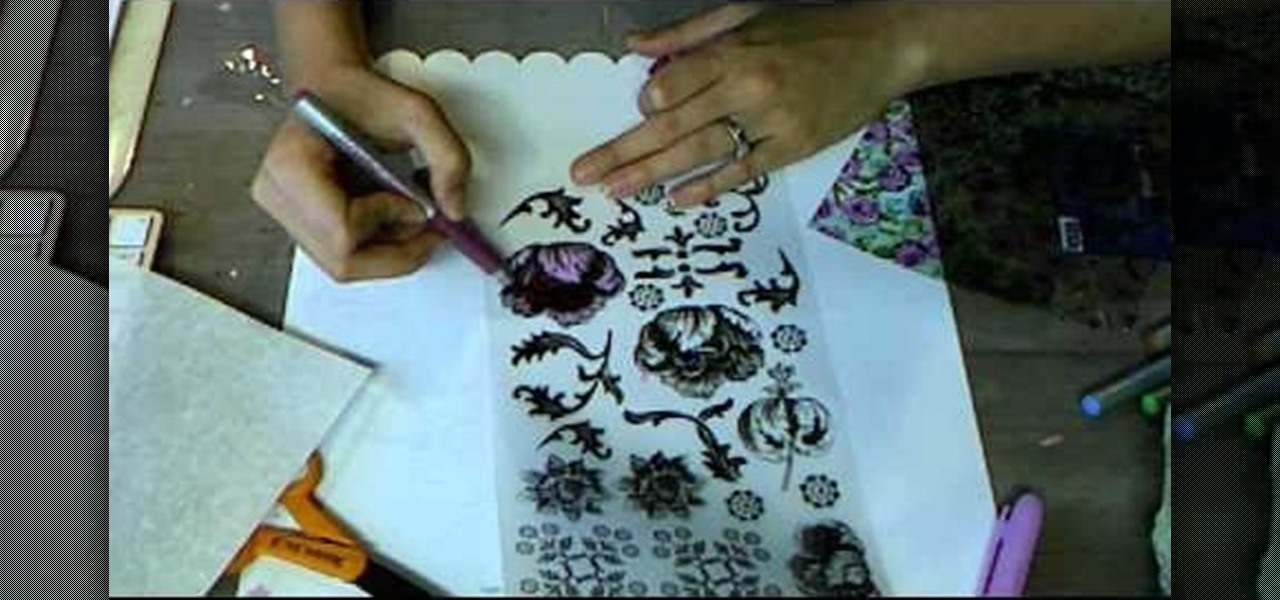
In this video tutorial, viewers will learn how to color with SU pastels and SU markers with Aquapainter and water. With a cotton swab, rub the pastel directly on the image. In this video, it is demonstrated on a glossy cardstock. Continue to add different pastel colors with your cotton swab. The colors will be subtle. Blow off excess chalk as needed while coloring. With an Aquapainter filled with water, pick up color from the markers and shade your image. This video will benefit those viewers...
In this video tutorial, viewers learn how to shade and color the background of an image. This video explains all the materials required to shade and color the background of an image. The materials required are: a stamped image, a spoon dauber and an ink pad. Start by inking the sponge dauber and rub the edge of the cardstock. Continue to color the edge. Add more ink if you want the color to be darker. Color the background with the sponge dauber. Add link to the sponge dauber. Dab and rub the ...
This seven minute and three second how-to YouTube video, uploaded by user ranash19195, instructs it's audience to 'Change eye color in Photoshop'. There are two methods that are taught: using a hue/saturation mask or a color change mask. The instructor uses clear and concise language to teach both methods. He takes you on a step by step visual and auditory journey and makes learning to change eye colors (retouching photos) both exciting and extremely easy to accomplish.
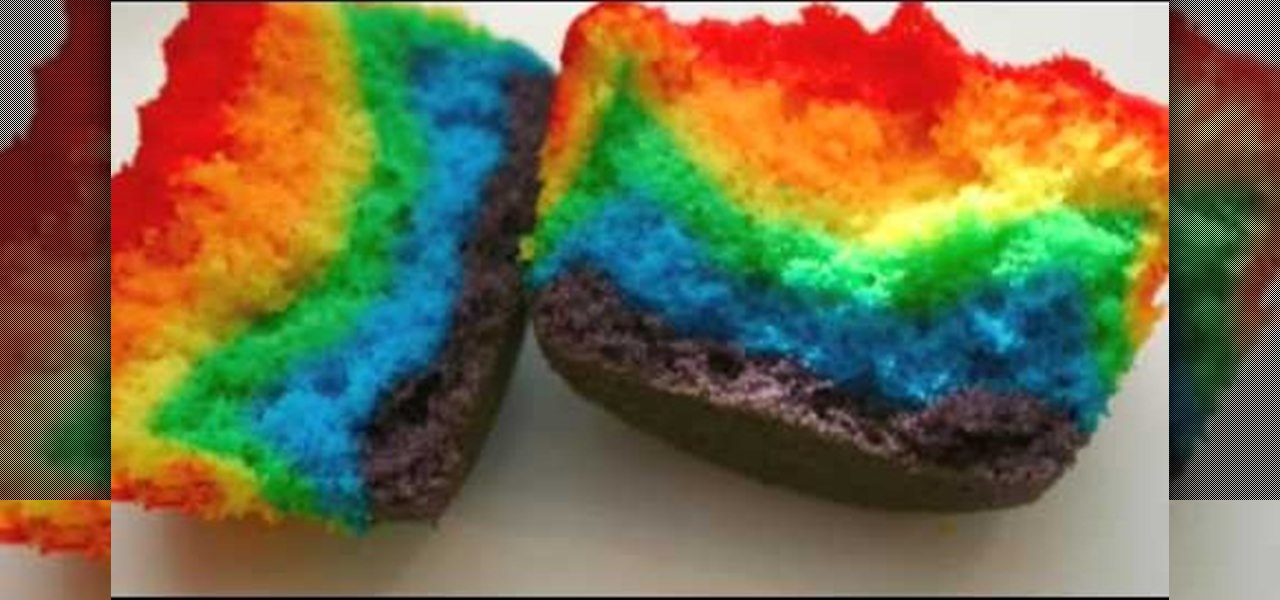
This video teaches the secrets of making rainbow-colored cupcakes with food coloring. Video: .
Have you ever wanted to make your own personal coloring book? With the Epson Artisan all-in-one printer, a project like this is a snap. Make some coloring books based on your digital pictures. Have your kids color in their memories of the last trip to Disneyland, or the silly photo of themselves goofing off in the bathtub. These personalized coloring books make great gifts for everyone!
Watch this video tutorial to learn how to color your hair at home. You'll save a bundle using a coloring kit instead of heading to the salon every six weeks. Plus, dyeing your tresses at home has never been simpler.
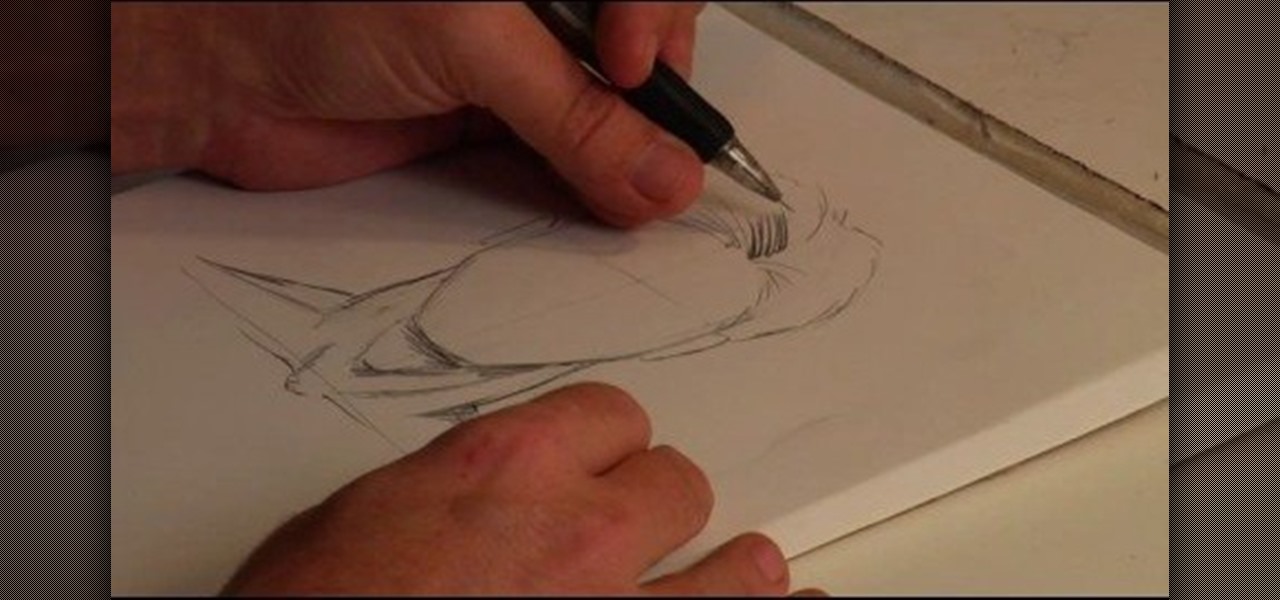
Drawing light-colored hair requires accenting the highlights with darker shadowed areas along the root line. Render light-colored hair in graphite with tips from a professional illustrator in this free instructional video on drawing. If your favorite cartoon character has light colored hair, then you need to know how to draw it!
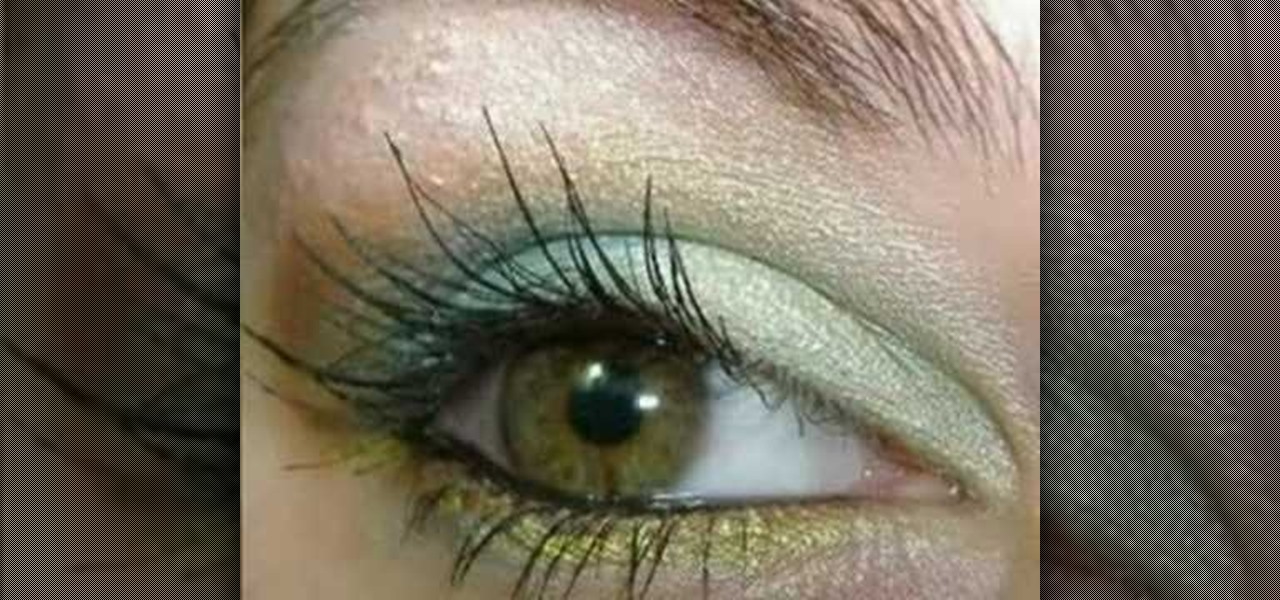
The makeup look in this how-to video is guaranteed to make any eye color POP! These cosmetics are used: MAC shadestick- beige ing, NYX eye shadow spring leaf, MAC pigment - old gold, GOSH eye liner -Girl power, STILA convertible eye colour - onyx, and MAC plushlash mascara black. Learn how to make your eye color pop by watching this video makeup lesson.
Here is a quick and easy look using one HiP duo. This eye shadow duo can be used many ways, but this one is flattering on anyone and it uses the full pigmentation of the Duo.
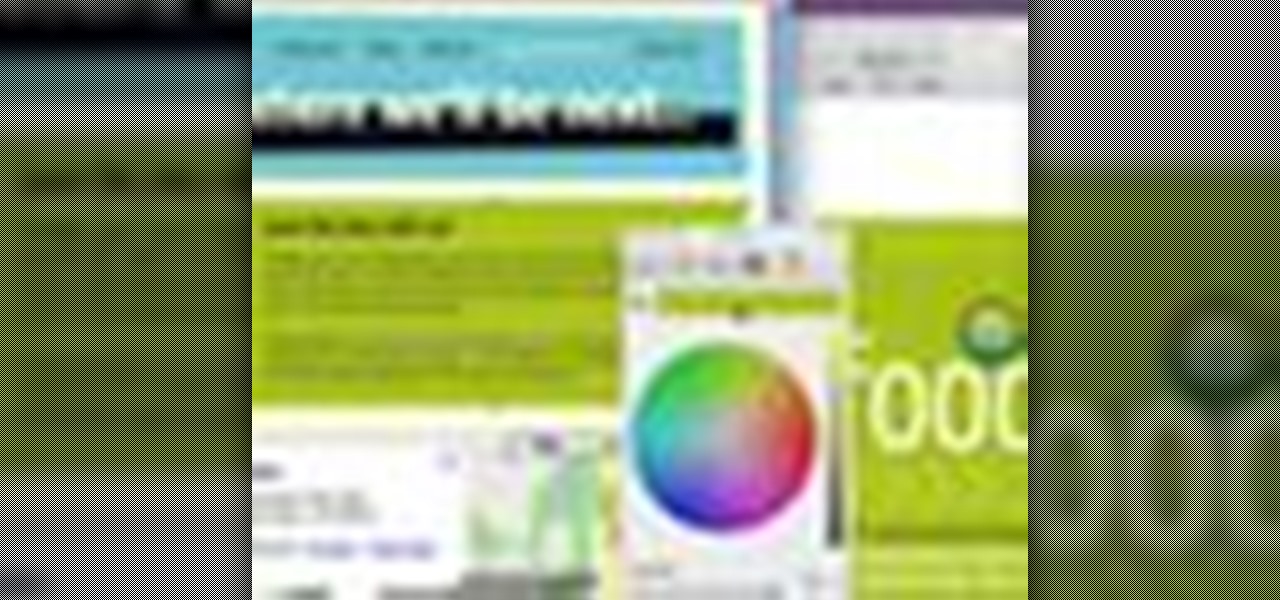
Have you ever worked on a document or graphic and found that perfect color but later were never able to recreate it? All you have to do is click on your colors palet, click on the magnifying glass, and select the color you wanted. To ensure that you don't lose it, drag it to the color well in the bottom of the palet. For a video demonstration of the color favoriting process in Mac OS X, watch this video tutorial.
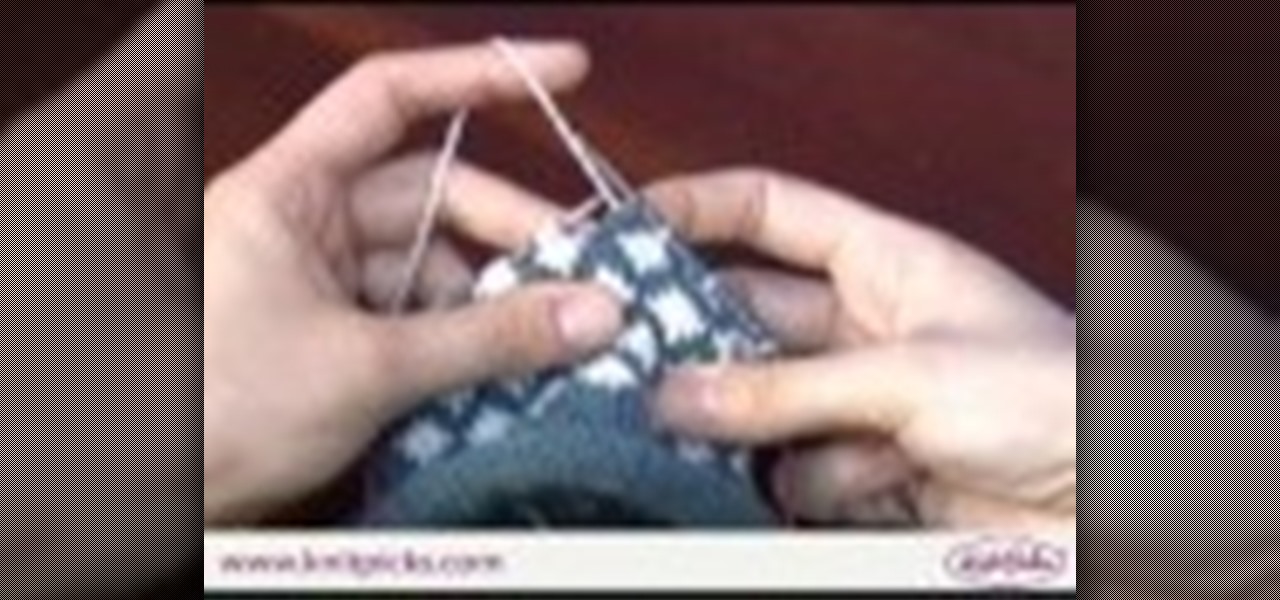
Learn how to add stranded color work to your knitting with this knitting tutorial. Use traditional Shetland island motifs to create delicate, shimmering patterns. Knitters usually hold the background color with the right hand and the additional color with the left hand. Use thinner yarns for these projects to compensate for the thickness of the "floating" yarn.
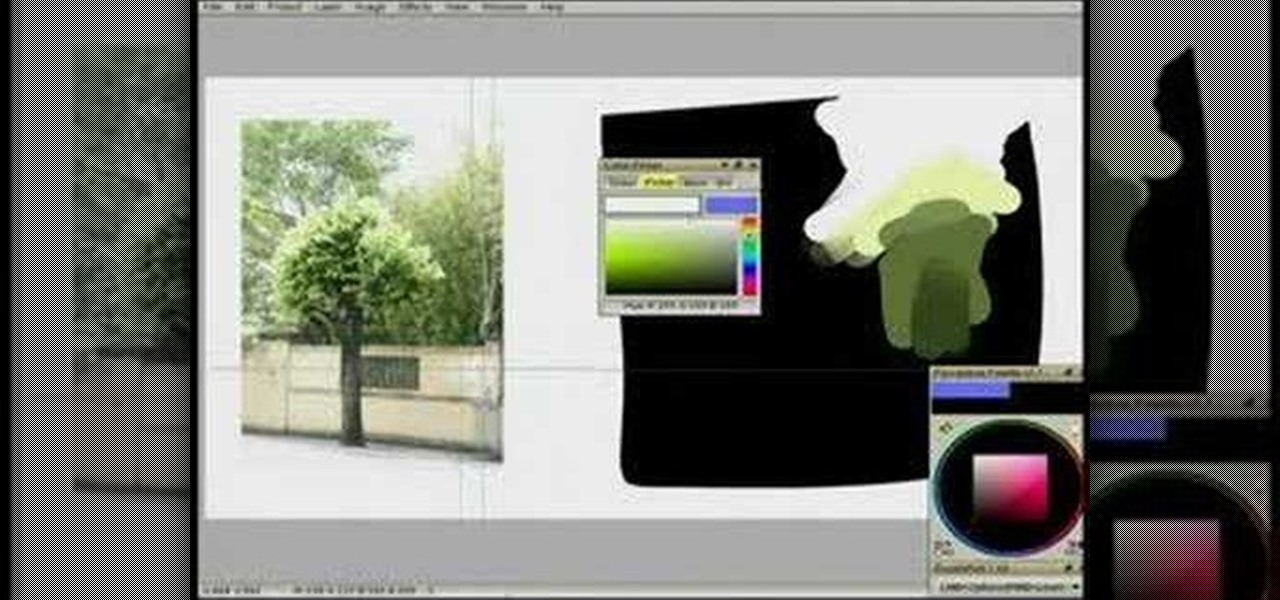
How do you choose colors for a drawing without it looking like a child's drawing? Watch this instructional drawing video to use a digital color palette effectively. Examine a photograph to choose accurate, subtle colors based on limited perspectives.
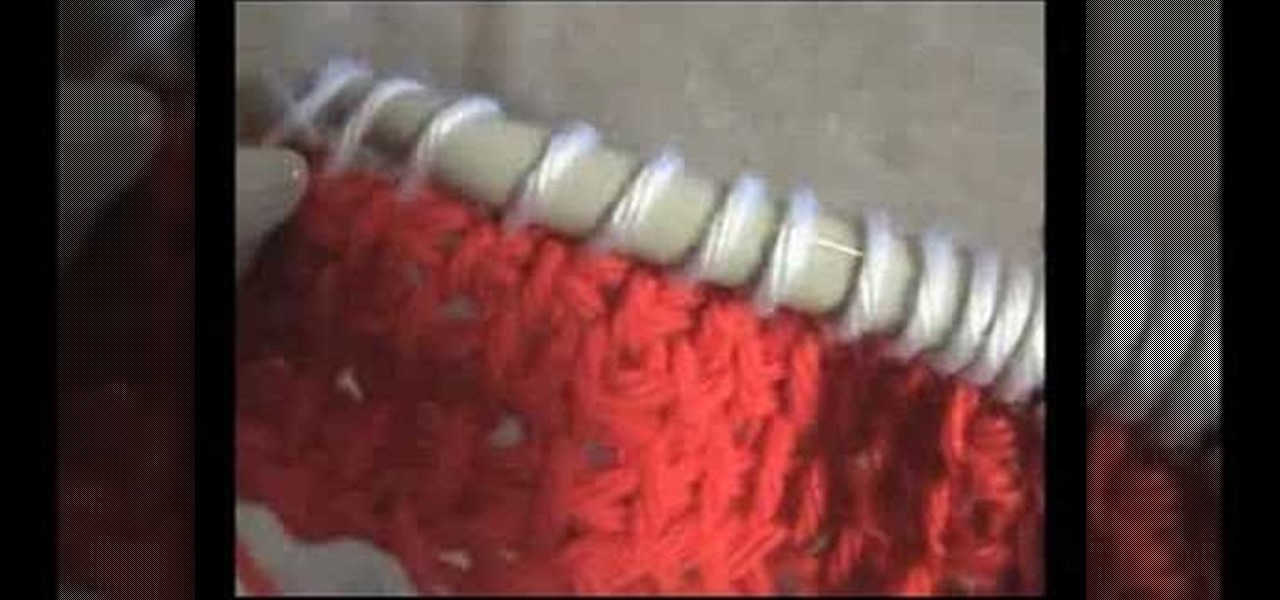
While crocheting an Afghan or Tunisian style crochet blanket, you can crochet different patterns and colors into a single row of stitches. Use a large crochet needle and several types of yarn to learn this crocheting trick. You can switch back and forth between colors in the same row of Tunisian stitches by keeping yarn on hanging bobbins. Don't forget to sew in the loose ends of colored yarn.
Watch this instructional crocheting video to crochet a color change on an Afghan or Tunisian style crochet blanket. Use a large crochet needle and several different colors of yarn. These clear visual guidelines allow you to switch colors of yarn on your crochet project quickly and easily.
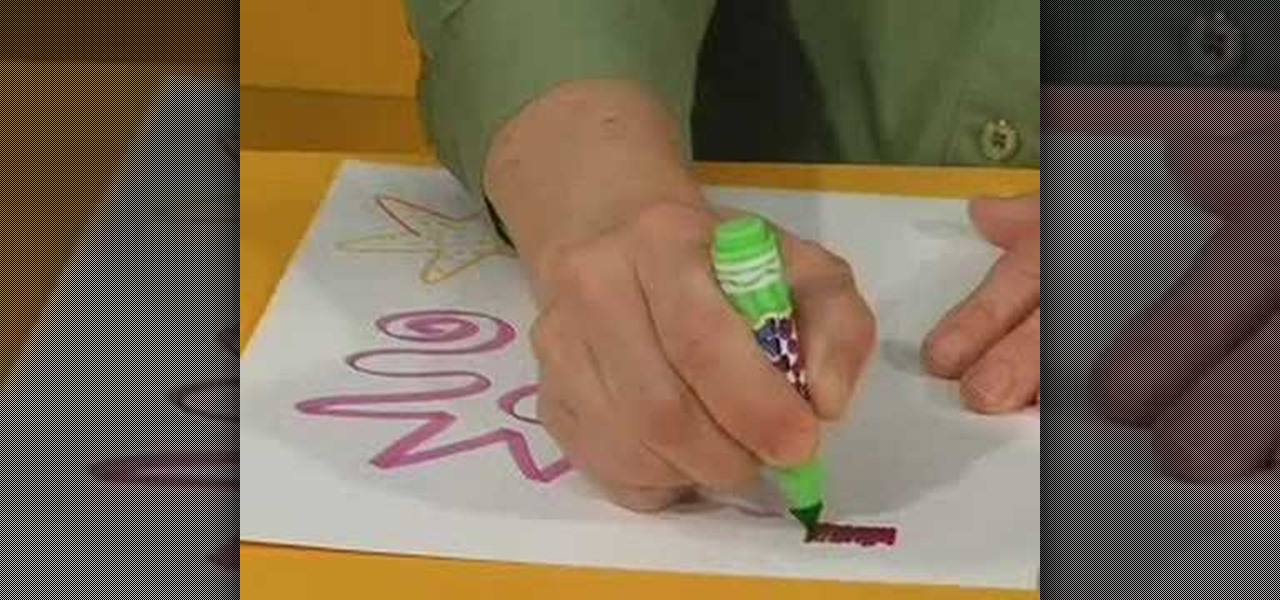
With all 6 Crayola Mix 'Ems markers you can create 36 different color combinations. Just match any cap with any marker, press the button and the marker delivers a cool blend effect. Kids will want to try to create all 36 colors. With this how to video you can create 36 great color combinations using just 6 Crayola Mix 'Ems markers with your kids.
Watch this instructional drawing video to draw and color a cartoon Viking warrior. You may want to draw this woe begone Viking in pencil before you add ink and color. With a clean brush, dampen the page with water before adding color. Use pens and brushes to mix a quick set of watercolors.
How to wrap picture wire around the hangers you've installed on your picture frame; learn this and more in this free online photography video about framing taught by expert Minnie Bell.