If you have a Barnes & Noble Nook, you may be surprised to find that your eReader can do a lot more than just display ebooks, which makes it a great alternative to those more expensive all-in-one tablets that do everything (seriously, everything). If you want to get more bang for your buck, here are a few ways you can hack your own Nook.
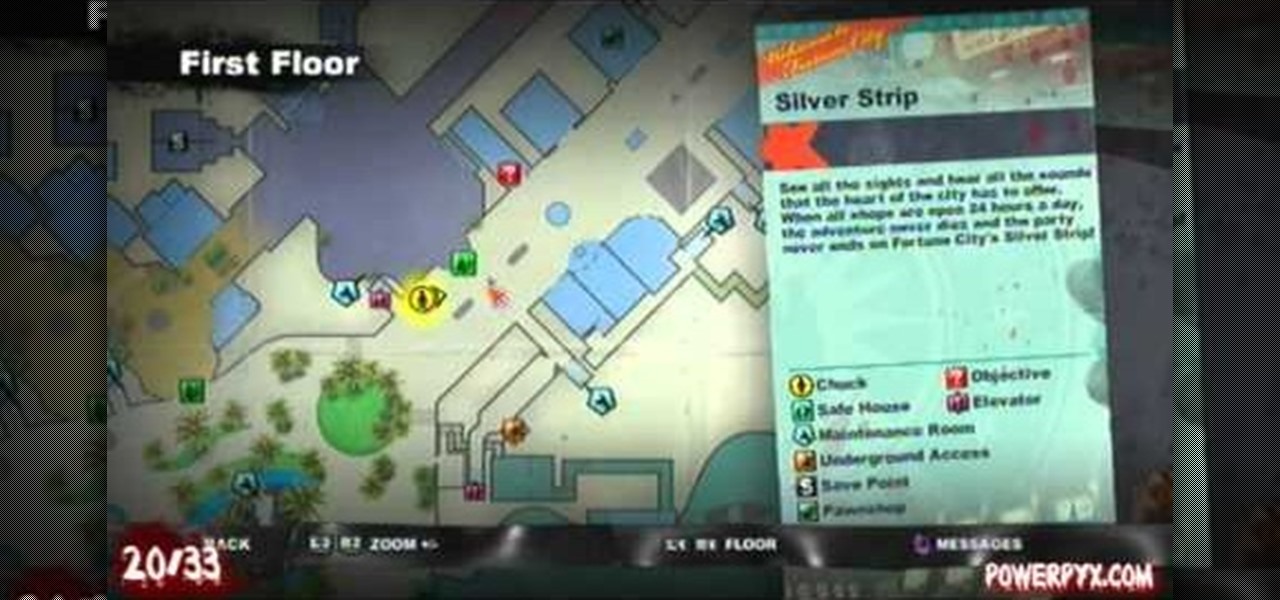
The Improper Behavior achievement in Dead Rising 2 demands that you spraypaint all of the 33 Zombrex posters hidden in the game. This take a lot of paint and lot of observation, and some help from this video. It will show you where each poster is, and the creator wrote up a handy guide to getting enough paint.

In this tutorial, we learn how to crochet a jumbo pinwheel swirl stitch. This has the same line count as the smaller, but it will have larger lines that the normal. You will be creating a larger distance between the two colors. Start off at the bottom wrapping it twice around your finger, then pulling it over and pushing it up. From here, you will do sets of eight to create the pinwheels along the design. After this, you will start to create the next level, which will be with a different colo...

Mario is one of the most recognizable character in the world, and if you own an XBox 360 you can't play any games featuring him. He can still be a part of your gaming life though if you follow the steps in this video and make your XBox 360 Avatar in the likeness of Mario.
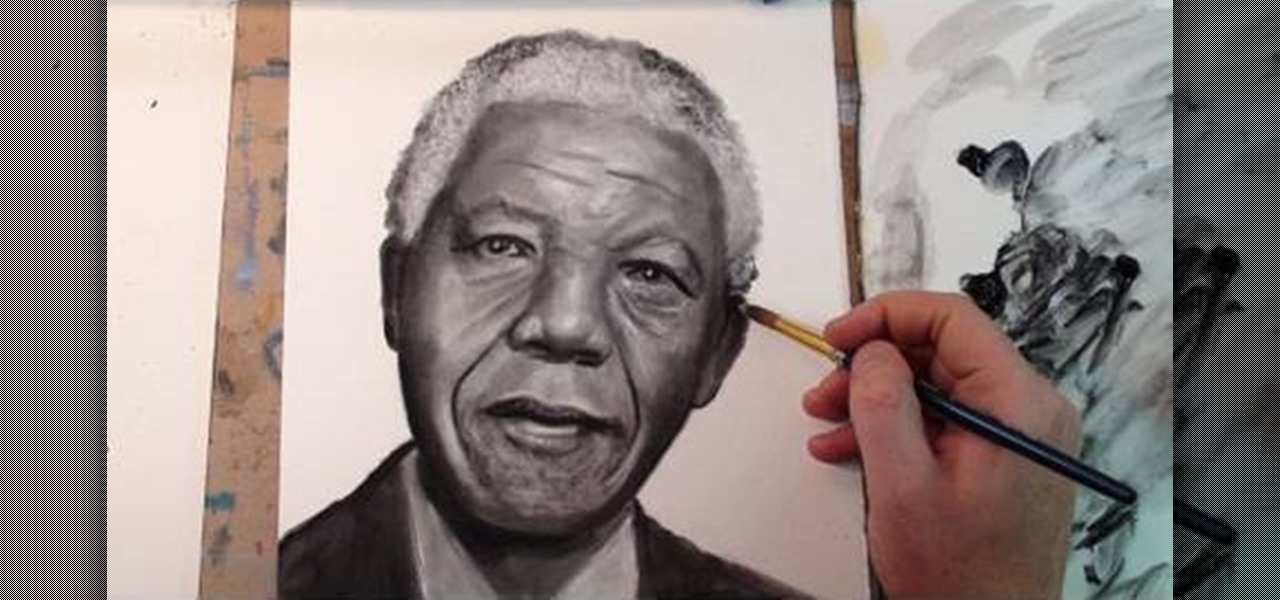
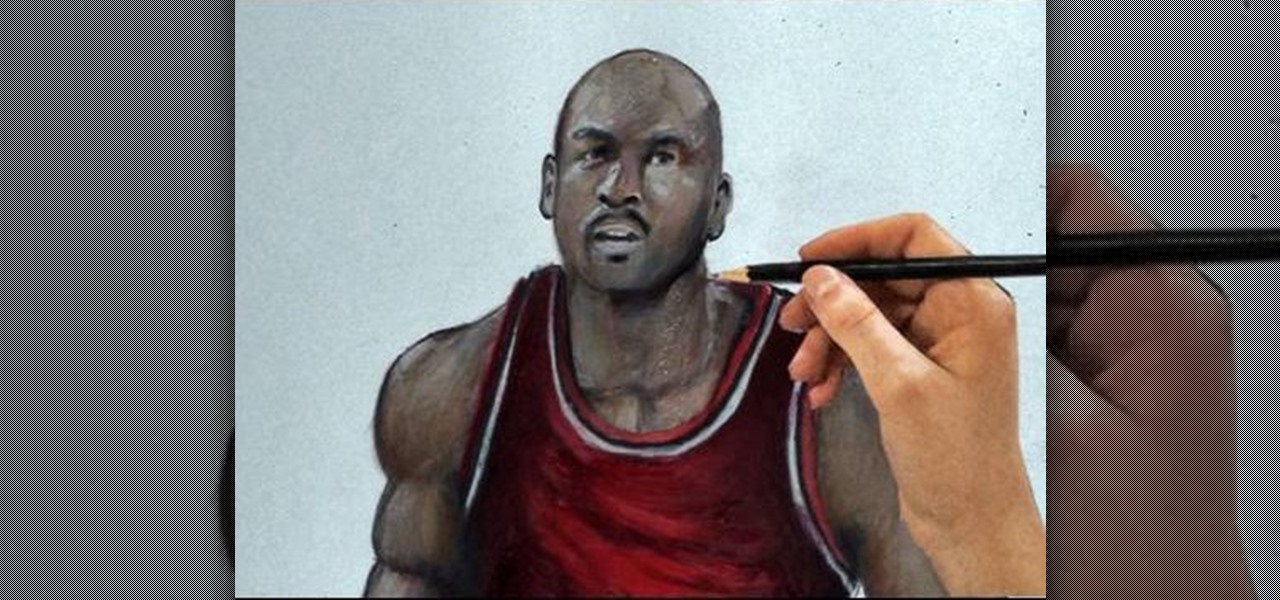
Merrill is quite the artist, but he, like everyone else, must "draw" from inspiration. And he has discovered a new technique from Igor Kazarin's YouTube channel Portrait Drawing.
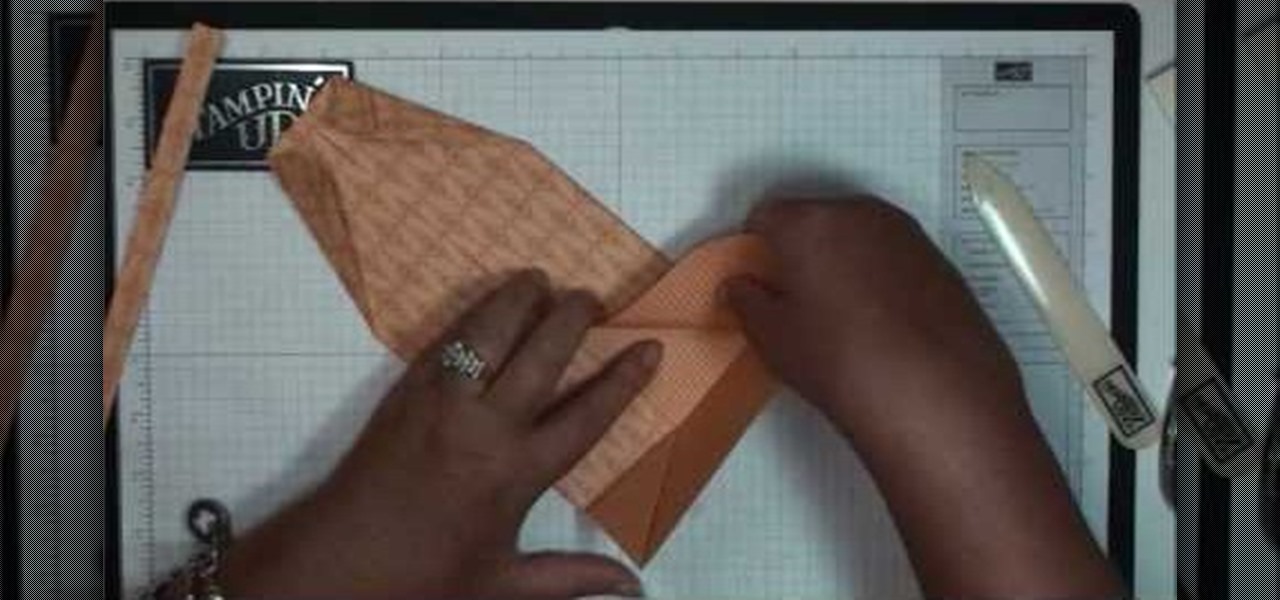
These adorable cards are perfect for gifting your daddy-o on Father's Day, but you should by no means limit yourself to just that one holiday. These collared shirt and tie cards are also suitable for your dad's birthday, or even for your boyfriend on his birthday.

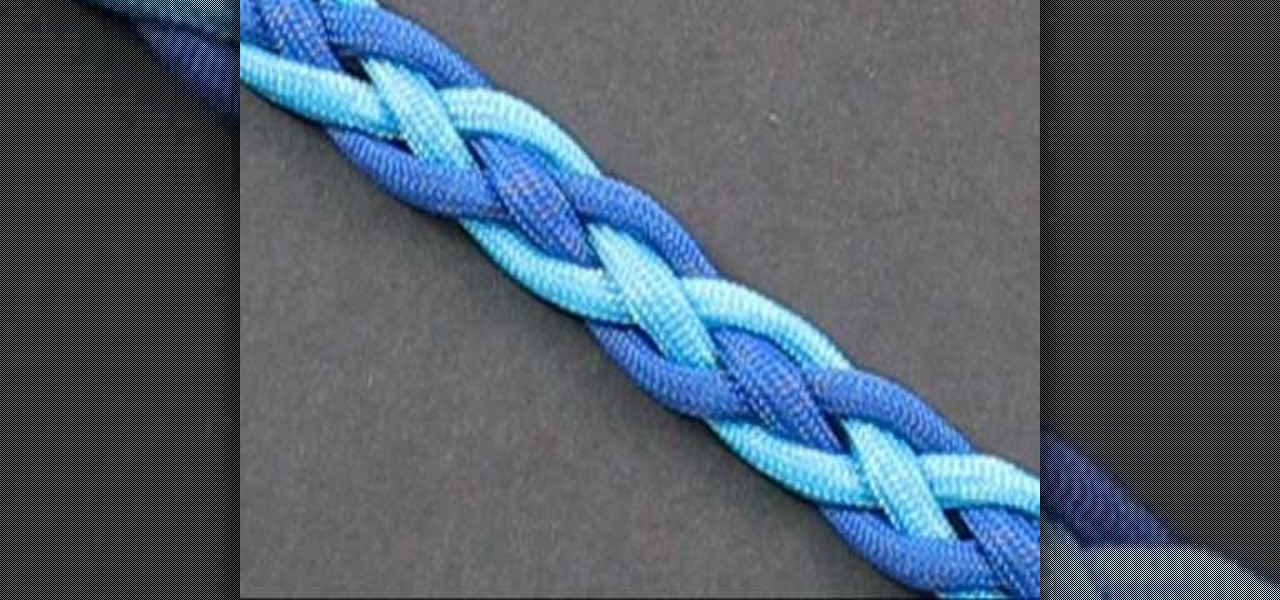
The great thing about weaving, is not only can you make something that is fun to look at, but can be used in certain situations. This next tutorial is going to show you how to tie a two color snake weave. The weave is basically a celtic knot that is perfect to use as bracelets and straps. This weave is different from an original snake weave in that it adds something extra and can't wrap around itself. So check out the tutorial and good luck!

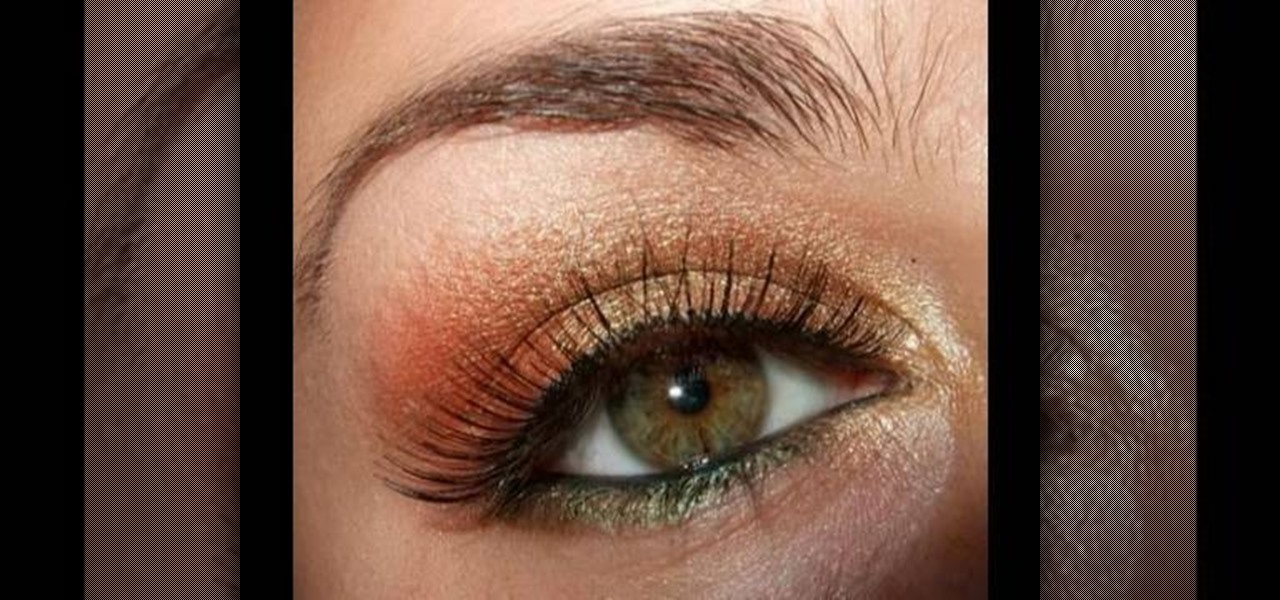
There's no better time than summer to integrate bronzer and bronzy makeup colors into your primp routine. After all, your skin already radiates a lovely natural glow from all the sun you're getting, so the bronzy colors only help to emphasize your skin's luminescence.

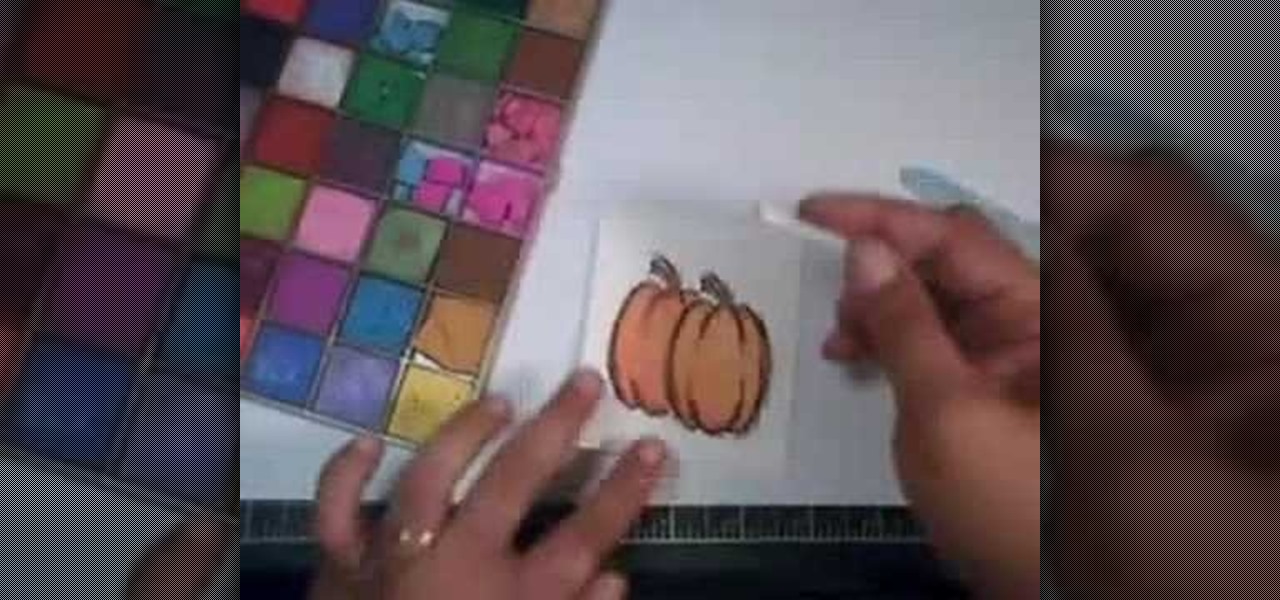
In order to create a watercolor effect with Stampin' Up markers, you will need the following: Stampin' Up markers, Stampin' Up pastels, stamps, color spritzer tool, a water resistant ink, cotton swabs, a blow dryer, aqua painter brush, and watercolor paper.

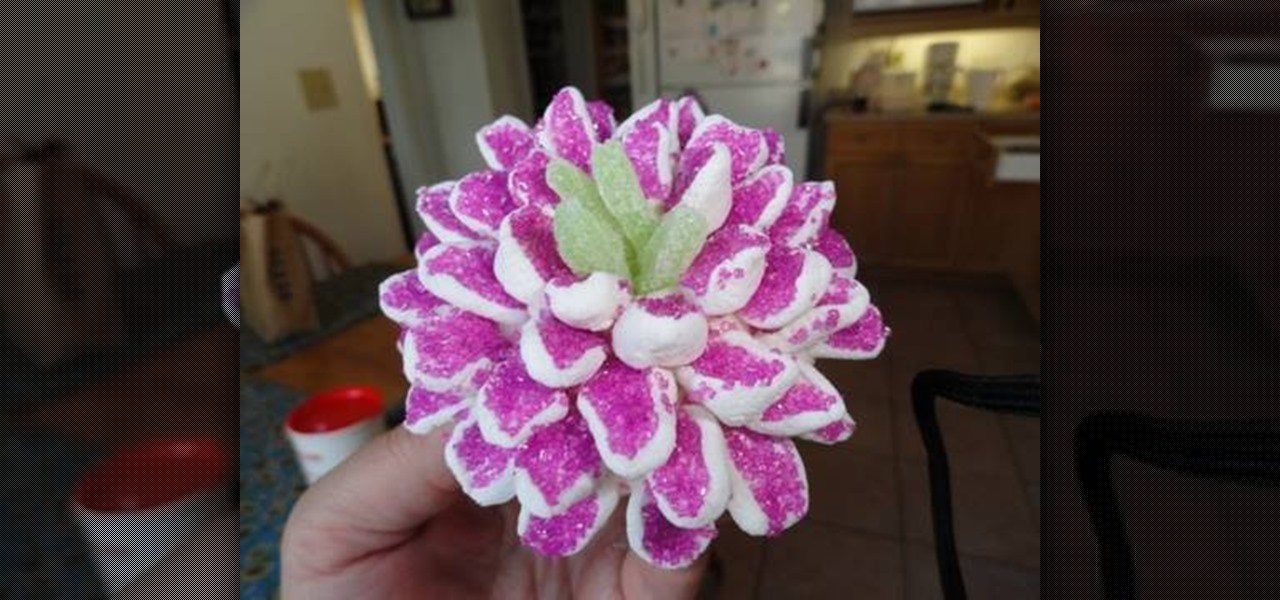
These chrysanthemum flower cupcakes look almost too pretty and delicate to eat...not that that's going to prevent you. Save money on your wedding reception desserts or surprise the mommy-to-be at her baby shower with these flower-shaped cupcake goodies, whose shape recalls spring, rebirth, and feminine beauty.

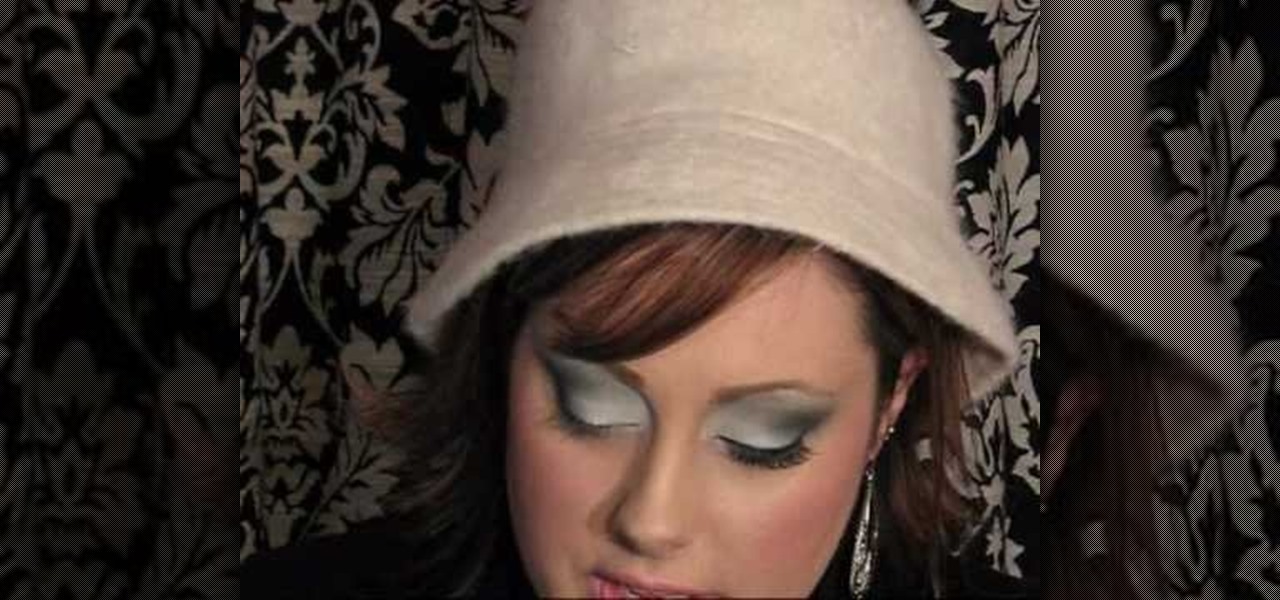
Inspired by the glittery, flickering lights she saw as she drove through the city at night, Michelle Phan came up with a luminous and sexy makeup look, which she presents here in this tutorial.

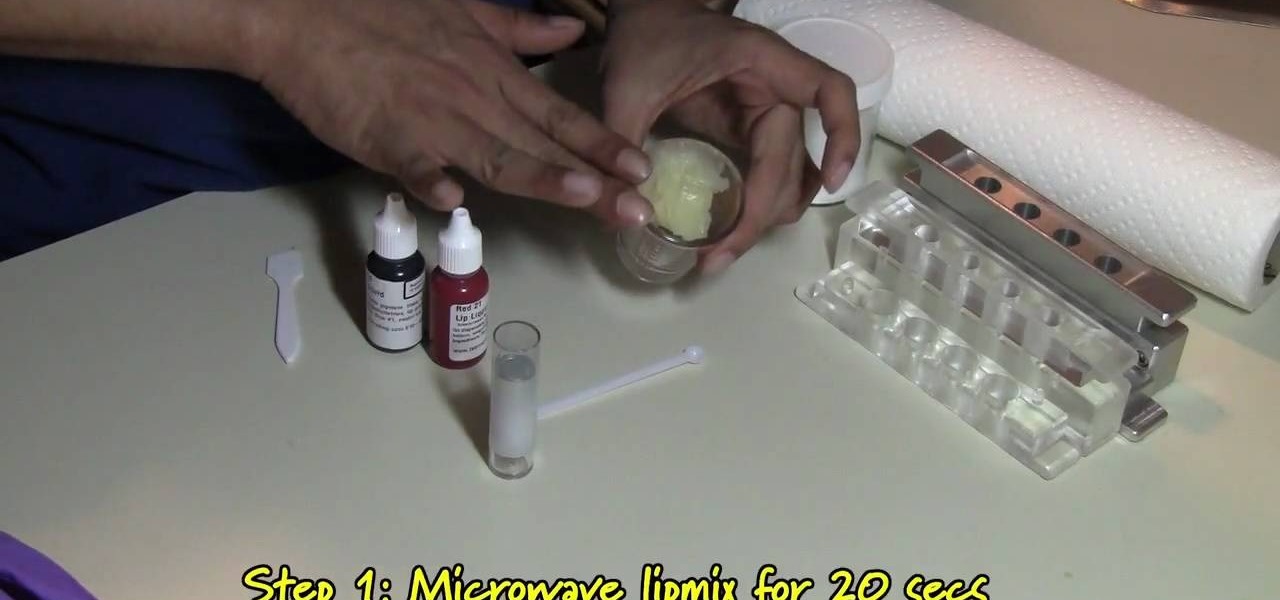
With thousands of beauty companies out there, we can generally find at least one lipstick shade that makes us look more dazzling than New Year's Eve. But sometimes, whether you need to match your lipstick to your dress or just can't seem to find The One, you need a specific color that no brand carries.

Purple cabbage is a natural indicator and this video teaches you how to easily prepare purple cabbage in the comfort of your own home to be used as an acid and base indicator. Take one leaf of your purple cabbage, tear it into smaller pieces and place all the pieces into a beaker or bowl of boiling water for an hour. Collect the liquid from your mixture into a bottle. You’ll notice that the liquid is now dark blue or purple at which point is neutral. It is ready to be used as an indicator. ...

Making a Mickey Mouse tie-dye shirt is as easy as can be. First trace a Mickey mouse outline onto a plain white shirt with a pencil. Using plain dental floss and a needle, sew around the tracing you've just created. For optimal results soak the shirt in soda ash (this step is optional). On the final stitch, pull on the dental floss until Mickey's head "pops up". You will need several rubber bands for the next few steps. First tightly wrap some rubber bands around Mickey's head. Add additional...

In this how-to video, you will learn how to remove permanent marker sharpie marks off a whiteboard. This is useful if someone accidentally used one on the dry erase board. To erase the marks, you will need a regular dry erase marker. Color over the top of the permanent marker thoroughly with the dry erase marker. Next, take a rag and wipe the marks off the board. Both markers will come off easily. The color of the markers do not matter at all. This video shows you a simple way to deal with th...

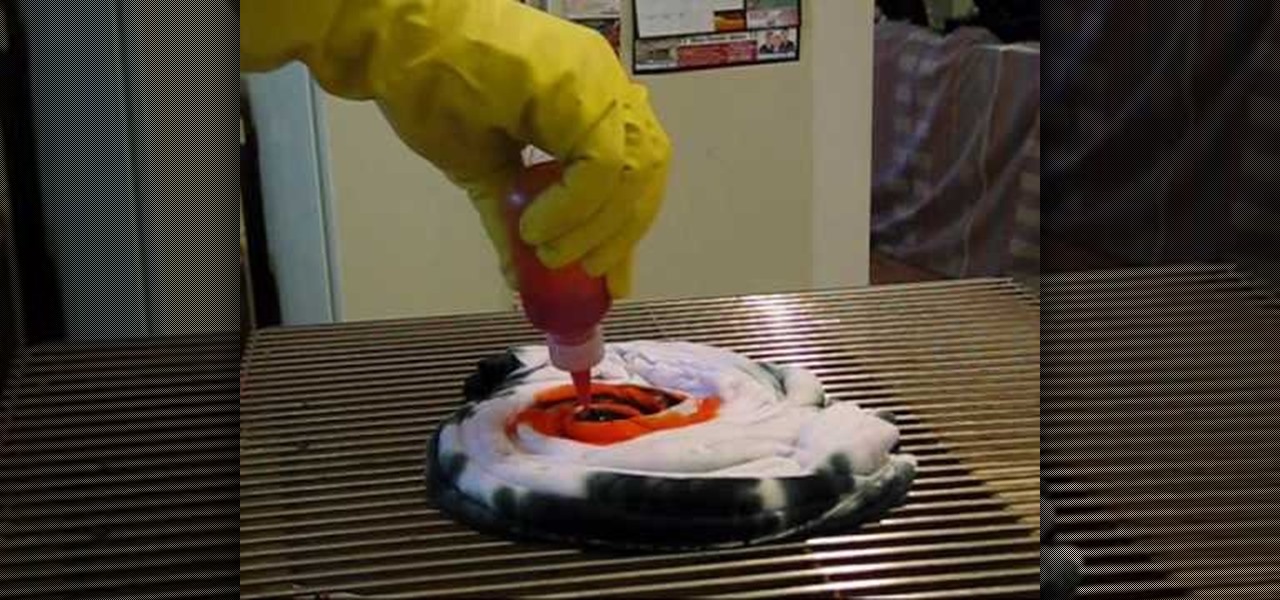
Tie dying a spider design on a t-shirt starts by folding the t-shirt in half vertically. Between one quarter and one half of the way down the shirt grab a piece of the shirt and spin around the table to create a coil of the shirt. Tie a string around the outside of the coil to make sure it stays in a disk. Set a rack on top of some type of basin that can catch liquid to work on the dyeing. Set the t-shirt coil on the clean rack. Take dye that has already been prepared in squirt tubes or syrin...

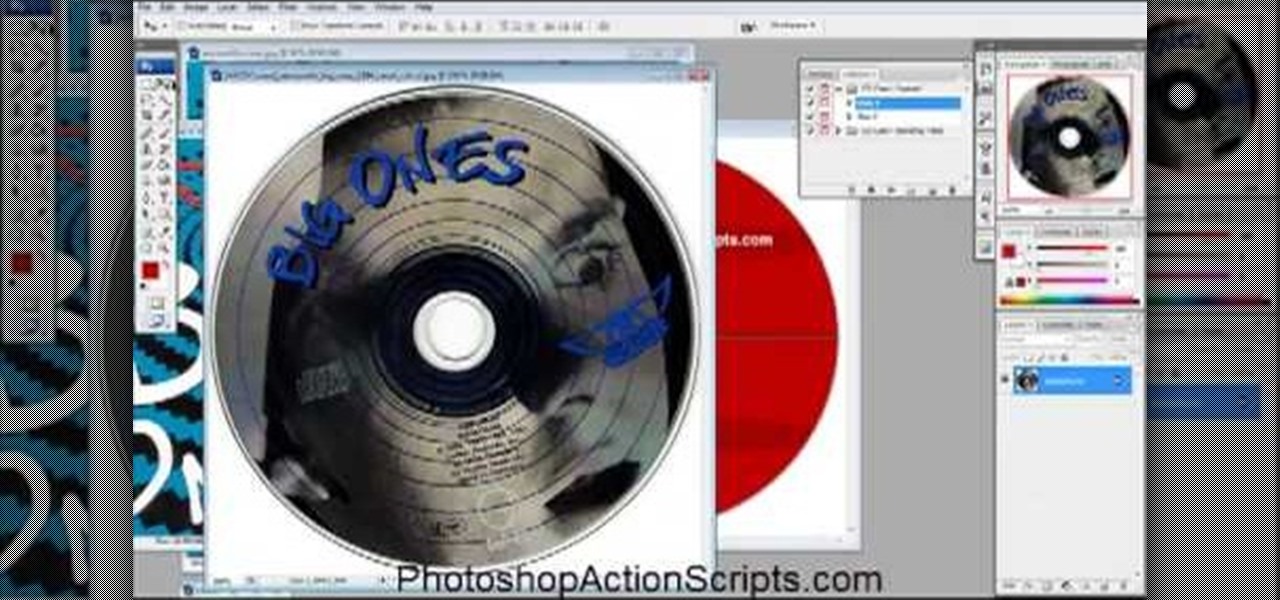
This video is about how to make a CD cover. First, open up the image that you have. Then, you need an action script. Click on the action's palette and pick which CD cover you want to do. Then you click step one which will run a template for you to set everything up and place your graphic in. The next thing to do is to slide the graphic image on to the template through the select tool. Then, click free transform found on the edit toolbar and just double click the image. The next step is to edi...

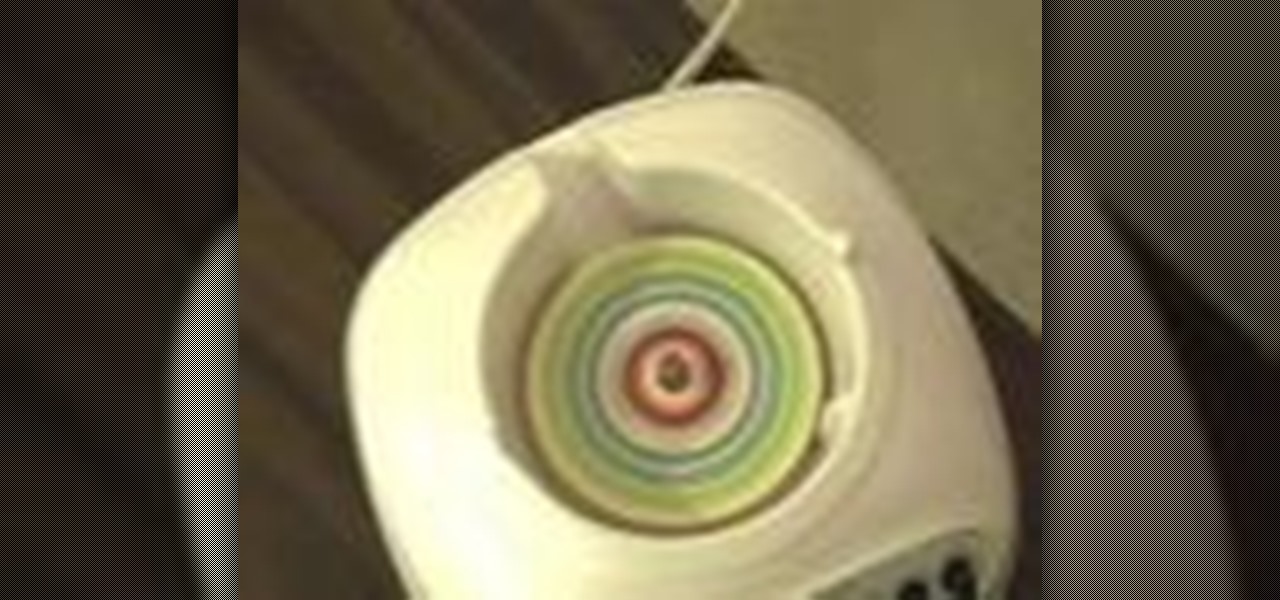
This is indeed a great instructional video on how to make a paper wind chime. The products you need to make paper wind chime are mixing grinder, scissors, paper, business card, pencils and a thread .First you draw a circle using the cup on a paper. Cut a few circles out of the paper. Draw x in the middle of all circles. Then make a hole in the middle of all circles. Now place the circle in side the grinder and let it rotate fast. now you can add colors as you like. Similarly you can make all ...

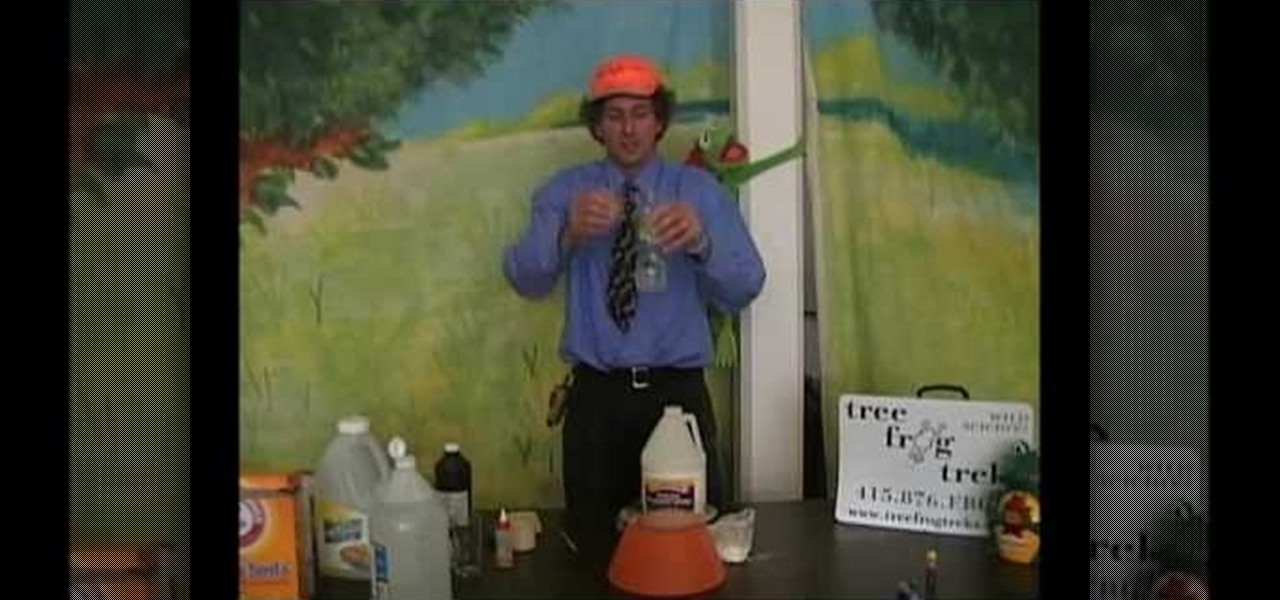
Chris Giorni, Mr. Science with Tree Frog Treks, demonstrates how to make simulated frog skin. To make the simulated frog skin, you will need glue, water, borax laundry powder and food coloring. First, add a pinch of the powdered borax to water and dye it green using the food coloring. Next, water down the glue and place it on a plate. Add the borax solution to the plate. Mix the compound with your fingers. It will quickly form a long chain polymer or sticky frog skin. Frogs breathe through th...

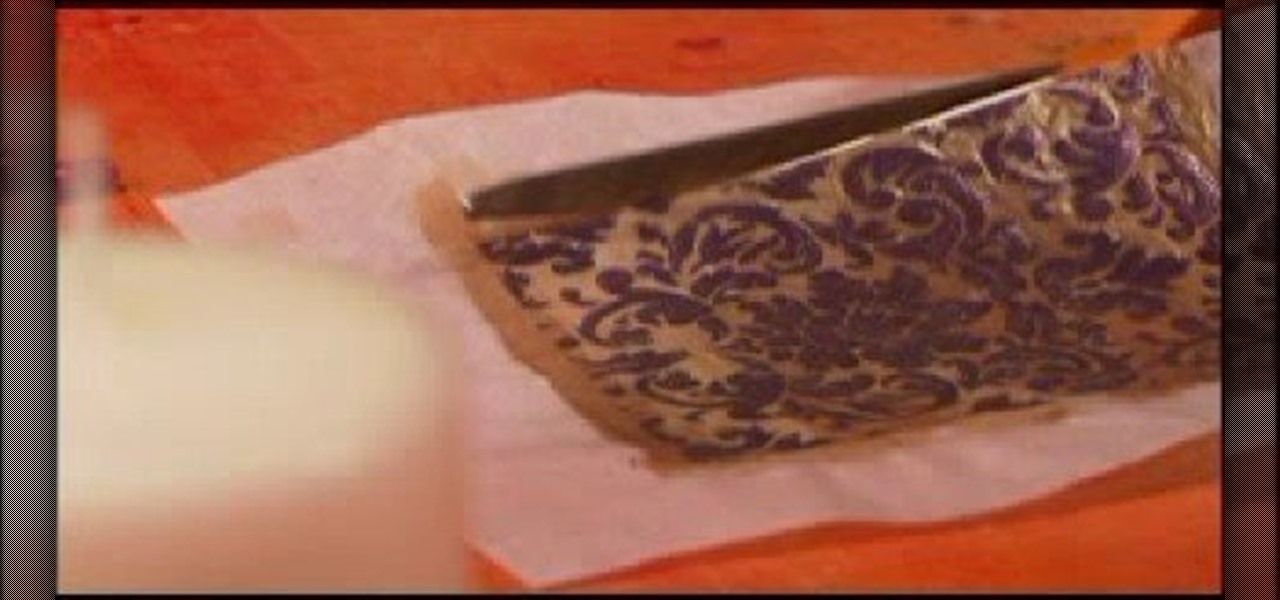
Cathie Filian and Steve Piacenza demonstrate the way of making medieval candles using tissue paper transfer technique. Steve asks you to first take a piece of tissue paper and a square-shaped chunky stamp. Then you should load the stamp with black pigment. Once the loading is completed, you should cut the tissue paper in square shape and place the shining side on the stamp and give a nice light press with your fingers. Then once you get the stamp image on the tissue, gently take it out and pl...

Illustration markers might be hard to use if you're not accustomed to them. You're prone to mistakes and indecisiveness. But that's probably because you don't know how to use them properly. You have to be completely comfortable with them.

This video tutorial from TutVid shows how to create a simple movie poster text effect in Adobe Photoshop CS4.

If you're making a cheap horror movie, you're gonna need fake blood, and lots of it! In this video, you'll learn how to make a liter of fake blood. And the supplies are everyday household supplies, costing less than a dollar!

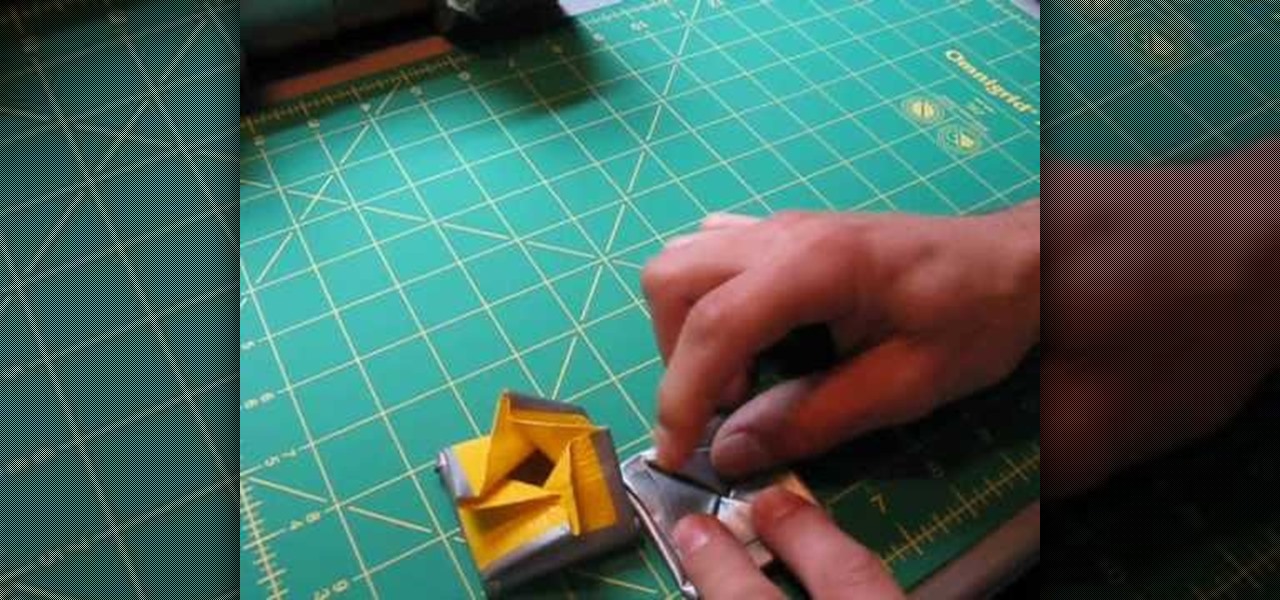
Can't stand all that pesky change jingling around in your pockets? DuctTapeStuff shows us how to take care of that problem by building an inventive, origami-style coin pouch out of duct tape. Silver not your color? Pick up duct tape in different colors to build one that suits your own personal style.

Check out this informative video tutorial from Apple on how to use tables, color, images and fonts in Numbers '09.

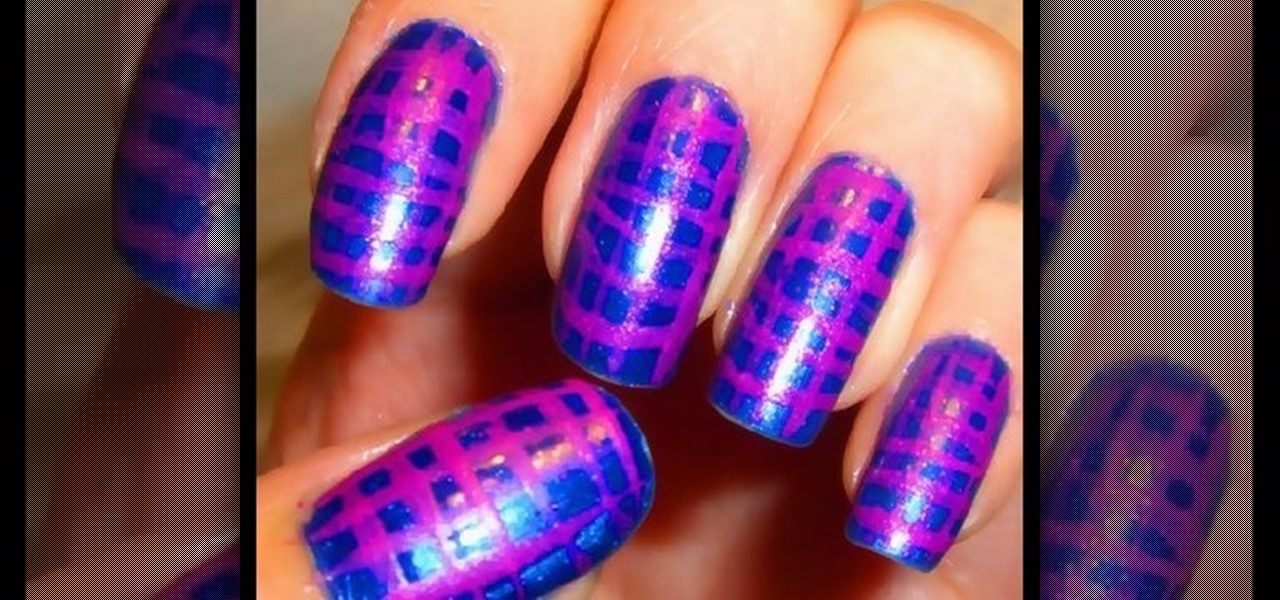
Julieg713 is a nail art expert. Check out her nail art tutorials on WonderHowTo (Search Julieg713). Her nail art looks are fun & pretty, not to mention well demonstrated. This nail polish video demonstrate how to create a Moroccan magenta nail art design. Watch this video to learn how to recreate this nail art look.

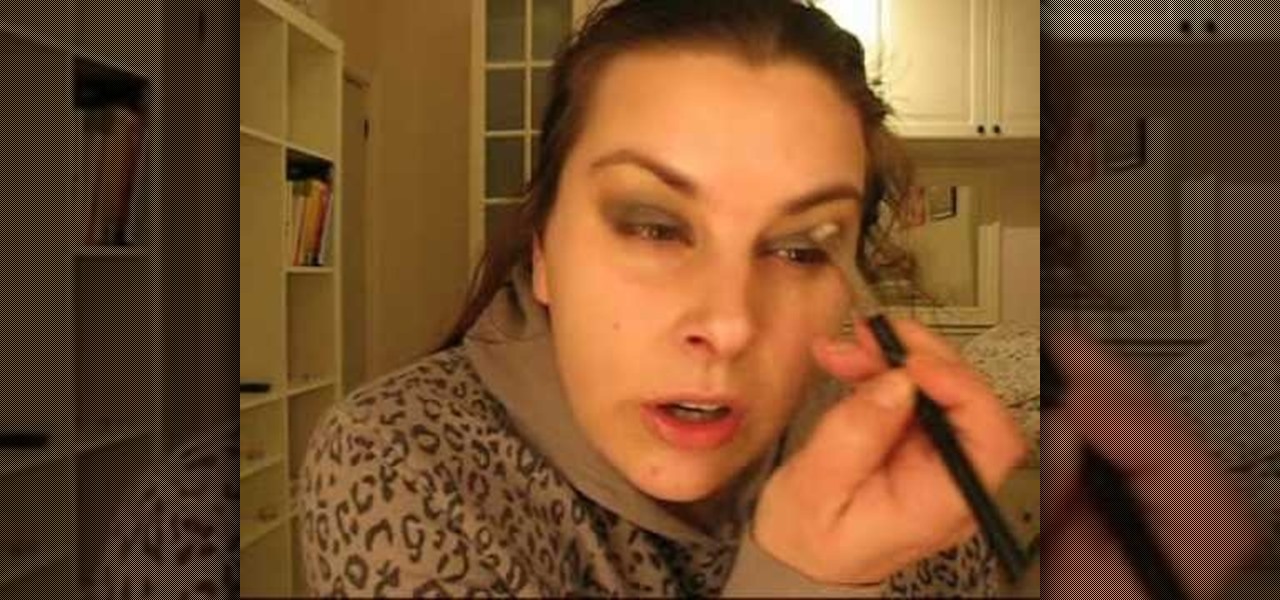
This beauty video demonstrates how to create a green & white holiday makeup look.

Create Miley Cyrus "7 things" inspired makeup look with the makeup tutorial from Lauren Luke, aka Panacae81.

Imagine that every time you print a document, it automatically includes a secret code that could be used to identify the printer -- and, potentially, the person who used it. Sounds like something from a spy movie, right?

Hello ladies and gentlemen, Greg Solomon is here today in this video tutorial to teach you how to perform the "Best Card Trick in the World". He will show for you, and perform for you what many have referred to as the best card trick there is. See the performance of this illusion! Greg will reveal to you, and explain to you how the color change card illusion is performed.

Add some fizzle and sizzle to bath time with a homemade bath bomb. Bath bombs make great holiday or birthday gifts.

You've got the basic recipe. Now learn all the different ways you can decorate those holiday sugar cookies like a pro.

Solving the Rubik's Revenge Cube is similar in concept to solving the original Rubik's Cube. You still match colors and replace one piece with another, but there is an added level of complexity. Where the classic Rubik's Cube has fixed centers that determine the color of each face, every piece on the Rubik's Revenge Cube is fully moveable. It is also much more fragile than the original Rubiks Cube therefore requires greater care and precision. If you want to more... just watch and learn.

What's an LED Throwie? Watch this video and find out how to light up your neighborhood using colorful LED's and magnets! Yet another great idea for creating neighborhood art from Graffiti Research Lab.

Place slip knot on hook. Hold yarn taut with 2 sets of 2 of fingers placed about 1½” apart, with tail in other hand. Create loop that crosses over bottom of 1st strand with loop toward right side. Fold loop over main strand going past tail. Insert hook below at tail strand. Pull up a loop using main strand for this loop. Pull 2 ends of yarn taut while leaving slip knot on hook. In 1st chain work 1 single crochet. Skip 2 chains; work 1 double crochet in 4thchain. Picot stitch by chaining 3 & a...

Othello, also known as Reversi, is played with two players, each representing a color on the board. The rules are simple, but strategy is what will help you win. Watch this video to learn how to play Othello or Reversi.

These videos will take you through the fifth episode in Alan Wake on the Xbox 360. You're almost to the point of discovering where Alan's missing wife is. Is she in Bright Falls or is she dead? Before you can find out, you have to defeat Episode 5 - The Clicker. Watch the gameplay on Nightmare Difficulty.

As a young girl, there's nothing not to love about tea parties. With frilly confections of dresses, delightful and whimsical tea cups that recall the "Alice in Wonderland" tea party, and pastel-hued pastries that look as sweet as they taste, a tea party is the ultimate girly amusement.

Pixel Perfect is the "perfect" show to help you with your Photoshop skills. Be amazed and learn as master digital artist Bert Monroy takes a stylus and a digital pad and treats it as Monet and Picasso do with oil and canvas. Learn the tips and tricks you need to whip those digital pictures into shape with Adobe Photoshop and Illustrator. In this episode, Ben shows you how to create flooring in Photoshop.

The Red One Camera has loads of menu and sub menus to explore. In this video, we dive into the video menu button on the back of the Red Camera. The focus is the video sub menu and all the feature contained within, including color, gain, and detail.


