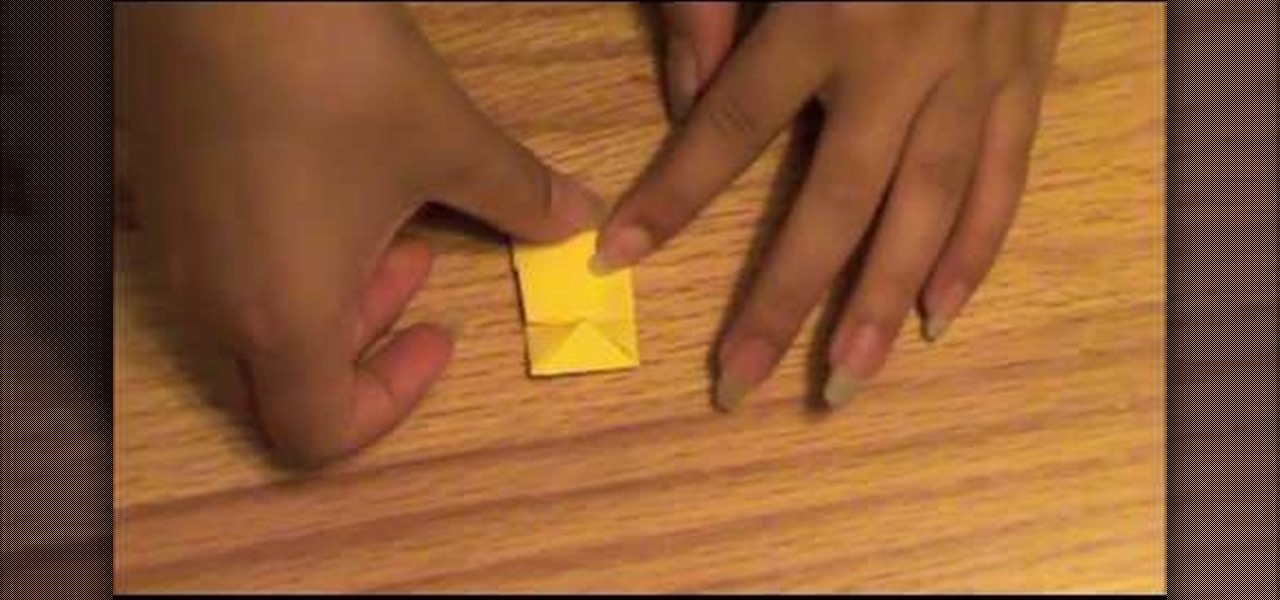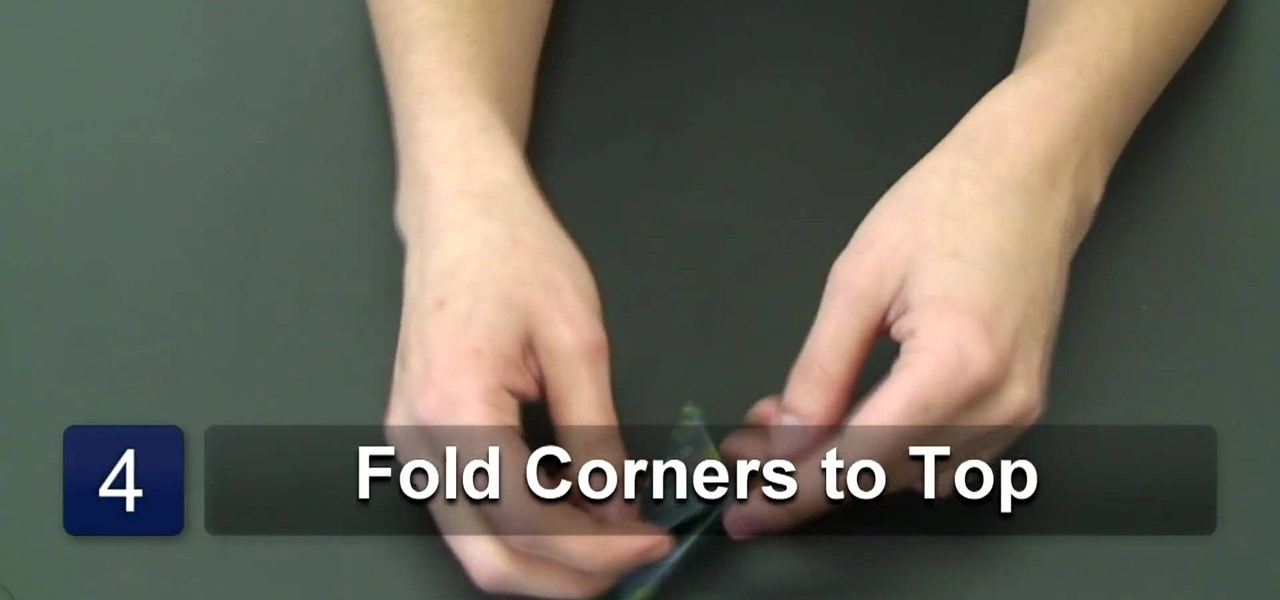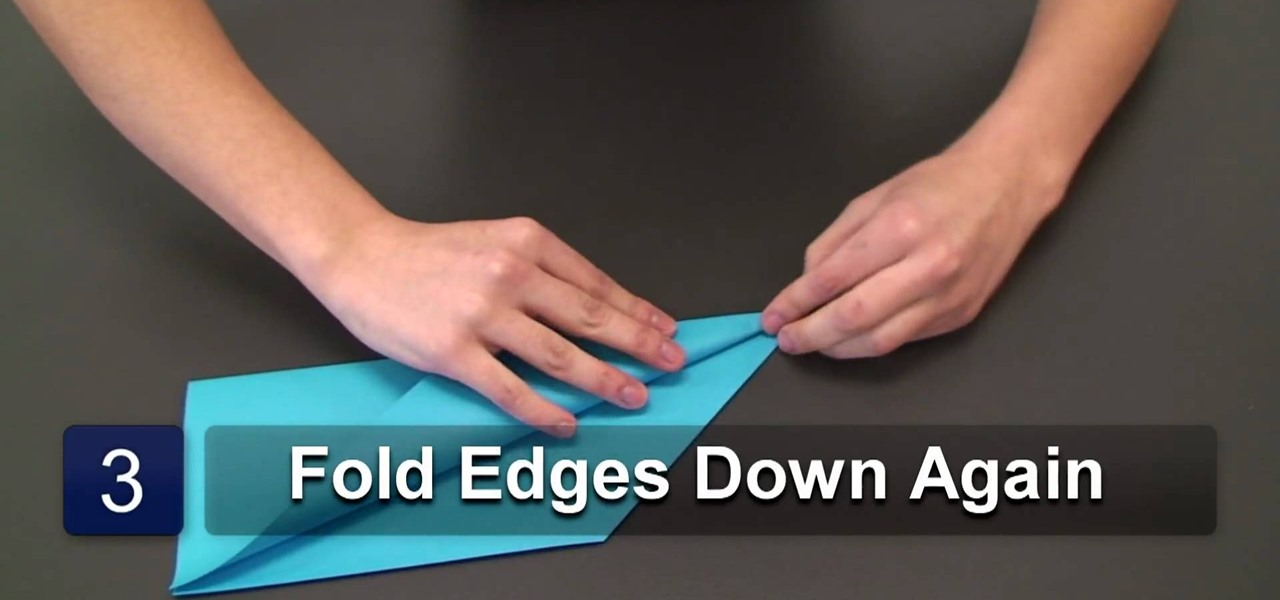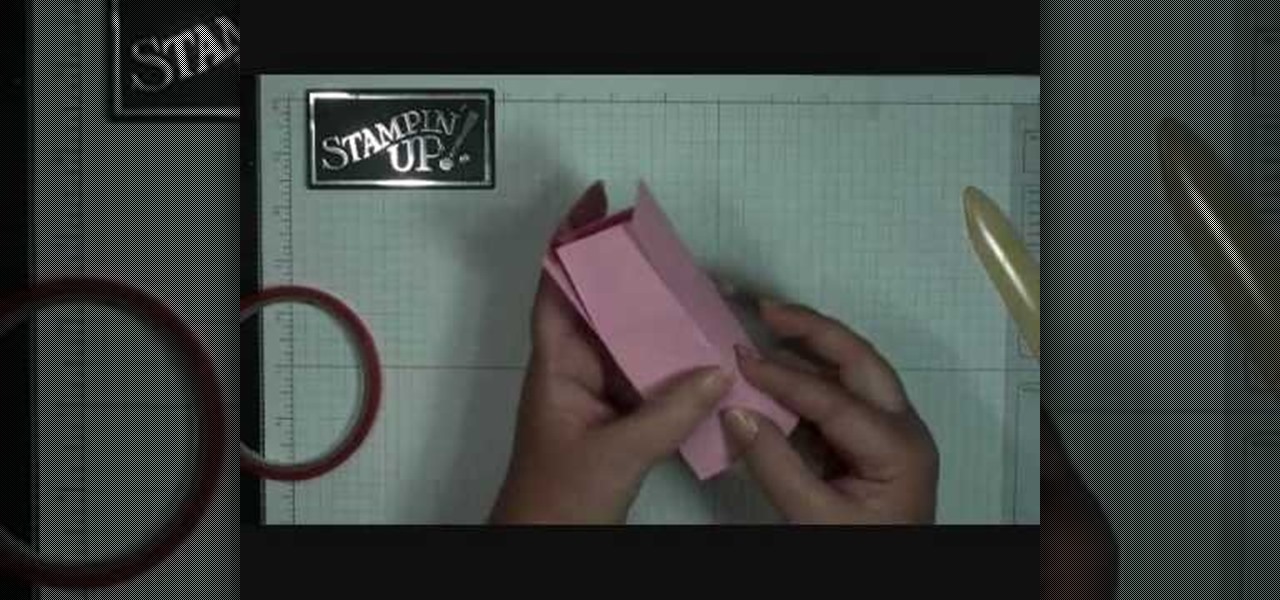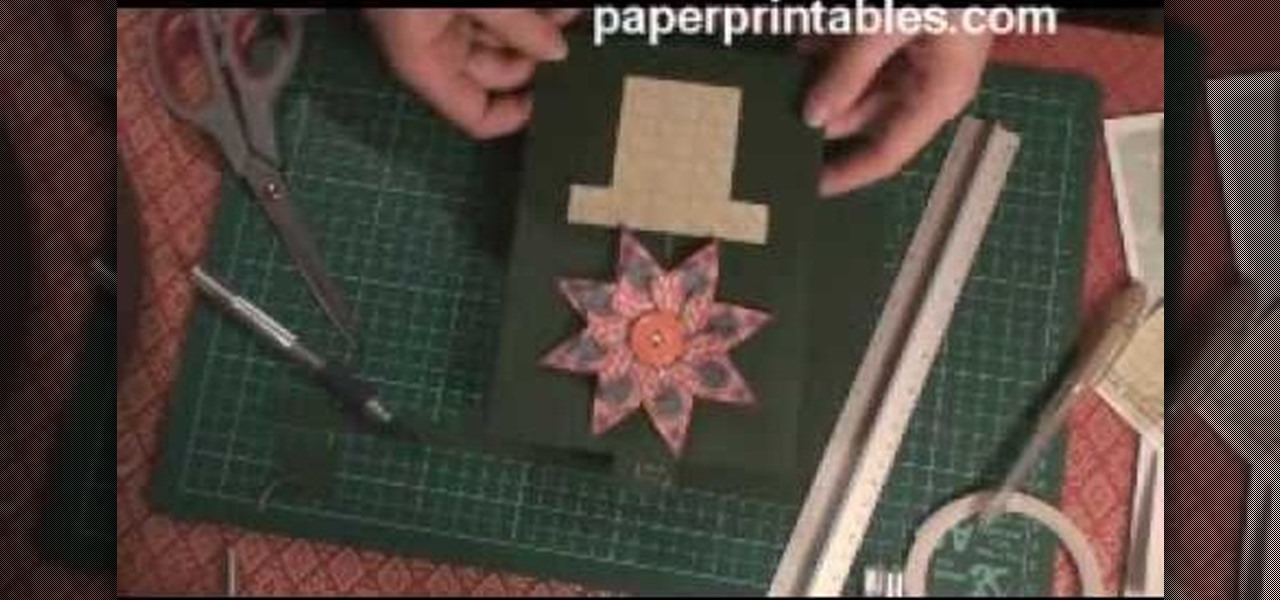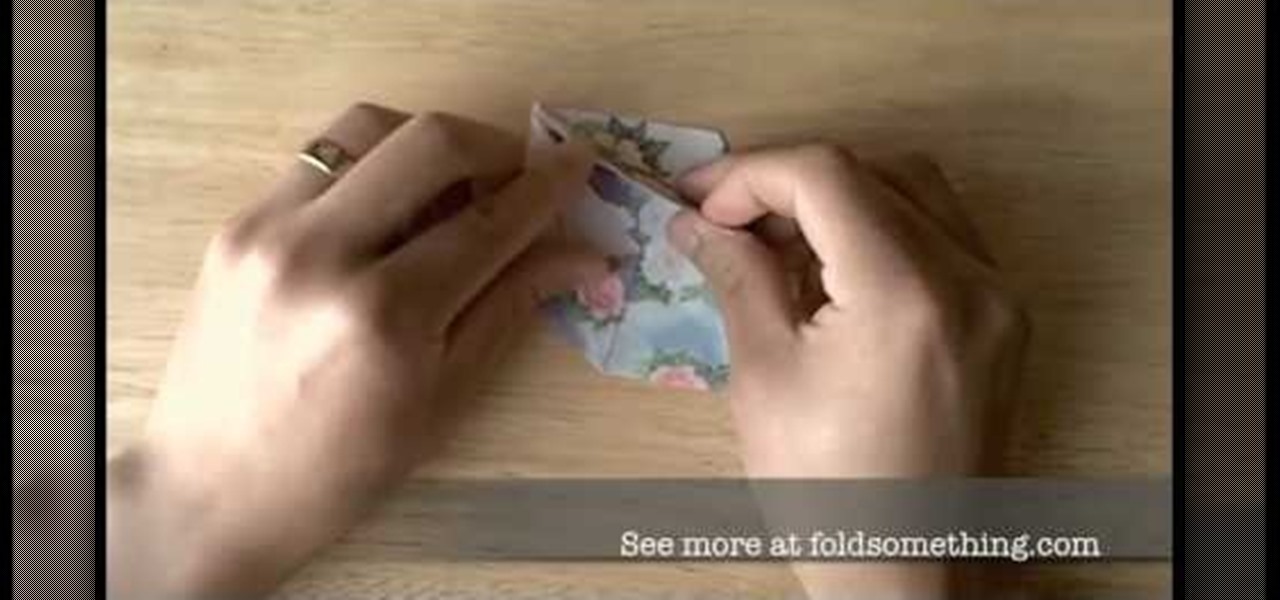
Need a place to store a few odds and ends? How about all of those little origami stars you like to make? In this video, you'll learn the folds for making a traditional origami paper sat box, perfect for all of your folded stars, or anything else! You'll start out folding this star box with the what's called the "star base."
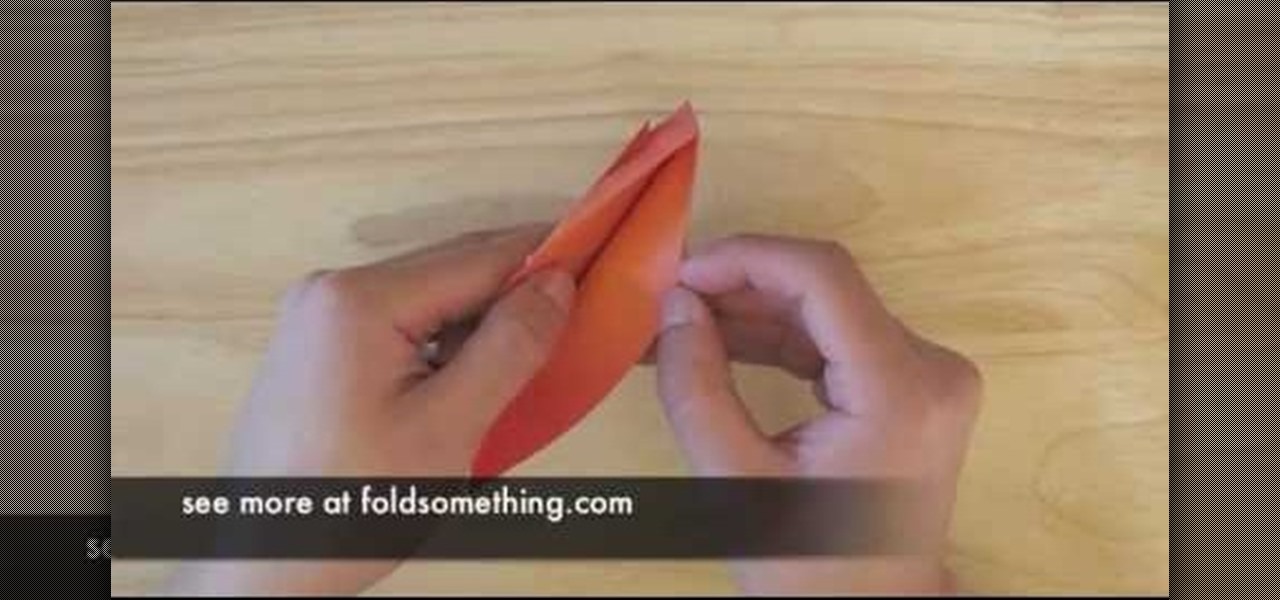
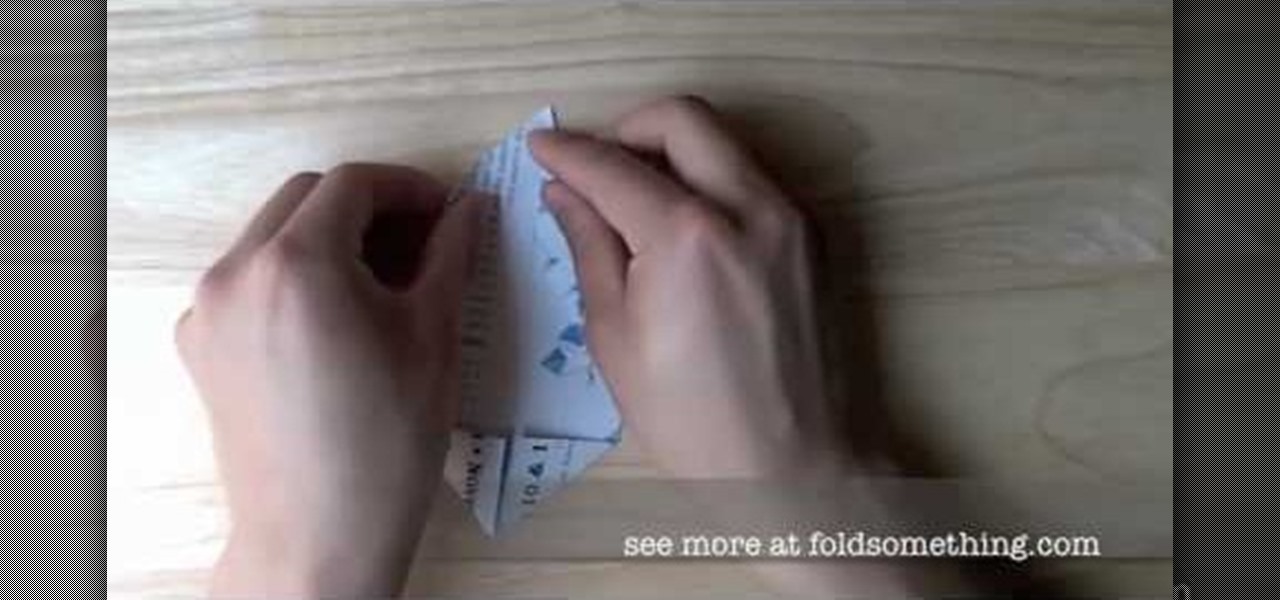
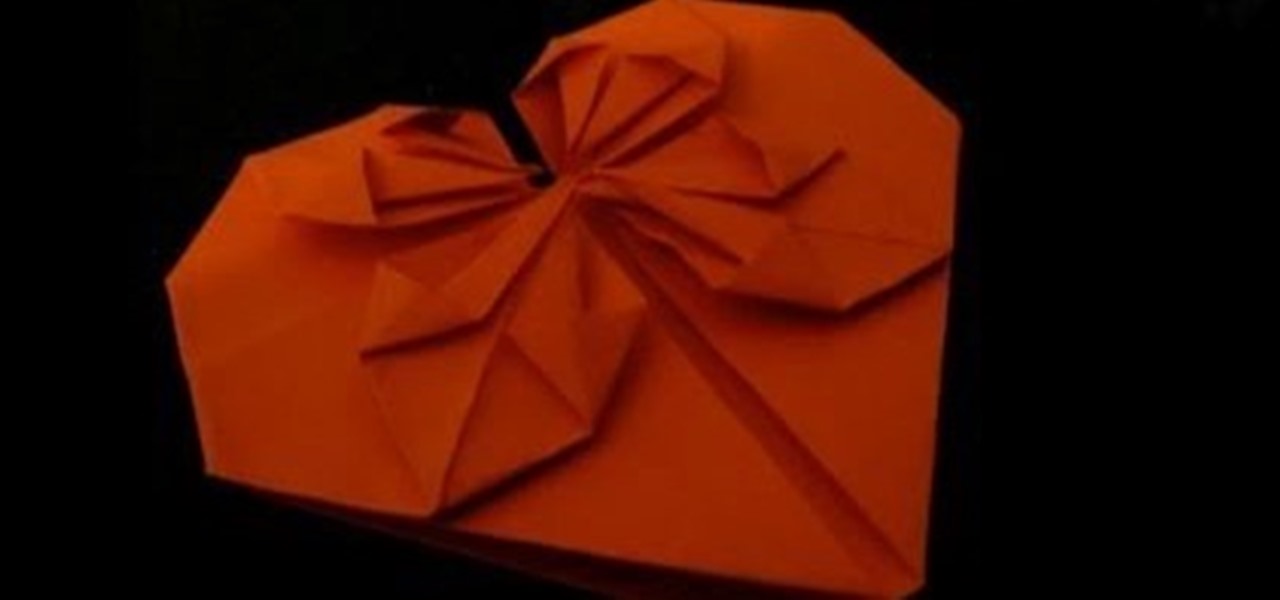
From Fold Something, learn how to fold an origami heart-shaped bookmark! Follow as origami instructor Josiah Hills shows the viewer how to fold a heart shaped bookmark using a square piece of paper. He calls the unique bookmark design "Mark of Love". The project requires two items: a square sheet of paper and a pair of scissors. Josiah Hills takes the viewer through the step by step process to make the required folds, creases, and cuts needed to turn a square piece of paper into a perfect hea...
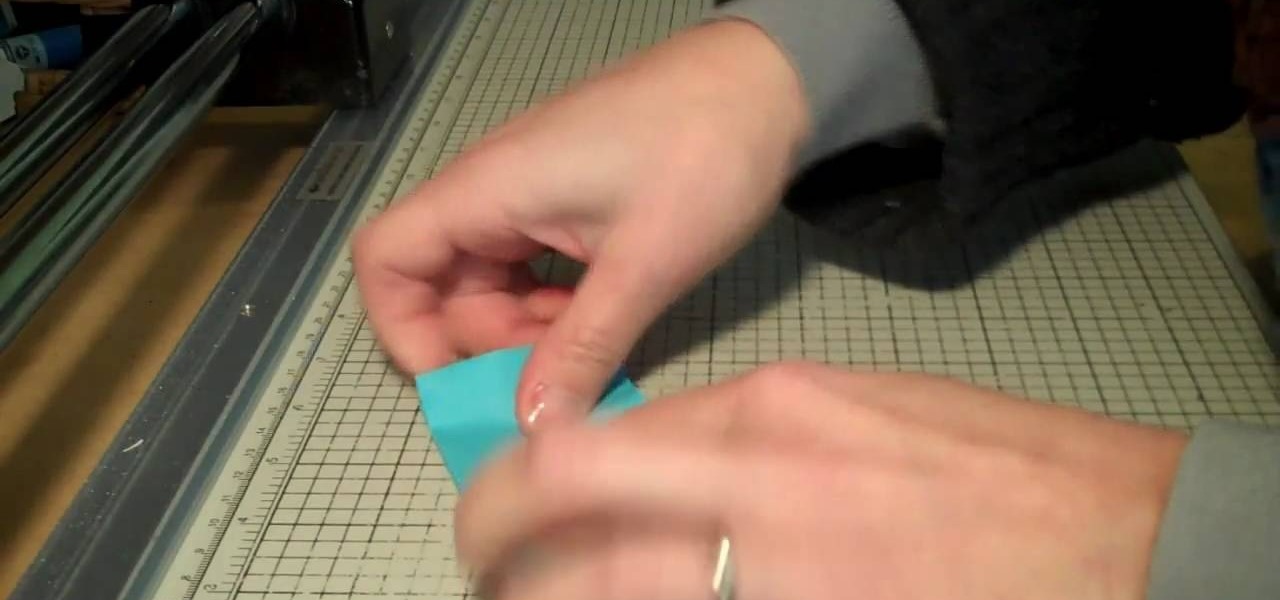
Want to know what the future holds in store for you? With this guide, you'll learn how to make a fortune-teller toy with origami, the traditional art of Japanese paper folding. For more information, including a step-by-step overview of the folding process, as well as to get started making your own paper fortune tellers, watch this free origami lesson.
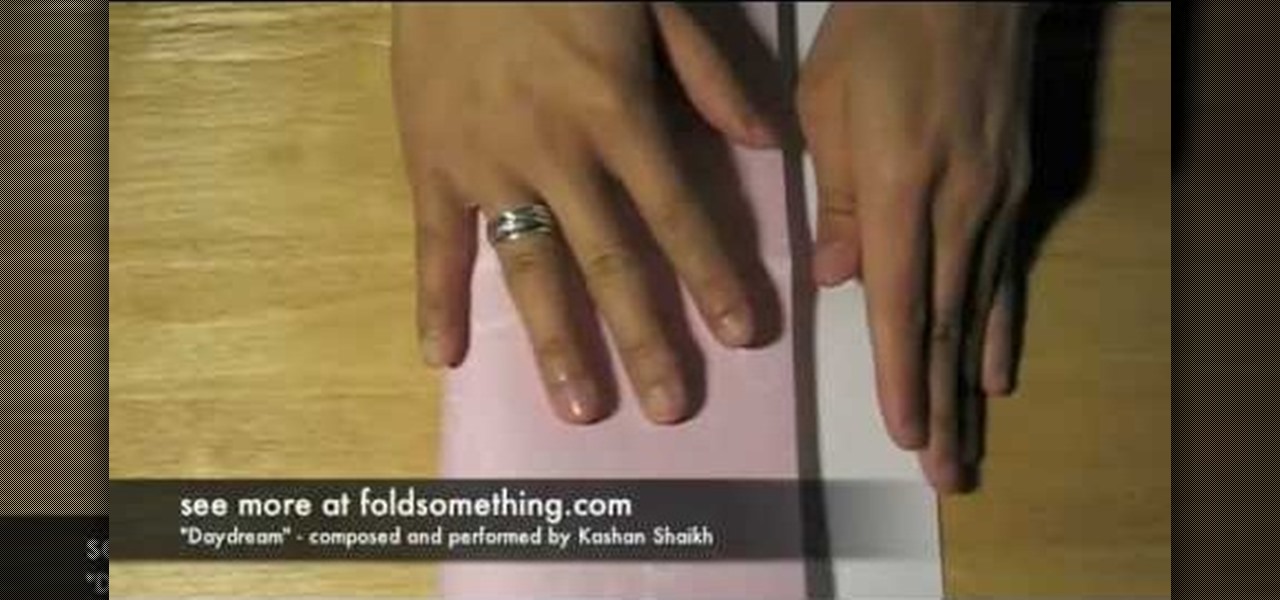
Get creative for your next holiday or birthday by giving your gift in a unique manner! This origami video shows how to make a box with a lid out of two sheets of paper. This project from Fold Something makes a great gift box for small presents.
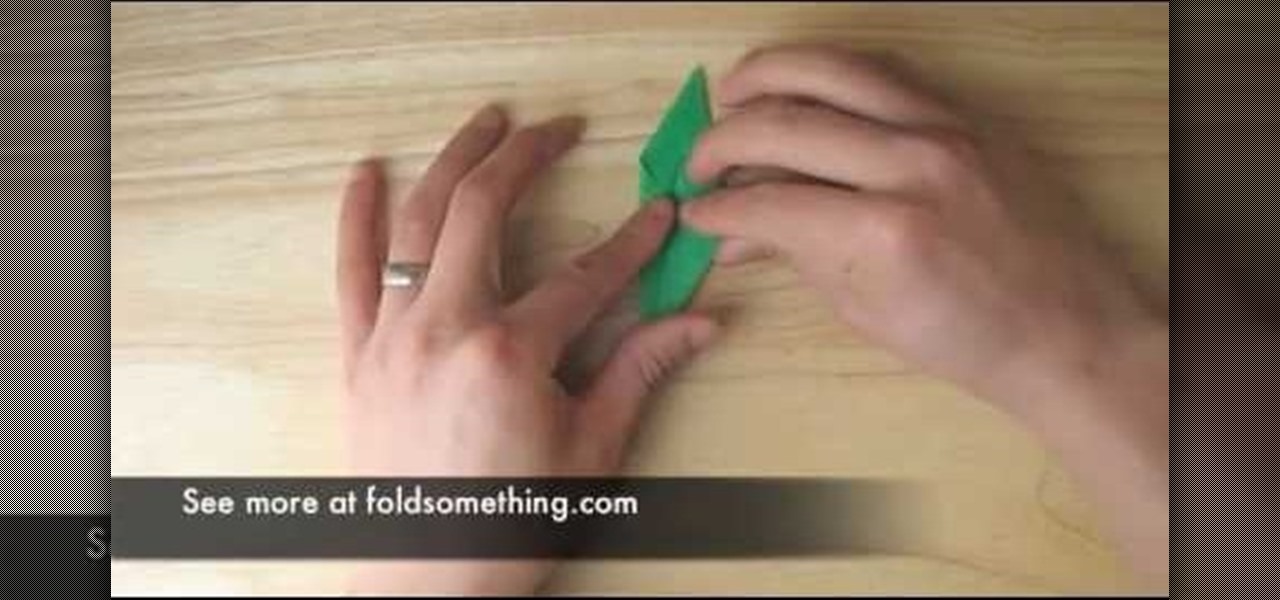
Don't just sit there, fold something! With this free video tutorial, you'll learn how to make a hopping paper frog toy using origami, the traditional Japanese folk art of paper folding. For more information, including detailed, step-by-step instructions, and to get started making jumping origami frogs yourself, watch this arts-and-crafts guide.

It's a bird! It's a crane! It's origami! Learn to make the most basic of origami sculptures, the lucky paper crane. This video tutorial presents a complete, step-by-step overview of how to make a paper crane using origami, the traditional Japanese folk art of paper folding. For more information, and to get started making your own paper birds, watch this arts-and-crafts guide.

Looking to add specimens to your paper menagerie? Make a butterfly with origami, the traditional Japanese art of paper folding. This free origami video lesson presents complete instructions for making your own butterflies from a sheet of folded paper. These are great for taping to greeting cards or adding to letters. This shape is a bit advanced so be sure to practice on simpler shapes first. For more information, and to get started making paper butterflies yourself, take a look!

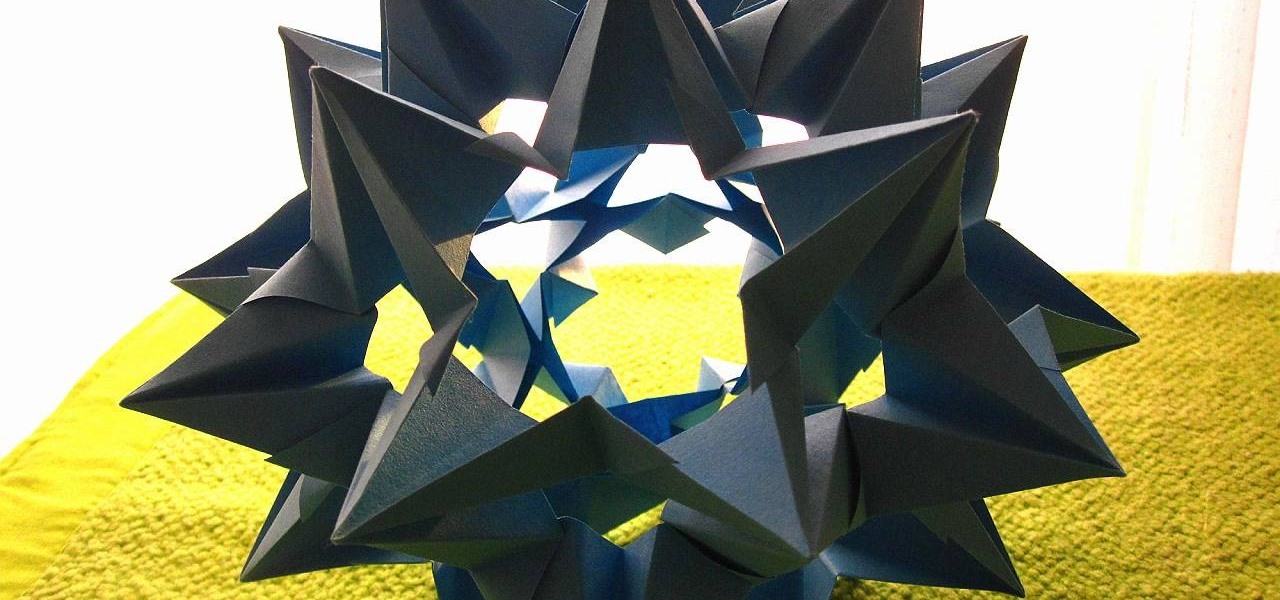
If you like folding paper stars and think they're a cinch, this omega star should give you quite a challenge. This omega star is an intricate fold that looks beautiful when complete. Perfect atop that pine tree in your living room (during holidays hopefully). This step=by=step video takes you through each fold of the paper origami 3D omega star, so pay attention.

In this tutorial, you will learn how to fold a 3D origami pyramid. This craft is fun to make and will definitely impress anyone who sees it.

With just one tiny sheet of paper, you can fold millions of things, like this boat. Not only is this a great little origami boat that's easy to complete, but it also floats on water! After watching and following the quick fold instructions, try out your new folded origami boat on water and see it float for yourself.

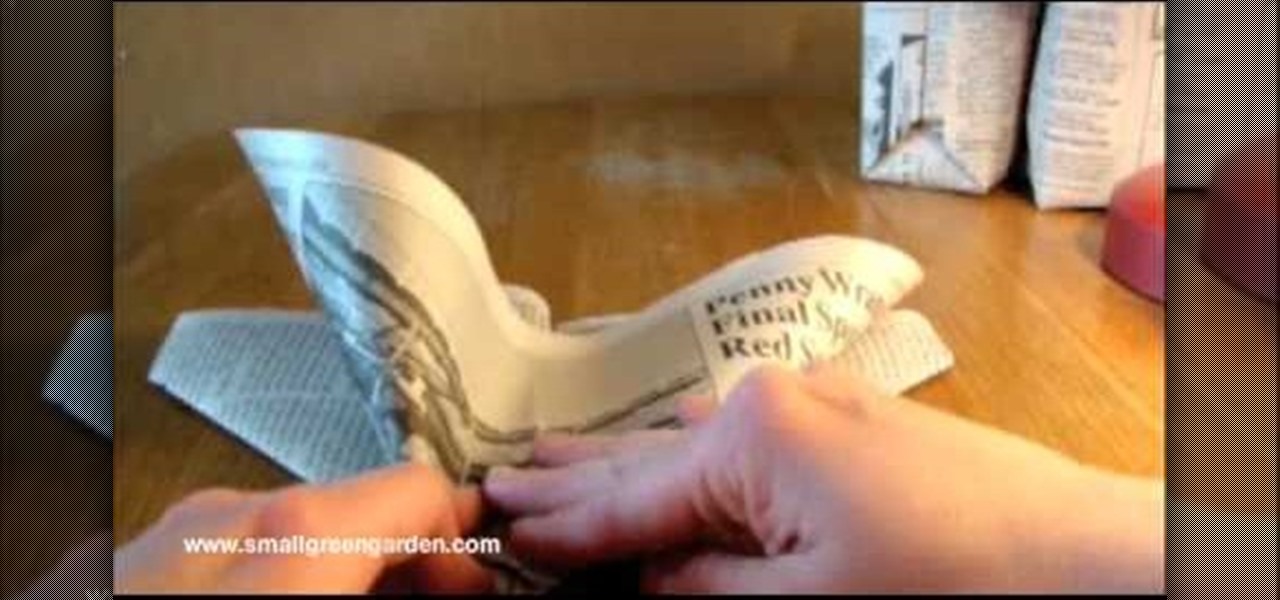
This video demonstrates how to fold a newspaper seedling container using a simple origami method. This is a free idea that incorporates recycling. Not only do these paper containers stand up well to moisture, they also will break down in the soil if you place it directly into your garden. Begin by using one half sheet of black and white newspaper. Lay it out length wise and fold it in half from top to bottom. Then fold it left to right. Next turn the paper so it is horizontal with the open si...

First of all you need a standard paper of size 8 by 11.5 inches and a scissors. Step1. Take one corner of the paper and then fold it to meet the other side. Now press the diagonal and then crease it.

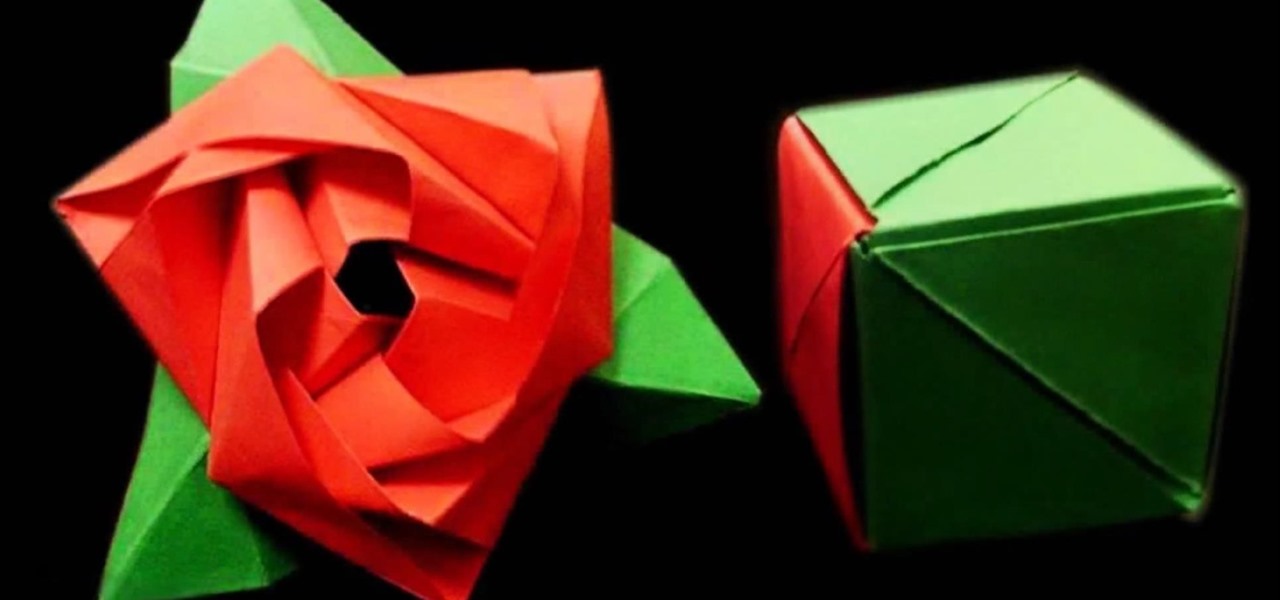
To play off Gertrude Stein's famous quote, a rose is a rose is a magic paper cube. And with this paper folder's guide, you'll learn how to make your very own magic rose cube from paper using the Japanese art of origami. This design by Valerie Vann, and folded by YouTuber German Fernandez, is great for Valentine's Day or any other day where a paper puzzle rose is needed. Just be prepared... it's a not just a puzzle origami rose, it's a puzzle folding it.

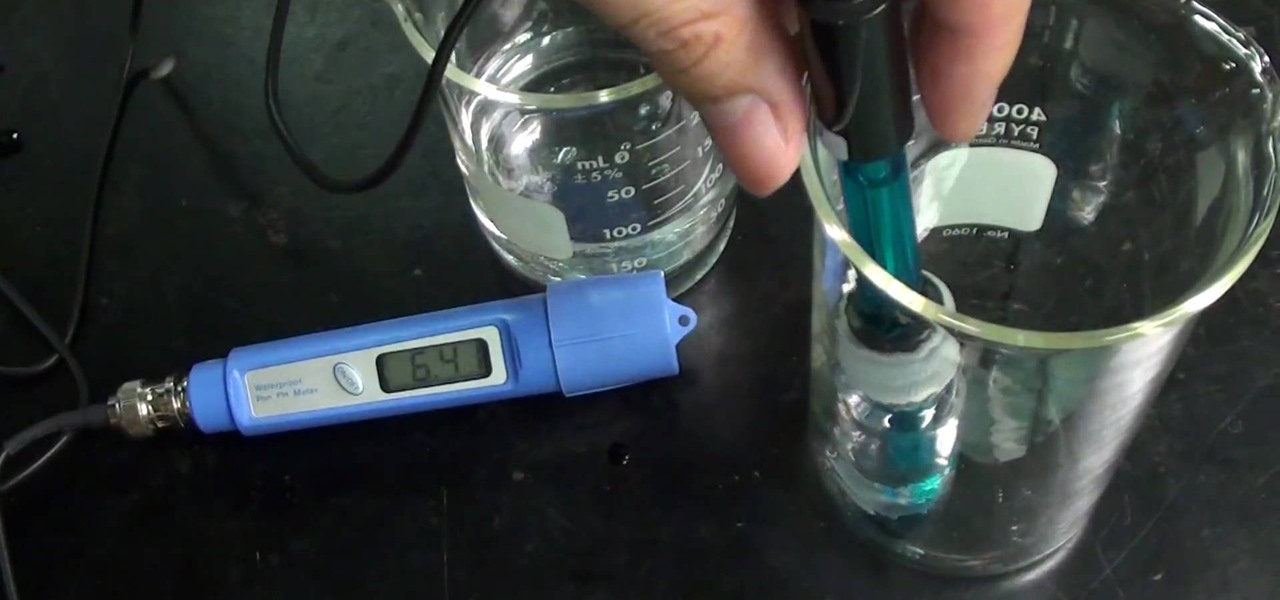
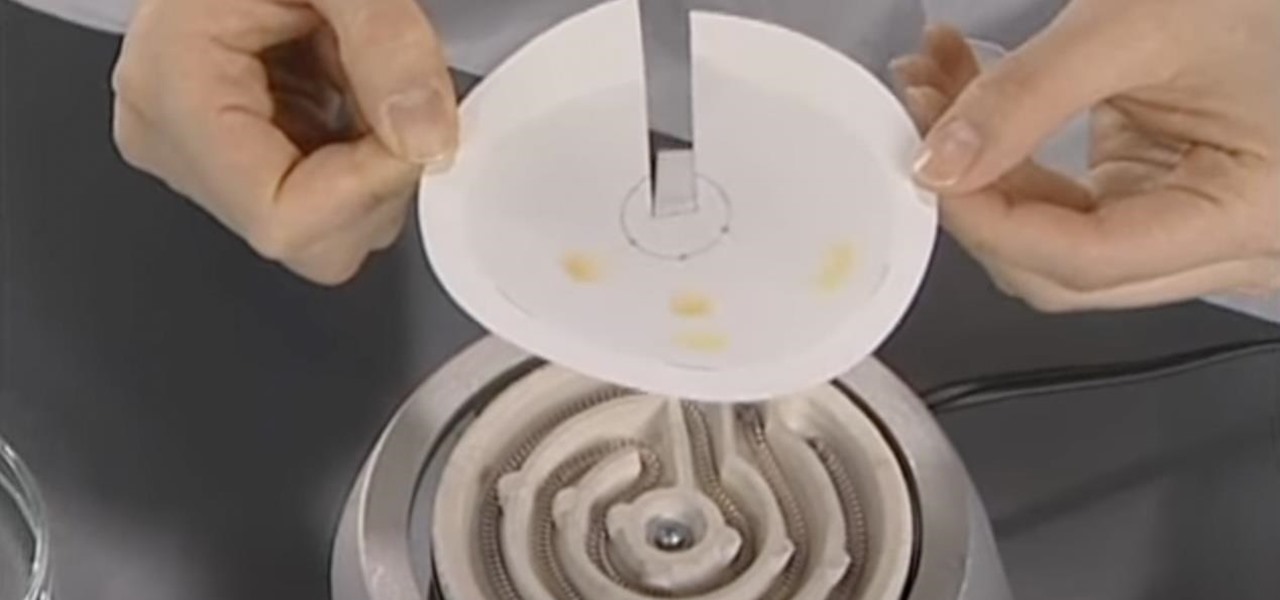
If you want to know the best way to get an accurate pH measurement, this shows the lab equipment needed and the processes used. When doing chemical reactions, sometimes the acidity or the basicity is important. This is usually defined as pH and measuring it can be very useful for getting the reaction right. There are a few ways to measure pH, and the simplest, cheapest, most reliable method is paper. But that's not all. See a whole lot of ways in this two-part video.

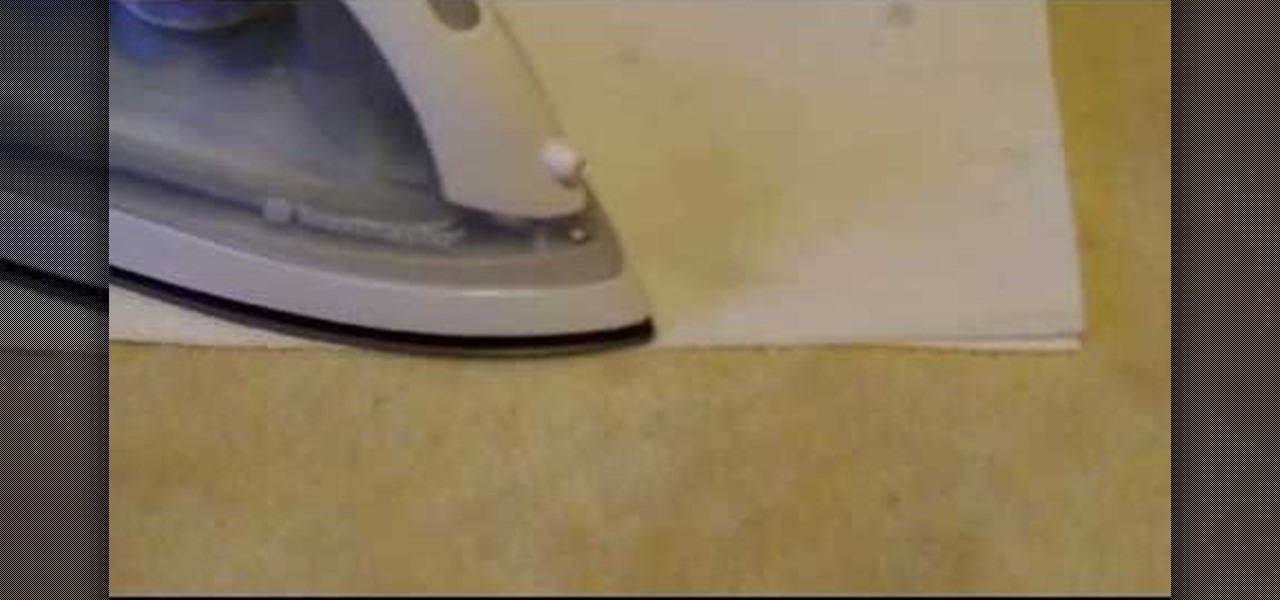
The video shows you how to remove candle wax from carpets with ease. All you need are paper towels, an iron, and a butter knife. First, you have to turn the iron on to a medium or high temperature. Next, use the dull side of the knife to dig up the excess wax from the carpet. Afterwards, you have to place the paper towel over the area of wax. Next, you simply iron the carpet very lightly. You have to be careful so that you don't burn the carpet. When you iron the carpet, the wax should absorb...

This video shows the viewer how to make Halloween style lanterns using commonly available items. The base lantern is a Chinese style paper lantern; these can be purchase from home retail stores. The general principal is too cut out the shapes of insects from black paper. These can then be fixed to the lantern to project the image. Additionally holes can be cut in the insects and covered with red tissue paper. The light will shine through the red tissue paper giving the appearance of blood. Th...

In this video, Nekkoart demonstrates how to make an origami valentine heart. Begin with a sheet of paper that is nineteen cm by eight cm. Fold the paper to form a square. Unfold. Fold both sides to the center crease. Unfold again. Fold the paper in half horizontally (not forming a square) and unfold. Fold a corner to the edge of the center crease. Unfold and repeat with the other corners. Squish both sides down to form a square. Fold down the upper half. Fold down the two triangles at the top...

Dan Brown shares his hustling secret, actually he shares two secret hustles, both involving a normal deck of playing cards. If you want to hustle your friends, these two card tricks are the best way to do it. These two card cheats are the perfect way to win money or drinks or whatever they dare bet.

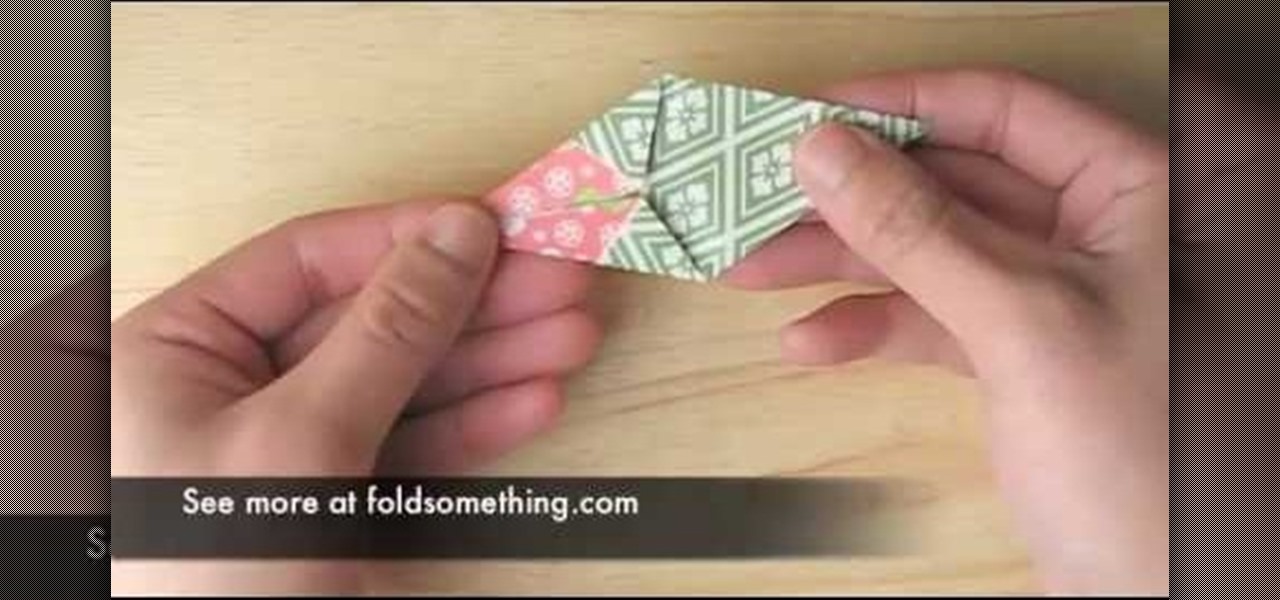
Origami is simple and fun and our host proves that right off by displaying how little we actually need material wise, to make something unique and pretty. Just two swathes of patterned paper, put flush together and a paper clip. First folding your little construction into the shape of a tiny kite It gets very precise from there. Incorporating smaller and smaller folds, but with a close-up view and a step by step explanation, this video will ensure success. After creating your unique abstract ...

This video explains how, with the help of paper, we can make a beautiful butterfly. Now take a square paper; you can have a nice one so that it looks beautiful. Now fold the paper into half and again fold the paper in half. Now make triangles by folding again. Now open from between and shape up the wings. This nice butterfly can be used to decorate cards and folders and gifts, too. This looks so beautiful just like real one.

Origami artist Ana Maria shows us how to fold a reliable paper plane. Start off with a rectangular piece of paper and fold it down the middle. Then take one the of the edges and fold it in a way that it makes a triangle. After that repeat the process again folding the edges even further. Repeat this for the other side as well so that it is nice and even. After making all the folds properly open the page, not the folds made on the edges, then fold it again down the middle but now do it in the ...

In this makeup tutorial, learn how to apply the makeup look of movie character "Marla Singer", the badass chick from Fight Club, played by Helena Bonham Carter. To achieve the misty, dirty smudge look applied in this video, the following products were used:

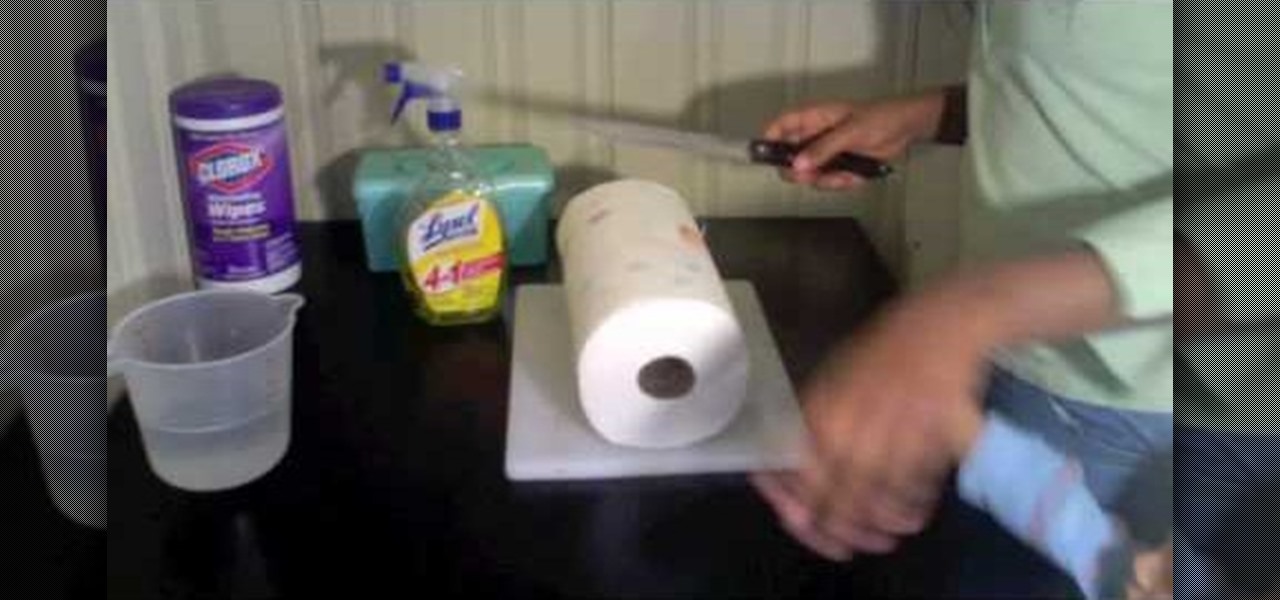
Learn how to make your own homemade cleaning wipes and save money with this video tutorial. You will need a roll of paper, 2-3 cups of you favorite cleaner, and a storage container with a lid, a cutting board, and a knife. Cut the paper towel role in half using only one half now. Put the half paper towel roll in the container and soak with the cleaner. Remove the cardboard from the center of the roll and the cleaning wipes will be pulled out from the center of the roll.

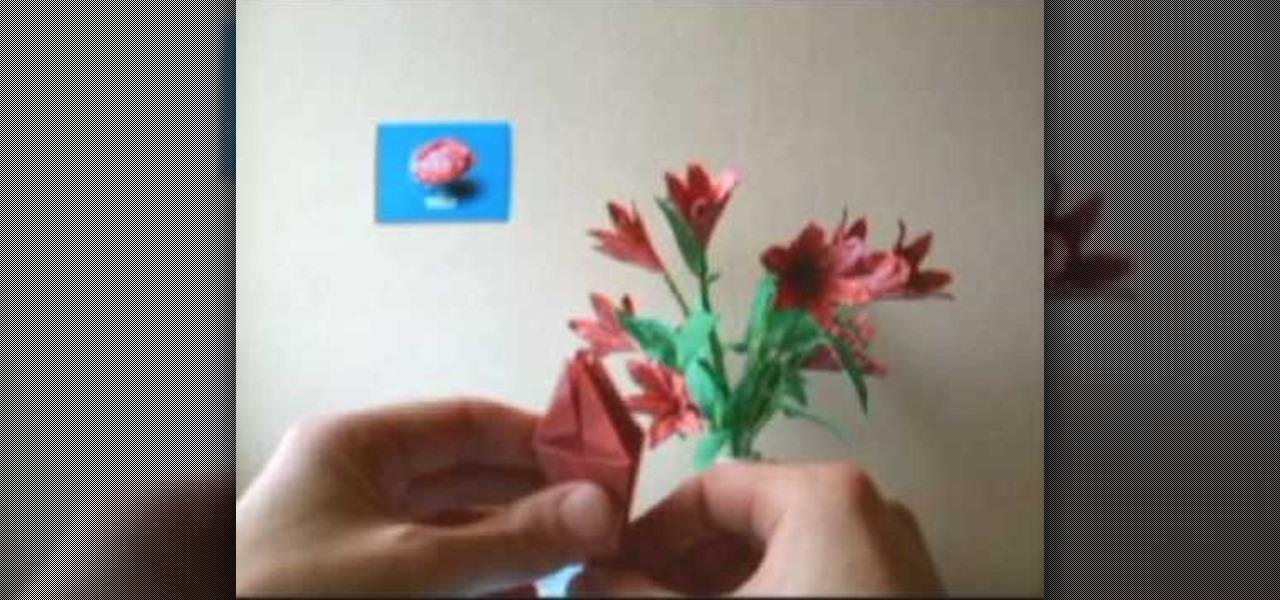
Origami amaryllis folded and designed by Joost Langeveld. The stem for this flower is made of two large papers. The flowers themselves are not very difficult to fold.

Folding this tiger lily is almost the same as folding a normal origami lily, but for this tiger lily a hexagon shaped paper is used.

Find out how everything in a chemistry lab works, from pipettes to burners to recrystallization to storage. You'll get precise instructions on how to work and perform certain scientific duties in the chem lab, whether it's chemical or just ordinary high school science.

Find out how everything in a chemistry lab works, from pipettes to burners to recrystallization to storage. You'll get precise instructions on how to work and perform certain scientific duties in the chem lab, whether it's chemical or just ordinary high school science.

Halloween is the best time of the year! For this Halloween makeup look the inspiration is Elvira meets Oda May Brown (from Ghost movie). This Halloween makeup tutorial demonstrates how to create a spooky Mistress of the Dark Elvira look. Happy Halloween ya'll!

This image editing software tutorial shows you how to use clipping masks on monster images in Photoshop CS3. Discover the magic of clipping masks and how you can create complex masks with this simple technique. Russell Brown shows you how to create Halloween magic right in Photoshop CS3.

Learn about some of the advanced features in Adobe Photoshop CS4 Extended for animating 3D objects in this software tutorial. In this project we will create a solar eclipse simulation from 2D, and video images of the earth and moon. This is an advanced users tutorial so you should be familiar with Photoshop first. Follow along as Russel Brown shows you how to work with the new 3D features of Photoshop CS4.

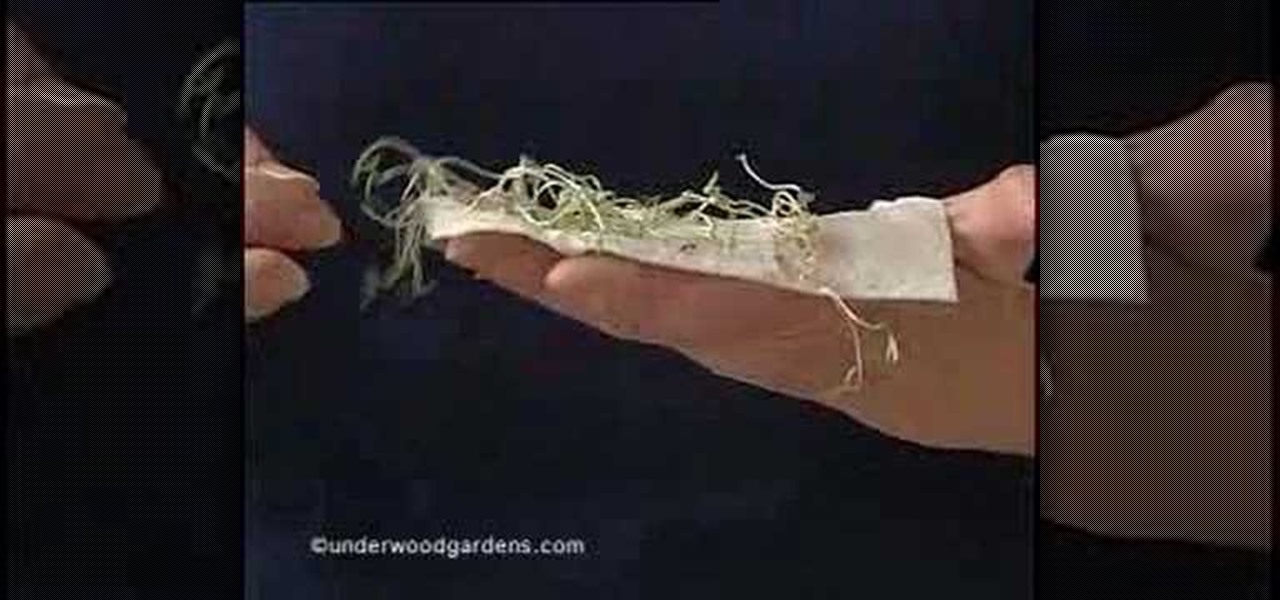
In this short how-to video, self-described earth mother Mayo Underwood demonstrates how you can germinate seeds in damp paper towels prior to planting them in your personal garden. Watch this tutorial and start some seeds of your own today!

You can learn a magic trick that will make an empty can full again, just watch this how-to video. You need a can of soda, piece of paper, black texta, scissors, and a marker. You trim the paper to best fit the can's mouth, insert a hole behind the can's mouth, and squeeze about 2/3 of the can out. Check out this video magic tutorial and learn how to create the illusion of filling up an empty can.

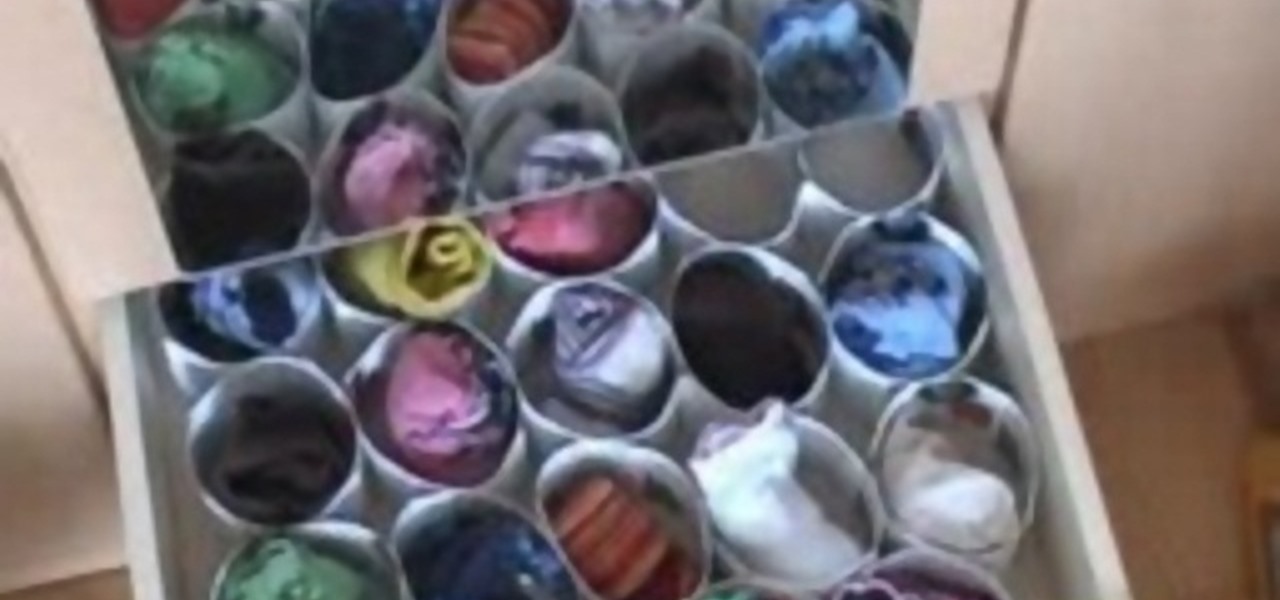
Do you lose your socks all the time because you don't know how to organize them? Try making this sock organizer from paper. You'll never have to worry about them disappearing again.

Open tuning is a bit tricky so Justin decided to do a tutorial to show you how! First, he'll show you how to get to open tuning, then how to play open G tuning. He goes over the songs Bohemian Like You by the Dandy Warhols and Start Me and Brown up by the Rolling Stones.

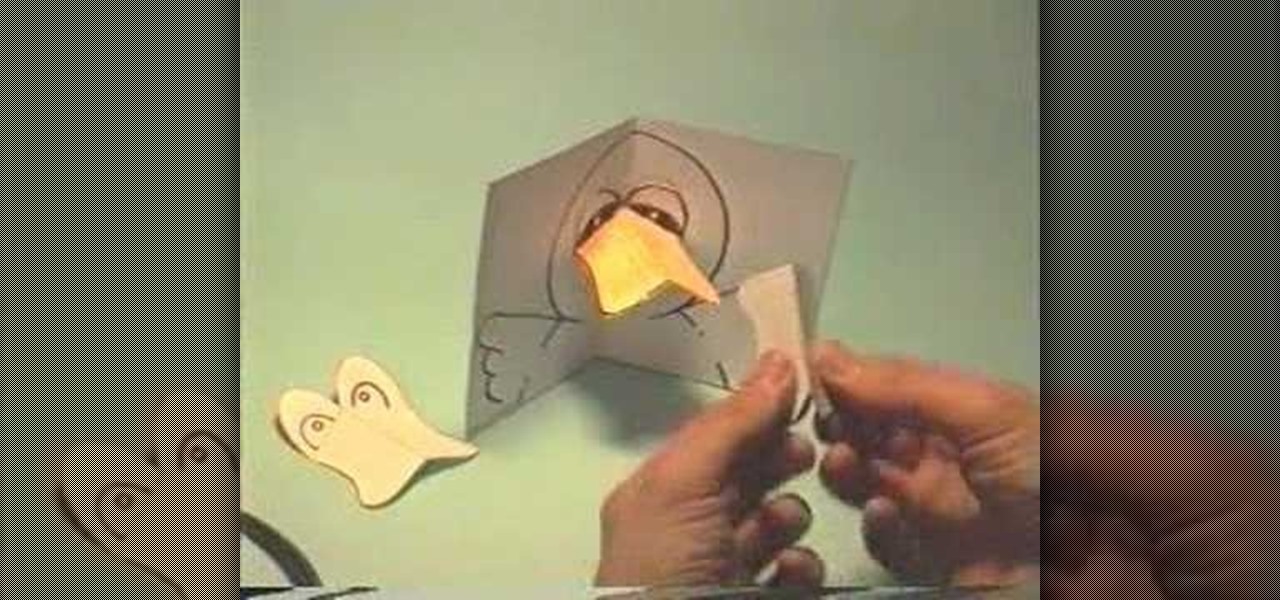
In this tutorial, we learn how to make a little duck pop-up card. First, draw a duck on a 4x6 piece of paper. Simply draw the big head with the wings coming out at both sides. From here, fold it in half so it closes together. Then, make another small piece of paper that has the eyes drawn onto it and the beak colored in. Place this on the duck to get it in the right spot. Then, adhere it with glue on the top part and fold it in again. Now, when it opens up in the card, the beak will pop up, e...

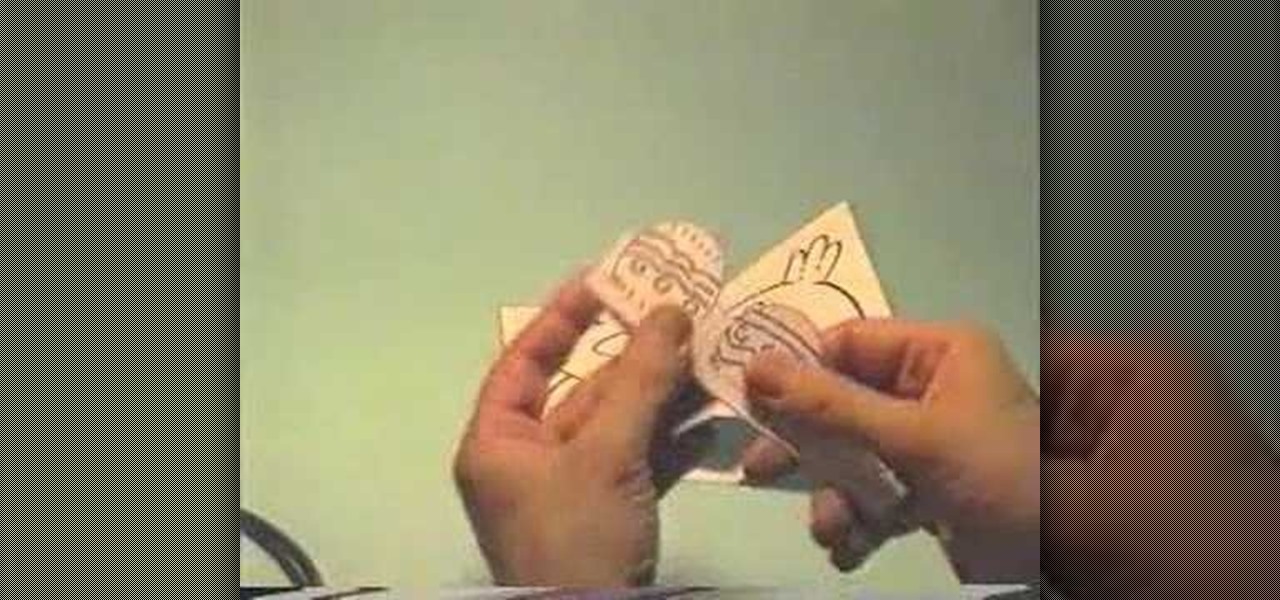
In this video, we learn how to make an Easter pop-up card. First, draw a duck with a little baby duck on a 4x6 piece of paper. From here, fold it in half so you can see the image on the outside. After this, use scissors to cut the middle, where the little baby chick is at. Cut the top and bottom around it, but avoid cutting the sides. From here, bend that piece left and right. Then, open up the card and bend it into the middle. From here, take a piece of paper with eggs cut out of it and bend...

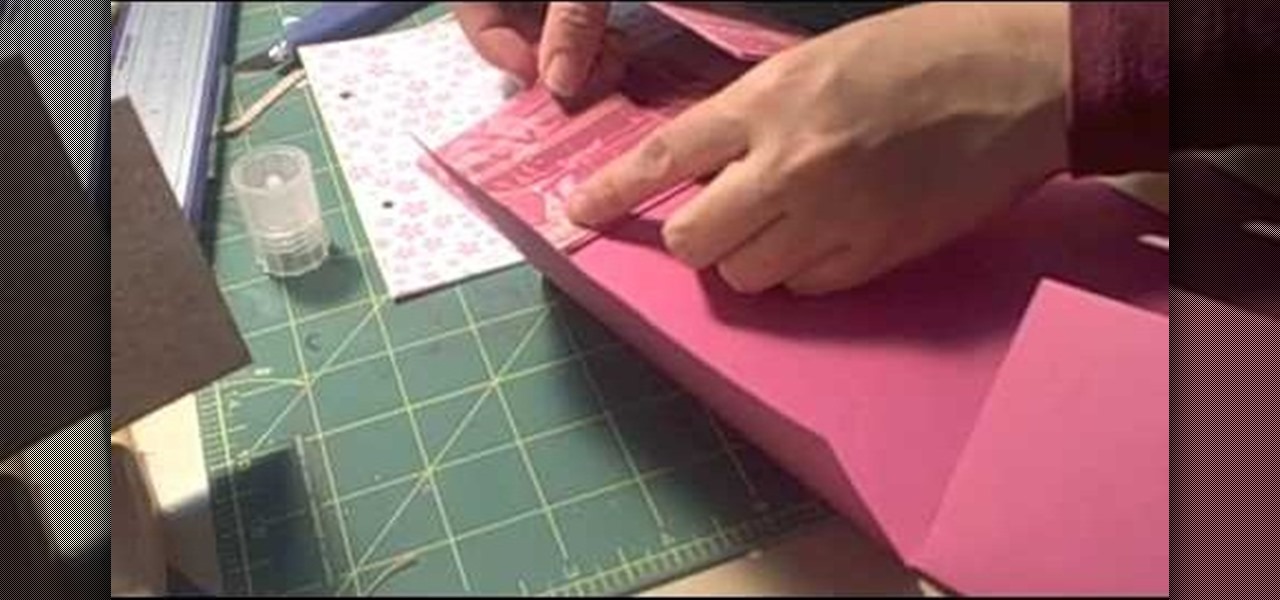
This video tutorial is in the Arts & Crafts category which will show you how to make a flip square album. Take a 12 x 12 inches square cardstock and make a score line at 3 inches on all 4 sides of the paper. Now cut along the score line at the top and bottom of the paper up to the 3 inch line. Next you fold along all the score lines inwards and you have all the flaps ready. Then mark along the edge of the center part of the sheet and punch two holes for tying the album as shown in the video. ...

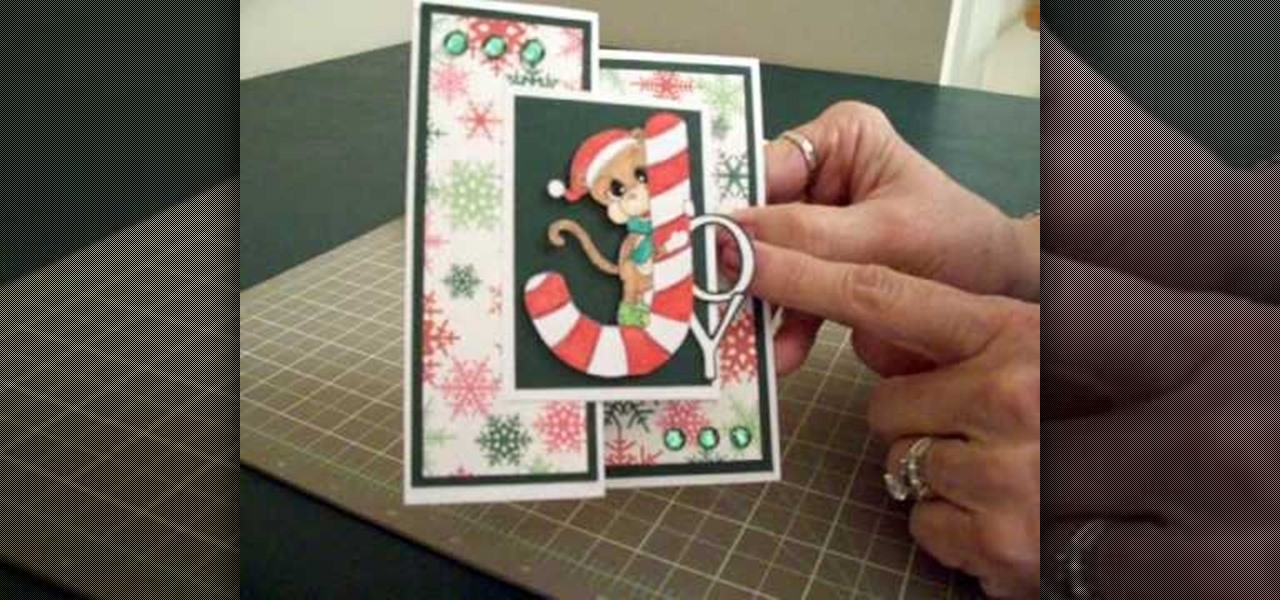
In this video, we learn how to make a Joy S-fold Christmas card using Cricut George. First, fold the card and mark it so it's in the S shape, then stamp the background of the card with colored snowflakes in different sizes and shapes. After this, use a black outline along the sides of the papers, then add in a black piece of paper to the middle of the top fold. Apply a monkey with a Santa hat to the front and wrap him around a J shaped candy cane. Add in the letters "o" and "y", then add in a...

To make a mini milk carton, you will need the following a big shot, Mini Milk Carton Die # 117310 (Occasions Mini) card stock, a clip, and sticky strip.

In this Arts & Crafts video tutorial you will learn how to make a growing flower pot card. First you make a flower out of a tea bag. Then cut out a piece of paper in the shape of a flower pot. Now take a couple of sheets of 8x4 card of the same color. Score one card in half and fold it. From the other card cut out a piece equal to the size of an A5 card, which is 14.85 x 10 cms. Now glue the flower pot shaped paper on to this card. Now cut a long strip of the card, 30 x 3 cms and fold it in h...


