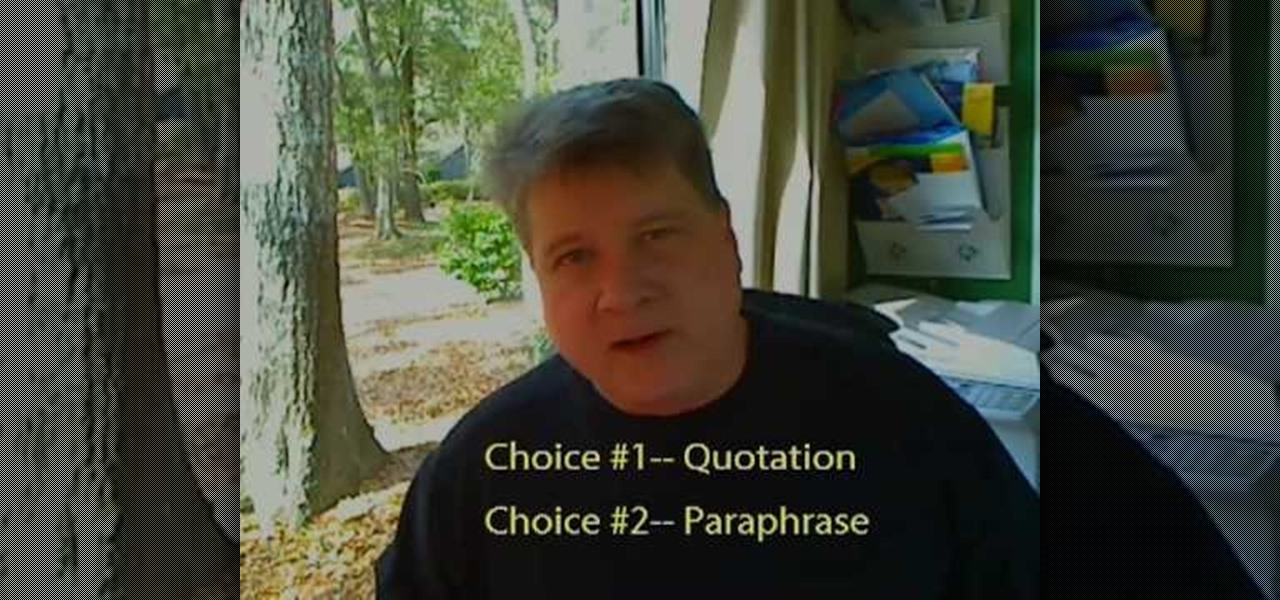
In this tutorial, we learn how to avoid research paper plagiarism with quotations. Whenever you use a source, you can quote from it using the author's direct words, or you can paraphrase. Paraphrasing means putting something into your own phrases and sentences, because you will have to repeat certain key words. If you do this, you have to make sure you are not copying the quote exactly, and that it really is in your own words. You can't put something into your own words if you don't understan...

In this video from thedarkwanderer we learn how to footnote your references in a paper. For this you need a list of your references used. Place a superscript right after the last word that you want to acknowledge. Then place the note proper at the bottom of the same page. Put the footnote numeral slightly raised followed by the note proper. Make sure that the superscript number corresponds to the number of the footnote. Keep the footnotes flush with the paragraphs of your text. Footnotes comi...
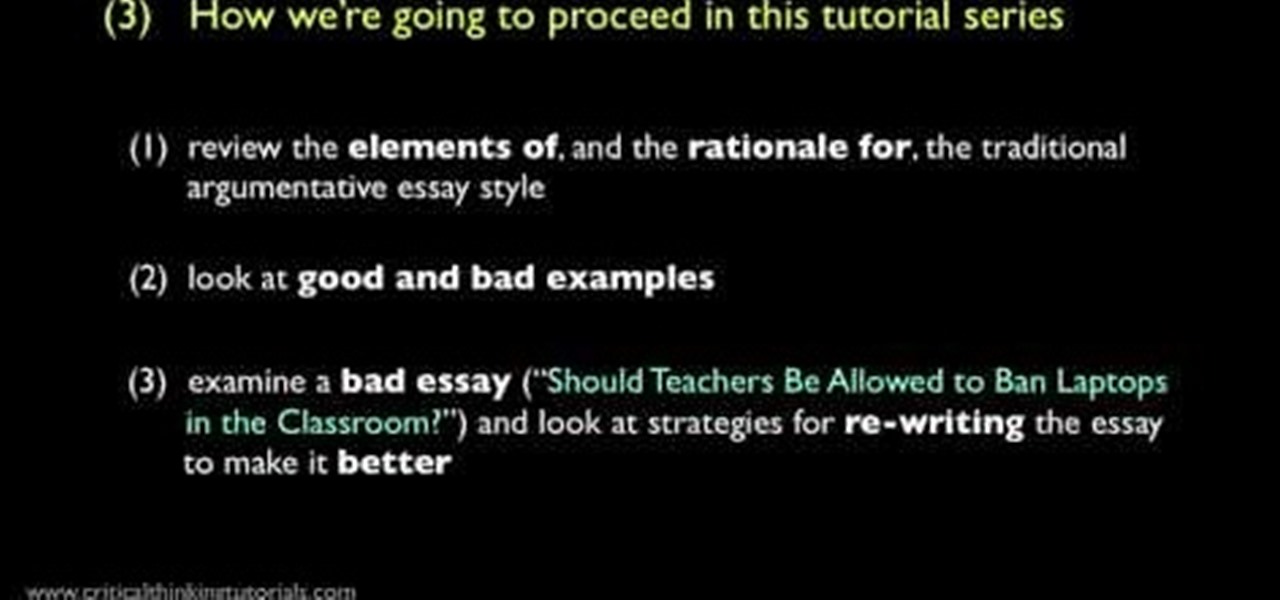
In this video, we learn how to write a good argumentative essay introduction. This is a persuasive essay that is just an argument. What makes this an essay is that it has an introductory section, main body, and concluding section. Many high schools and universities will require you to write an argumentative essay. You will first need to understand the process of writing the paper and then look at good and bad examples so you can get ideas of how the paper should look. Remember that you should...
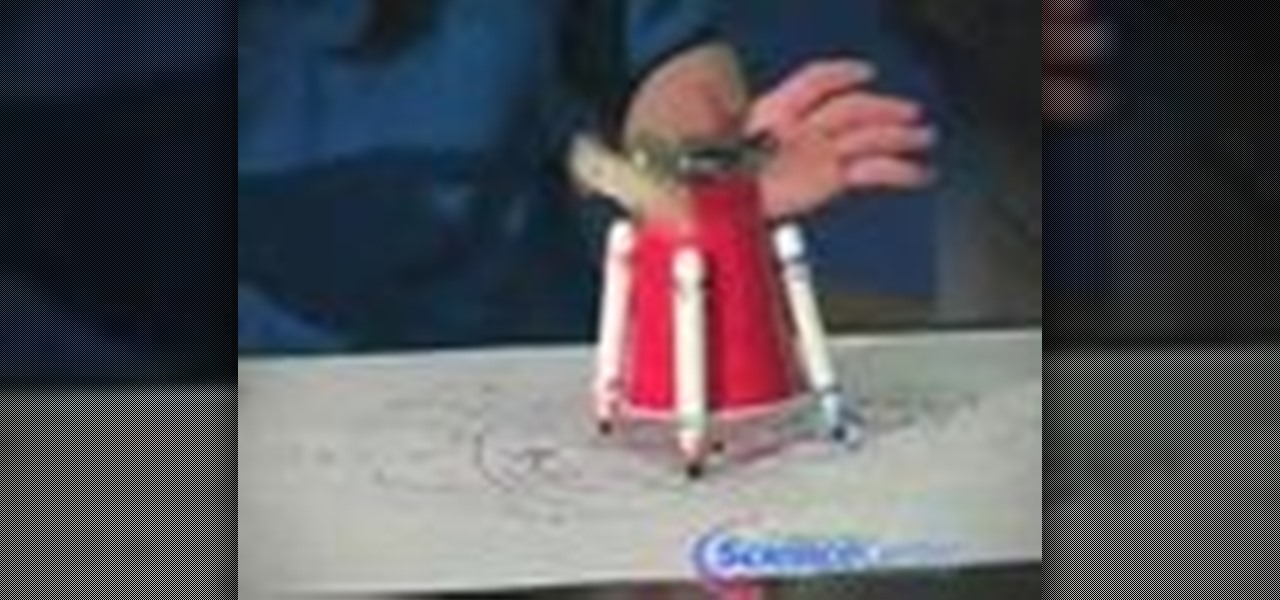
This video explains how to build a robot with the basic ability to scribble on paper. The narrator gives website addresses for more examples on completed robots and various information on the subject. The Robot is built using a plastic cups and wooden sticks for legs and support. A motor is then attached to a wooden stick which is then attached to the top of the plastic cup. One nine volt battery is needed to power the motor. Once the battery has been attached to the motor you must attach the...

Vivian shows us how to use the watercolor salt technique in this video. This is great if you want to make underwater paintings and have a coral effect on them. The salt will cause the painting to look more rough and you can see the salt on the paper and how it absorbed the color. To start, you will wet your cold pressed paper on both sides. Then, add your paint to your brush and continue to paint. Don't apply the paint too dark if you are going to work on it later. When finished, let this dry...

In this tutorial, we learn how to clean and store lettuce. Rinsing the lettuce takes a lot of time, but if you do this right and store it right it will last longer in the fridge. Start off by filling up your clean sink with cold water. After this, grab your lettuce and place it down into the water. Soak these for several seconds, then shake them off. Lay them on damp paper towels for several minutes until they are dried off. After you have all your lettuce dried out, you need to roll up your ...

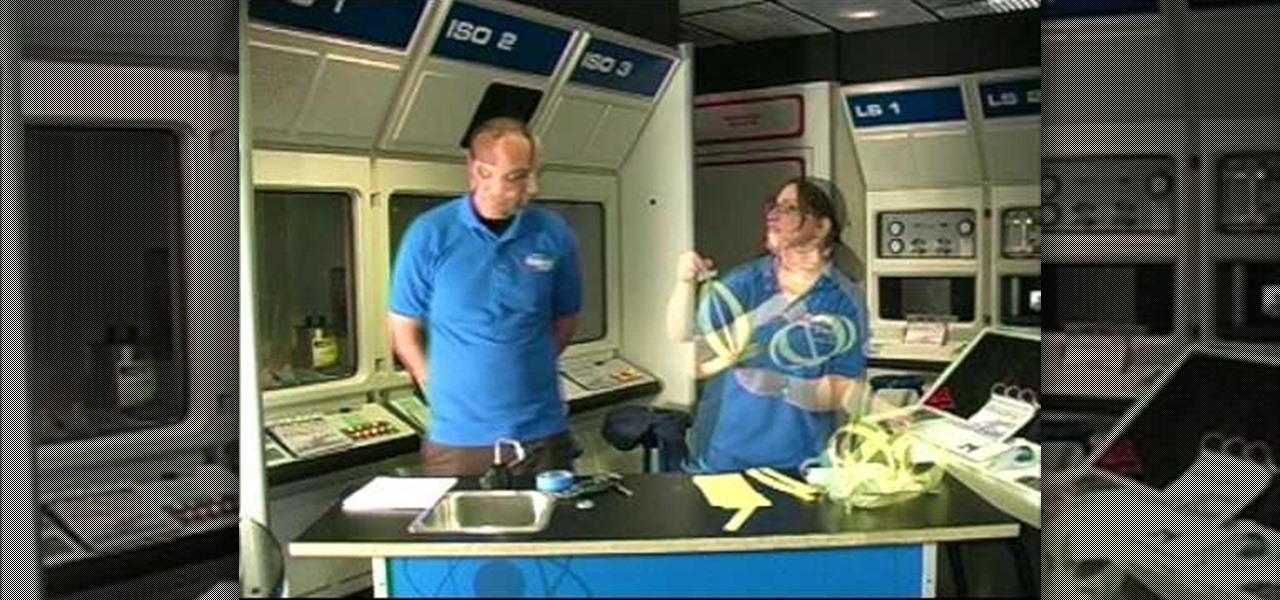
It is a well known fact that due to the rotation of the Earth about its own axis has a bulging effect on the equator and a slight flattening effect at the poles. This experiment tries the reproduce the same effect using simple materials.

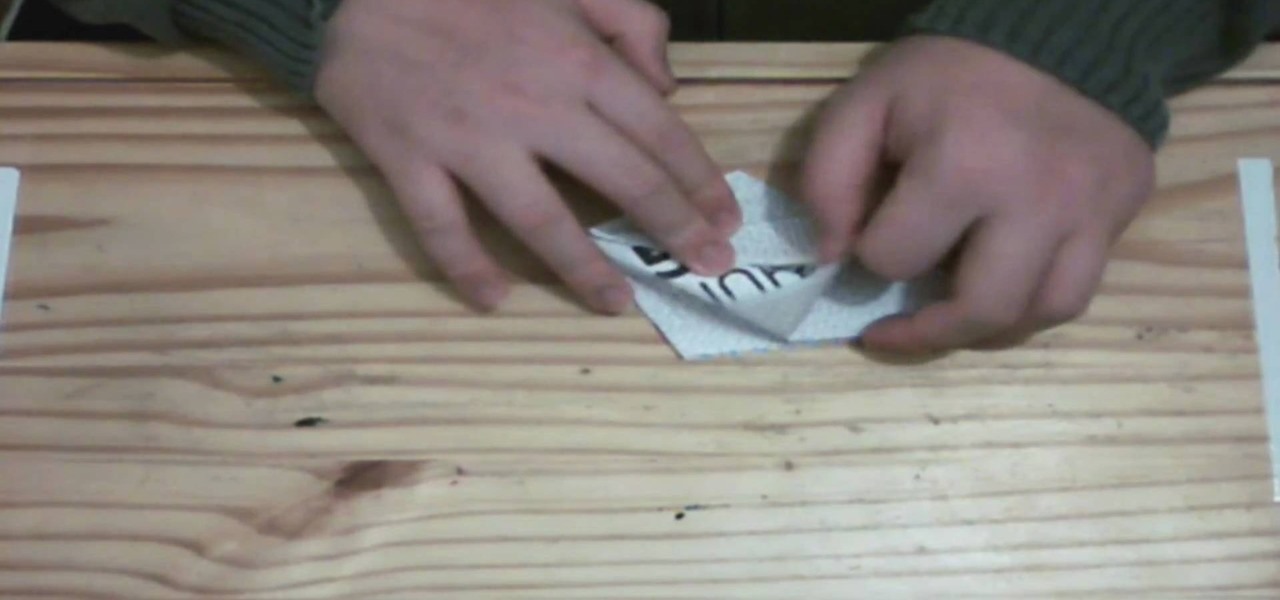
Another video in which the presenter Ngai Chen Cheung demonstrates his Origami skills. Again all you need is a blank sheet of paper. The first step is to create pre-creases which makes the later folding maneuvers a bit easier.

In this tutorial, we learn how to decoupage a picture frame. This is the art of gluing paper onto a smooth surface, then applying lacquer over it. First, gather all of your tools, including foam brushes. Next, stick the papers you want onto the smooth surface, using glue. Then, smooth out the surface using a roller and a credit card to press down onto it. Do one last run through with the roller, then apply the lacquer onto the top of it. Once finished, let this dry 15-20 minutes. When dried, ...

In this video, we learn how to use Tomboy Notes in writing a research report. First, open up Tomboy Notes on your computer. When you open it, you will see a search bar at the top of the paper and a toolbar to the left. On the toolbar, right click and create a new notebook named what you want. After this, start to copy in and paste all the notes that you have, including the citation for the paper. Continue to do this for all the different notes you have. Then, when you reach the end you will s...

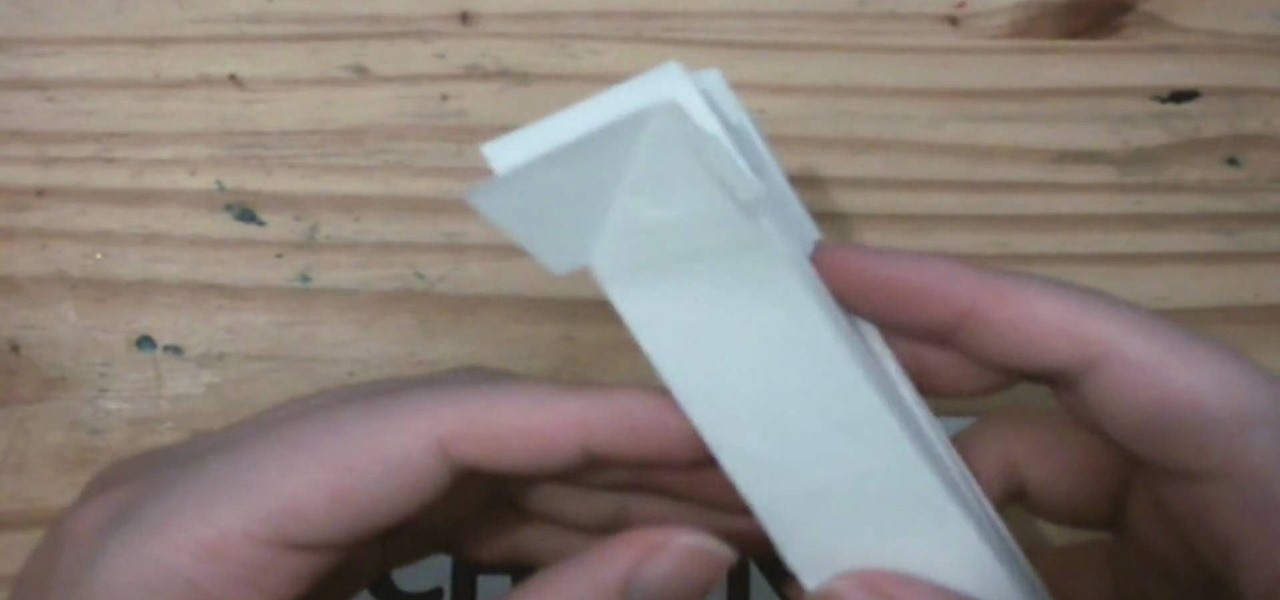
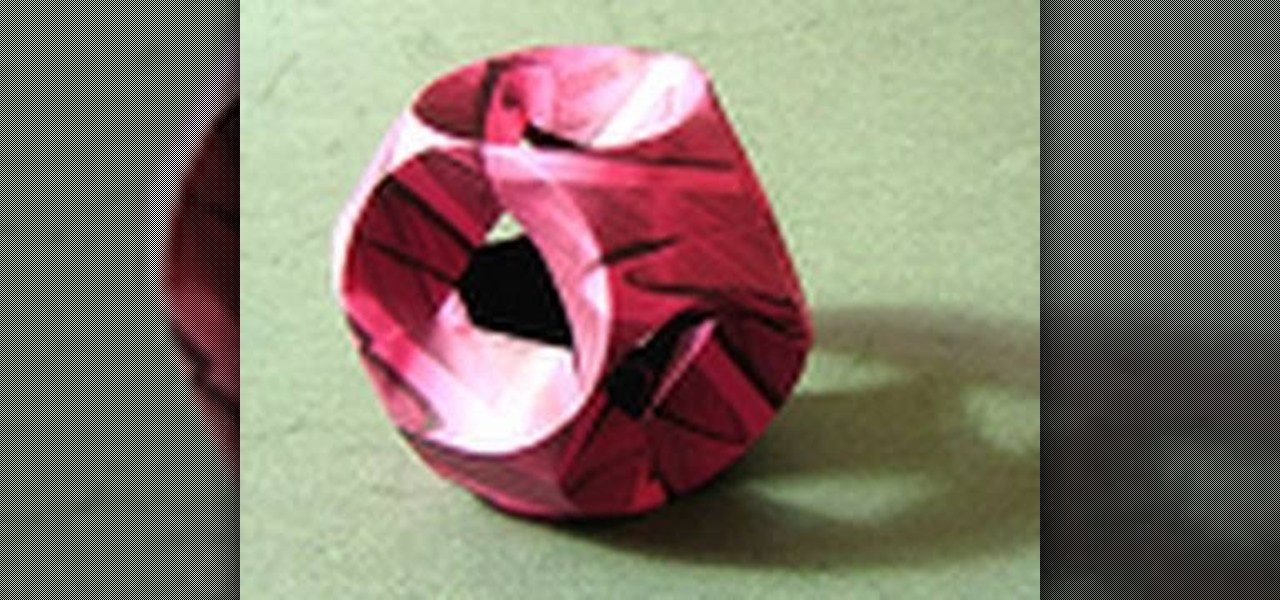
In order to make a multi-colored paper cube, you will need the following: 6 pre-made folded squares, which can be found separately.

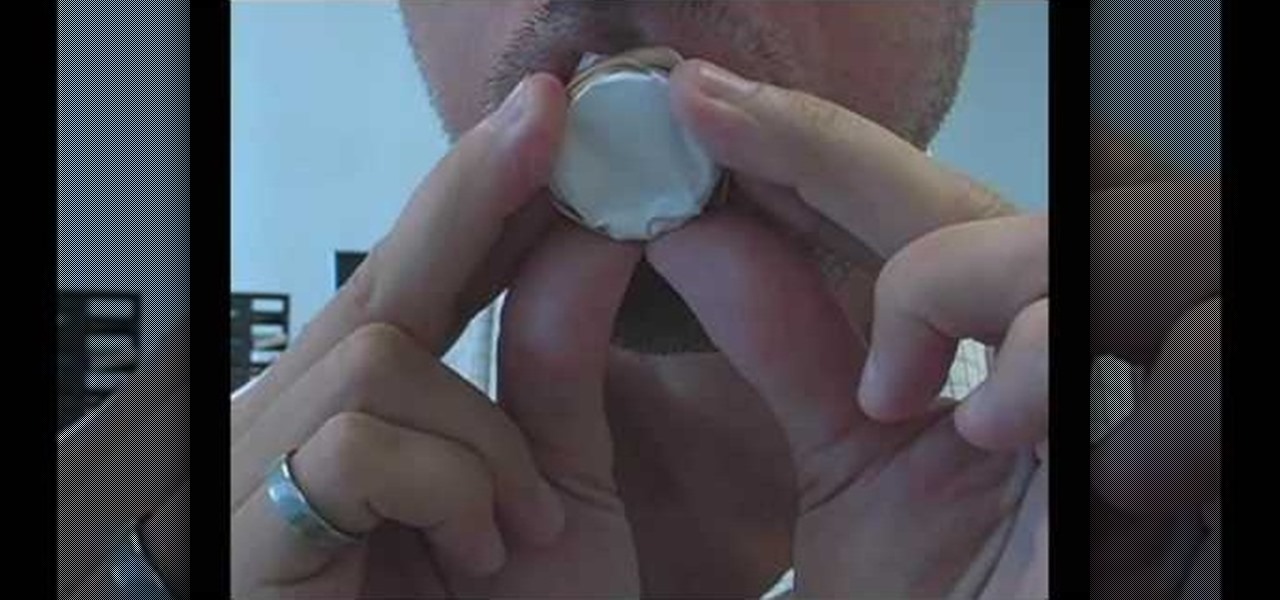
In this video tutorial, viewers learn how to make a realistic goose call. The materials required for this project are: a plastic bottle cap, scissors, rubber band and a piece of paper. Begin by making a small hole in the bottle cap. Then wrap the paper around the other side of the bottle cap and secure it with the rubber band. Now just blow in the hole and make a humming sound to create a goose call. This video will benefit those viewers who enjoy goose hunting, and would like to learn how to...

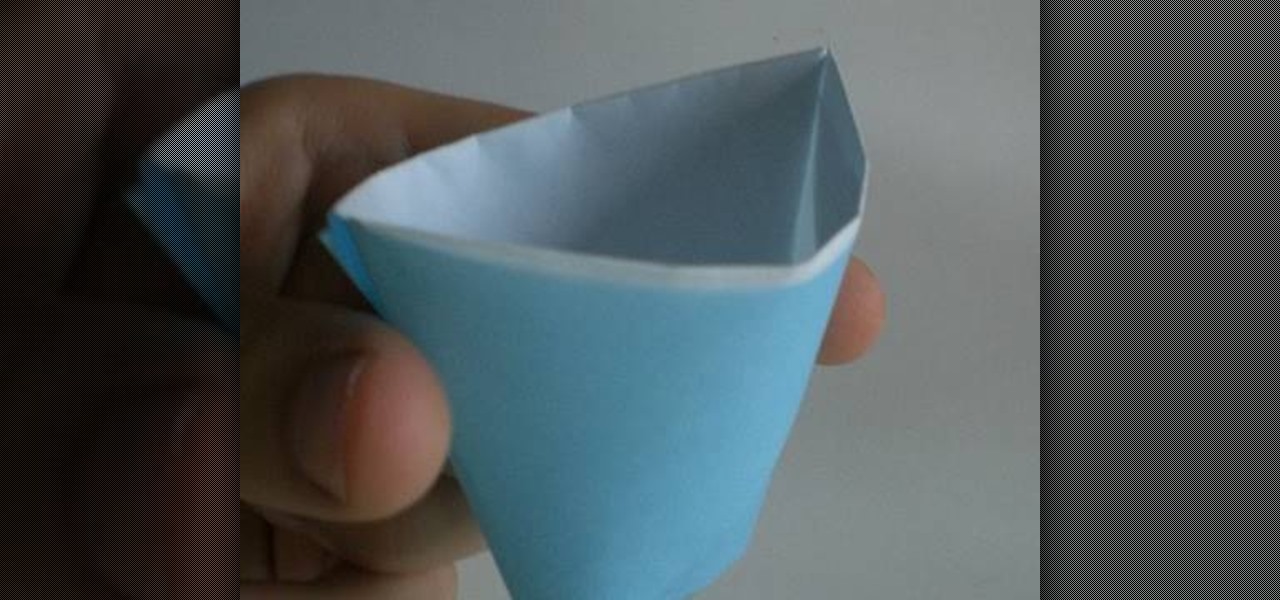
While this paper cup can't hold water or other beverages, it is actually very useful as a container. Whether you're having a birthday party soon and wish to produce inexpensive favor boxes (just fill the cups up with candy) or need little cups to store your tiny treasured knick knacks, these will fit the bill.

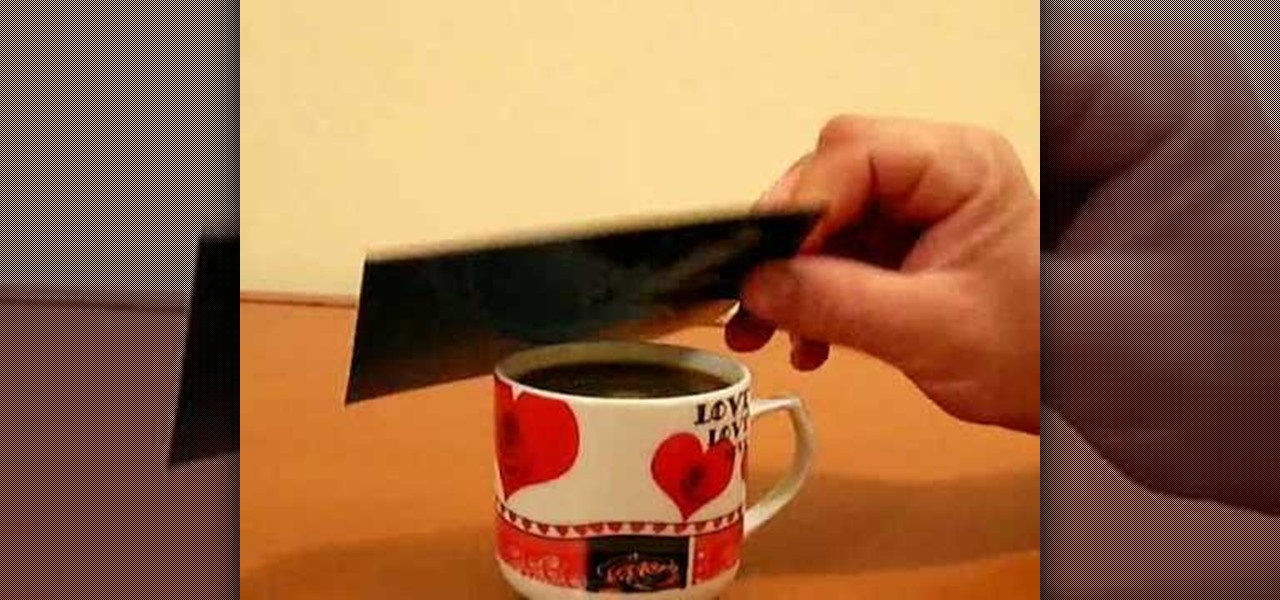
Office pranks have a long and distinguished history. You've probably seen this one before, but in case you haven't, this video will show you how to do the upside-down coffee cup prank. Simply take a full cup of coffee, place it on the desk of your victim, place a piece of paper flat on top, then carefully flip the cup onto the desk and remove the paper. The cup will be upside-down, full, on the desk. The only way to remove it is to soak oneself with coffee, as your victim will most likely do.

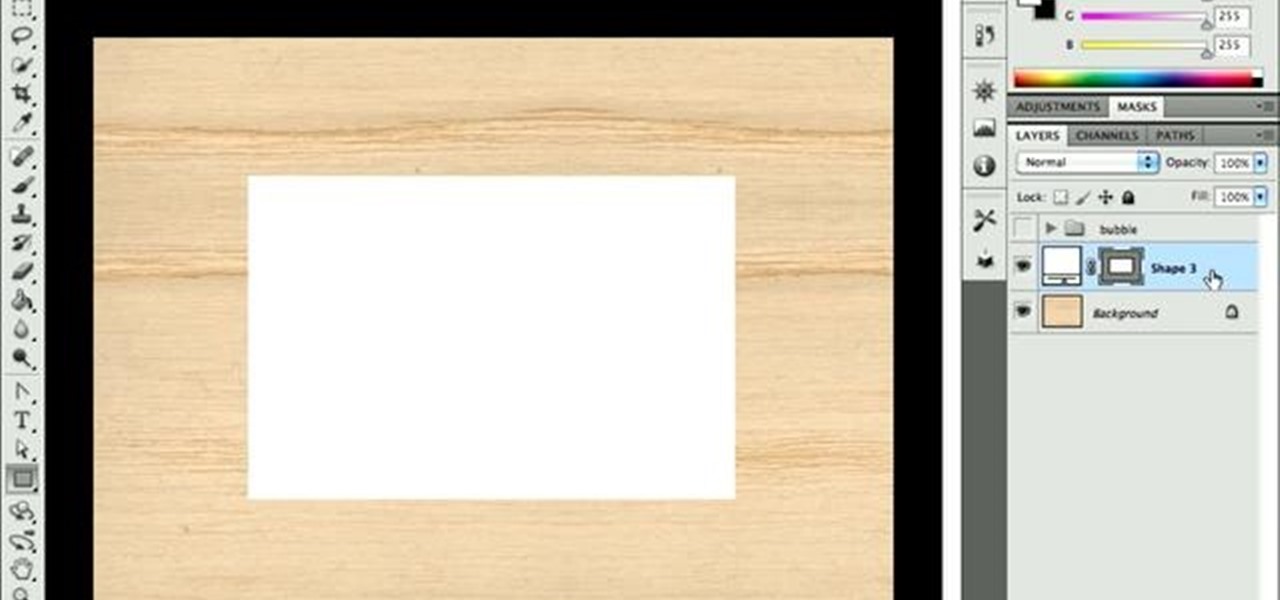
Want to create a realistic paper simulation in Adobe Photoshop CS5? It's easy! And this clip will show you how it's done. Whether you're new to Adobe's popular raster graphics editor or a seasoned designer looking to better acquaint yourself with the new features and functions of the latest iteration of the application, you're sure to benefit from this free software tutorial. For more information, watch this video guide.

In this video, we learn how to write the letter "S" in calligraphy copperplate. First, dab your calligraphy into ink, then start to writ on a your paper. Make a large half bowl shaped curved line, then make a loop and go down, creating a curved line with a dot at the end. To make the lowercase letter, make a thin line, followed by a thick outer line that curves into the large line making a lower case s. When you are finished with both of these, you will have beautiful letters that look great ...

In this tutorial, we learn how to get a coin out of water without getting wet. First, place the coin inside of water on a plate. Next, use a lighter to light a piece of paper on fire, then place the paper inside the water cup and let it smoke and burn. Next, push the cup down onto the plate, and it will soak up all the water that was on the plate! Then, your penny will be dry and you can pick it up without getting wet! This is a great trick to show your friends and works easily without any pr...

The core principle of origami is folding something from a single sheet of paper. The idea is to challenge your mind to create something fabulous out of very limited material. And while this is quite the poetic journey, as you'll see with modular origami and this origami tutorial, sometimes more than one sheet is necessary to get the job done.

In this tutorial, we learn how to make a sniper rifle movie prop. First, go to this website to get the blueprints: Sniper. After this, draw your gun out onto a poster board and cut it out, you will do this for around 6 of these poster boards. When you are finished, use the hot glue gun to stick all of these together. Next, sand out the sides and attach duct tape to the sides to keep it together. After this, grab two empty water bottles and an empty toilet paper roll. Cut around the top of the...

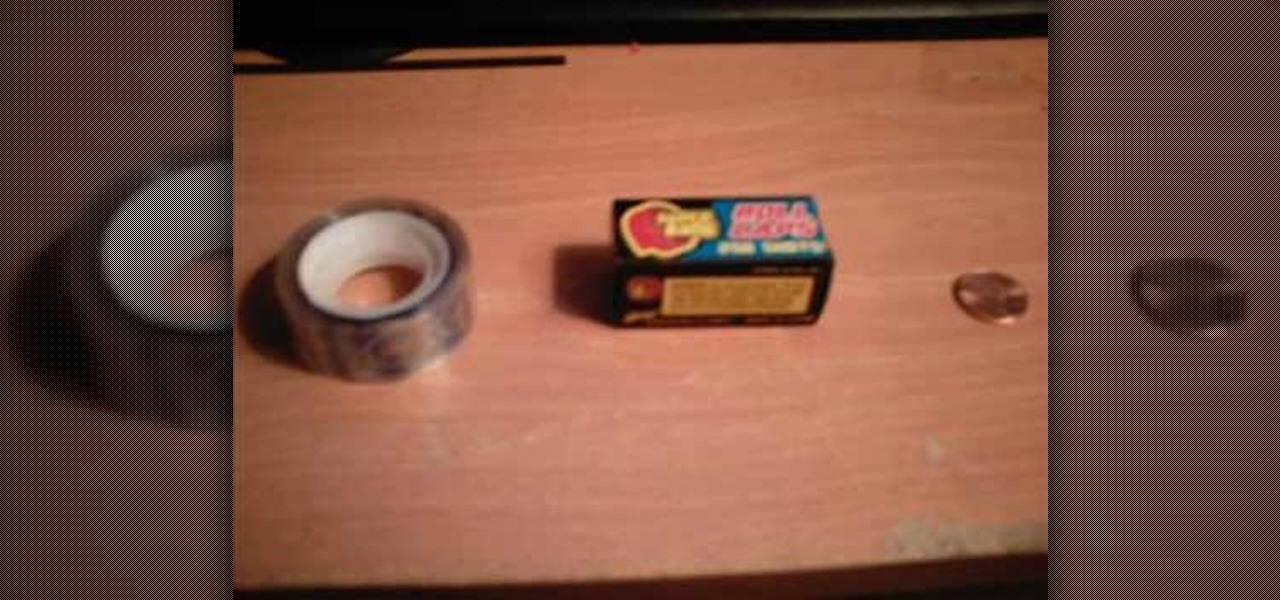
Do you like playing with those little popper things that you throw on the ground and they make a loud popping noise? The ones that come in the box full of sawdust? Well those are for noobs. This video will show you how to make a similar, but louder, device out of a penny, some paper caps (the kind for cap guns, remember those?) and tape. It's loud, easy, and cheap. It may not look pretty, but it'll do the job magnificently.

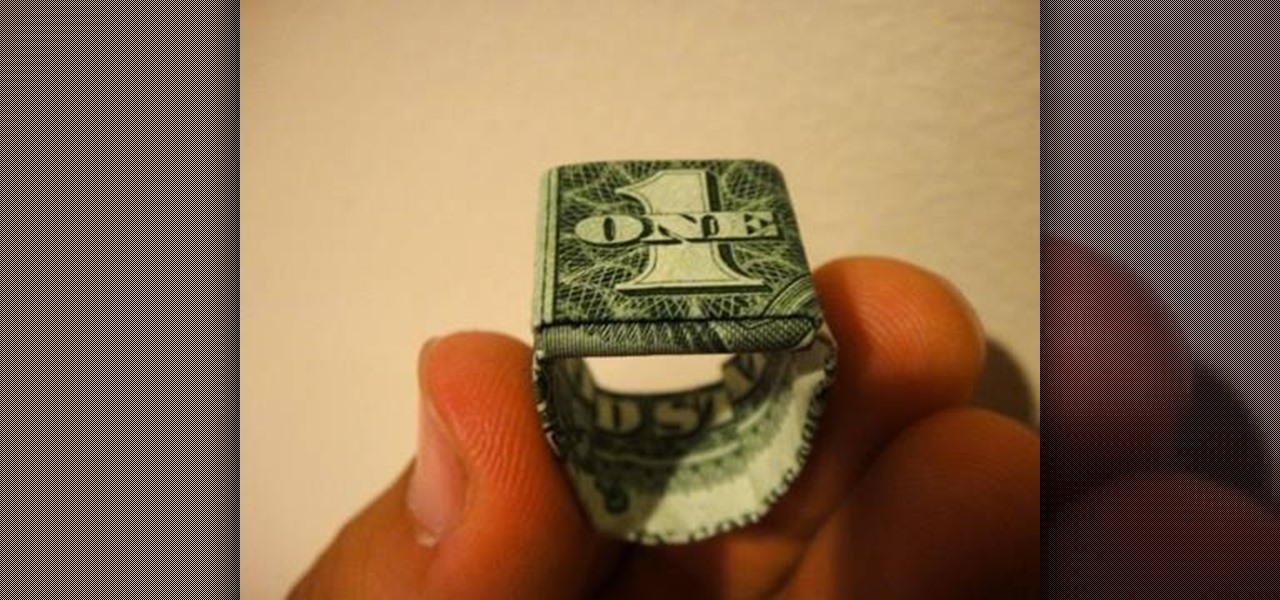
Moneygami is exactly what you think it is - a hybrid of money and origami. Rather than folding origami with your typical origami tissue papers, you can craft yourself something truly special by using money instead.

This tutorial shows you how to create an animation that makes a piece a paper crumple into a ball with no keyframes at all. It uses the cloth tag. Whether you're new to MAXON's popular 3D modeling application or are just looking to get better acquainted with Cinema 4D and its various features and functions, you're sure to enjoy this free video software tutorial. For more information, and to get started using this trick in your own Cinema 4D projects, watch this 3D modeler's guide.

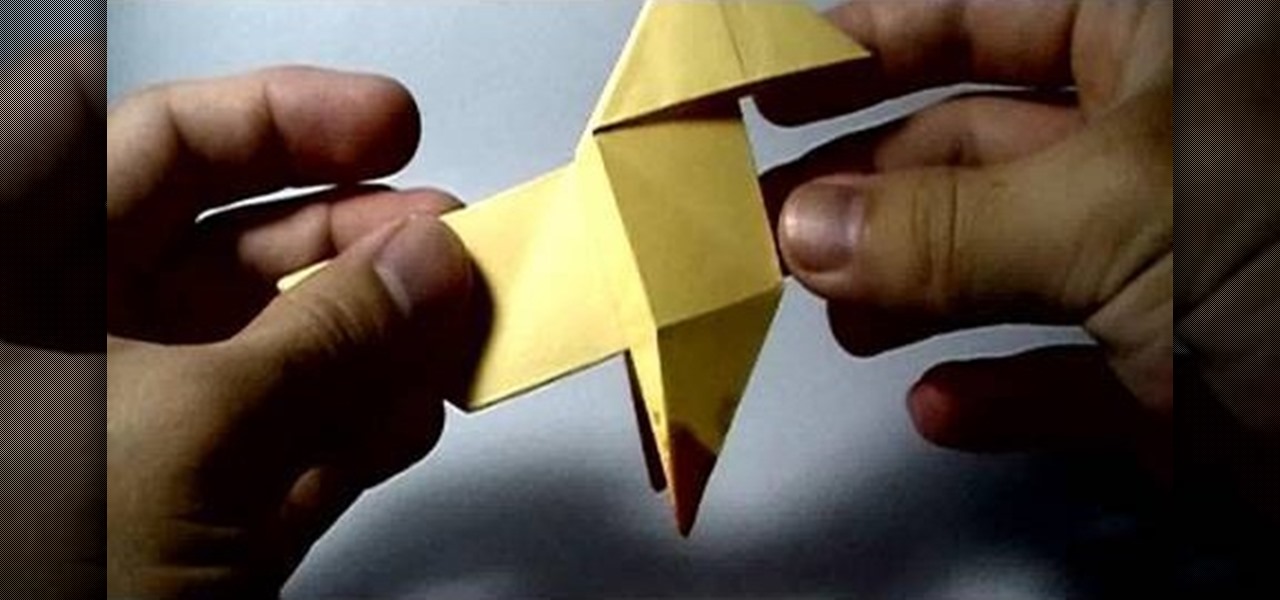
In the PlayStation 3 video game Heavy Rain: The Origami Killer, four protagonists are on the hunt for a serial killer who murders young boys and leave behind his calling card… an origami animal. One of those animals, and the one prominently displayed on the cover art and poster art for the game, is the pajarita. Pajarita in Spanish for little bird (or even just origami in general).

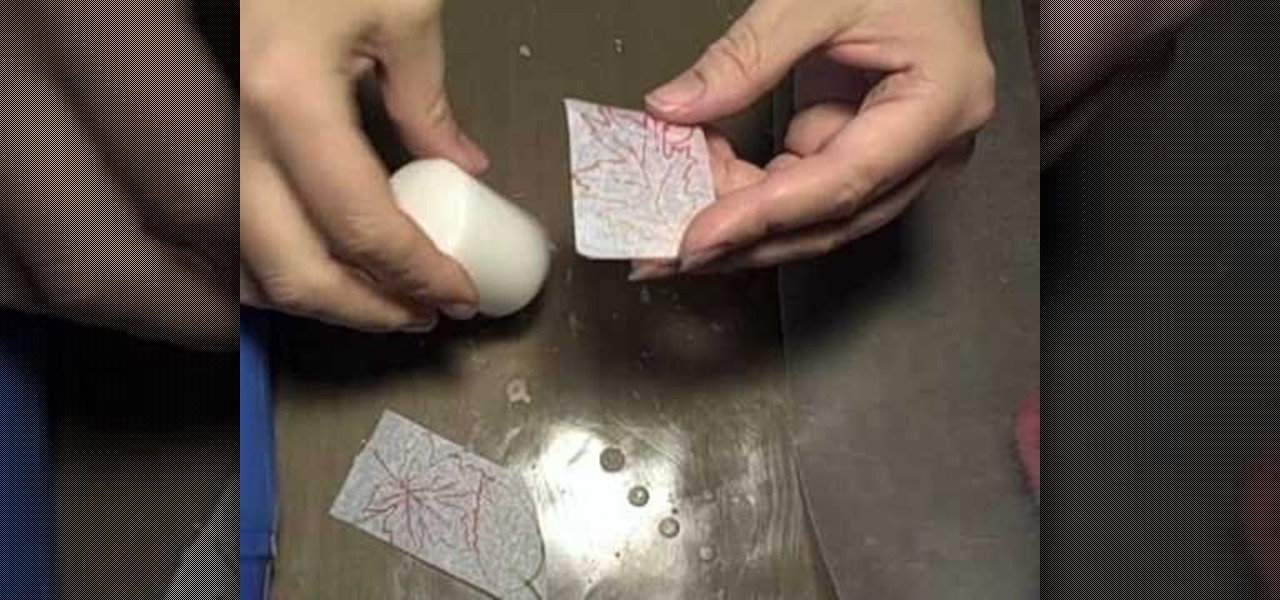
Candles make a lovely addition to any home decor, and they are also fabulous gifts. In this video learn how to make your very own decorative candles for cheap. All you will need to create this funky gift if a plain white candle from any grocery store, tissue paper and some wax paper.

This video illustrates how to fold an origami angel with a wide wing span. Here are the following steps:

This video demonstrates how to caulk windows. For this project, you will need the following: a tube caulk, a putty knife, scraper, a knife or scissors, paper towels, a long hanger or a nail, a caulk gun, a small plastic spoon or a popsicle stick.

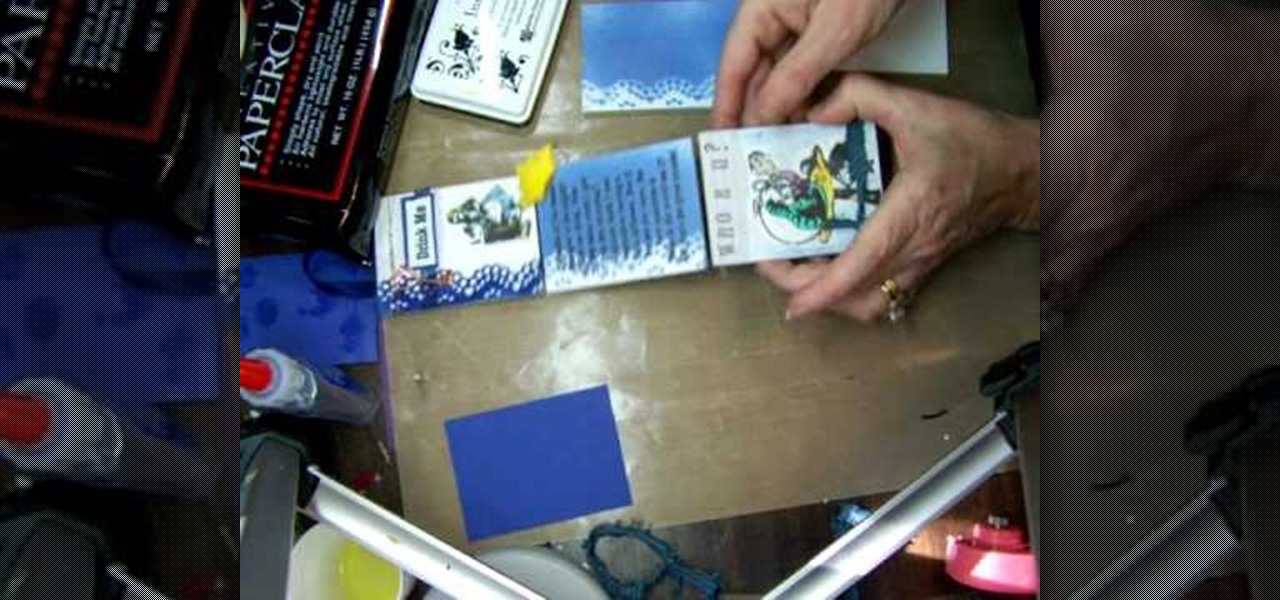
This video is about how to make a story board craft. In this case the story is about Alice in Wonderland. In this case 3 Eco art boards are taken of a suitable size of 2 1/2"X3 1/2" the left edge is decorated with a lace spray painted with Memorie mist spray, the rest of the card is also spray painted. Now from Queen Kat Designs the stampings are selected and stamped on each board as per the story. Whilst stamping Indian stamping ink is used as it does not smudges. For extra decoration paper ...

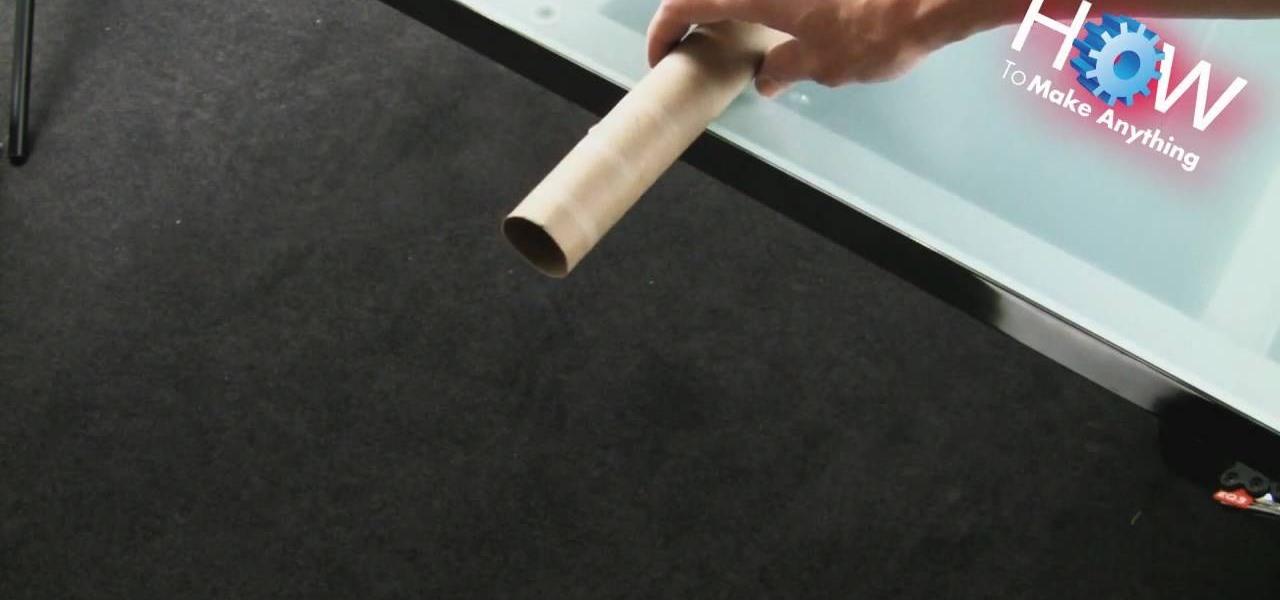
How to Make Anything demonstrates how to make a humane mouse trap from a paper towel tube. If you have a pesky mouse that you would like to catch alive, make a tube mouse trap in a few easy steps. First, put something delicious in the end of the tube. Then, balance the tube on the edge of the counter top. Below the tube, place a mouse catching receptacle like a trash can. The mouse will crawl into the tube to get the treat, tip the tube off the counter and be caught in the trash can. You can ...

In this video tutorial, viewers learn how to make a parchment cone for cake decorating. A parchment cone is basically the same as a pastry bag. Begin by cutting out a piece of parchment paper. It doesn't matter the size of the parchment but it needs to be flat. Using a ruler and a knife, cut the paper diagonally. Take the longer end and curl it inside. Take the other end and wrap it around to form a cone. Fold the top to secure the cone. Once the cream is in the cone, roll the top and make a ...

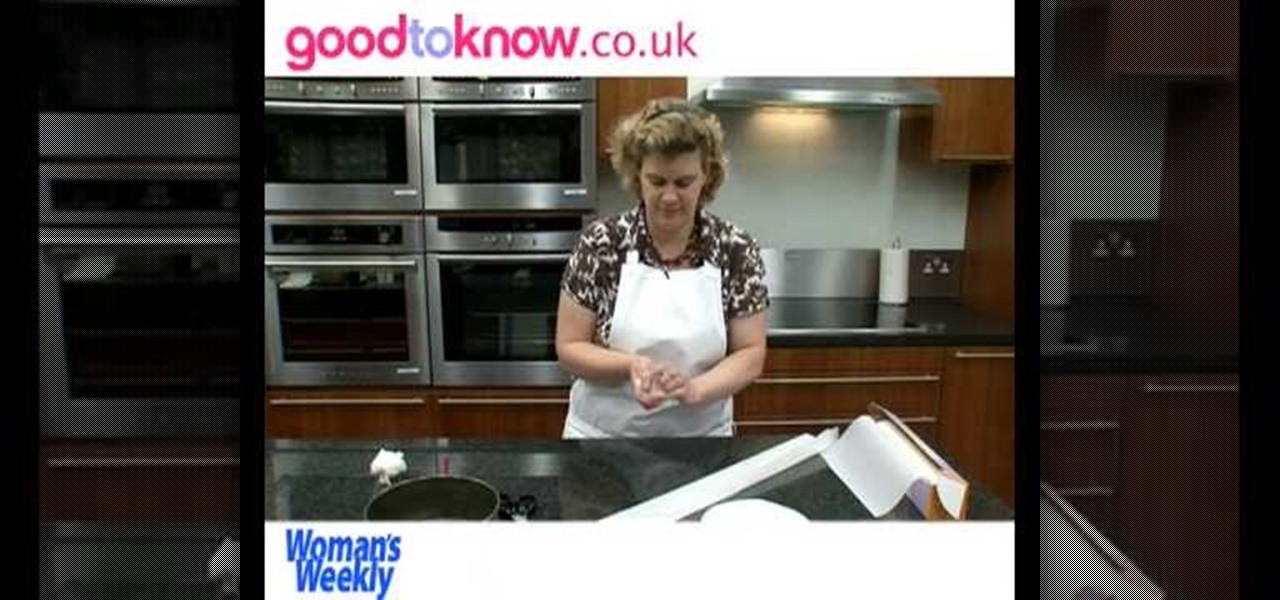
This film from Woman's Weekly shows you how to line a round cake tin. First you take non stick baking parchment. Fold the paper to double thickness, then rest the tin on top and draw around it with a pencil. After that, then cut just inside the pencil line to compensate for the thickness of the tin. For the sides, you roll the tin on its edge, allowing some extra for overlap and a little extra height above the tin. Make a fold a couple of centimeters from the top and then make some cuts from ...

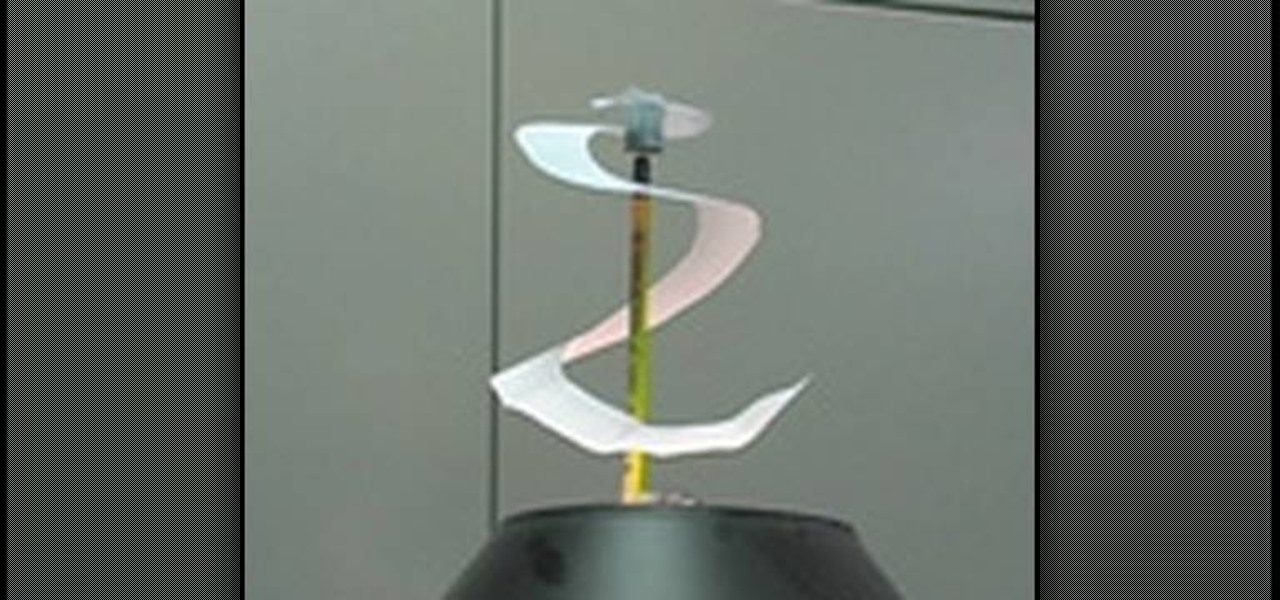
This video teaches the secret of making a cool perpetual spinner with a few little things and science. You will need: white paper, scissors, pen, pencil with eraser on its back, bell pin and a suitable cap. Draw a spiral shape on a plain sheet of white paper using a pen. Now cut out the drawn spiral with a scissor carefully. Punch the bell pin on the tail of a pencil. Stick a small cap (which suits the center of the spiral) to the center of the spiral as shown. Now stick the pencil on a table...

Bring a simple paper to life by making it into an origami flower. This video shows you how to literally add life to a flat white sheet of paper with simple folds and precision you'll make a beautiful origami flower. You can give these hand made beauty to your mother, grandmother, wife, girlfriend, or even your boyfriend. Perfect for any occasion this is a sweet and simple gesture right from the heart. It may take you a few tries to perfect, but like with everything practice makes perfect.

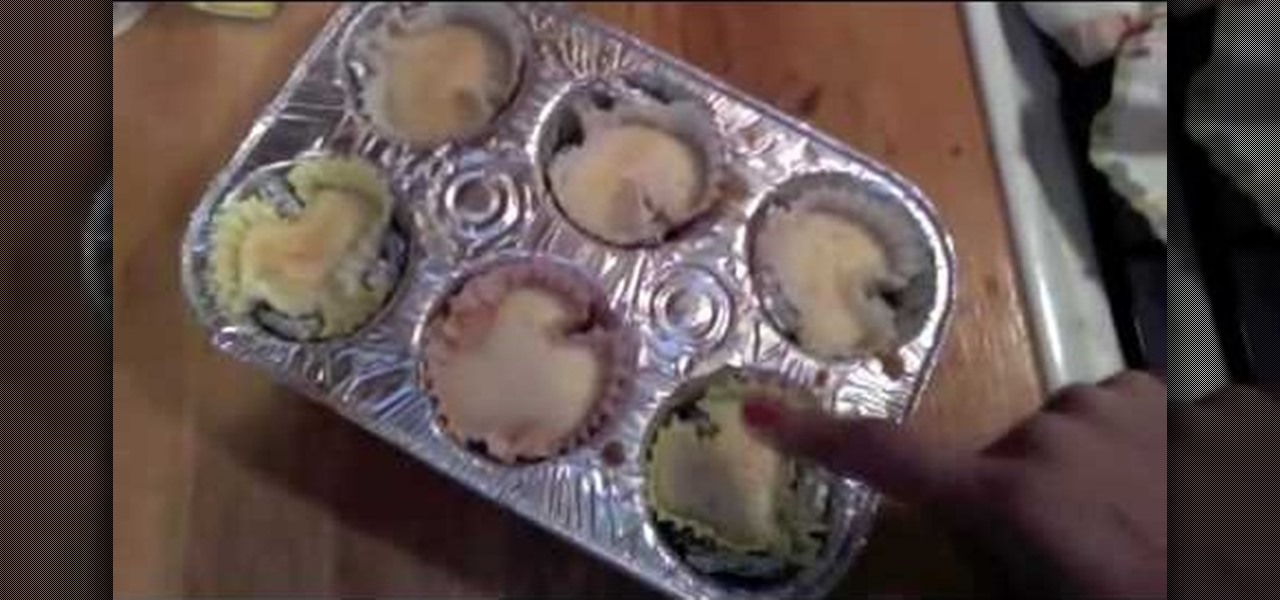
This video explains the method making heart shaped cupcakes or Valentine Day's cupcakes. At first take the mix here the moist deluxe cake mix is used. Using that mix make the cupcake mix, for a particular pack of mix 3 table spoon of oil is added then add egg white to the mix. Then to the mix pour some water of about half or quarter of a glass. The water poured mix is mixed with a mixer. Then pour the mix in the cup cake plate placing a cup cake paper in it. Then shape it in the form of heart...

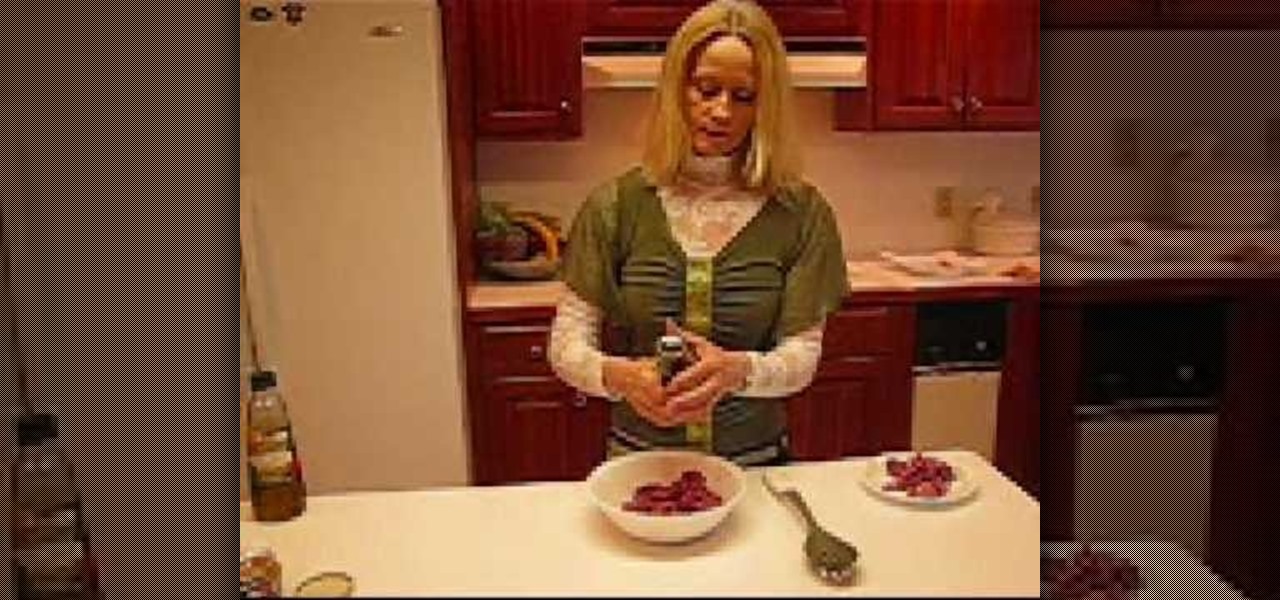
What a great snack idea! Betty's tangy garlic sirloin steak bites. These look utterly delicious! Ingredients: 1.5 pounds boneless top sirloin steak (You may substitute strip steak or ribeye steak.)

Butterflies are some of natures most beautiful creatures. How would you like to make one of your very own? Check out this tutorial and learn how to origami your very own paper butterfly and impress your friends. Grab a piece of paper - and some pens or markers if you wish to decorate your unique butterfly - and start folding! Making an origami butterfly is not as difficult as you would think, but you would never know that from the great results. Have fun!

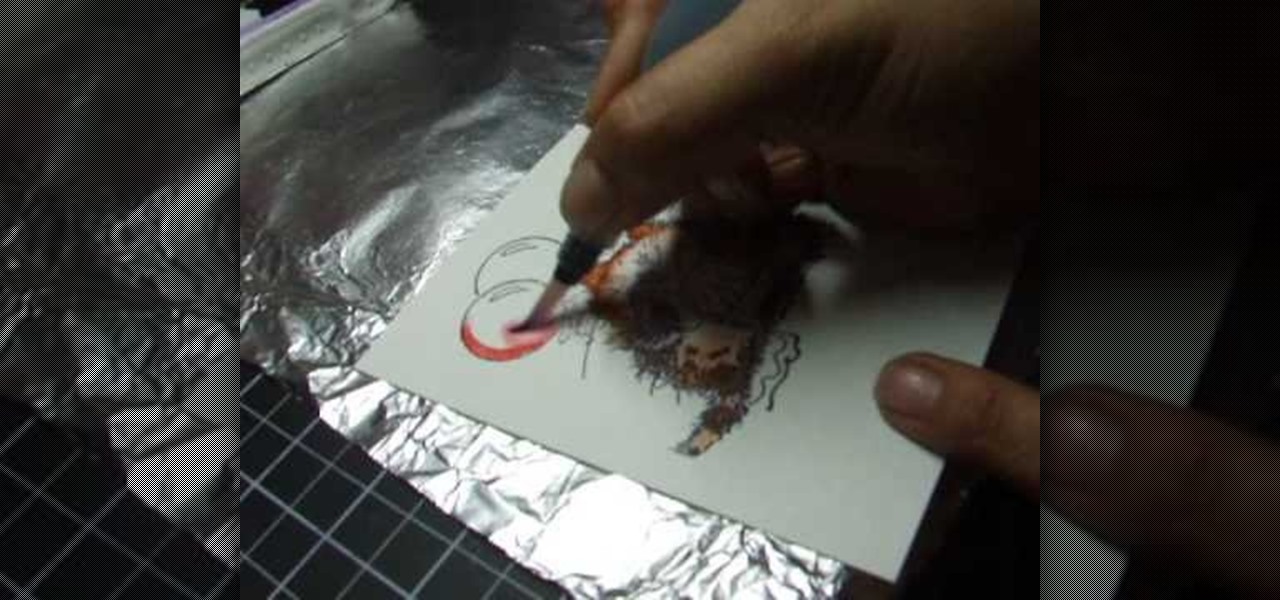
Maria Bell demonstrates to create the watercolor project, add color to the watercolor paper by first outlining the image or the shape with the SU marker. Then, distribute the color from the edge of the image or shape to the center of the image or shape with an aqua painter or watercolor brush. Fill in the images with shading details as desired. The technique produces gradient shading and a quick spread of colors without the use of watercolor pencils or crayon. Painting watercolors with SU mar...

Enchant that special birthday boy or girl with a unique origami birthday pop-up card by following this well produced instructional video. 1. All you need is a two sided square piece of colorful wrapping paper to create your origami birthday pop-up card. As long as your paper is square, the finished card can be any size you wish. 2. Make a series of simple sharp folds on both sides, carefully following the video instructions. Pay particular attention to the final intricate folds which create t...

This is a video about how to fold an awesome origami elephant by the help of paper only. For this you have to complete the following step (1) Fold half of the paper. (2)Again fold in two outer edges. (3)Fold corner across middle and then fold edge into center(4)Collapse triangle inside and fold corner inwards.(5)Create the ears and trunk also, at last create the body of elephant. This is a very good origami to use or play.

Ron Hazelton shows a great way to bring the outdoors indoors with a garden window. First remove the existing window. Pry off the exterior trim and remove the old window framing. Build a new frame for the new window with 2x4's and shims. Trim away any exterior siding if necessary. Use waterproof flashing paper and caulk to make the new window watertight. Install the new window into the frame with rust-resistant screws. Add another run of caulk, then trim off the excess flashing paper. Use anot...

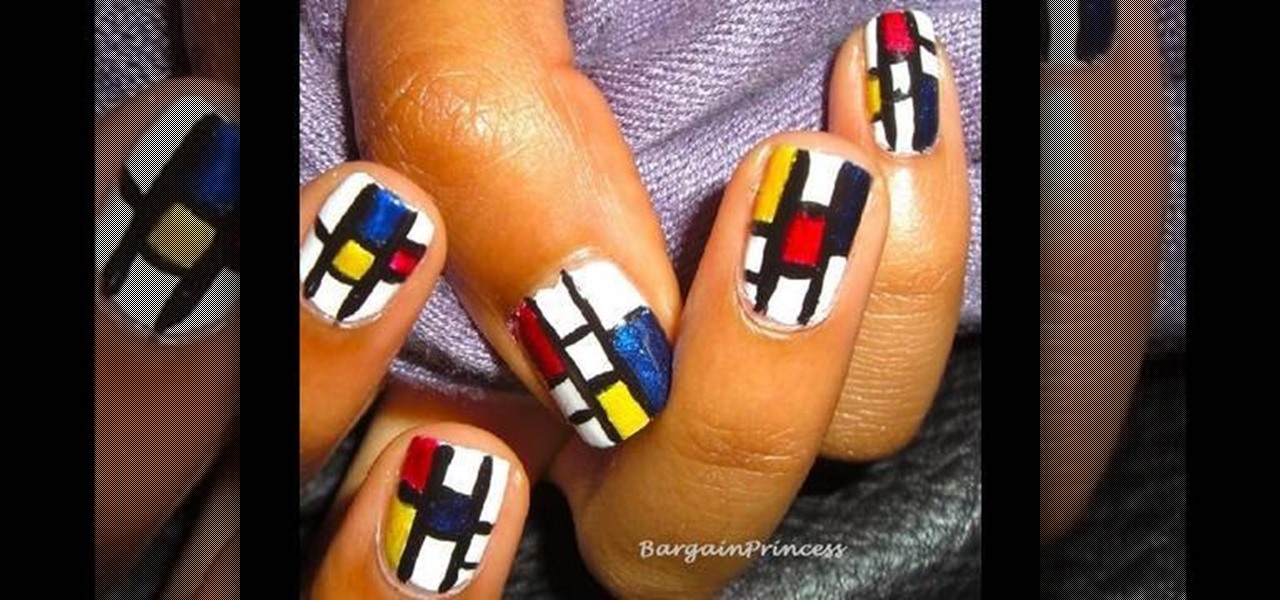
This video shows how to paint Piet Mondrian inspired block print nails yourself. Apply a white base coat and top coat. Use black nail art paint because of the thin brush. Paint two black lines the length of your nails. Then paint black lines going across the width of the nails to make random size boxes. Dab the color of paint you are going to use on a piece of paper and use the nail art brush to get the paint off of the paper and apply the different color paint to the boxes. Wait about 10 min...


