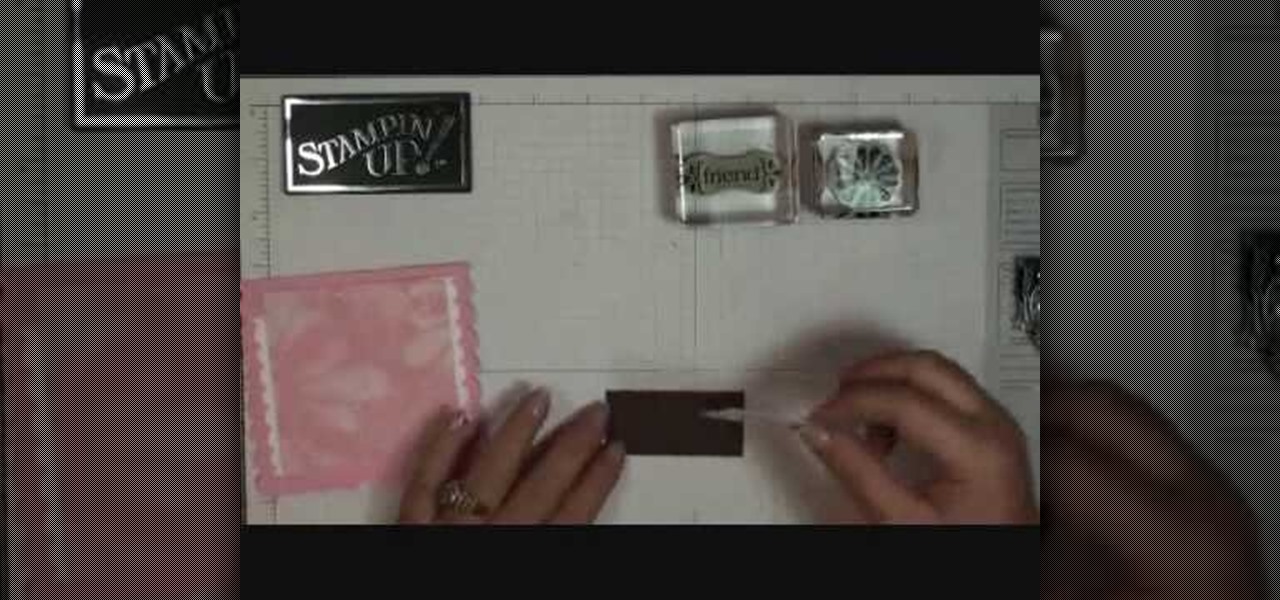
In order to make a scallop square card with Stampin' Up, you will need the following: a big shot, a large scallop square # 115950 Bigz Clear die, stamps, adhesive, design paper, mini glue dots, decorative ornaments, and card stock.
One way to avoid plagiarism is to paraphrase. Plagiarism is taking credit for words and ideas that are not your own. Plagiarism can be done intentionally or unintentionally. Paraphrasing is one way to do this, as long as you give credit to the source of the ideas.
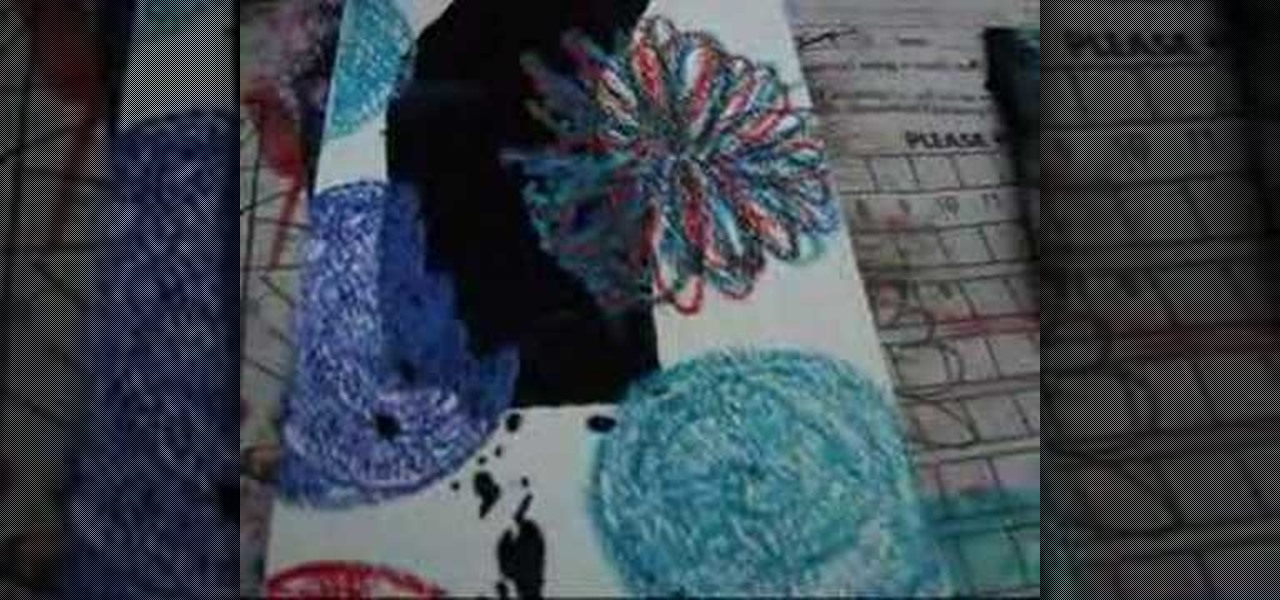
In this video, we learn how to make crayon resist watercolor background sheets. First, draw a pattern onto a piece of paper with crayons. You can make any kind of pattern that you want. After this, add some water color paint to the picture and use a credit card to push the paint around the picture. You will see that the crayon resists the paint and the paint sticks to the paper instead! Let this dry, then you will see that the crayon is still resisting the watercolor ink. After this, enjoy yo...

Origami is an art form that requires time, patience, and the ability to fold things in order for it to take a 3D shape. This next tutorial is an easy video on how to make an origami box. You can use three magazine papers so that you can actually hold things in it. It's good for holding things in like paper clips, orange peel, and much more. So sit back, pay attention, and enjoy!
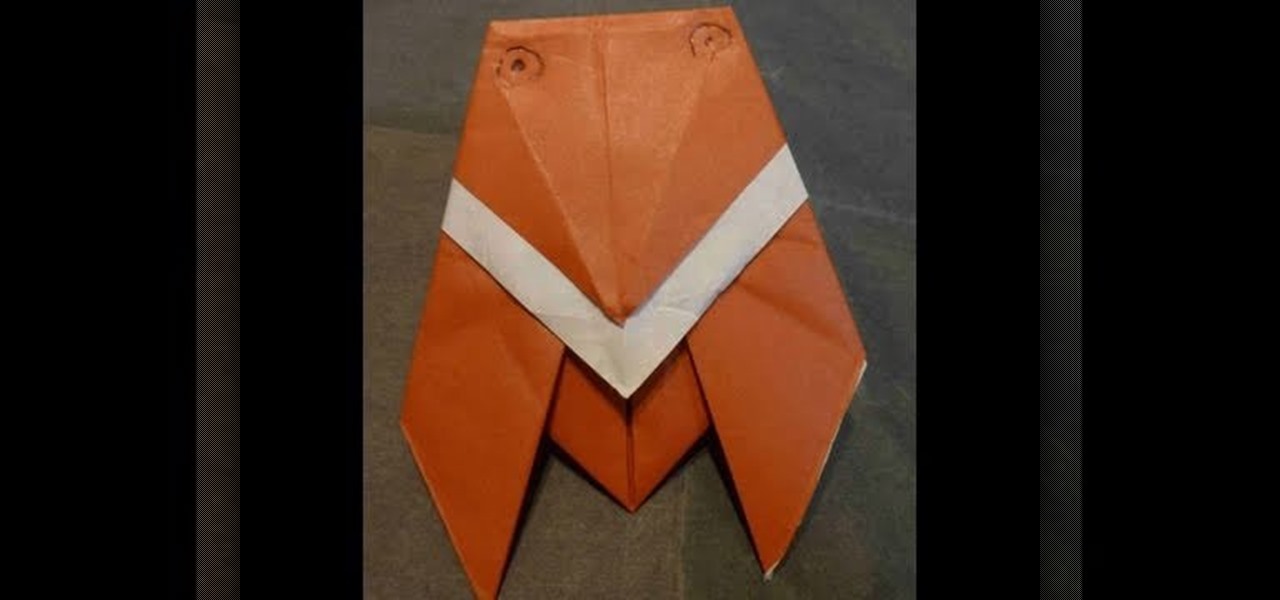
A cicada is a fancy term for a flying cockroach, and though it may seem strange - not to mention disgusting - to want to make a cockroach replica out of paper, we promise that the paper version is much cuter and won't pee on you like the real ones would.
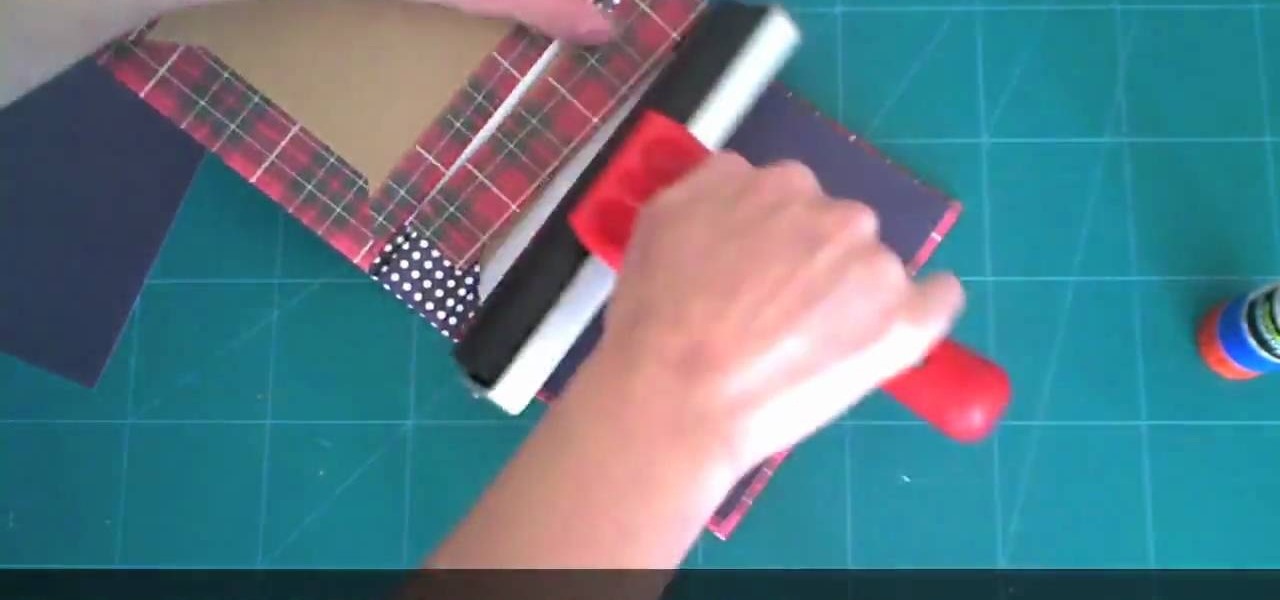
In this tutorial, we learn how to make a journal from packaging materials. First, cut a cardboard at 5.5" x 4.5" on each side. When you are finished, create another cut that is 5.5" x 1" for the side. Now, cover the two large sides with a piece of fabric that you choose. After this, cover the middle piece with fabric, and then tape it on with double sided tape. Next, place all pieces next to each other, tape it, then place a solid piece of paper on the inside, and use a glue stick to adhere i...

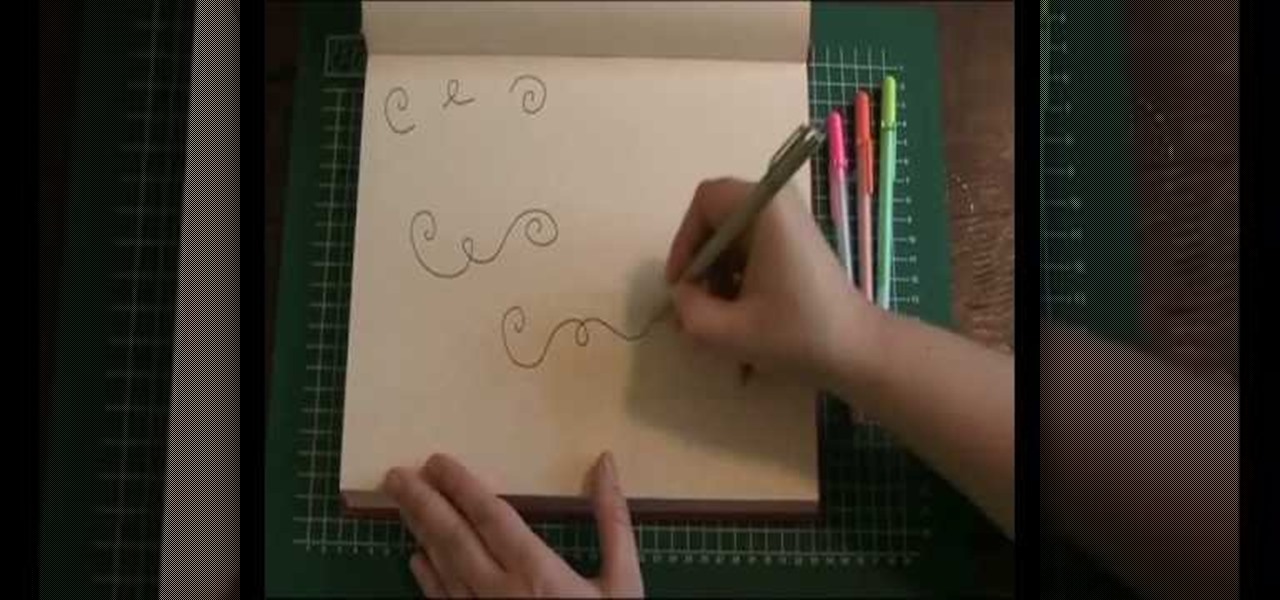
In this video, we learn how to draw a doodle with Marieke Blokland. Start off by writing the letter "e" in cursive, several times, making the letter larger as you go. Link the e's together, then when you get to the bottom of the paper it will be just a scribbled loop. Now, on the next page, draw more of these looped e's, dragging out the lines. On the next paper, draw spirals going from smaller to larger and going clockwise and counter-clockwise. Start to incorporate all of these shapes toget...

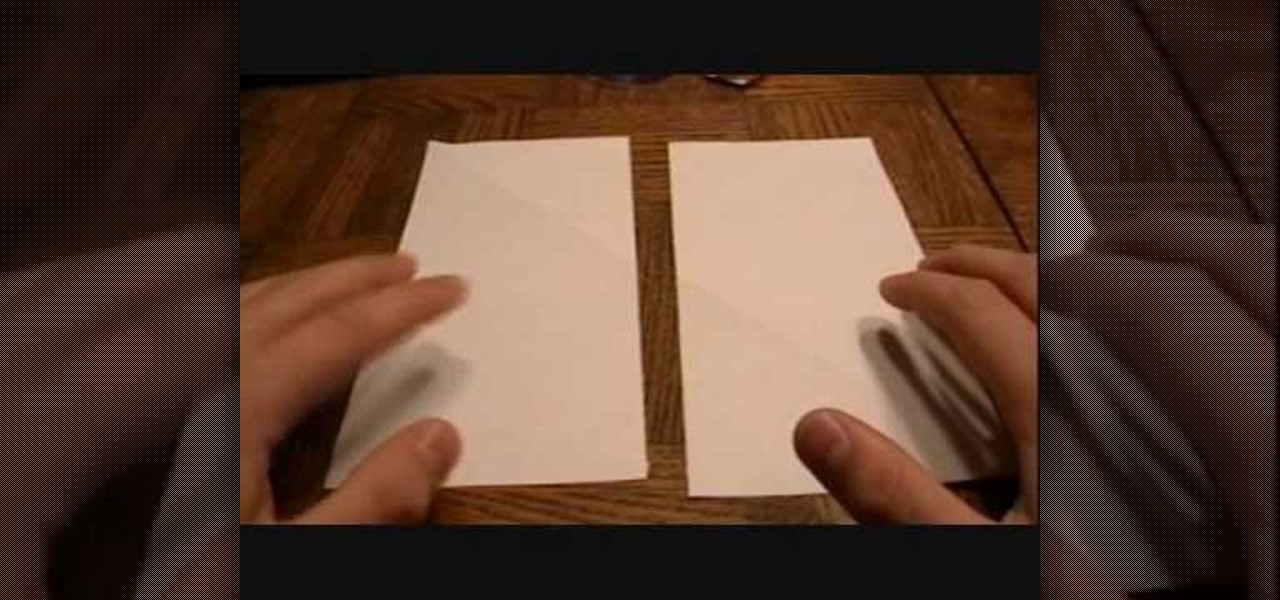
In this Arts & Crafts video tutorial you are going to learn how to fold an origami ninja star. Take a normal paper. Fold it diagonally from one corner and cut off the extra portion to make a square. Fold it in half and cut into 2 rectangles. Fold each piece in half along the length. Fold both ends of each piece in opposite directions to make a triangle. Now fold the ends again to make a bigger triangle at both ends of each piece of paper. Each sheet will form a 'Z' shape. Now place one sheet ...

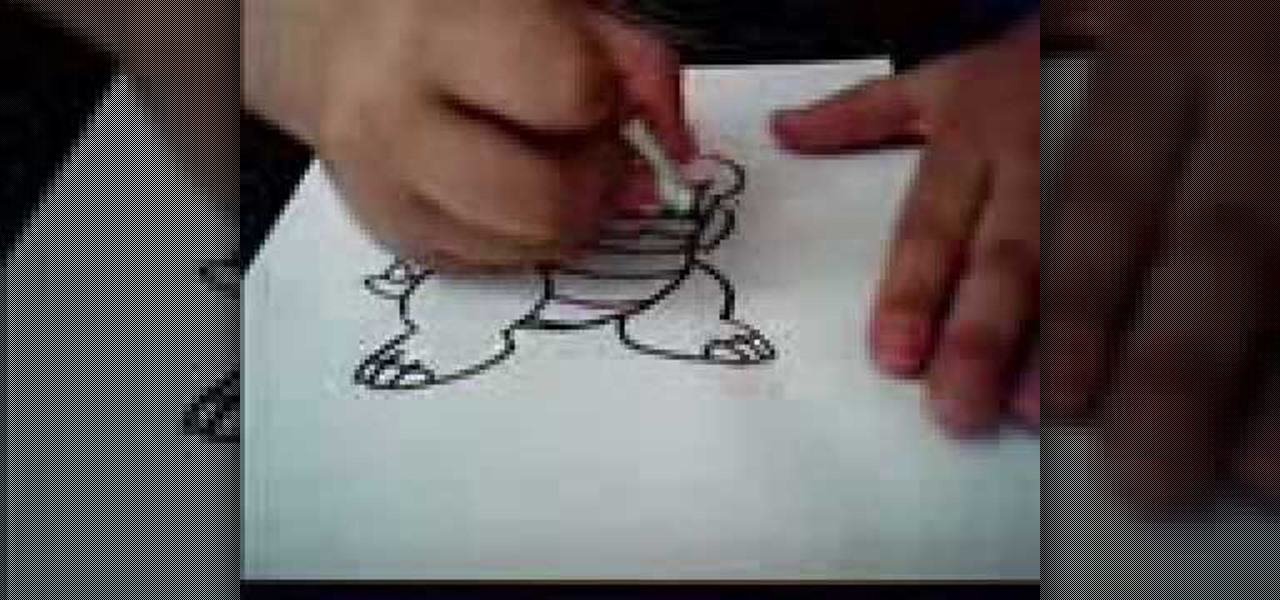
In this video, we learn how to draw Paper Bowser from Mario. Start off by drawing the legs and feet. Make sure you draw claws instead of toes and make three large toes with nails. Next, draw the belly of Bowser in the middle of the two legs, with stripes on it. Next, draw upwards and make a curve for the back and draw spikes onto it. Also, draw a tail with a spike on it coming from around the thigh by the foot. Once you are at the top, draw the head and all the facial details in. Make sure to...

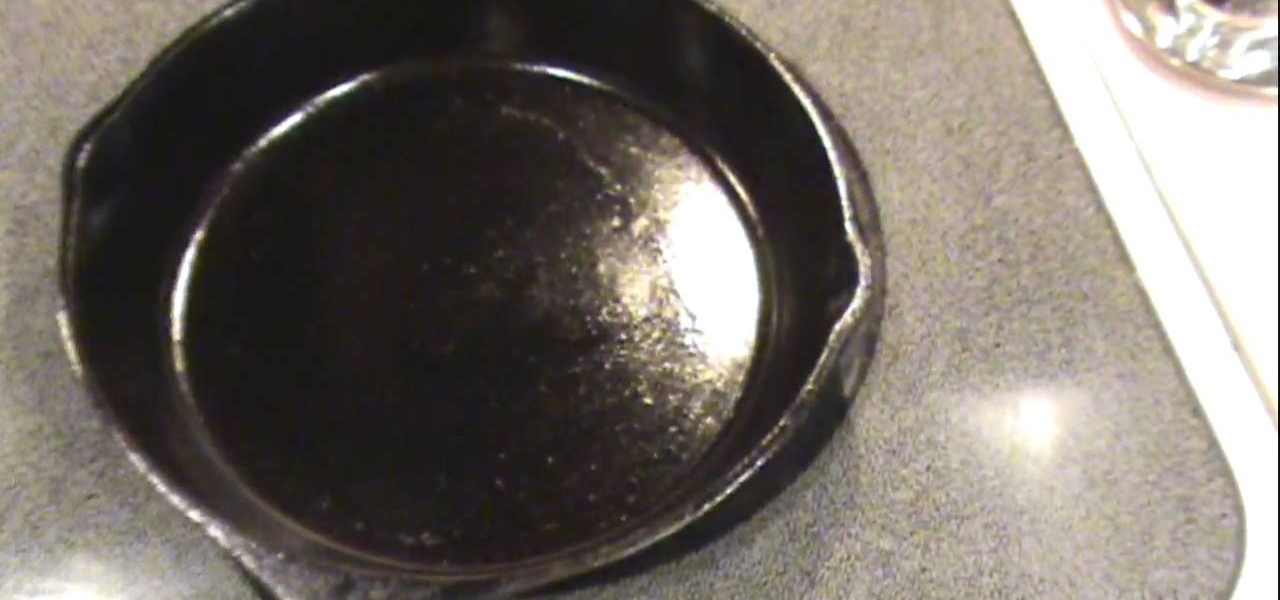
If your cast iron pan is sticky, you will need to place the pan on top of the stove. Turn the heat on high for 30 seconds to less than one minute. Then, turn it down to medium heat. This will loosen up the oil. Then, you'll need to buff out the creases and the spots. Place a little oil in the pan, approximately 1 tablespoon. Spread the oil around with a paper towel. Continue smoothing the pan. You may need to get a new paper towel, if it gets to hot.

In this tutorial, we learn how to decorate your jeans with embroidery. First, you will lay your jeans flat on a surface, then trace out the space you want to make on a piece of paper and cut it out. After this, place the paper on an embroidery sheet to transfer the design. When finished, cut the embroidery out. After this, use a needle and the same color thread as the design to sew it onto the desired spot. When you are finished, you will have a unique embroidery that you designed! This can b...

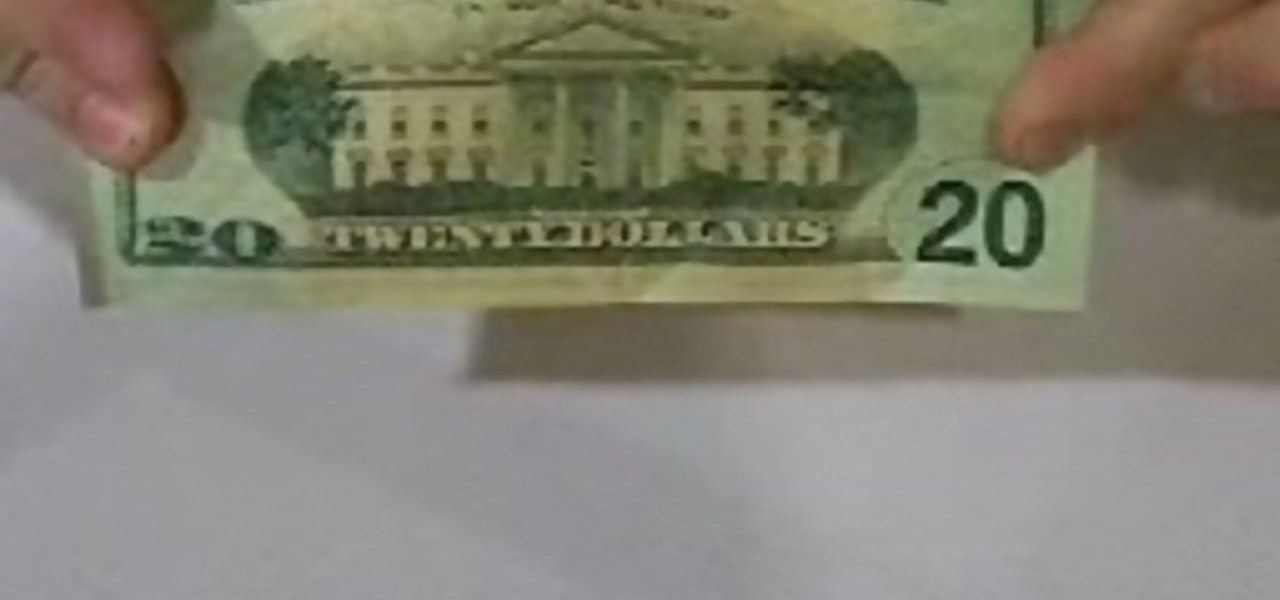
In this tutorial, we learn how to make a paper football with a $20 bill. First, take the bill and fold it in half length wise. Next, take the bill and fold one of the ends into a triangular shape. After this, fold the triangle over and keep doing this until you get to the end. When you reach the end, and tuck the flap on the end into the pocket you created. After this, you can hold the bill up with your fingers, and flick it with your other fingers. You can use any type of bill to make this, ...

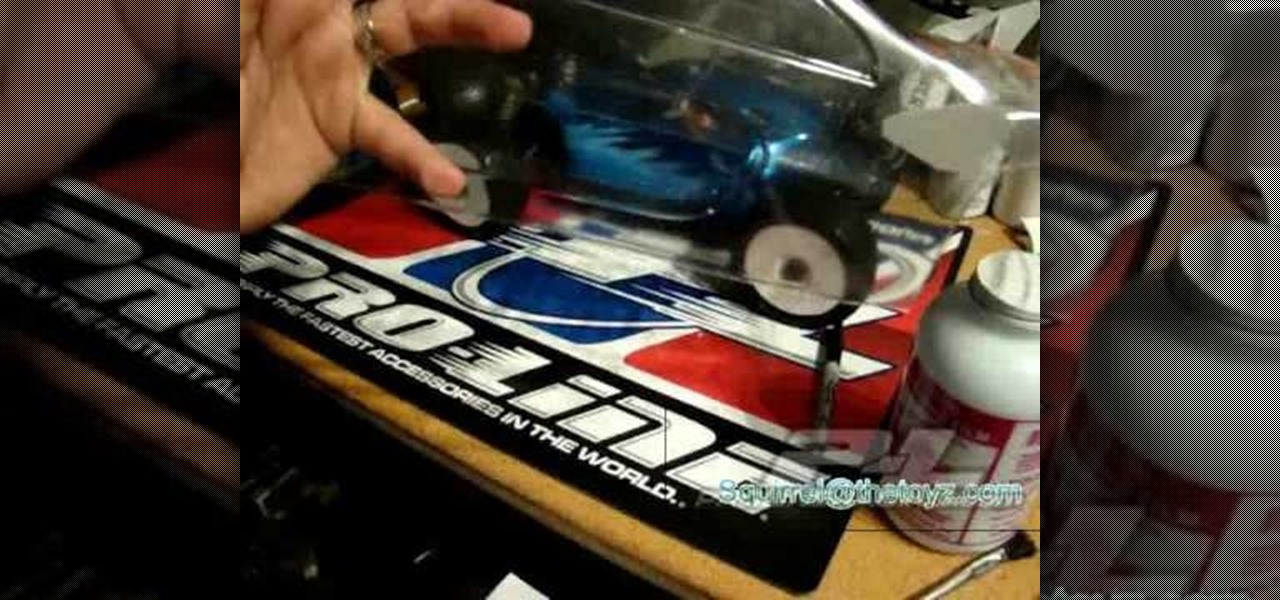
In this tutorial, we learn how to apply decals to RV cars. First, peel your decal from the paper they come on and then place it onto the RV car where it is smooth and there are no ripples on the vehicle. Make sure the entire decal can fit onto the spot where you want to place it. If you put it onto a bump, it won't seal and there will be blur with the lines. Once you apply the decal, push on without letting any air through, dragging the paper along the artwork. To make it more flat, take a cr...

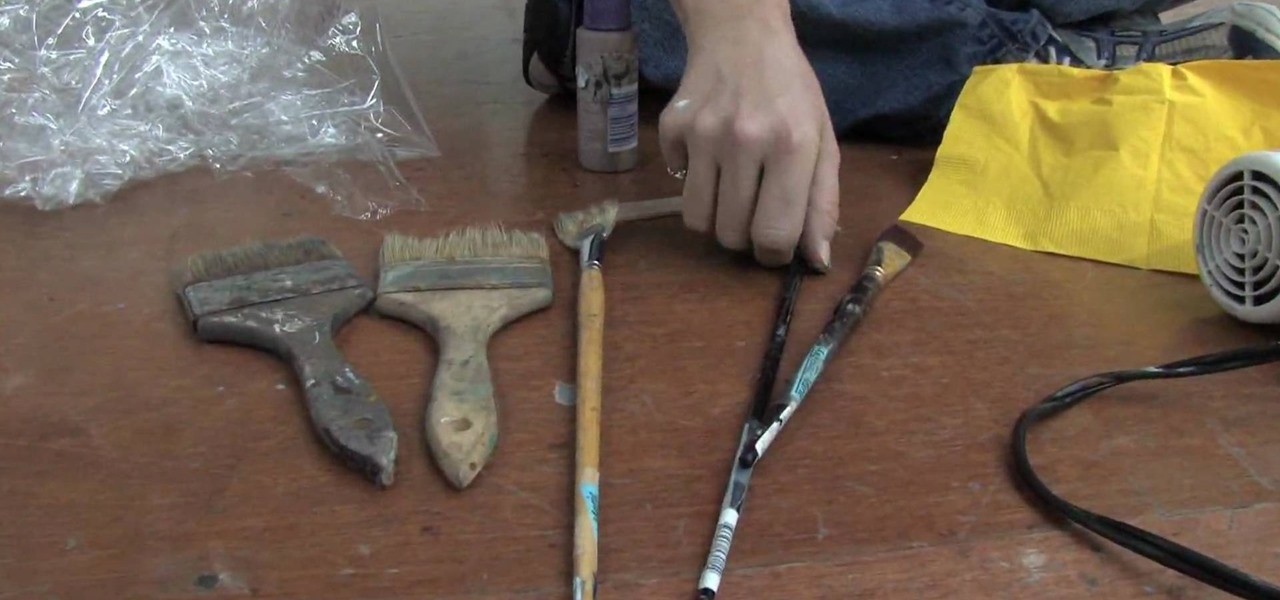
In this tutorial, we learn how to understand artist tools for painting. The first tool is plastic, which can be use for great textures on the painting. Cheap brushes are great for painting in big spaces and fan brushes are great for painting wider widths. A badger hair brush will be best for painting tails on canvas and different types of papers. A synthetic brush is very easy to clean and perfect for oil or acrylic paint. A hair dryer is a tool that is great to speed up the drying time of pa...

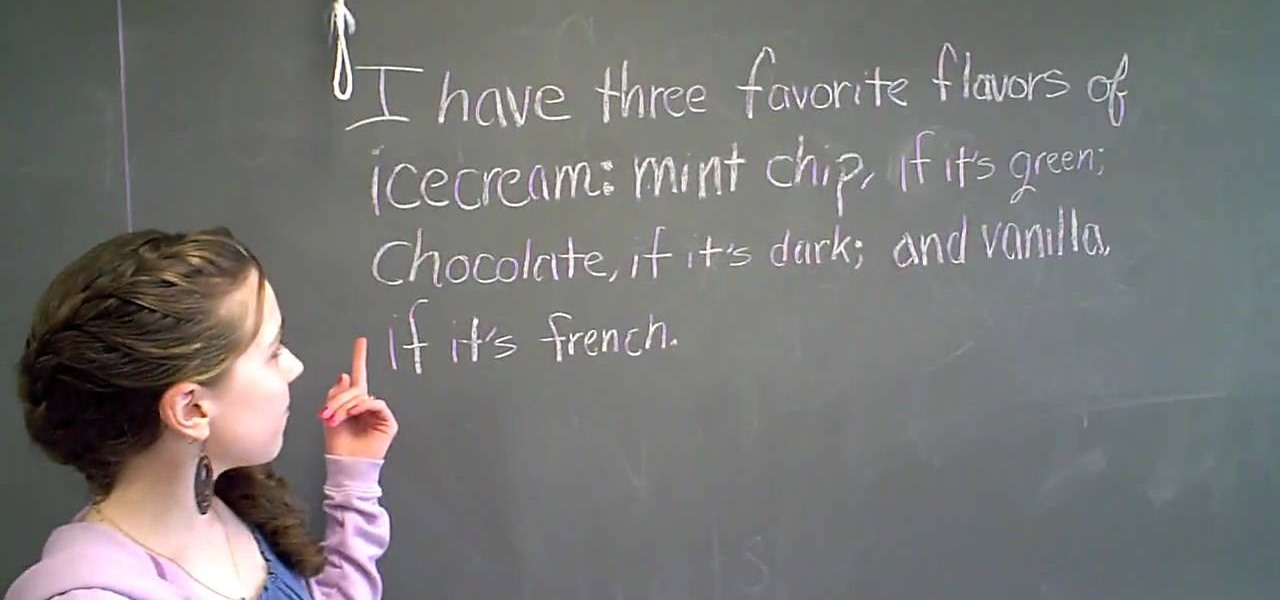
In this tutorial, we learn how to use colons and semicolons. You will use a colon when the second sentence is explaining a 'why' of the first sentence. You will use a semicolon when the second sentence is adding more to the first sentence, not explaining it. You can also use a colon when you are writing a long list and the sentence can't stand alone. Use a semicolon to separate two sentences that can stand independently. Knowing the difference between when to use these punctuations can mean t...

In this video tutorial, viewers learn how to make a sawed0off shotgun. The materials required for this project are: hot glue gun, duct tape, cardboard, utility knife, black marker, spray paint and 2 paper towel rolls. Begin by tracing a shotgun outline onto the cardboard. Make 6 layers and glue all the layers together. Then smooth the edges with sandpaper and tape the outside with some duct tape. Now tape the 2 paper towel rolls together and tape it on top of the shotgun. Finish by painting t...

In this video tutorial, viewers learn how to make a secret deodorant safe. Begin by removing the cap of the deodorant, and cut off the top part of the deodorant can, using a pair of pliers. Now simply place in your item and place on the cap to disguise your safe. Place some tissue paper inside to prevent and rattling and provide protection. To place in a small container, buildup some tissue paper by gluing it inside the can. Then place in the small container and place on the deodorant cap. Th...

In this Fine Art video tutorial you will learn how to embellish a sweater by adding a bejeweled collar. This will be a great Christmas gift idea. Take a short sleeve sweater and cut out its neckline on a piece of paper. Take a piece of woolen cloth of matching color, pin the paper cut out to it and cut off the woolen piece. Place the woolen cut out on the neck of the sweater and arrange some jewels on it. Then with a hard glue gun apply hard glue to the back of each jewel and stick it. You ca...

Do you have tons of post-its and scraps of paper lying around? Is it overwhelming to sift through layers of papers just to find the newest note? If you have this problem, worry no more! In this tutorial, you will learn how to create your very own DIY chalkboard so that you can organize your notes and get rid of all the clutter!

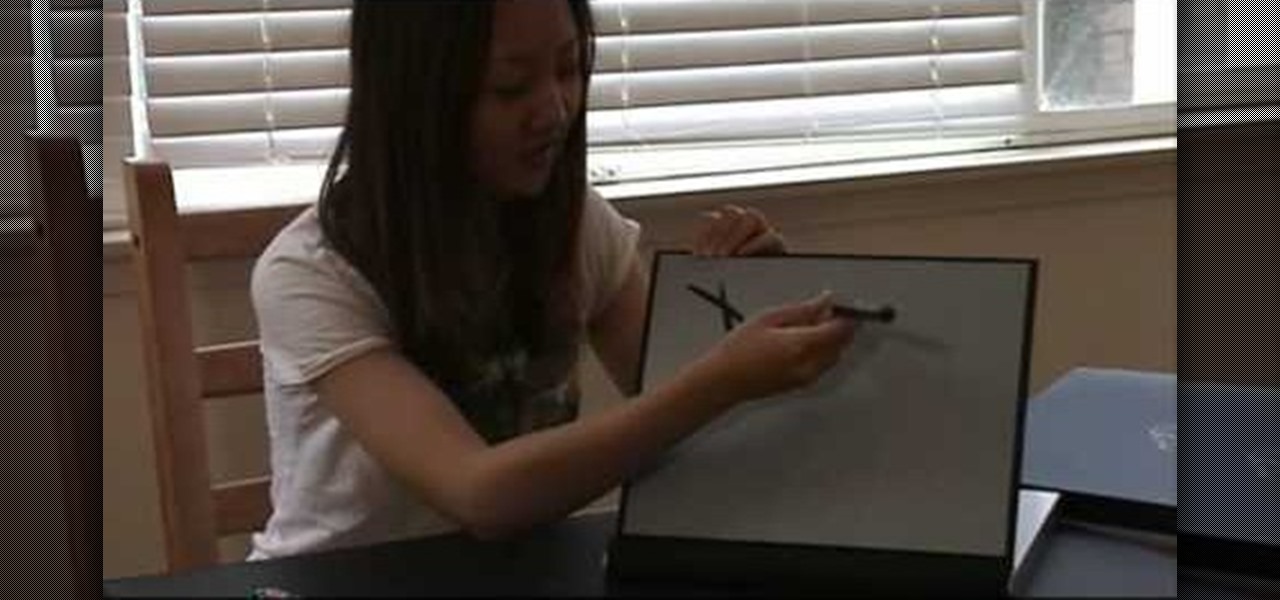
Whether you are just starting out doing Chinese calligraphy and painting or a have been doing it your whole life, practice is crucial. Rather than wasting ink, paint, and paper on practice pieces that you are going to discard or throw away afterwards, now you can use a Buddha Board! These devices allow you to use a waterbrush pen and water, no paper, ink, or paint, to create images that will disappear after the water dries! No mess, no waste, just an effective way to practice your art and sav...

Feeling ambitious? With this guide, you'll learn how to make 3D buckyballs with origami, the traditional art of Japanese paper folding. For more information, including a step-by-step overview of the folding process, as well as to get started making your own colorful paper gift boxes, watch this free origami lesson.

This video shows how to write the numbers 0, 1, 2, 3 and 4 in Copperplate style. Special marked paper is used, with slanted verticals and regular horizontals, so that the numbers are even in size. The number 0 is drawn slowly, showing how the nib rests on the paper and is drawn anticlockwise. Then the number 1 is drawn, and again the up strokes are thin, while the down strokes are thick. The number 2 is drawn in two steps, starting with the top part. Numbers 3 and 4 follow in a similar fashio...

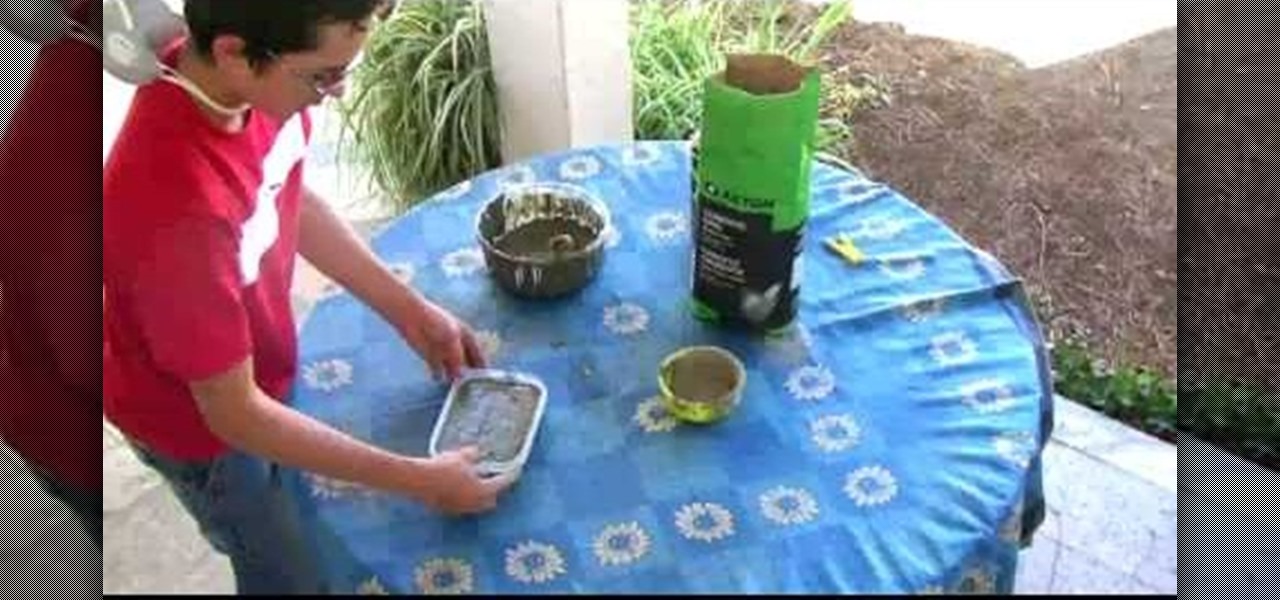
In this Home & Garden video tutorial you will learn how to make a concrete obstacle. Materials required are cement, 1 big receptacle, 1 small plastic receptacle, a cup for measuring, a spatula, 1 mold, WD40, paper towels and protection mask. Wear the mask, spray WD40 on the small receptacle and the mold, and wipe off with paper towel. Pour two cups of cement in the big receptacle, add one cup of water and mix slowly with the spatula. You can add more cement, water and make it to a watery cons...

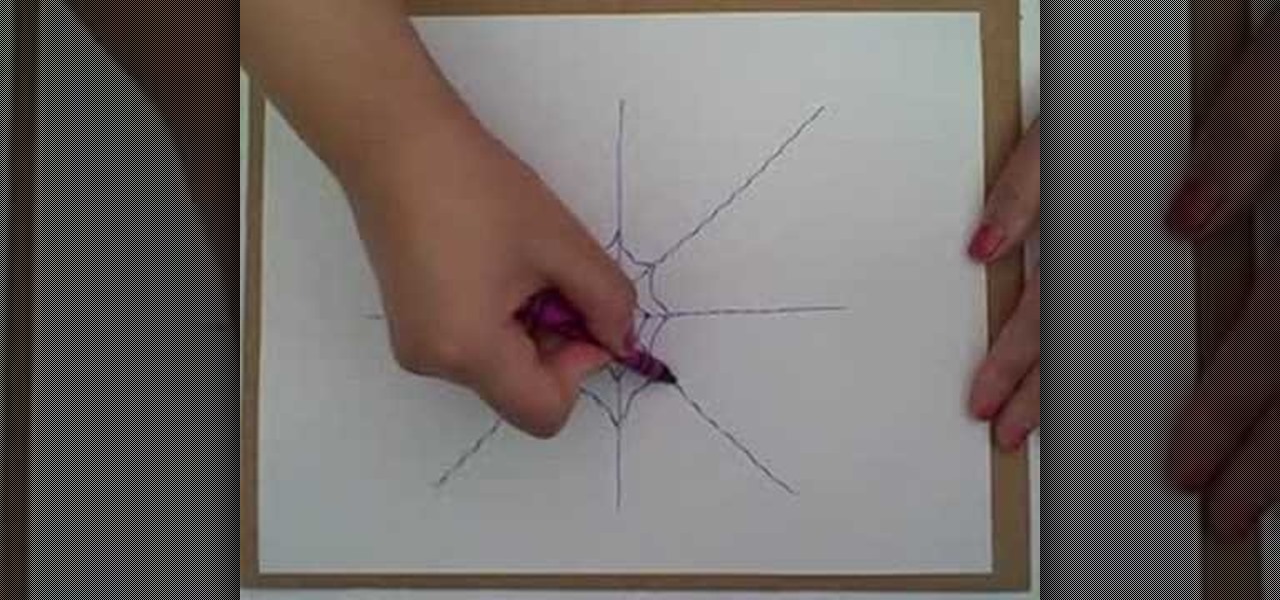
This how to video shows you how to create a basic spider web. This will be helpful if you do not know how to create the basis for a basic web. You will need a crayon and a piece of paper. First draw a large plus sign in the middle of the paper. Next, make two intersecting diagonal lines. You have formed the basis of the web. Next, Draw a curved line crossing in between each line. Start this at the center. After you go around the lines once, draw another line above the previous. Keep on doing ...

A thesis statement can be one of the most difficult parts when it comes to writing a paper. Not only can it be confusing, but it can drive a person mad! Okay well not mad, but it can certainly casue some people to get a tad bit irritated. So to avoid that negative feeling, watch this tutorial on how to write one. You'll thank us by writing your own paper about how we are so cool!

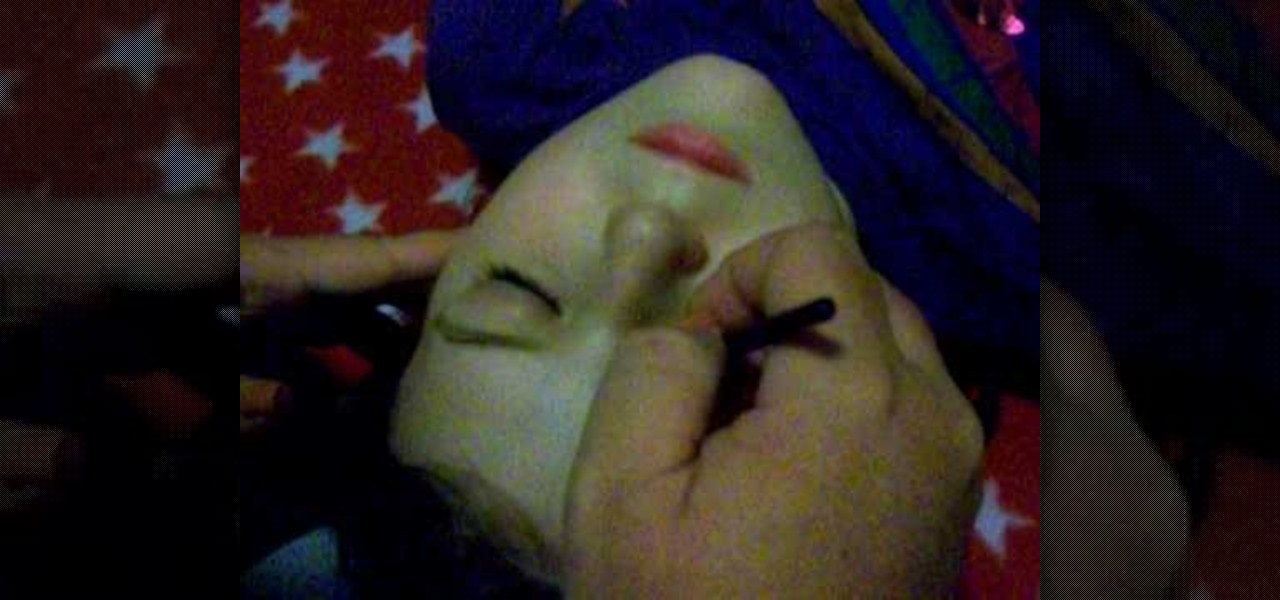
This video illustrate us how to apply competitive cheer leading tournament makeup. here are the following steps:

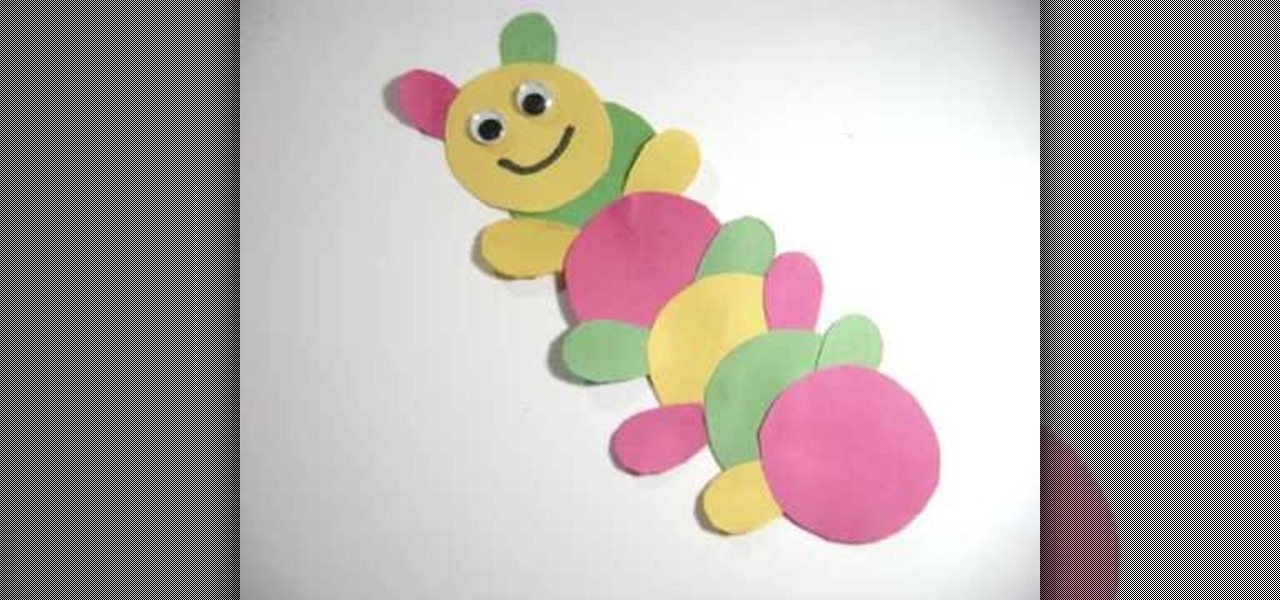
Another adorable craft you can make with your little ones is a paper caterpillar. The best part about this little guy is that he's flat and perfect for hanging on the refrigerator with all of your kids' other masterpieces!

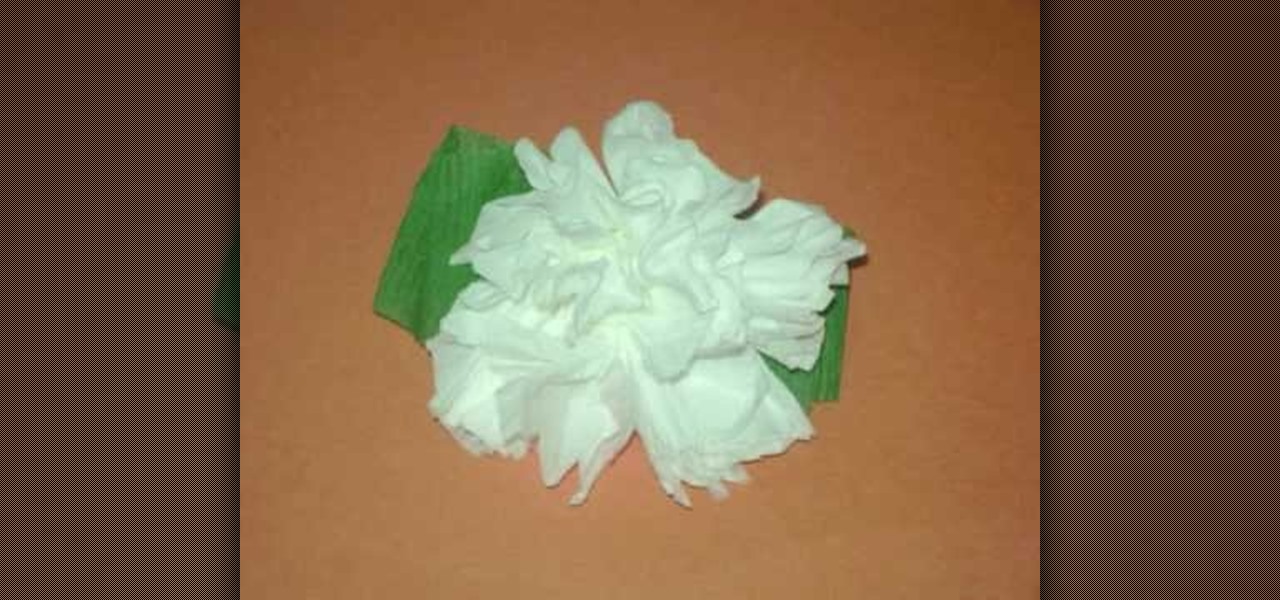
One of the most fun activities when you are a kid is making something pretty to bring home to mom. In this tutorial, learn how to make carnations out of toilet paper for a fun kid's craft. Carnations make a great craft for Valentines or Mother's Day and are easy to make with even the youngest elementary students.

This video is a demonstration of how to make a Chinese paper star out of newspaper. First take a folded piece of newspaper and fold it in half again the long way, and then again, to make a narrow strip. Fold the strip in half to crease it, then fold the strips at a right angle in both directions. Fold the outside edges in toward the center twice and then in a triangle. At this point you will have a thick diamond shape. Repeat with another sheet of newspaper. He demonstrates how to join the tw...

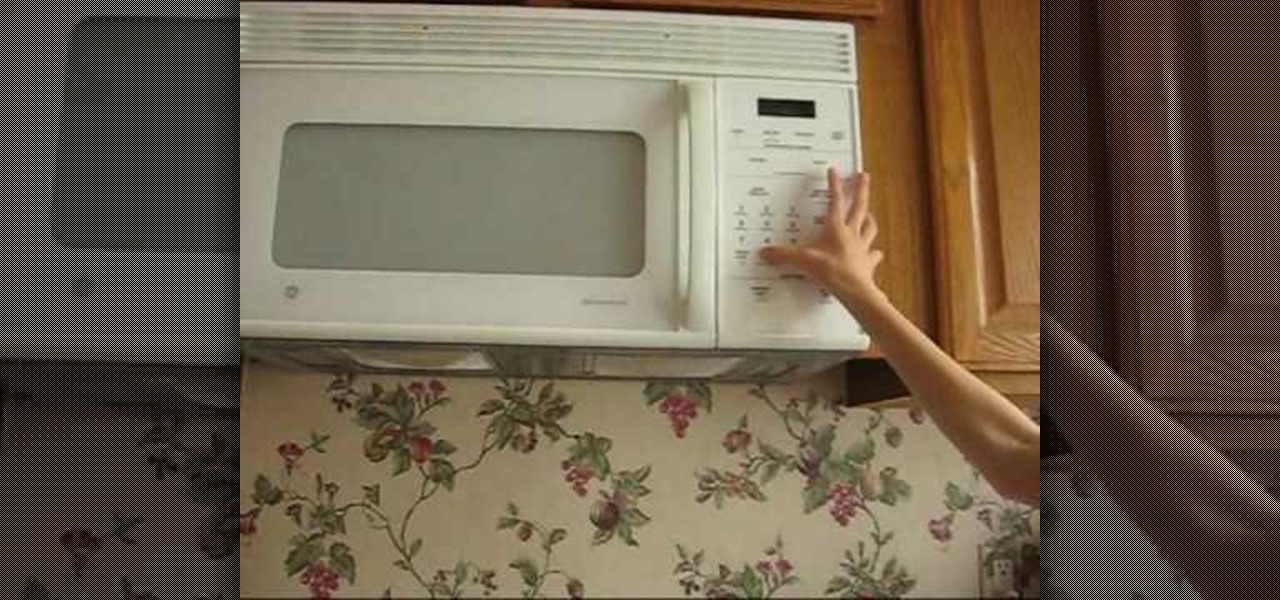
In this video tutorial, viewers learn how to easily make homemade bacon. Users will need ham or salami. Put the ham/salami onto a plate and cover it with a paper towel. This will take out all the grease from the ham/salami. Then put the plate into the microwave and heat it for 40 seconds. Once finished heating, remove he plate from the microwave and let it cool. Then take off the paper towel and wipe any extra grease. This video will benefit those viewers who enjoy cooking and would like to t...

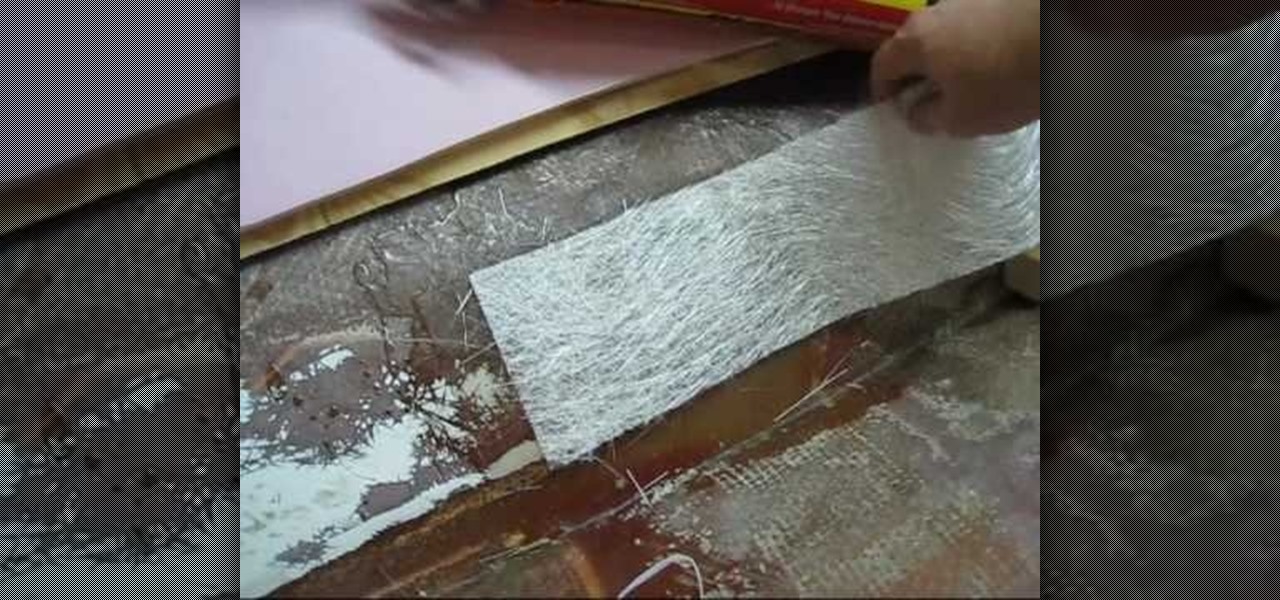
LowkeeLT demonstrates how to patch a hole in a fiberglass boat hull. First, grind around the edge of the hole to make it smooth. Make an angle that goes towards the hull so that the resin won't get caught and create air pockets. Attach kitchen wax paper to the boat as a non-stick material for the poly resin to set against. Then, put down a flexible cutting board by duct taping the two layers on the outside of the hull and pulling it taut. Attach three layers of fiberglass strips with resin to...

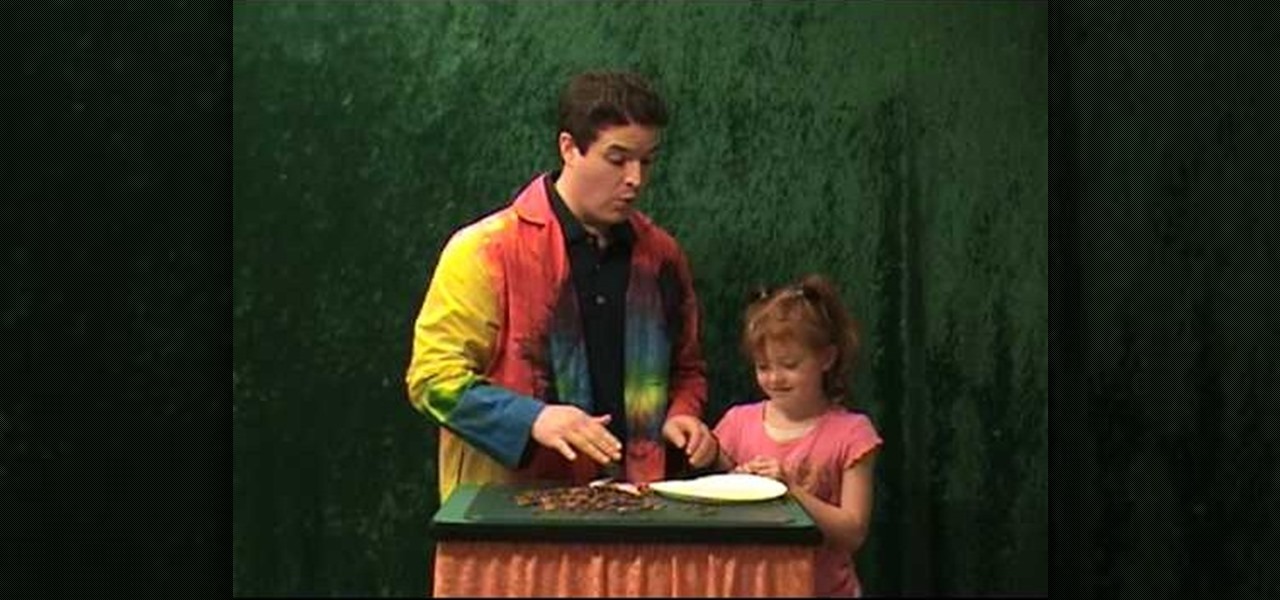
In this video, we learn how to clean pennies with taco sauce. To do this project, all you need are some dirty pennies and a paper plate! First, pick out some really dirty pennies and grab a taco sauce packet you have laying around the house. Grab a paper plate and pour the taco sauce onto the top of your pennies. The taco sauce has vinegar in it, so it can clean the pennies easily. Let it set for a few minutes and then rinse the pennies off in water. This will clean your dirty change and is a...

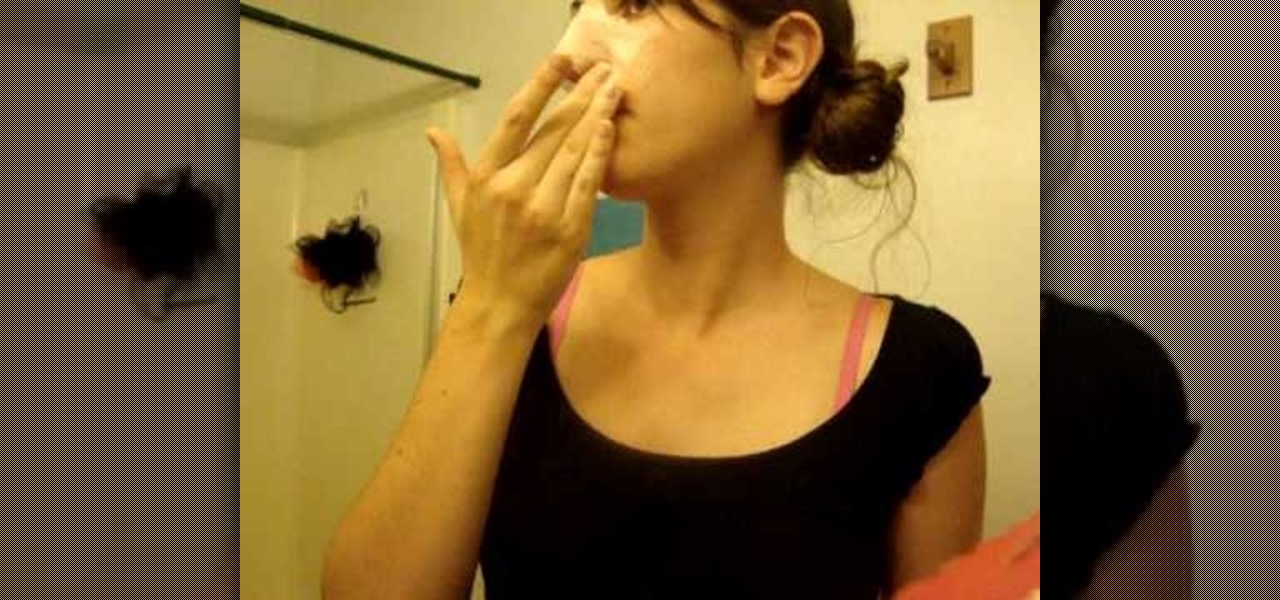
The video demonstrates how to make DIY pore strips. Take one egg white and beat well until fluffy now apply over the black head affected area and cover with a toilet paper apply over the toilet paper until they are wet and sticks on to the affected area. Now let it dry for a few minutes and finally peel them off. For better results steam your face before the whole process. Rinse your face and clean it with a deep cleanser to clean the pores. You are now done and have got ridden of all the dir...

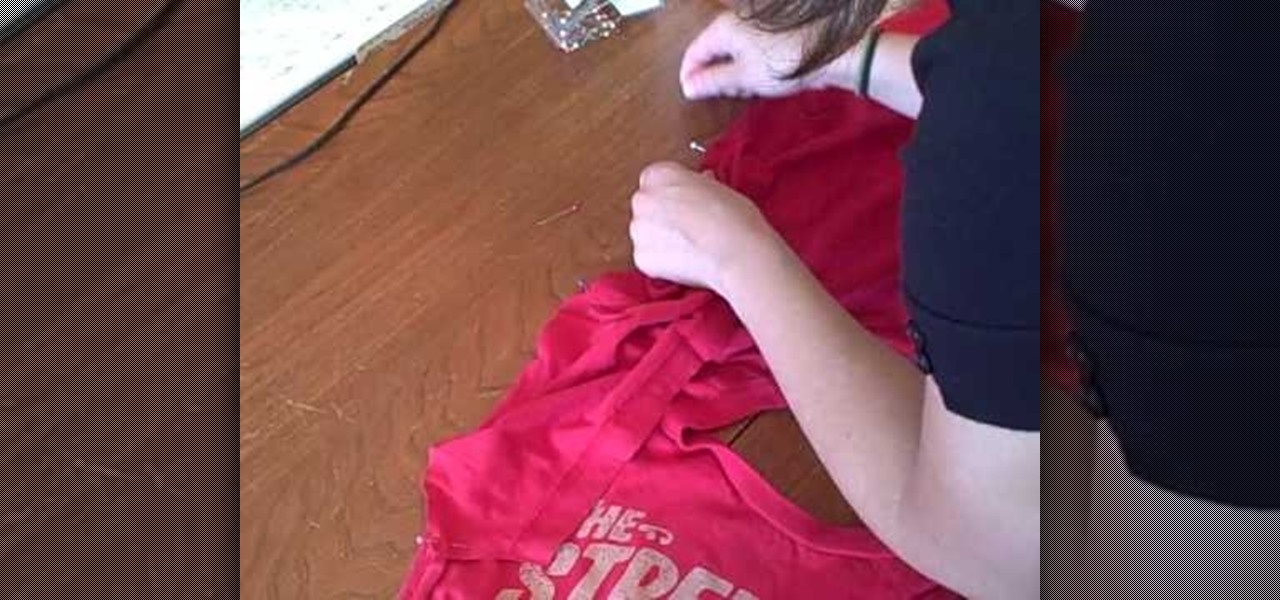
The young lady in this video describes to the viewers how to make "Puffed Sleeves". You can use shirts, jackets, men's' shirts, ladies shirts, just about any shirt to make these on! She starts out with 2 ladies shirts, one oversized and one fitted. She also gathers scissors, thread, straight pins, a marking pencil, paper to trace the pattern on and paste. She then demonstrates how to cut the pattern by tracing the outline of the sleeve onto the paper, how to pin the shirts using the straight ...

In this tutorial, we learn how to make invisible ink from an egg. First, grab an egg and poke it with a pen to where a small hole is in it. once you've done this, leak the white inside of the egg into a clear bowl. Now you can dip the pen into the clear liquid and write on a piece of paper. Keep dipping in liquid as the "ink" dries out. Once the liquid has dried, you will be able to see what is written on the paper clearly! You can place the paper or an open flame (standing back a few inches)...

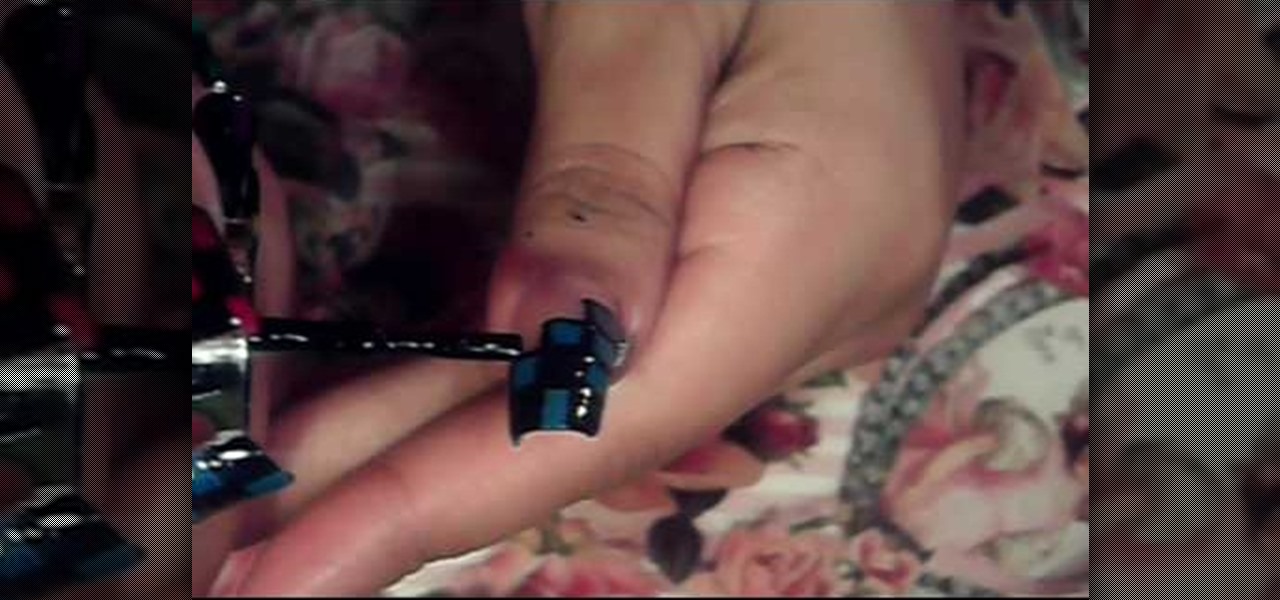
This video is about how to paint your nails with a colorful checker art design. The first thing that you will have to do is to apply the hydrating base coat on your nail. After putting the hydrating base coat on your nail, get a piece of paper for you to place the black nail polish. After placing the black nail polish on the paper, use the dotting tool and place a series of zigzags on the nail. The next step is to fill in the zigzags depending on the color you want. After filling in, make a s...

You will be using a picture of a Nintendo character and perler beads to make the necklace. Start by making an outline of the character using black perler beads. Then begin using colored beads to fill in the character. The color beads allow you to fill in the character and they also allow you to create all the detail on the character. You can shade and use multiple colors in making the characters. After you have put all the beads on the card put a sheet of waxy paper over the character and iro...

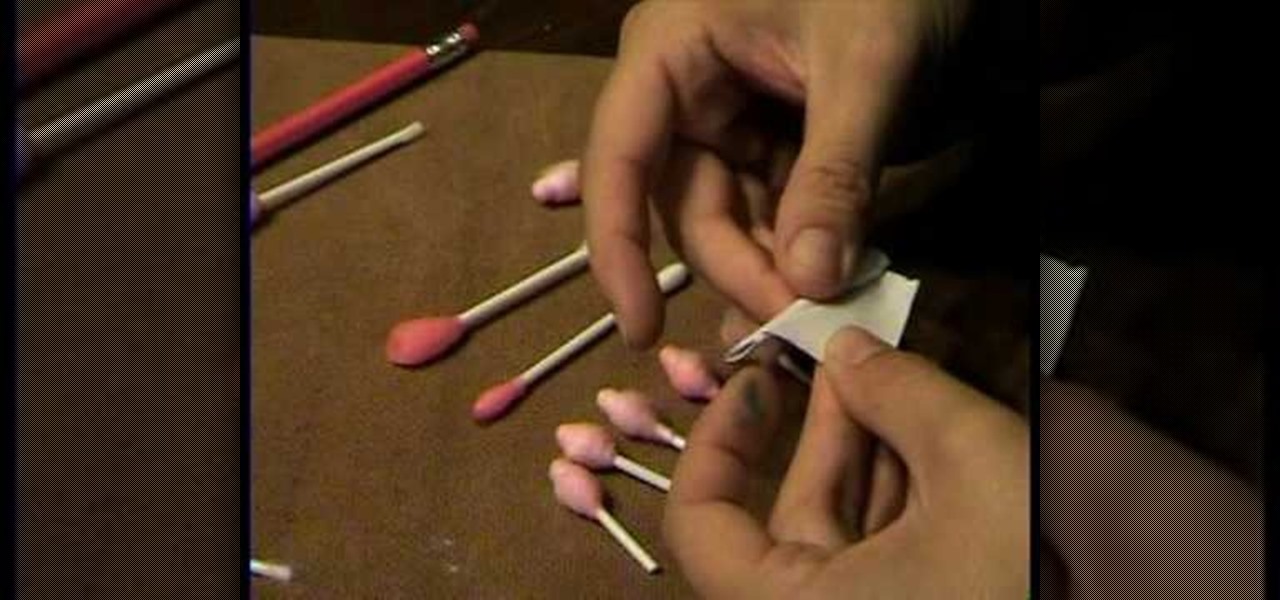
Use a q-tip (ones for little kids will have a larger base, but are not required). Put a few drops of red food coloring in a glass of water and stir it up as necessary. Dip q-tip in red water, get it nice and saturated. Remove q-tip and let sit overnight. Cut q-tip in half, then take a small rectangle of paper, apply glue from glue stick to one side, then make a small fold from a corner and roll (this may take some work). Use scissors to cut down to the correct size. Next rub q-tip's cotton si...

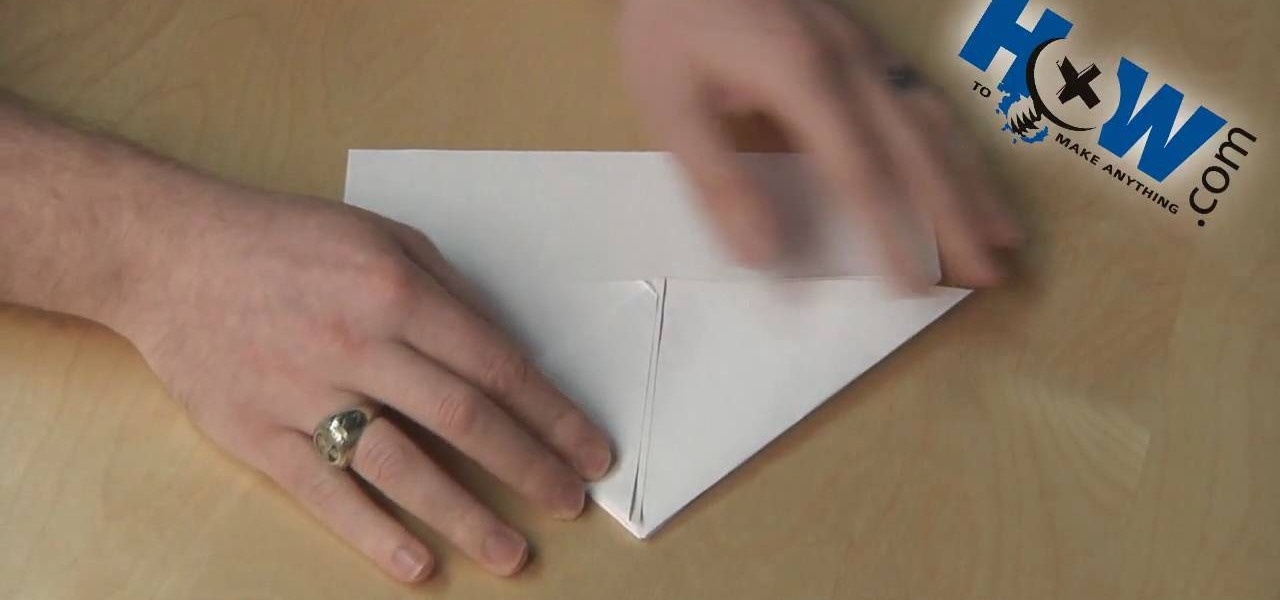
First of all take a rectangular sheet of paper. Now take a corner and fold it across to meet at the corner. Now crease it. Now take another corner and fold it over to the other side and crease again. Now bring in the x as shown so the sides are drawn inside and they form a triangle. Now crease it. Now take one corner of the triangle and bring it to the top. Now crease it. Now do it similar for the other corner. Now fold the bottom piece over and bring it to top. Then fold once again as shown....

Betty, from Betty's Kitchen, explains how to make oven-baked pork chops with home style gravy! First, preheat your oven to 400 degrees. Betty explains that she will leave the fat trim around the pork chops before cooking. First, use meat tenderizer to season the meat. Shake the meat tenderizer over the pork chops on both sides, the top and the bottom. Get a skillet and pour peanut oil into it. Turn this on and make sure it sizzles. Pour one cup of flour into a large zip lock bag and put the p...


