Bathing a baby means not only keeping them clean, but also taking care of their skin. This video shows you how to keep your child's skin soft and well moisturized. Make sure your baby doesn't continually suffer from dry skin, and always moisturize after a bath.

People don't actually glow very often, but when someone has really healthy skin there is certainly a glowing aura about them. Watch this video for tips on improving your skin's health, making you glow like a happy little glowstick.

In this tutorial, we learn how to clean a coyote. Start out by cutting the legs and up to the inside of the rear end. Cut the skin around the feet and then peel the fur and skin upwards. Trim into the butt of the coyote, then cut around the tail into the middle. Keep pulling the skin up around the legs of the animal and around the thighs, using a sharp knife to loosen the skin. Remove the skin completely from around the legs, then cut the tail so only the bone is left and the skin is off. Aft...
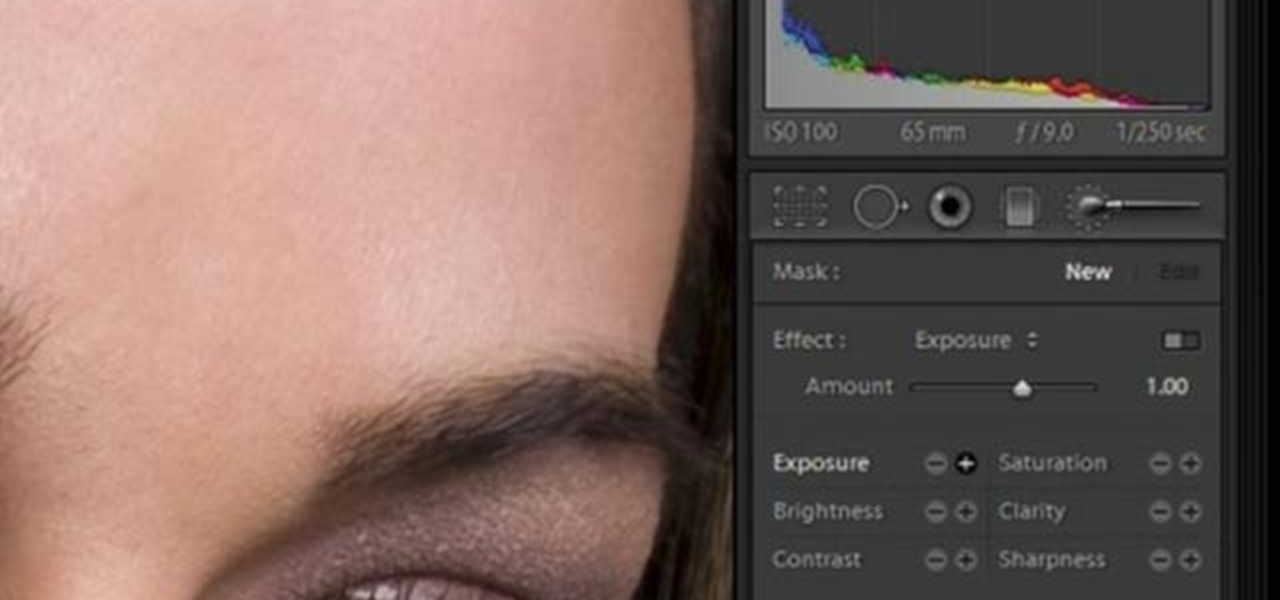
In this software video tutorial you will learn how to soften skin feature in Lightroom 2 in Yanik's Photo School. Select a photo and zoom in to the skin area. Click on the adjustment brush, or ctrl K. Here you can adjust 7 features; exposure, brightness, contrast, saturation, clarity, sharpness and color. But, if you click on the other 'exposure' dropdown menu, you will get these 7 options and additionally a 'soften skin' option. Click on 'soften skin' and it gives you the options to add nega...
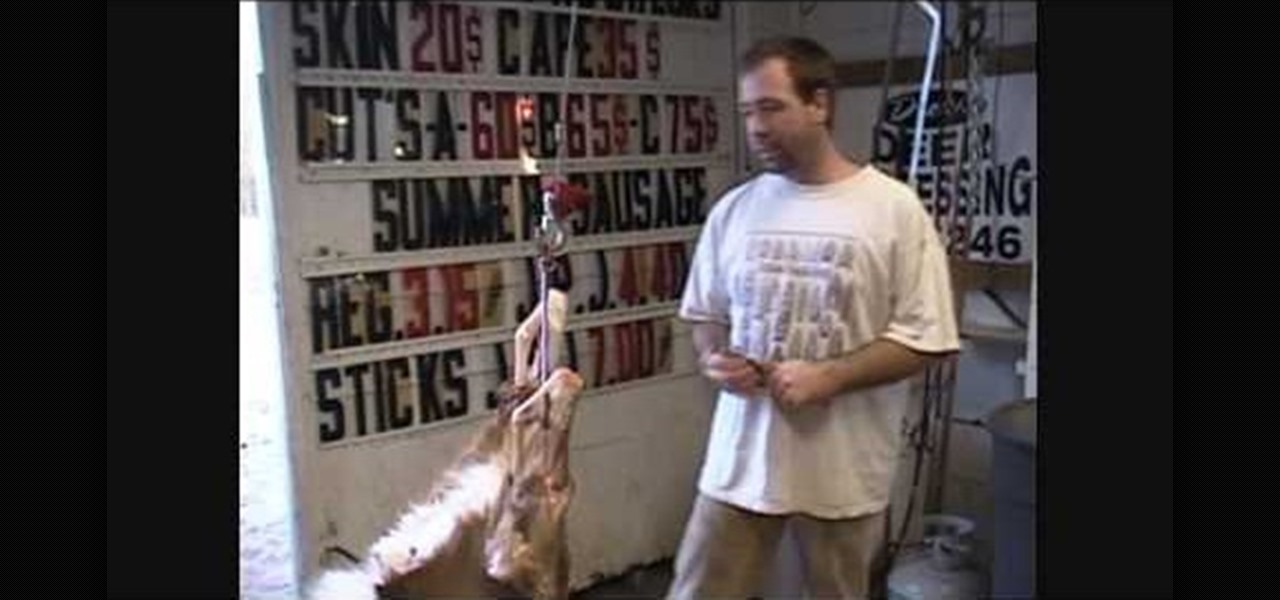
This 3-part video tutorial series will show you a very thorough way to skin a deer. This method of skinning of deer will provide the best shape and condition for your next step - brain tanning. Follow along with each step of the way, and make sure you're using an ultra sharp knife to eliminate the dangers of accidentally cutting yourself.

Viewer be warned! This video series is not for the faint of heart! If you think you can handle the contents inside, then you're about to get an in depth lesson on the proper way to skin a squirrel. This three part video series will show you how to skin a squirrel.

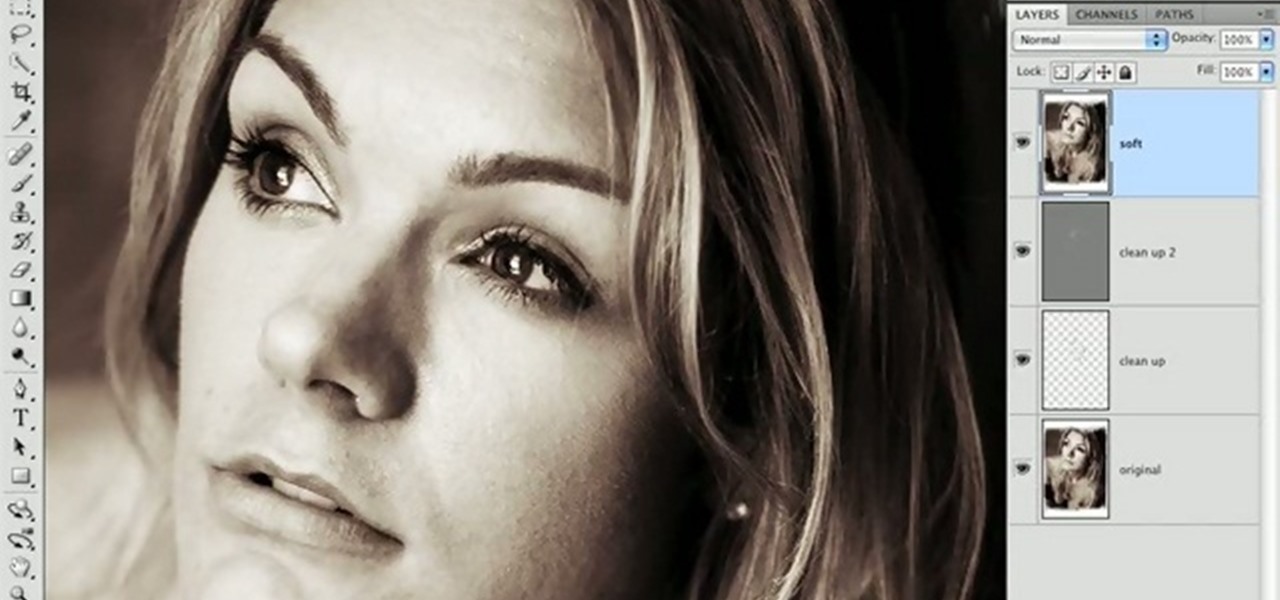
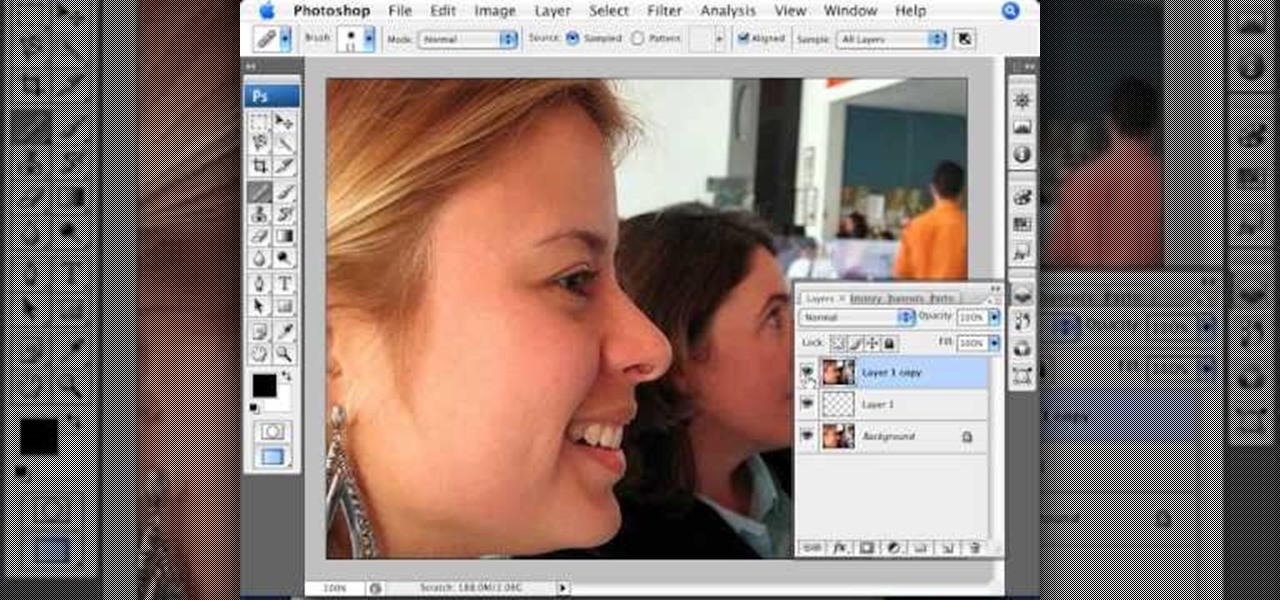
If the subject of your photos has skin imperfections, it is very easy to fix this in Photoshop. If you do not have the time to do each individual blemish, or wish to simply give the skin an overall fresher look, check out this tutorial.

This video provides a short tutorial on how to install custom skins onto the popular online FPS Team Fortress 2. Custom skinning will make the models in the game appear differently, adding a bit of flare to your gameplay.

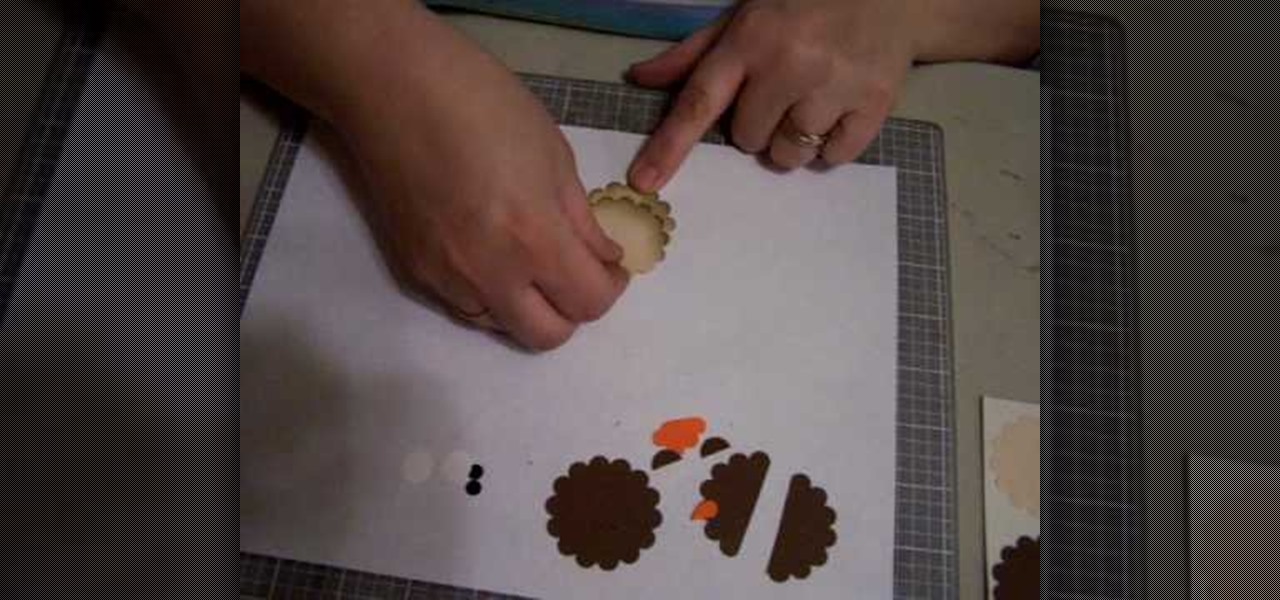
In this video, we learn how to make an owl with Stampin' Up punches. First, cut out two dark brown scallop circles, then two light brown scallop circles. After this, cut out two orange flowers, two black small circles, three white circles, and an orange heart. To put these together, cut one of the dark brown punches in half so you have two pieces. Then, cut off half the flower on both of the flower shapes. Next, put all the pieces together, using the dark brown for the face along with white a...

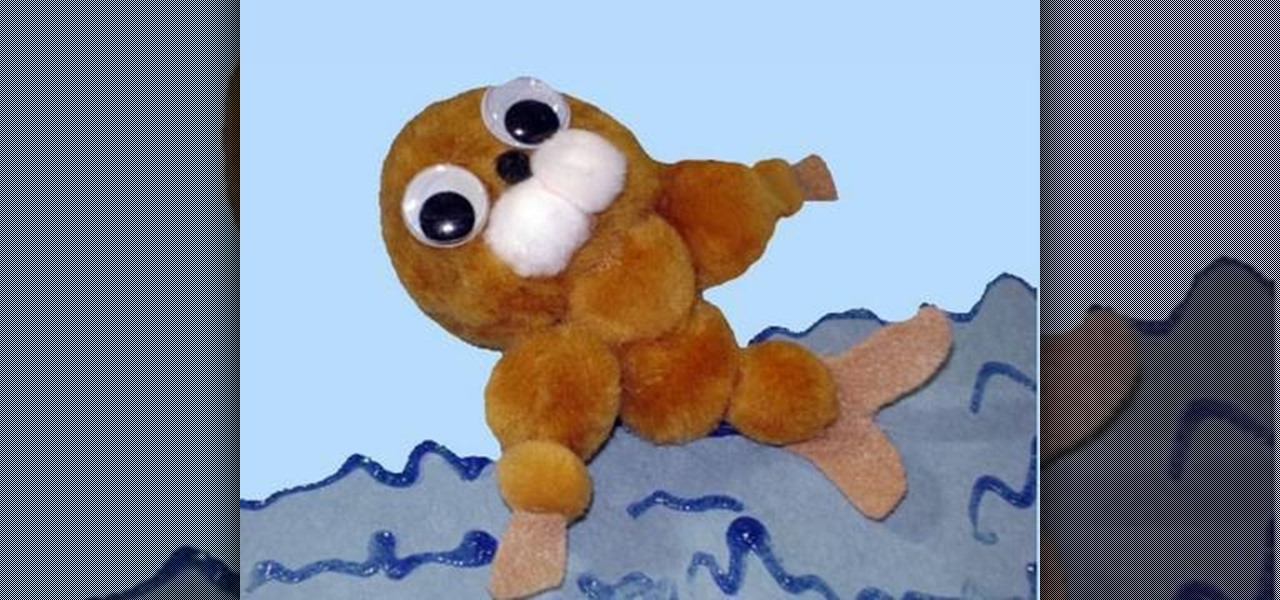
In this video tutorial, viewers learn how to make a pom pom seal. The materials required for this project are: 1 large brown pom pom, 4 medium brown pom poms, 3 small pom poms, 2 white pom poms, 1 small piece of brown felt, 2 googly eyes, glue and scissors. Begin by gluing the brown pom poms together. The large pom pom is the head, 4 medium pom poms are the body and 2 small pom poms are the hands. Then glue the 2 white pom poms and mini black pom pom on the head for the mouth and nose. Glue t...

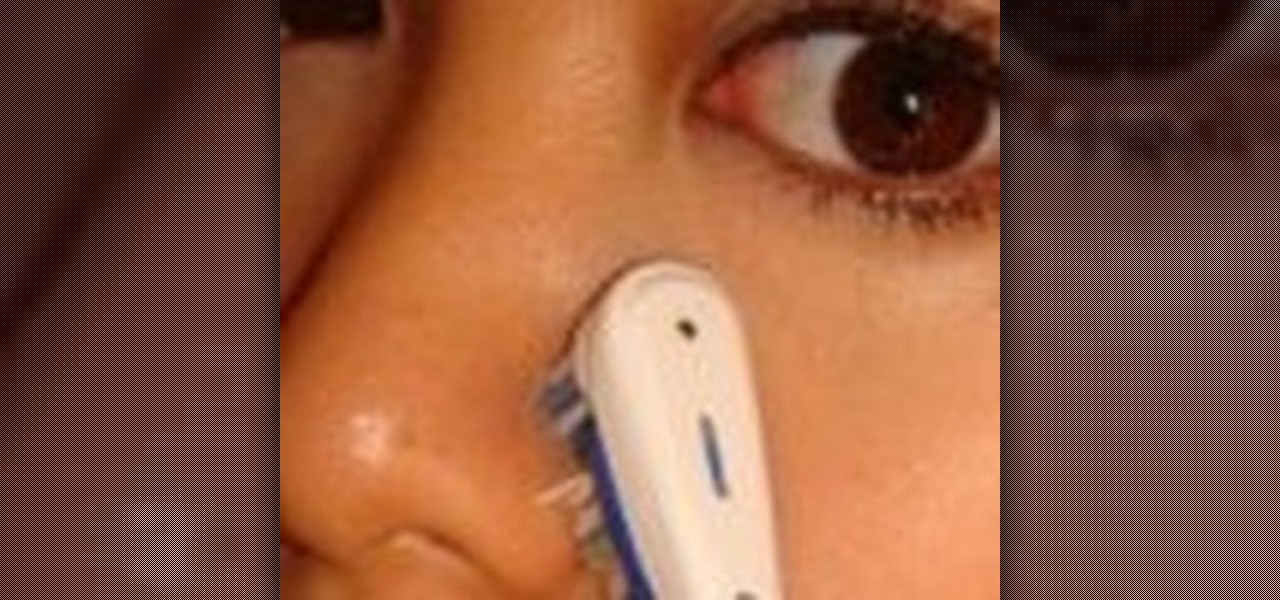
This video explains the easiest way to get rid of the oil on your skin is to use blotting paper, and light dab it on oil spots on your skin. Do not rub it, dab it on the skin, the blotting paper will absorb the oil on your skin without adding dark colors onto your face that other papers would. If you have trouble finding blotting paper, a easy way to find some is go to a public washroom, and get the toilet seat paper that people use to put on top of toilet seats. They are the same material as...

Looking to recreate the Brown Hotel's signature open-face turkey & bacon sandwich in your home kitchen? If so, you're very much in luck:

In her video, Carol describes her skin care regimen, which she claims has been very effective in treating her acne and improving her skin. This regimen is for acne-prone / combination skin types and involves the use of multiple products, including cleansers, scrubs, masques, washes and moisturizers. Carol takes us through her morning, evening and weekly cleansing routines, explaining which of various products she uses for each such routine. She also discusses each product, explaining its stre...

In this how to video Raven Symone teaches us about three different skin types and then makes a mask for her face. For dry skin you will need 1/2 a carrot, 1 avocado, and 2 tbs almond oil for your face mask. If you have oily skin you will need 1 apple, 1 egg white and 2 tbs lemon juice for your face mask. If you have sensitive, combination skin you will need 1/2 banana, 2 tbs yogurt, and 1/2 small cucumber for your mask. Raven Symone will also teach us how to do a tea steam to open your pores....

Wilted lettuce is usually what you call something that is ready to be thrown away, but in this case it is the name of a delicious salad! In this tutorial, Betty will show you how to create a traditional recipe for Wilted Lettuce Salad. This salad is easy and delicious and can be made fresh, at home. Enjoy this yummy sidedish at your next meal, or serve it as a whole dinner. Enjoy!

Keep the skin healthy, new, and beautiful with skin care tips. Learn how to perform skin care treatments at home with free video tips from a licensed medical aesthetician.

Every skin condition requires a different skin treatment. Learn how to treat different skin conditions in this free skin care video from a licensed medical aesthetician.

Homemade organic skin cleanser is an easy to make skin care product that will save your money and keep your skin looking great. Learn how to make your own natural skin cleanser with expert tips in this free skin care video series.

In this skin care and beauty video series, learn how to take care of your face, both by cleansing it and putting on makeup. Our expert will walk you through a professional skin care regimen prior to guiding you through a few simple steps to applying makeup.

It seems like everyone has a brown puffle except you! Where to get it? This video shows you the right steps to take so you can get one for your own igloo. You can also find a few other brown puffles along the way.

Everyone has a brown puffle house except you - where to find it? This tutorial shows you how to get the Brown Puffle House in the game Club Penguin. You're also shown a few hints when it comes to the Field Ops, as well.

Anyone in the world of makeup knows who Pat McGrath is. The world renowned makeup artist recently did the makeup for a catwalk for designer Roberto Caballi, and instead of taking the usual black smokey eyes look, she went for a new trend this season— BROWN! In this tutorial, you'll learn how to create a bold and beautiful brown smokey eyes look, great for the autumn and winter months.

Tired of those same old frozen hash browns? In this cooking how-to video Chef Mario impresses Rachel with some hashbrowns that are anything but ordinary. All the ingredients you need for this hash brown recipe are: butter, onions,

Learn how to mix a delicious Brown Hen cocktail from a hot girl in this instructional bartending video!

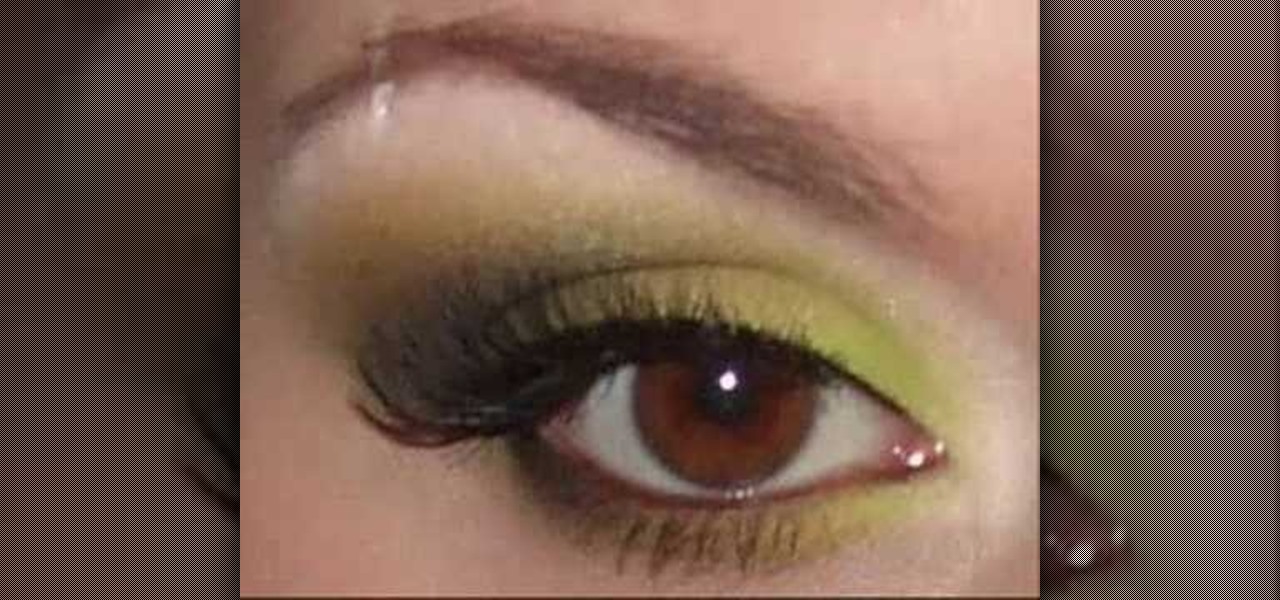
Watch this instructional cosmetics video to apply bright green, brown and black eye shadow over a white base. You will need MAC paint pot soft ochre, pigment green space, eye shadow- espresso, carbon and mylar, brown liner pencil, black mascara, and MAC lipglass oyster girl.

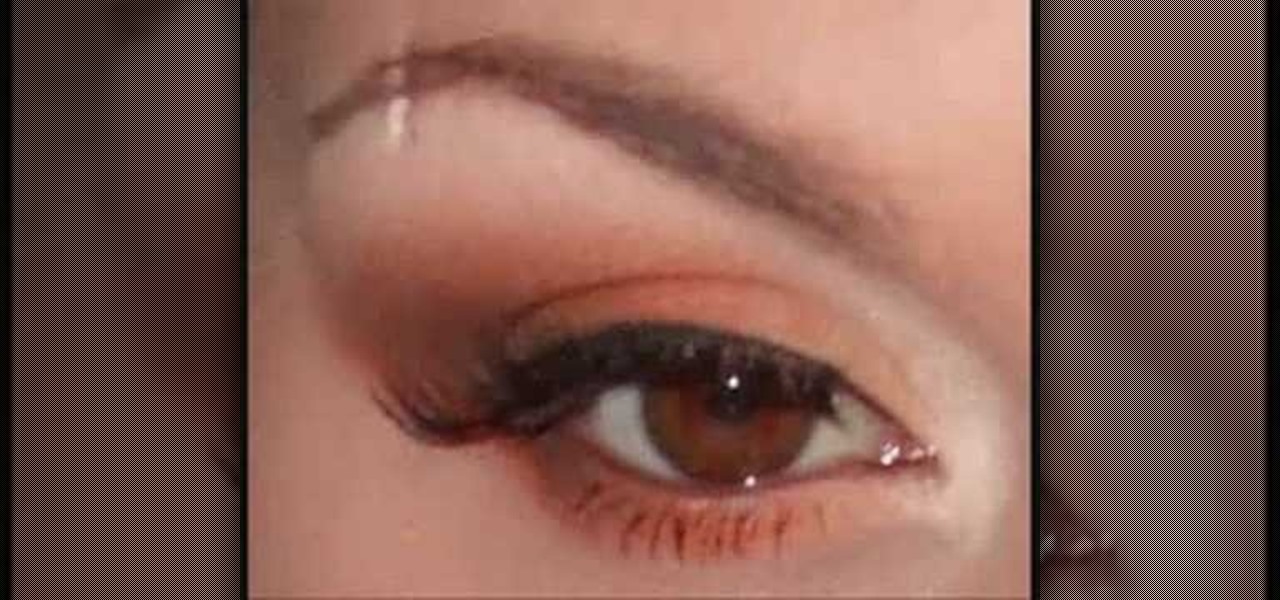
Watch this instructional cosmetics video to apply cream, orange and brown eye shadow over a white base for a an elegant autumnal effect. You will need MAC paintpot soft ochre, MAC eyeshadows - mylar, bamboo, espresso, rule

Wow everyone with your soulful brown eyes with this makeup tutorial. This video uses Barry M cosmetics in Shimmering eye crayon in No.1, Grey eyeshadow, No.80 Blue Grey, Orange pigment, Black eyeliner, and mascara. With the makeup tips from this how to video you can really make your brown eyes pop.

Zombies aren't getting as much attention as vampires or werewolves these days, but they're just as darkly entertaining. Bring zombie love back this Halloween by dressing up as this really gross, rotting, bloody zombie.

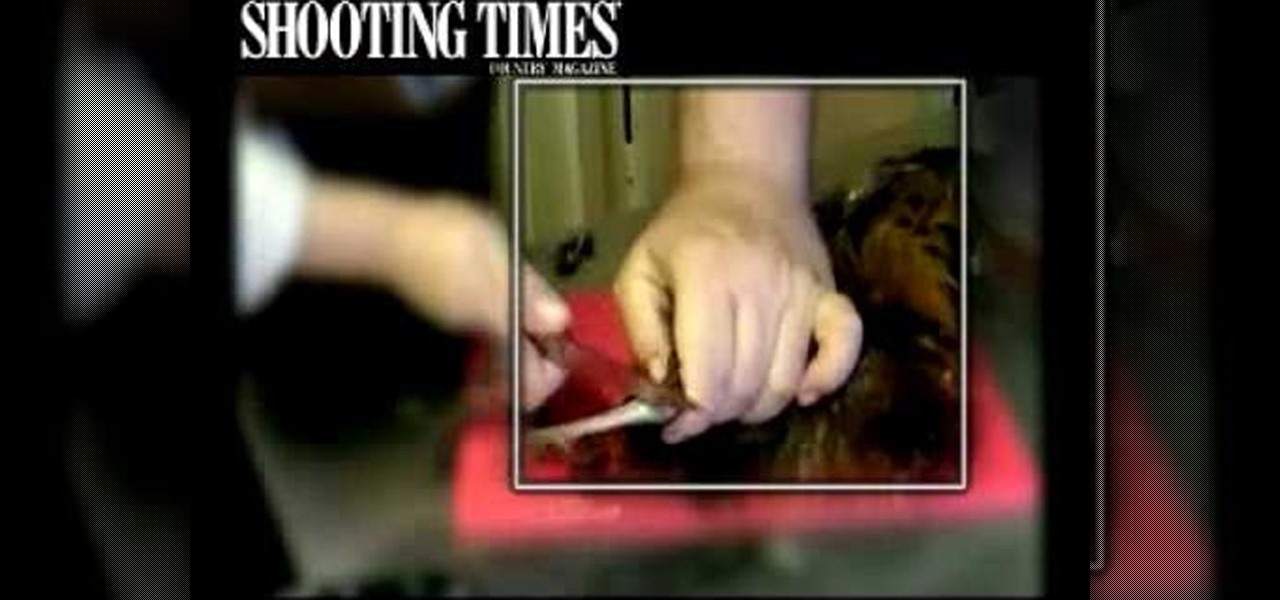
Shooting Times cookery writer, Mark Hinge, shows you how to properly skin a pheasant.

Explore the inner workings deep inside your skin. Watch this video to understand this visually stunning wonderment!

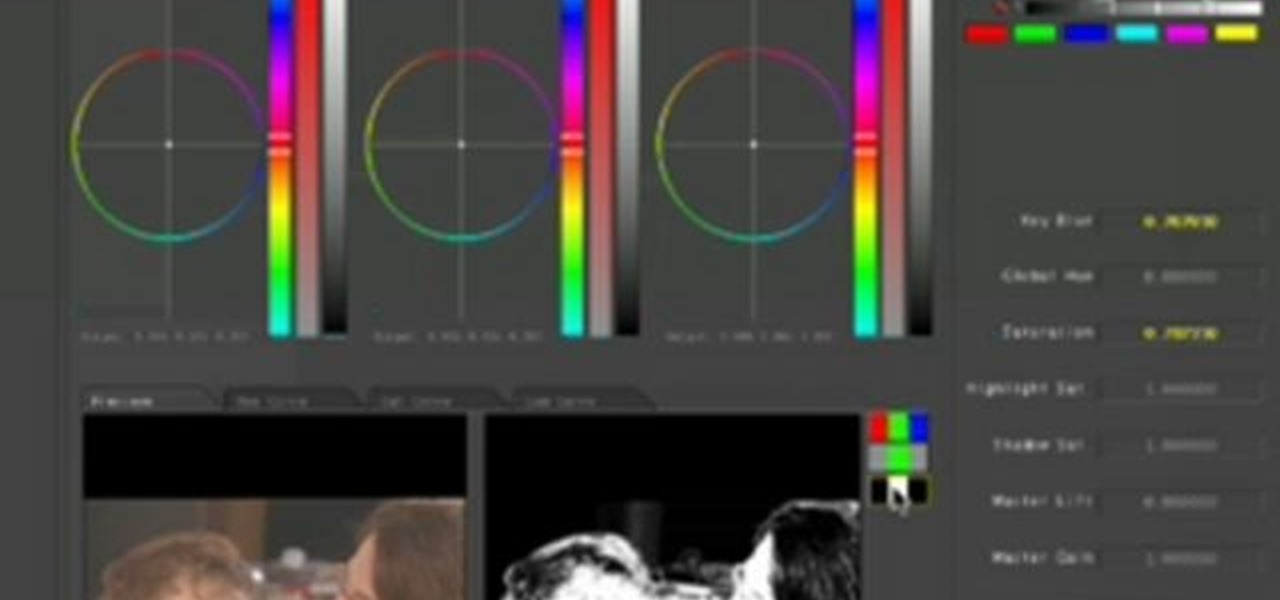
Secondary color correction is used mostly to adjust the skin tones of people in your film. This tutorial show you how Apple Color lets you quickly and easily adjust the skin tones of the actors and actresses in your film project.

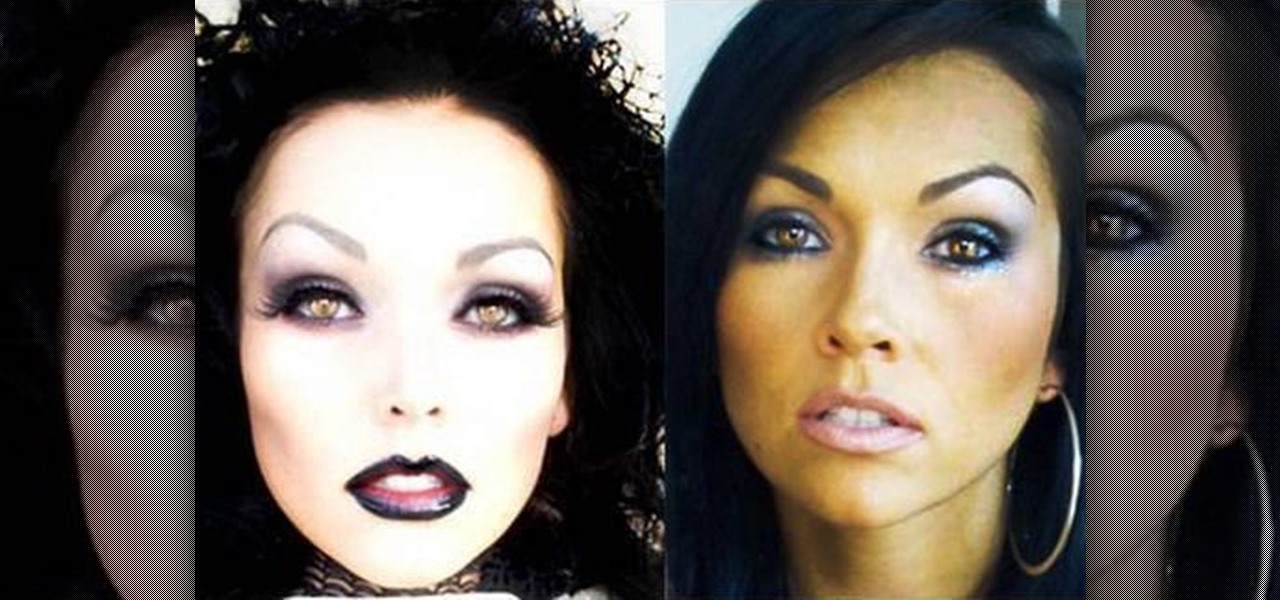
We realize that celebrities change their hair color a lot, and oftentimes without consideration as to their skin tone. But that's because they're frequently gearing up for movie role that require a certain shade of hair color.

Do you want skin that looks and feels softer than a baby's bottom? Or how about skin so glowy and luminous it looks like you got a full eight hours of sleep (even if you didn't)? Well, you don't need to say sayonara to your bank account by dropping major cash on spa visits for facials to achieve beautiful skin.

We really hope that by now you're not careless enough to head out for a day at the beach without a single drop of sunscreen. While many gals prize deep bronzy tans that seem to make us glow and look skinnier, real tans are horrible for your skin (even if you don't get a sunburn) because anytime your skin changes your it means your skin's outer layer has been damaged and is healing itself by creating more melanin, or pigment. Which is not so attractive, right?

This video brings you fresh ideas on frozen processed Idaho potato skins that are ideal for appetizers or your bar menu. It is suggested in this video many creative ways to serve Idaho potato skins. The classic way presented is Nacho Style. The chef suggests using mango, papaya or roasted pineapple salsa instead of the traditional salsa on your potato skins. Caviar and crème fraiche is another suggestion. Other interesting suggestions are caramelized onions and bleu cheese, herb goat cheese, ...

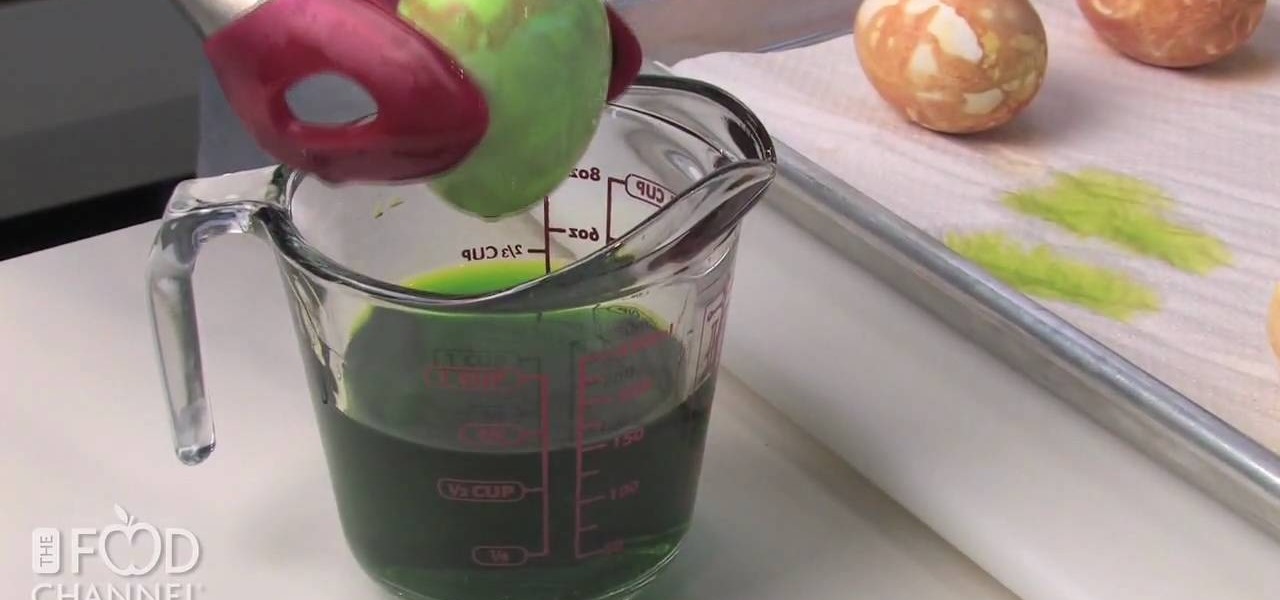
Naturally dyed eggs is the way to go for Easter time. Aside from just using your normal dyes for Easter eggs, add a unique look by just using onion skins. Onion skins will dye your Easter eggs with a cook natural color, great for eating or for decoration.

This video explains how we can have a smooth skin in the pictures using Photoshop tools. The healing brush tool is used to delete all blemishes, red spots or black marks from the skin in the photo. While doing this it is important to select smaller portions and then go ahead instead of selecting bigger portions of the skin. Later the median filter is used so that the smoothing is just optimum. This actually helps in getting the right image specially for close up photos.

Treatments for the skin include using moisturizers and specialty products at home. Learn how to take care of the skin with free video tips from a licensed medical aesthetician.

In this video, we learn how to match and apply foundation for dark skin. When you apply your foundation, you want to make sure you apply oil free on your skin to prevent break outs. Use cocoa butter on your skin as well before you apply foundation to make it go on easier. Find your shade by matching the foundation to the color on the palm of your hand. The shade on the bottle might not be right, you need to open it up and test it out on your skin first. When you find one that works for you, y...

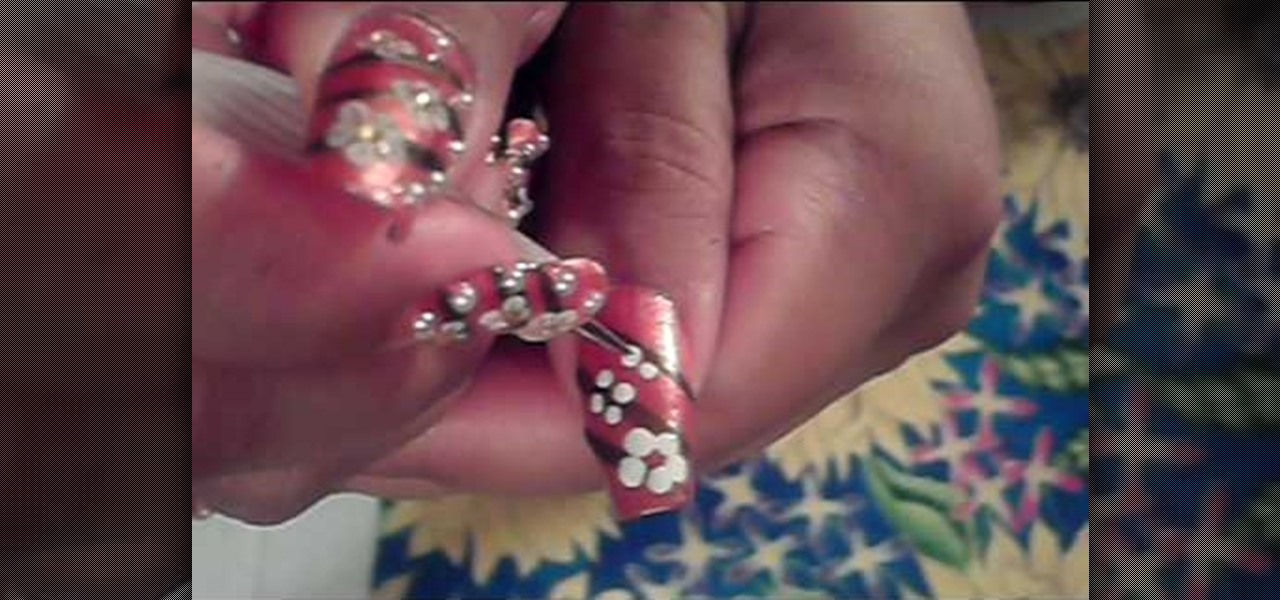
In this video, we learn how to paint nails with an orange, white, and brown theme. First, apply an orange shimmer polish from the top to the bottom of the nail. After this, let them dry and then grab a brown nail polish with a pointed brush. Then, draw on three stripes from top to bottom with the brush. After this dries, use another pointed brush to draw three flowers in a row on the nails. Use the brown to create the details for the petals. Then, you will finish this off by applying four sma...


