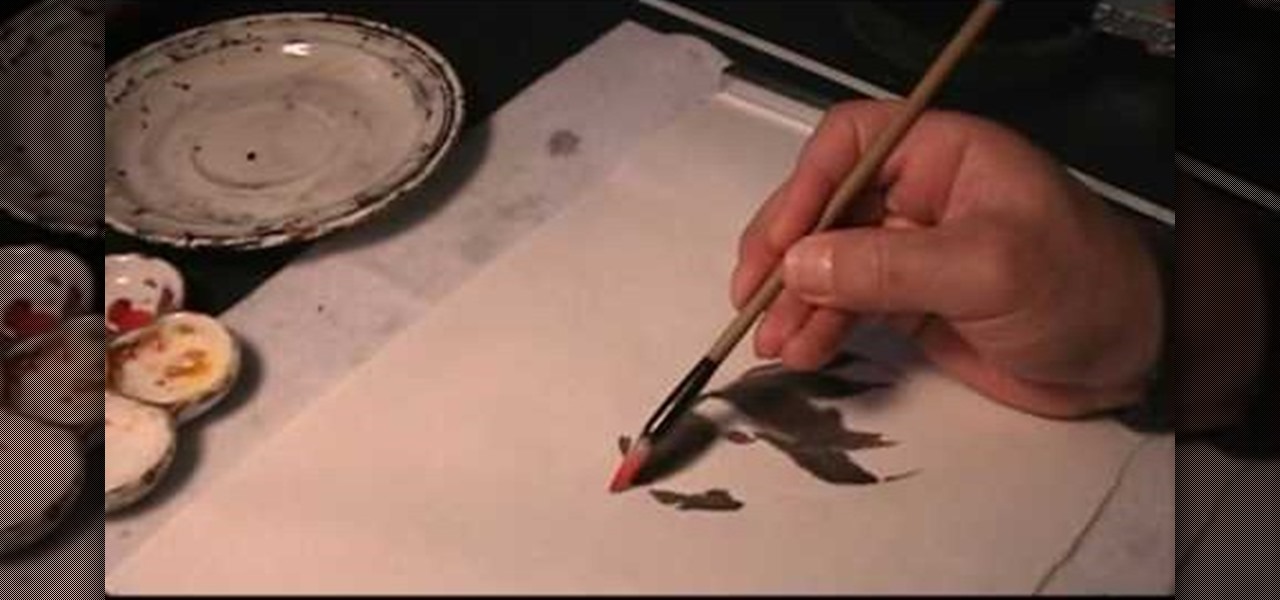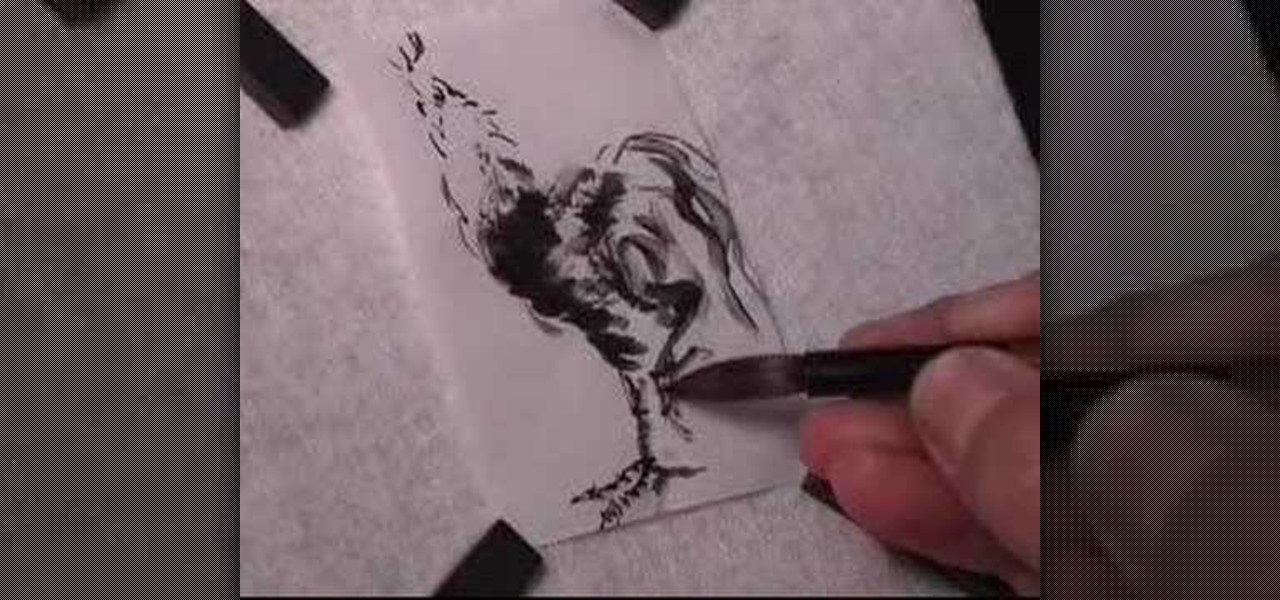
draw a rooster India ink and watercolor on Chinese rice paper. This fluid style of painting takes lot of practice and does not allow for mistakes. Every brush stroke counts. Get out some newsprint to practice painting these majestic roosters.
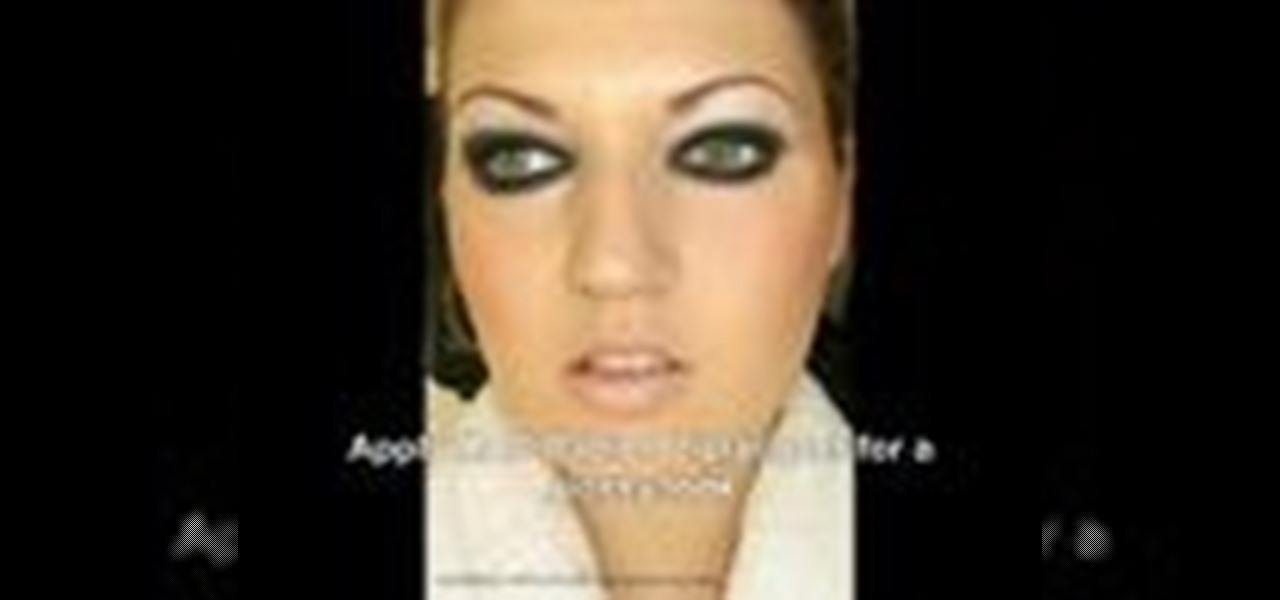
In this tutorial, you can learn to apply a common runway makeup look aka "Panda Eyes." Products used:
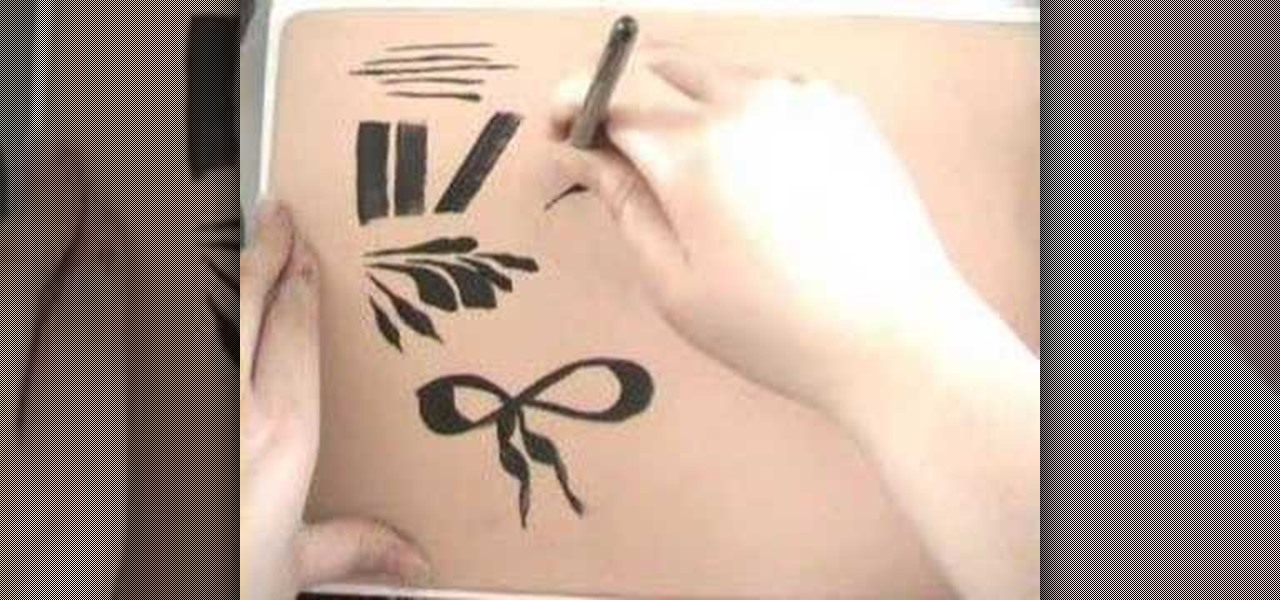
Here are some simple face painting brush strokes to practice with the Angle Brush. I've used the large angle brush, but you can do these strokes with any size.
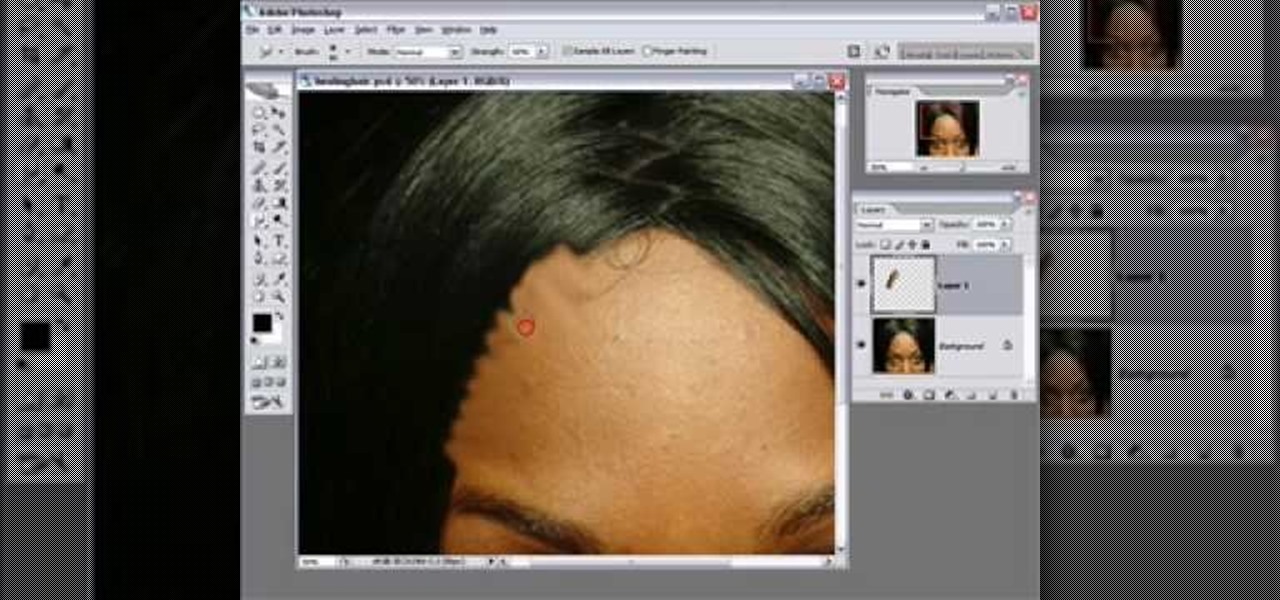
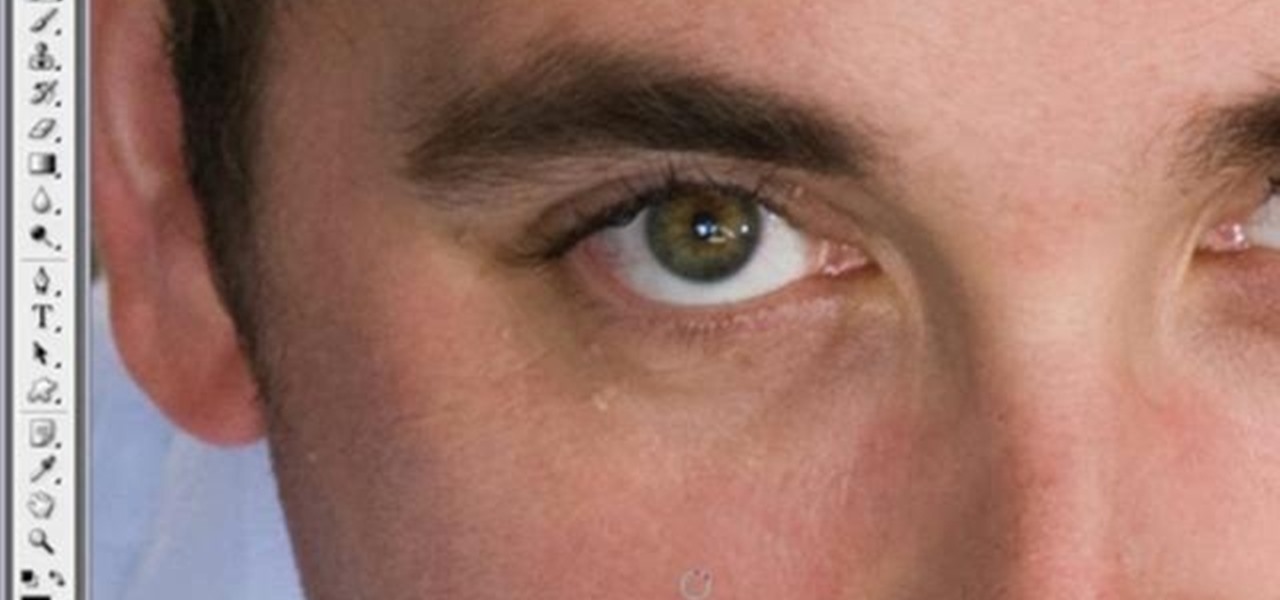
This Photoshop tutorial shows how to avoid getting "bleed" when using the healing brush tool for covering stray hairs on the face near the hairline.
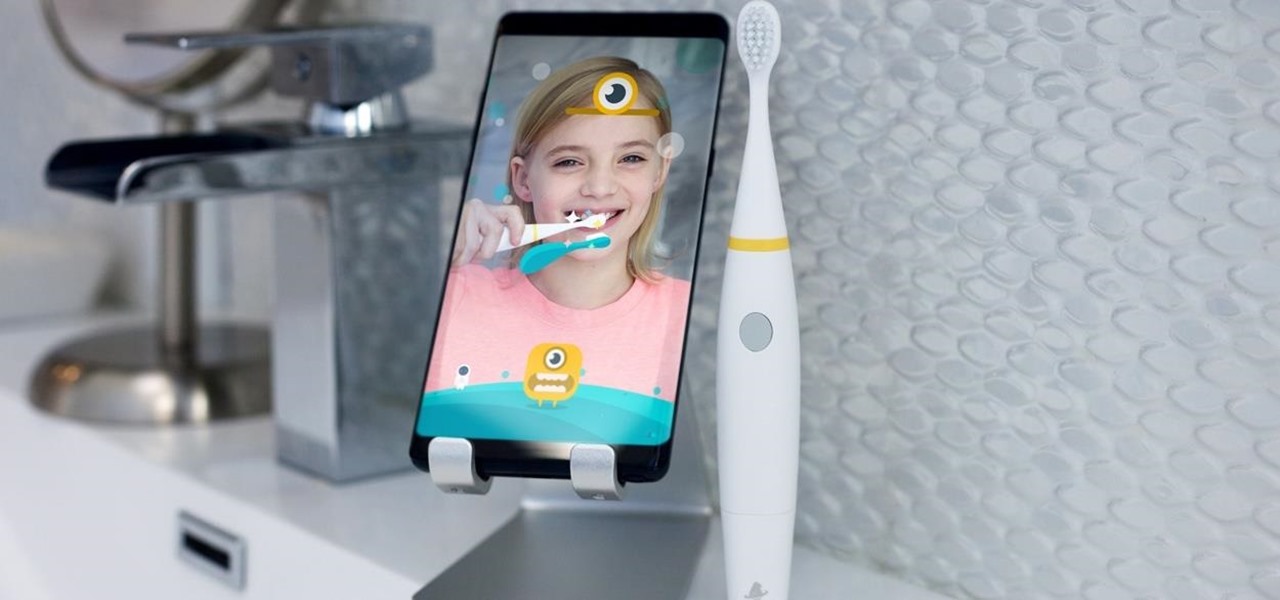
Kitten Planet, a spin-off company that grew up in Samsung's C-Lab incubator, has developed a connected toothbrush that teaches and motivates children to brush their teeth better via augmented reality while tracking their performance.
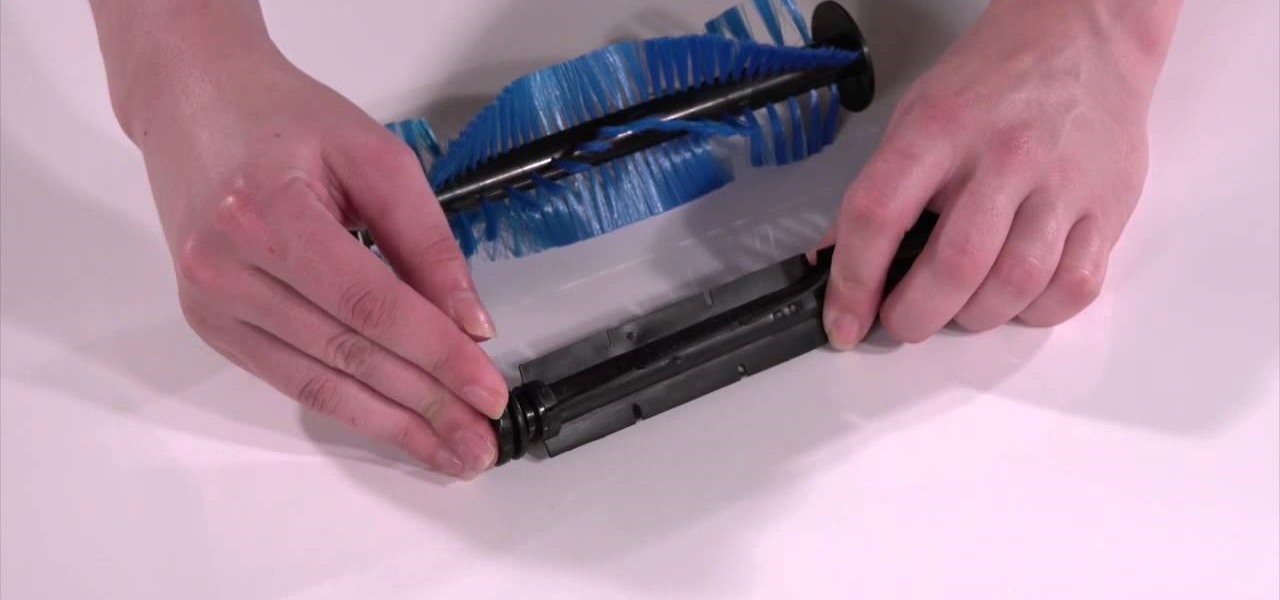
Every bObi robotic vacuum works best with a clean dustbin and brushes. Luckily all of bObi's parts are easy to remove and wash, so you can do so whenever you notice large amounts of debris collected.

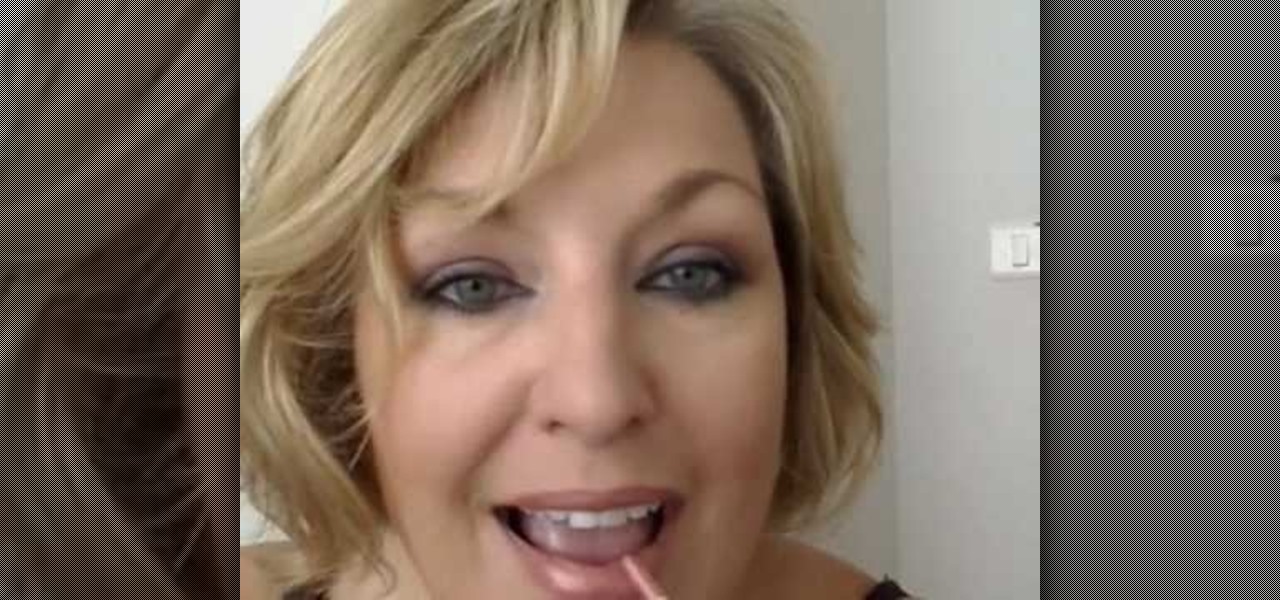
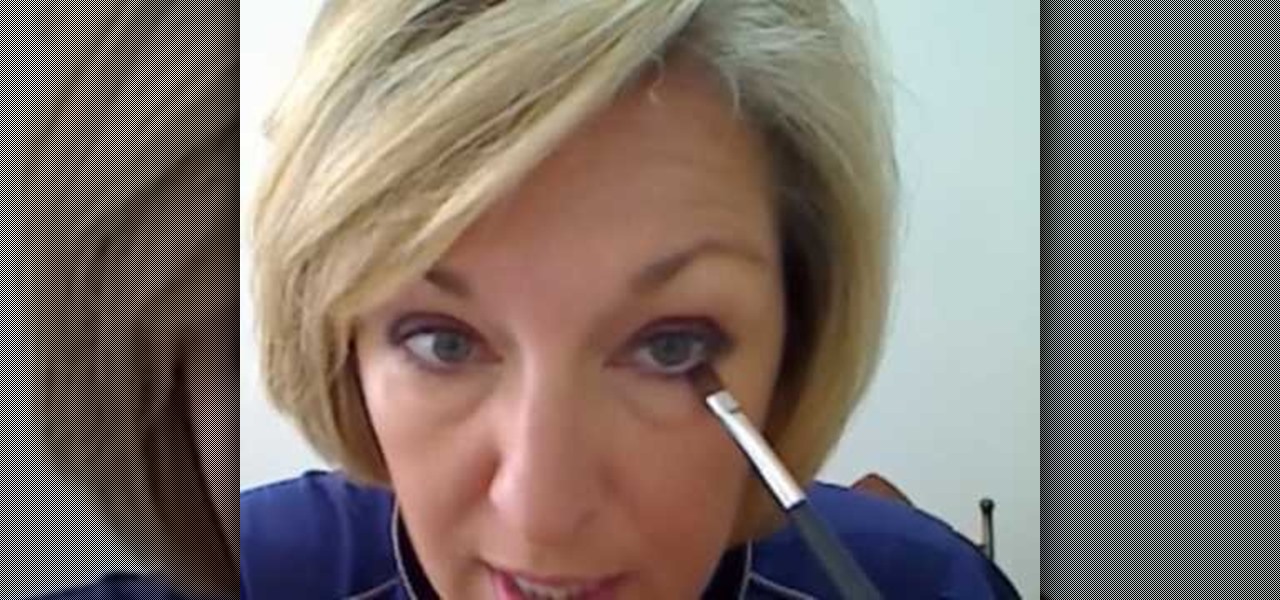
Sharon Connolly, Image Consultant, demonstrates how to create a fabulous smoky eyes look. Start by brushing a very light color over the eyelid area from the lashes to the brow, accenting the inner corner of the eye. Then apply a brown shadow from the lashes to just above the crease of the eye. Take a very light shadow and brush it above that and blend it in. With an angled brush draw underneath the lower lashes with the brown shadow.

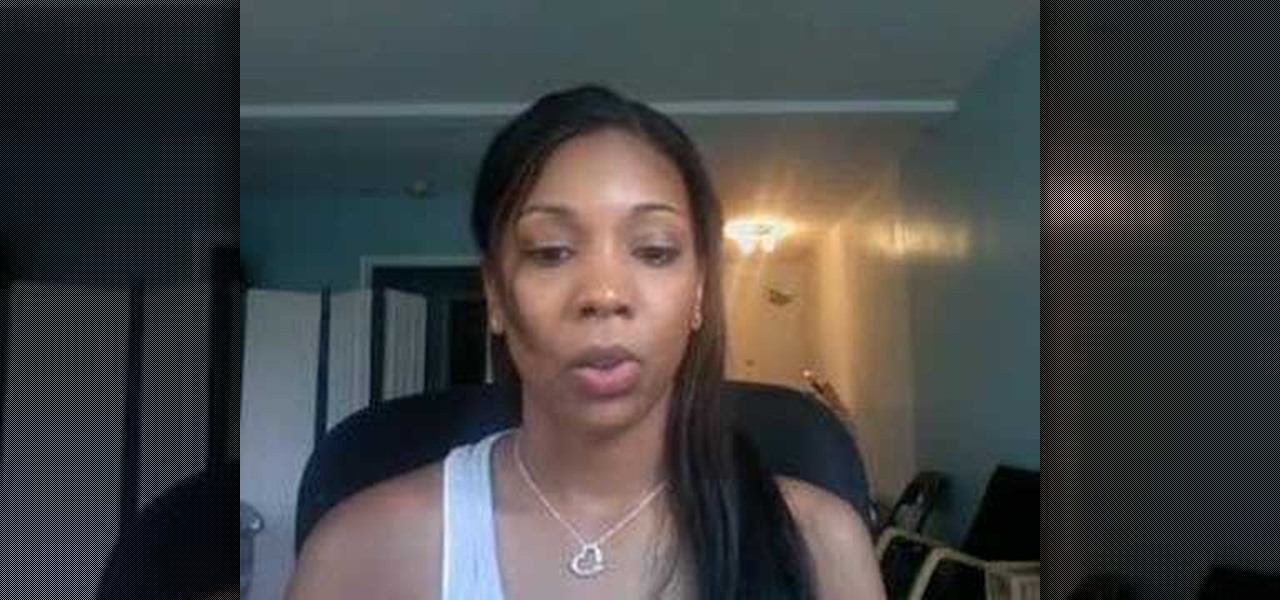
This video is a makeup tutorial by Image Consultant Sharon Connolly, showing us how to look younger and more polished in just five minutes a day.

Learn how to create a warm, grungy background in Photoshop. - Open up a brand new document at 1280 x 720.

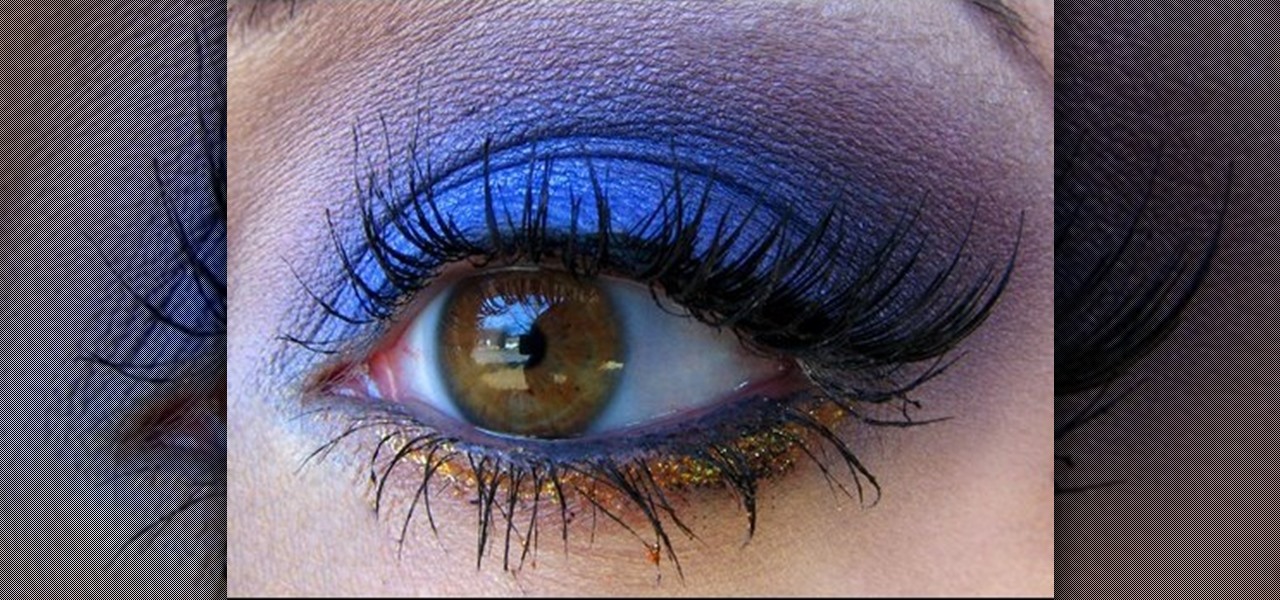
This beauty video demonstrates how to create a blueberries & cherries eye makeup look.

This beauty video demonstrates how to create a Mila Kunis makeup look.

Watch this video tutorial from the Polish Guy to see how to polish silverware using Cape Cod polishing cloths. In this polishing tip we polish silverware using Cap Cod Metal Polishing Cloths. The cloths are individually packaged in an attractive tin that includes a pair of reusable gloves and a buffing cloth.

Apple is always coming out with stylish product designs, heck even the logos they use for their products are stylish. If you'd like to learn how to make the iCloud brushed aluminum icon in Photoshop, check out this helpful video.

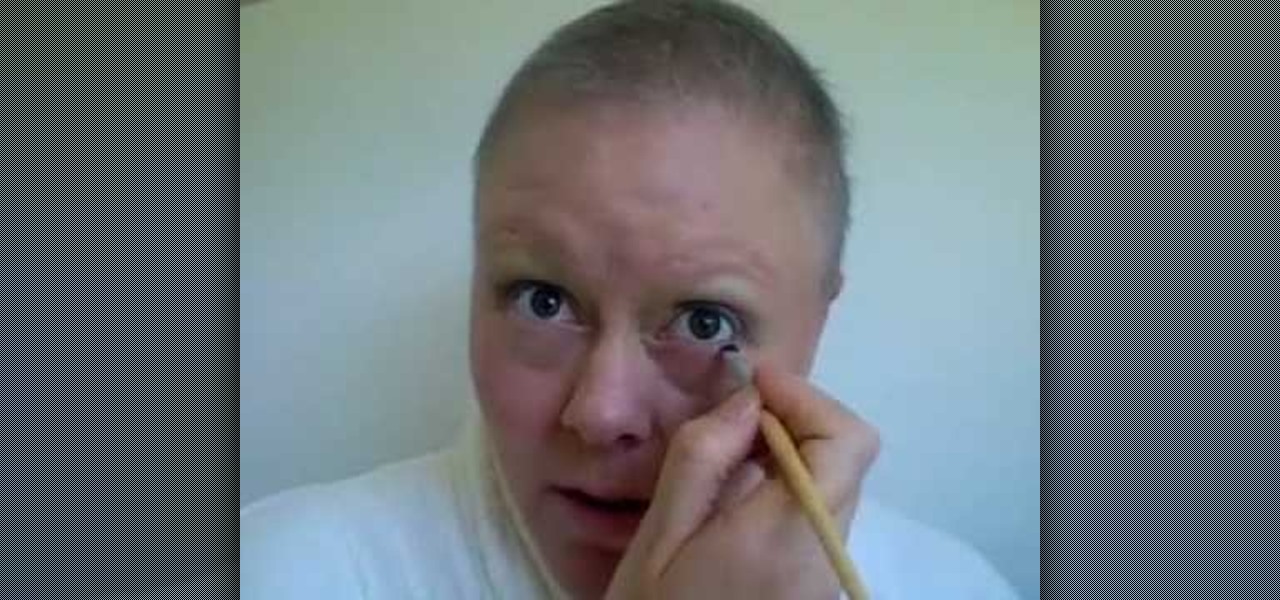
In this video, we learn how to apply bold eye makeup during chemotherapy. First, take a light silver shadow and brush it all over your eyes, including below the brow bone. From here, take a dark brown and brush it into the crease of the eye and blend to the outer corner with a fluffy blending brush. After this, apply black eyeliner on the top and the bottom of the eye. Then, apply mascara to the top and bottom eyelashes and curl if you would like as well. When finished, you will have a bold m...

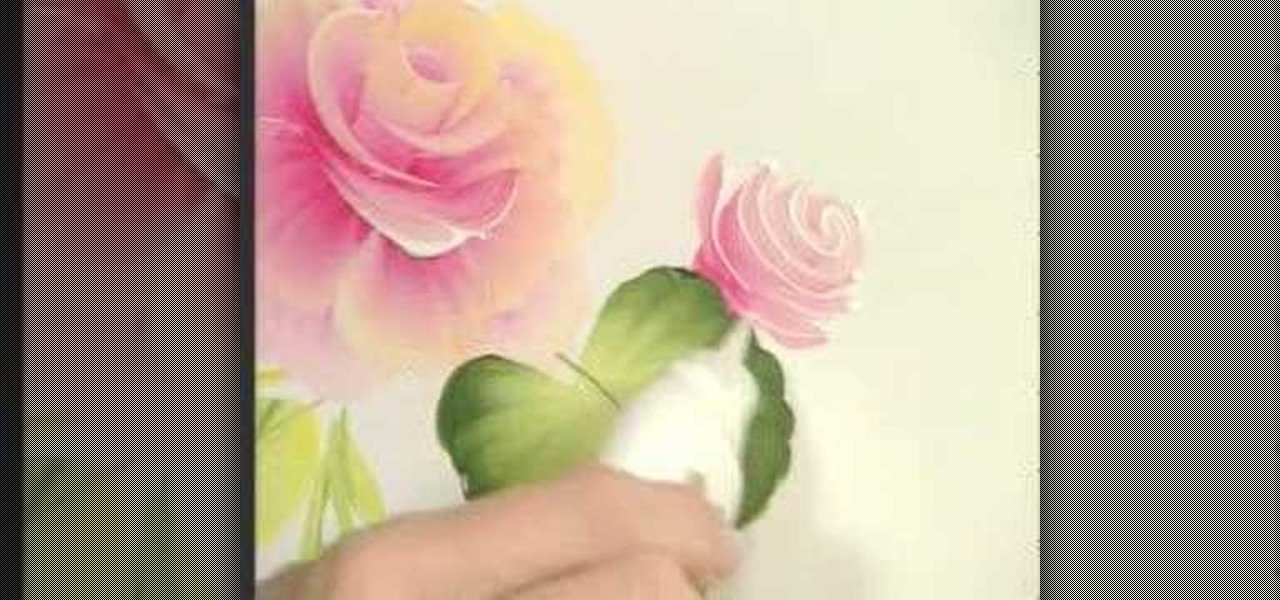
In this tutorial, we learn how to paint a cabbage rose using the one stroke technique. Start out by mixing together white and red with your paint brush. After this, add yellow to the tip of the brush and paint it onto the paper using your hand to move the brush gently up and down. Do this in a circle to make several petals into one single flower. Then, paint on petals around the inside petals to create a larger flower. Add in additional color to the center of the flower to make it pop out mor...

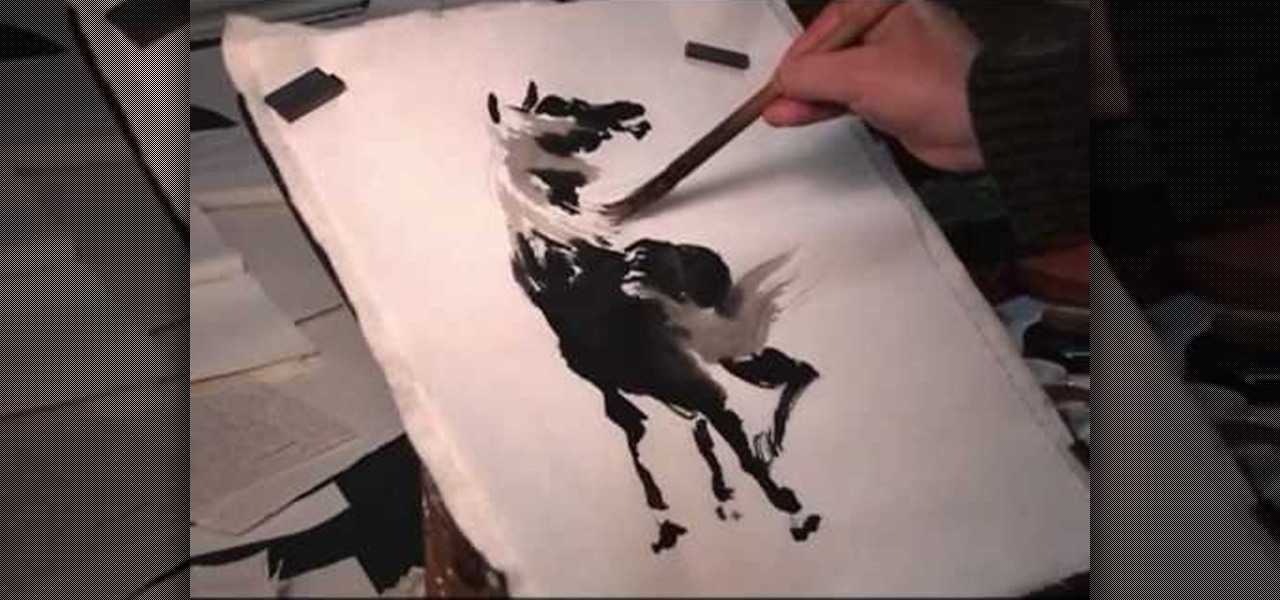
In this tutorial, we learn how to draw the back view of a horse. Start by drawing the tail. Use a horse main brush made out of real horse main hair. Change to another brush to use a darker color for the rest of the body of the horse. Paint around the tail that you made to create the rear end and the legs that are on the horse. Also create the feet and make sure to just use one stroke as you are creating these. Next, creating a neck and then the head along with the main on the top of the horse...

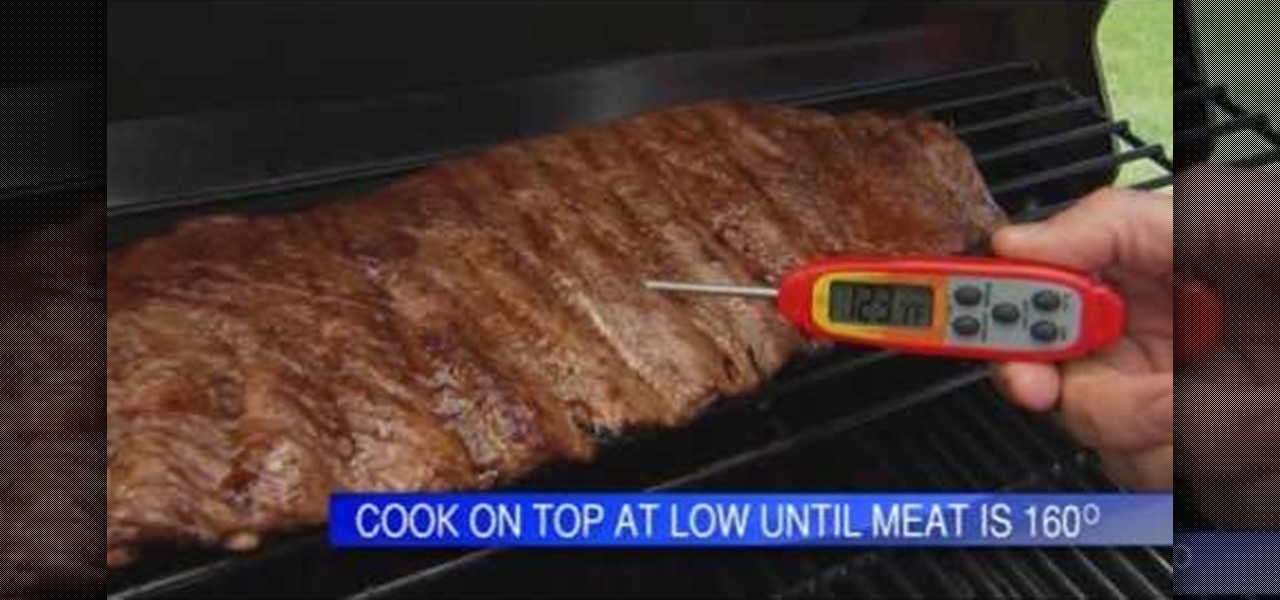
In this tutorial, we learn the basics of grilling with Lowe's. All foods can be cooked to perfection on the grill, but you will need to have the right tools. Meat thermometer, skewers, basting brush, grill cleaner, and a spatula are all tools that are key to grilling perfectly. Grill your own special way, but make sure you clean the grill after you are finished. You can do this by closing the lid and putting the grill on for a couple of minutes. Then, clean the grill with a clean cloth and ge...

If you're a beginner to Chinese watercolor painter then you do have to do a little research and practice before you actually let your paintbrush hit the canvas. From using the right paint to the right brush, every single thing you employ for your art matters in the ultimate creation.

In this clip, you'll learn how to make use of the regular Brush tool when doing design work in Adobe Illustrator CS4 or CS5. Whether you're new to Adobe's popular vector graphics editing software or a seasoned professional just looking to better acquaint yourself with the program and its various features and filters, you're sure to be well served by this video tutorial. For more information, including detailed, step-by-step instructions, watch this free video guide.

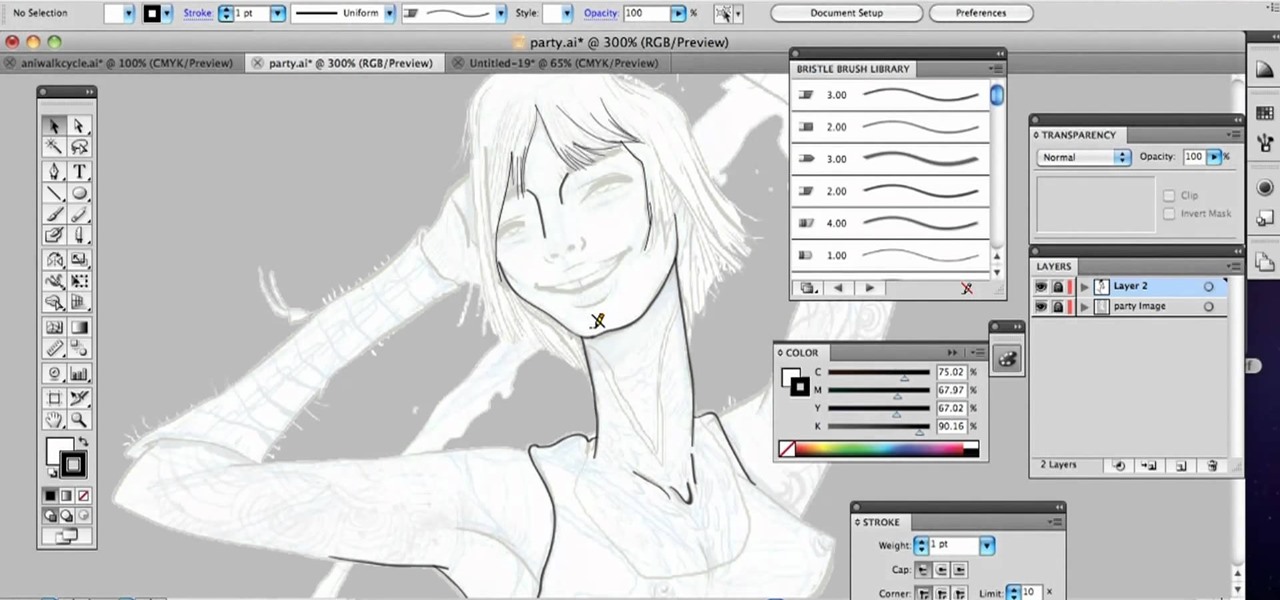
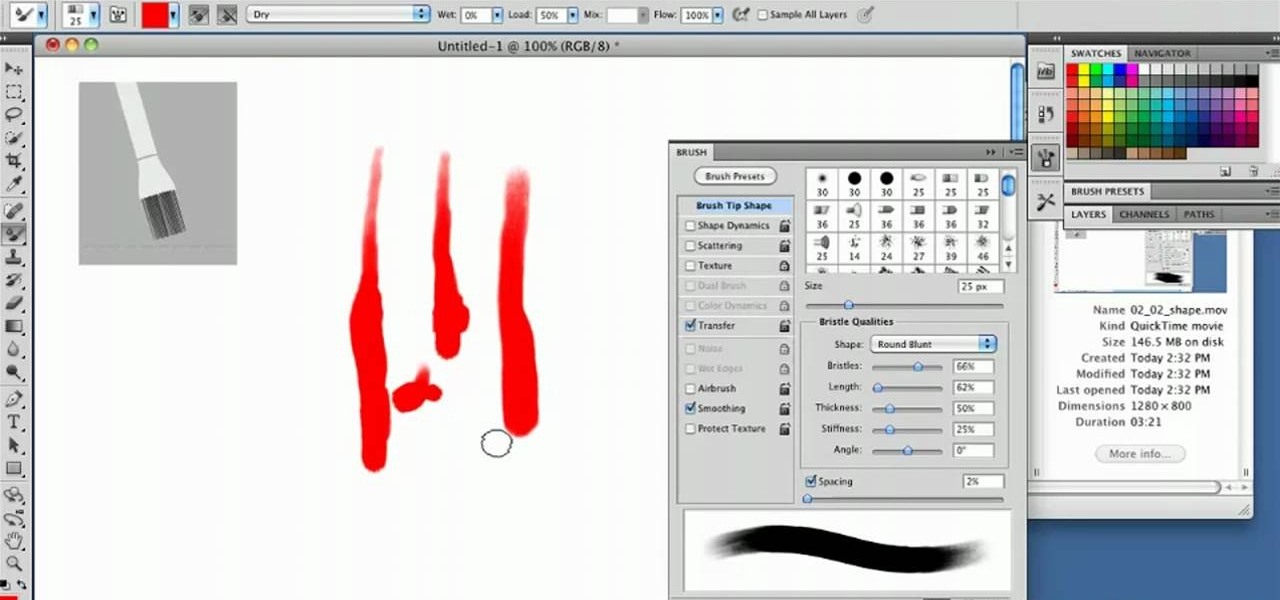
In this clip, you'll learn how to make use of Illustrator's new Bristle Brush feature. Whether you're new to Adobe's popular vector graphics editing software or a seasoned professional just looking to better acquaint yourself with the program and its various features and filters, you're sure to be well served by this video tutorial. For more information, including detailed, step-by-step instructions, watch this free video guide.

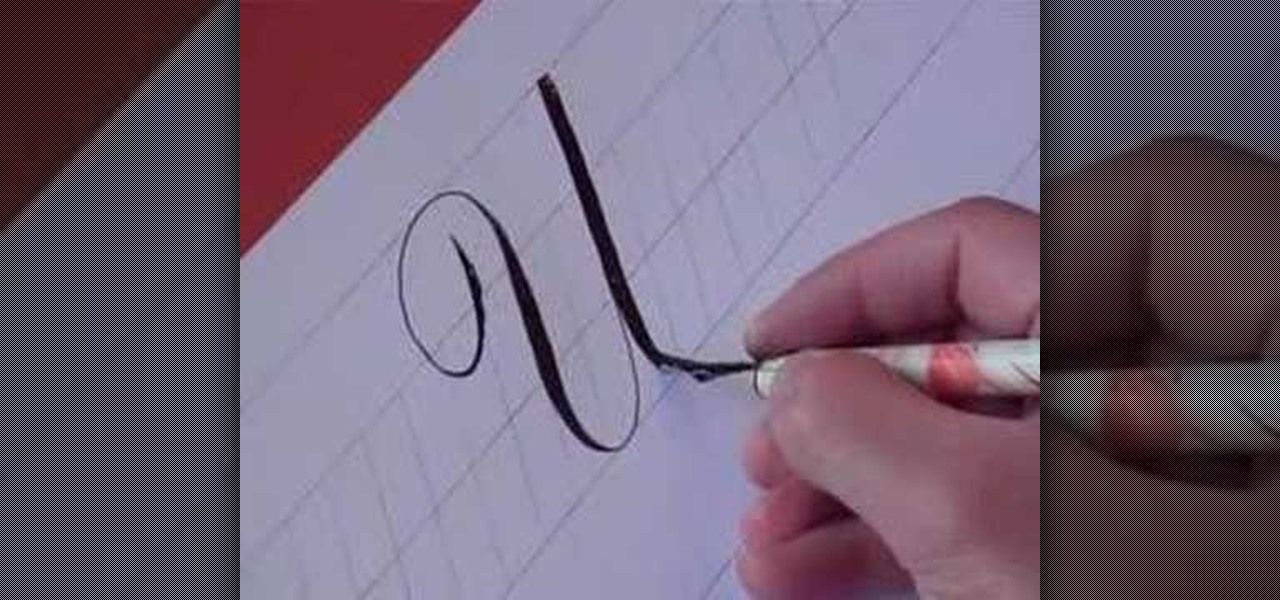
In this video, you will learn how to write the letter U in calligraphy copperplate. Capital U: Take the calligraphy pen with black ink and scaled calligraphy paper. Make a narrow, looped curve to start the "U". After the loop, make a broad brush stroke down. Narrow the brush on the up stroke and broaden again on the down stroke. Narrow the brush on the final upstroke.

In this video, we learn how to apply burnt orange to eyes for this fall. Start out by applying primer to your eyelids, followed by using airbrush foundation over your entire face. Next, find a burnt orange colored eyeshadow from any brand, and brush it on the crease of your eye. Next, brush a copper color onto your eyelid, then brush the burnt orange color on the outside crease of your eye and blend into the middle of your eye. Then, brush the color lightly on the bottom waterline of your eye...

In this video, we learn how to apply eyeshadow and eyeliner in Adobe Photoshop. First, load your picture in and zoom in on the eye. After you do this, you will need to click on layer one and then click on the color picker. Next, choose the color you want for the eye and paint it onto the lids using a small brush and zooming in on the eye even further. After you brush the color onto the entire eye, you can choose black for the eyeliner and use a smaller brush. Paint the liner onto the bottom a...

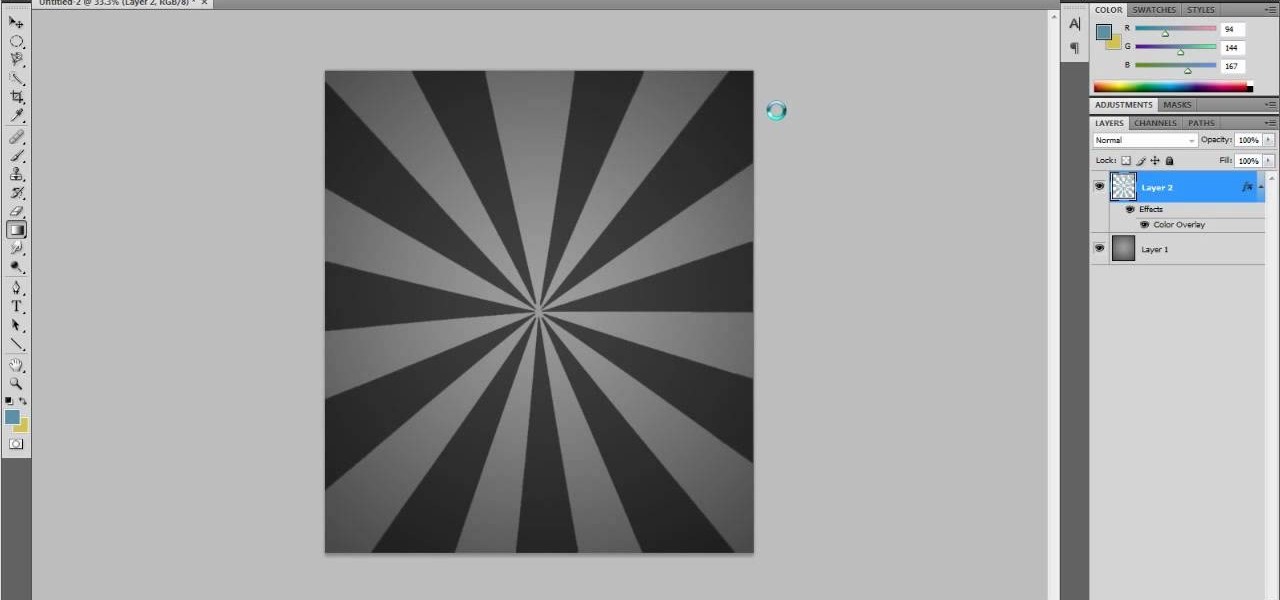
This is a very popular brush right now and I figured that their may be some people out there who would actually like to see how they are made. So in this tutorial I show you how to create the starburst effect by itself then take it a step further and show you how to make it into a brush that you can use on other projects! Hope you guys enjoy and leave any comments that you might have... Thanks!

In this tutorial, you'll learn how to choose the best brush shape for your application in Adobe Photoshop CS5. Whether you're new to Adobe's popular raster graphics editing software or a seasoned professional just looking to better acquaint yourself with the program and its various features and filters, you're sure to be well served by this video tutorial. For more information, including detailed, step-by-step instructions, watch this free video guide.

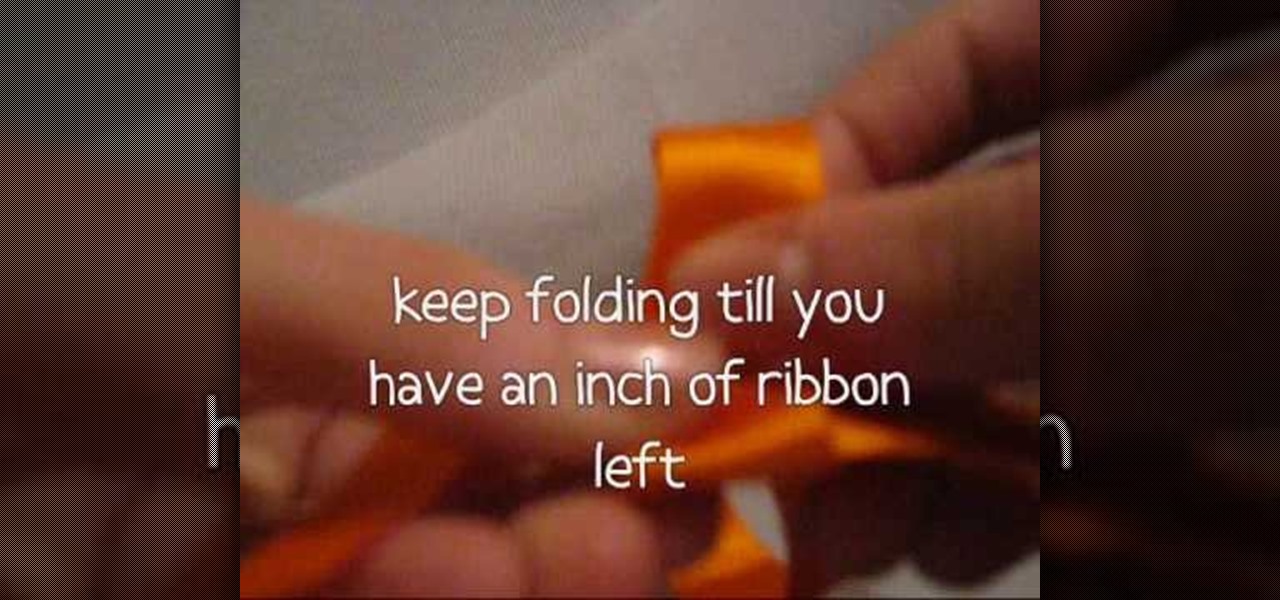
In this video tutorial, viewers learn how to make a ribbon rose. Users will need approximately 60 cm of 16 mm of satin ribbon. Begin by folding your ribbon in half and then pinch fold the end. Now fold the front half sideways and pinch it in place. Then turn it over and fold the ribbon to the opposite side. Keep folding until there is only about 1 inch of ribbon left. Users should end up with a pile of little folds. Pinch the two ends together and let go of the pile. As you pinch the ends tog...

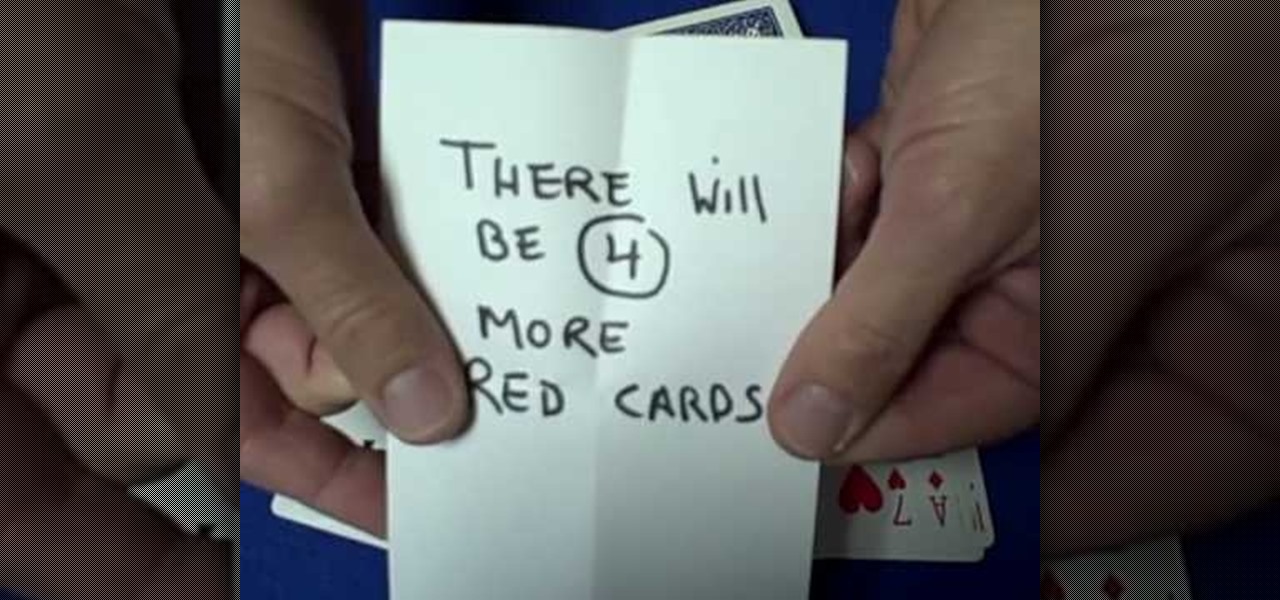
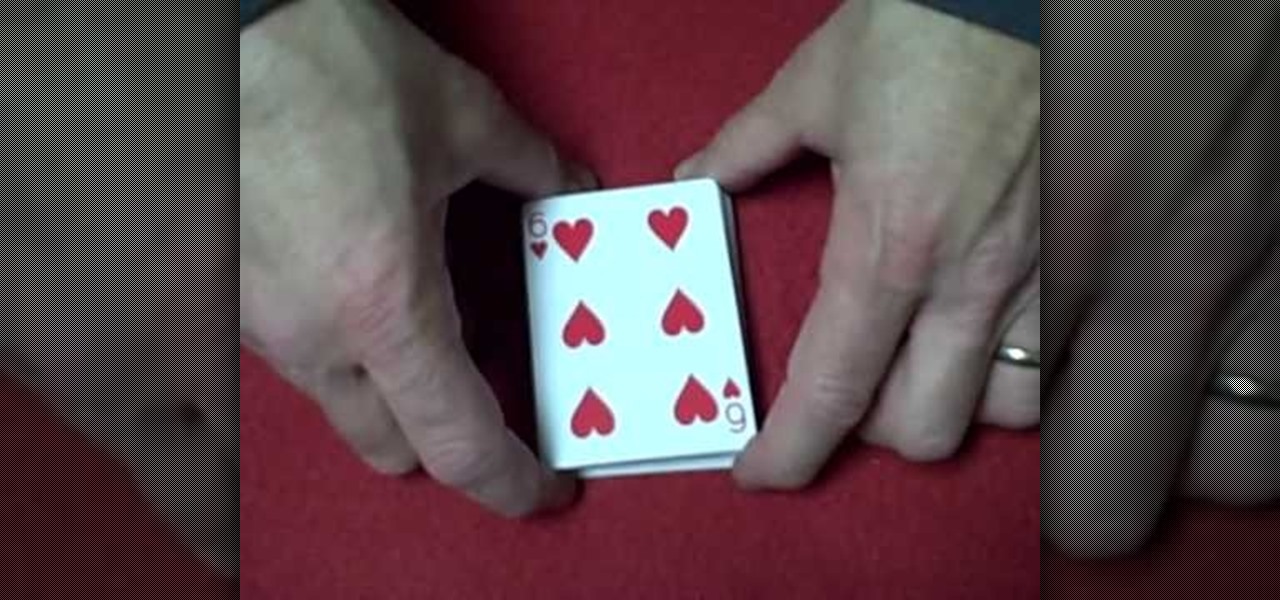
In order to perform a prediction card trick, you will need the following: a deck of cards, the box the cards came in, a pen or a pencil, and paper.

In this tutorial, from graphic designer Ali Edwards, you will learn how to use cool, hand drawn lettering on your photos in Photoshop. You can buy packages of hand drawn letters and words from various sources (or make your own) and this clip will show you exactly how to add these brushes to your photos for scrapbooking, advertising, logos or anything else.

See a number of useful key commands that will allow you to quickly resize and adjust the relative hardness of your brushes in Adobe Photoshop CS4. Whether you're new to Adobe's popular graphic editing program or a seasoned design professional looking to better acquaint yourself with the new features and functions of this particular iteration of the application, you're sure to benefit from this free software tutorial. For more information, watch this designer's guide.

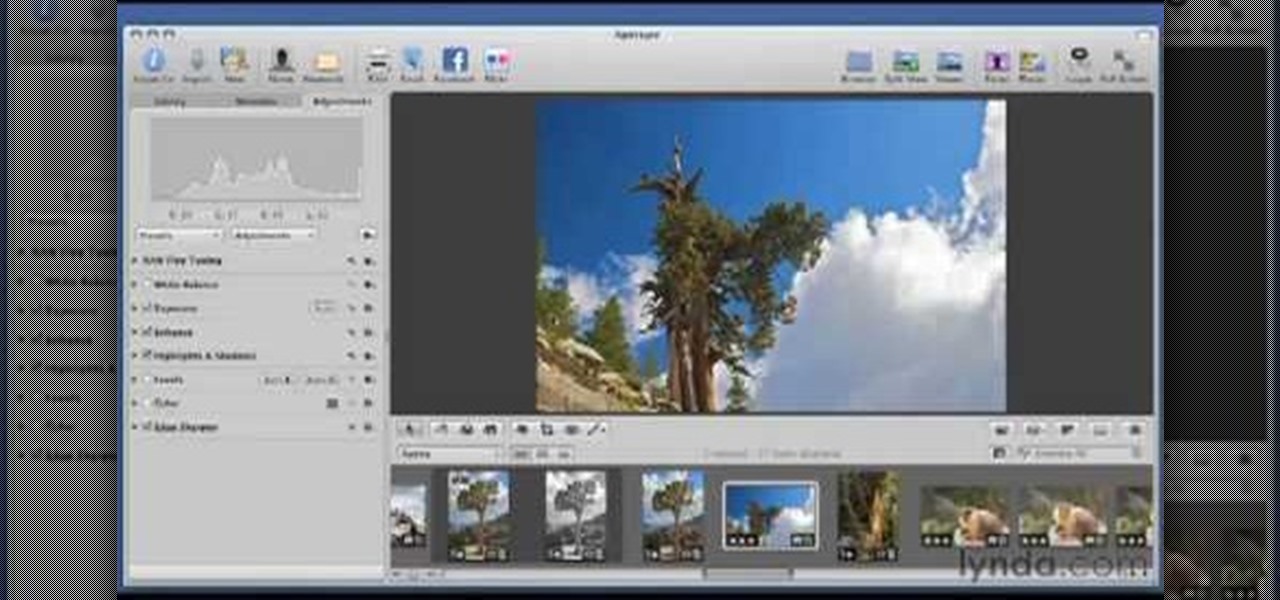
Learn how to use the Quick Brushes feature in Aperture 3. Whether you're new to Apple's popular photo editing application or a seasoned professional just looking to better acquaint yourself with the newest iteration of the program, you're sure to be well served by this video tutorial. For more information, including step-by-step instructions, watch this free video guide.

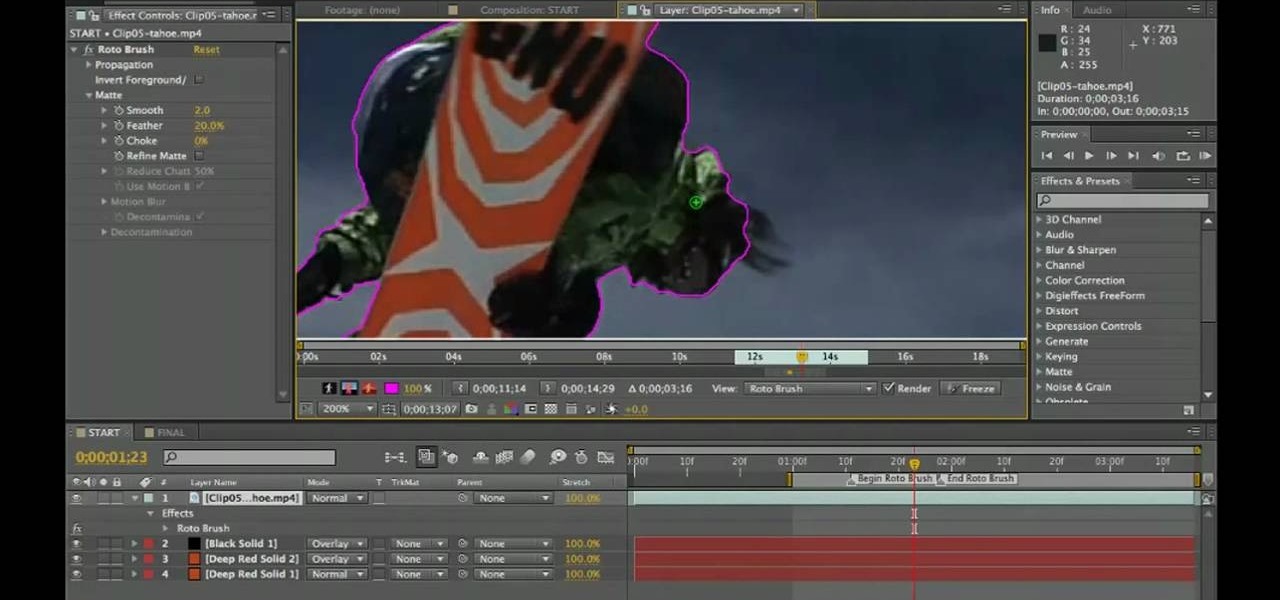
Learn how to use the Roto Brush tool in After Effects CS5. Whether you're new to Adobe's popular motion graphics and compositing software or a seasoned video professional just looking to better acquaint yourself with CS5's new features, you're sure to be well served by this video tutorial. For more information, watch this free video guide.

Have a photo that could do with a little touching up? Whether you're new to digital photography or merely unfamiliar with Apple's Aperture 3, you're sure to benefit from this free video software tutorial from Lynda, which presents a thorough, step-by-step overview on how to touch up your digital photographs utilizing Aperture's built-in adjustment brushes.

In this Home & Garden video tutorial you will learn how to fix a small hole in your drywall. This video is from www.fixitfromhome.com. The cheapest way to fill a hole is to get some dry wall compound, a plastic knife, sponge and a small brush. Take a little bit of the compound on the knife and fill the hole. Press it slightly so that no gaps are left inside the hole. If the rest of the wall has a texture, to match it with the texture, clip the end of the brush, make it damp and just brush the...

The first thing to do is open a new document with Adobe Illustrator. Inside the document, make a box, width 200 pt, height 20 pt. Click the bottom right corner with your mouse and hit delete. Then hold down the top right with shift, and tap the down arrow once. Then, click bottom left point, hold shift, join the objects by half. Go to brushes pallet and create a new brush. Click the spiral tool. Use the up and down with the mouse to select range you would like. Select the art brush, and click...

In this video, Sharon Connolly shows us hot to get fuller, sexier and thicker hair. First, add a heat protector to your hair and brush it through. Next, add your favorite mousse and spread throughout your hair mixing it in well up to the roots. Now, take your hair dryer and brush your hair in the opposite direction as your dry it. This will cause your hair to almost stand up, but create great volume. Do this for all sides of your hair including sides and front to back. Now, grab a round brush...

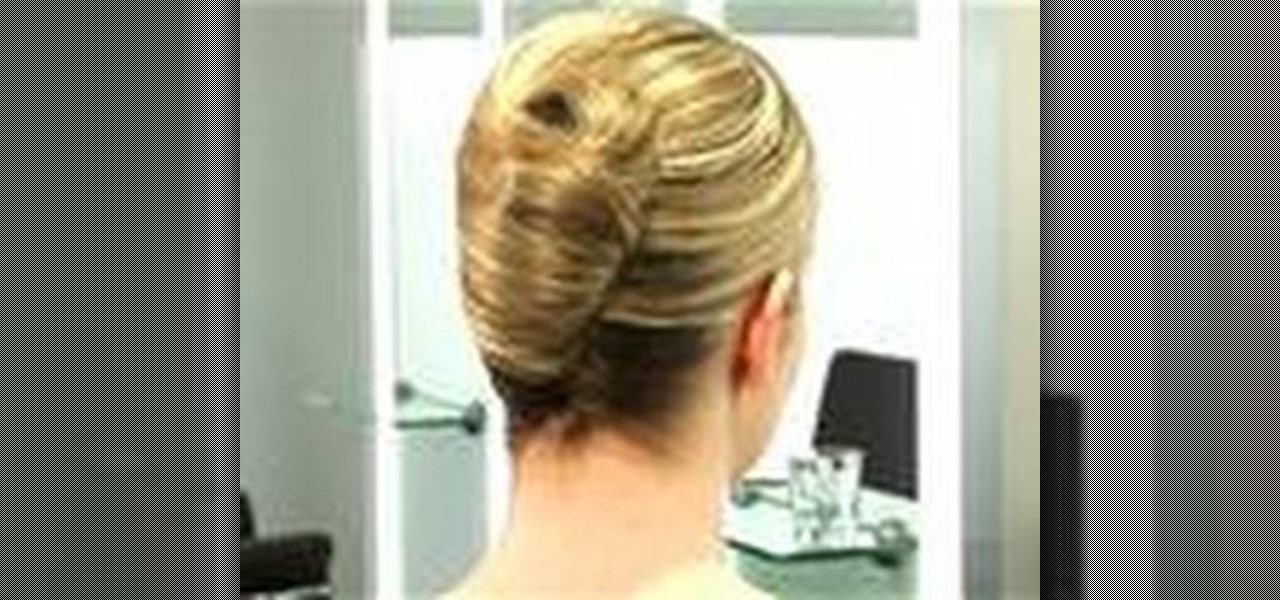
In this video tutorial, viewers learn how to make a French twist hairstyle. Begin by making a parting in the hair by brushing the hair towards the middle. Place a some grips to hold the hair to one side and spray on some hairspray to help hold it. Place your hands underneath the neck to hold the hair. Then wrap your hand around the thumb and secure it with your fingers. Use big pins to hold the twist. Brush the twist with a bristle brush and use some hairspray to hold it together. This video ...

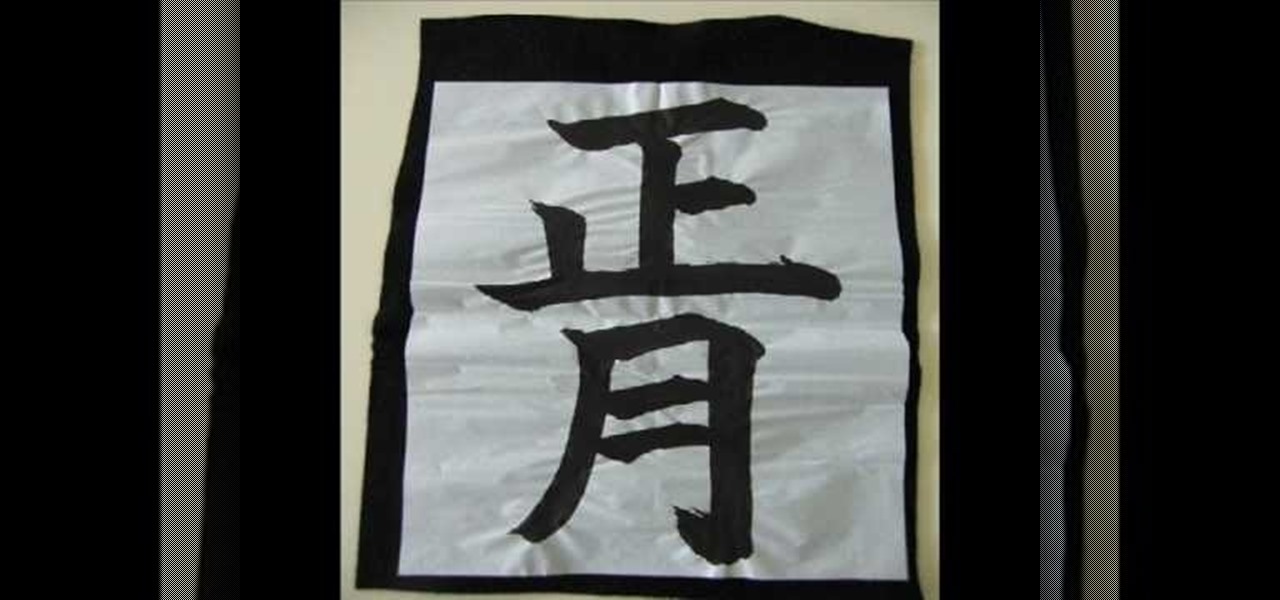
Maki and Miho demonstrate how to write with a Japanese calligraphy brush. To write with a Japanese calligraphy brush, first position the paper to the left side of the brush with the ink on the right side of the paper. Rub the ink stick in the ink well with a little water. Then, soak the brush in the ink. To write Japanese characters, be sure to make the strokes in the correct order. Also, write slowly or your characters will not come out well. Use a long, flat paperweight to hold the paper in...

Before beginning you should start to focus on shampooing your roots and scalp and conditioning your hair and ends of hair. This will help by saving the ends of the hair and the main body of your hair from unnecessary damage. Shampoo is a very strong product and as you work it into your scalp and roots it will naturally move down your hair grabbing dirt and old product from your hair. So, focusing on shampooing the ends of your hair and the main body of your hair is not needed and it can be da...

This video in the Software category will show you how to remove pimples and wrinkles in Photoshop. Yanik from Yanik’s photo school presents this video. Select the photo you want to work on. First you duplicate the layer by ctrl+J or select from the dropdown menu. You start off with removing those pimples that you want to remove completely. Select the spot healing or the regular healing brush. Yanik prefers the regular healing brush. Also choose a small brush size. To select a source point, ho...

This video from Do as I do presents a simple card trick. Cut the deck in half.


