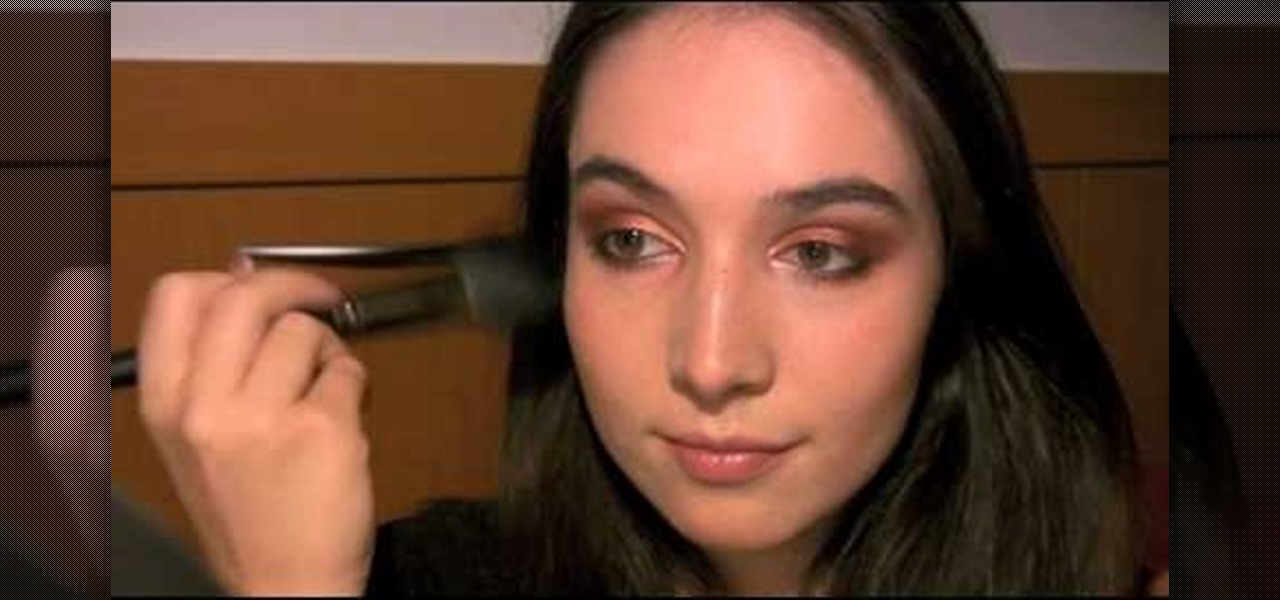
Looking for a decent late summer look for a night out on the town? This bronze and copper look might just be what you're looking for. And believe it or not, this makeup style was inspired by a fox. Yep, the animal, not the Megan.

In order to make a pair of baby shoes from gum paste, you will need the following: a pattern/template from Cake Central, gum paste, a paint brush, a knife, foam, mini flower cutter, rolling tool, a cutting tool, a quilting tool, dust brushes, snowflake luster dust, and edible glue.
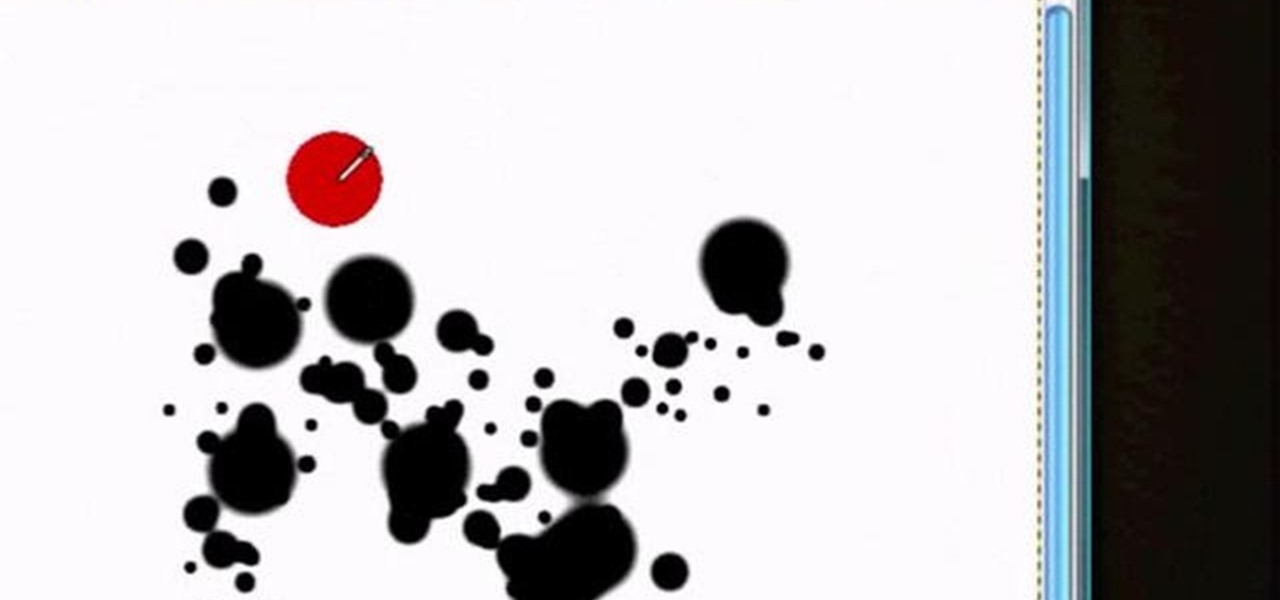
See how to create a splatter brush within the GIMP image editor. Whether you're new to the GNU Image Manipulation Program, GNU's popular free graphics editor, or a seasoned designer just looking to pick up a few new tips and tricks, you're certain to enjoy this free video software tutorial. For more information, including detailed, step-by-step instructions, and to get started making your own custom splatter brushes, take a look.
This technique uses layers, blending modes, and brushes to achieve selective lightening & darkening of an image. Whether you're new to Adobe's popular graphics editor or a seasoned design professional looking to get better acquainted with the industry-standard app, you're sure to benefit from this free software tutorial. For more information, watch this designer's guide.

This video demonstration feature a young girl painting one of China's national icons: the Panda Bear. The paper she uses is covered in silver flakes, which give the piece a shiny, cartoonish quality. That is one happy looking little bear.
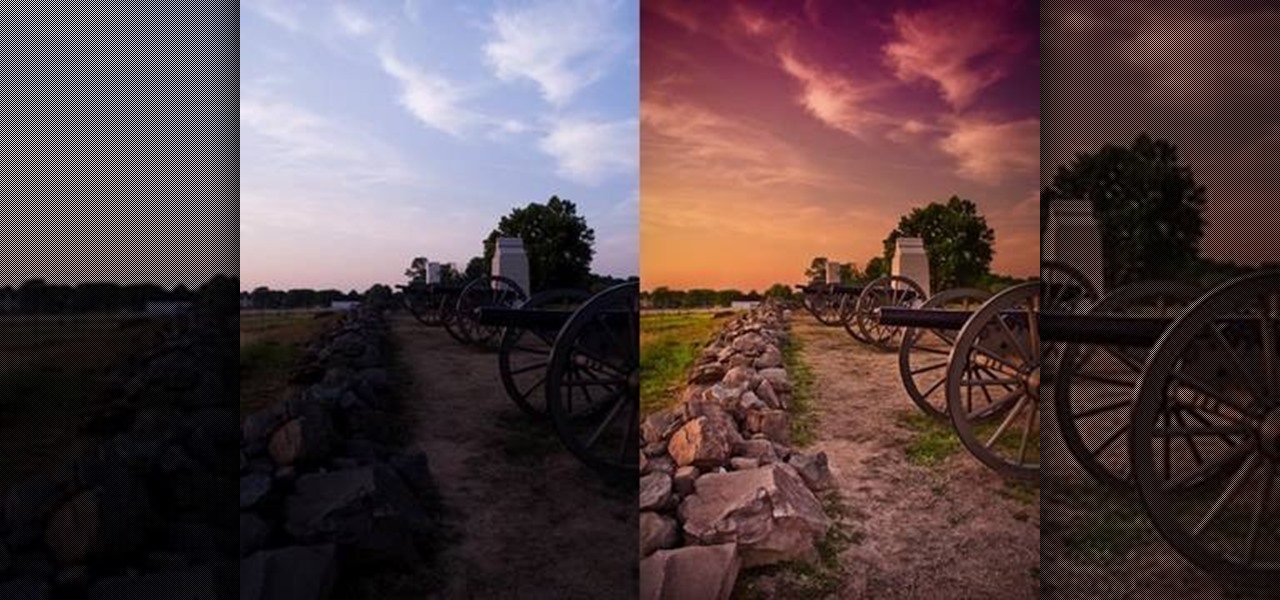
Tutvid shows you how to add flare and dramatic color to your raw camera images (usually the format of a DSLR). In a step-by-step guide with narration, Tutvid takes you through the process of using CameraRaw (used as an extension of Photoshop but never really brings it in photoshop) to add desired colors to your picture. Pull up your raw file in CameraRaw, and press "Command" or "Ctrl + R" to open up the editing panel. With an example, he shows you how to bring out lights in underexposed (dark...

Stephanie Valentin teaches us how to draw a stone angel in Photoshop. You create a new document of 1100 x 200 pixels. You sketch the character with a black brush of 5 pixels and 100% of opacity on a new layer. Keep this layer of the whole painting process. Then create a new layer, filling the shape with a dark color. Use a hard brush of 25 pixels and 100% opacity. Create a new layer Light 1, apply large lights with a soft round brush of 20 pixels and 35% opacity. Apply a Gaussian blur of 8 pi...

Here is another cool photo manipulation you can do using Photoshop CS3. You can take a normal photo you’ve taken and really make it look unique by giving it harder edges and some more texture to the shot. Mix up your photos with this effect.

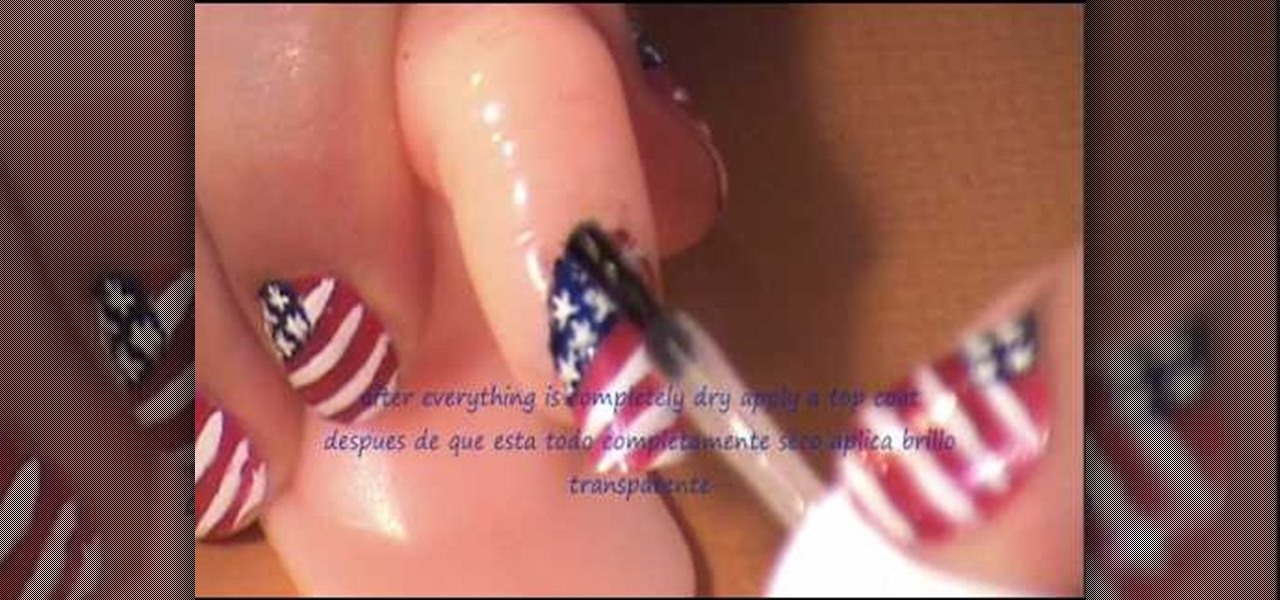
This video is for those of you looking for unique and different styles to paint your finger nails with. The author takes us through the entire process to create a fantastic looking United States flag on our nails, just in time for Independence Day! From starting with a red base, adding the stripes and even creating actual stars on your nails with the appropriate nail brushes. What a great way to show your patriotism, love and support for Old Glory!

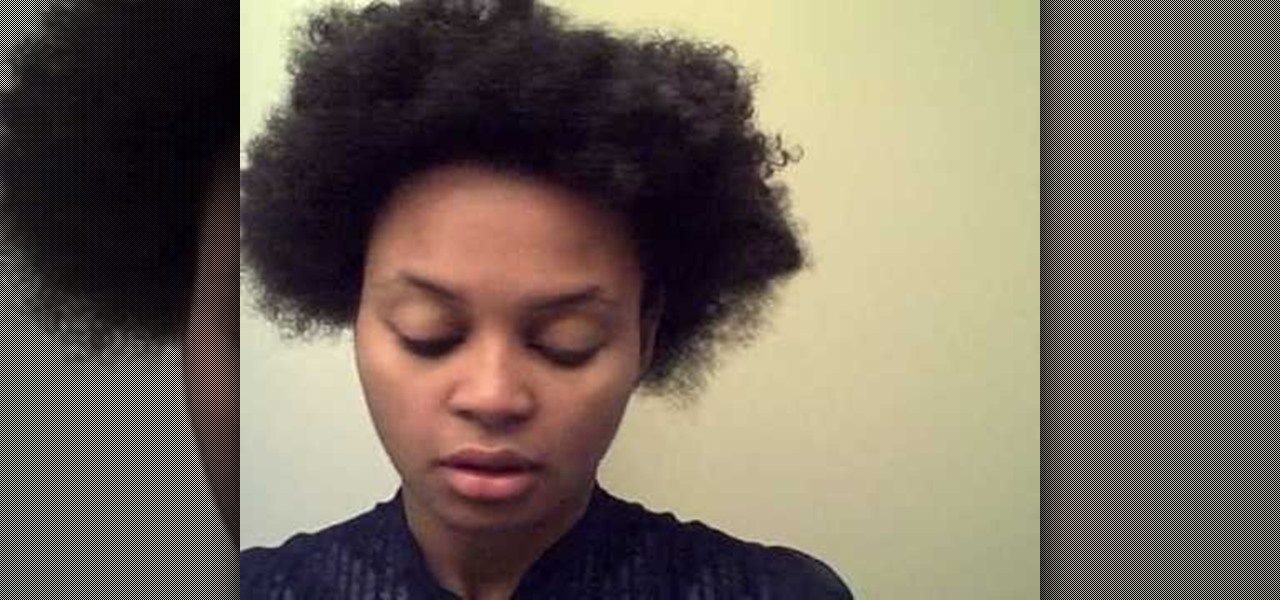
This video tutorial demonstrates how to style an afro puff or pony puff. All you need is pantyhose, light gel, and brushes. Afro puffs are cute & easy. Good luck.

Don’t squeeze that blackhead! There’s a gentler way to get rid of it, and several steps you can take to prevent new ones from forming.

So many makeup how-to videos will just tell you to blend the shadows, but what does that even mean? Fortunately, there is finally an explanation to this somewhat ambiguous makeup technique. You'll need some brushes and a bit of practice. Follow along with the instructions in this video makeup tutorial and learn how to blend eyeshadow. It'll get you one step closer to creating those really elaborate looks.

Watch this instructional drawing video to draw and color a cartoon Viking warrior. You may want to draw this woe begone Viking in pencil before you add ink and color. With a clean brush, dampen the page with water before adding color. Use pens and brushes to mix a quick set of watercolors.

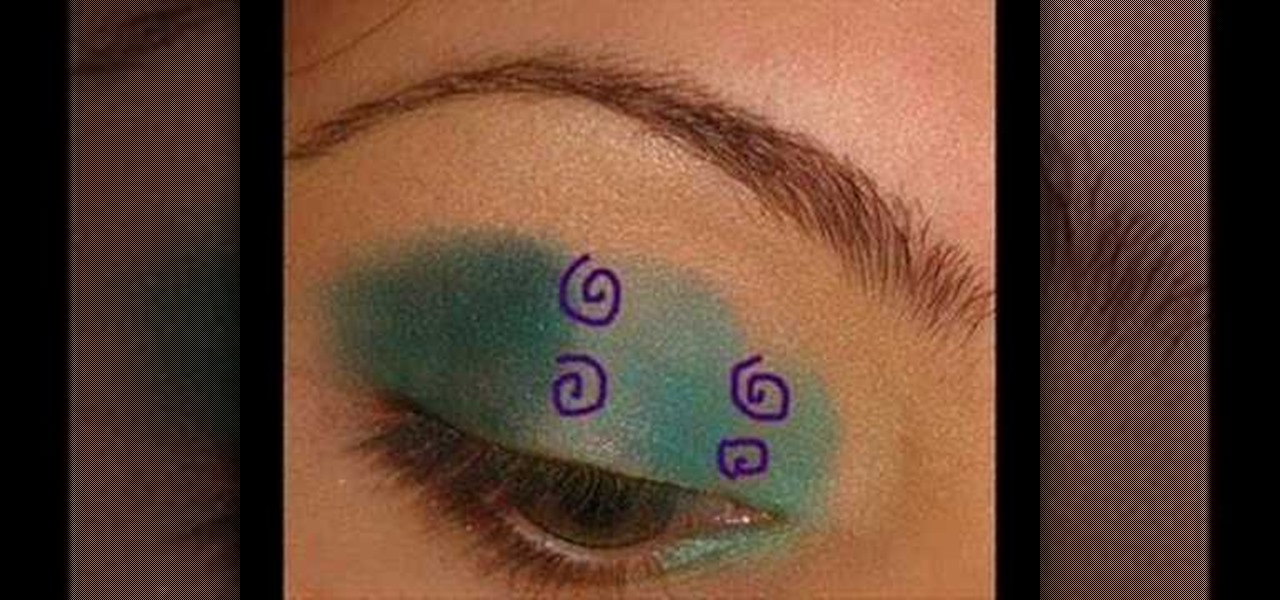
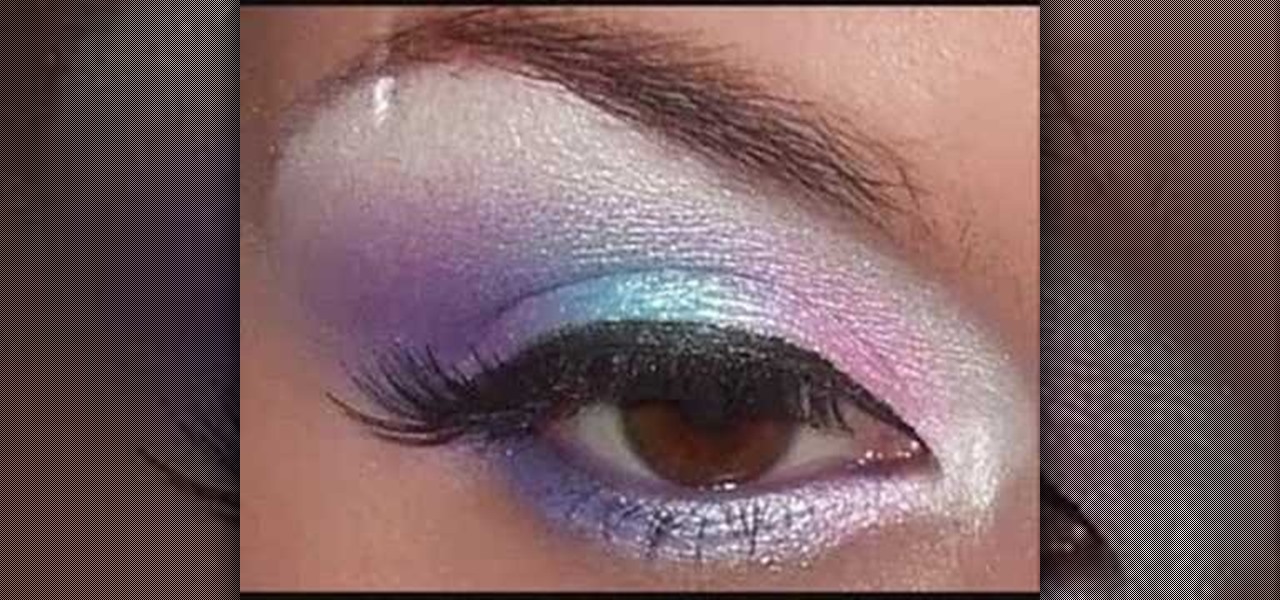
Watch this instructional cosmetics video to apply pink, purple, and blue eye shadow over a MAC cream color base. Use soft brushes to blend the color transitions. This creates a three color eye shadow fade with a dramatic shape.

Watch this instructional cosmetics video apply eye shadow for a punk look. You will need

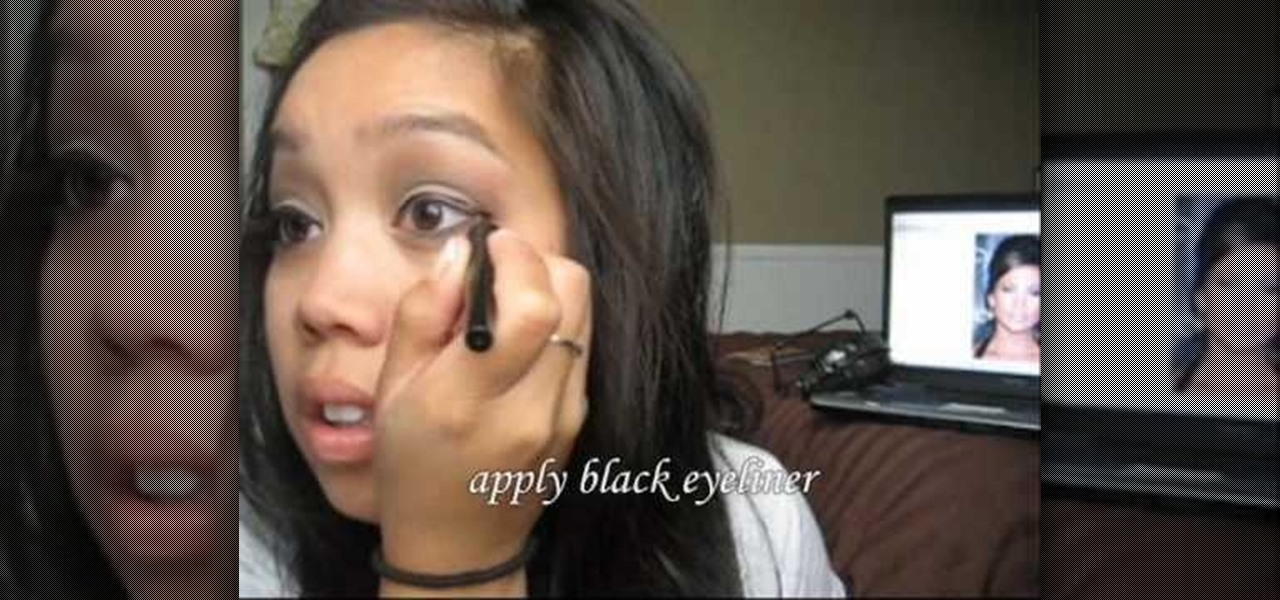
Watch this instructional cosmetics video to apply makeup for a Jennifer Lopez look. Products used in this video are a Leow-Cornell 3/8'' brush, 1/2'' Maxine's mop brushes, MAC 219 brush, Sephora 29 blending brush, Ardelle 134 falsies, DUO lash adhesive, and an eyelash curler. For the eyes use Urban Decay primer potion, MAC "fresh cement" shadestick, Revlon colorstay liquid eyeliner, Revlon colorstay pencil eyeliner, and a MAC "wheat" brow finisher.

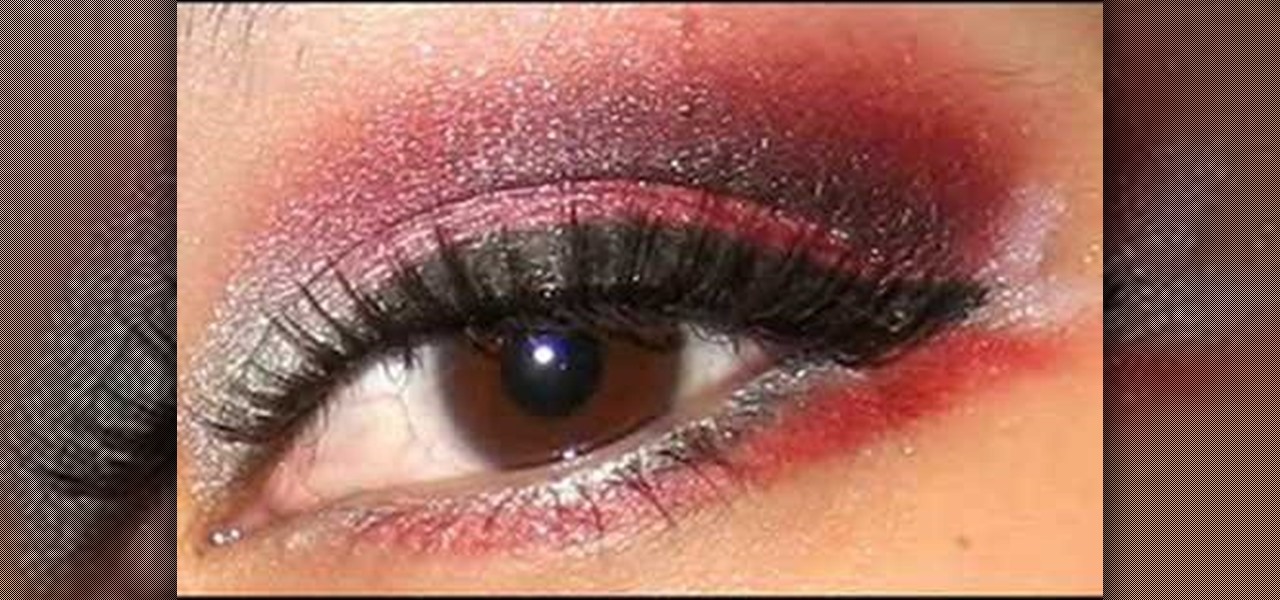
Watch this instructional cosmetics video to apply M.A.C and Bourgeois Makeup for a pink and black smokey eye. Use M.A.C brushes to achieve a delicate blending effect. Use bold pinks and dark colors for this eye shadowing job.

If you are dedicated Warhammer painter, you know that you need a small, but extremely tidy workspace. Watch this instructional video for tips on setting up pallets, choosing brushes and painting mediums. Expand the limits of traditional Warhammer paints by mixing colors and using alternative brands.

If you've come home from a long day of work, you might just want to sculpt in Pixologic's Zbrush 3.1 3D sculpting software. So sculpt out of clay to practice the Zbrush 3D modeling program, don't work on Zspheres or an entire model, practice on sculpting. If you plan on being a good 3D digital animator, then practice, practice, practice. This video will show you how to work in the interface, use brushes, and sculpt a squirkle, yes a squirkle.

Do you have dirty paint brushes? Sponges? Watch this informative video to learn the benefits of an ultrasonic cleaner.

A good stain and varnish can add shine and luster to any piece of wood furniture. Check out these simple steps for staining wood. You will need a painter drop cloth, 2 or 3 1 inch foam brushes, fine grit sandpaper, tack cloth, couple of towels or rags, oil base wood stain and oil base satin varnish.

Watch this video for instructions on making the Yukki Cross Artemis scythe from the anime / manga Vampire Knight.

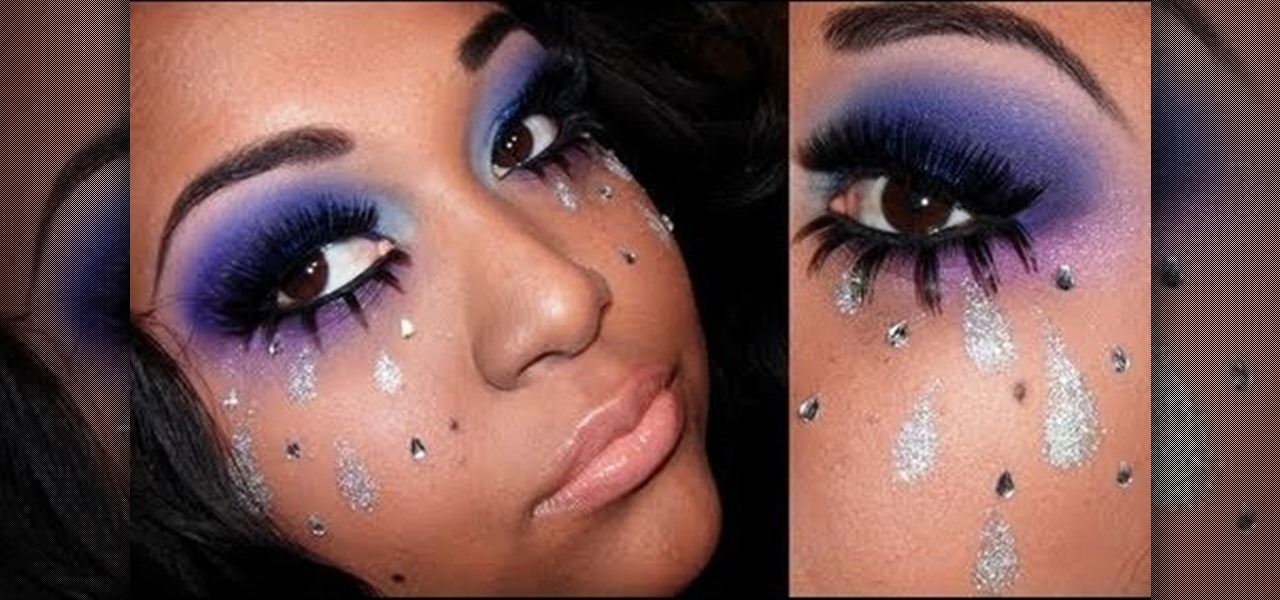
Need an outrageous and beautiful look for Halloween or attending one of Ke$ha's concerts soon? Then you'll definitely need to amp up your makeup game with lots of color and a Claire's store worth of glitter.

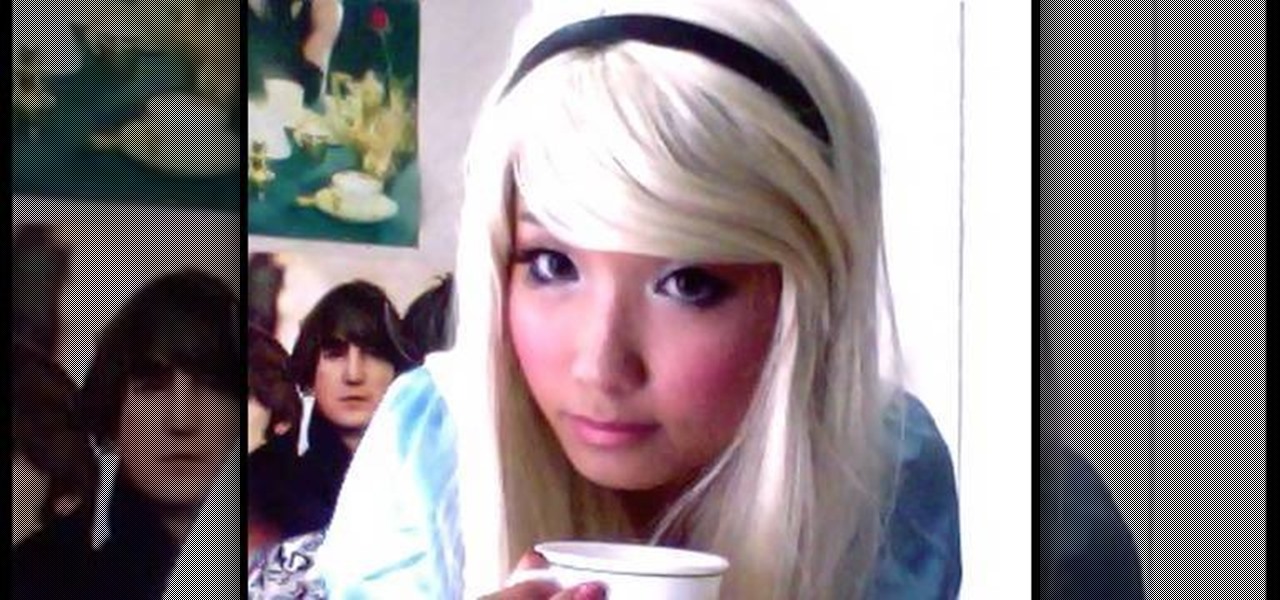
The story of "Alice in Wonderland" is one of childhood naivete, self exploration, and ultimately growing up. That's why we love the character of Alice so much - she's equal parts child and adult, fighting to find her own in an adult world filled with hypocrisy and craziness.

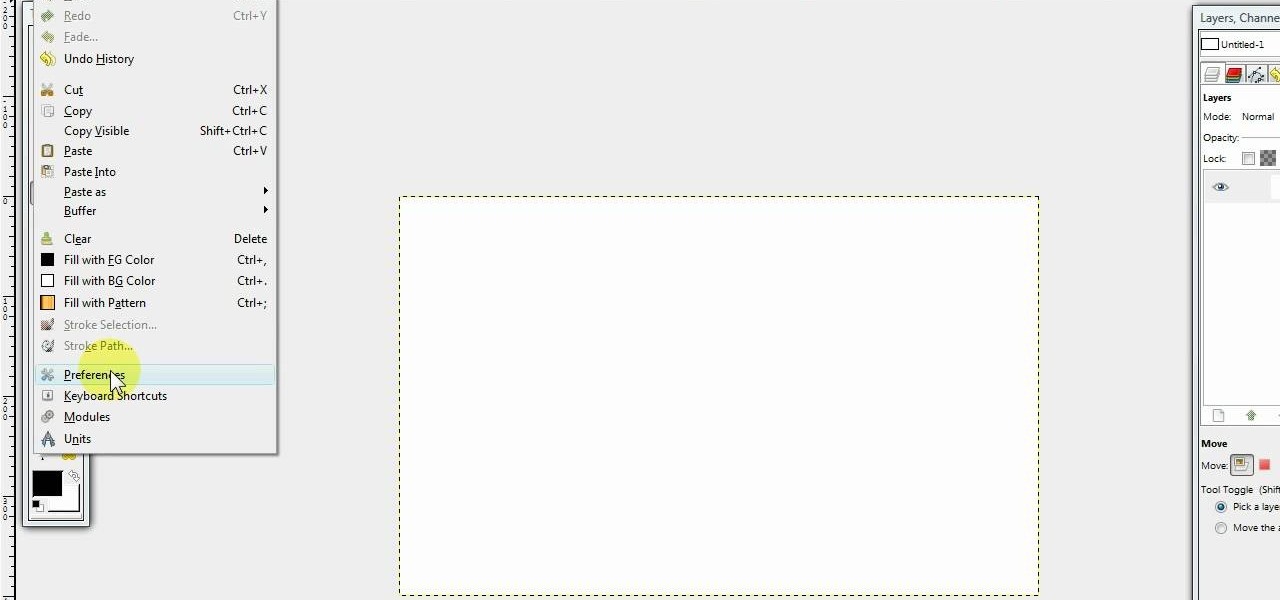
In this video we learn how to create a Photoshop layout in GIMP. First, open up GIMP and then add a new tab. From here, you will open up the brushes tab and choose the brush that you want. After this, create the template size that you want for your page. Then, open up the preferences section and choose what you would like. Then, show the layer boundary on the page and fill it in with the color of your choice. Create toolboxes and add in the text that you would like. Use preferences whenever y...

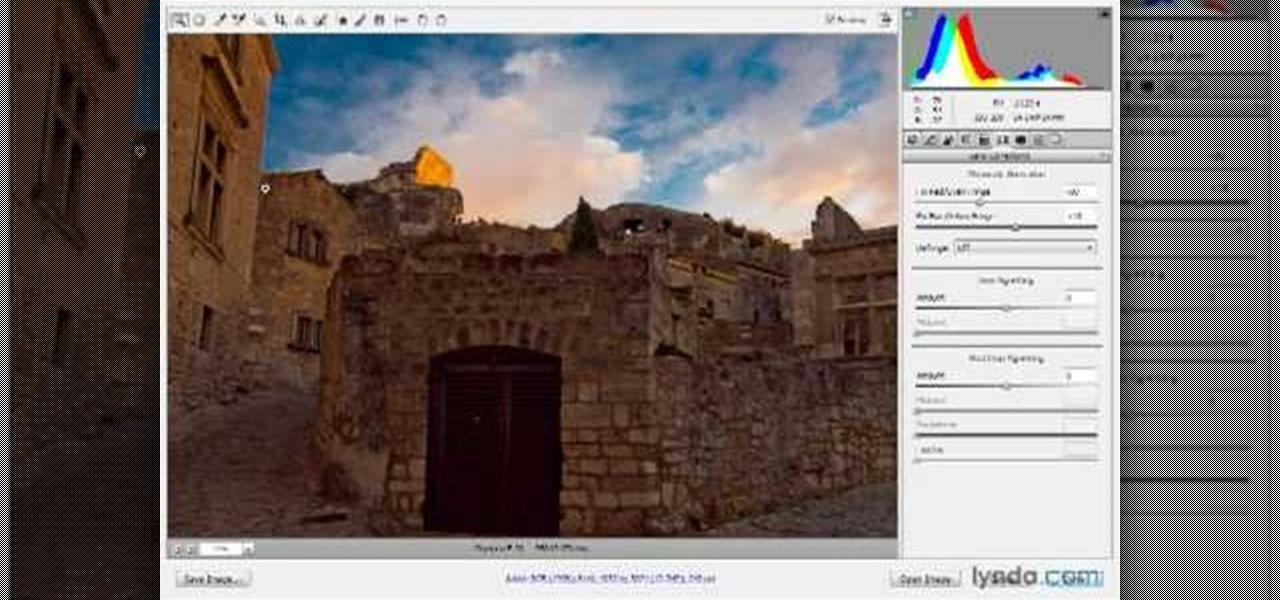
In this video, we learn how to use Camera Raw in Photoshop. This is a great program to use with your SLR digital camera that will make your photos come through more clear than ever before. After you have downloaded this application, you will load your photos to it and open up your desired on to edit. On the right hand side you will see a toolbar allowing you to edit and change different effects on the photo. Move the bars from left to right to edit how the photo looks to your liking. On the t...

In this video we learn how to create advanced shadows in GIMP. First, create a new image that's 500x400. After this, create different layers on the page and use the shadow and gradient to create different colors. As you do this, you can you can add in a layer mask to create a deeper shadow inside the image. Use a larger brush to make the shadowing fuzzy and then use the shape tool to drag it out and make it larger. Practice playing with the different brushes and gradients and have fun creatin...

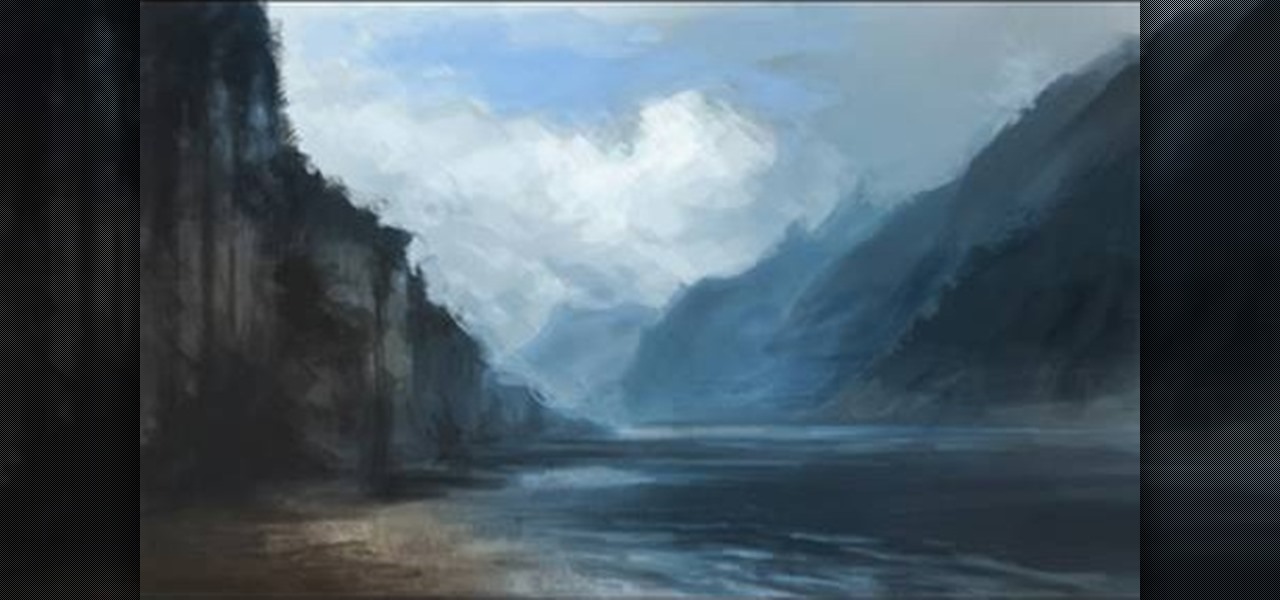
Want to draw a quick scene in Photoshop that contains mountains, clouds and water. Just watch this video.

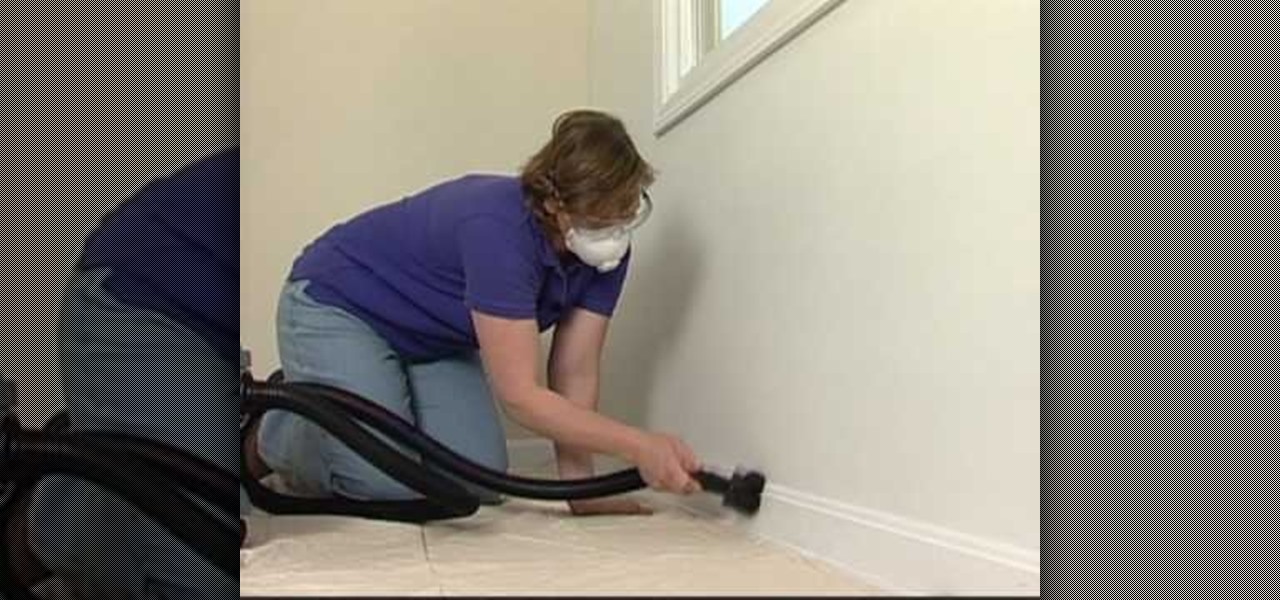
In this video, we learn how to prepare surfaces before painting with Lowe's. First, you will need to place a drop cloth on the floor and apply painter's tape to all the outlets and spots you don't want paint to touch. After this, clean off the walls and remove all the dust and debris, including nails. Next, grab the paint you need along with brushes and paint rollers. Remove any wallpaper that is on your wall, then start to paint. Pour the paint into the tray, then use the roller dipped in pa...

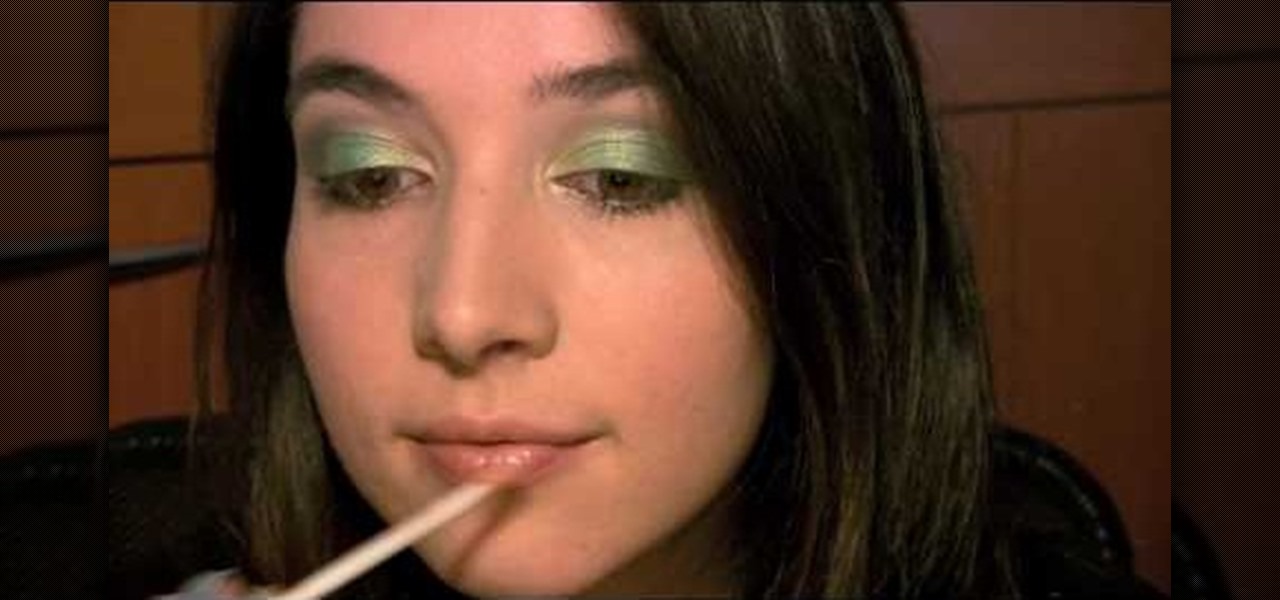
This makeup style was inspired by the Irish folklore creatures called Leprechauns, with their greens and pots of gold. Marinshe shows you this green makeup look that's perfect for Saint Patrick's Day, with a little bit of gold to top it off!

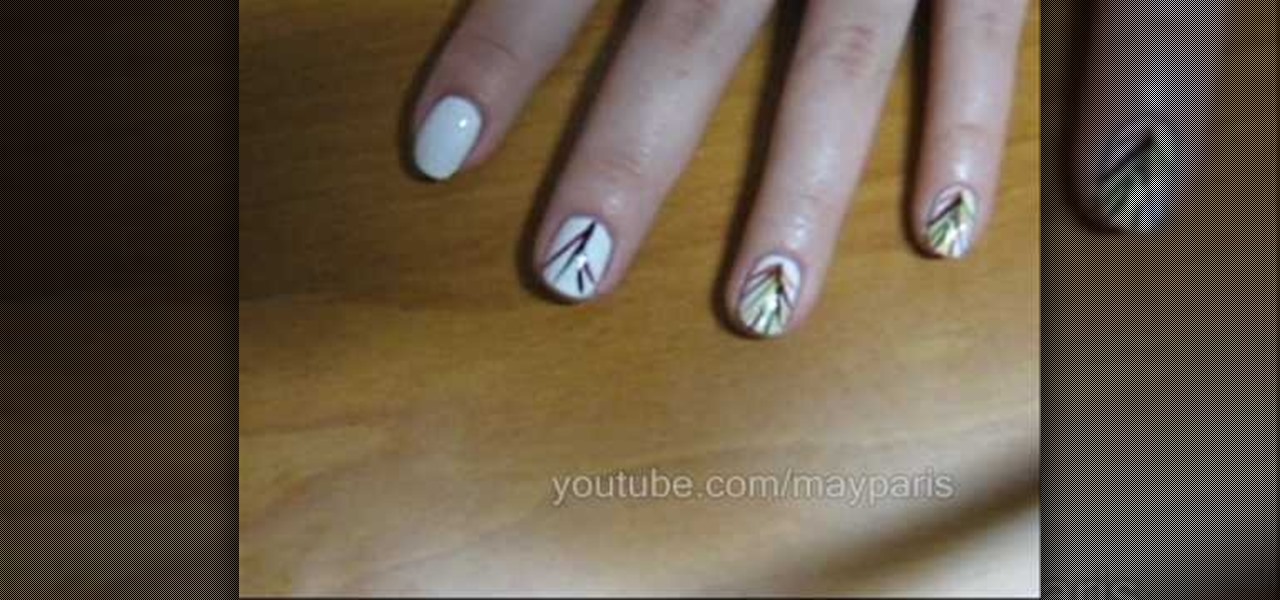
In order to paint palm trees on your nails, you will need the following: white matte base nail polish and a variety of other colors. You will need toothpicks, if you do not have fine brushes in your polish.

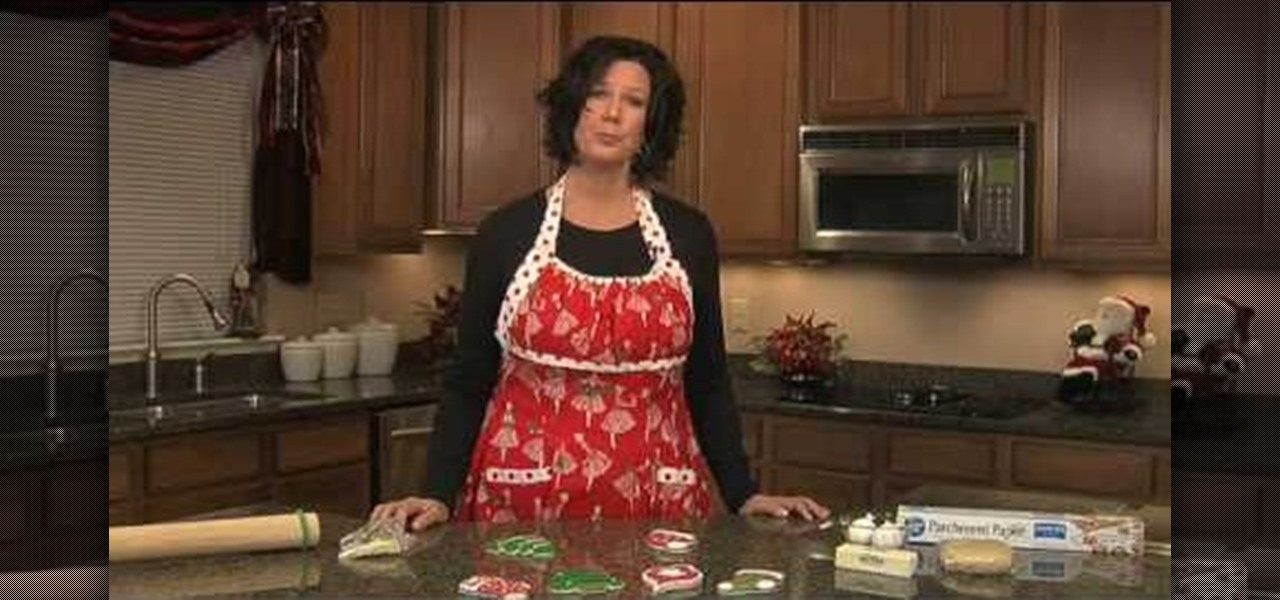
Ask any pastry chef and he/she will tell you that cookie and cake decorating is an art. Instead of paint you have all different types of icing and fondant, and instead of brushes you have your dexterous fingertips. And all these things go toward creating a crowning masterpiece.

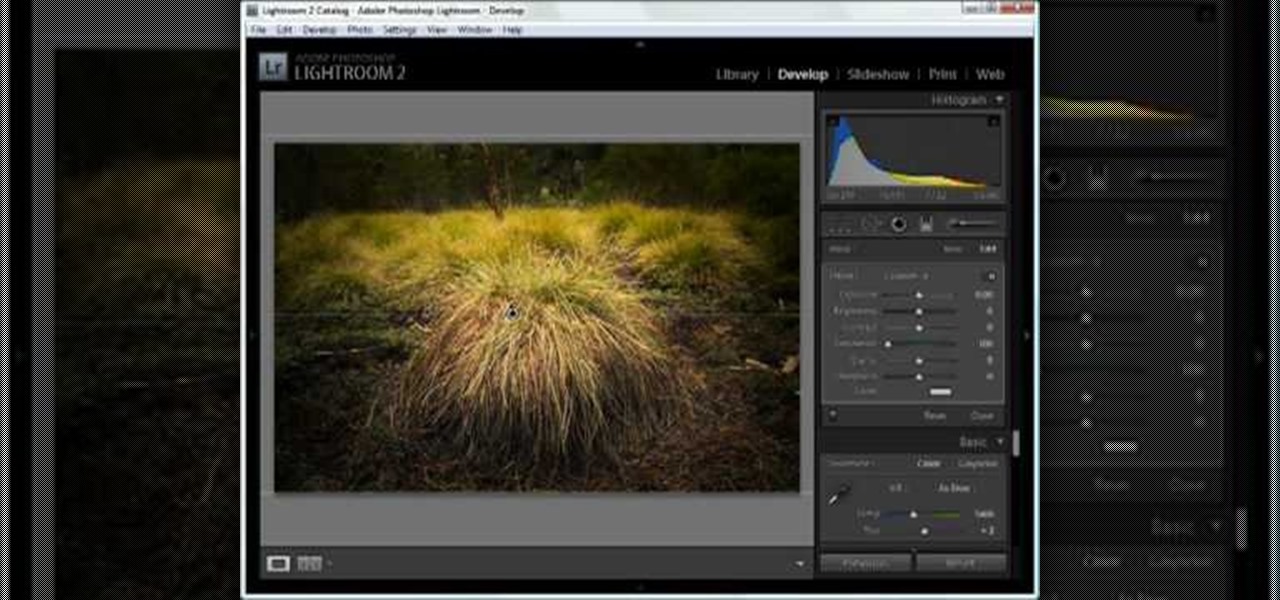
In this tutorial, we learn how to dodge and burn in Lightroom 2. First, open up your image in Lightroom 2 and use the brushes to change the saturation and the colors in the image. You can also use the graduated filter which you can use to apply effects across the image itself. Next, you can add a tint onto the picture and apply a second filter to make the top of the image darker, then make the middle of it brighter. Change the exposure and saturation to make the picture look more realistic. U...

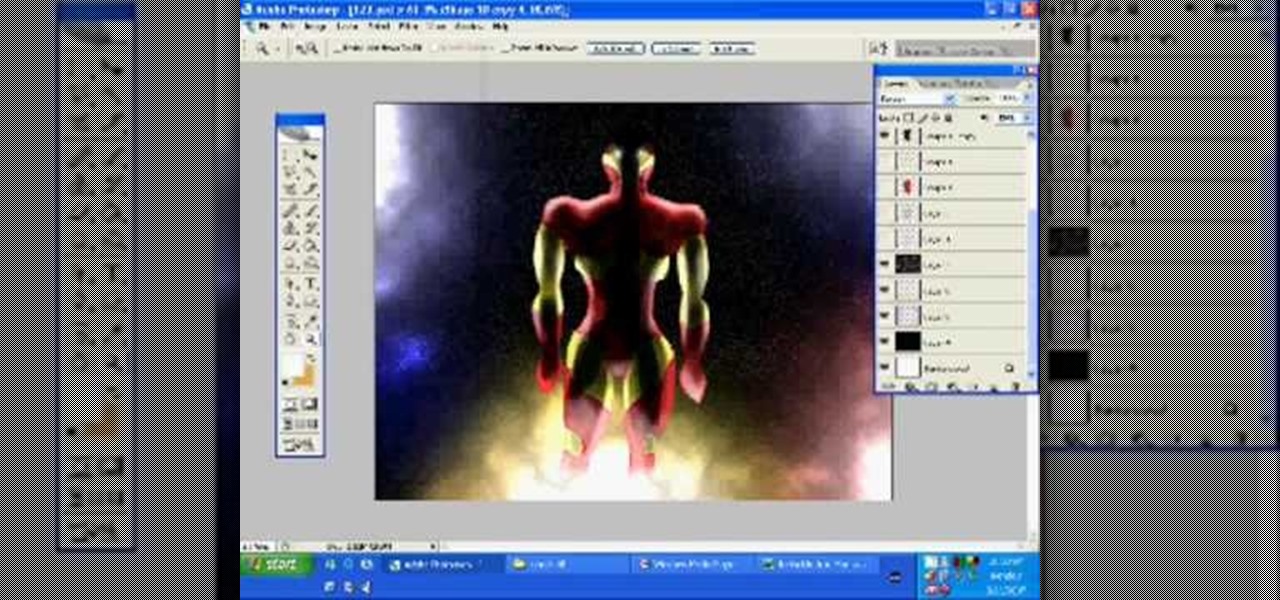
In this tutorial, we learn how to draw Iron Man from scratch in Photoshop. Begin by drawing an outline of the entire Iron Man with a light gray pencil in this program. After you have done this, use a black paintbrush and draw over the lines to make cleaner marks. Next, start to fill in details on the body, such as the metal parts, bolts, and facial features. After this, use red and yellow paint brushes to paint the different colors onto the suit. Next, use a black spray paint brush to color b...

In this tutorial, we learn how to make a Victorian hat from a lampshade with Gwen. You will need: a lampshade, scissors, acrylic paint, paint brushes, glue, a compass, and cardboard. First, take the compass and make the circle as wide as you want your hat to be, then trace your lampshade on the cardboard. Now place the small end of the lampshade around the large circle that you drew. Next, cut these circles out of the cardboard. Leave extra room, don't cut it out exactly on the line. When fin...

Hordes of women live and die by their Clarisonic brushes, which they claim speeds up their cell turnover rate and decreases hyperpigmentation as well as old acne scars, creating fresh, youthful skin. But Clarionic newcomers may find this vibrating brush to be a little intimidating.

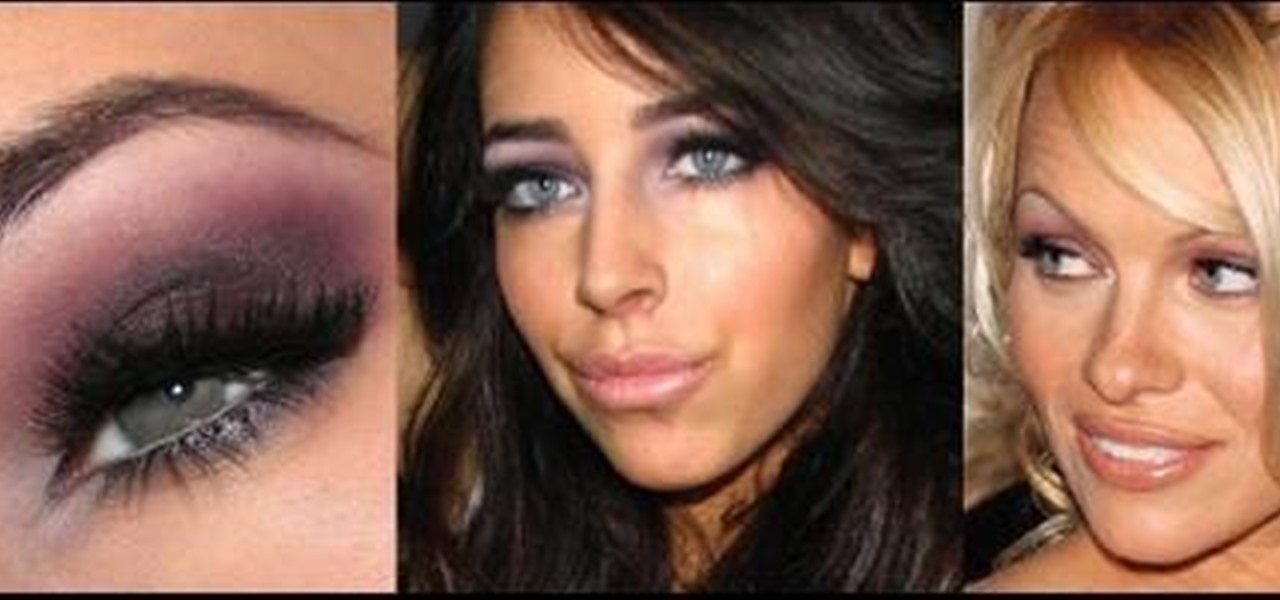
"Baywatch" babe Pamela Anderson is famous for big, sultry smokey eyes and plush, nude lips. In this tutorial you'll learn how to achieve an utterly gorgeous purple-based smokey eye that's perfect for a night out club hopping with your posse. It's a beautiful makeup look that'll get you noticed even if, like Pamela Anderson, you live in a town full of A-listers.

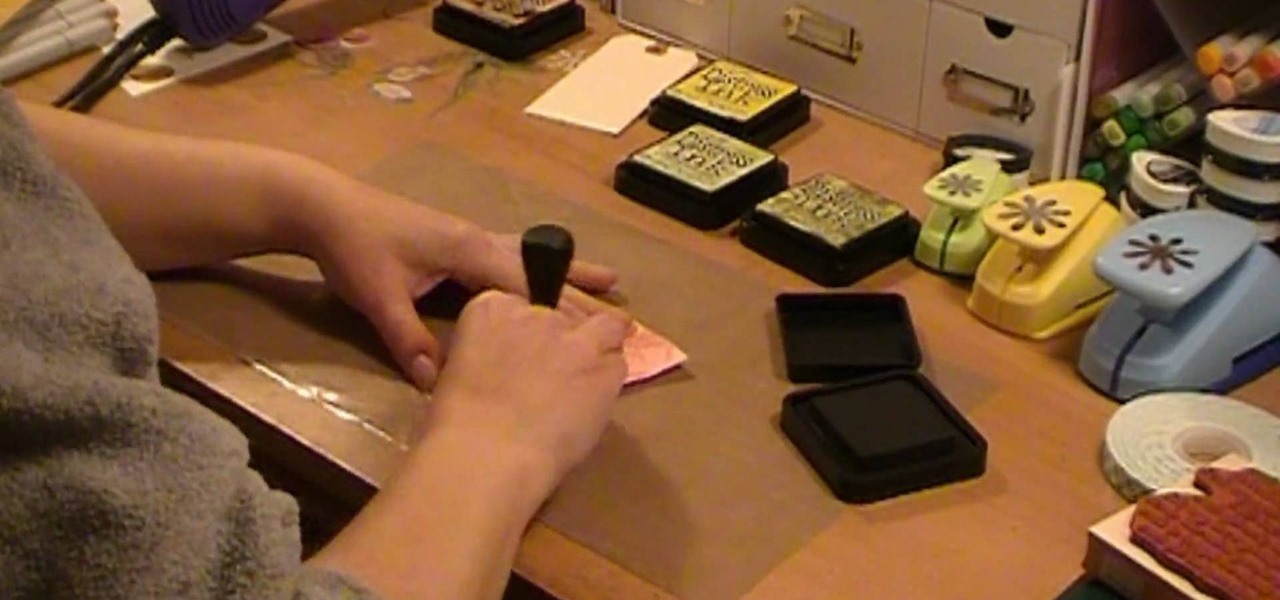
Donna50242 shows us how to make an amazing looking tag to use on different things. This video is in response to another one posted earlier. This tag is made be crinkling up an ordinary brown paper tag and then flattening it out to create the worn out wrinkle effect. Using a distressing inking tool with a foam pad, we apply the ink in a swirling motion. using different colors from the ink set (Mahogany, Mustard seeds, green etc), we can create amazing effects. And that's it, your done! Try exp...

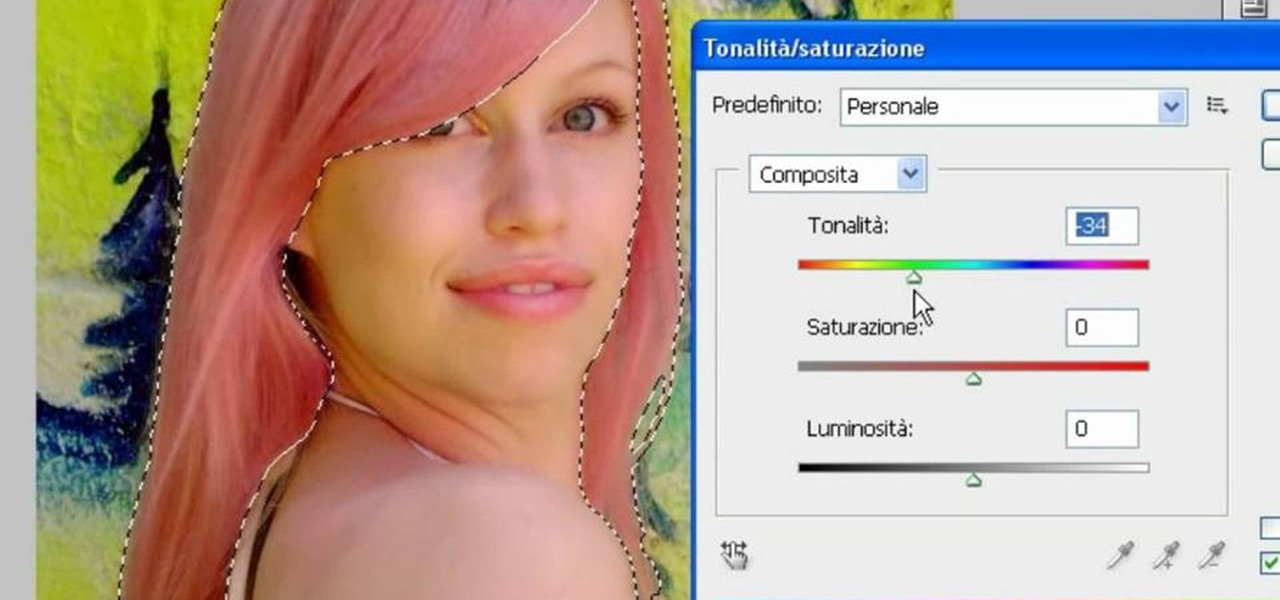
In this video, we learn how to use PhotoShop to change hair color.. First, select the mask tool inside PhotoShop. Now, zoom in on your picture and brush the hair that you want to change the color of. Zooming in and using smaller or bigger brushes will help you be more precise. After this, zoom out and press on the mask tool to create your selection. Then, select the marquee tool and right click and choose "inverse selects". Now, click on "image", "regulations", then "tonality/saturation". Now...

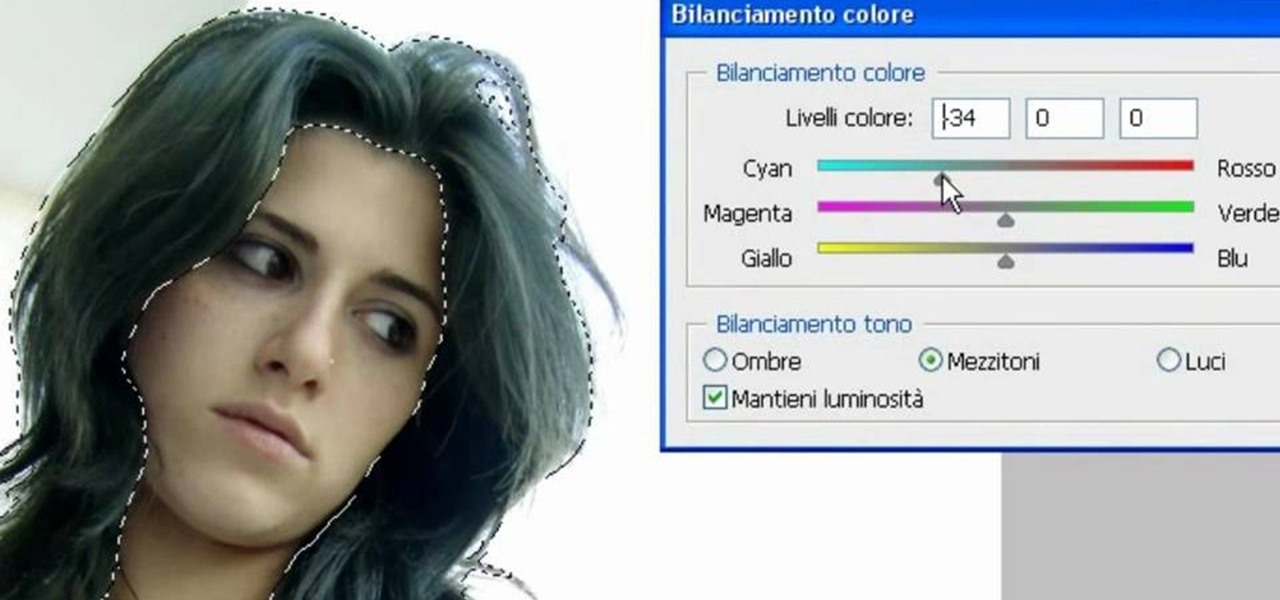
In this video, we learn how to change the color of dark hair in PhotoShop. First you will want to open up PhotoShop and open up the picture you want to change, zooming in so you can see the hair up close. Next, open up the mask tool, then use the brush to color the hair. This will only highlight the hair to change the color in the future. Use different sized brushes when you need to. Once you've done this, click on the mask tool to create the selection. Now, select the marquee tool and click ...


