Gilder's Paste is what distinguishes a so-so piece of jewelry from a truly dazzling, memorable one. That's because Gilder's Paste, which comes in a wide variety of colors and tints, is a type of colorant for brass that can be mixed and applied for a unique look.
When you think of flower brooches, you probably imagine those dusty, ancient things your grandmother used to wear on her wool cardigan. But brooches can be uber cool - and even street chic - when done in a vintage/Steampunk style.
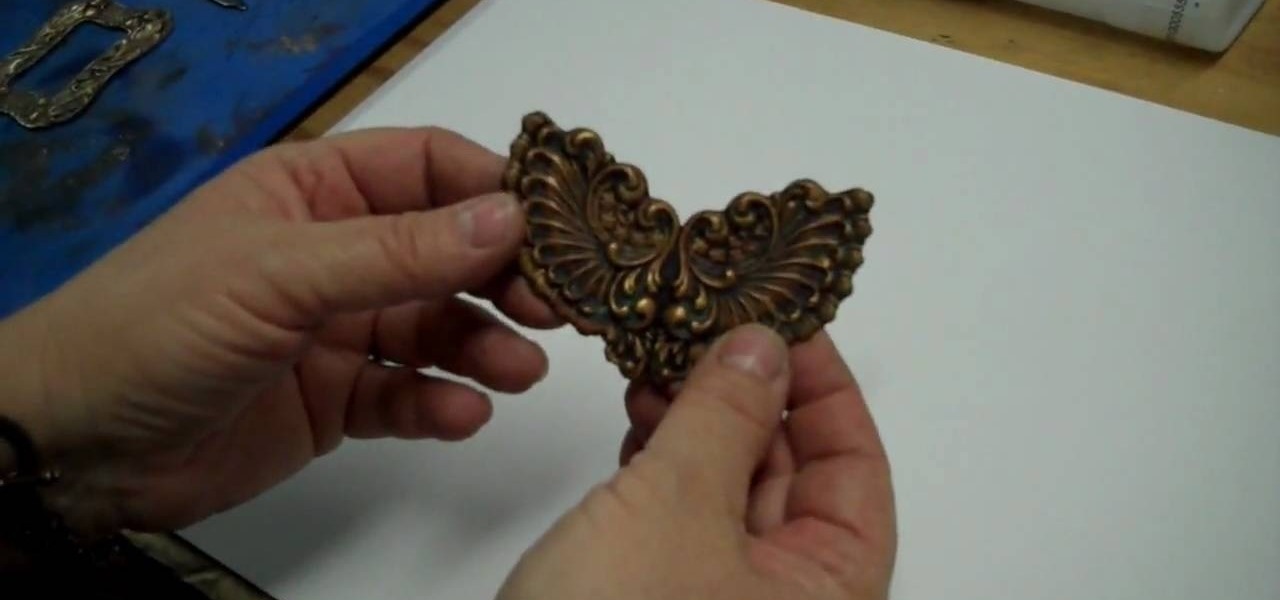
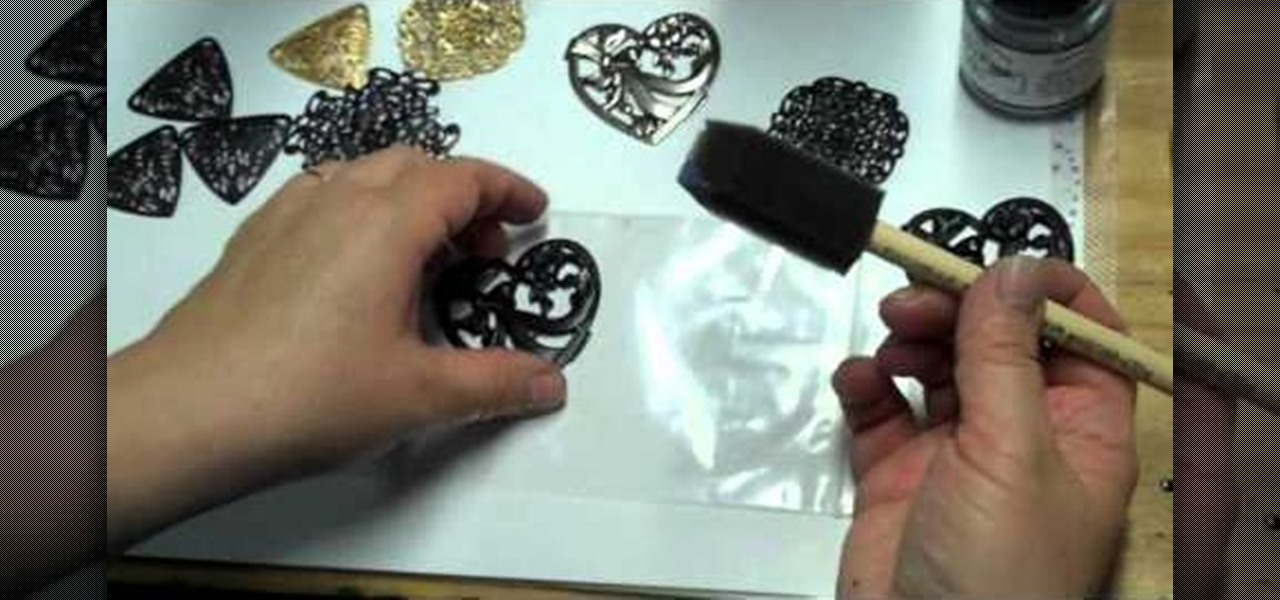
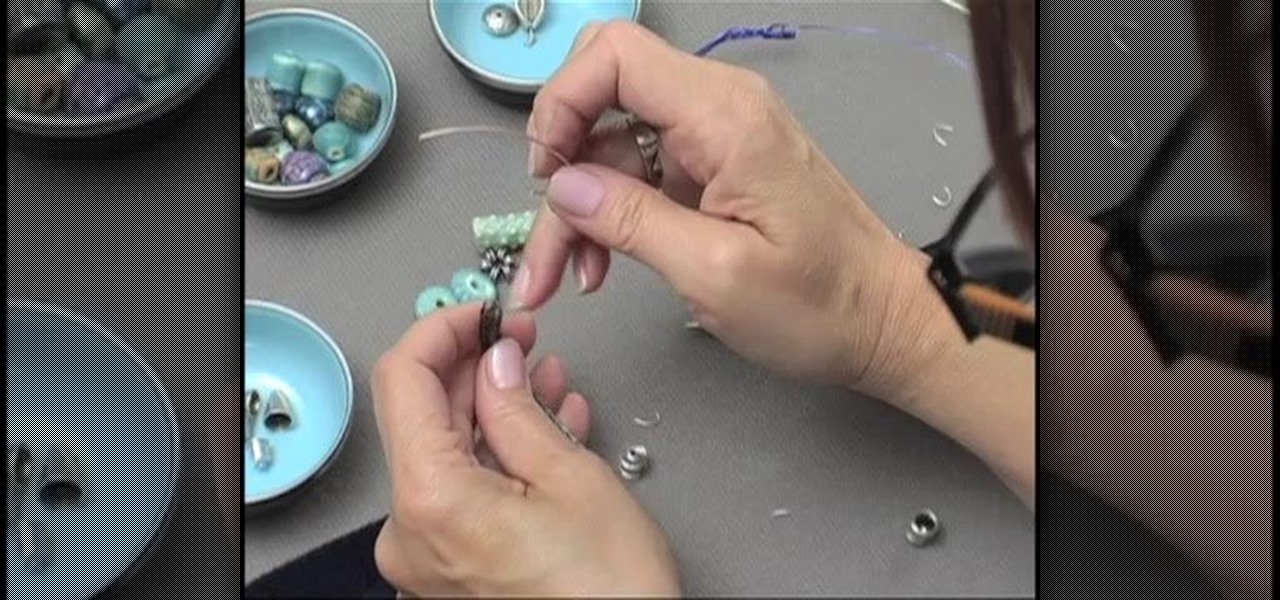
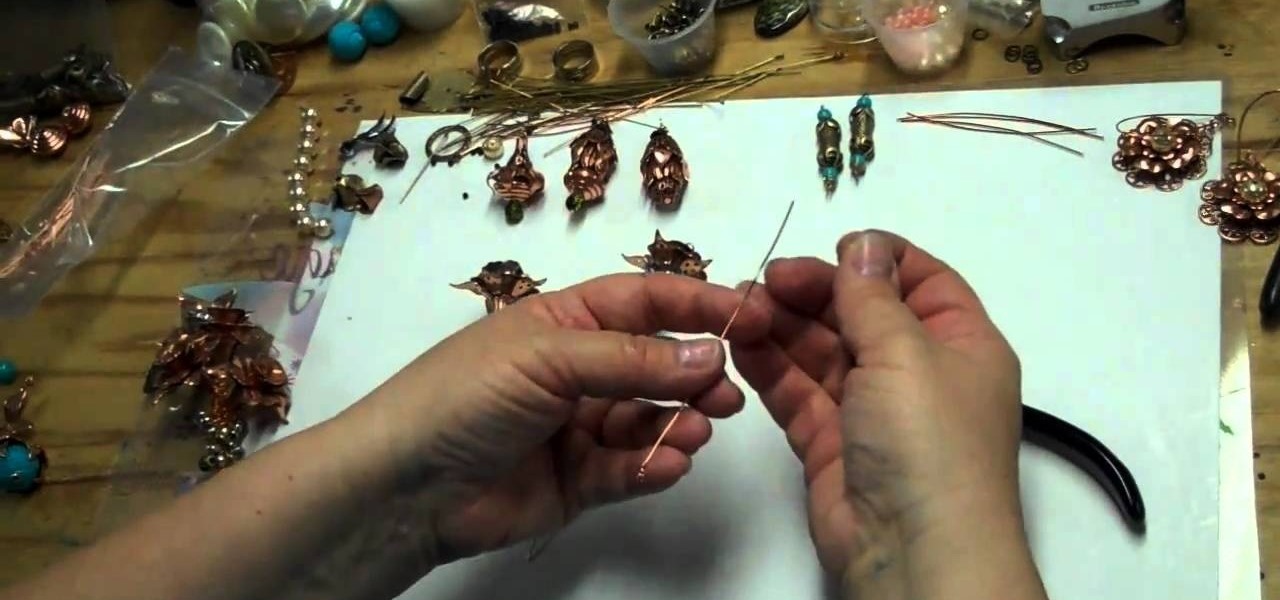
Adding a patina to brass stampings is what gives it an aged, beautifully vintage look. If you've never worked with patinas before, then check out this jewelry crafting video to learn about how to use different types of patinas - including resin and acrylic paint - to make a flower you can attach to a pin to make into a brooch.
Bohemian ware is all the rage these days - from bohemian headbands to necklaces to hemp jewelry, the braided, slightly undone look is all the rage. Get in on the trend without dropping mad stacks at a store by creating this cute spiral braided bracelet.
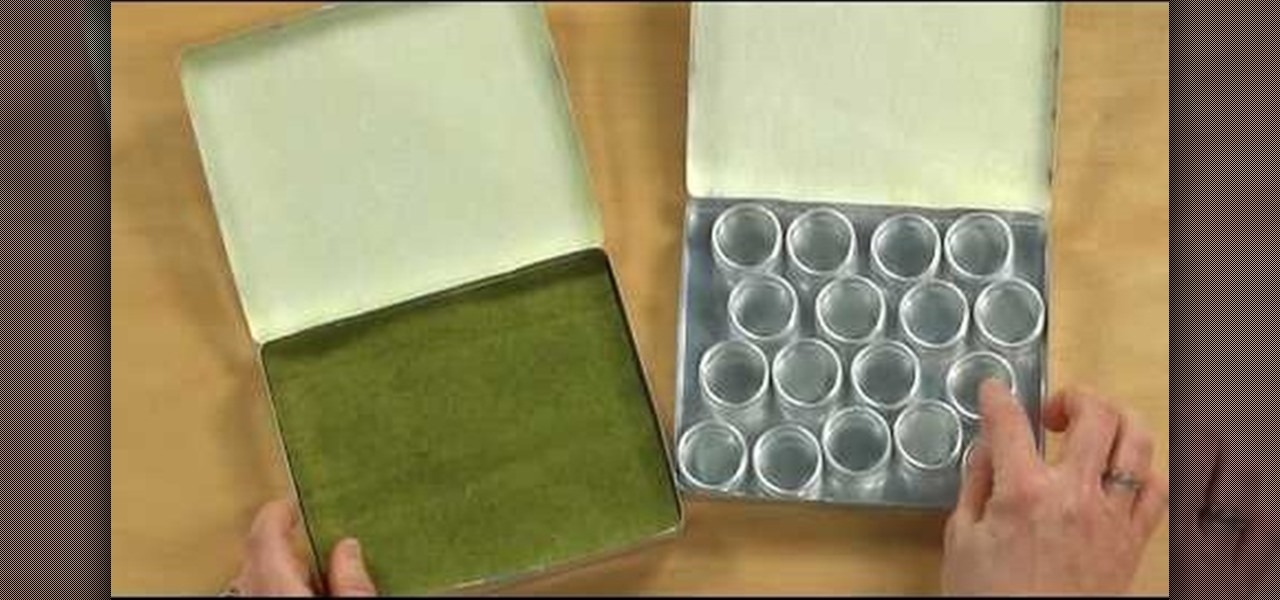
You know those long drives home in the car after you've spent a weekend at a cousin's house, or back from visiting Las Vegas? With more than a few hours at your disposal, what do you do to fill up the time? If you're an avid crafter and enjoy making jewelry, that you can turn those usually idle hours into productive crafting time by making this portable beading studio.
Unlike being a square, being a square knot means you're multifaceted, fun, and unique. Of course, we're talking about square knots in friendship bracelet/jewelry making, in which you utilize two different colors of string to create a tight zig zag knot pattern followed by loops.

We're totally not lying when we say that the necklace featured in this video sells for upwards of $100 at some fine retailers in Beverly Hills. Composed of a long, sparkly necklace chain and a teardrop shaped pendant attached with intricate wire wrapping, this is a necklace that looks a lot more difficult to make than it actually is.
A bird's nest is the symbol of life, new life, family, and unity. So the motif makes for an excellent pendant to wear around on a necklace, earrings, or bracelet. But don't go to the store and waste your money on name brand jewelry with this pretty motif.
The ancient Romans were well known for their decadence. Whether it was coddling enough vino to fill every barrel in donkey kong or having nightly orgies with any partner of their choosing, they knew how to party and could put any frat boy to shame with their decadent endurance.
Hemp jewelry is very trendy and eco-friendly. They are easy to make and don't take long. In this three part tutorial, learn the basics for making your own hemp bracelet.
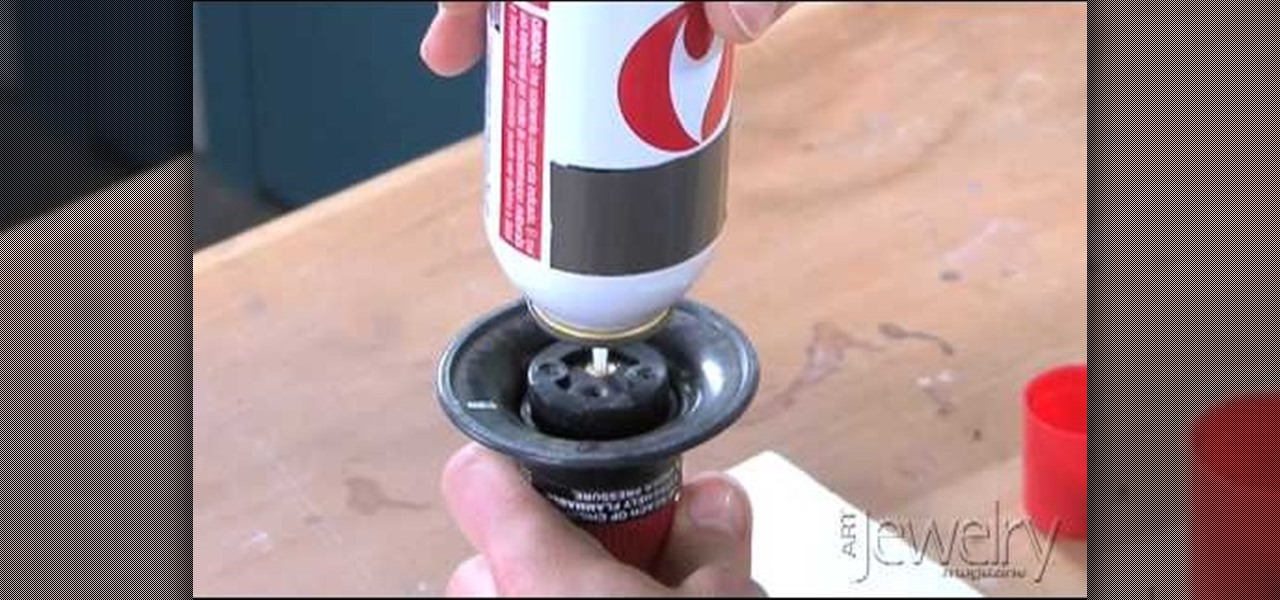
Jill Erickson of Art Jewelry Magazine demonstrates how to fill a handheld butane torch with fuel. You can purchase butane fuel at a grocery store or at a hardware store. First, uncap the butane fuel can and hold your butane torch upside down. There will be a small opening valve where you will vertically insert the top of the butane fuel can nozzle. Make sure the components are aligned straight up and down. Then, use direct downward pressure to get the fuel into the torch. The fuel can will hi...
In this two-part jewelry making tutorial, learn how to make earrings using the brick stitch, also known as the chevron stitch. The earrings are made by decreasing the rows thus creating triangles that will be sewn together. Swarovski Briolette dangle is added to to the bottom creating an elegant look.
Sizing a gold ring requires specific tools and procedures that differ between metals. Learn the steps that go into sizing a gold ring in this free instructional jewelry video series.
Color scales are important to learning the subtle changes and variations in colors that result from mixing. Polymer clay is an excellent medium to create these color scales, and the beads don't need to remain prototypes of colors, but can be used in jewelry. Watch this video crafting tutorial and learn how to make a color scale out of polymer clay beads.
Prevent infection by keeping your ear, nose, lip, tongue, navel, eyebrow, and other body piercings clean.
Wristies are useful for any cook - use them to hold your sleeves in place while you're cooking. You will need a size J hook, scissors, some clear jewelry thread and a ball of eyelash yarn in your favorite color.
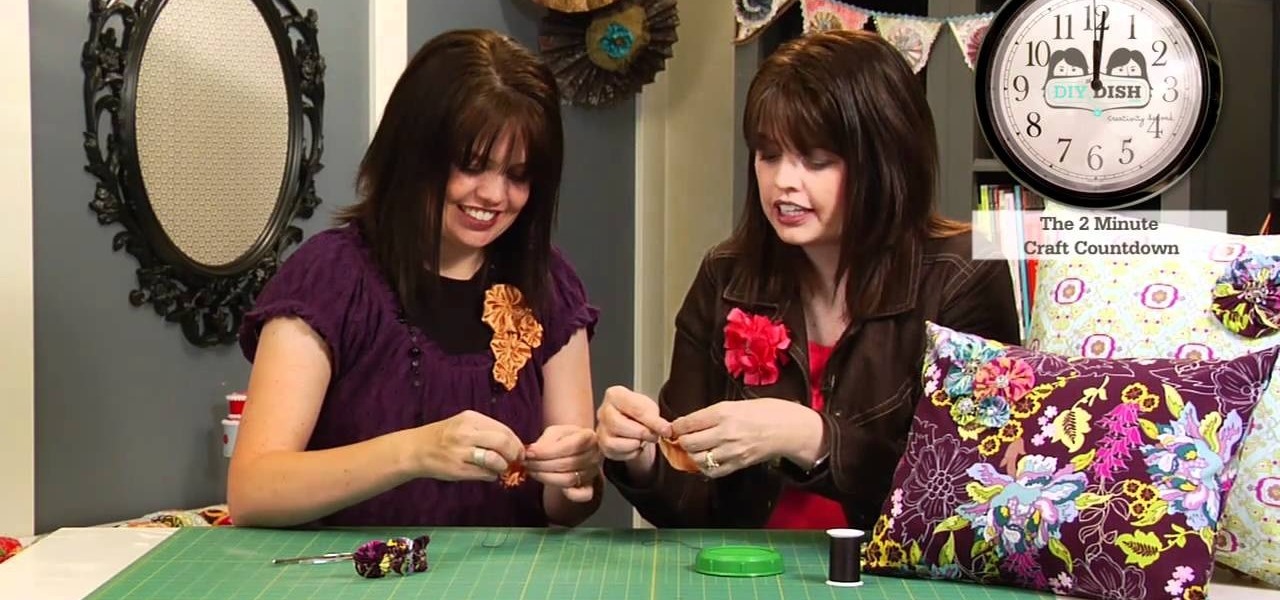
This fabric "yo-yo" is really not a yo-yo at all, but rather a feminine fabric rosette that does (sort of) resemble the beloved childhood play toy. These fabric rosettes are quite lovely and would look great adorning a card or bag.
Start with a basic cardboard box. You will also need some paper (wrapping paper or desginer paper works best), some Mod Podge, scissors, a length of ribbon and some card stock to form stencils. Then, decorate as you wish! Add embellishments like buttons or appliques as well.
Steampunk style, which is a funky hybrid of Victorian anachronisms (propellers, vintage watch parts) and industrial design, is sure interesting and cool when it comes to gadget design, but pulling off the whole googles-and-gears look clothing-wise is not quite...becoming.
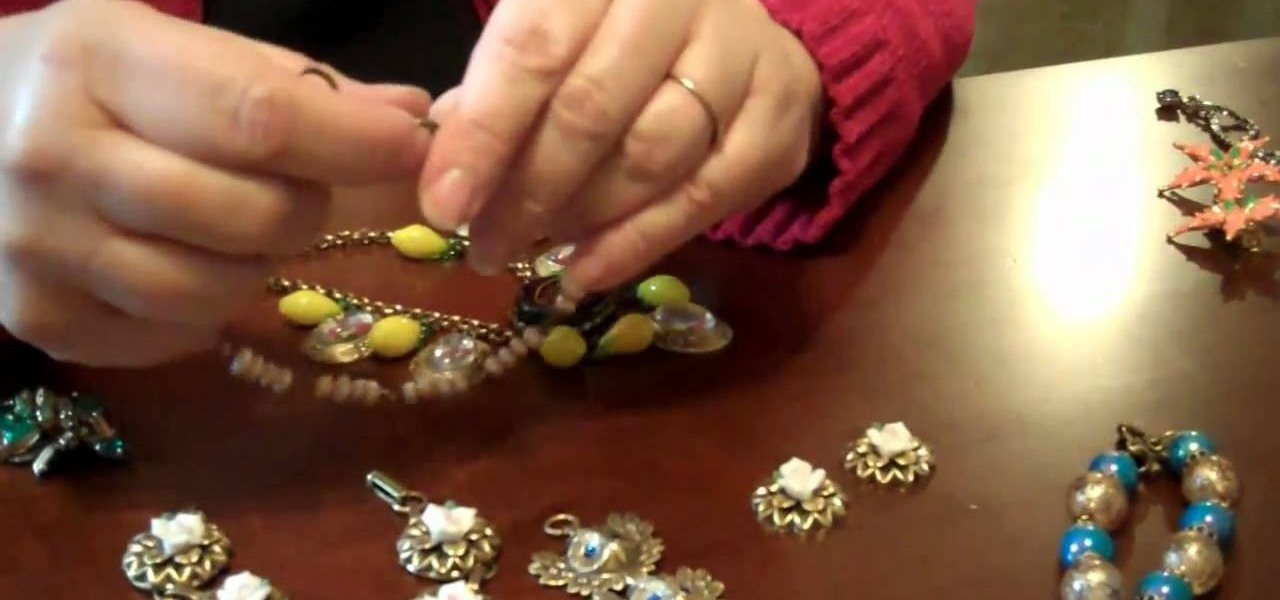
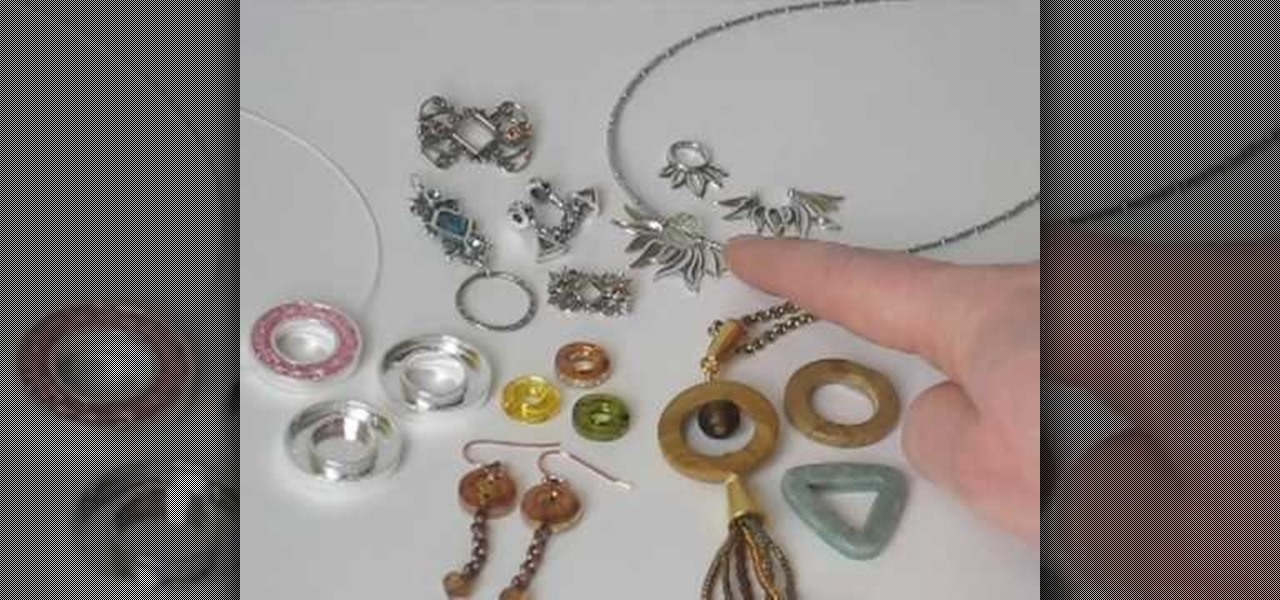
If you're a habitual thrift store and consignment store shopper, then you know that every now and then you'll stumble upon a vintage necklace or ring that has one part that's sooo pretty, but the rest looks pretty tacky or too old. Give new life to the little bits of vintage jewelry you've collected by repurposing them into a brand new necklace.
If you haven't heard of Steampunk, then you've obviously been living under a rock for the past couple of years. Steampunk style, which is an ironic style composed of designs that fuse anachronistic technology (proppellers, watch parts, etc.) with Victorian style.
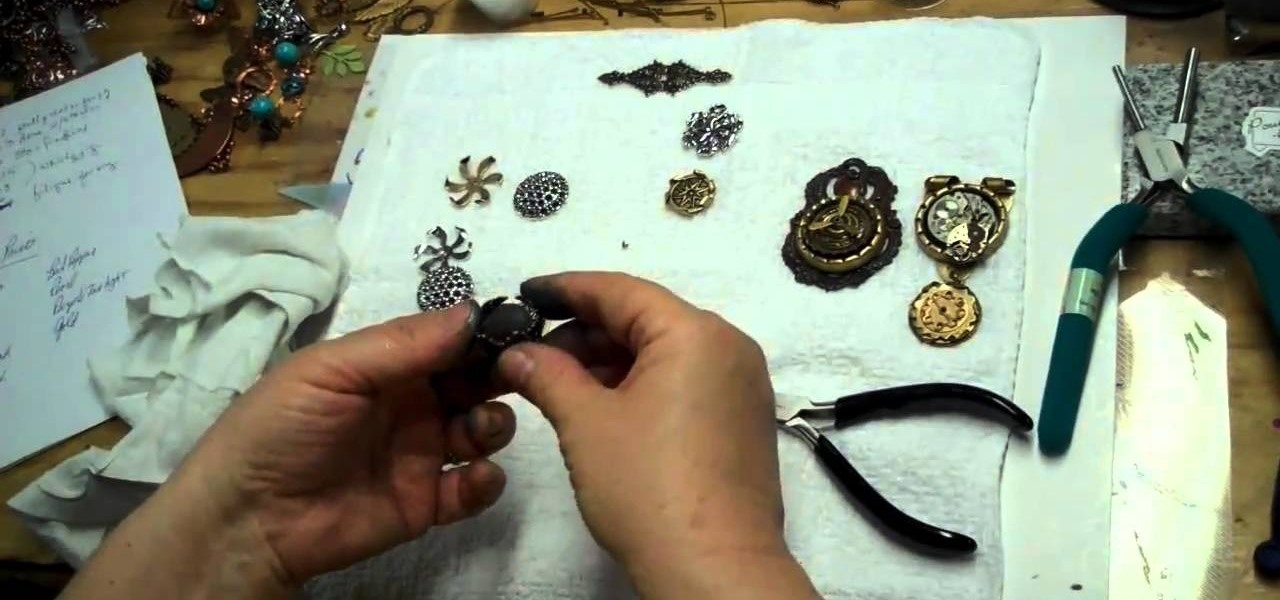
Gunmetal gray is one of the coolest, most biker-chic finishes out there when it comes to jewelry making. If you enjoy working with filigree pieces in your bracelets and necklaces, why not make them less granny fantastic and more urban chic by adding a nickel-free gunmetal finish?
Don't be a bore and think that all necklaces have to end with a single clasp! While single clasp closures are common, they can also be a pain sometimes to open and close (if you've ever had a tight necklace that moved during the day to the back of your head and you didn't know where the clasp went then you know what we're talking about).
In this video tutorial, viewers learn how to wire wrap a head pin loop. Begin by placing the bead on the head pin, or on a 5 inch piece of wire. Then make a bend on the head pin approximately 1/8 inches above the bead to a 90 degree angle. Now wrap the pin around the jaw of the pliers, pulling it slightly to one side. Holding the bead and wire, rotate the pliers back to form a loop. Finish by wrapping the tail of the wire around the exposed part of the headpin as many times as possible. This ...
Take a metal piece and use the gas gun and blow with appropriate pressure so that one can observe the color change. You can see a white layer on the metal. Apply flux on the metal piece and rub it gently so that the small holes are covered. Let it dry for sometime. Start heating the metal gently with high flame for about five minutes. You can see water evaporating out of the flux on the metal. It protects metal from fire scale and will not allow oxygen to stay there. Now turn off the gas gun ...
Your closet is an area that holds important things such as keys, glasses, clothes and shoes. However, for some reason, it's always messy. Why is this? I know my closet is messy because I don’t have a lot of time to sit down and organize every little thing in there. I have never really even given much thought into organizing it.
You don't have to spend a lot of money on jewelry, crystals and pendants. In this video from Tap Plastics, you'll learn how to use their brands of Platinum Silicone and Clear Lite Casting Resin to create artificial jewelry. It won't fool the pros on a close examination, but it can still be impressive-looking stuff at a fraction of the cost of real jewelry.
Want to start making your own jewelry but don't know where to begin? Watch this video and learn the basic about tools and metals that you will need to start creating your owns jewelry.
You probably haven't played with marbles since you were a kid (anyone remember Chinese checkers?), but more likely than not you still have some marbles lying around your house, especially if you have a kid.
In this video, we learn how to hide a crimp bead with a crimp bead cover. First, string your spacer followed by a crimp bead and another spacer. At the end, you will have the end piece with the wire protector next to it. Then, bring the piece of jewelry through the crimp bead twice, then through the spacer once more. Now the spacers and crimp beads will be pressed with the crimping tool tightly. Pull on the string to test it out, then slip in your crimp bead cover so it looks like another bea...
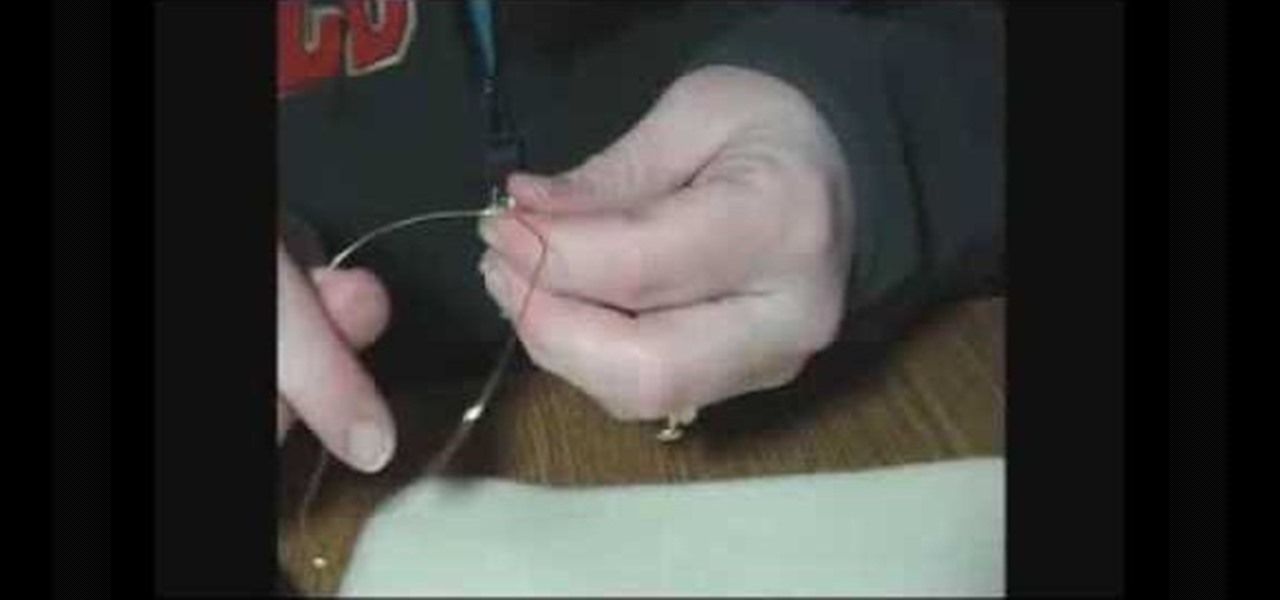
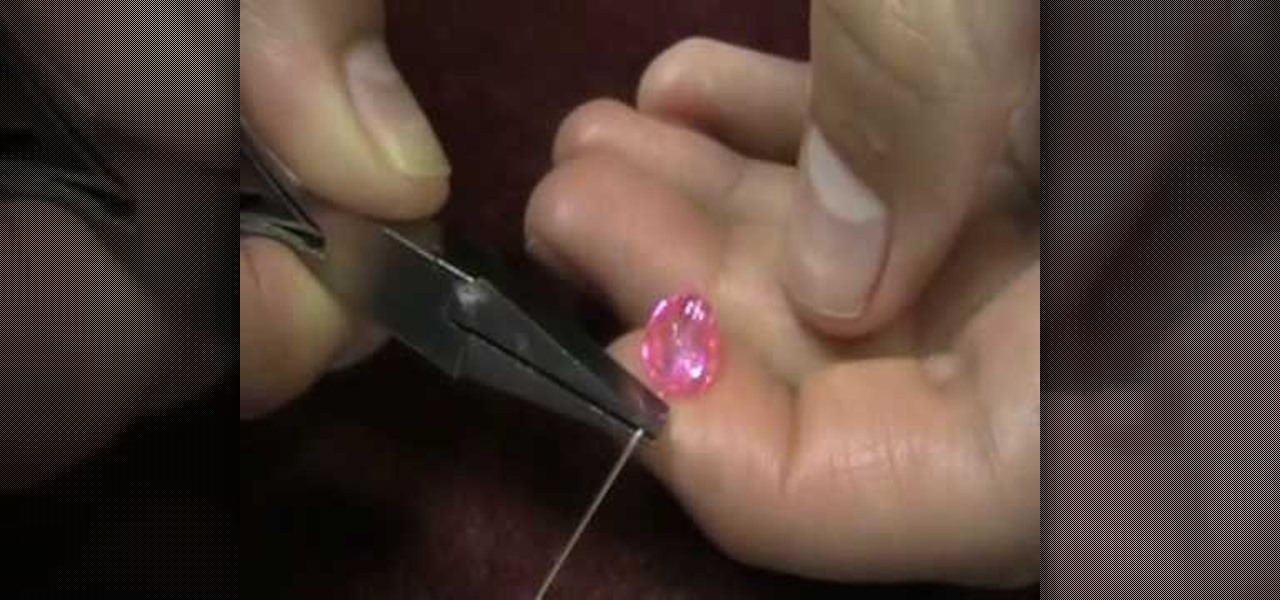
If you're an advanced jewelry maker who's looking for a beautiful challenge, then you've come to the right place. This Egyptian clasp, which features a rounded loop head pin, a bunch of spiral curls, and a longer rounded loop headpin, is among the more difficult clasps you can make, but as you can see, the results are quite spectacular.
One of the coolest beading effects is the kind that suspends various materials - from flowers to Latticinos - in a clear glass case. Swirled or marbeled shapes can also be added for interest, but either way the resulting work is like looking into a prehistoric block of amber and peeking around at such curious fragments.
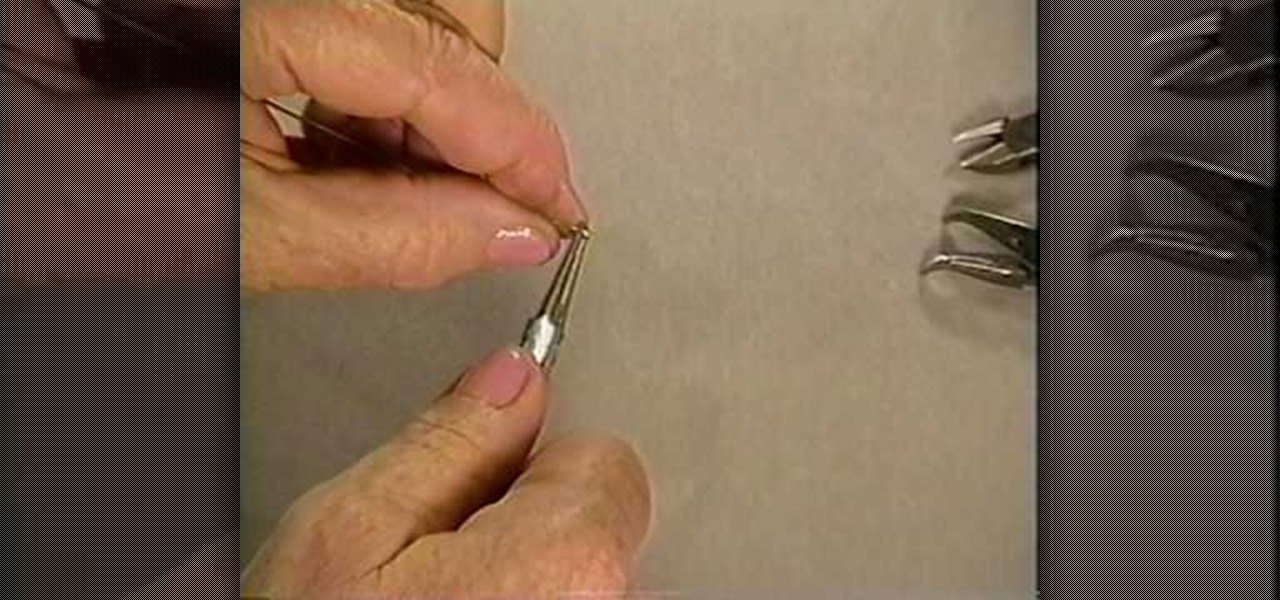
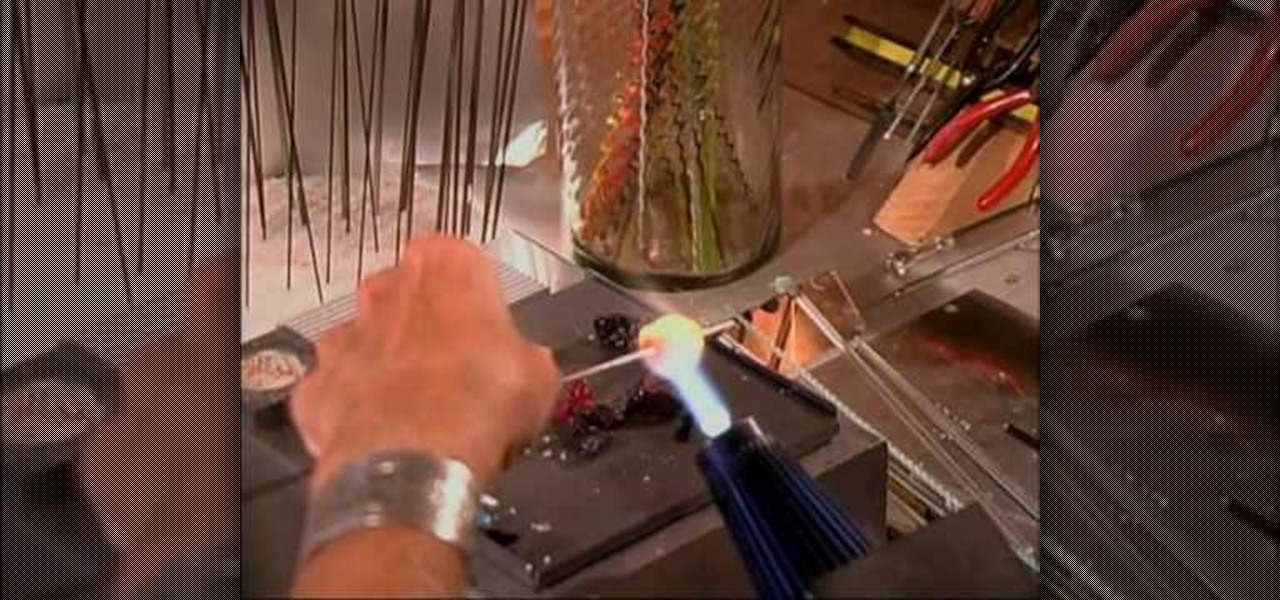
These gold stone stringers look like glistening incense sticks and are incredibly beautiful. Check out this jewelry making tutorial to learn how to turn gold stone lumps in blue and an orangey yellow into long sticks, or stringers, made of these melted lumps.
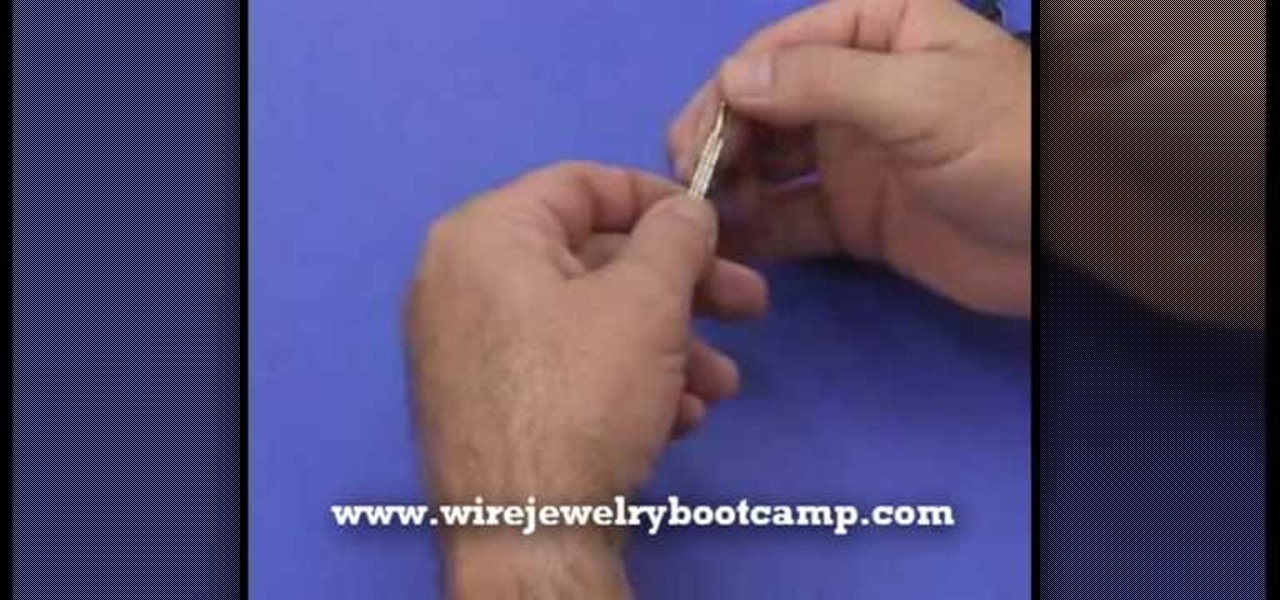
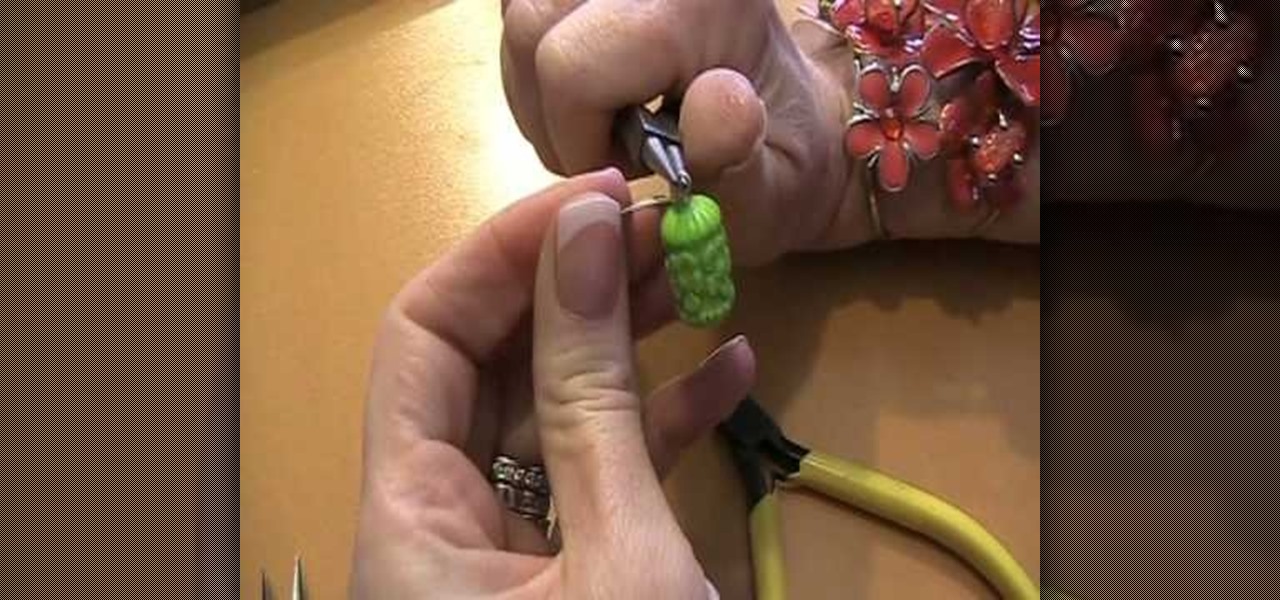
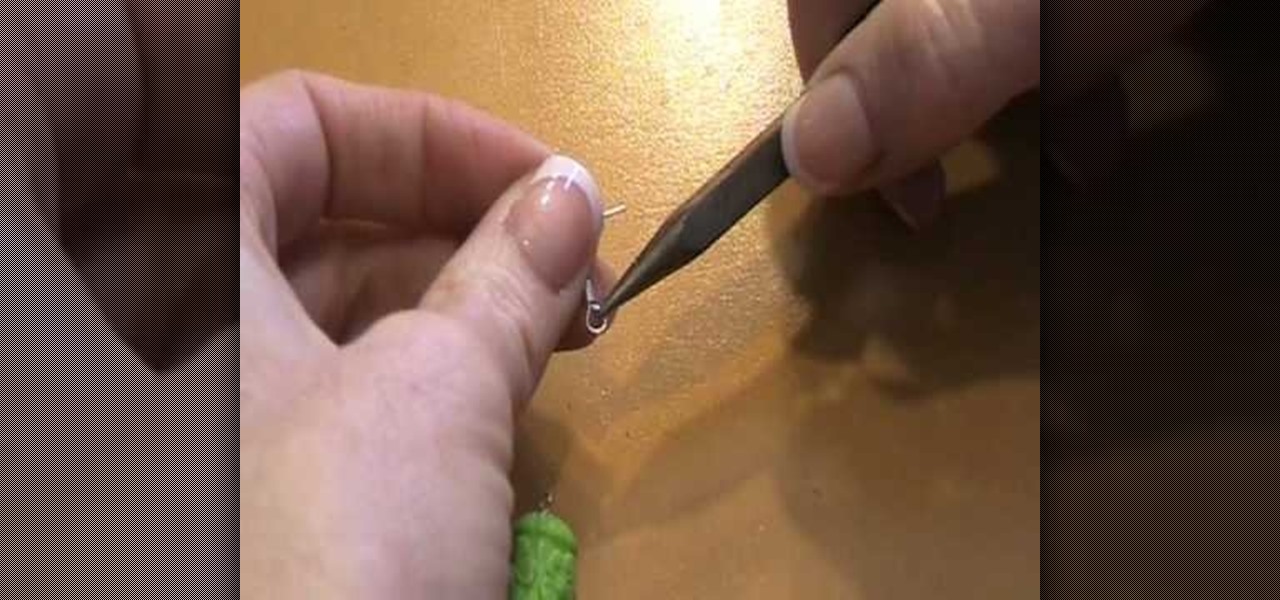
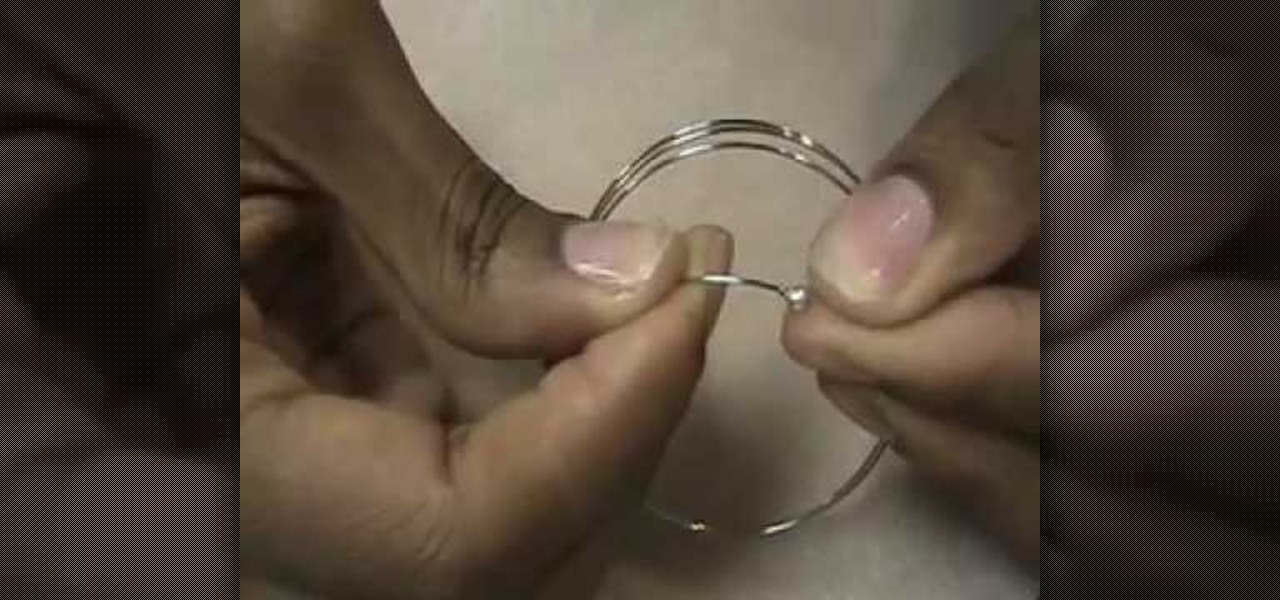
When it comes to making earrings or necklaces, you could take the easy way out and just add a normal head pin to the top of your bead or pendant. But what if you like to create motifs with the wire itself? A great way to start embellishing with wire is by creating this coiled top dangle, or a wrapped head pin.
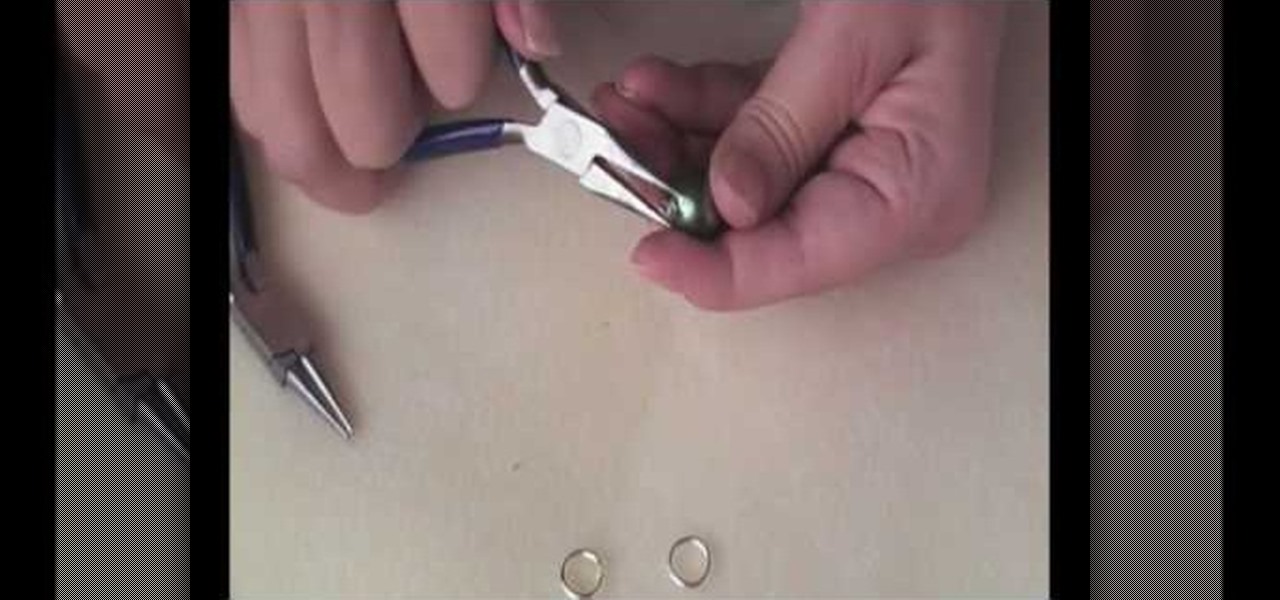
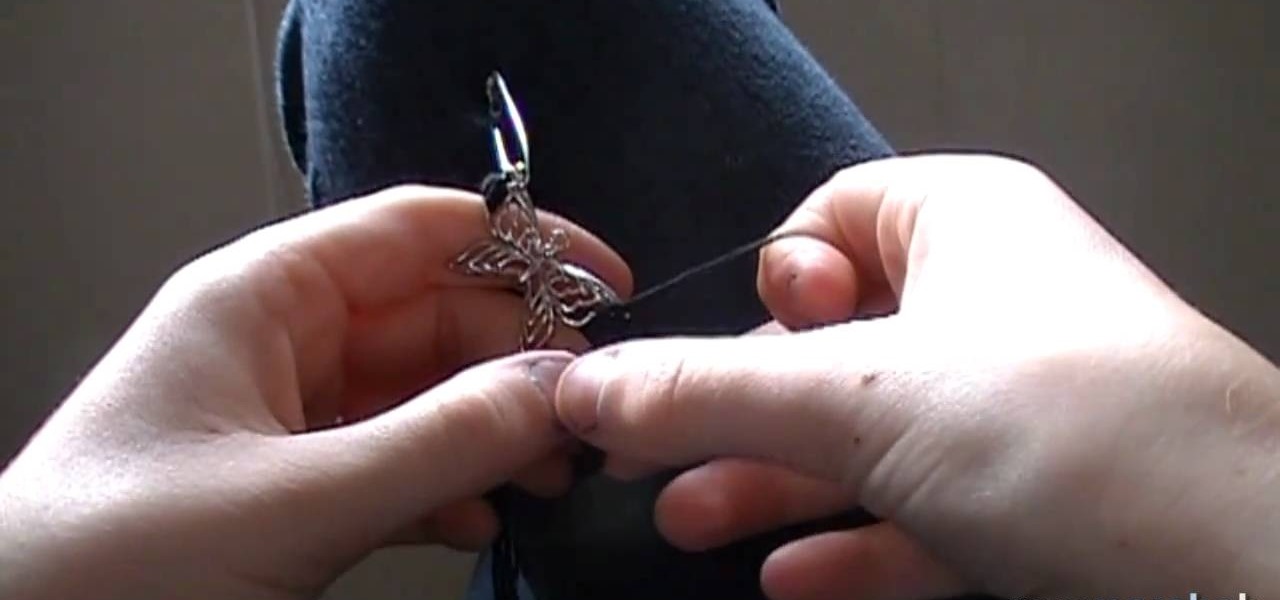
What is the absolute, most basic thing you need to know in order to asemble an earring? Attaching the earring to its earring hook, of course. By learning how to do this, you'll be able to create a neverending host of funky earrings, from cool guitar pick earrings to drop pendant earrings.
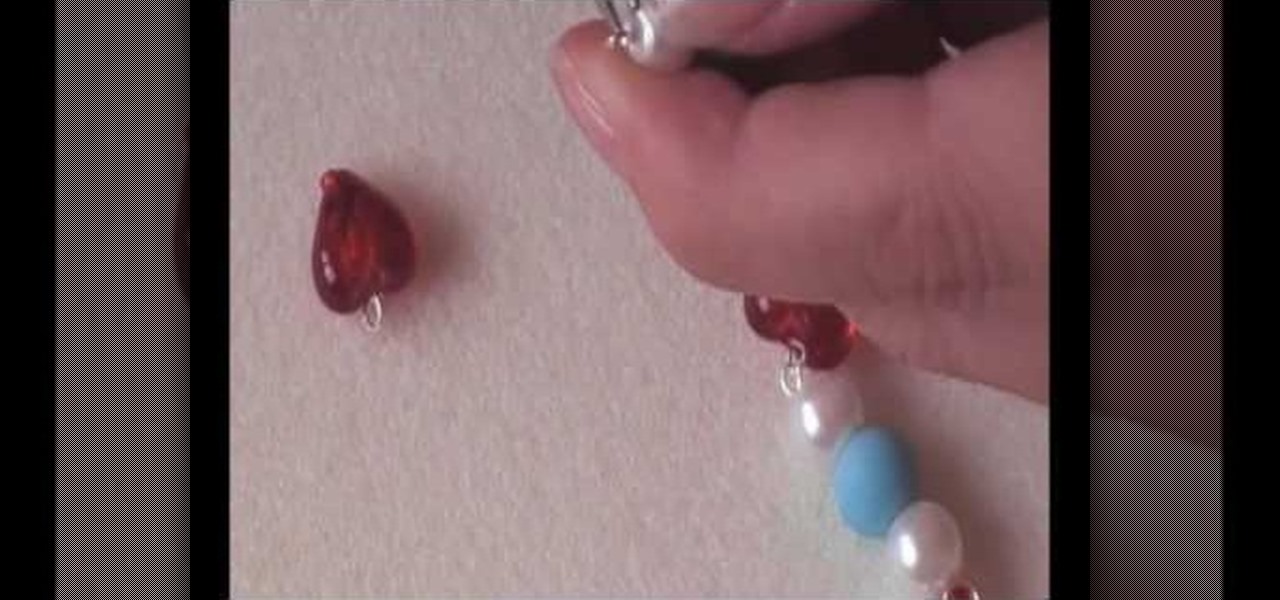
The Queen of Hearts would simply fawn over this pair of "Alice and Wonderland" inspired earrings, especially since a pair of red heart pendants is the focus. Pretty and uber feminine without being over the top, you can flaunt these earrings at any occasion, from school to a midafternoon tea party with the Hatter.
We've always had the impression that the only women who wear pearls are those who also own McMansions and tie cable knit sweaters around their shoulders at yacht club soirees. But now that we've seen this jewelry craft - a pair of chunky blue green glass pearl earrings - we're taking a second glance at these pearl things.
In this video tutorial, viewers learn how to make a Mediterranean blue bracelet. The materials required for this project are: memory wire, Mediterranean Czech glass bead mix, 4mm sea side mix Czech fire polish round beads, wire cutter, super glue, bead stopper and 2 3mm memory wire end caps. Begin by cutting 3 1/2 clamps of wire and glue one memory wire end cap to the end of the wire. Then string the beads. Users may decide to make a repetitive pattern with the beads or randomly string the be...
Bead frames are pretty simple to understand. Rather than simply stringing beads onto a pendant or necklace, you can attach them to bead frames, which come in all shapes and varieties, to make a novel design that can take advantage of negative space. It goes without saying that elaborate bead frames make the entire design more ornamental, whereas a simple round wooden bead base helps put the spotlight on the bead in the center for a subtle glamour.
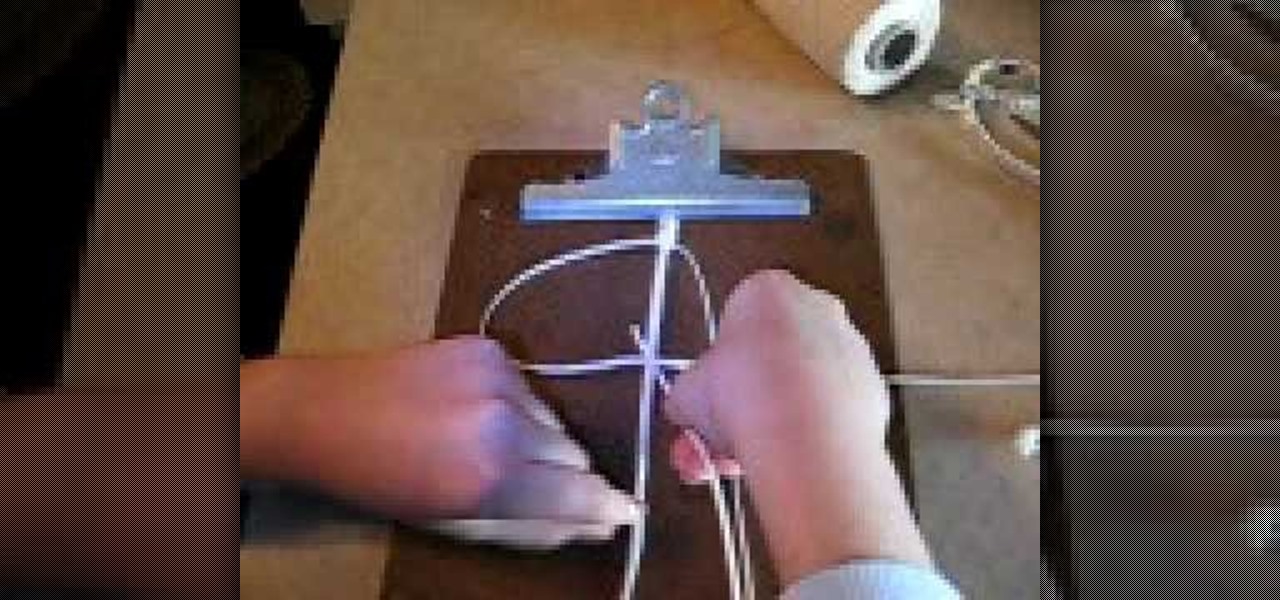
In this tutorial, we learn how to make a beaded Viking knit bracelet. First, pull a craft wire through a draw plate in the largest hole. After this, you will have a knitted weave bracelet. Now, place a hook in the loops at the end of the bracelet, and twist it down, then cut the end of the wire off and place an end cap on. After this, attach different beads and jewels to your bracelet, using wire to keep them in place. These will be one of a kind jewelry pieces that you can't buy in any store...