$4.95 jewelry boxes from Wal-Mart are probably not the chicest containers in which to put your prized sterling silver Tiffany's ring. Place your high fashion rings, bracelets, and necklaces in a similarly high fashion satchet by watching this tutorial.
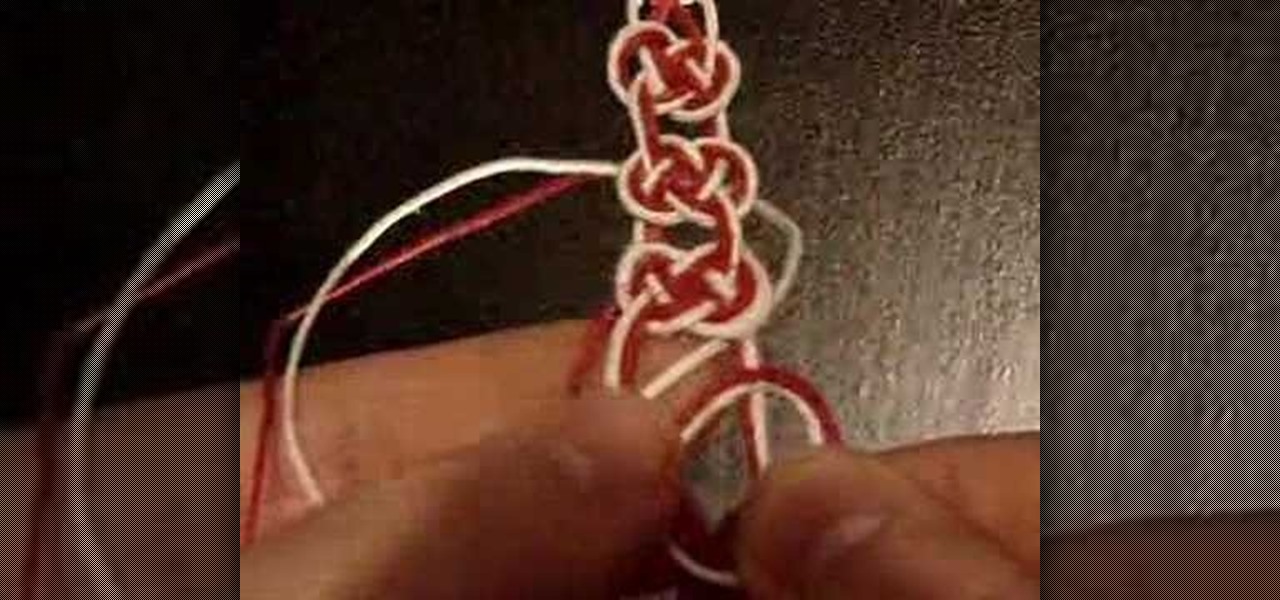
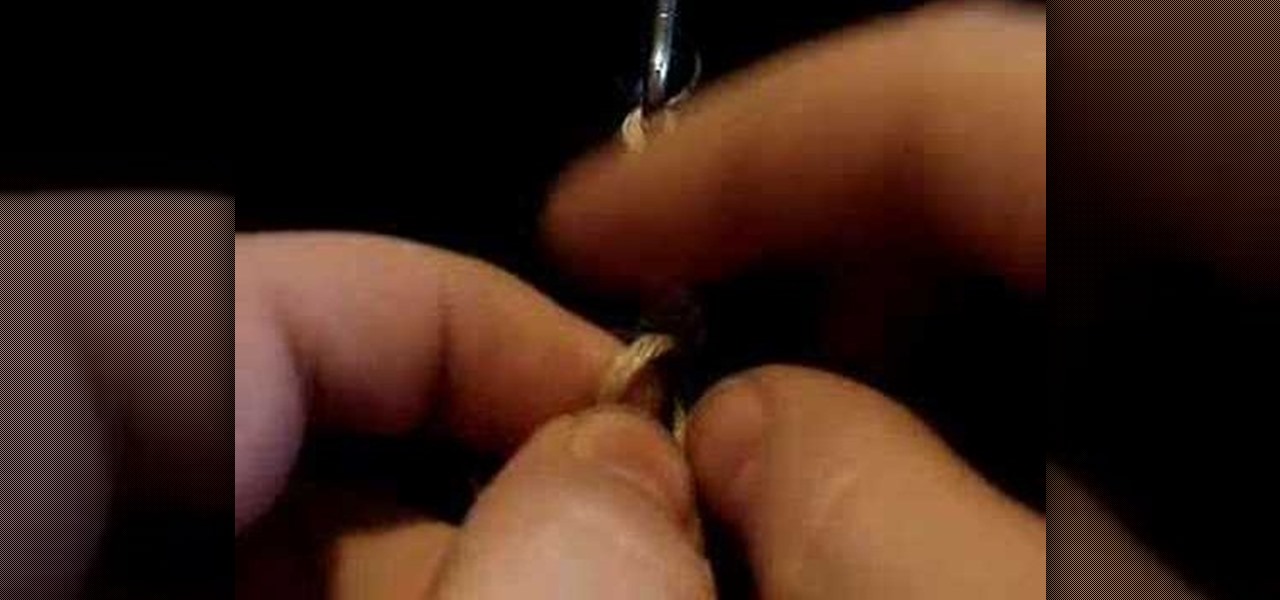
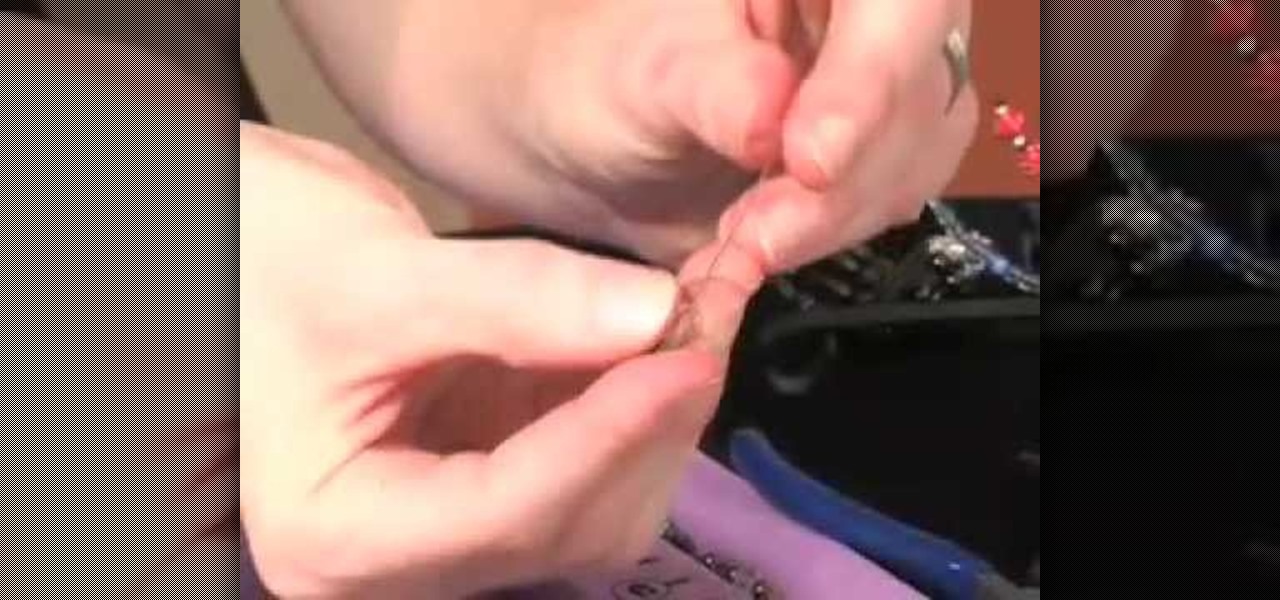
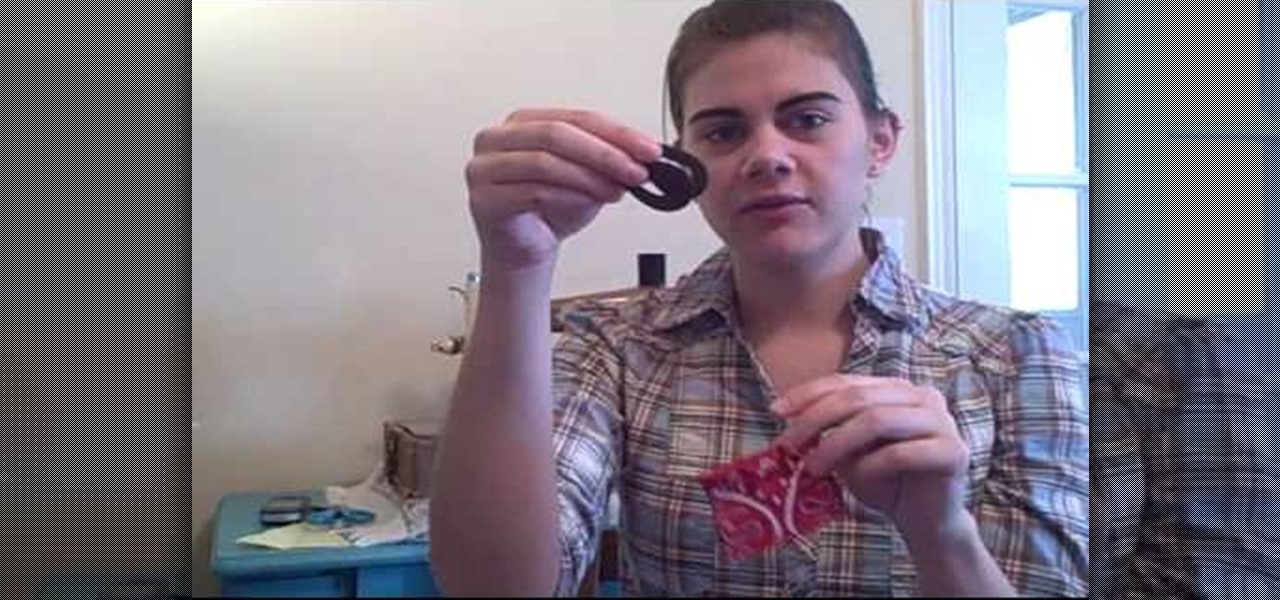
In this video we learn how to tie a pretzel knot for hemp jewelry. First, making a loop with the chords in your right hand and place them over the left chords. Hold the loose ends on the right side and take the chords from the left hand. Go over the right chords and then up through the top. Then go over the loop under the left side of the loop pulling the chords up. What you get here will look kind of like a mouse, so you will need to get the first color on the outside. Then, slide this up an...
Jump rings are super functional in jewelry making, allowing crafters to connecting disparate sections of a necklace easily and also serving as their own minimalist decor. If you're into the look of chain mail (which is just that - lots of chains connected together via jump rings), then you should check out this video to learn how to craft your own jump rings.
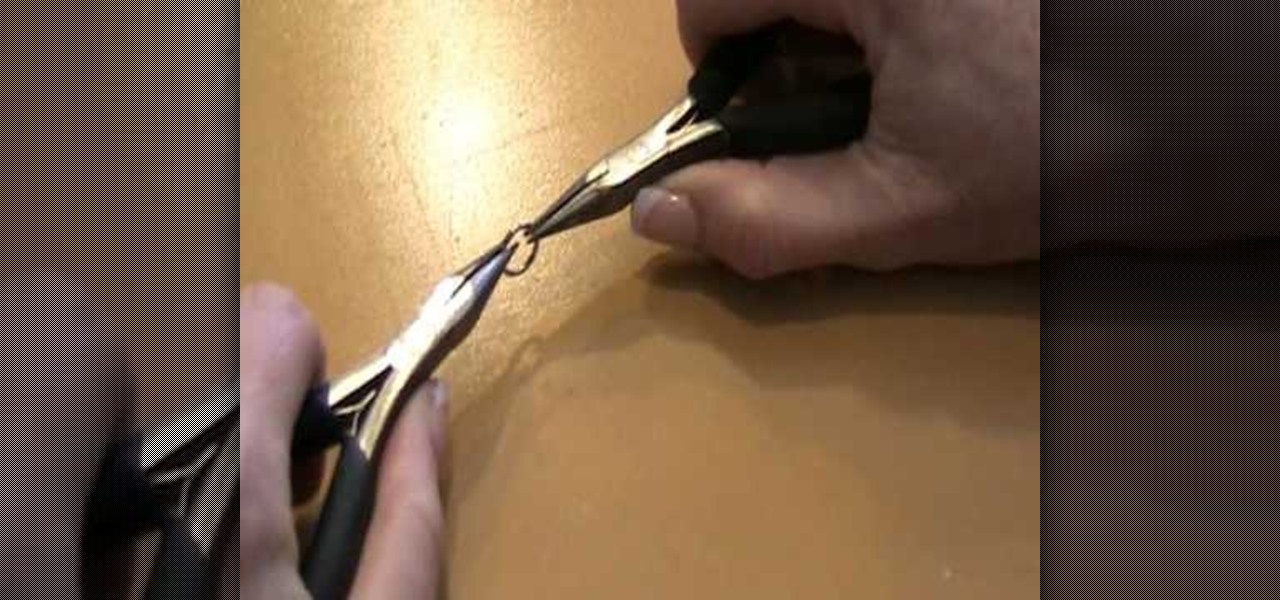
Jump rings serve a variety of purposes in jewelry making, the most common of which is connecting adjoining sections of a necklace, bracelet, or earring. If you would like to integrate jump rings into your jewelry crafting then check out this video to learn how to open and close a jump ring using two pairs of chain-nosed pliers.

In this video, we learn how to make a mosaic jewelry ring. First, put the glue into a container, then place the stones into the glue and then place them onto the ring. Start by making the outer ring of the circle, then continue to go around the inside and the middle. Once you have all the stones placed inside, let the ring and stones dry for a full two hours. Next, take your powder and add a small amount of water. Mix together until you have a toothpaste like consistency, then rub it on the r...

In this tutorial, we learn how to make a glue in and glaze jewelry ring. First, grab a blank ring that has a spot on the top to place a picture. It can have a jewel on it, just pop the jewel out. After this, choose an image from collage art papers, then cut it out. When done with this, place the image inside of the top of the ring and push it down with pliers. After this, place a clothing pin around the ring bottom to hold it in place, then grab you DG3 gel and add it to the top of the image....

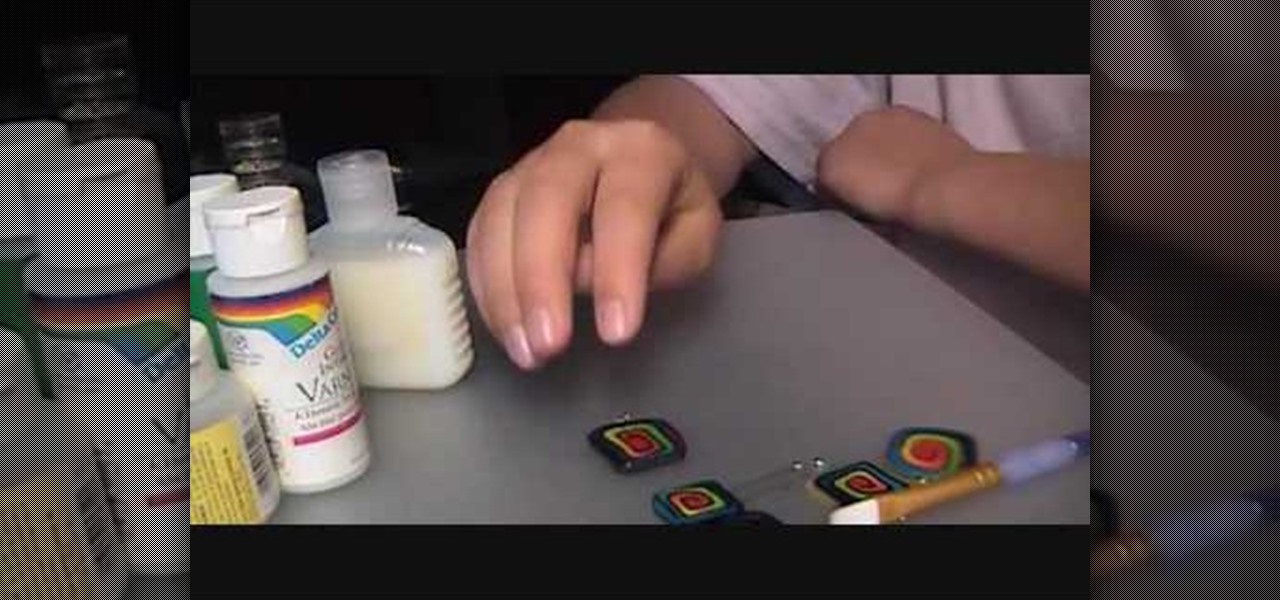
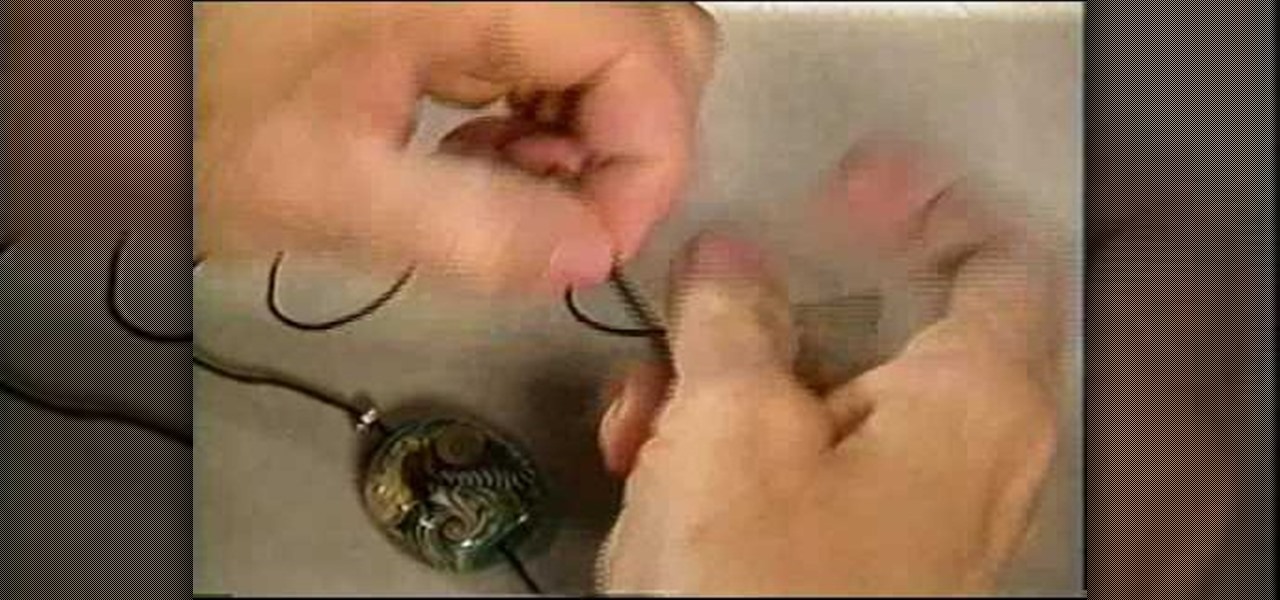
You'll learn how to gloss/polish your polymer clay pendant jewelry in this video. To do this, you'll need a brush. Preferably, a nice, soft brush. You'll also need your clay pendants (of course), some gloss, and aluminum foil. First, you pour two drops of the gloss onto the aluminum foil. Next, you take your brush, put it in the gloss, and run it across your pendant. This will give your pendant a really thin coat of gloss. Be sure to wash your brush soon after, otherwise the gloss will dry an...
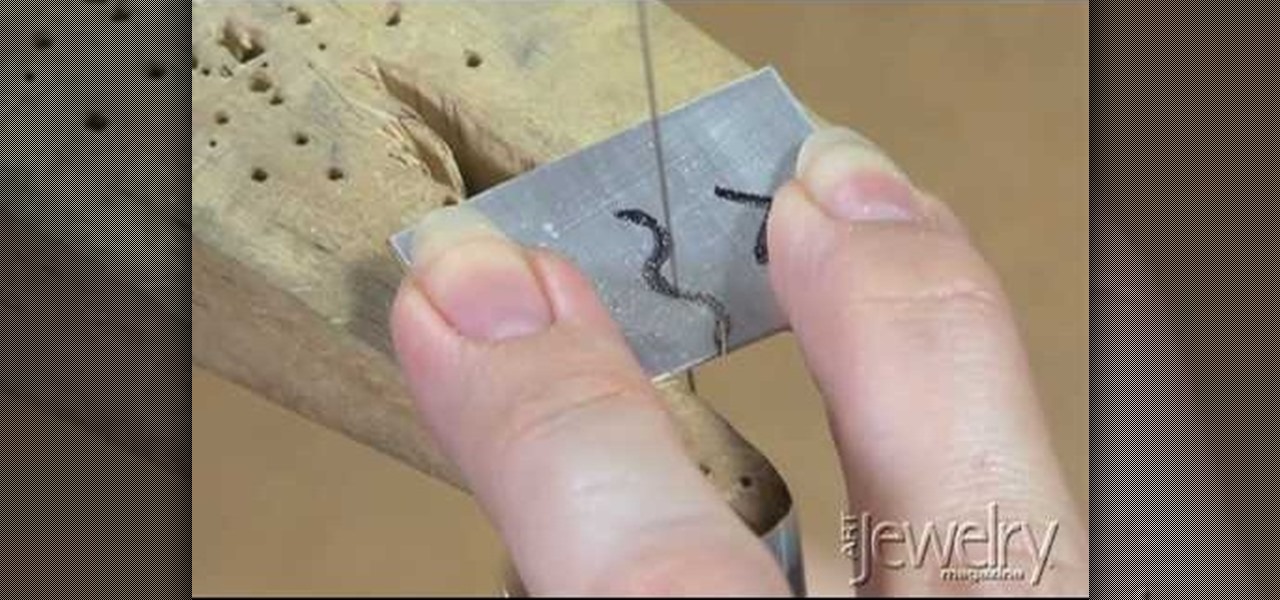
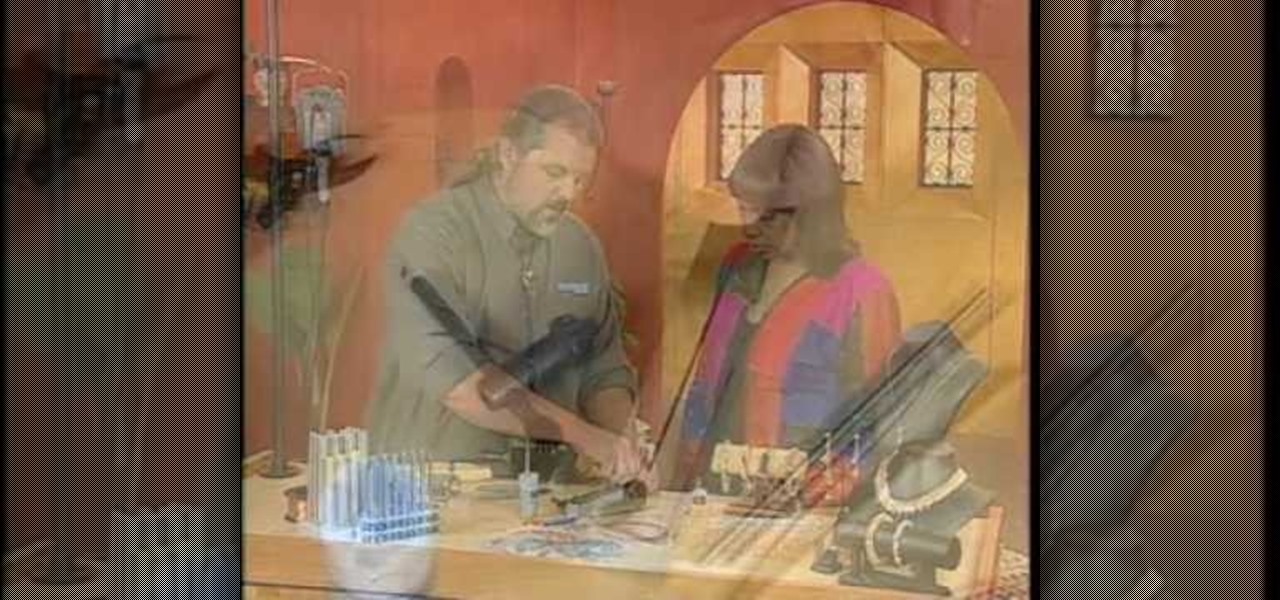
This video tutorial is about basic sawing techniques. Before practicing it you need to wear safety goggles for protecting your eyes. First of all, make a practice sheet. Draw three lines in a metal piece. One line is straight, one is curve and another is zigzag. Lubricate the saw blade and start sawing. Hold the saw straight and move forward. Blow the dusts away. For making curve don't move the saw, rotate the metal piece to cut it. Hold the metal piece tightly when you sawing it. Addie kid h...
In this video, we learn how to tie a left half knot spiral for hemp jewelry. First, get two bead carriers in the center and have one strand in each hand. Then, take the left hand and place it over the bead carrier. Then, take the right hand and go over the cross section. Tie these up to the top loop tightly and then repeat doing this. This will make the spiral shape once you have created enough of the knots. As you are working it, you will have to spin it a bit in order to keep it curving rig...
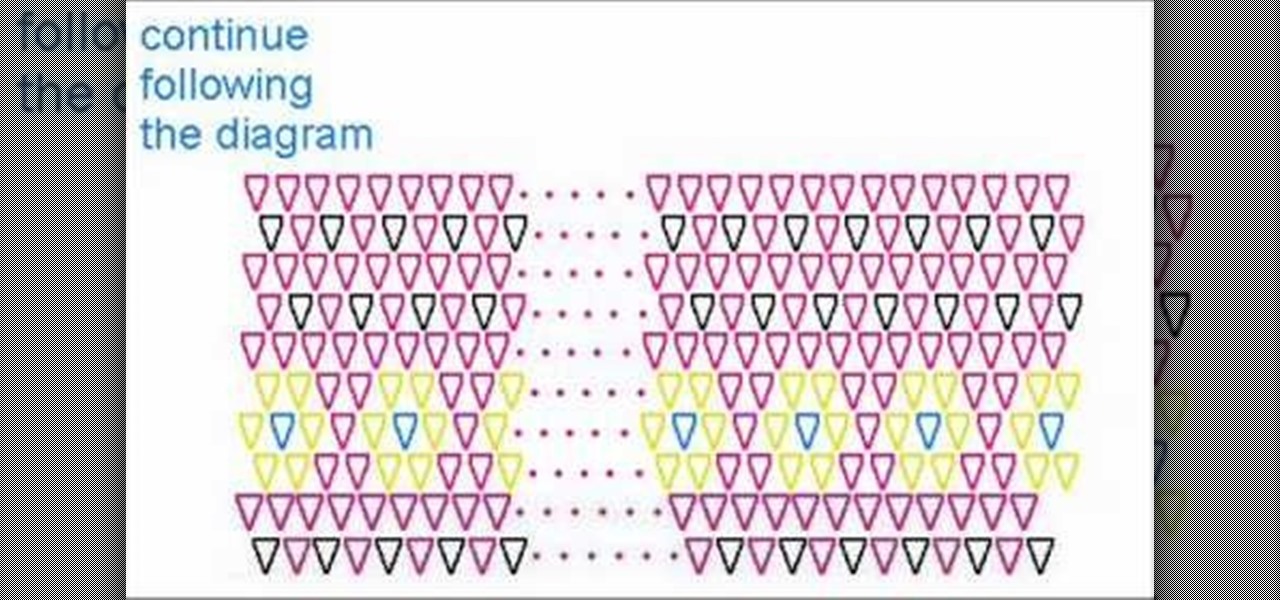
Get that Bohemian look this summer with homemade chunky jewelry! In this three-part jewelry making video tutorial, learn how to make a Cubed Herringbone Stitch for bracelets. From Auntie's Beads" "Ladder-stitched cube bead rows work as a foundation to this bracelet. The stitch is easy to learn and the tapestry like look will invite multiple color combinations!"
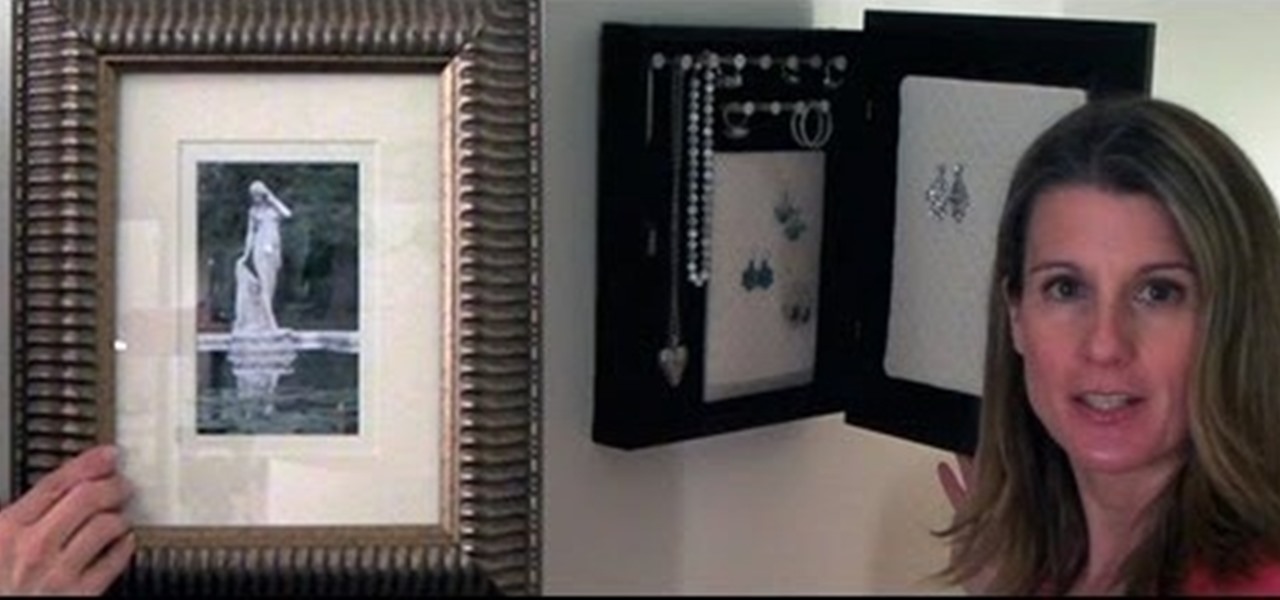
Frustrated with how to organize your jewelry? Why not make your own jewelry organizer! In this episode, learn how to make a frame to transform an ordinary picture frame into a DIY jewelry organizer, using easy to find materials and simple tools. You will be able to store your jewelry on the wall, out of sight, while at the same time displaying a beautiful photo. Having decorative items like this DIY jewelry holder that also function as storage is perfect for small space decorating.
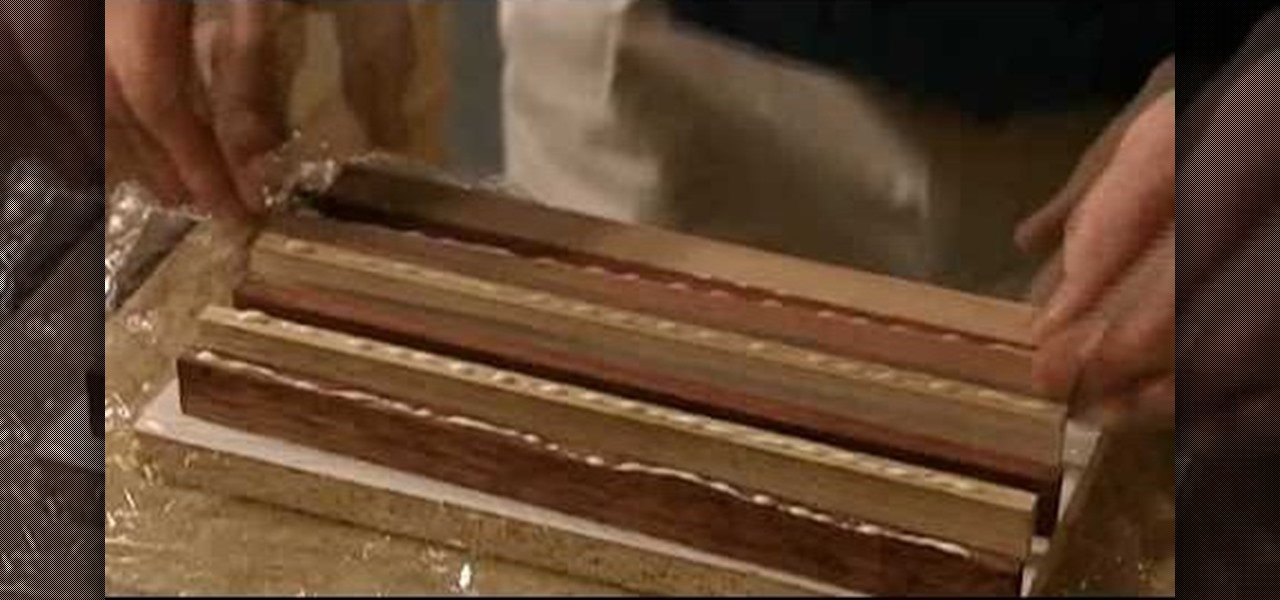
Not sure what to get your sweetheart for her upcoming birthday? Make something handmade for her special day that she will remember for a lifetime! In this video, learn how to build a fabulous jewelry box, perfect to fit and organize her large jewelry box collection in.
Paper houses don't make very sturdy shelters for those living inside, but paper jewelry boxes make excellent storage boxes for keepsake jewelry. Using the right method (ie. the one presented in this video) you can create a very sturdy jewelry box out of paper.
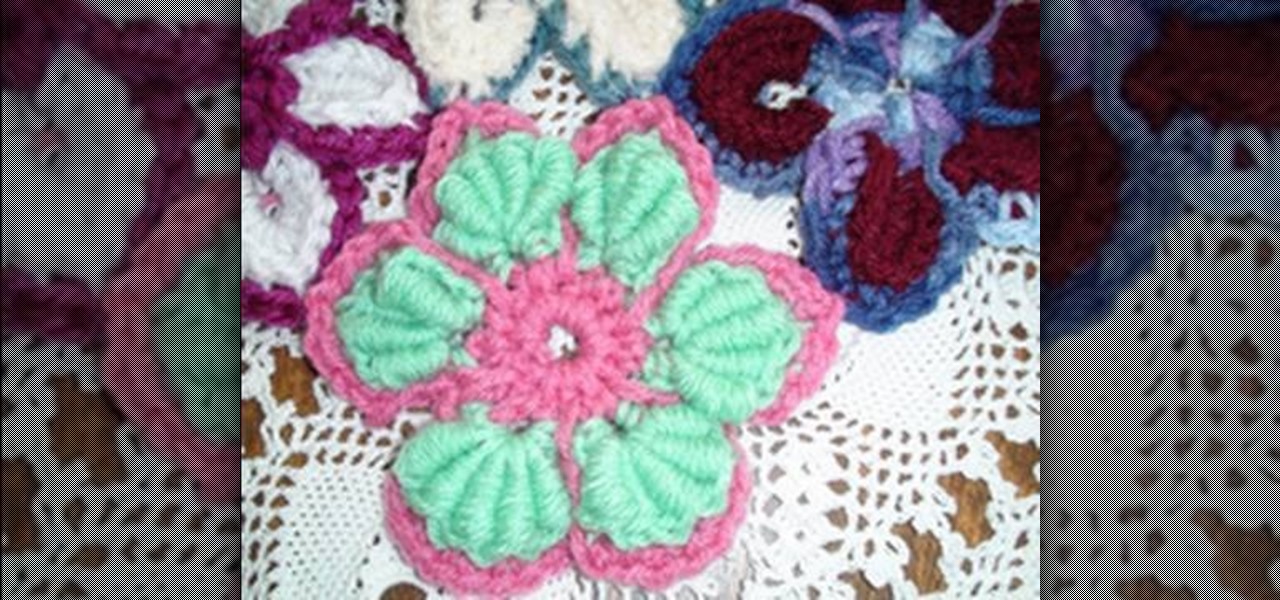
It is easy to make Crochet flower motif left-handed method by knowing the following steps. One who is interested how to make crochet motifs on their left hand can do easily by using bullion stitch. The two types of crochet hooks are H Crochet Hook and F Crochet Hook. The starting step is chain 5, join. First round to make crochet flowers is to join Ch 1, SC in loop, CH 5, continue around, 5 times in total, then join in beg SC. See how to do the rest by watching this video!
This makeup style is perfect for an Indian wedding or for a Bollywood style costume party. Watch this instructional cosemtics video to apply flashy Indian eye makeup.
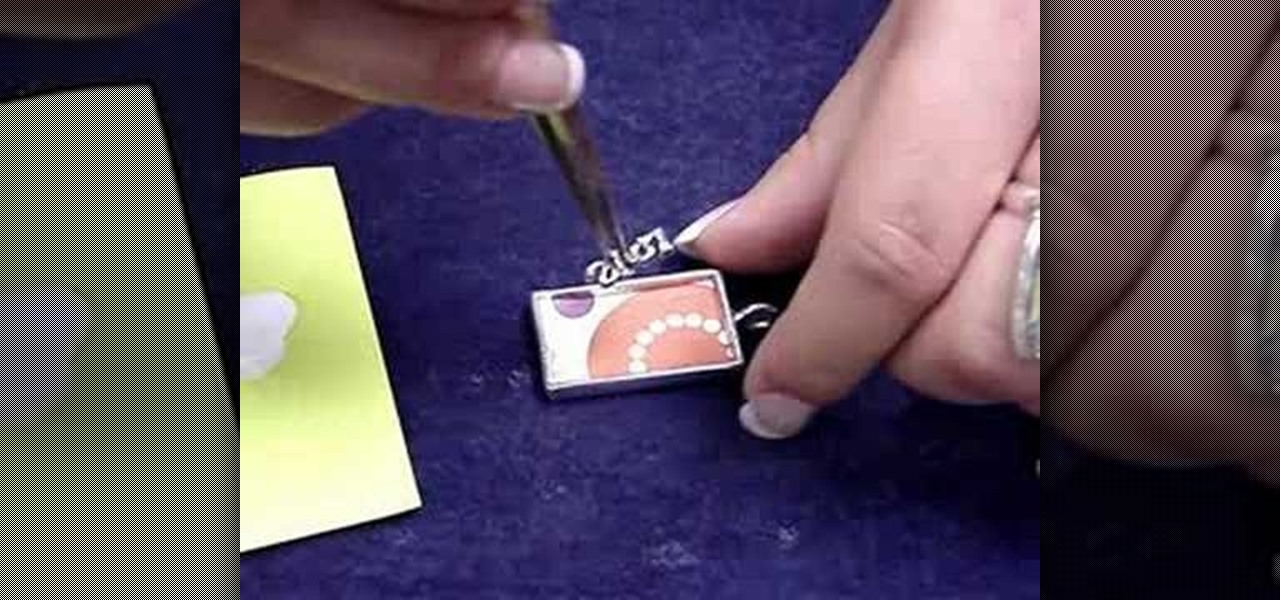
In this tutorial, we learn how to make a DG3 art gel collage jewelry pendant. After you have all your tools together, you will need to trim the scrapbooking paper to fit into the frame for your pendant. Once this fits inside, then grab a charm and glue it into the frame where you would like. Then, squirt the clear craft glue into this and let it set. Brush the paint brush over the pendant, then go over it again with the glue when it dries. To wear, attach a chain to your pendant when it's dry...
You never know what you might stumble across on your next visit to a flea market or thrift store. Real gold is very soft, so biting down on the piece is a time-honored test for real gold. You can also examine your jewelry for a maker's carat stamp or discoloration that may indicate fake metal.
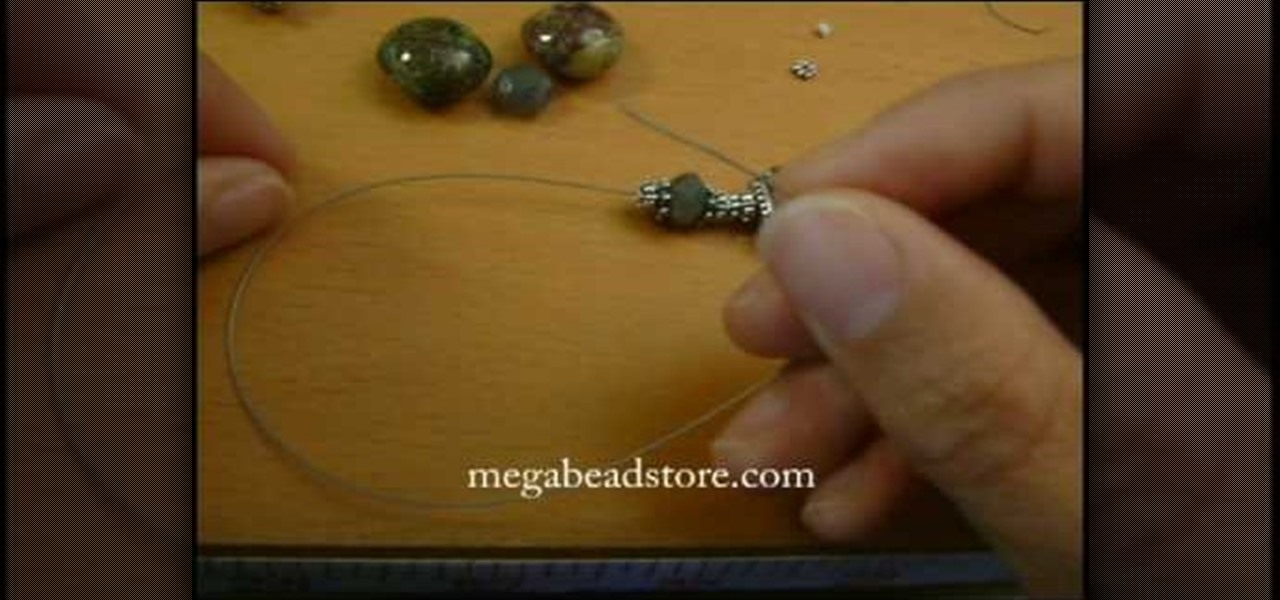
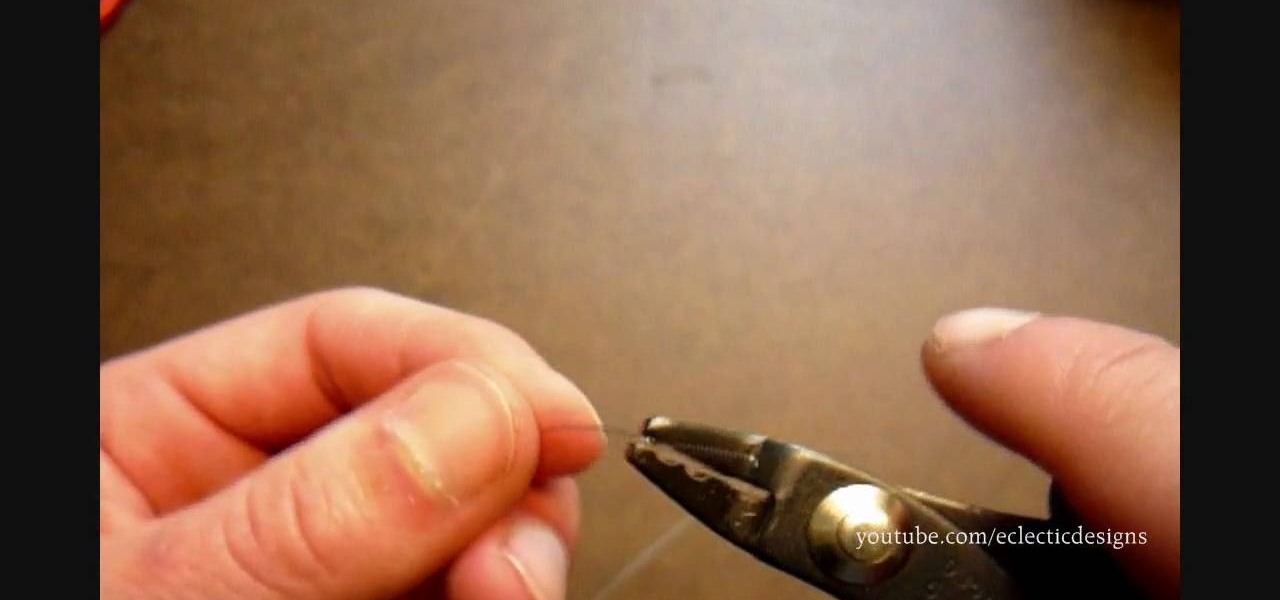
In this video, we learn how to use French wire when jewelry making. First, you want to take your wire and cut it to the length you need, using wire cutters. After this, you will place a stopper next to the pendant or bead that you are applying inside the necklace. Next, string on the clasp to the wire and then bend the end of the wire to the inside of the stopper, then cut the end of that with wire cutters. When finished, your clasp should be secure at the end of the wire and ready to hook on...
The phrase "you can never have too much of a good thing" isn't particularly true when it comes to jewelry. While we love our bohemian tree pendants and dangling chandelier earrings, we don't like the fact that they weigh five pounds and pull down on our ears and/or necks.
An EZ-Crimp is a very useful tool in jewelry making; with a rounded loop on one end and a flat rectangulr space equipped with a hole on the other, it allows for the attachment of a piece of wire (inserted through the hole) and can be used to close a necklace.
Would you like a necklace longer or is your neck too big for a necklace you love? No problem, a chain extender will allow you to wear or lengthen any necklace.
Where making jewelry, there are a lot of times that you will have to make a simple wire loop. This is how to do it.
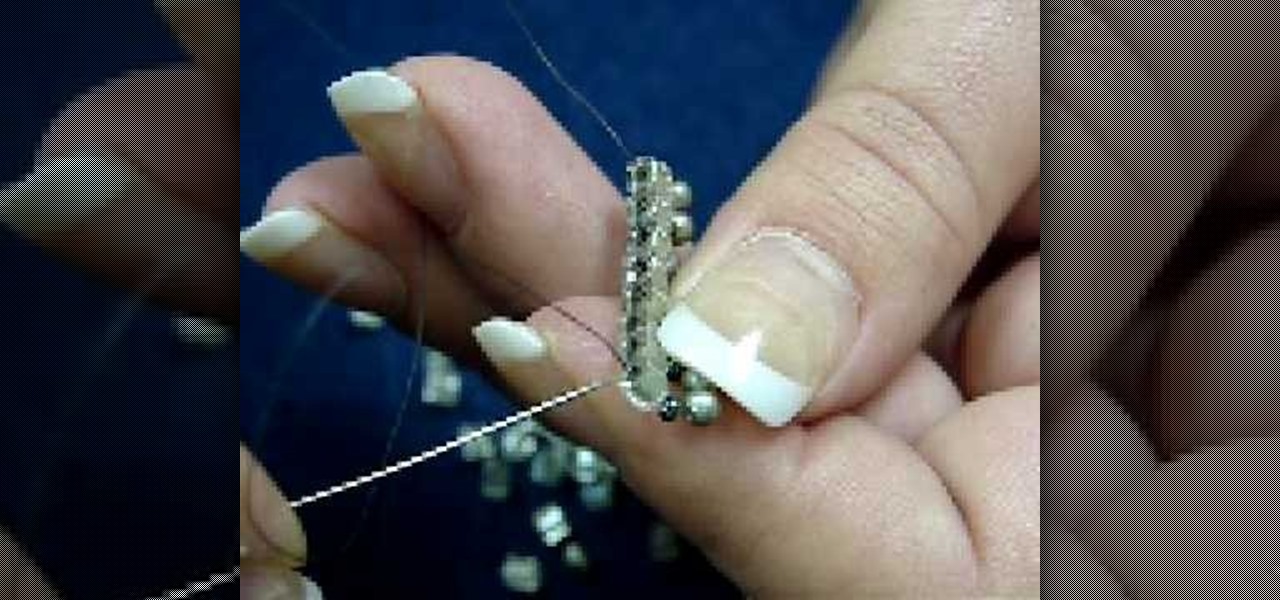
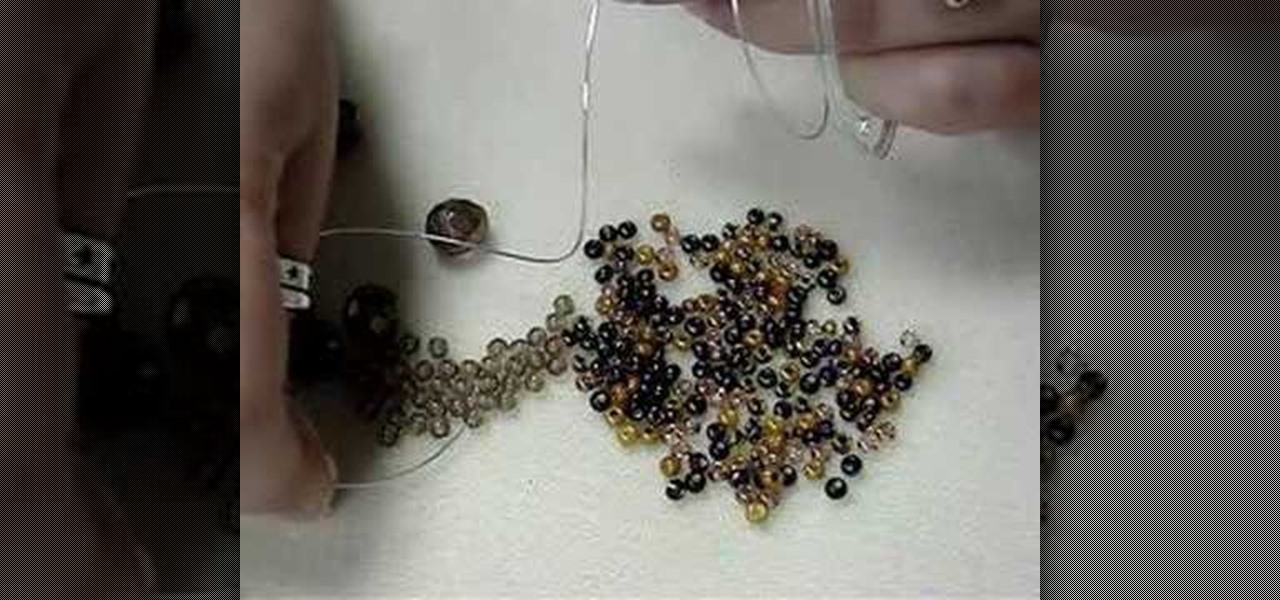
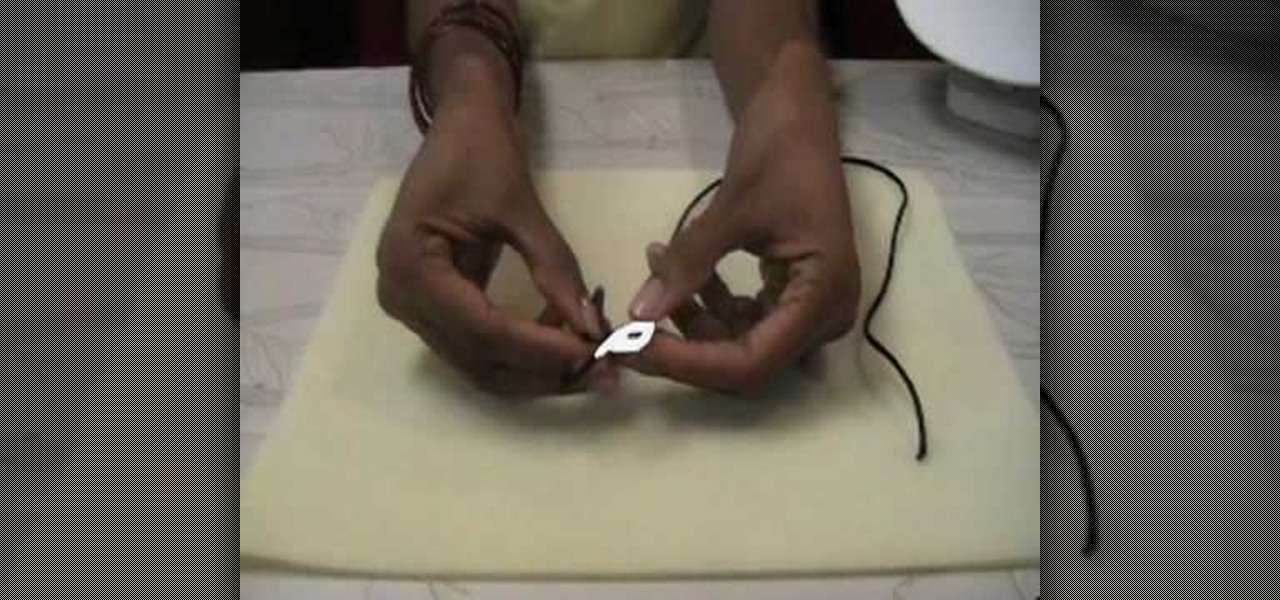
In this video, we learn how to use a big eye needle when making jewelry. This is a great tool when using stripping material. The needle is made of the eye and will work with ribbon or thread. First, open the eye of the needle, then thread the material through the opening of the hole. Next, string your beads over the point of the needle and then onto the material. Continue to do this for all the different beads you want to add, then your bracelet will be complete in a few short minutes. This m...
Walk into L.A. hotspot Kitson any day of the week and you're sure to find a teeming collection of celebrity endorsed jewelry, at least half of which are bohemian and breezy, made out of skilled wire wrapping and exotically colored gemstones. They're pretty, yes, but unless you have a celebrity's budget they're also hard to attain for the average person.
Jewelry making is a fine art, with some jewelers devoting their entire lifetimes to learning how to perfect beading, wiring, sautering, and arranging. But that doesn't mean you can't make a beautiful bracelet if you're a jewelry making beginner!
In this video tutorial, viewers learn how to easily clean sterling silver. The materials required for this task are: ceramic or glass bowl, tablespoon, hot water, baking soda and aluminum foil. Begin by crumpling up the aluminum foil and place it at the bottom of the bowl. Then place 1-2 tablespoons of baking soda on top of the foil. Now fill the bowl 3/4 full of hot tap water. Then place the sterling silver into the bowl and leave it in for about 5 minutes. This video will benefit those view...
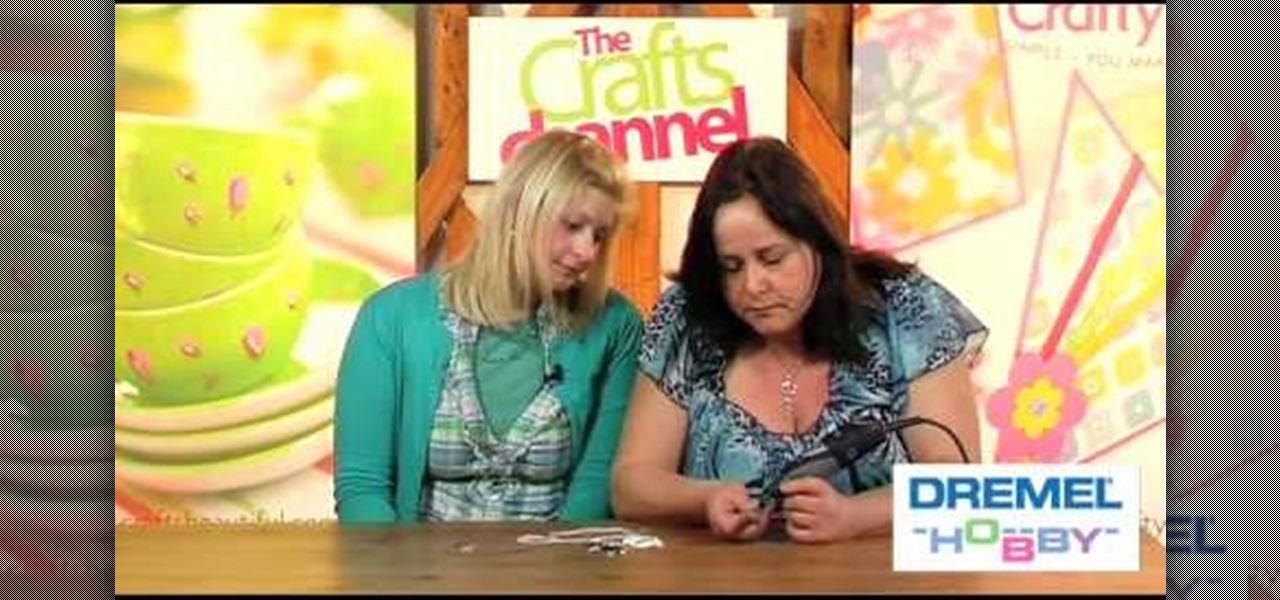
The Dremel 300 series multi tool is basically a shrunken down version of a power drill. With a tinier drill and several different speeds, this tool can be used to create holes in even the toughest of surfaces.
Following are the steps to describe how-to make small jewelry with head pins: 1. Materials needed are long head pins, beads, wire, cutting player.
This is a video using Swarovski Crystals to make jewelry. This video shows how to make one with a gold bow. You need a pendant with 2 hoops (in this case it is a gold bow), a pendant holder, a crystal, a bill, and pliers. You take the bill and hook the crystal on it. Then you hook the bow on it and secure it using the pliers. You take the pendant holder onto the top of the bow pendant, and press it down to secure it, and you’re finished. You can also make rings, earrings, necklaces, and many ...
In this jewelry-making basics tutorial, learn how to make an eye pin. To create an eye pin, you will need wire. Size 24 or 22 gauge wire is the best kind of wire to make an eye pin. The thicker the wire, the more difficult it may be to work with. To begin, straighten out your wire and cut the length you need to make your eye pin. Taking some round nose pliers, you will bend the wire up while rolling it toward yourself. Do not pinch the wire too tightly with the pliers because it can leave per...
For anyone interested in learning how to make their own jewelry, try the simple steps in this arts and crafts tutorial to make a Bali bead and lampwork bracelet. To make the bracelet, you will need jewelry wire, a sterling silver toggle and clasp, crimp beads, Bali stone beads, lamp beads, silver bead snowflake caps, and silver spacers. The pattern calls for a snowflake cap, two natural stone beads, medium-size spacer, followed by a small spacer. This pattern of sandwiching a stone bead betwe...
This video shows the viewer how to secure crimp beads using both crimping pliers and chain-nose pliers for the purpose of jewelry making. The video uses two millimeter crimp beads, beading wire, and both sets of pliers to demonstrate the technique. To crimp using the crimping pliers, the viewer will utilize both notches of the pliers to crimp the bead onto the wire. In order to crimp using the chain-nose pliers, one must simply flatten the bead onto the wire. Crimping is a good method to secu...
The author of this video demonstrates how to make beaded jewelry by using simple household items. The materials she uses are assorted beads, crimping beads, string, leather, and earring hooks. First, the author plans her design before she starts creating any jewelry. Once she has decided what she wants to make, the author cuts off a piece of string that is the desired length of the item. Then, she adds a clasp to make sure all the beads she plans to add stay in place. Next, she slides the des...
Christina, from Brightling Beads shows you how to tie a variety of knots in this video demonstration. This allows you to make a variety of jewelry, using various forms of knot tying. She will show you how to do an overhand knot, double hand knot, square knot, lariat knot, figure eight knot, sliding knot, and surgeon knot. This video makes it easy to do the knot tying, because it uses demonstrations that highlight the sting, and arrows that point to the area that you're working on.
In this instructional jewelry making video, learn the process of making rings out of clear polyester resin, a type of moldable plastic. This tutorial shows you everything from mold-making to embedments. Use this same technique to make RFID rings, which are clear plastic containing unique microchips useful for electronics projects where you want to identify a specific person wearing one. Thanks to Townsend Atelier for the sample of Knead-a-Mold, a welcomed (and much easier to work with) altern...
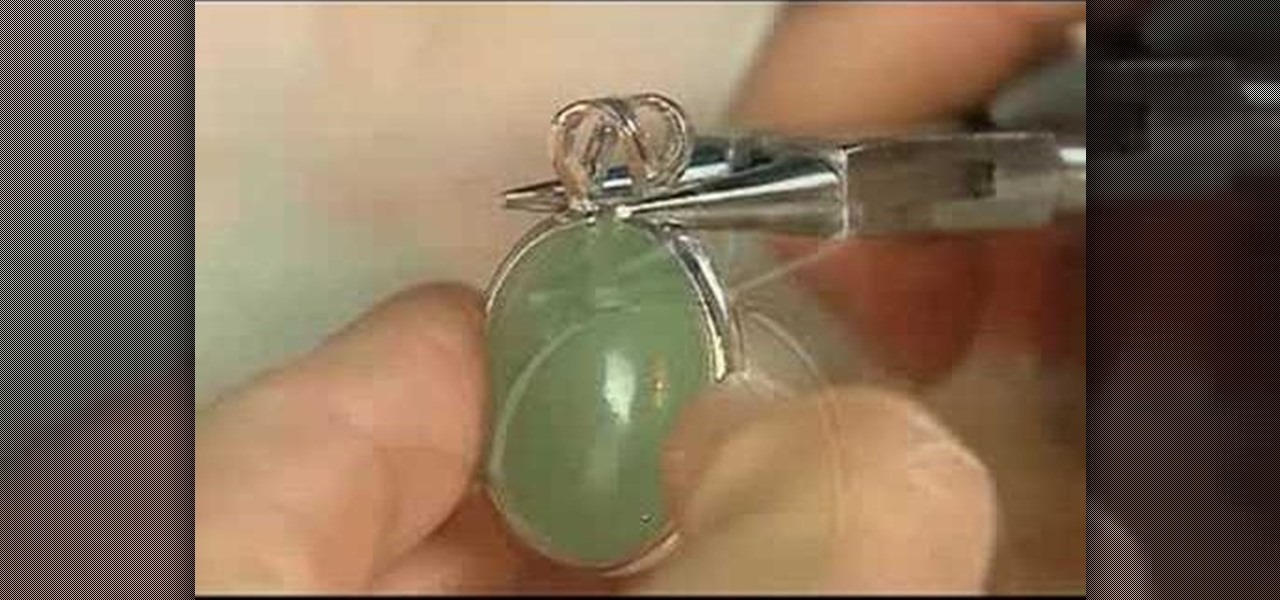
An important part of jewelry making involves properly setting gemstones. This how-to video tutorial demonstrates the proper way to set a stone in a cinch mount. Begin by placing the gemstone face side up in the casting. Use a pair of needle nose pliers to grasp the casting at the base of the bail. Gently squeeze the pliers to close the gap and tighten the casting around the stone. Test to ensure that the stone is properly set.
One important part of jewelery making involves properly attaching clasps. This how-to video jewelry making tutorial demonstrates the proper way to attach them. Begin by threading the crimp bead and the clasp onto the bead wire. Using chain nose pliers feed the thread around and loop it back around through the crimp bead. Use the pliers to hold the crimp bead tight. Crimp the bead down securing the wire and clasp.
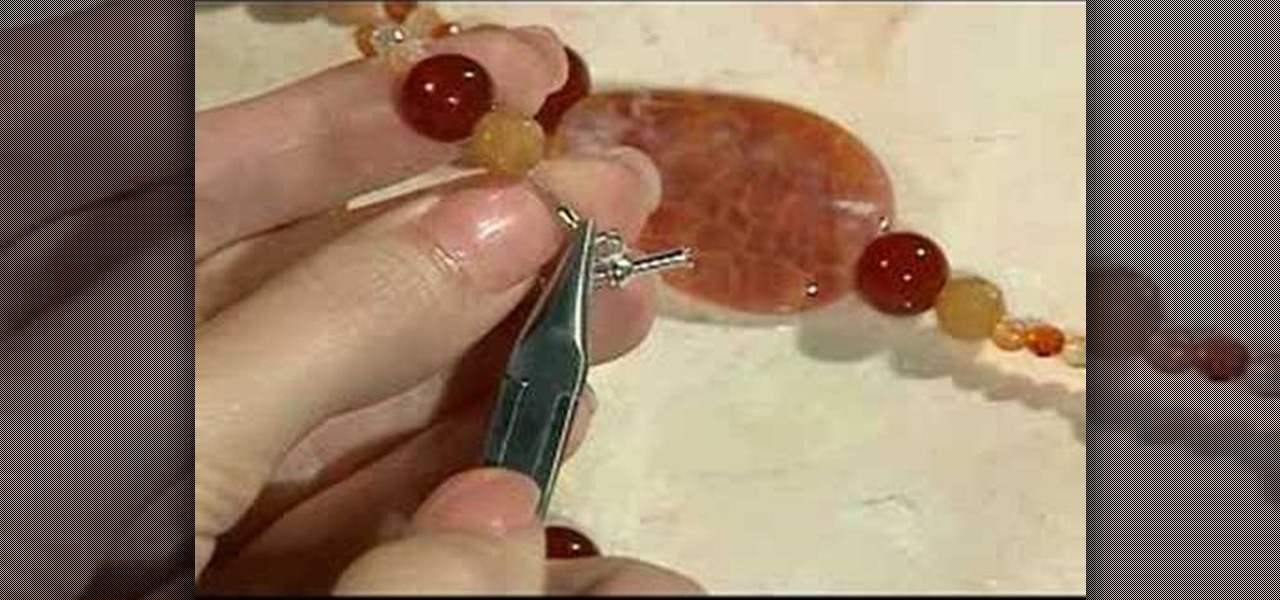
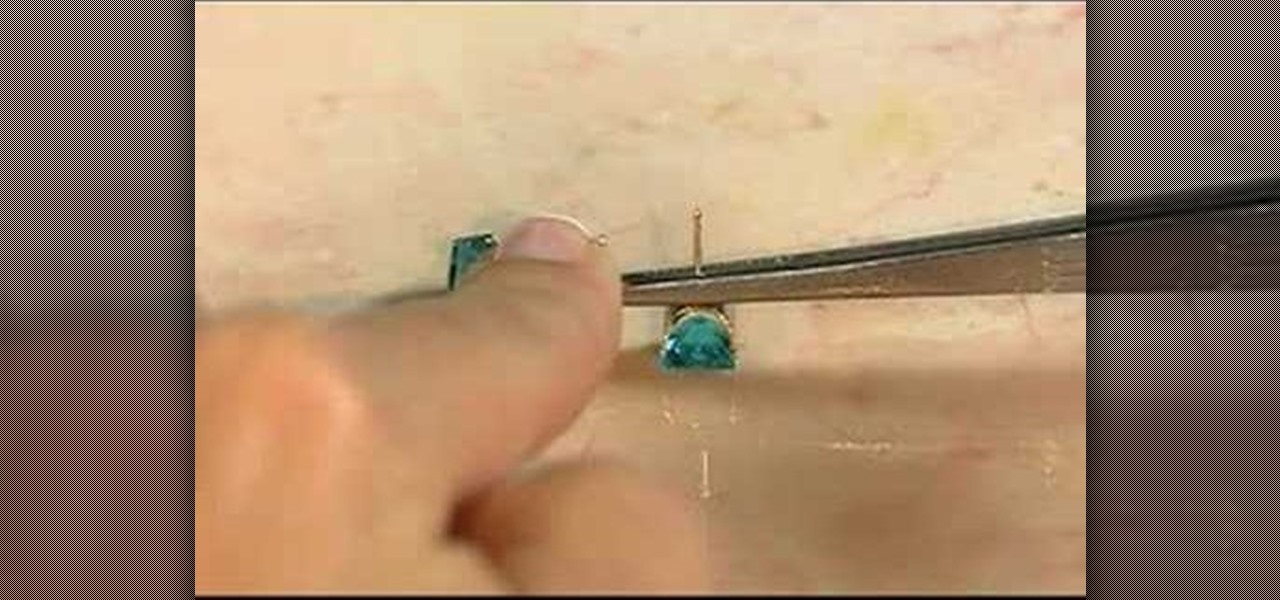
One important part of jewelery making involves properly doing setting snap tension mounts. This jewelry how-to video demonstrates the proper way to set stone with a tension mounts. With the crimp bead on the wire place the bead in the first notch of the crimping pliers. Begin with your stone face down on a flat surface. Place the casting over the stone. Firmly press the casting over the stone and you stone should snap into place. Use this technique to create beautiful earings.
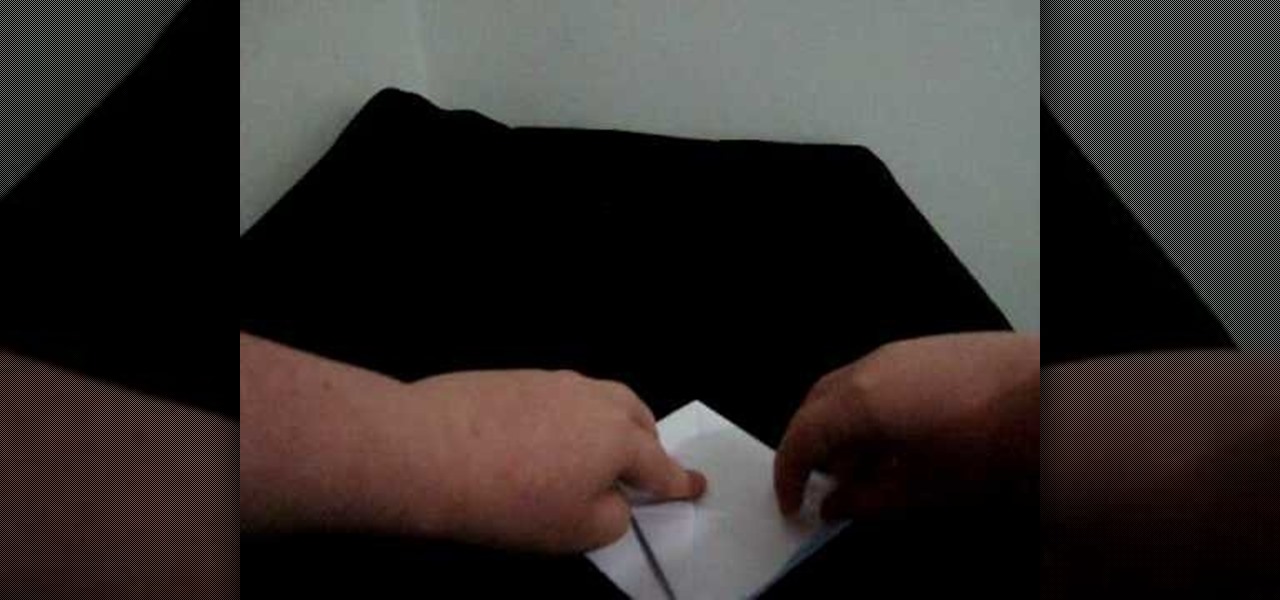
Looking for a unique and inexpensive place to store your small possessions? In this two part tutorial, learn how to fold an origami jewelry box. All you need is paper and your fingers. This is a very cool origami project that is fun and easy to learn.
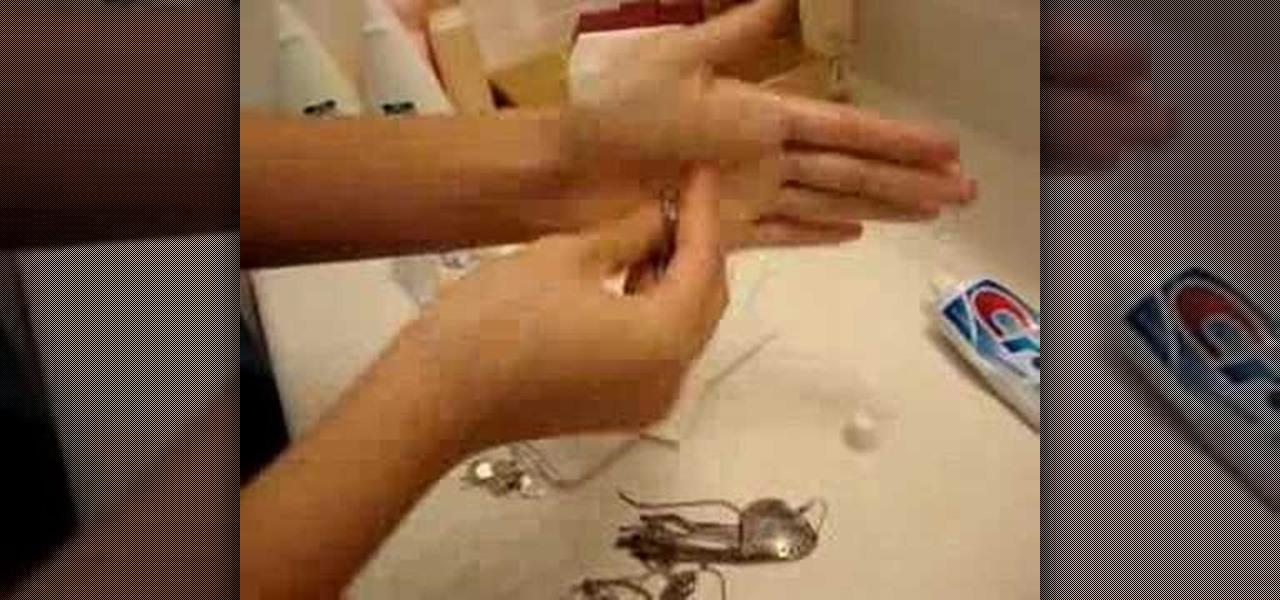
Check out this video to learn how to clean fake jewelry at home with toothpaste and water. Rub the toothpaste into your jewelry, rinse with water and dry it with a napkin or a towel. It's as simple as that!