The relationship between one side of your body - including your face - to the other is not like that of a twin to a twin. Rather, most people don't know that the left and right side are more like sisters than twins. This means that one leg may be a millionth of a degree shorter, or that your left ear is slightly smaller than your right.
So you've finally created a nice body-toning workout that consists of all the exercise your body needs to burn calories and stay slim: Push-ups, bicycle crunches, thigh lifts, lateral arm lifts, and shoulder presses. But then arises the second biggest problem after figuring out an exercise routine: How many reps of each do you do?

In this tutorial, we learn how to draw a smiling graffiti style face. First, start off by drawing the nose, eyes, and eyebrows. Then, draw the large open mouth and hair at the top of the head. Make sure to add in ears and large teeth when you draw the character. Then, shade around the individual teeth so it looks like gums. Then, fill in the eyebrows and hair individually. After this, make two lines underneath the nose so it looks more realistic, then sign your name next to your graffiti face...

Have you ever read the children's book "If You Give A Moose A Muffin"? The book is among one of a series that explores all the fantastical fun a kid can have when she/he tempts an unexpected animal with a yummy dessert.
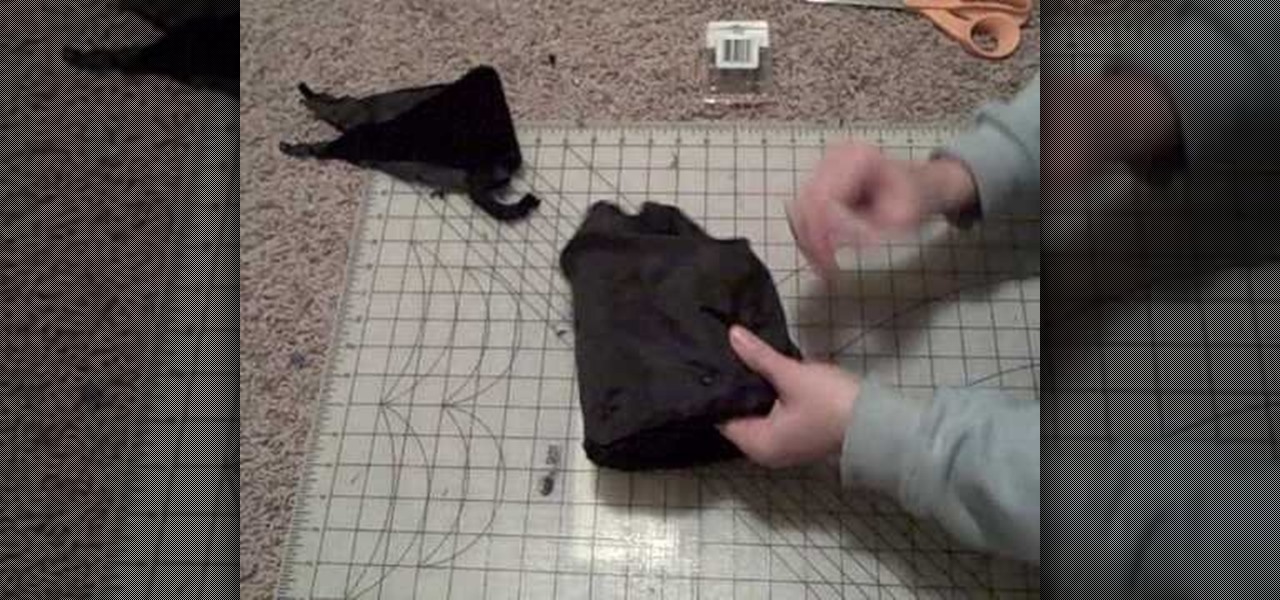
During the winter holidays, we want nothing more than to snuggle up into our Snuggie tents, put on Bing Crosby's "White Christmas," and sip a steaming hot cup of hot chocolate. But during those times we force ourselves to go outdoors (to, you know, go to work and stuff), we prefer covering up as much as we can.
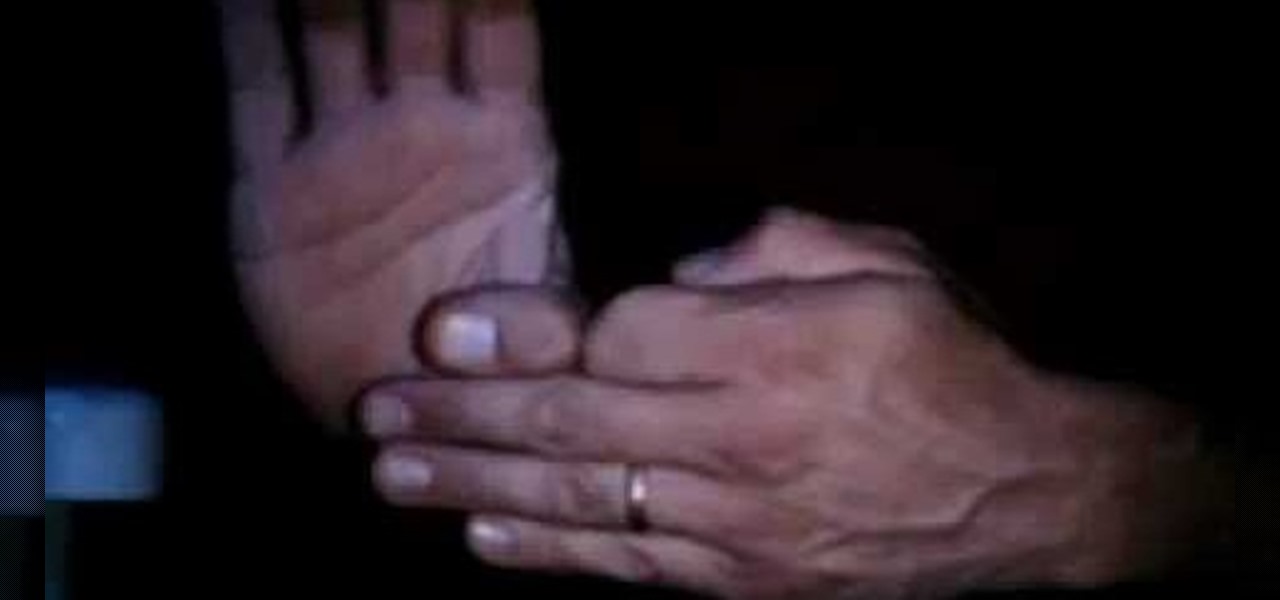
Remember those little tricks your Dad played on you as a kid? Like the old "penny behind your ear" trick? Well, in this tutorial, learn how he did his famous "detached finger" bit.

This video shows us how to draw an electric eel even if we are not professionals. We start by drawing a flag shape (like two cylinders connected) as this being the body. After this we can draw the eyes, one fully visible and the other only little because is in the back. Now we draw an open mouth and here we can let our imagination go wild an could put there some fangs, a tongue but do not forget to draw some shadows in there to be more realistic. For shadows you can use the edge of your penci...

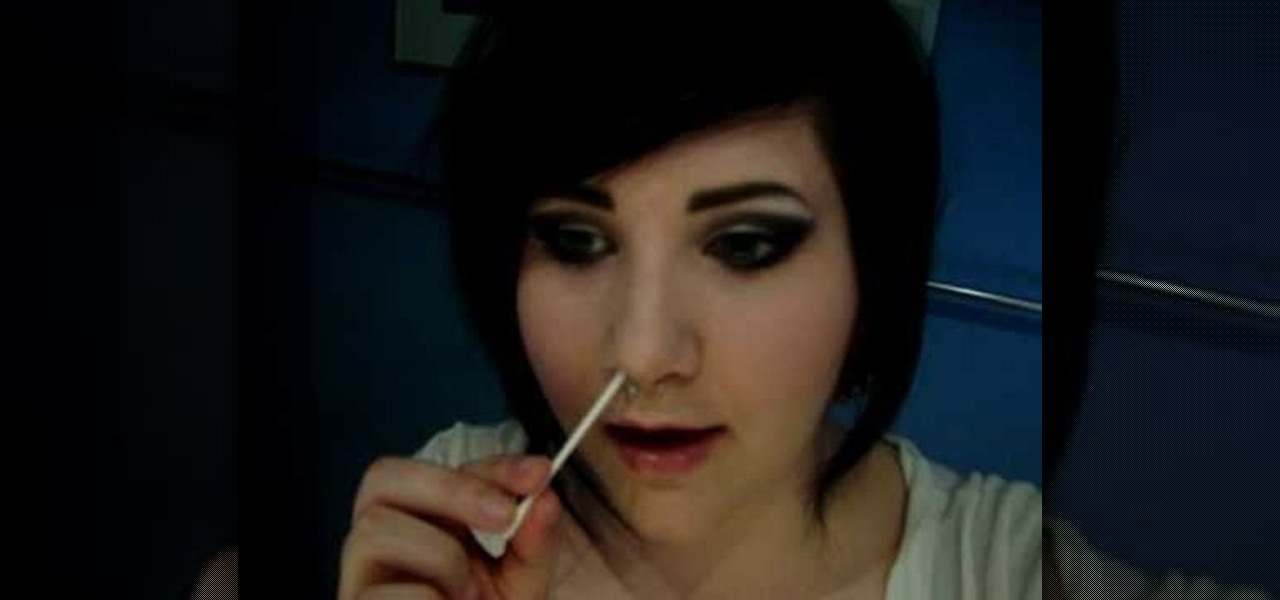
First of all you need to have some warm water in glass. Now take an ear bud and dip into the warm water. Now apply some soap over it. You can use the hand soap also for this purpose. Insert the bud in your nostril and then rub it around the pierced skin. Remove all kinds of particles accumulated at this portion. Now clean the other nostril as well. Now hold your pierce ring with your two fingers and give it shake. This shall remove all solid pieces from the area. Otherwise these may go down i...

Being a professional DJ takes a studied ear and a technical mastery of your equipment. This video tutorial series covers beats, bars, and phrases, and how to incorporate beat and breakdown looping into your DJ set. Additionally, DJ Phil K shows how to insure audio frequencies blend together, and provides professional tips on how to approach your first DJ gig.

In this video, a young boy shows us exactly how simple and easy it is to draw Stewie from "The Family Guy". Using a piece of paper and a writing or drawing instrument, anyone can learn how to draw this easy cartoon character's face. You should start with the outline of his head, which is a football-like shape. Then, draw two circles for his eyes, adding sharp sloping lines for his eyebrows. His nose is half a triangle and his mouth is a half-grinning sideways check mark. You can then add deta...

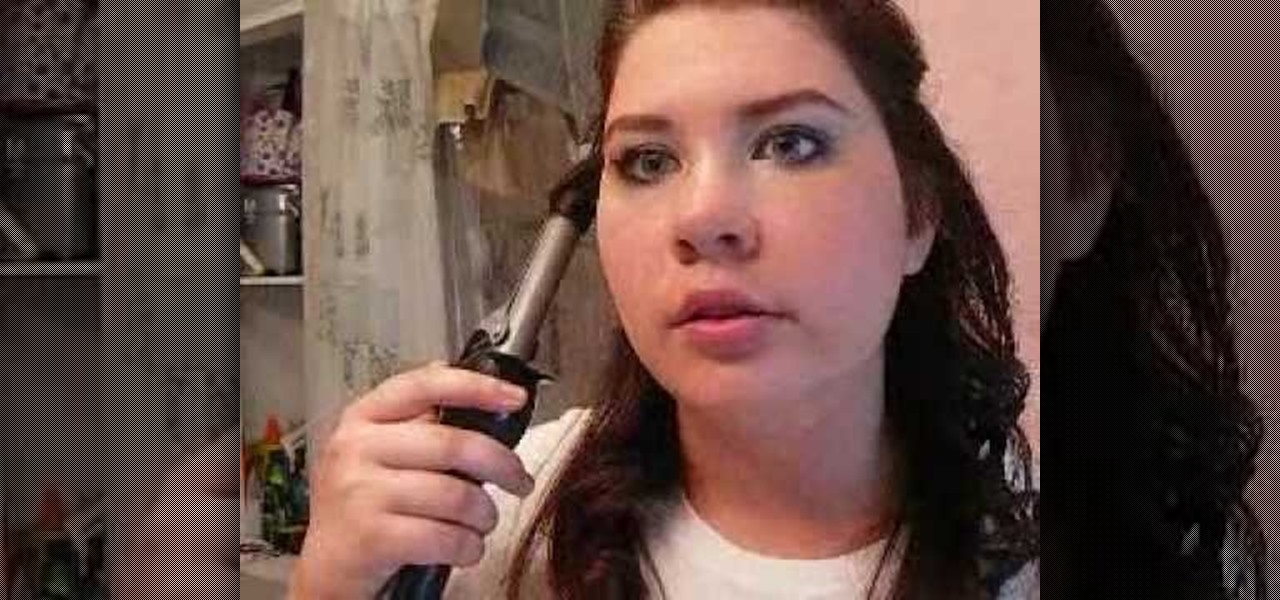
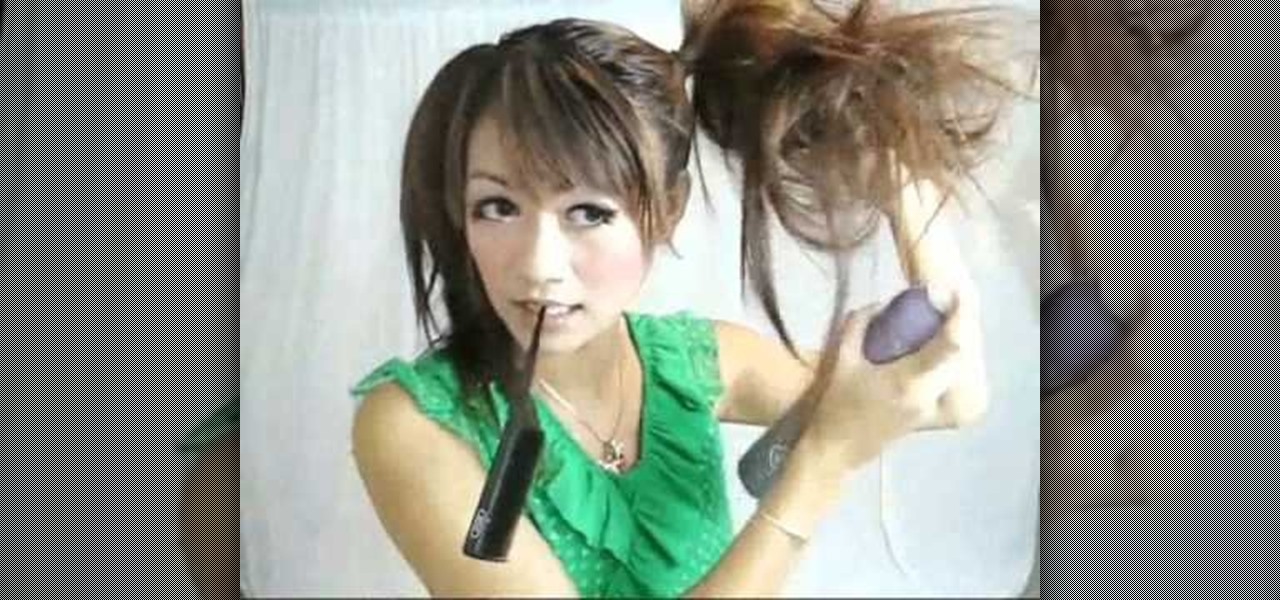
First wet your hair with styling cream. Take the upper part of your hair, right above your ears and clip it. Take a small section of the bottom hair layer and twist it. Clip the twisted hair with the hair curler and spin it till the root. The curler will be finished in 30 seconds. Repeat the previous three steps with all the bottom hair layer. When finished with the bottom, take another small layer of the upper clipped hair and repeat the steps but without twisting the hair. Put spray regular...

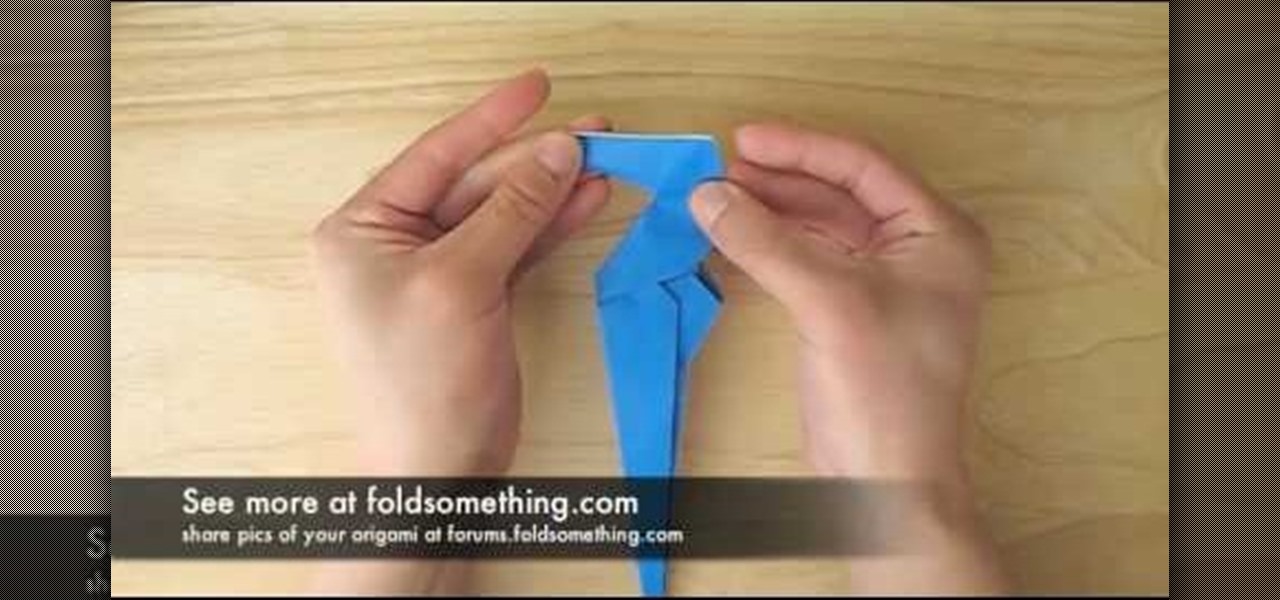
This video explains the way, how to make a paper sea horse. For making this he took a square blue color paper. At first he folds the two corners of the paper inwards so that it forms a triangle. Then he unfolded that. After unfolding he got a middle line impression.

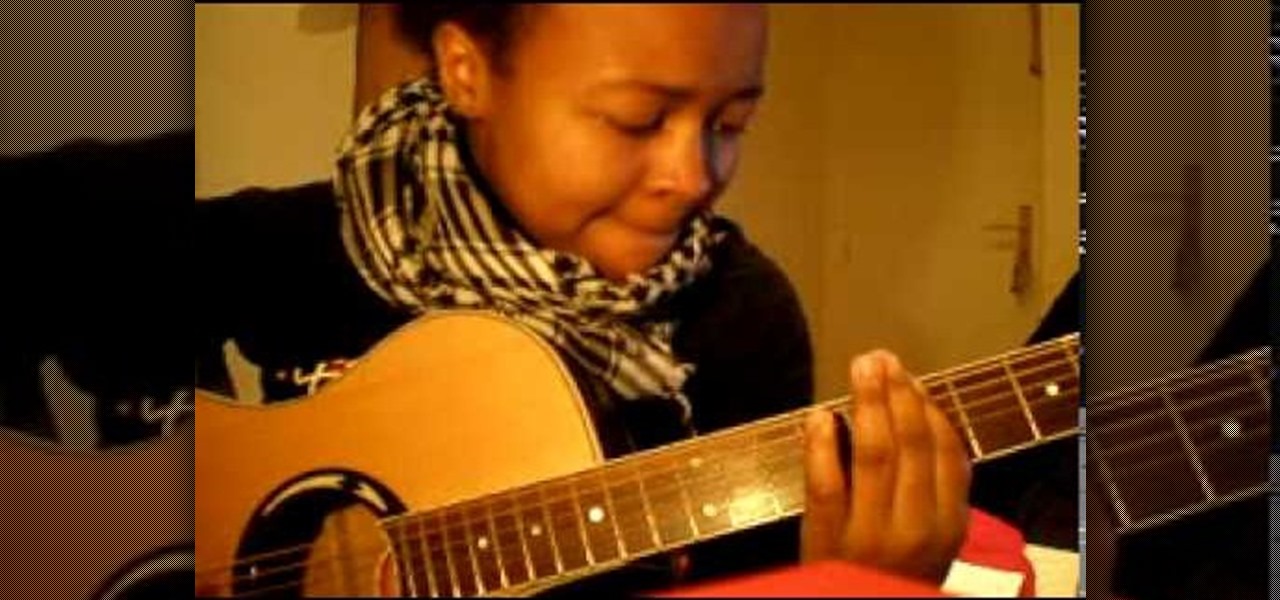
Learning to play the guitar can be a stressful, tedious process, especially when trying to master today's song by ear. This easy to follow video tutorial takes even the most novice guitarist through 3 Days Grace hit song "Never Too Late." She'll play the song in full, and then break it down in easy to follow steps, posting both guitar terminology for the experienced musician, or shows you where to place your fingers on the neck of the instrument for more novice guitar players. No matter if yo...

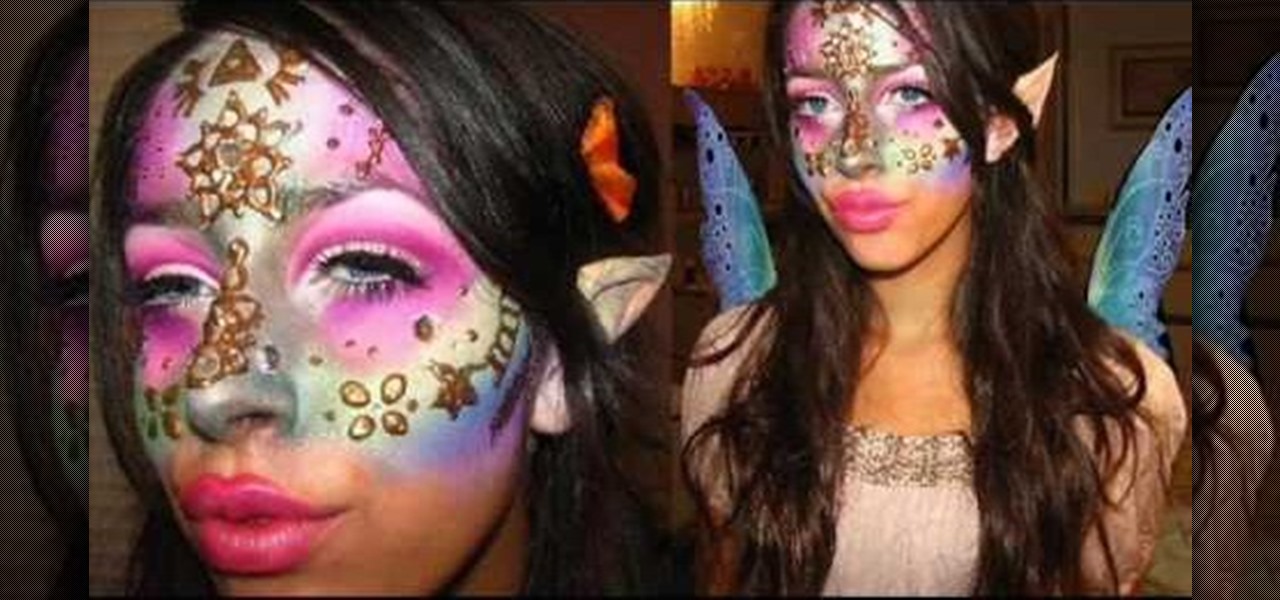
Attention Zelda fans! Get a Zelda-inspired makeup look with a little help from this two-part makeup video tutorial! This look is great for a fancy costume event or next Halloween. In part one, makeup application to the eyes is gone over. In part two, learn how to apply makeup to your lips and how to create those famous pointy ears.

It's nearly impossible to comfortably lay down on your bed or couch with headphones on. Sure, you can position yourself so that your headphones don't touch anything, but that usually means facing up at the ceiling, which is a huge no if you're watching something on Netflix or listening to music on your side.

When a dead body is discovered, finding out when the person died is just as important as finding out how the person died. Determining the time of death has always involved lots of complicated scientific detective work and less-than-reliable methods. However, a study by Nathan H. Lents, a molecular biologist at the John Jay College of Criminal Justice in New York, is the first of its kind to show how microbes colonize a body's ears and nose after death.

A long time ago in a galaxy far, far away, a man by the name of George Lucas wrote an amazing trilogy about a new world and the power of the Force… and then subsequently ruined the franchise 22 years after the original release date.

Getting a good night's sleep is critical to maintain good health, a better mood, and clear your mind for whatever the day has planned for you. But in practice, whether you're tired or not, the world has a way of preventing it, either through your partner's snoring, your neighbor's music, or the road construction going on right by your bedroom window. It can get rough.

This year's biggest film certainly didn't come as a surprise: with another incredible comic book creation, Marvel's Guardians of the Galaxy wowed audiences more than any other movie. With its unique team of heroes, Guardians provided a set of ready-made Halloween costumes.

You may not notice it when you're intoxicated and banging your head to the music, but when you're at a club or concert, your ears are getting seriously damaged. The noise level is usually above most people's pain threshold for sound, which begins around 120 to 140 decibels. At that level, it only takes a few minutes to damage your hearing. For me, there's something even worse than long-term hearing loss in a loud environment—not being able to hear or talk to your friends.

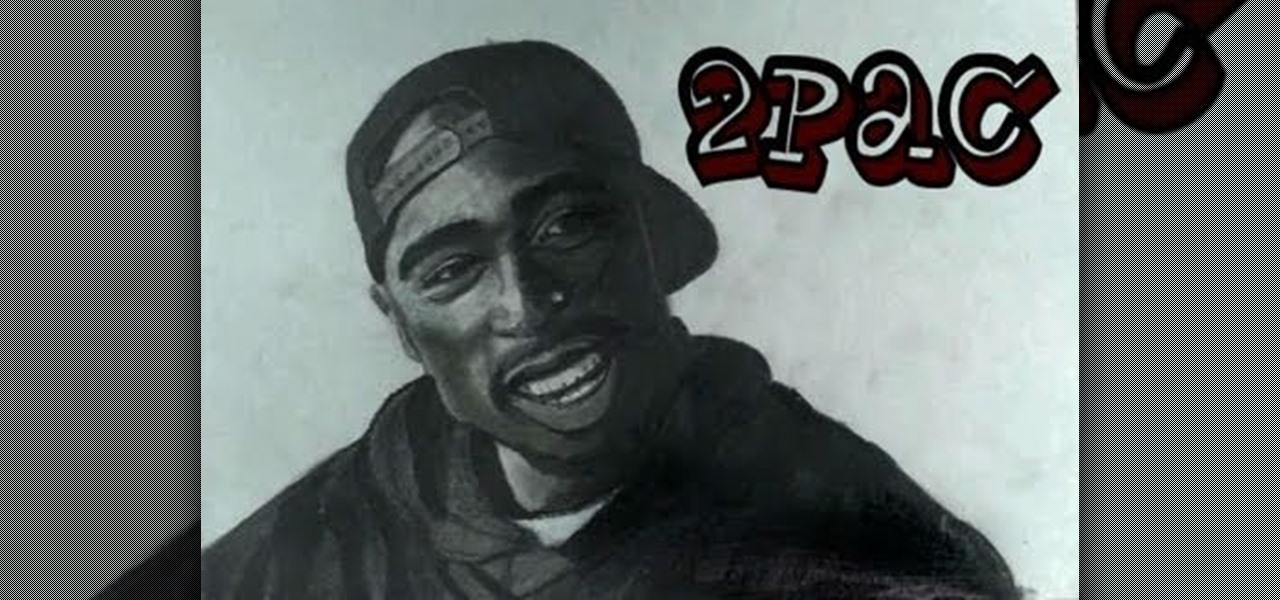
Everyone remembers the day Tupac Shakur sadly passed away at the hands of gunfire, but his memory and music live on, and so does his ruggedly handsome look, which you can recreate in a 2Pac portrait. Merrill K shows you how he draws Makaveli in this drawing tutorial, so grab your art supplies and follow along. Pause the video when needed.

In this video, we learn how to draw children's heads. For the front view, first draw an oval with a slight point for the chin. Then, draw in the features of the face lightly with the side of the pencil. After this, start to shade the side of the eye in. The child's eye has a large eyelid, larger than an adult's eyelid. The pupil should also be large. For a side view, make sure to show the curves of the chin, nose, and lips. The eye should be soft and the ear should be soft as well. Fill in th...

In this tutorial, we learn how to draw Yoda the Jedi master from Star Wars. You will first need to draw the basic body of Yoda, don't forget those long ears. After this, add in the small eyes and the rest of the facial features. Next, you will add in the details for the clothing and draw in the light saber he is holding in his hands. Now for the fun part! Use different colors with white mixed in to make it look like the light saber is glowing. Then, color in Yoda and his clothing to finish of...

Halloween abounds in spooky costumes and even spookier makeup and accessories. But if you've had enough of ghosts and goblins and want to go for an entirely different look this year then check out this tutorial for creating a teddy bear/mouse look for Halloween.

T.I. is finally out of the joint and back on the hip-hop scene. What better way to celebrate in your own home for free than making an XBox 360 Avatar in his likeness? This video will show you how to use one set of clothing pieces to make a pretty spitting image of the rap star.

A sleeping prank victim is much easier to deal with than an awake one. They can't prevent the prank, and afterwards are usually too disoriented to respond violently with any effectiveness. This video will show you several pranks to play on sleeping victims, some of which you've probably seen before and a couple we're betting you haven't.

Don't you dare touch that piano until you've watched this helpful lesson in piano music theory! While practicing scales alongside your piano teacher is super important to becoming a master piano player, you can't skimp on the music theory.

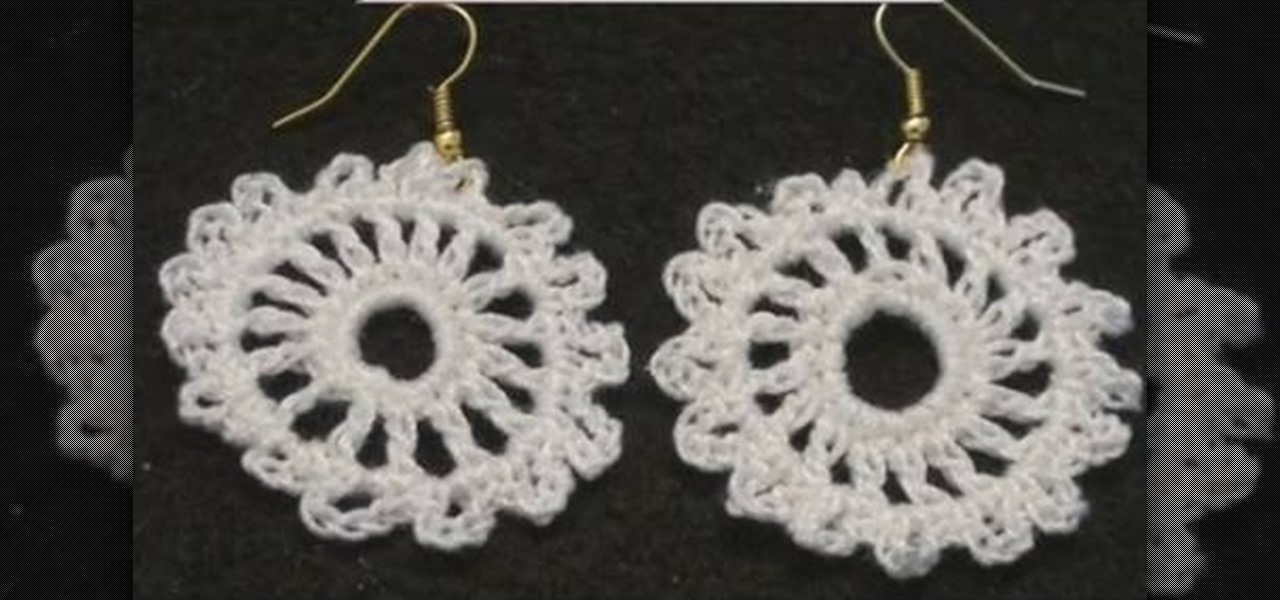
Well this is quite the alternative crochet project. You've probably already knitted a light, hole-y Afghan, and even a long, thick crochet scarf for the winter months, but we can bet you've never even thought of crocheting your own earrings.

In this tutorial, we learn how to make a pig out of punches. First, you will need to have white paper, pink paper, and black paper. You will also need punches that are in star shapes, different circle sizes, oblong shapes, and a flower shape. TO put this together, first glue a small heart shape to the bottom of the oblong shape and set to dry. Next, take a large pink circle and place two white dots and black dots on top to make the face. Next, draw two black circles onto a smaller pink circle...

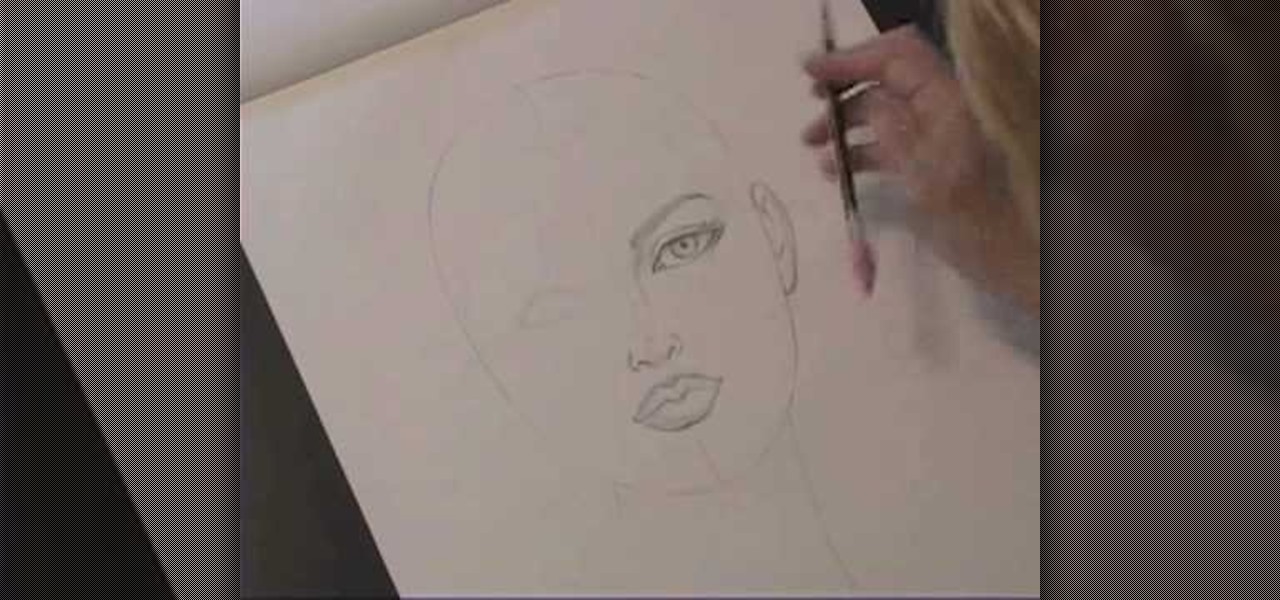
Kathryn Hagen teaches us how to draw female heads in this tutorial. Start with an oval and dissect it horizontally and vertically. Draw in the hairline, as well as the eyes, nose, and mouth. You can measure out where everything should go by using the lines as a reference point. Add details into the eye, then continue on to add more details to the nose, showing the nostrils. Draw more details on the mouth, then define the center of the lip and shape. Draw on the ears, and add a line where the ...

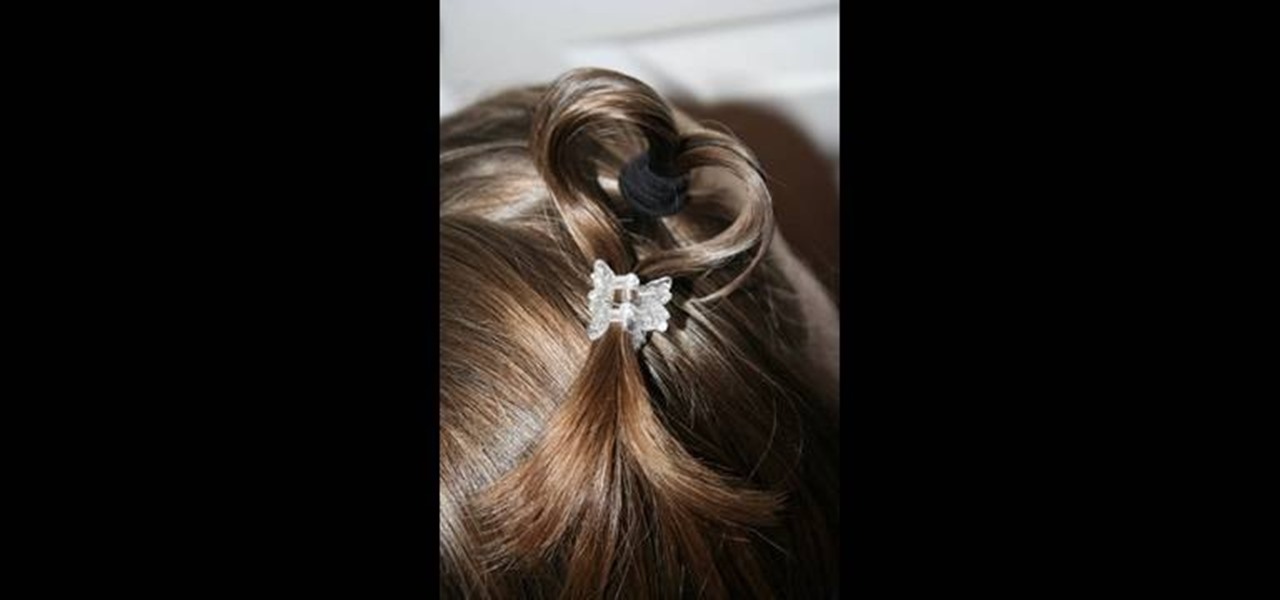
This video shows the method to style a heart shaped hair on a little girl. In the first step, do a zigzag part on the hair and pulling the sides to a pigtail. Part the hair till the ear before tying the pigtail. Wet the pigtails and put some pomade on it to make the pigtail stiff. Take a pigtail and divide it into half. Make sure that they are stiff. Twist the two parts of the pigtail and make a heart shape. Now clip the hair at the base using a pigtail holder. Repeat this process for the oth...

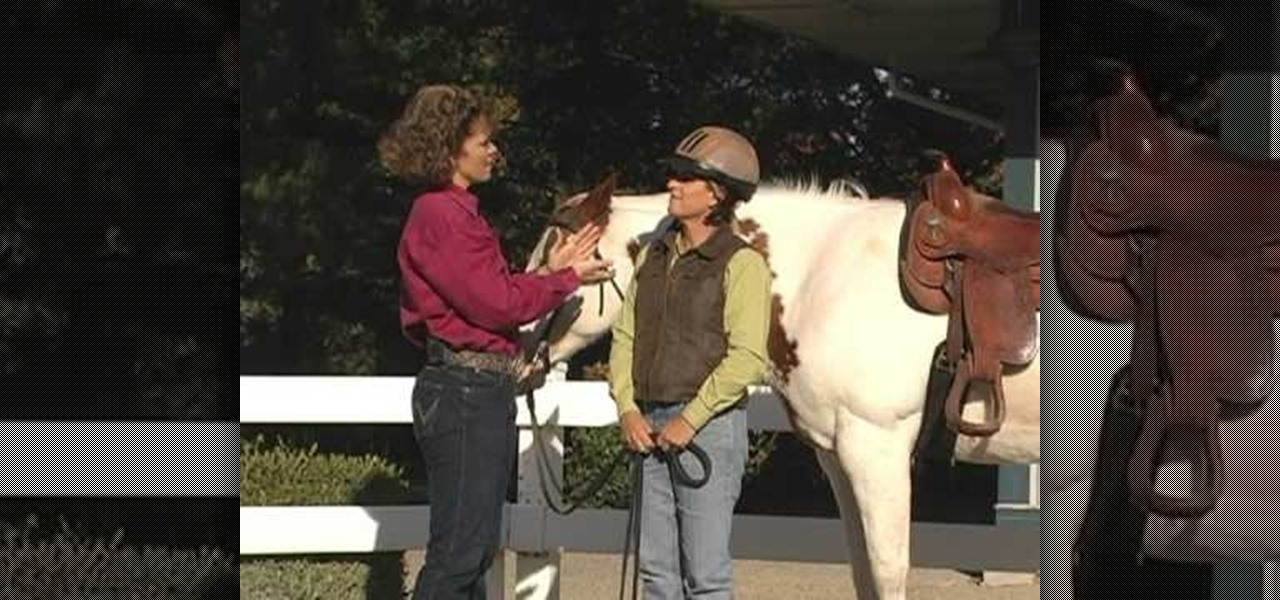
Christy Lendwehr and Julie Goodnight from the Certified Horsemanship Association explain how to know when you have a fitting and correctly adjusted horse riding helmet. First and foremost, you should wear your helmet every time you ride and you should be sure that is a ASTM SEI helmet approved for equestrian riding, as they also make helmets for sports and those should not be used while riding a horse. When putting on a helmet you should be able to push it and only the wearer's eyebrows shoul...

Shoo Rayner demonstrates how to draw a realistic bat that can be scary, funny, or friendly for children's books. You will need a pencil, pen, and eraser to help you achieve texture. With a light pencil sketch, draw a round head and an oval body. But don't worry too much about accuracy, because there are many types of bats that look different from each other. Your bat needs large ears, a tail, a short forearm and a long upper arm. But most of the bat's wing is its three fingers and a thumb. Th...

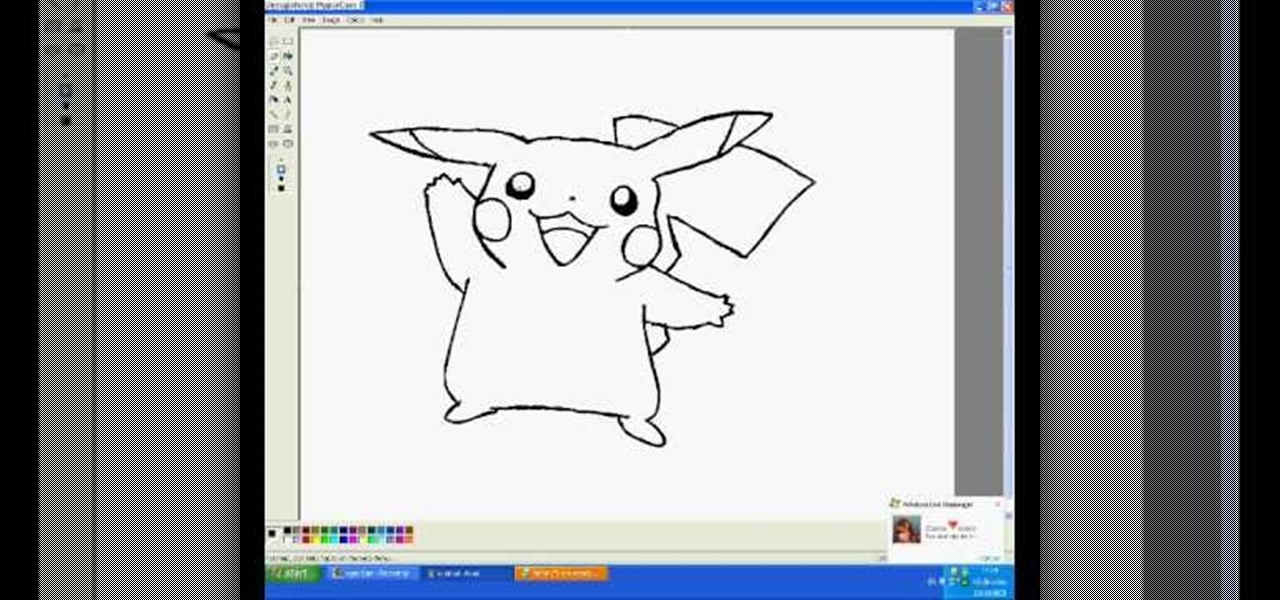
Have you ever wanted to draw Pikachu is MS paint? Well, this video will show you exactly how to do it! The eyes are first. Then, a great big grin. Next, the complicated contours of his face, followed by his long floppy ears. He adds a few details to the face, including the patches on his cheeks. Then, he adds his chubby little arms. He draws the squarish body and his feet. He adds a tail. Then, he does some touch-up work. Last, he starts on color, paying close to detail. He adds some shadows ...

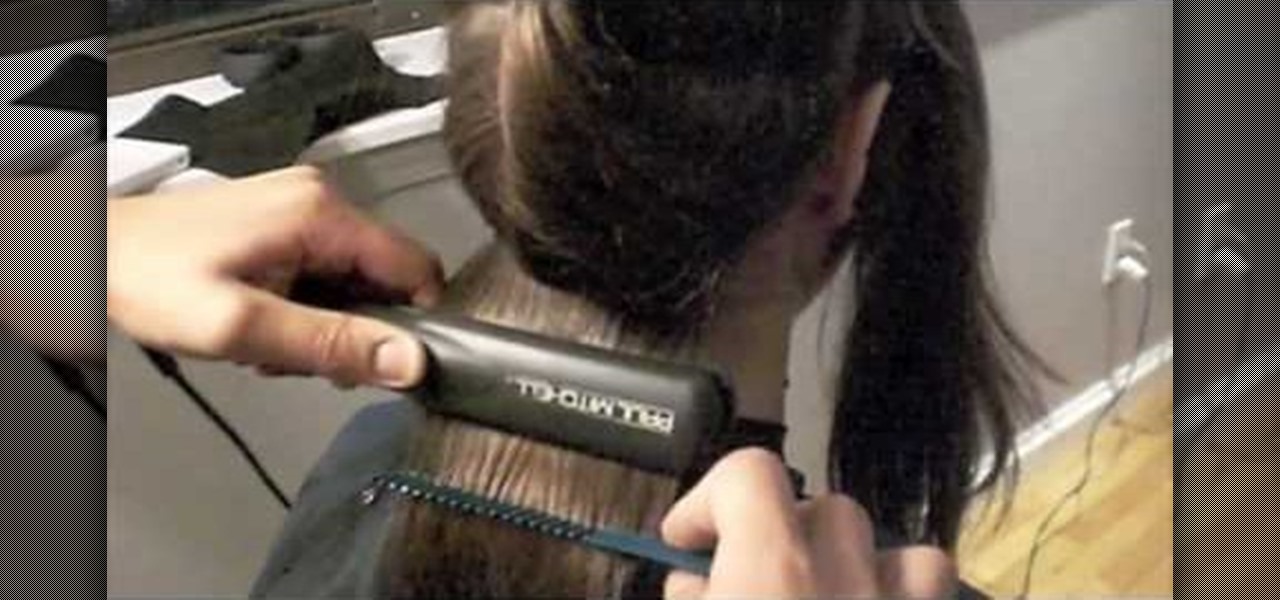
Learn how to properly flat iron your hair with Benjamin Lobol. If your hair is curly, start by blowing out your hair with a flat or round brush to smooth it out. The tools you will need are flat bill clips, a heat resistant comb, a flat iron, hair serum, heat spray. Section your hair into the front and back sections, using your ears as a reference point. In the back, create two more sections - the top and the bottom. Start by slowly flat ironing small sections of the back. Once you are done, ...

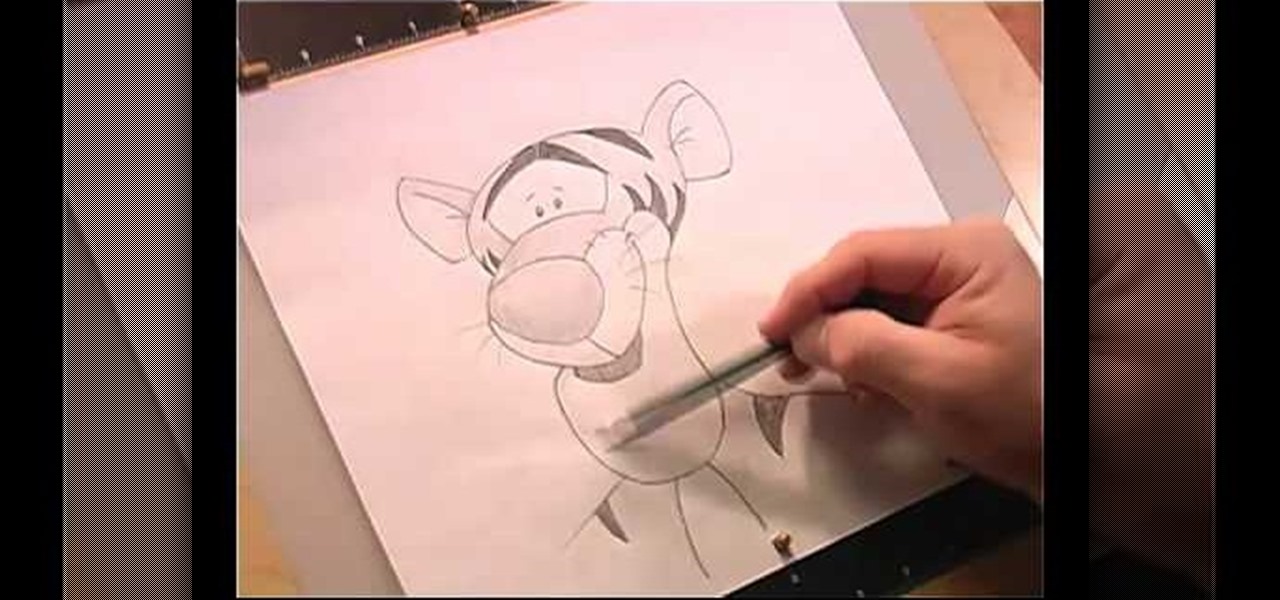
This video is describing the steps needed to draw Tigger from Winnie the Pooh. The first step is to draw an oval on your black paper. Draw diving lines, and make sure that one is a little bit below center. Next draw in his muzzle by lining up the top part of his muzzle with the bottom part of his eye. Next draw his chin. You can draw the bottom by taking the distance of the head and putting the same amount of distance between the head and the muzzle that there is between the muzzle and the ch...

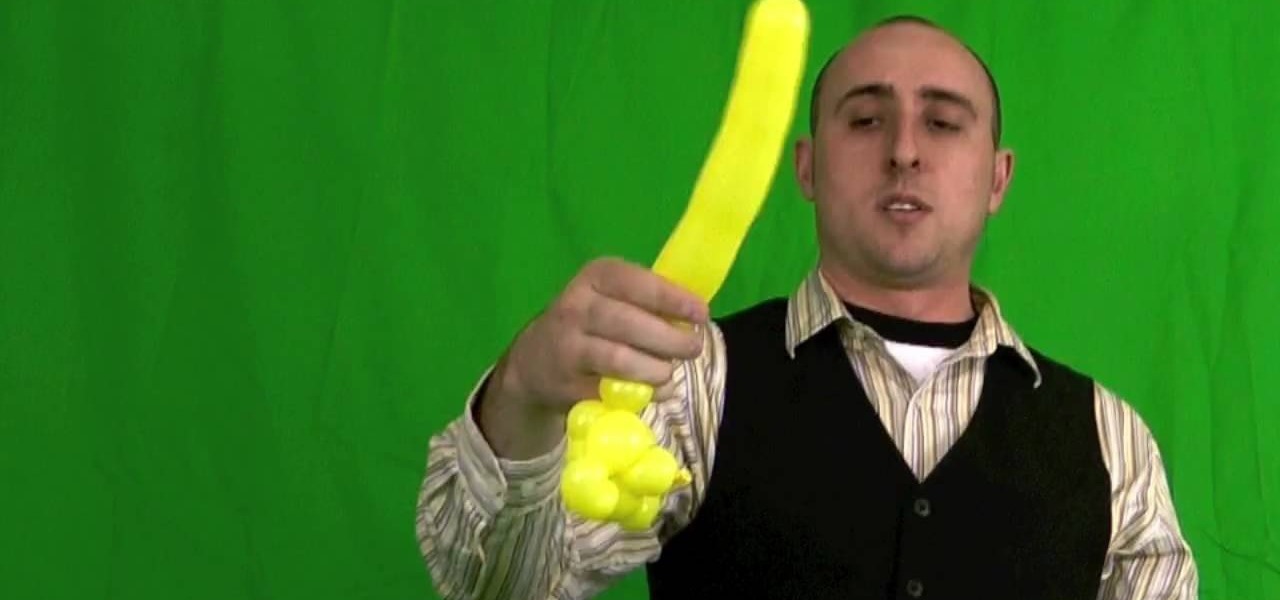
Learn how to make a balloon teddy bear using only one hand by following the steps outlined here in this tutorial. You will need one balloon already filled with air. At the end, create a nose. Then, add two bubbles for the back of the head. Twist the five bubbles that will comprise the head of the bear. Once the head has been formed, you will stick the nose in through your ring for the head to create the overall head and face. Pinch twist to create the ears at the top of the head. The body is ...

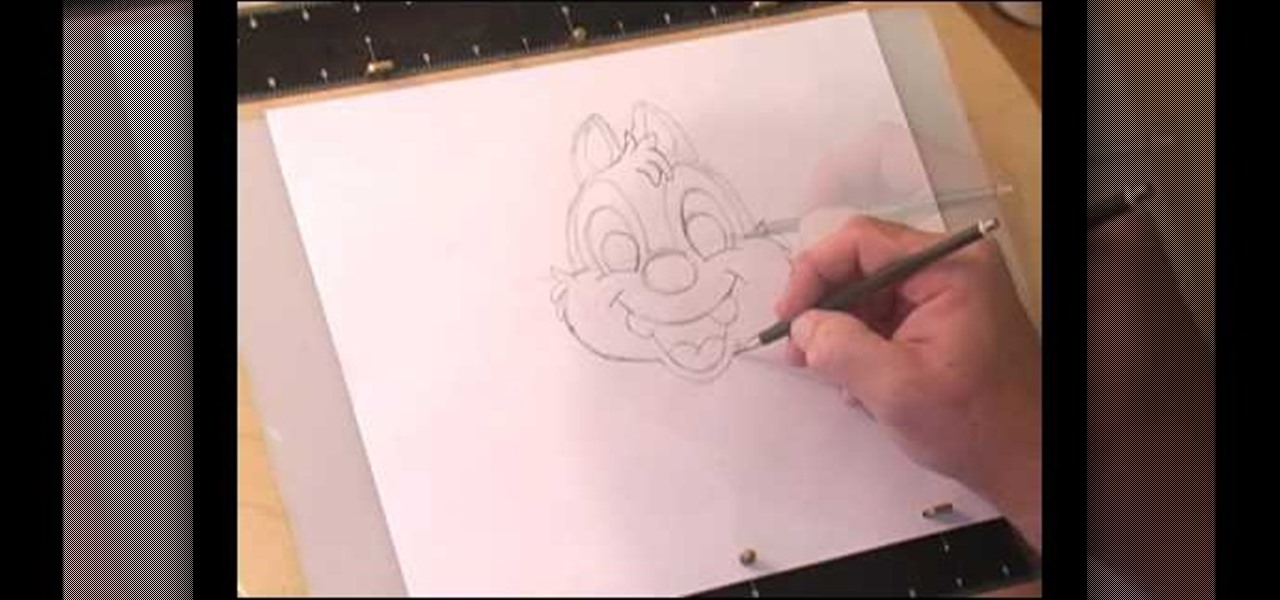
This video shows us how to draw a Dale character. First you draw a ball about the size of an orange. Insert construction lines in the shape of a cross. Starting with the small middle area, draw the mask outline and add the ears at the top. Draw in the nose under the middle line. Draw the cheeks outside the construction line on both sides. Add smile lines on each side and draw a curve between them for the mouth. Extend the lower part of the mouth outside the construction line. Insert teeth and...

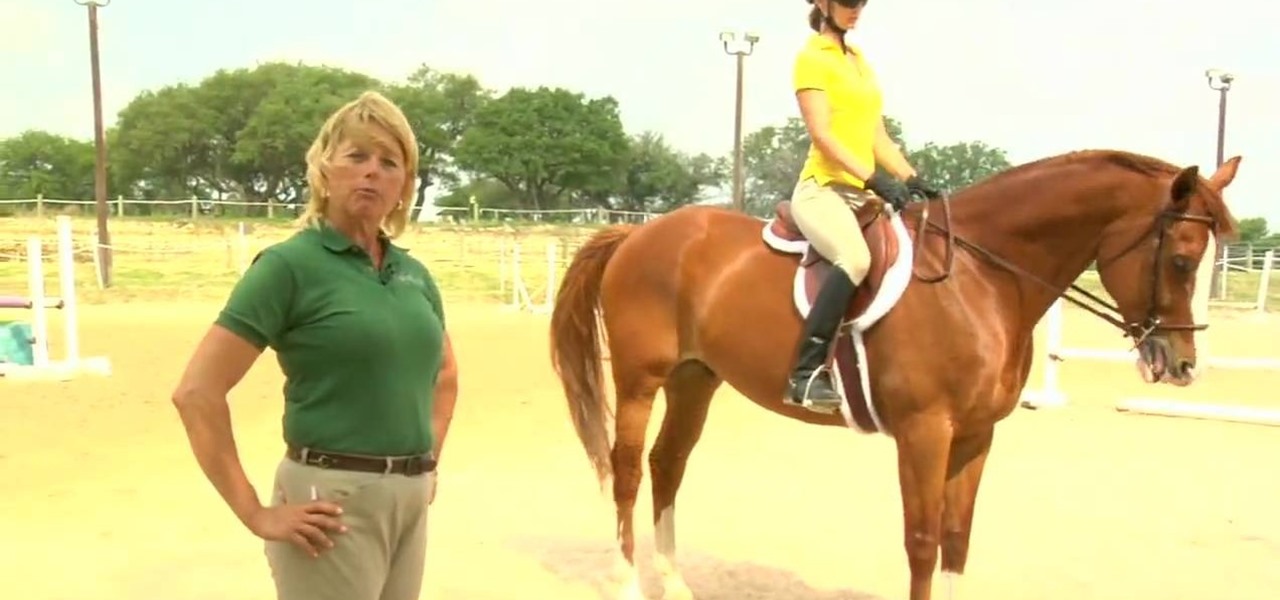
In this Outdoor Recreation video tutorial you will learn how to ride a horse with some basic instructions. This video is from Livestrong. The first lesson is how to create a correct back position that enhances our ability to stay balanced in a saddle. You should create a straight line from ear to shoulder to hip to heel stay right in that position. If the leg moves too far forward, you will feel you are falling back from the saddle. There should be another simple line. From the elbow to the h...

This video shows a quick way to lift your sagging jowls with face exercises. This video targets the platysma and sternomastoid muscles at the front of


