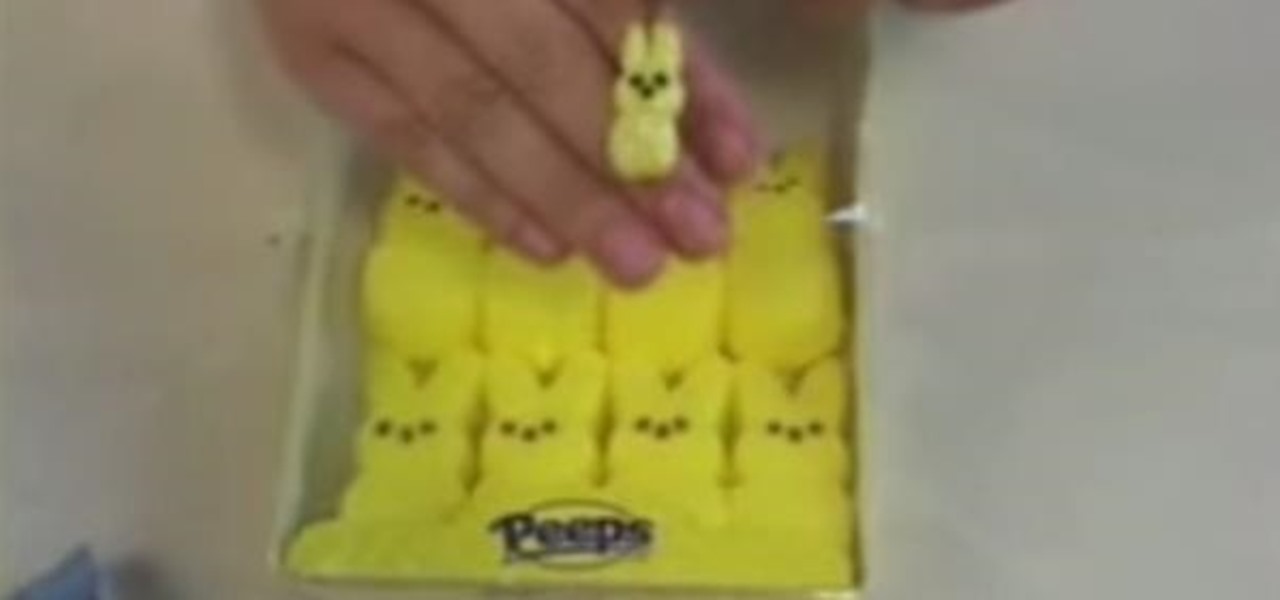
In this video from Polymer Clay Productions, we are shown how to make earrings out of polymer clay marshmallow Peeps. They use holographic yellow glitter for the sugar, polymer clay, and Sunny Side Up yellow coloring. Use a clay color and glitter color that match. Have some real Peeps handy for reference.
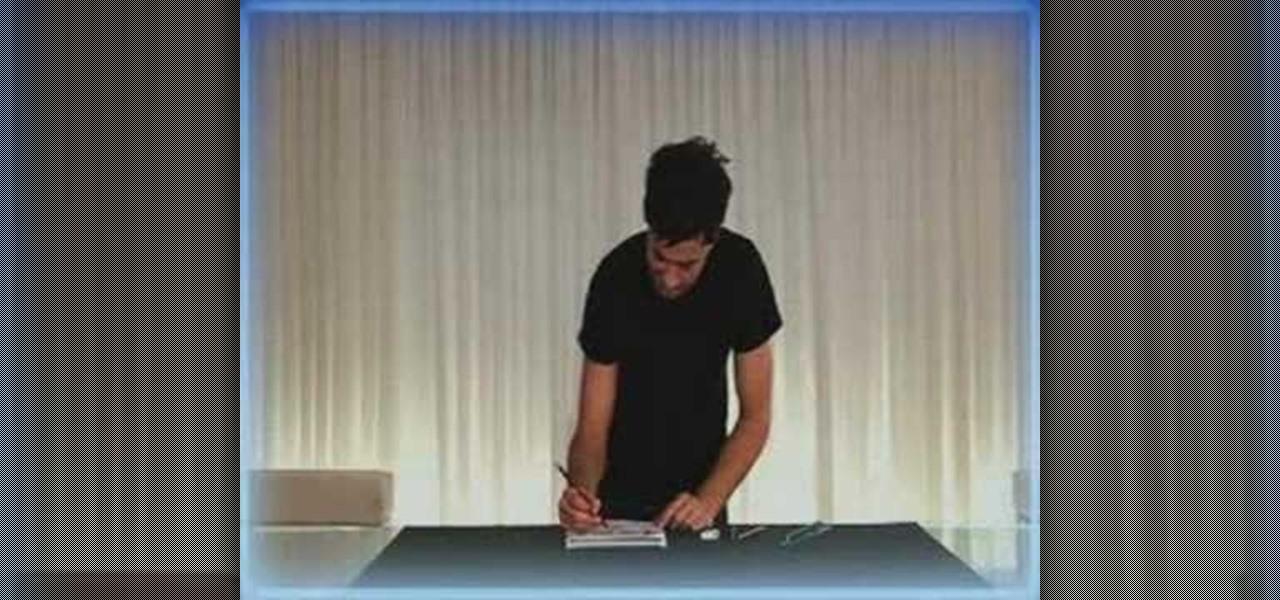
This video shows the procedure to draw a face. The video shows various stages to draw a face. These include drawing an egg on the paper, dividing the egg into various parts by horizontal lines, drawing the nose and lips, drawing the eyes and ears. The video cleverly deals with issues relating to the evidence of not being a professional. The video shows the various choices that can be made by the artist in drawing the face like the pencils to use.

This is a video about how to fold an awesome origami elephant by the help of paper only. For this you have to complete the following step (1) Fold half of the paper. (2)Again fold in two outer edges. (3)Fold corner across middle and then fold edge into center(4)Collapse triangle inside and fold corner inwards.(5)Create the ears and trunk also, at last create the body of elephant. This is a very good origami to use or play.

Remove the husks from the ears of corn, as well as pulling off the excess strings. Using a sharp knife, slice the kernels off the cob by cutting a bit off the end of the cob so you can stand it upright. Then slide your knife down the cob on each side to remove the kernels. Add the corn and water to a large pot or frying pan with high sides. Cook the corn over medium heat until there is no water left and the corn has softened. Add the butter and salt and gently fry the corn for 2-3 minutes to ...
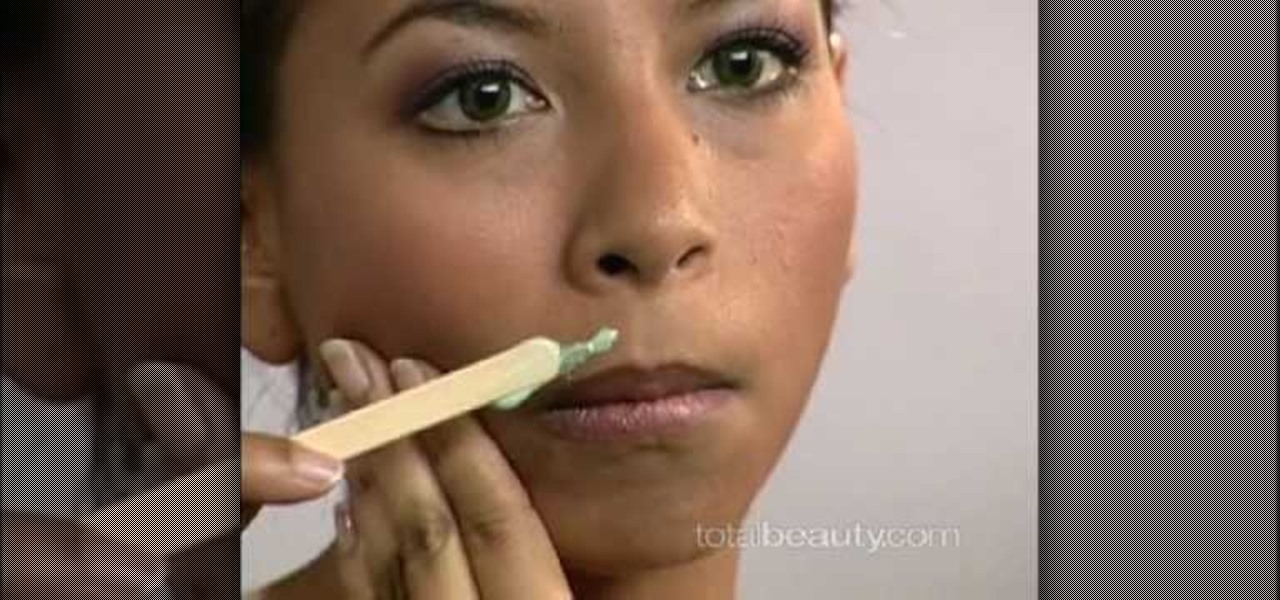
You can remove upper lip hair easily and safely in a few minutes. You must clean the upper lip first remove the oil and makeup. Put a small amount of wax on your hand using a flat wooden stick to test the wax temperature. Hold your skin towards your ear and apply a small amount of wax downward to one side of the lip. Place strip over the wax and press gently a few times. Remove the strip upwards removing the hair. Repeat as necessary. Do the same procedure with the other side of the lip. Remo...
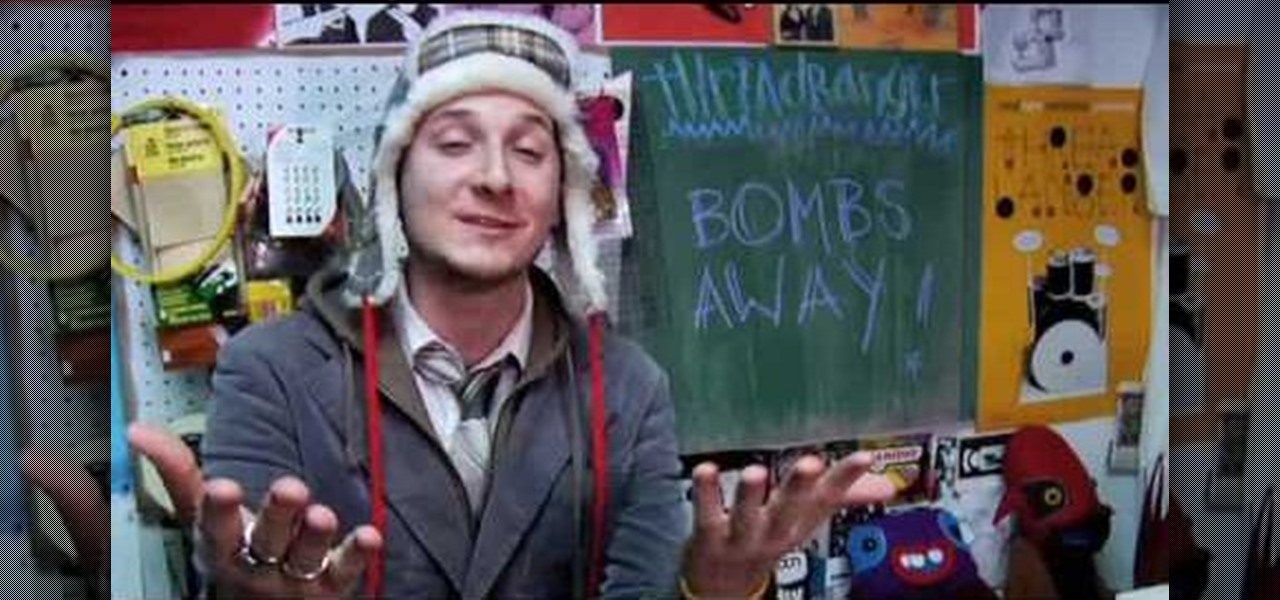
ThreadBanger give us a great recipe to make a unisex bomber hat using just a flannel shirt, white faux fur, a measuring tape, the bomber hat pattern, a sewing machine, and two and a half hours of your creative time. Add pom-poms at the ears to give it extra flavor! Super cool look for both dudes and ladies.

Systm is the Do It Yourself show designed for the common geek who wants to quickly and easily learn how to dive into the latest and hottest tech projects. We will help you avoid pitfalls and get your project up and running fast.

This tutorial shows you how to attach legs, arms, ears, etc to your amigurumi. I also show you my method for binding off (BO) your yarn when you are done crocheting. Amigurumi is the Japanese craft of knitting or crocheting little animals (or any kind of cartoon/ creature) out of yarn. Most important principle of amigurumi: your creation must be cute! Watch this amigurumi tutorial and get started on your own creation.

Watch this instructional guitar playing video that shows you how to play the song "Dream Girl" by Dave Matthews Band on the acoustic guitar. This tutorial video was done quickly by ear, and Dave fans are really adamant about getting his guitar part right, but this performer nails it. This is a great instructional video for hardcore DMB fans and acoustic guitar enthusiasts. Practice your guitar skills by learning each chord to the song with this step by step video.

As any informed PopSci reader will know, the iPhone is definitely a game-changing piece of hardware, but it's not without its problems. Chief among those nagging little imperfections, for me, was the recessed headphone hack that rejected any headphones but Apple's trademark gleaming white buds. Apple's 'phones aren't that bad, but my Shure in-ear pair is better for blocking out noise on the subway (and my Grado SR60s are better for listening at home). Thankfully, an easy solution to this prob...

Using just the airbrush in MS Paint you can make a cartoon dog on your computer. Start off by making a circular shape using the airbrush, keep at it until it is dark and prominent and then color in the lower half of the circle, this is the nose. Now start making a line from the bottom of this circle downwards, slowly start curving the line at a ninety degrees angle. At the end of this line attach a semicircle to it so that it is perpendicular to the line. Above this line also make three small...

Do you think you are tone deaf? If you have trouble staying in key, or feel like you just can't get the rhythm, check out this video for advice on how to harness your inner songbird.

Dragons are very popular storybook characters, especially with the release of "How to Train your Dragon" in movie theatres. Check out this tutorial and learn how to draw your very own fire-breathing buddy!

Want to supply your head with a little extra jazz factor? Why not tie a scarf around it? You have only one head, but any number of ways to decorate it with a scarf.

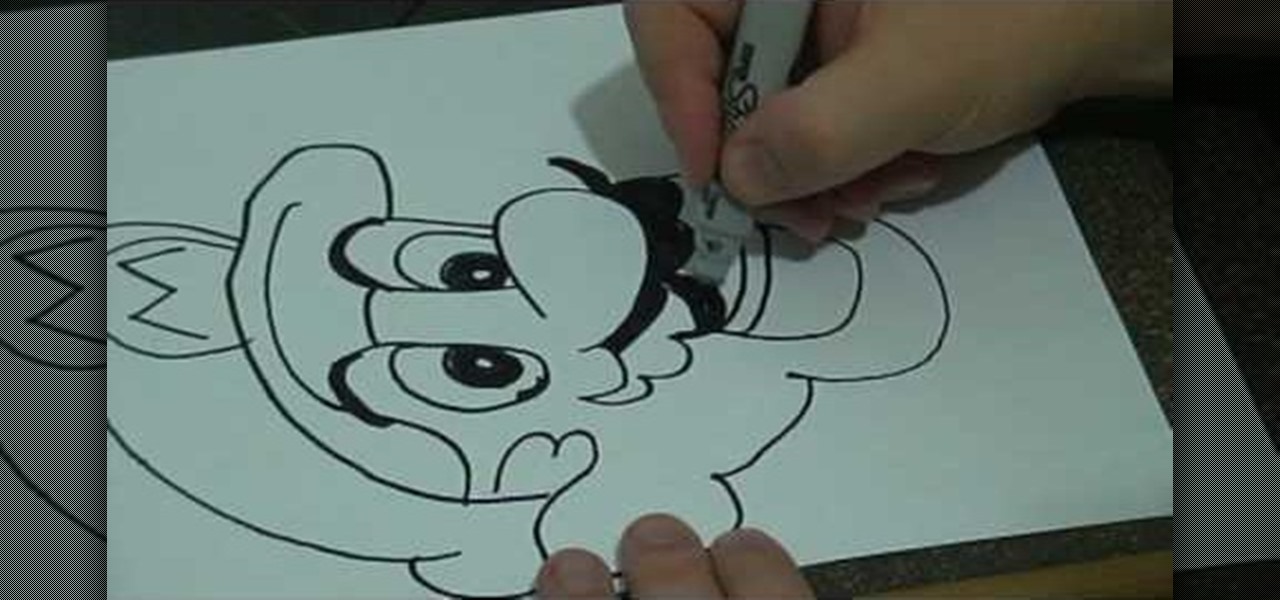
In this tutorial, we learn how to do a basic line drawing of Mario. To start, draw the basic outline of the face with a black marker. Draw in the details of the mouth, don't forget the teeth, tongue, and inside of the mouth. After this, draw in the nose and then the eyes. Draw in the pupils and then start to draw in the mustache and eyebrows. After this, create the hat and then draw around to the side of the head to draw the ear in. When finished, you can leave empty or color in with appropri...

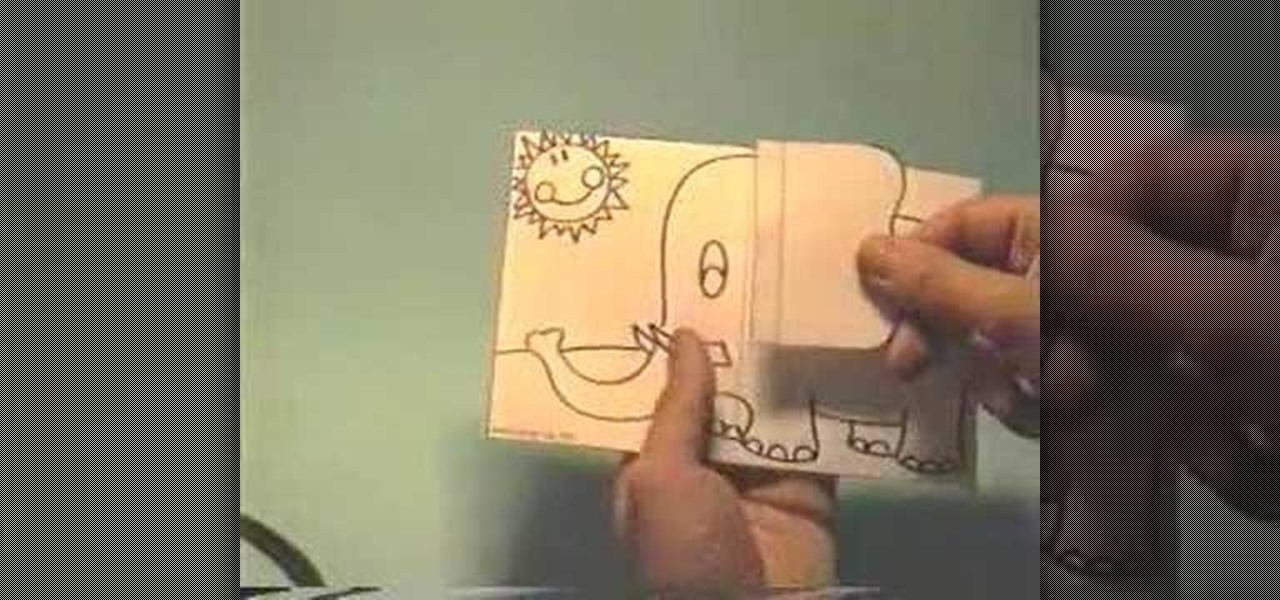
In this video we learn how to make an elephant pop-up card. First, draw a picture of an elephant on a 4x6 card. You can make this anyway that you want and put whatever other characters on it as well! After this, clip a small piece of paper into the shape of an ear. Then, glue the side of it and place it onto the elephant. The other half shouldn't be glued so it will flap up! Then, put this on the inside of a card and color it. When the person receives it, it will be a pop up card, enjoy!

In this tutorial, we learn how to make sure your game is really dead. One of the best things is to stay away from the feet, then touch the eyes with the end of your rifle. If there is no reaction at all, then the animal is dead for sure. After this, you will need to attach a validated elk tag to the animal, making sure it's secured. Glue it to the ear using your hands and pressing it down for several seconds. In different states, there are rules and regulations as to where you have to apply t...

This video contains different techniques to draw Naruto Sage Mode. The first step is to draw the basic outline of the characters face along with the ears and nose. After completing the basic outline the eye outline and details are then placed. The Lips and nose are drawn third to finish the basic features of the character. Dark shading around the eyes must be completed to give Naruto sage mode more realism and detail. The hat is one of the last parts of the character created involving a simpl...

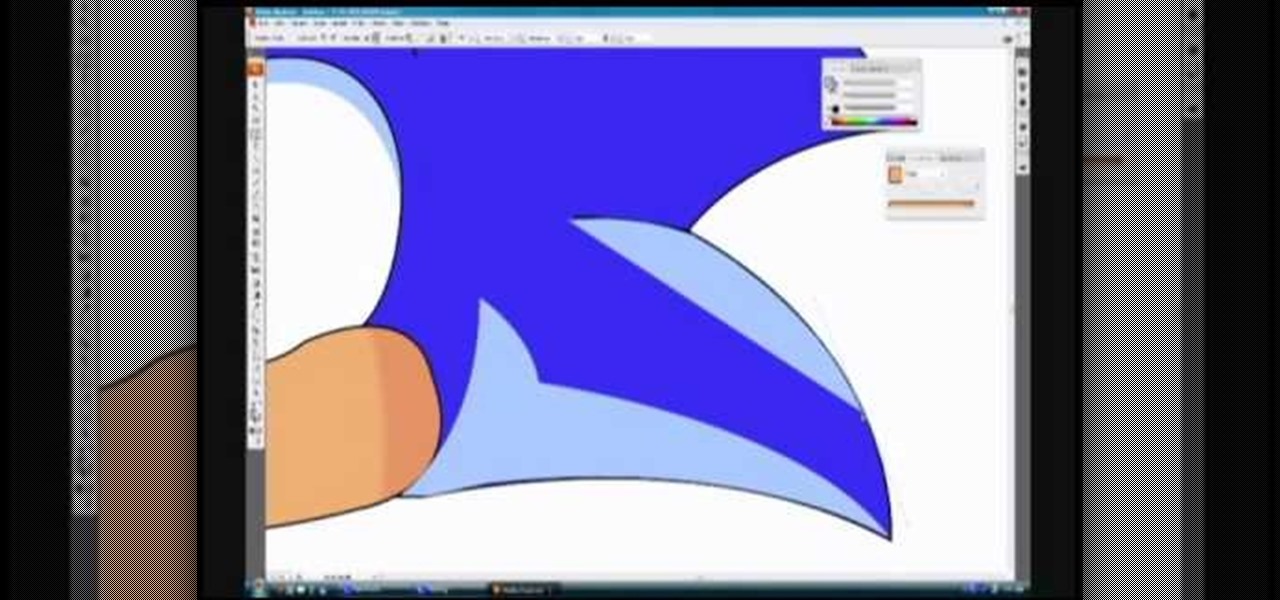
In this video, we learn how to draw Sonic in Adobe Illustrator. First, draw out the muzzle and the nose with a pen. From here, you will draw out the eyes and then make the outline for the ears and the hair. Next, draw in the details around the face. Once you do this, add color to the hair and to the face as you see fit. Then, add in additional lines to show creases and make him look more realistic. After this, add in shading with darker colors on the sides of the face and the hair. When finis...

In this tutorial, we learn how to draw Omoi. first, draw the outline of the character with a thin pencil mark. After this, draw in the features of the face and include the details on the eyes. From here, start to draw in the bangs and the hair around the head. Next, you will draw on the headband on the forehead and then decorate the inside with the usual sign. Next, you will draw on the ears and finish with the details on the face. After this, draw on the upper body and then clean up any back...

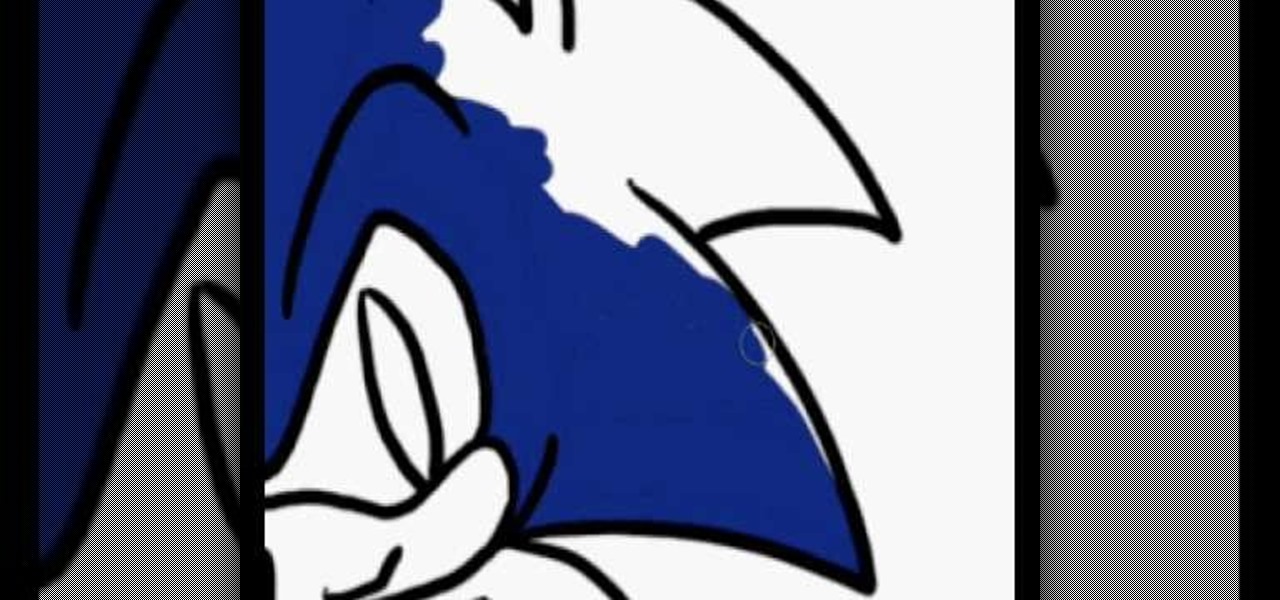
In this video, we learn how to draw Sonic the Hedgehog in Photoshop. First, draw a circle on the page and then draw the eyes onto him. After this, draw on his ears and then his hair around his head. After this, draw in the rest of his body and his feet. From here, use a darker paint brush to create the final outline of the character. Draw in the lines around Sonic to make him appear more realistic. Then, color him a dark blue color with red on his shoes. When finished, save this drawing and y...

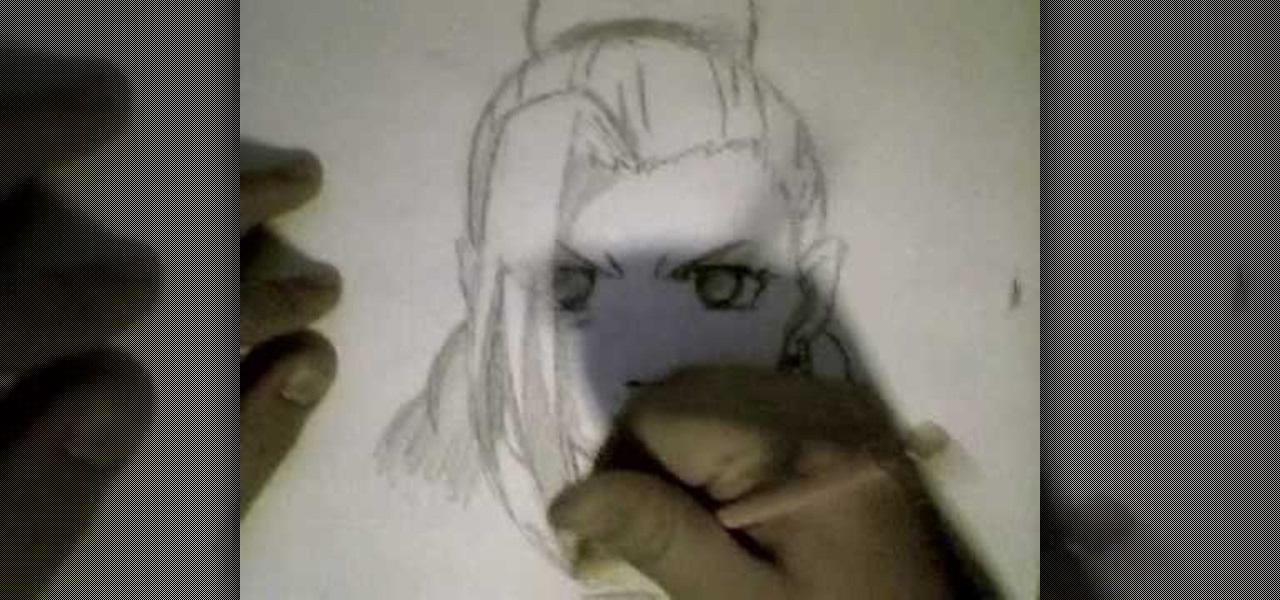
In this video, we learn how to draw Ino from Naruto. Start off by drawing a circle for the head, then drawing lines in the middle to create reference for where the facial features will go. After this, draw in the hair on the top of the head along with the eyes, eyebrows, and creases of the eye. Then, draw the jaw line around the face and erase the lines you used for reference. After this, add in additional lines and hair to make it look more realistic. Use shading around the face to show ligh...

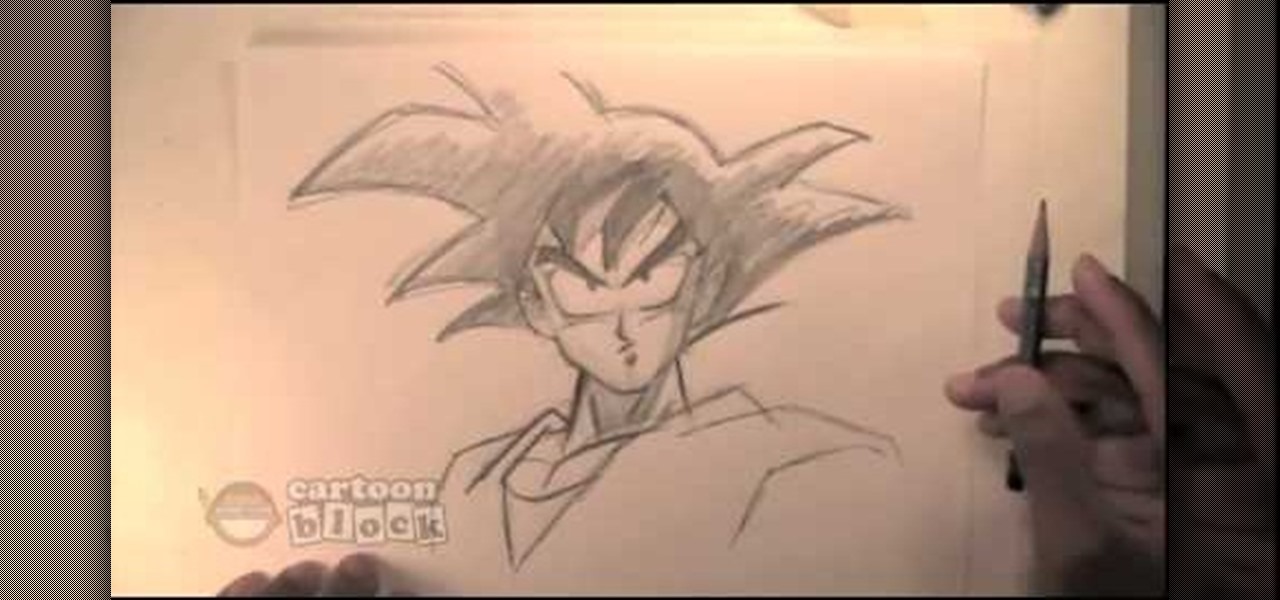
In this tutorial, we learn how to draw Goku. First, you will start drawing the outline of the face, including the features of the face. After this, darken around them by drawing with the pencil. From here, draw in the hair on the top of the head and the ears on the side of the head. Next, you will draw in the neck and the rest of the body as well. Add in lines on the body to show the contours and the muscle on the body as well. Finish this off by adding in shading and erasing any background l...

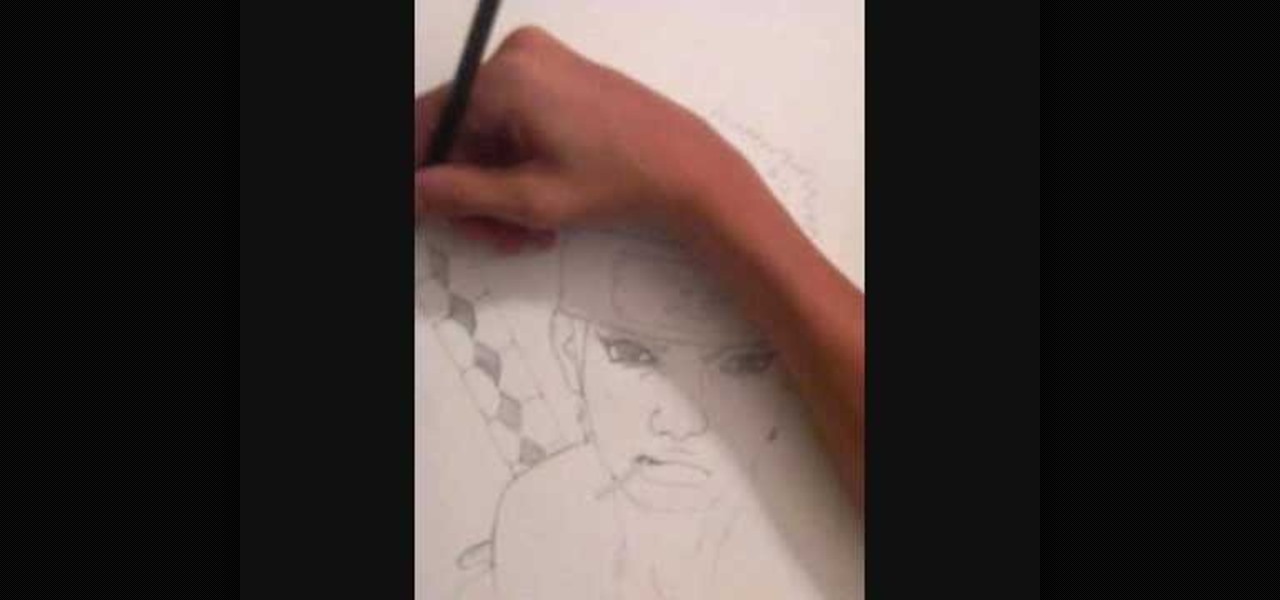
In this tutorial, we learn how to draw portraits. First, you will use a light touch of the pencil to draw the outline of the face and hair. Make sure to include the jaw bone and create a line for the chin. Next, use the side of the pencil to draw on the shading underneath the features of the face, which you will gently outline with the pencil as well. As you add more detail, you will increase the color with the pencil to create a bolder image. After this you will draw in the ears and the hair...

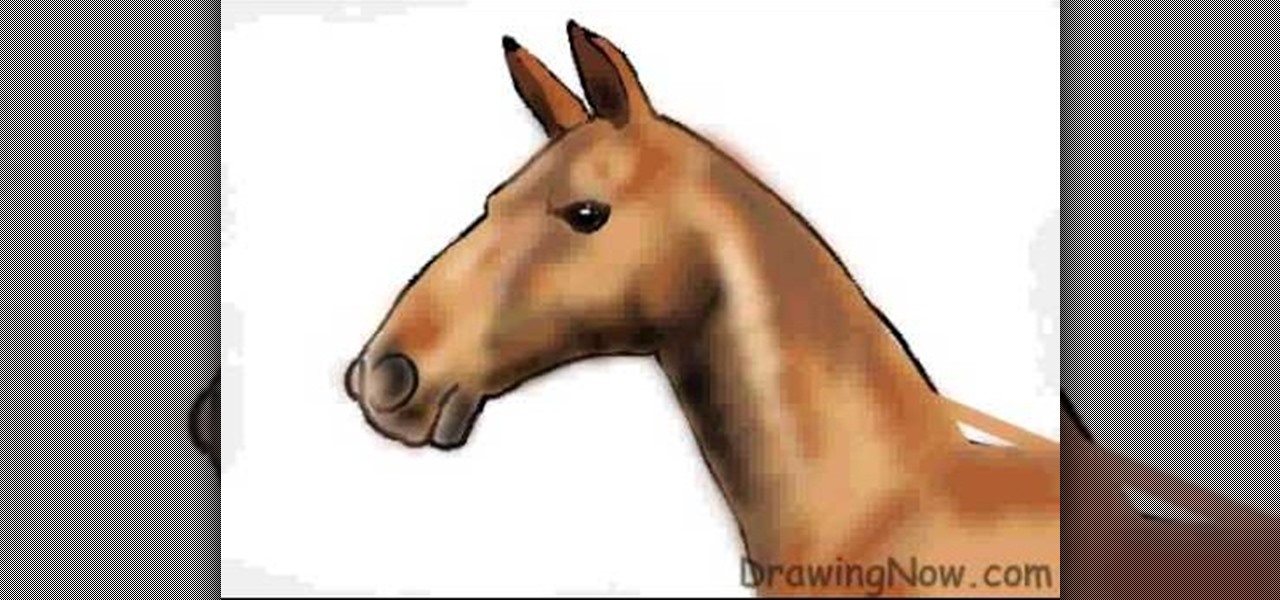
In this tutorial, we learn how to draw the head of a horse. Start out by drawing the outline of the horse's head and the neck. Then, draw in the ears and the details for the nose and the face. Next, color in the horse and then add shading along the sides of the horse and fill in the features with black. Use different colors of brown to show a contrast between the colors on the horse. After this, you will use small lines to create hair on the horse, then add in additional features. Clean up an...

In this tutorial, we learn how to make a pair of great looking earrings. To start, you will take the base of your earring that has the hook on it and then take the wire for your beads. Pick out any beads that you want to attach to the wire, then string them onto it. You can add different colors and any type of bead you want to make these unique. From here, use wire cutters to bend and cut the excess wire from the bead. From here, you will bend the extra piece into a loop that you will hook to...

In this video, we learn how to make & decorate a bearing birthday balloon cake. Use a three dimensional pan to make this and use pound cake for a more firm cake. Start with outlining the mouth and doing the facial features. Then, fill the ears in with pink and place stars with icing piping onto the top of the entire area of the bear. To put the bear on the cake, you will place a plastic food rod into the bottom and into the top of the cake. Use markings on the cake to place him in perfectly t...

In this video, we learn how to draw Sonic the Hedgehog in his soap shoes. First, draw his muzzle and nose. After this, draw in angry teeth in the mouth and then draw in the eyes and the ears. From here, you will draw in the rest of the spiky hair around the head. After this, draw on the arms and legs, as well as the feet and shoes. The shoes should be larger than the entire body and have lots of details on them. When finished, add in shading around Sonic with the side of the pencil to give hi...

Most gals (older than 10) avoid dressing up like Minnie Mouse because, to be honest, you can easily end up looking quite ridiculous. Between the foam cartoon hands and the mouse ears with a polka dot bow in the center you really just end up feeling and looking like a sad clown.

In this video, we learn how to draw a graffiti spray can. Start out by drawing the top of the can with the nozzle on the very top. Use a half circle with a thick line under it to make the top. Next, draw the rest of the can creating a face on the side of the can with a mouth, nose, ears, and eyes. Then, draw in the bottom of the can using a circle shape and filling it on black so it looks sealed. Add in some lines to show the can spraying, then write in graffiti letters underneath to finish!

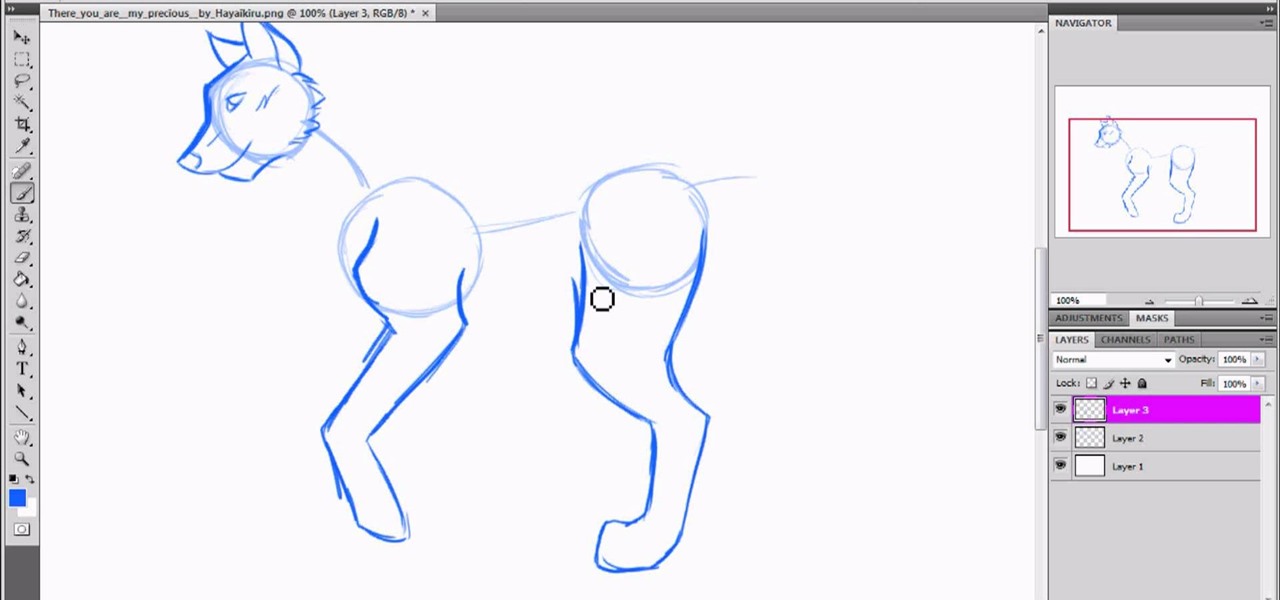
In this tutorial, we learn how to draw a wolf with basic guidelines. First, draw in circles from where the main sections of the wolf is. Now, draw a line connecting all of these and draw in the details of the face. Now, draw the back legs starting with the front leg and then the back leg. After this, draw in the stomach and the main part of the body. Erase the circles and background lines, then draw in the hair of the wolf and the stomach. Create a tail on the back, then add in the ears and t...

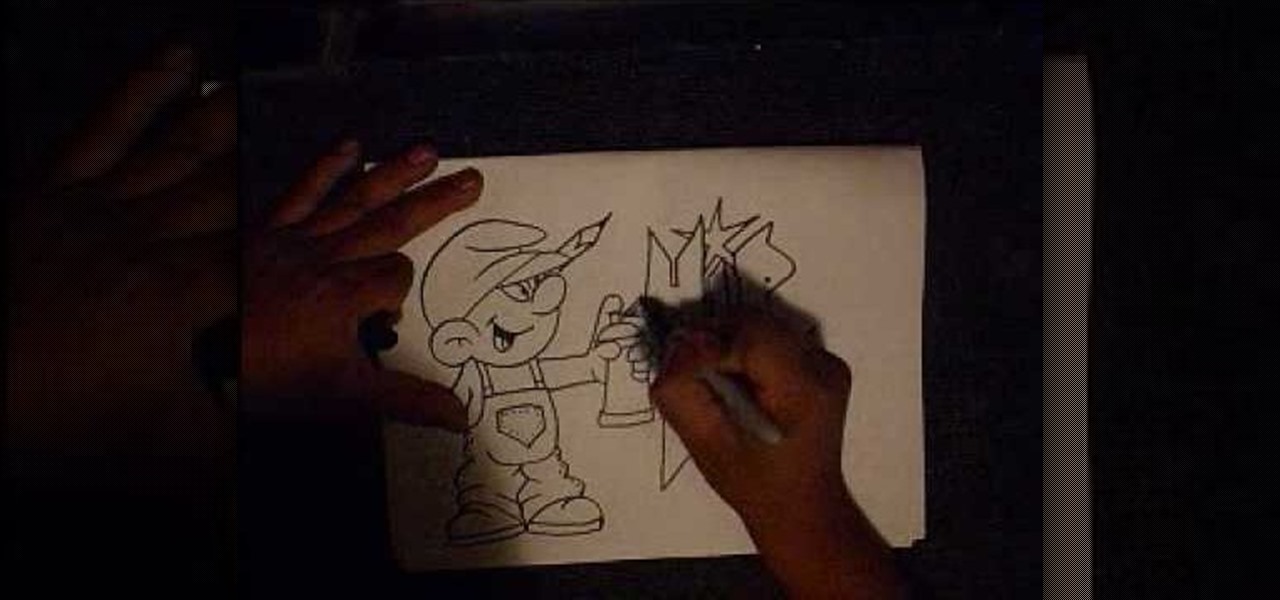
In this tutorial, we learn how to draw a graffiti Smurf character. Start off by drawing the hat for the Smurf, then draw in the ear on the side of the head. Then, draw in the face and start to add in the details. Draw in the mouth, nose, and eyes. After this, draw in the upper body and the clothing that the Smurf is wearing. Add crinkled lines on the edges to make it look like the pants are too big, then draw in the feet, arms, and hands. Draw a spray paint can in the hand of the Smurf, then ...

In this tutorial, we learn how to draw Sango and Kilala. Start out by drawing a circle and reference lines for the head, then draw a stick for the body and draw a half circle going off the bottom of the page. Then, draw circles on the upper body to create the hands and draw fingers coming off of those. Now, draw in the neck and the clothing that is on the character. Erase the background lines, then all in the features of the face and the hair around the head. Also make sure to draw on the ear...

In this tutorial, we learn how to draw Tenten. To start this character, draw a light circle along with lines in the middle for reference points. Use a bolder line to draw the chin and then the eyes, nose, and mouth. also make sure to draw in slight eyelashes and eyebrows above the eyes. After this, draw a line around the head and erase the background lines. Draw ears on the top and then start to fill in the hair for the bangs on the front of the face. Finish this off with a headbands, then dr...

In this tutorial, we learn how to draw PokŽmon heads. Start out by drawing a circle for the head, then drawing intersecting lines in it to create a reference point for the features of the face. Next, draw the ears coming out of the head and then draw the eyes, nose, and mouth. Once finished, you will need to fill in the eyes so they have the correct look, then add in further details along the face. Make sure to add lines to the edge of the head to make it look like it has fur, then add in any...

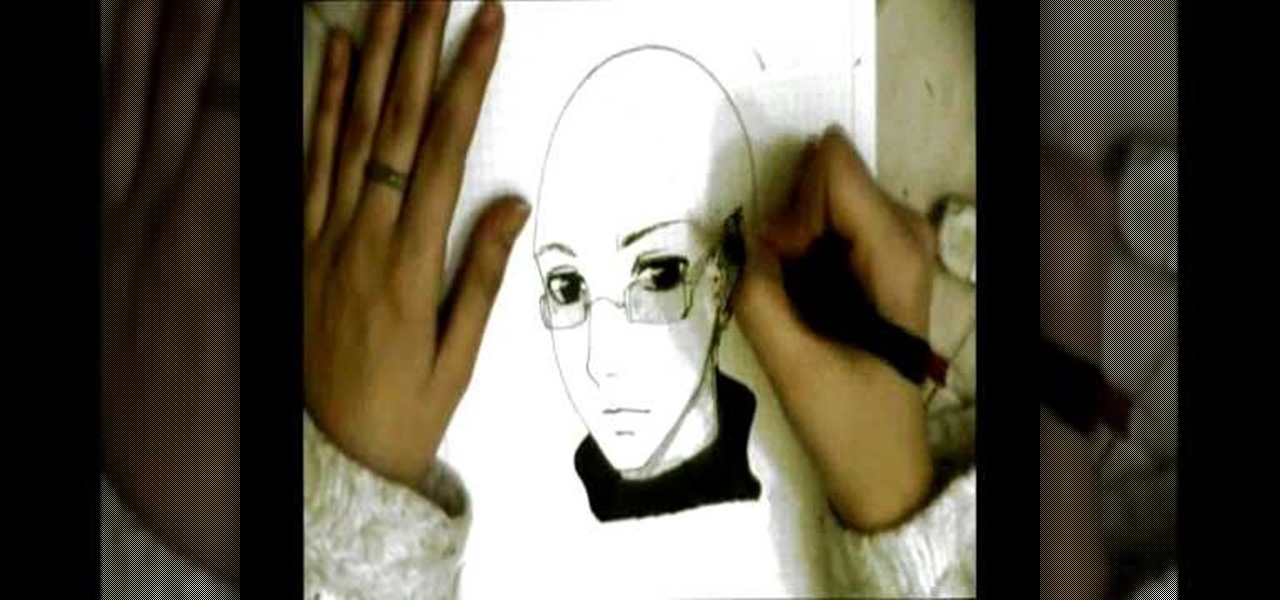
In this tutorial, we learn how to draw wavy manga hair. Start off with your manga face shot and then grab a pencil. Draw in strands of hair on the forehead and create bangs across to the eyebrows. After this, draw down hair on the head going down around the ears and throughout the rest of the head. Use a light touch of the pencil to create most of the strands coming from the root of the head, then use a darker line to create different types of strands. When finished, add in additional details...

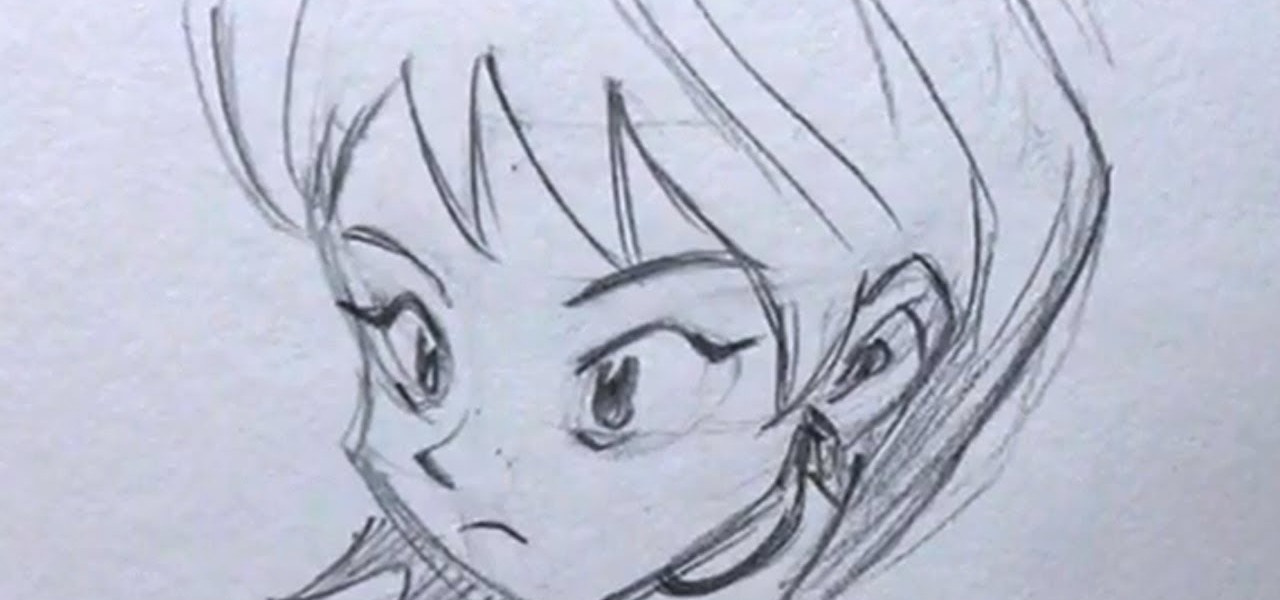
In this tutorial, we learn how to draw manga faces 3/4 view tilted down. You will start with a circle for the head, but you will make the chin go off to the side slightly. Next, you will draw a horizontal and vertical intersecting line off to the side of the face where the chin is. Next, draw in the circles for the eyes, then draw in the brow line. The brow line should be lower than normal. Once you have all the guidelines set up, add in the ear and start to draw in the details of the face. W...

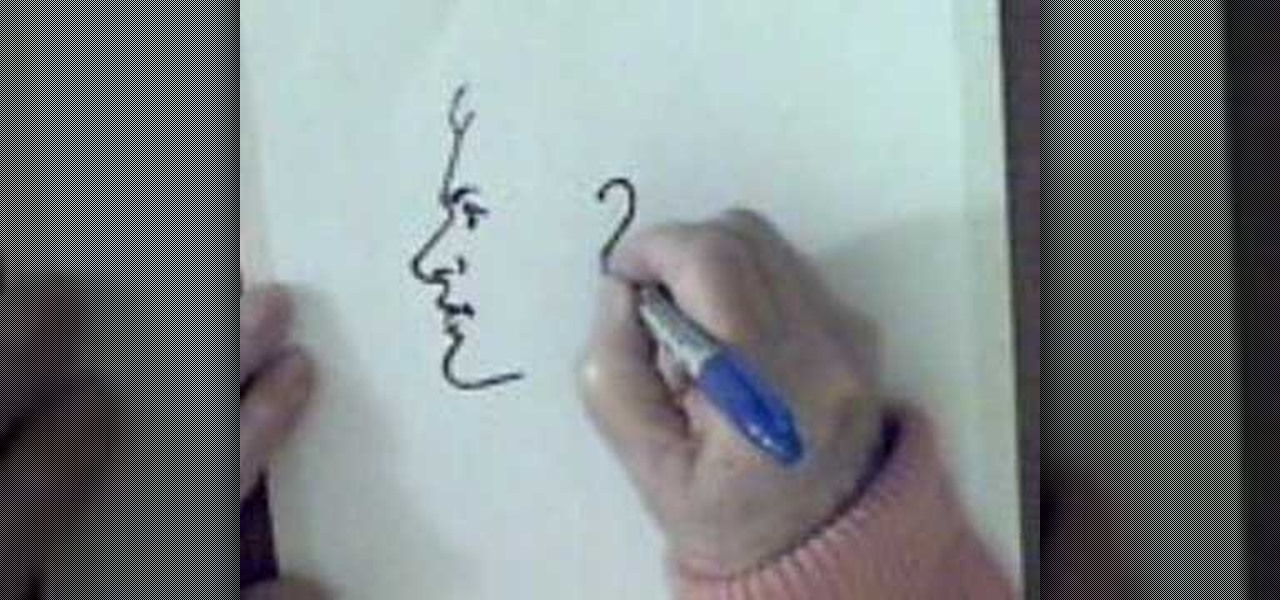
In this video, we learn how to draw a man's face in profile. With a Sharpie marker, first draw the bump to show the forehead of the face, then the bump for the nose. After this, draw the upper lip, then the bottom lip. Draw in a crease around the mouth the make the shape of the lips. After this, draw in the chin to the specifications you would like. After this, draw in the detail of the eye and the eyebrow around the area of the forehead. Next, draw in the nostril of the nose and then a creas...

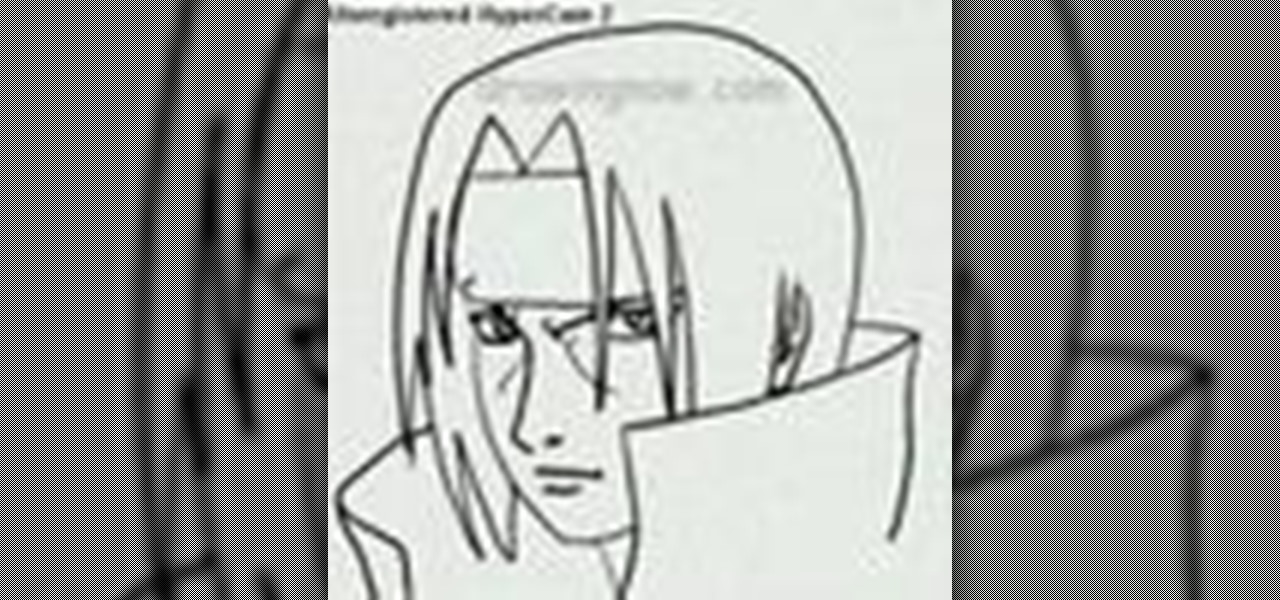
In this tutorial, we learn how to draw Itachi. First, draw your reference lines on the head so you know where to place the features of the face. Draw in the eyes, adjusting them so they are more towards the left of the face than the right. After this, draw in the bridge of the nose and the nose, as well as features of the cheeks. Next, draw in the nostrils and the mouth, as well as eyebrows and creases around the eyes. After this, draw in ears on the side of the head, then start to draw in th...

In this tutorial, we learn how to draw a young woman's face in a profile. Start by drawing the forehead, then drag the pen down until you reach the nose area. After this, draw down to the mouth, accentuating both of the lips. Next, draw the chin on the face, then the jaw line. After you have done this, start with the eye and make sure you add detail as to where the crease of the eye is at. Next, you will draw in the eyebrow and then start to add in the bangs and the rest of the hair. Add in a...


