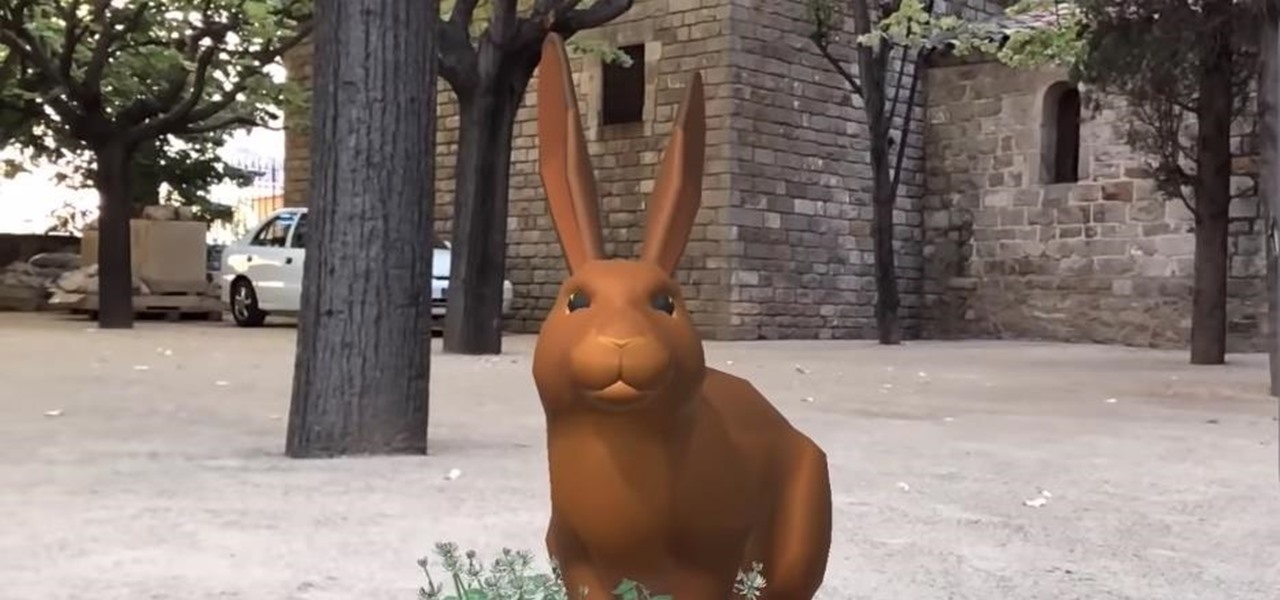
Check out the cool hidden game on Google and others. Help the easter bunny catch the eggs in order to spell out Google. It's a fun game to pass the time... just type in "Google Easter Egg" and press I'm Feeling Lucky. Bam... instant fun.

This tutorial teaches you how to create a fun, copper, summer makeup look with teal.

Watch this video origami tutorial and learn how to fold a paper rabbit. You'll need a piece of square paper and some scissors. Follow along with the demonstrator as he walks through the simple steps of folding a paper rabbit. Watch this instructional video and learn how to origami a folded paper bunny rabbit.
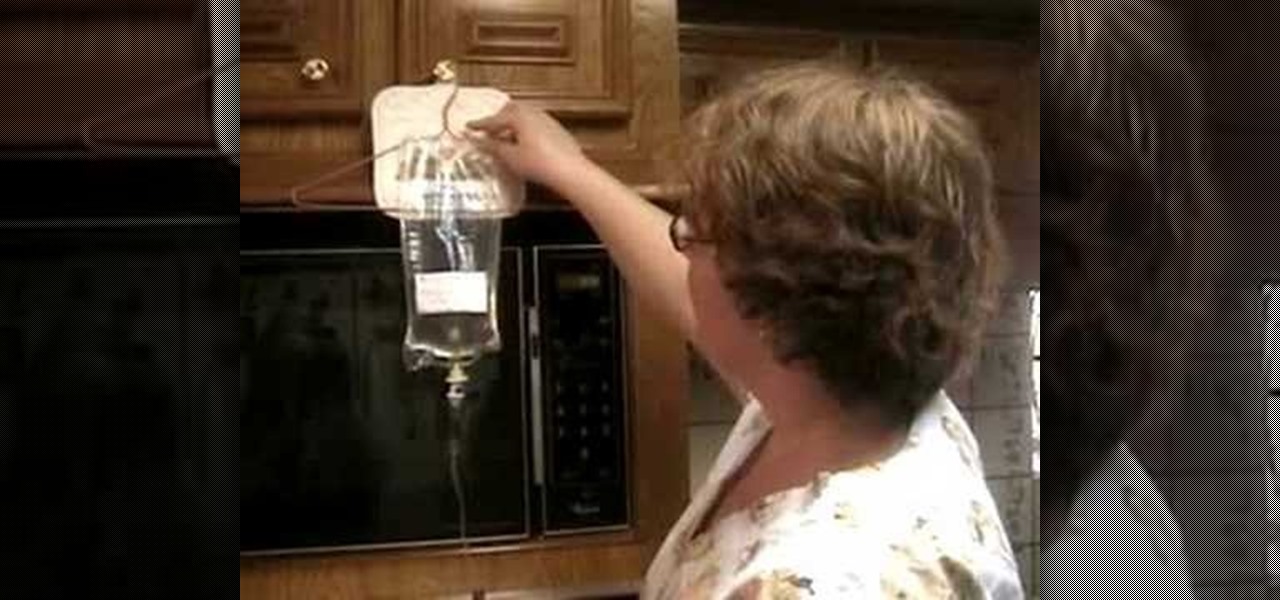
Sub-q fluids should only be administered to an animal under the instruction of a veterinarian, but some pets, like rabbits, will need to receive them at home, when the veterinarian is not around. Proper procedure should be followed to ensure that the subcutaneous fluids are reaching the rabbit, and that the bunny doesn't get hurt from malpractice. Watch this video veterinary tutorial and learn how to give Sub-Q fluids to a pet rabbit.

The kids will love making this parfait - it's like edible sand art! Layer chocolate and caramel syrups, fruit, Blue Bunny French Vanilla Ice Cream, cranberry compote and granola into glasses for a treat that's as fun to look at as it is to eat. Watch this video tutorial for step-by-step instructions on how to prepare this parfait for dessert.

This is a video tutorial on how to make a pistachio and strawberry trifle dessert. This beautiful, layered dessert is perfect for a dinner party or an everyday treat. Layers of pound cake and BLUE BUNNY Pistachio Almond Ice Cream are accented with cranberry sauce, bananas, whipped cream and a fresh strawberry Mohawk for a delightful mélange of flavors.

This is a video tutorial on how to make fried ice cream without the frying! Just coat Blue Bunny Homemade Chocolate Ice Cream in a mixture of cereal crumbs and sugar and garnish with caramel sauce and berries.

Any day will feel like your birthday when you treat yourself to this tasty dessert! Layers of corn bread or pound cake and Blue Bunny Birthday Party Ice Cream make up a miniature cake that's frosted with whipped cream, decorated with drizzled chocolate sauce and garnished with fresh berries. Watch this video tutorial to learn how to make this ice cream cake.

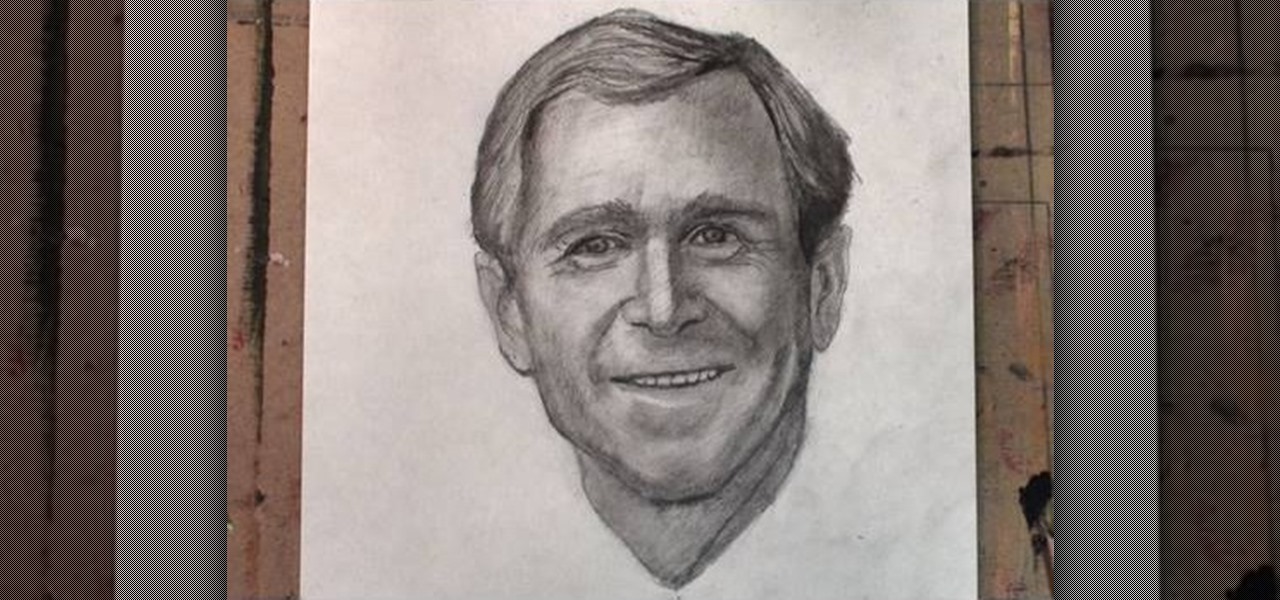
Commemorate the worst president in history by drawing his face to a lifelike representation and then having a dart throwing contest with your homeboys at the bar! This drawing tutorial, which teaches you how to sketch the face of George W. Bush, or W, is an excellent way to hone your targeting and aiming skills.

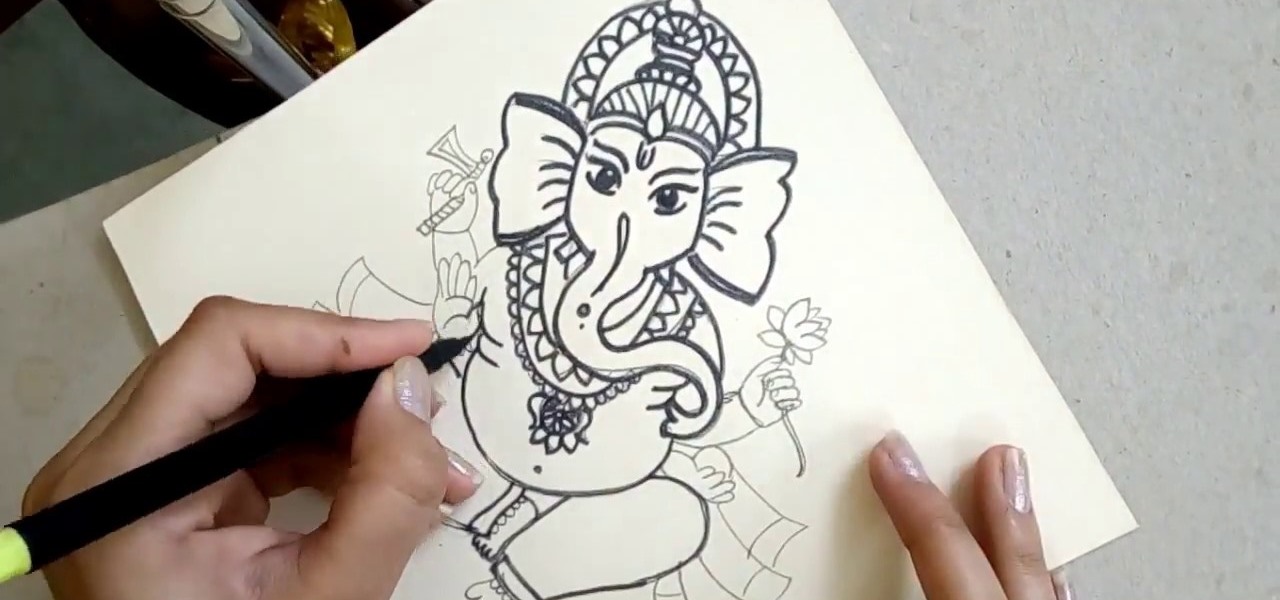
Personification of the Infinite Consciousness. Lord of Hosts. Master of the Universe. These are just three of the hundred-odd titles of the Hindu god Ganesha. Luckily, drawing the Hindu deity Ganesha isn't so complicated.

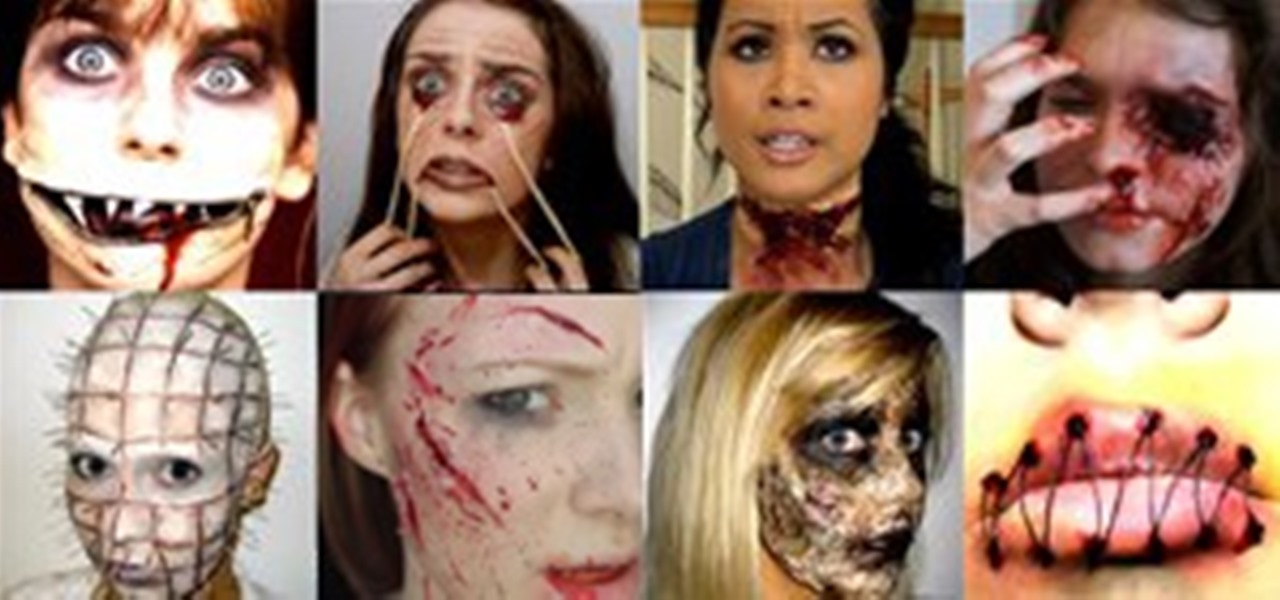
Being a male, I may be the only one among my gender stating this, but I'm sick of girls using Halloween as an excuse to dress scantily. Why can't more girls skip the playboy bunny costume and get this gnarly? Below, ten badass Halloween looks executed by girls only...

If you have a natural ear for music and have perfect pitch, then tuning any sort of instrument, including the guitar, is probably not a problem for you. But for the rest of us, a piano or a pitch finder is necessary to make sure our guitars are in tune.

In this video, we learn how to do a quick draw of Sonic the Hedgehog. First, use your pen to draw the nose and the mouth. After this, draw in the eyes and the eyebrows above them. From here, draw in the spiky hair on top of the head, using big spikes. Draw in the ears in the hair and then draw in lines to create more details. Next, draw in the arm and the hand, with a glove on the hand. After this, draw in the details of the clothes, drawing in folds on them. From here, draw in the legs and t...

In this drawing tutorial, we learn how to draw a chibi Sokka. Start off by drawing a round circle for the head of the character. After this, draw on the ears to the sides of the head. Then, draw on the hair on the back of the head followed by the facial features. After this, draw on the body, but don't draw a neck because this character doesn't really have one. Once you have the outline finished, start to use a darker marker to create the clothing and other details onto the character. Clean u...

In this tutorial, we learn how to draw the face of an anime young man. Start out by using a pencil on a white piece of paper, drawing spiky hair at the top of the page. After this, draw in additional lines to create more hair around the face, then draw in the sides and the bottom of the face. Next, draw in the features of the face, including the eyes, nose, ears, and mouth. Then, start to draw the clothing and add shading in on the clothing and the top of the hair. Add in more lines to make i...

Vault Boy has been around for a long time now, and appeared in the few but proud Fallout games as their mascot and skill-demonstrator. Pay homage to this plucky little guy by creating an XBox 360 Avatar in his likeness using the materials below and following the steps in the video. He looks a little skinny to me, but you can change it if you want right?

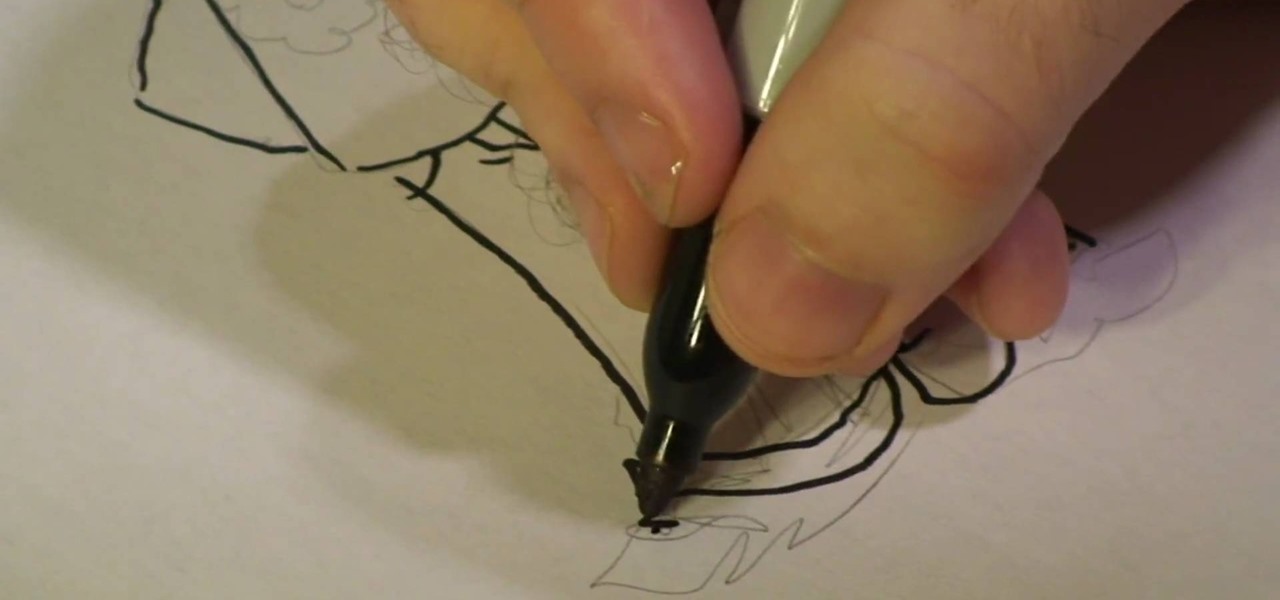
In this video, we learn how to draw a cartoon dragon with a big head. First, draw the outline of the dragon, making the head much larger than the body. After this, add in small details to the dragon using the light pencil mark. Next, take a bold marker and trace over the pencil lines that you made, filling in the eyes, nose, teeth, wings, tail, ears, etc. After you do this, color the dragon completely green. Then, take a darker green color and apply it to the edges and where you want shadowin...

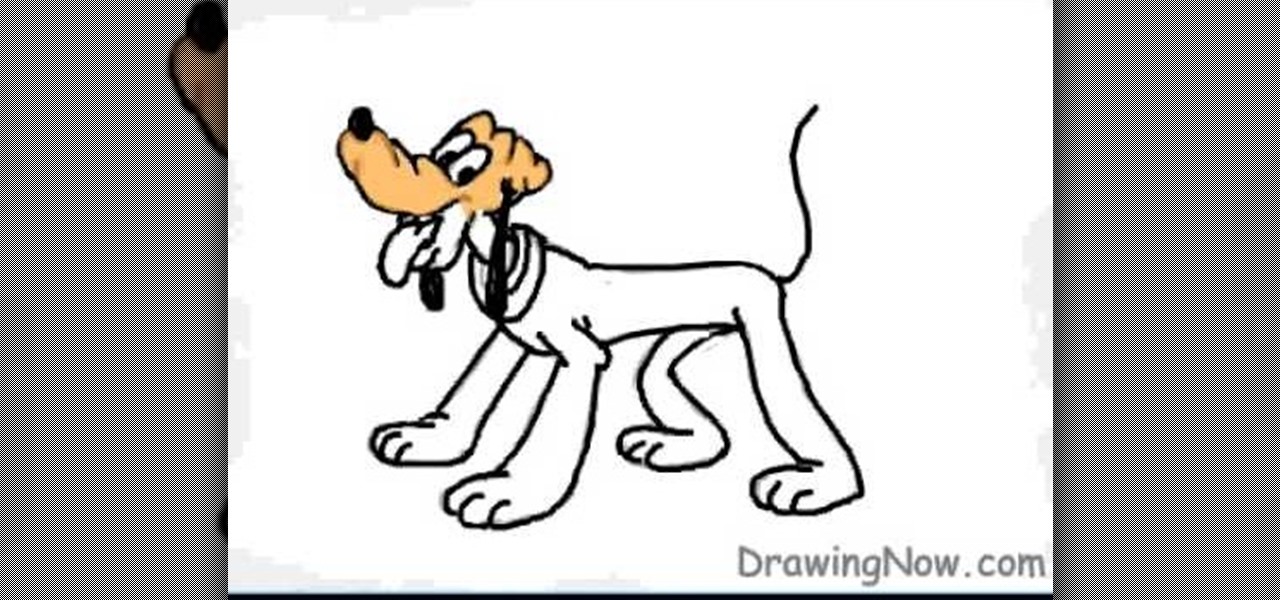
In this tutorial, we learn how to draw Goofy. First, draw the nose and then draw in the face. After this, start to extend the face down with the neck and a collar. After this, draw the back of Pluto and then his four legs like he's walking. Next, draw a darker line over the picture, then draw a tongue hanging out of the mouth and eyes and ears. Make sure to draw the tail, then start to color the picture with Pluto's signature colors. Add in any additional details, then save your picture onto ...

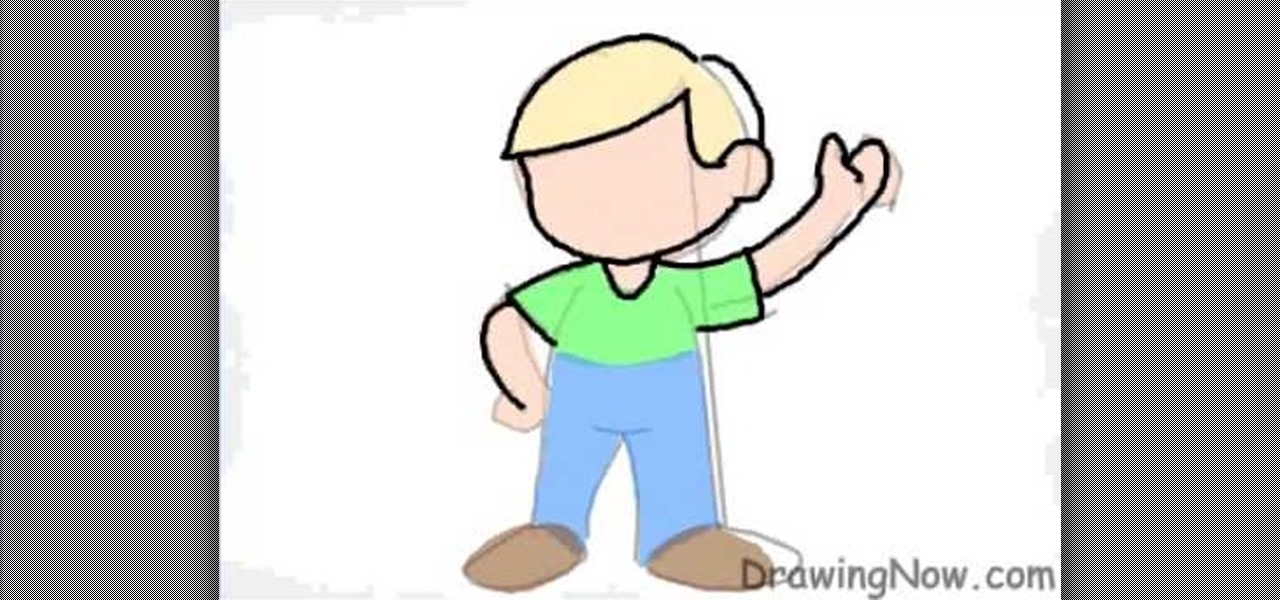
In this tutorial, we learn how to draw a cartoon figure of a boy. Start out by drawing a large circle for the head, then drawing the arms underneath and a circular body. next, draw the hair onto the boy, and add shoes, a shirt, and pants. Now, color the hair yellow, the body skin color, the shirt green, and the pants blue. Outline the drawing with black ink, then add on the facial features. Start with two circular eyes, a nose, and a small mouth that is a curved line. Add in more hair to the ...

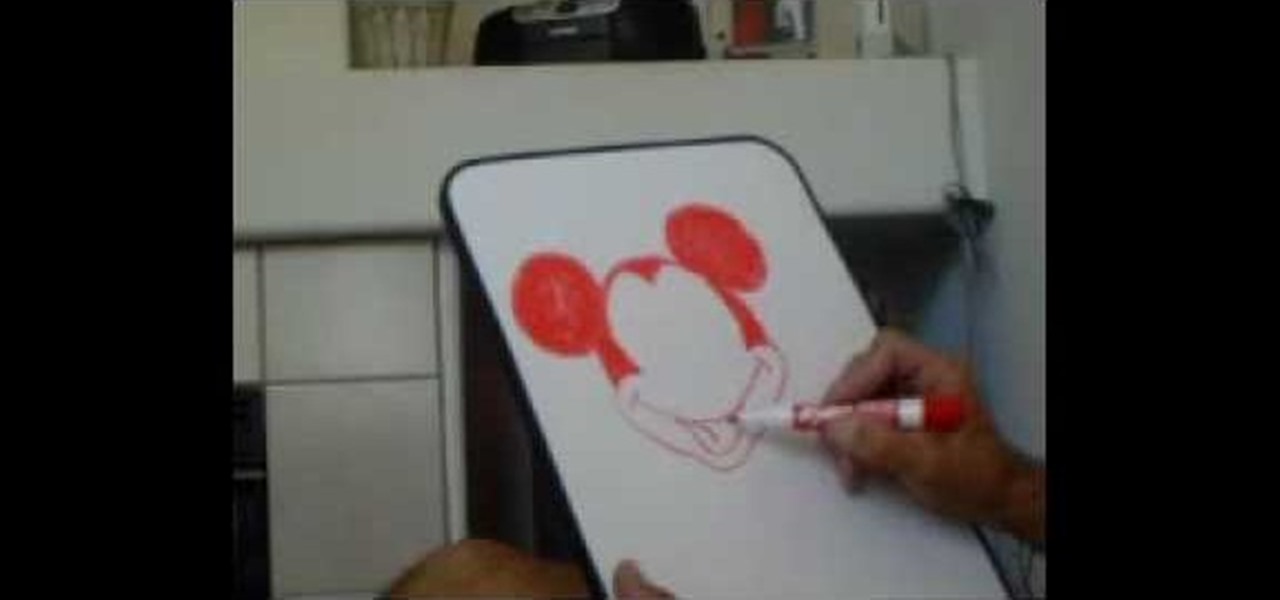
In this video, we learn how to draw Mickey Mouse on a dry-erase board. Start off by drawing a circle on the left hand side of the board, then draw a half circle with another circle connecting to that on the right hand side of the board. Now, connect another half a circle around the sides, to help shape the face. Next, make an "m" shape on the top of the face going down to the sideburns and fill this in. Color in the ears as well, then make a rounded v-shape at the bottom of the face to make t...

This video helps to draw Bowser Jr. First draw a half circle and join the ends by drawing two curves as shown in the video. Continue the left line, to draw a mouth and end it with a small arc to look like a smile. Then close the line by joining it with the right end. On the top of the half circle draw an arc and above it draw a feather shaped hair as shown. Next you have to draw eyes with eyelashes and make them look dark. Now, draw two short lines which looks like nostrils as shown in the vi...

The video demonstrates how to draw Goku in MS Paint. The whole picture is drawn using the curved lines. First the jaw part of the face is drawn and then the back ground of the face. After this the hair is drawn, it is drawn like many big leaves which are separated with vein in the center. The ear is drawn after that, which is seen in between the hair. The nose, eyes and the brows are completed next. A pointed nose is drawn. The picture is completed by drawing neck and the gown. Goku's back si...

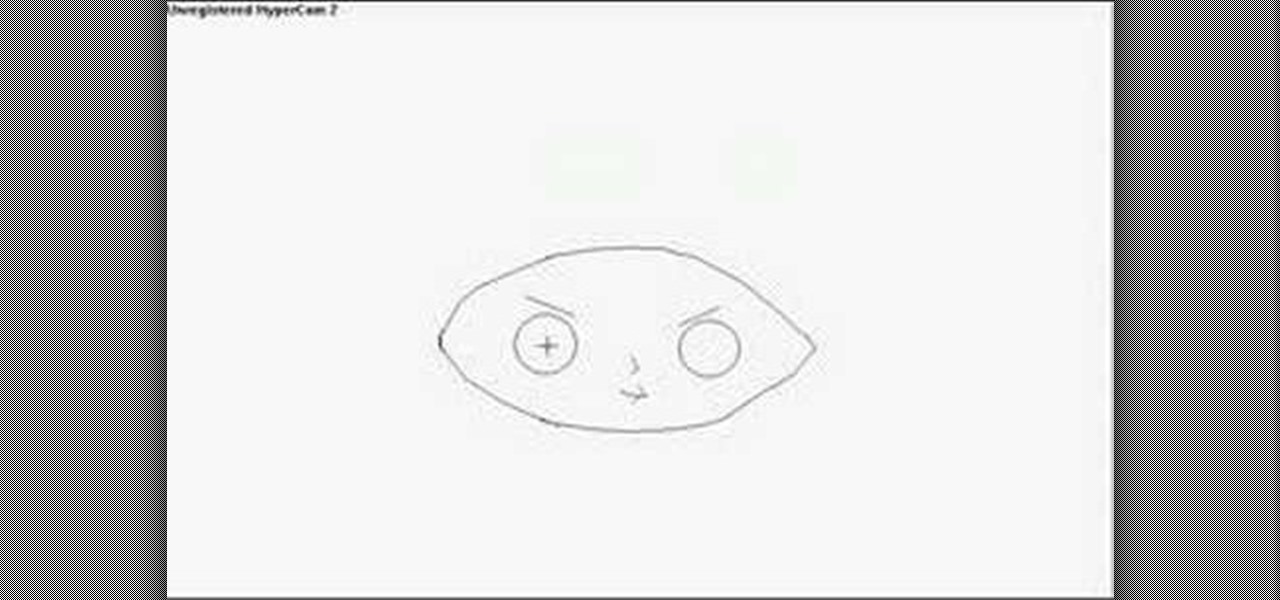
Drawing Stewie from The Family Guy on your computer is fairly easy. First you're going to make a horizontal oval, then draw what looks like a football shape just in between those lines. Now erase the excess lines outside of the head shape. Next, insert two circles-fairly far apart on the head-with a slanted line above both for the eyebrows. A small line in the middle pointed towards the right makes Stewie's nose, and a simple mouth is completed with a three small lines at the bottom. Draw two...

In this video you will learn how to draw a Dragon. To do that just follow these steps and instructions: The first thing that you need to draw is the head of the dragon. Make the eyes, nose, ears and all the other face details. Now continue with the body and with the arms. Make the wings of the dragon big and draw the claws too. Now make all the details of the body and complete the sketch. You can try to color the dragon and you can try to make some flames too. In the end you will create a gre...

Learn how to draw Eeyore from the Winnie the Pooh book series. 1. Draw a circle for Eeyore's face and add in his ears. 2. Draw his body as almost an egg shape and add in his front legs as cylinders. 3. Add in his back legs and tail and add details to Eeyore's face. 4. Add eyes and mane and start to add color to his body. 5. Continue to color Eeyore and finally add shade.

Michael, a graphic designer, teaches us how to draw a cartoon girl's clothing. He draws this image in some light shaded pencil. He draws her hair, ear and the basic outline of her face. He then draws her basic build which is her chest, her arms and her legs. He uses a marker to highlight his strokes. He uses clean, precise, straight strokes and when drawing cartoon figures, this type of drawing technique is highly recommended. After drawing the girl, you can go ahead and decorate her clothing!

The ability to tune a guitar is a skill every guitar player should possess. With this tutorial, learn how to properly tune a guitar either using a digital tuner or by using the fifth fret rule. Though a digital tuner is by far a more convenient option, certain situations my require the player to tune an instrument by ear. Start by tuning the low E string and use that sound as a reference for the tuning of the other strings. If a tuning fork is unavailable, a guitar can still be tuned relative...

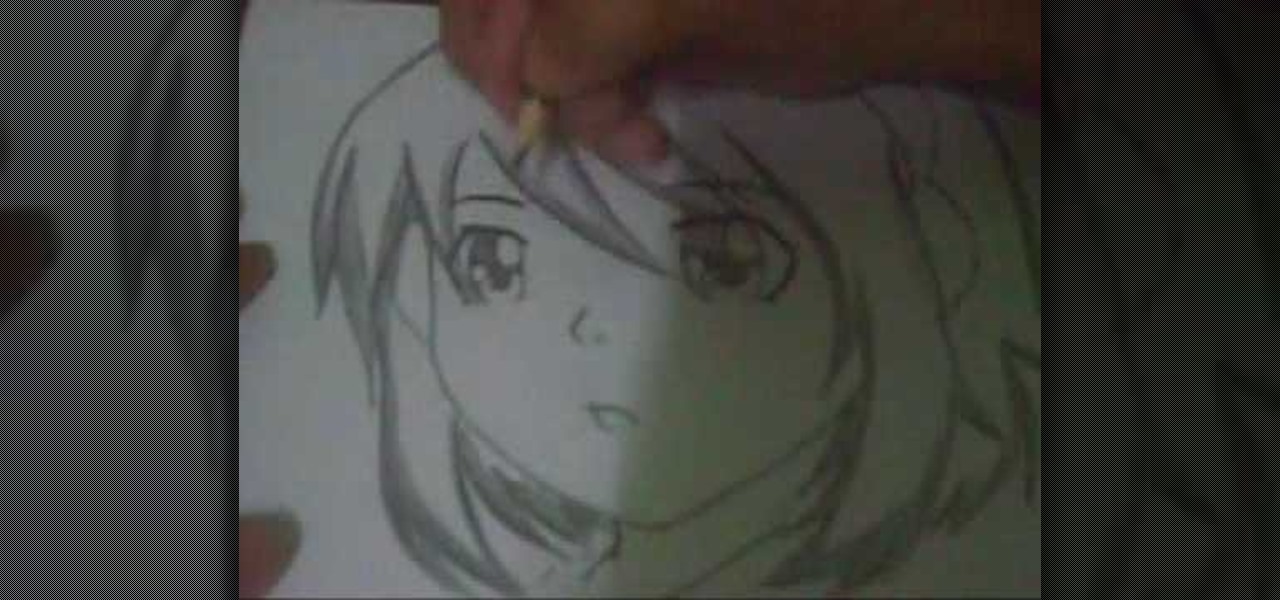
This is a sped up video on how to draw a female anime face. The artist begins by drawing the cheeks and jaw line. Then the neck is made. Next the artist makes long side-bangs that cover a portion of her face. A lot of his time and detail is spent on making the hair at this point. It is very choppy with defined pieces at the ends. During the hair process, an ear and a headband are drawn. When the hair is finished, the artist begins working on the eyebrows, nose, and eyes. The eyes seem to requ...

Drawing a manga elf princess is a breeze after viewing this video. The process takes about 10 minutes. Begin with a standard face shape, and add the ears. They should be extended and pointed. Add her eyes, making sure you keep the eyes looking real. Bangs are wispy and fun to pencil in. Details are added, making your princess more personalized. You'll learn how to keep her a little more feminine looking than a male elf. And clothes are added last, covering her in a fancy looking dress. And no...

While you can't make a silk purse from a sow's ear, you can make a rose out of a single square of paper and call it whatever name you want. Origami is, of course, the traditional Japanese art of paper-folding to create any shape imaginable. Make a rose when you don't have the money to buy someone the real thing, or even as a gift that will last. Watch this video crafting tutorial and learn how to origami a folded paper rose.

This innovative handset makes user convenience its priority. Created with the aim of overcoming the limitations of existing mobile phones, every function is available through a flexible layout of navigation keys. Fixed keypads are a thing of the past with the LG KF600 Venus cell phone.

Take care of your dog by grooming them regularly. Learn how to clean eyes and ears and brush a dog's coat in this free pet care video series about dog grooming.

Listig the weaver likes to brag that the toothbrush rag rug weaving craft is the closest there is to making a silk purse from a sow's ear. In this video tutorial series, he takes two umbrellas and uses them to add on to a rug which was started from a discarded shower curtain. Watch these instructional videos and learn how to weave a toothbrush out of a destroyed umbrella.

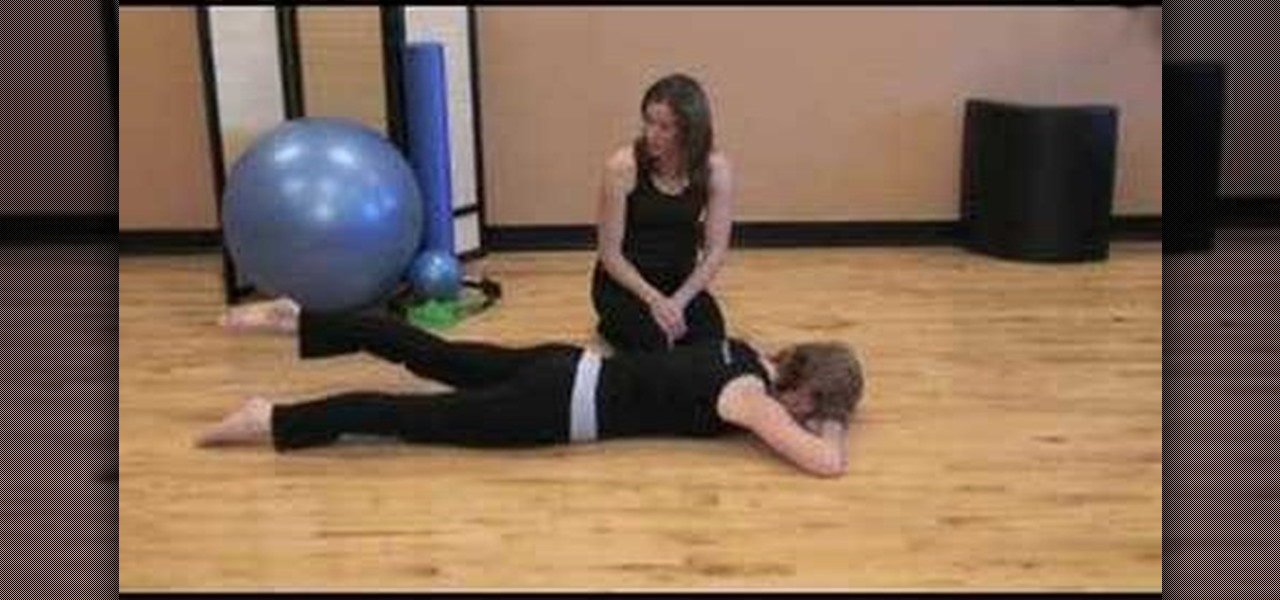
This pilates how-to video illustrates the Swimming exercise. This pilates exercise is good for core stabilization, upper back extension and hip extension. This is good to improve back strength and those deep abdominal stabilizers.

Wayne R. Petersen is Director of the Massachusetts Important Bird Areas (IBA) Program at the Massachusetts Audubon Society. You have to have auditory ability.

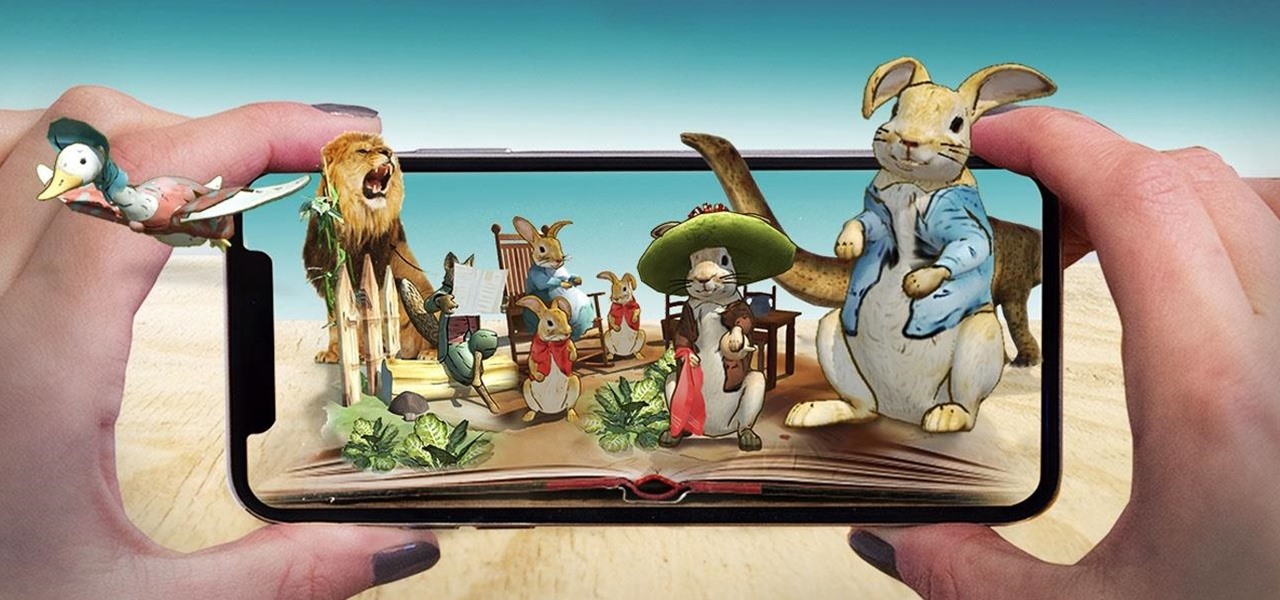
The landscape for mobile augmented reality apps is still mostly filled with utility and gaming apps, but a new entrant into the space is looking to pull children into the mix.

A sizzle reel just released by augmented reality cloud company 6D.ai shows off what kind of hyper-realistic AR experiences developers can build with its SDK.

Now that the iPhone XS is officially available for pre-order, Verizon and Apple are giving Snapchat users the opportunity to win the device through an augmented reality scavenger hunt rather than forking over $1,000 for one.

Demons sure are scary but a ‘Cartoon Demon’ does appeal to anyone for sure. Learn how to draw one, by watching this video. Begin the skeletal outline, by tracing an oval shape. Then draw an oval, overlapping the first one horizontally, at the base. Draw two elf like ears, on either sides of the top oval. Draw a small neck from the base of the fist oval and a line beneath it. Join the edges of the line with a deep curve for the body. Draw two curves away from each other, near the base of the b...

Start with a totally bare eyelid to create the base for the winged eye. It's important to go for a gel eyeliner. This allows you more precision than liquid eyeliners. Pull the skin taut at the outer eye, look down & using a flat brush, apply liner into lash line itself on top eyelid, in between root of lashes. Taking the line from the inner corner of the eye, put color in lash line all the way to outer corner of eye. Close eye; pull lid towards ear so skin is taut. Repeat base step; this time...


