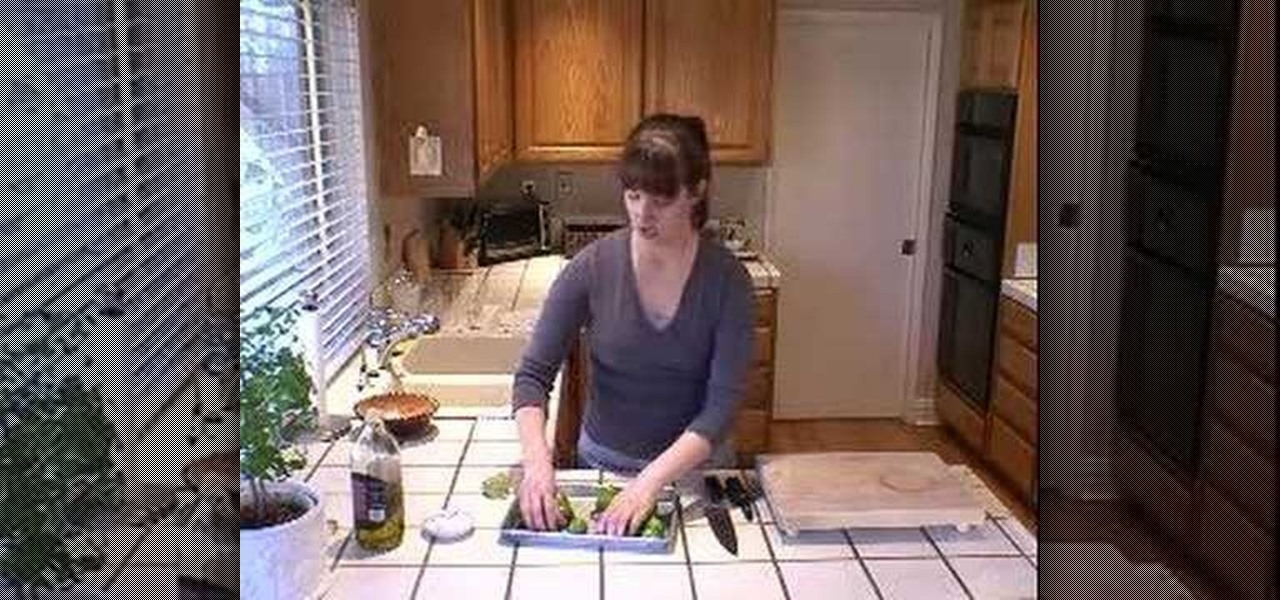
Husking tomatillos can be a sticky business. By peeling off the papery husks under warm running water you can eliminate a lot of the mess. To learn how to peel, roast and blend tomatillos into a quick salsa.
In this video Jesse Liberty dives deeper into data-binding, demonstrating in detail how to create business classes that represent data retrieved from a web service, and how to bind them to various controls using a combination of Blend and Visual Studio. This is a detailed, easy to follow video, to help you use the program, and all it entails.
The Skrags/Gorgers are formidable opponents on the battle field in Warhammer, if you use them correctly. But half of having a good army is making sure they look good. In this video you will learn some techniques including glazes, layers, blends and more to pain a GREAT looking Gorger figure!
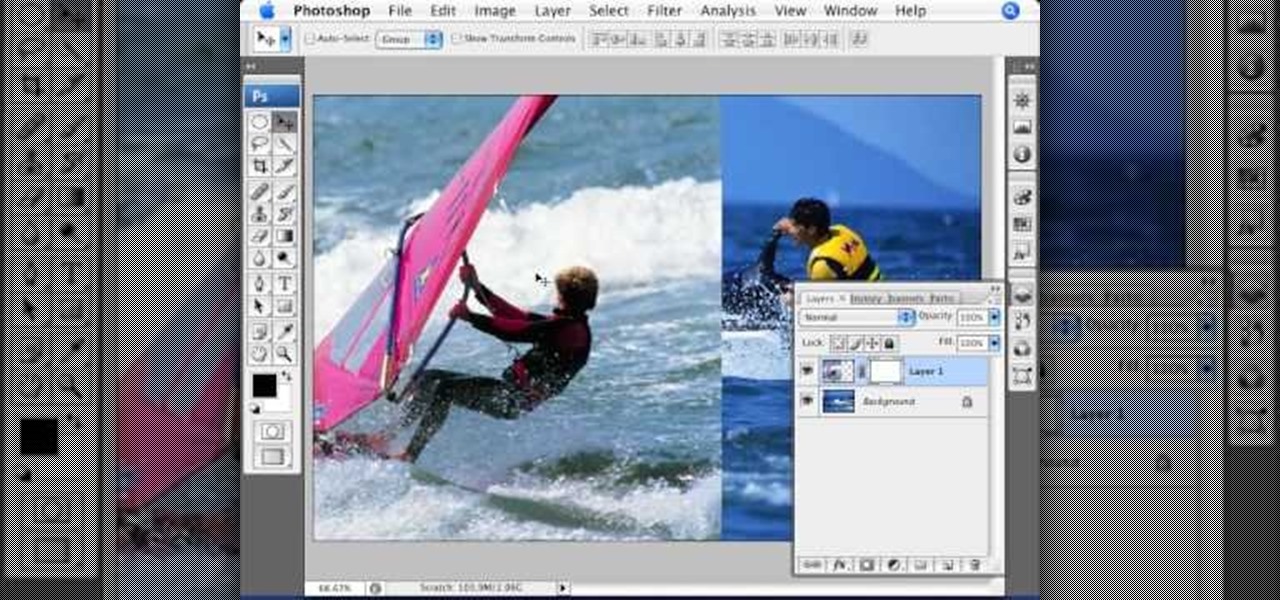
Blending together multiple images in Photoshop is a staple trick many new designers try, putting their faces in famous works of art or adding other faces onto model bodies. Learn to blend multiple images in Photoshop in this free Photoshop tutorial video series.
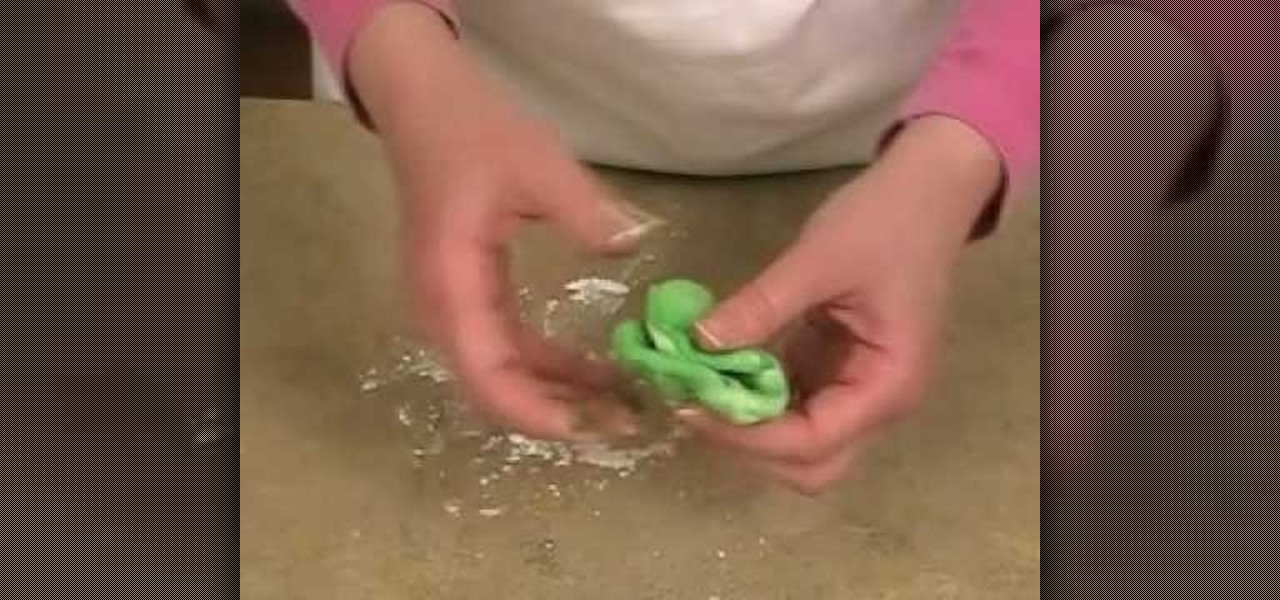
Coloring your fondant is actually a very simple process. Like coloring water or your cookies, coloring fondant involves adding a few drops of food coloring and then blending, blending, blending.

In this video, we learn how to apply and blend eyeshadow. First, you want to start by adding a primer to your eyelids. Now, use a large brush to brush a light shadow onto your entire eyelid. After this, use a smaller brush to brush a lighter shadow onto the inner crease of your eye and underneath the eyebrow. After this, use a brush to apply a dark shadow to the outer crease of the eye, then blend with the lighter shade. Next, paint a darker color on the outer v of the eye and continue to ble...

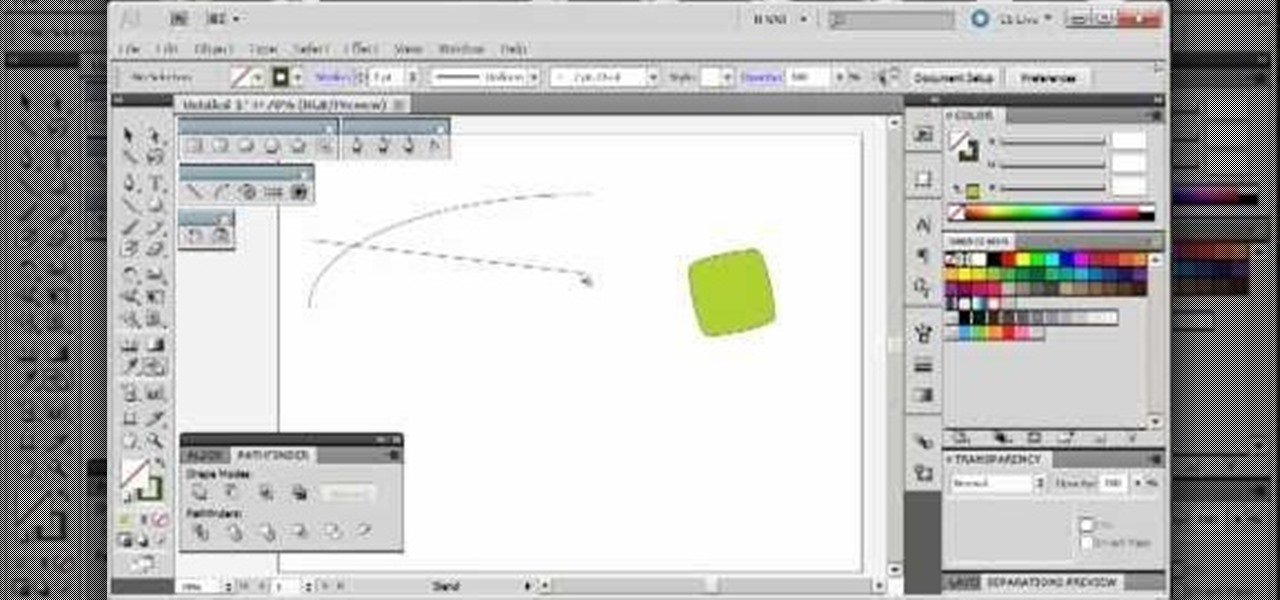
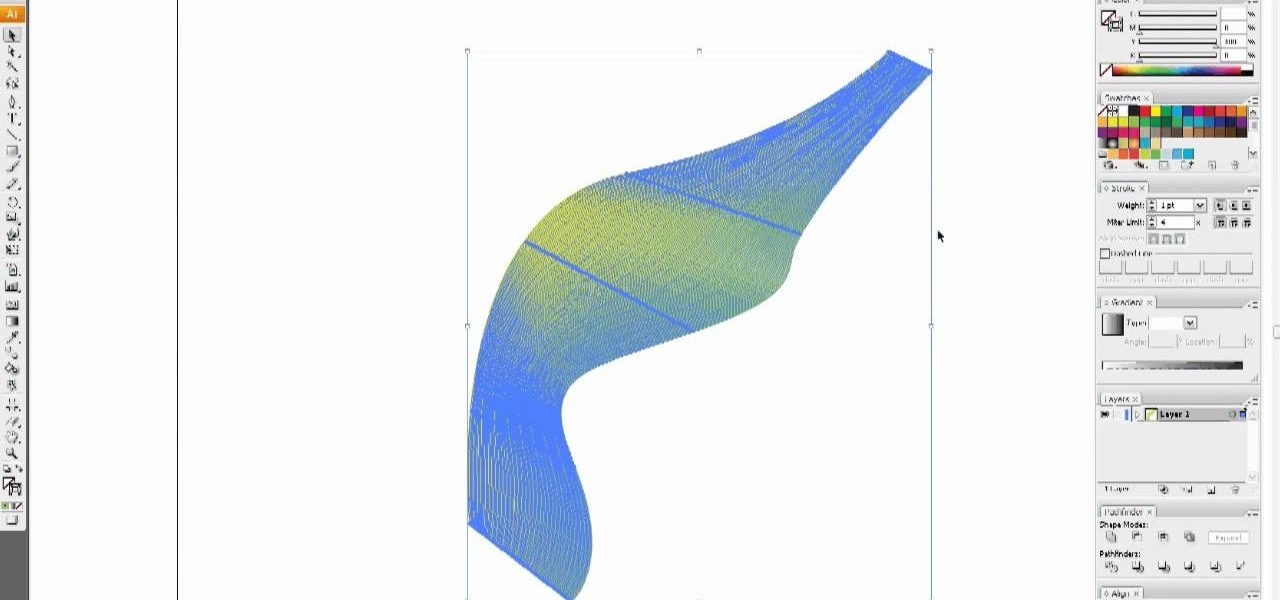
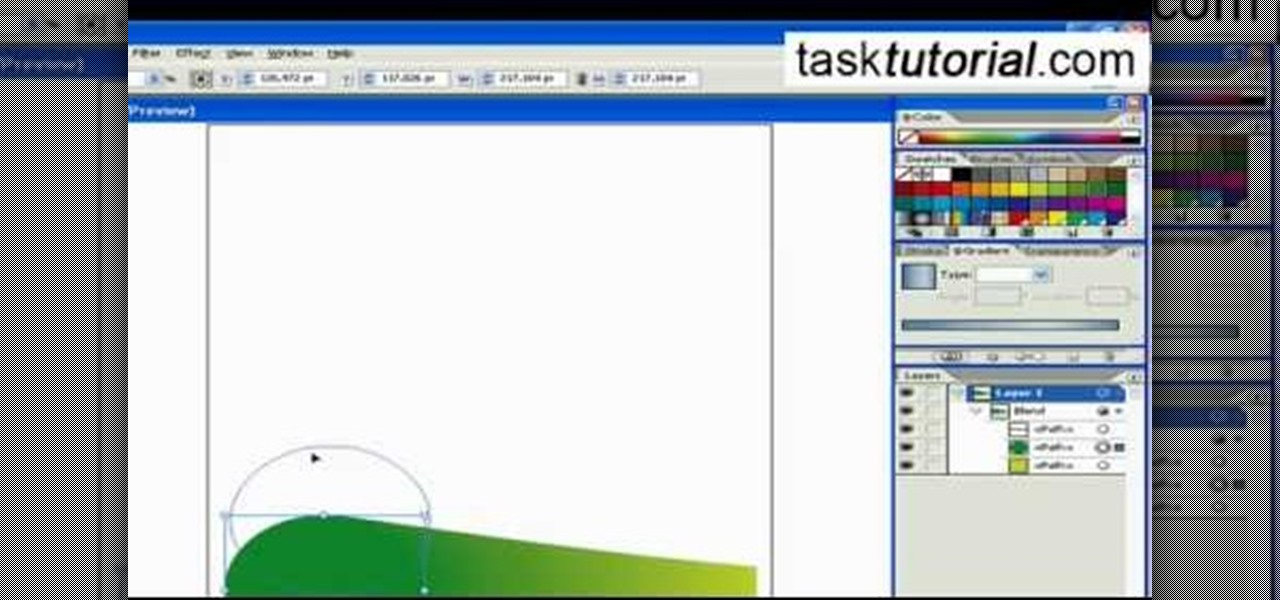
The blend tool will create a graphic for you where one graphic or image slowly blends into another one. Customize it using color, shapes and other more advanced techniques - this tutorial shows you everything you need to know about the Adobe Illustrator 5 blending tool.

In this video tutorial, viewers learn how to use the blend tool in Adobe Illustrator. The blend tool will allow users to create objects between two strokes or filled objects. When you double-click on the blend tool, there will be 3 options to select from. Select the spacing and press OK. The three spacing options are: Smooth Color, Specify Steps and Specified Distance. Users are also able to select the amount strokes between the two objects. Now select the points of the two objects and it wil...

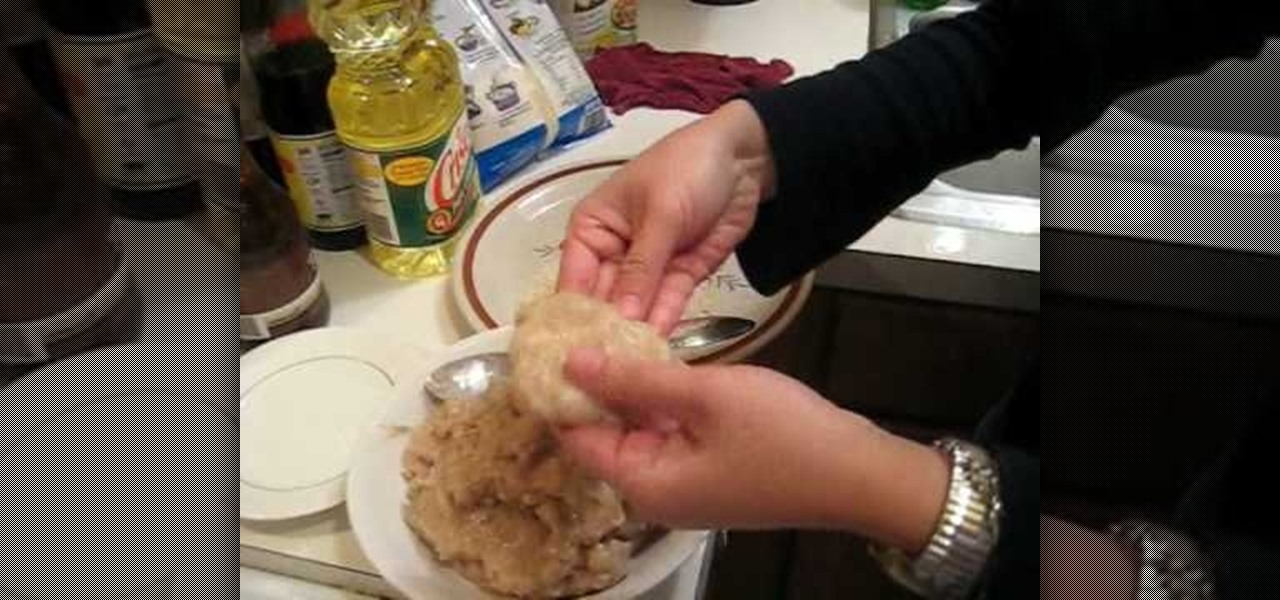
This video is about how to cook Thai shrimp cake. The first step that you will have to do is to peel the shells of the shrimps off. After peeling the shells, the next step is to blend the shrimps. Then the next step is to stop the blender once the shrimps have become smooth enough. And just simply put the salt, sugar, and pepper. Then blend the shrimps again. After blending, place the blended shrimps in the freezer for fifteen minutes. After 15 minutes, prepare the frying pan. Before dipping ...

Art Jewelry Magazine associate editor Jill Erickson shows you how to make a skinner blend with polymer clay. A skinner blend is just a simple technique of combining two colors of polymer clay, for a shaded, ombre type look. Learn how to mix a skinner blend of polymer clay by watching this video jewelry-making tutorial.

In this video, Chad West does some experimenting with blending modes in Photoshop to create an aged look to a new photo. Those of you who already know your way around Photoshop should probably not waste your time watching this video. It's meant for beginners.

In this tutorial, we learn how to create a bright and dark blue eyeshadow blend. Start off by adding primer to the eyelid. After this, use a light blue eyeshadow over the entire lid and up to the inside crease. After this, apply a medium blue eyeliner to the middle of the eye and blend in with the lighter color. Next, use a dark blue eyeshadow on the outer v of the eyelid and blend in with the other colors. Paint in a silver color right under the brow bone, then apply a shimmer color to the e...

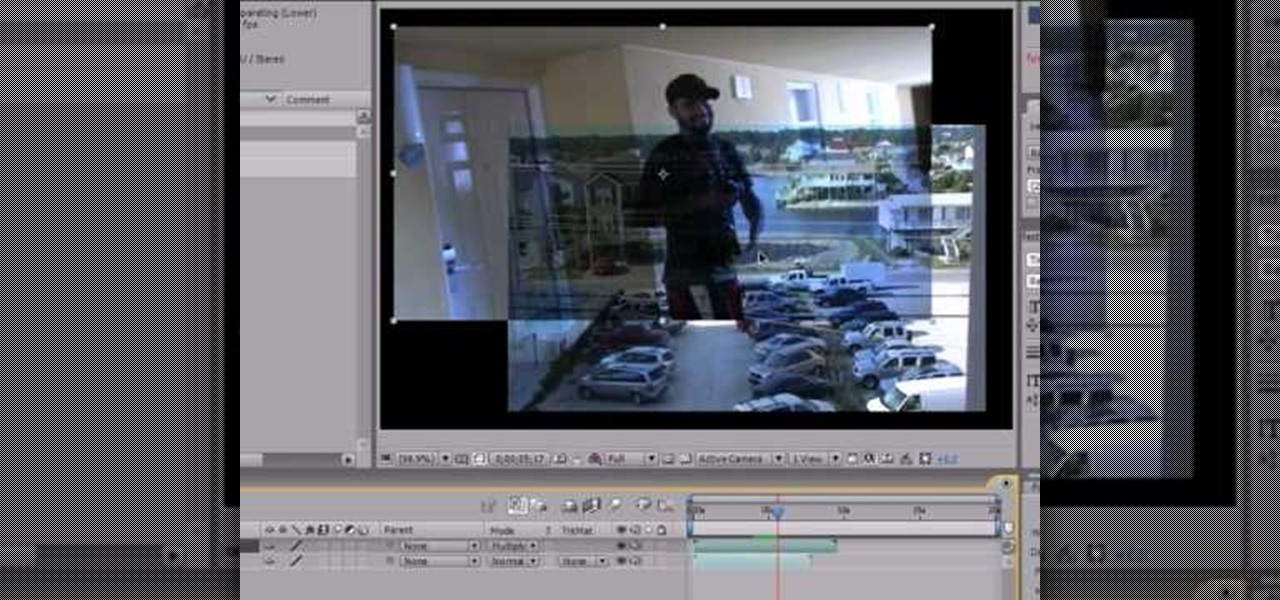
Get started using Adobe After Effects with the help of The New Boston! This beginner's tutorial is bound to answer the many questions you have about the popular digital motion graphics and compositing software. The main purpose of After Effects is for film and video post-production.

To do that, first select the pen tool, choose yellow stroke color and draw the path as showing in the video then deselect and choose pen tool again, pink color in stroke and draw the path again. Now you need to select the blend tool and click on both paths. Now go to object, blend and choose blend options. Now select the specified steps, put the value of 25 there and click on ok. Now open the blend in layer window and select the paths. Now set color to white

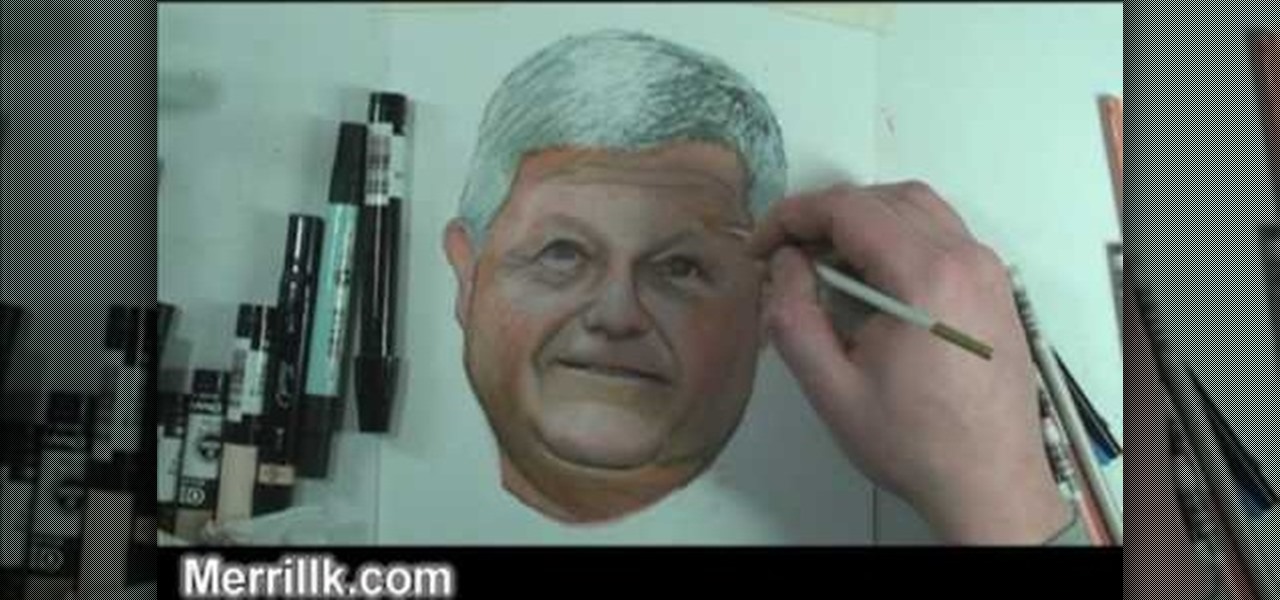
Watch this fine art video tutorial to learn how to blend colored pencils with a paintbrush. "Today, I am going to demonstrate a new artistic technique. I am going to merge the best qualities of two artistic mediums; oil painting and color pencil. What you are now watching is a time lapse of me building up layers of illustration marker and color pencil over a pencil drawing.

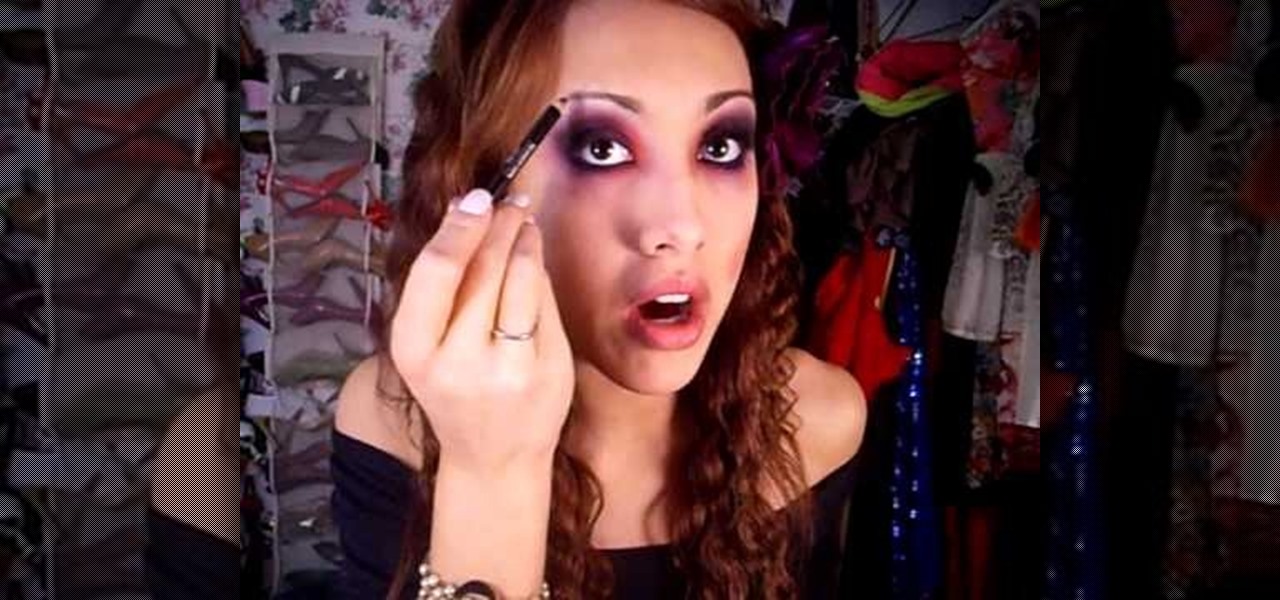
This video teaches you how to apply make up for a vampire look. Start by applying black eye-liner to your upper and lower lash line. Make sure to apply it pretty thick. Next, blend out the liner with a flat brush. Blend up on the upper lash line so that the liner is covering the eye lid. Blend the lower lash line downwards. Next, take a fluffy brush and dark red eye shadow and apply to the inner half the upper lid and also to the lower lash line. Add the same shadow to the inner corners of th...

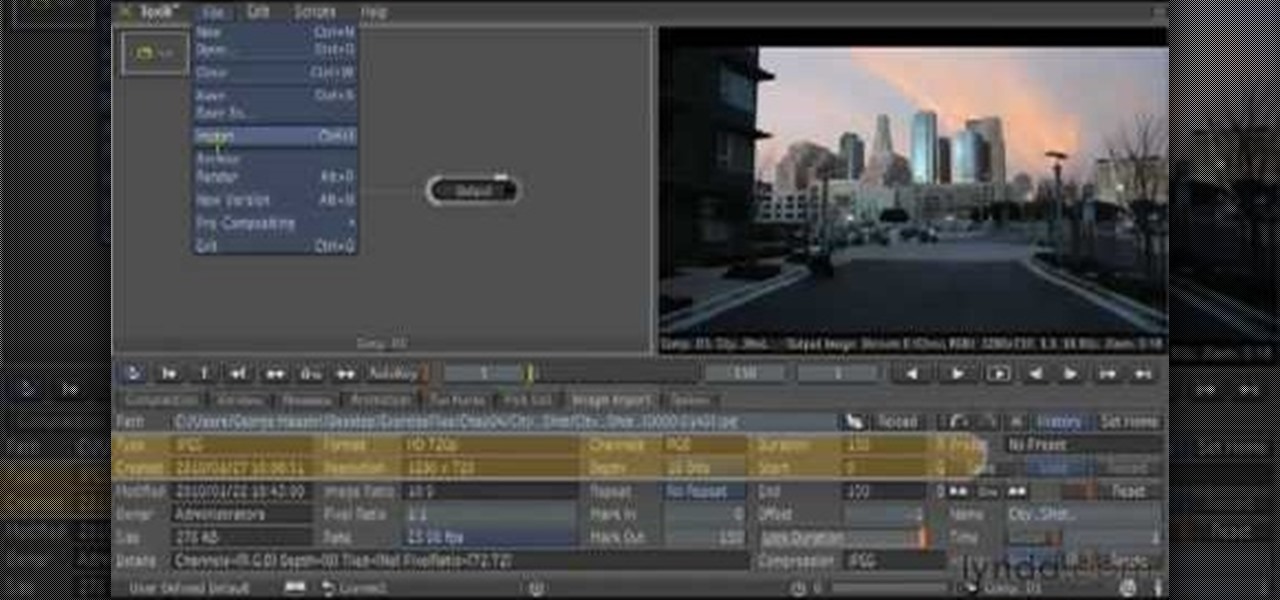
The Lynda Podcast teaches viewers how to composite a video using Autodesk Toxik program. First, you need to import your footage so go to file and import. Import the files that you would like to composite together. Now that you have your files, you should arrange them in the order that you want to composite them. What you want to be first, should be on top. To composite, add in a rendering not by right clicking and click add to pick list. You can pick 'Blend and comp' to composite the files to...

Simon Plant of ProPhotoInsights.com shows how to use Photoshop to blend colors in images. He uses a photo of his son standing in front of Stonehenge to take us through each layer of the photo to alter the levels of hues, saturation, and opacity. The key to blending colors is a matter of playing with different hues and saturation levels in Photoshop to get the subject in the foreground to match the background. Follow Plant's thorough tutorial to find out how to get professional looking photos ...

So many makeup how-to videos will just tell you to blend the shadows, but what does that even mean? Fortunately, there is finally an explanation to this somewhat ambiguous makeup technique. You'll need some brushes and a bit of practice. Follow along with the instructions in this video makeup tutorial and learn how to blend eyeshadow. It'll get you one step closer to creating those really elaborate looks.

If you've ever gone on a diet then you know that "dessert" usually leaves your vocabulary quickly. But sometimes you gotta live a little and satisfy that sweet tooth! After all, not doing so may just cause you to pig out and totally fail on your diet.

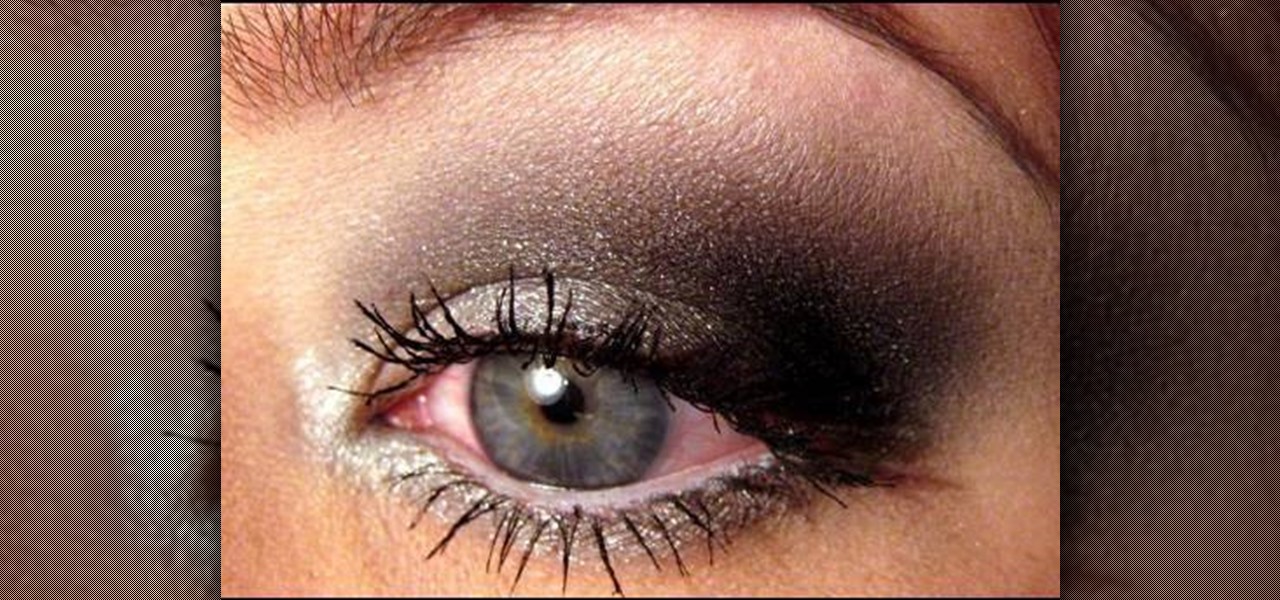
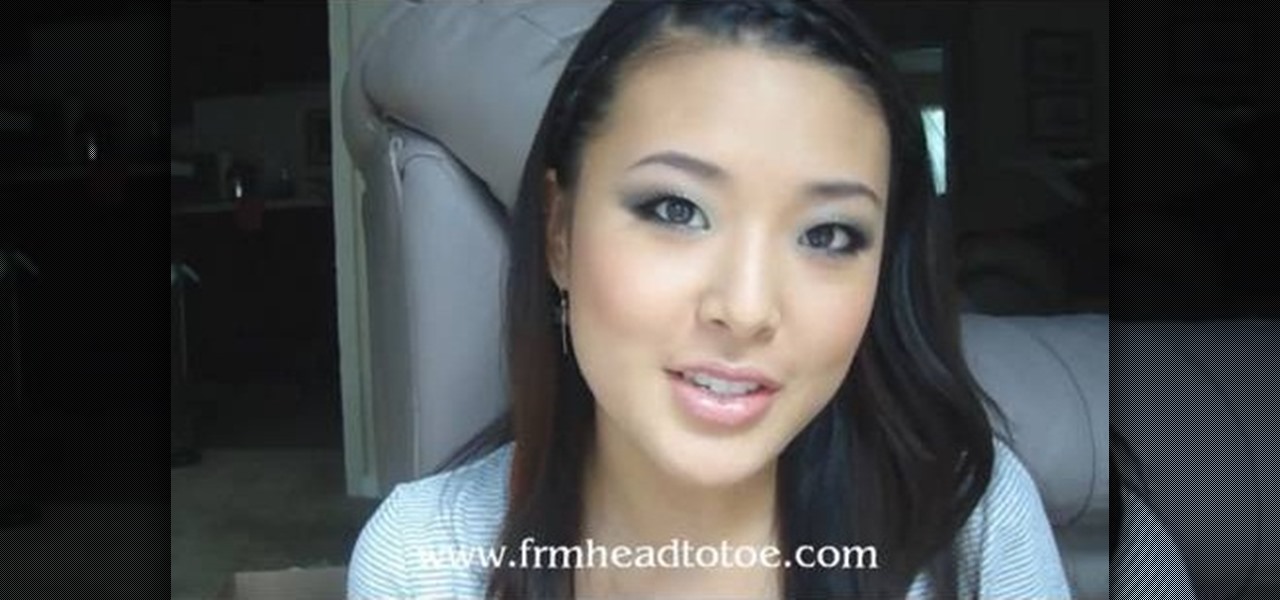
In this tutorial, we learn how to apply a silver smoky makeup look for a hooded eye. Start out with a silver color brushed all over the eyelid. After this, brush a darker color in the crease of the eye, blending in the outer corner of the eye. From here, blend this up towards the brow bone. Place black on the outer corner of the eye to deepen the area, then blend out. After this, apply a light shimmer underneath the brow for a highlight and blend with the bottom colors. Apply the silver color...

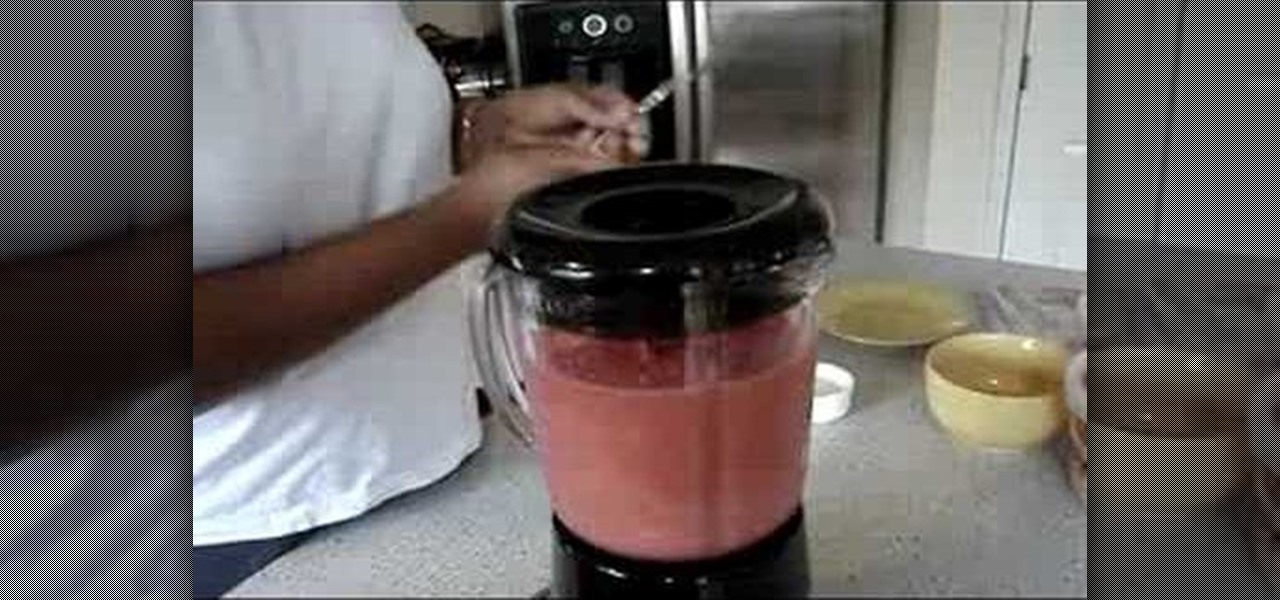
In this tutorial, we learn how to blend a homemade smoothie. You will first need to grab some frozen fruits of your choice and place them into a blender. Some good fruits to use include: strawberries, pineapples, papaya, and blueberries. After this, add in strawberry ice cream to the blender and two fresh bananas. Add in 1 c of mango juice, then place the top on the blender. Blend this on high until all of the ingredients have combined together. You may need to stir during the middle of the p...

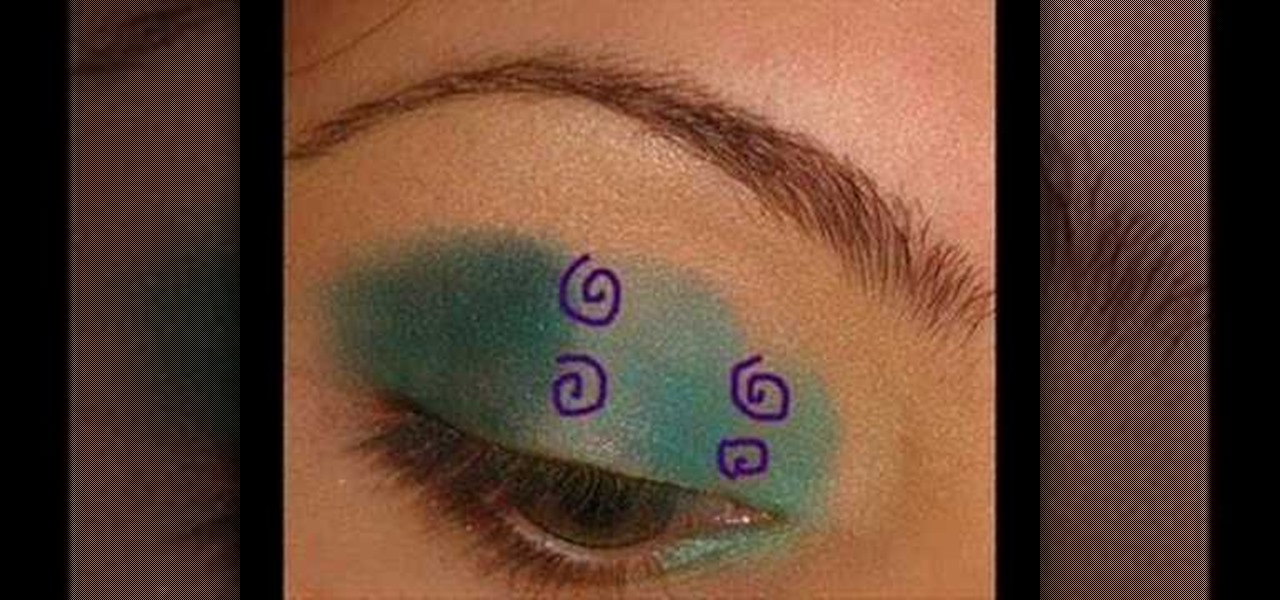
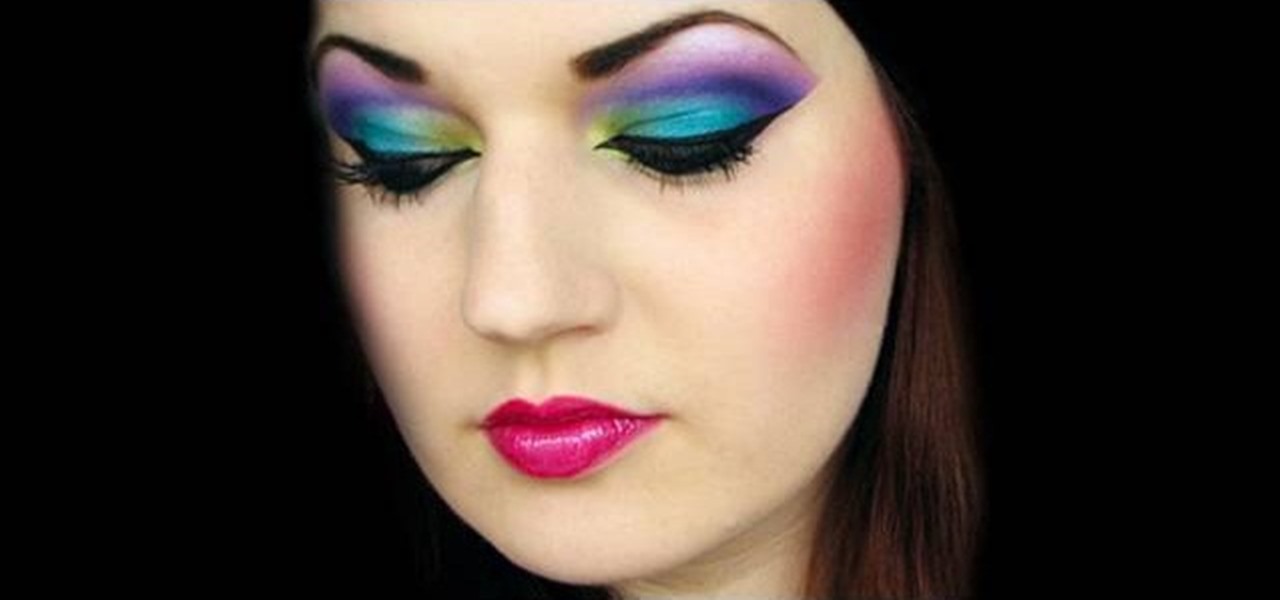
In this tutorial, we learn how to do an Arabian peacock makeup look. First, add primer to the eyes, then apply yellow shadow on the inner crease of the eye. Then, take a lime green color and apply it next to the yellow, blending in on the edge. After this, apply a turquoise eyeshadow and pack it in to eliminate fall out. Blend this outward, blending with the other colors. Apply a piece of tape on the outer corner of the eye to create a cat eye. After this, apply a dark purple to the crease of...

In this Food video tutorial you will learn how to make hazelnut chocolate chip cookies. First you got to toast the hazelnuts by popping them in the oven for about ten minutes. Now take toffee bars and chop them in to small pieces. Pre-heat your oven to 325 degrees. Assemble all the dry parts. First take the chopped oats, add corn powder, salt and baking soda and blend them together. Pour sugar and brown sugar in to the blender add some butter and blend. Now add a few eggs and vanilla extract ...

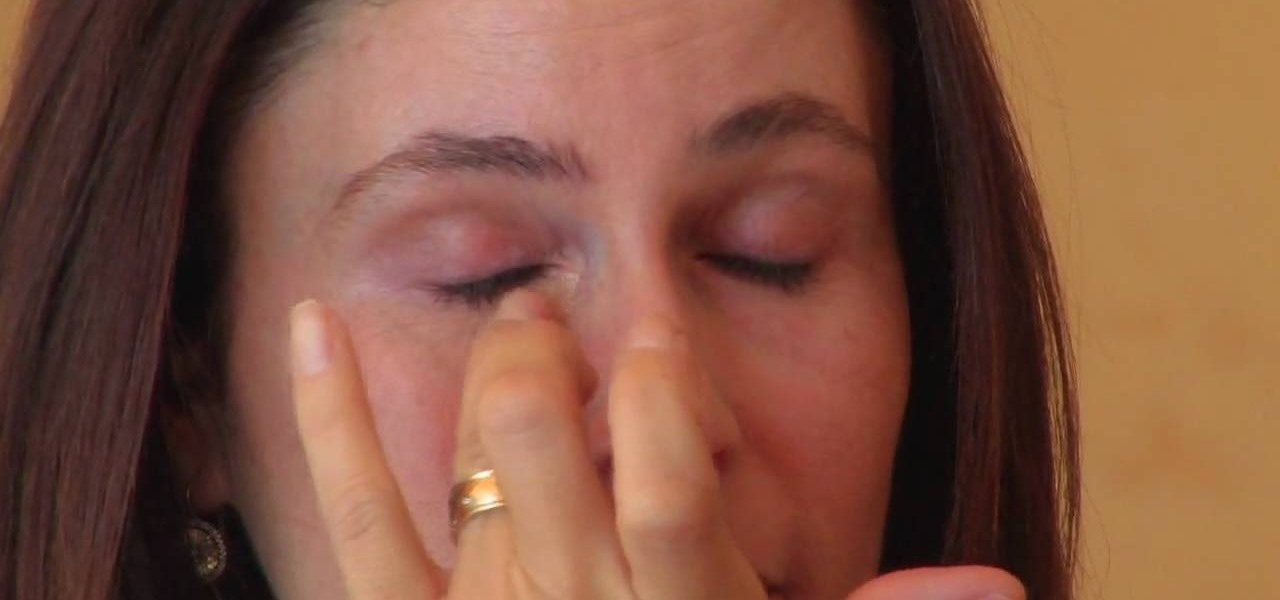
Modernmom shows viewers how to cover up those annoying dark circles under our eyes. First she takes concealer and applies it where its darkest under the eye and blends outward towards where it gets lighter (From inner corner of eye to outer) using her ring finger to blend it in. She then recommends not to put a powder over the concealer because powder can get into the creases under the eyes, especially if your in a hurry applying it. The key point in this video is blending, its really importa...

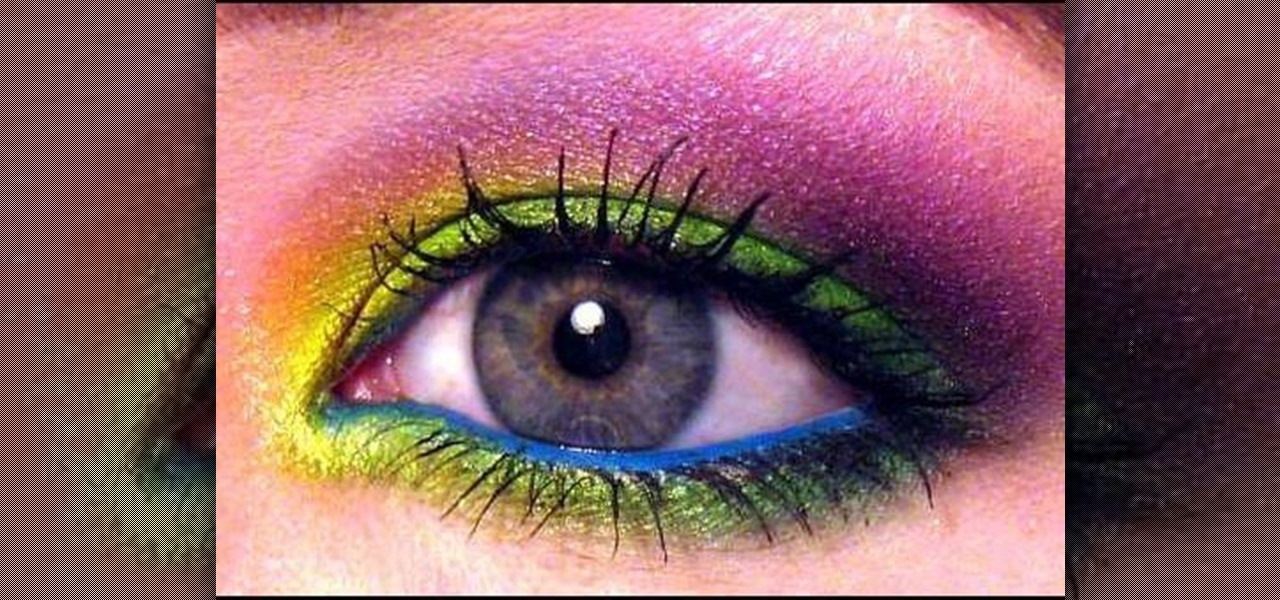
To apply this particular Mad Hatter inspired makeup you need to start first by applying a lime green color from the mayron pallet to your lid. Then you just take the brush and feather out the edge you created. Taking sun yellow color from ben nuys, apply it to the inner third and inner corner of your lid. Then take the chartreuse color, applying it to the middle third of your lid taking the brush blending it slightly into the sun yellow. After this, take a jade color, applying it to the outer...

Just starting out with makeup and don't know how to blend your eyeshadows? Learn how to apply and blend three colors of eyeshadow with this makeup tutorial. Never again will you have streaky, striped eyeshadow. With the steps from this how to video you will be able to apply and evenly blend three or more colors of eye makeup like a pro.

After a long dry spell, Katy Perry has officially breathed new life into multicolored hair extensions. Once only the playthings of prepubescent girls who thought it made them look all cool and rebellious like, extensions are now favored by several A-list stars.

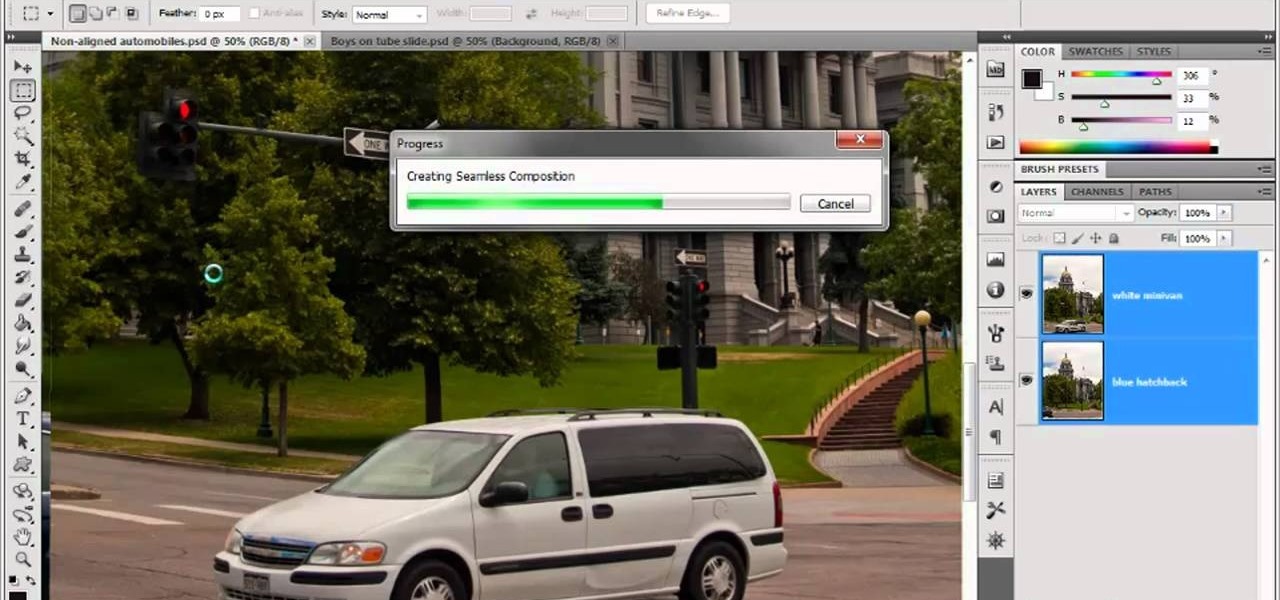
In this video tutorial, we learn how to to use the Auto-Blend Layers tool in Adobe Photoshop CS5. Whether you're new to Adobe's popular raster graphics editor or a seasoned designer looking to better acquaint yourself with the new features and functions of the latest iteration of the application, you're sure to benefit from this free software tutorial. For more information, watch this video guide.

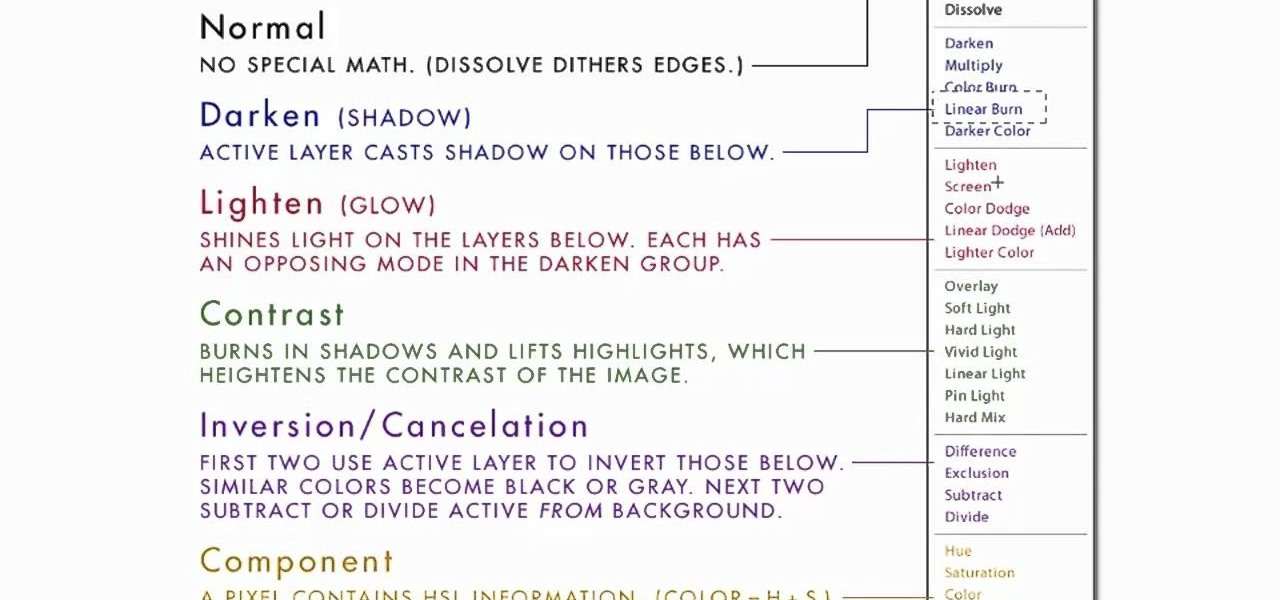
In this video tutorial, we learn how to use and work with the various layer blend modes available Adobe Photoshop CS5. Whether you're new to Adobe's popular raster graphics editor or a seasoned designer looking to better acquaint yourself with the new features and functions of the latest iteration of the application, you're sure to benefit from this free software tutorial. For more information, watch this video guide.

If the air conditioning on your car doesn't work and the condenser does work, you may have a broken blend actuator door motor. It's hard to get to, but there's a way to do it without removing the dash board, and this video will show you how to do it.

This video tutorial by photoshopuniverse teaches you how to blend two images seamlessly using Photoshop. For this you need two or more images that need to be blended together. Using the move tool in Photoshop move one image over to the other image. Open the layers window and make a layer mask as shown and select the gradient tool making sure the colors are white on black and connect the two images as shown. Using the brush and the opacity at 50% reveal the parts of the image that need to be c...

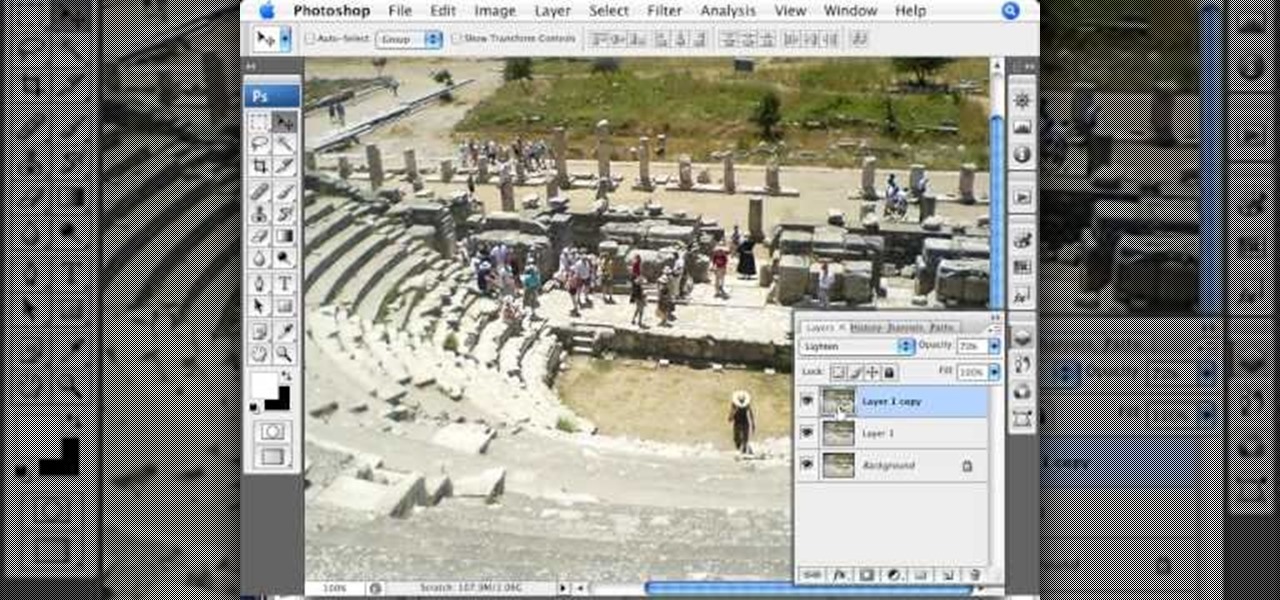
Photoshopuniverse teaches you how to enhance the colors of photos using Adobe Photoshop. You get a photo and duplicate that layer. Set the blending mode to Soft Light. You repeat that step, only the blend mode should be Lighten. The shadows are now darker. You can change the blend mode opacities to 60%-70%, but both layers should have about the same opacity. Also make sure that the white values are not to white and that details, like faces, are still OK to see.

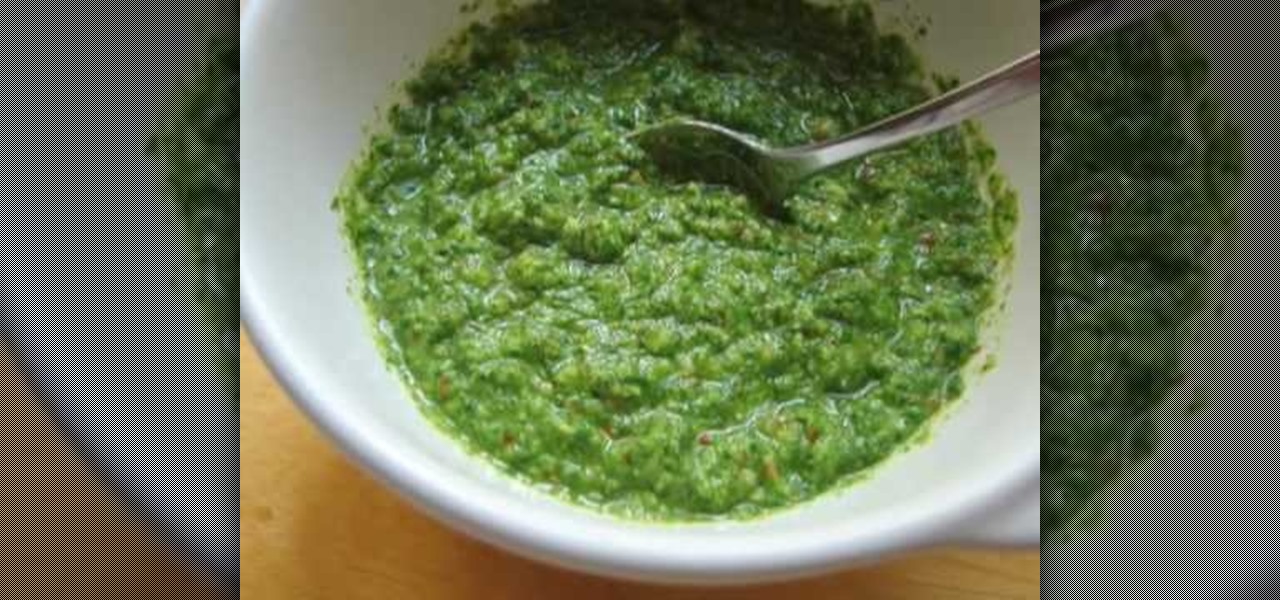
Chef John from Food wishes shows the steps to make almond arugula pesto. An excellent summary is given below. Take a bowl of salted water and boil it. Add the arugula leaves (try to find bigger leaves for strong aroma) to the water and let it boil. Transfer the leaves to ice water and squeeze it out to get it ready. Use a blender and add some cloves, raw almond, olive oil and the leaves into it. Blend it for about two minutes, but do not over blend it. Transfer the blend to a bowl. Finally ad...

Learn how to blend shapes and colors in Illustrator with this tutorial. Open Illustrator and put the circle with color which you want. Put the square on the color you want. Select the object, go the title bar select the object and then select the blend. You will be shown the result on the screen. Select the square and circle where you place the object by click and drag method. Go to the object and select the blend and choose the blend options. Change in specific steps which you want in the sc...

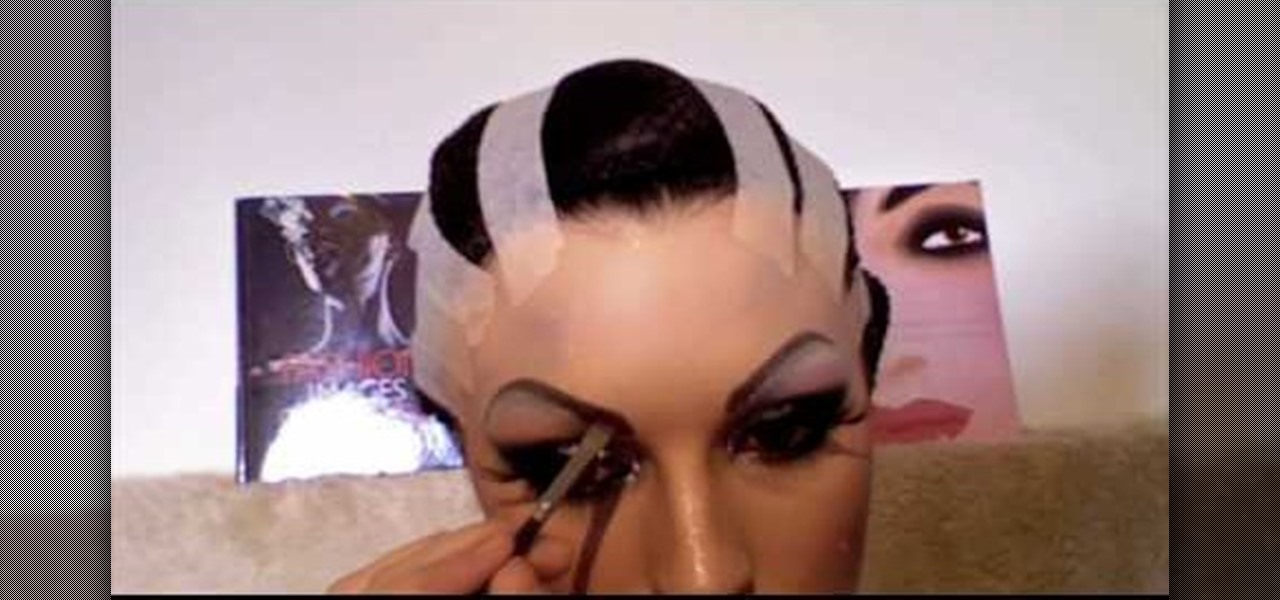
The first thing to do to prepare to apply your drag queen makeup look is to pin back all your hair so it is not in your face. Make sure your face is clean before applying make up. Begin by applying pear soap to your eyebrows with a small brush. Brush on your neutral powder. Paint over your eyebrows so it looks like they are not there. Apply powder to blend in. Use eye-shadow to trace just above your eyeball. Use an eyebrow pencil to draw new eyebrows that have a higher arc than your natural o...

Chances are you've seen and/or read about how to do a smoky eye in all its wonderful variations thousands of times. And by now you're probably getting sick and tired of watching the same "blend, blend, blend" instructions time after time.

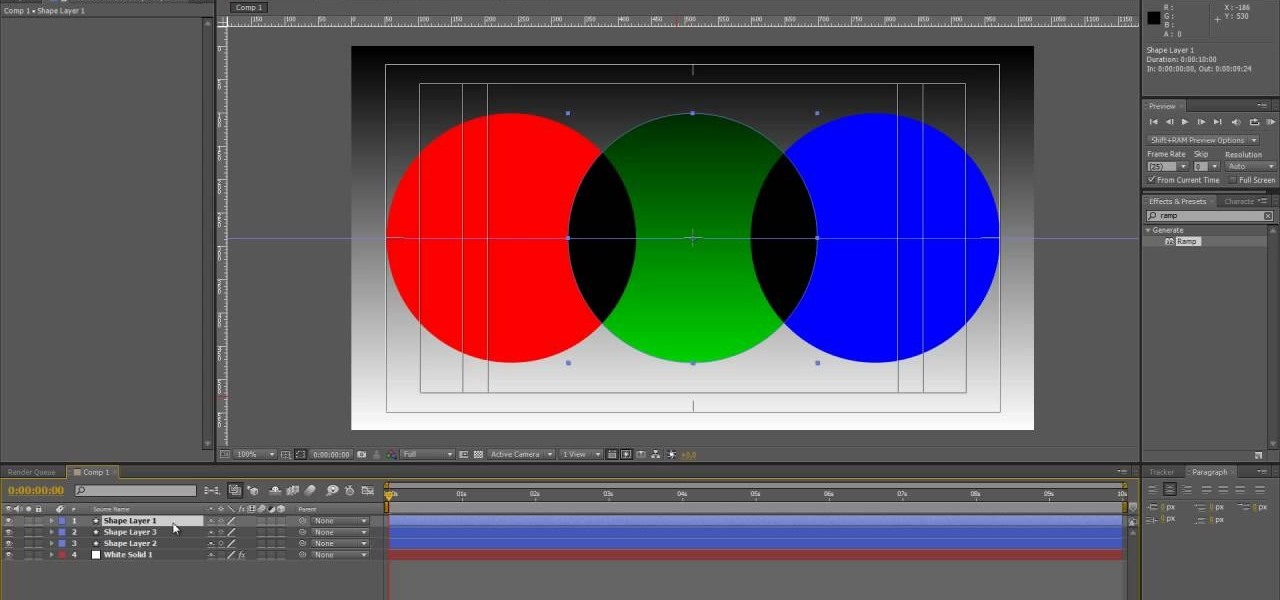
Looking for an easy way to quickly cycle between After Effects 38 different blending modes? Look no further. Whether you're new to Adobe's popular motion graphics and compositing software or a seasoned video professional just looking to better acquaint yourself with the program and its various features and filters, you're sure to be well served by this video tutorial. For more information, including detailed, step-by-step instructions, watch this free video guide.

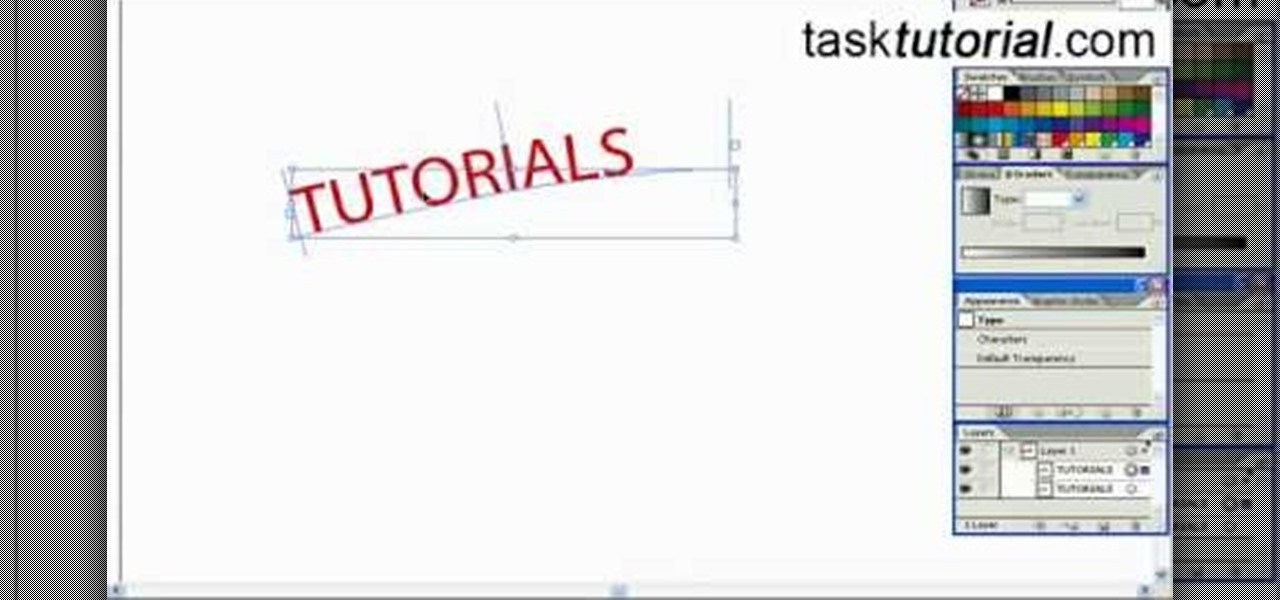
In this tutorial, we learn how to create a cool blend text effect in Illustrator. First, open up Illustrator and draw a path, then change the color to black. After this, click on the line and type in your desired text. Increase the font size to 36 points, then select the red color. After this, copy your path and select the duplicate button. Now, move the duplicated path and change the background color to yellow. Now, scale the path and resize, then place on to of the red path. When finished, ...

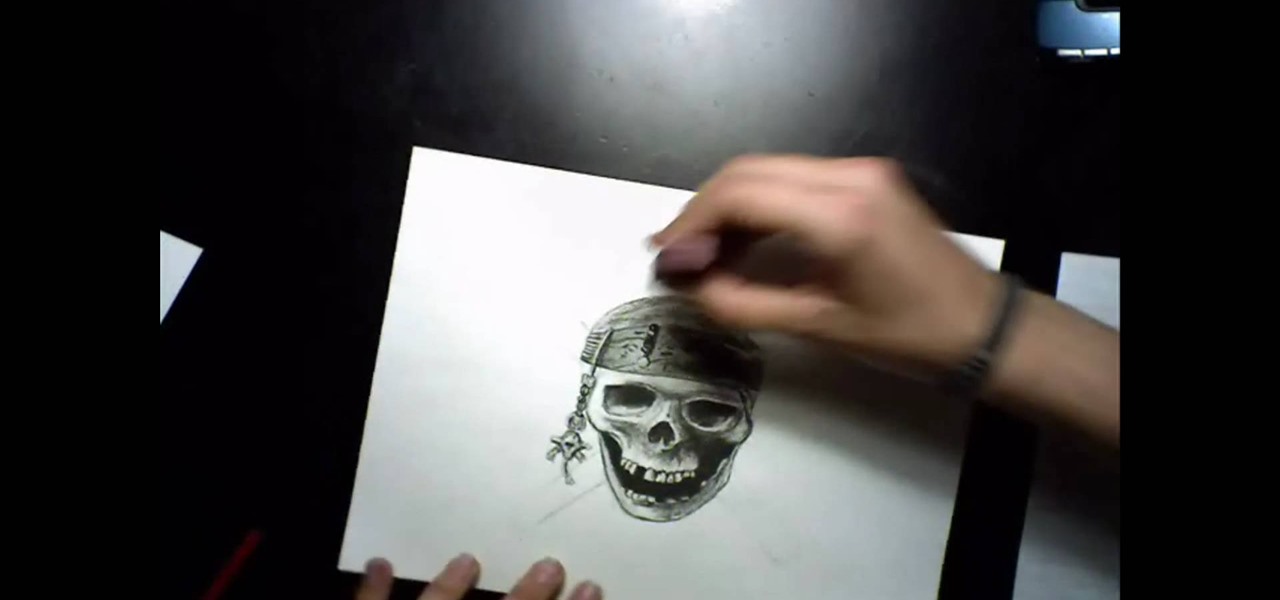
In this video, draw a totally tough pirate skull with burning flames coming out of it. This will make a cool tag or tattoo and this tutorial will show you exactly how to draw it.


