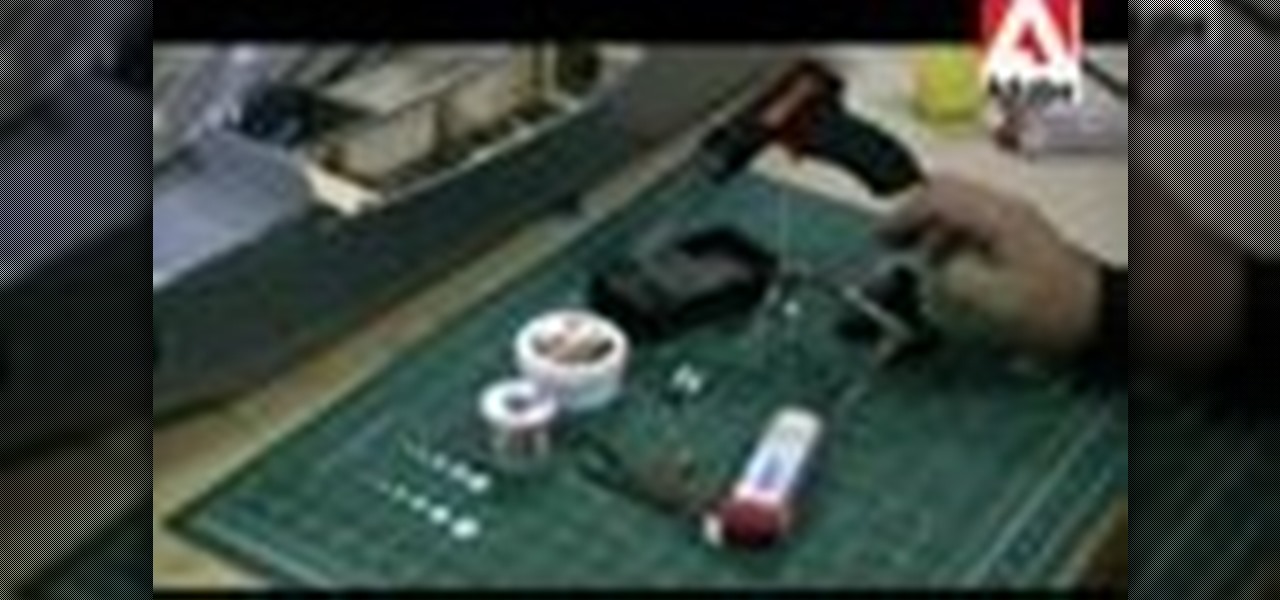
This how-to video shows, close-up, the steps to soldering an XLR connector onto an Audio cable. You will need a knife, wire strippers, a soldering iron, in addition to whatever is being soldered. Watch this video circuitry tutorial and learn how to solder an XLR connector to an audio mic cable.
In this video tutorial, viewers learn how to make a crossover cable from scratch. Users will need an Ethernet cable. Begin by removing one side of the connector and strip off the outside casing. Then separate the wires. Change the sequence order of the cables to: white green, green, white orange, blue, white blue, orange, white brown and brown. Make the cables straight and close together. Then cut off about half of the wires and carefully put back on the connector. Use pliers to squeeze the c...
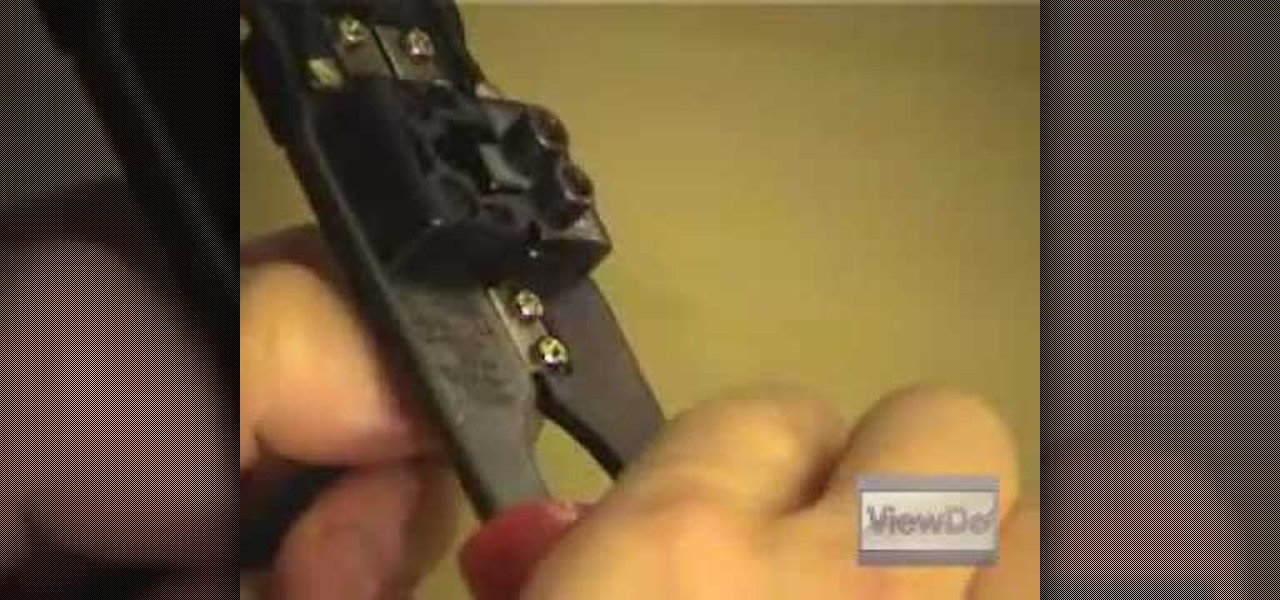
The following video is about making an Ethernet patch cable using RJ45 cable tool, category 5,5e or 6 cable, RJ45 connectors and optionally a scissors and cable tester. First of all, measure out the length of cable needed for your purpose and then cut it. Strip out the outer insulation of the cable using a cable tool. After stripping the insulation, sort the eight wires inside it in the order orange-striped, orange, green-striped, blue, blue-striped, green, brown-striped and brown. Cut off an...
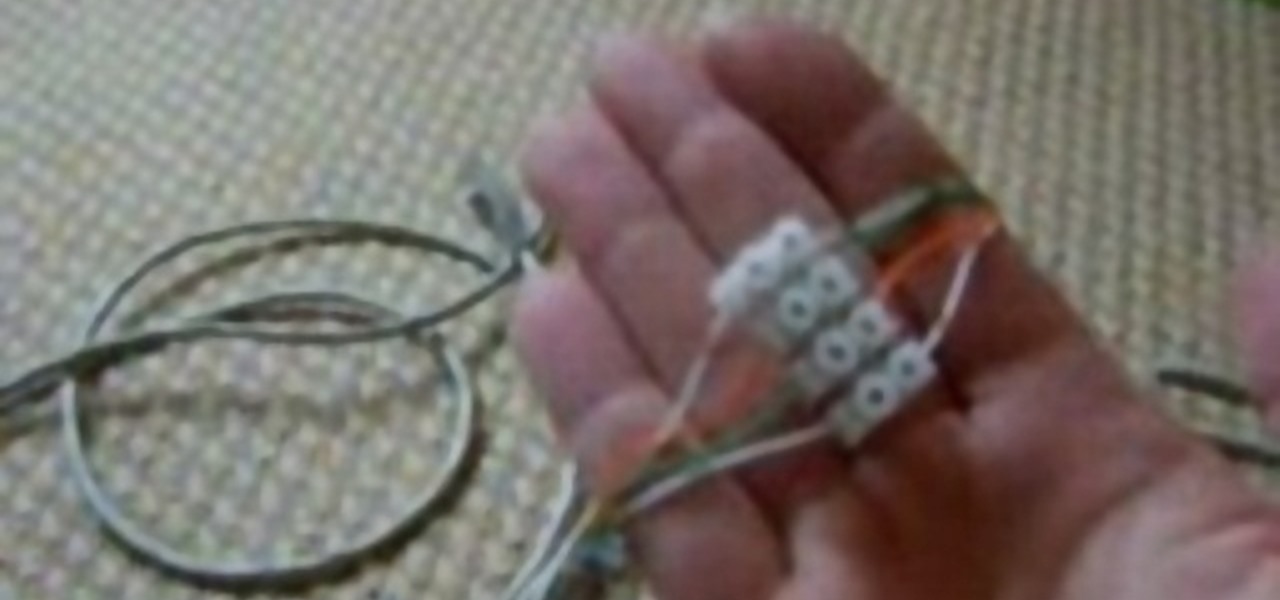
In order to connect two personal computers to each other, you will need a crossover cable. If you don't have one, that's not a problem. Take a look at this instructional video and learn how to make a crossover cable from and ordinary LAN cable with a small connector block, a knife, tape, and a lighter.
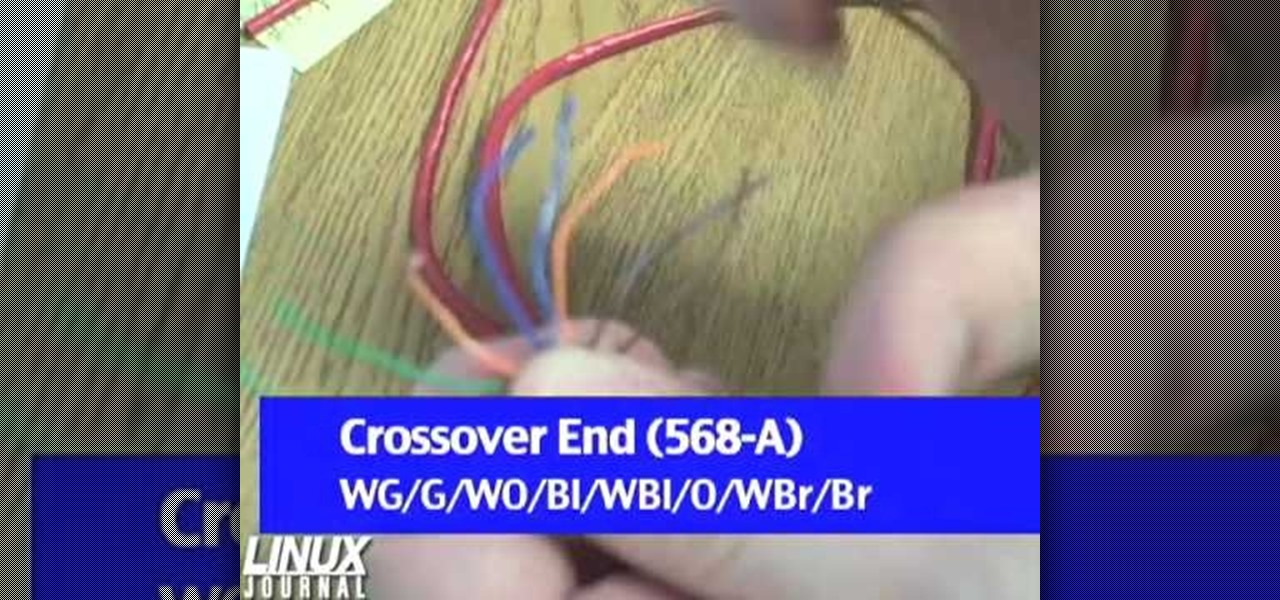
In order to make a crossover cable, for your computer, from scratch, you will need the following: Ethernet cable, an RJ45 connector, and a crimper.
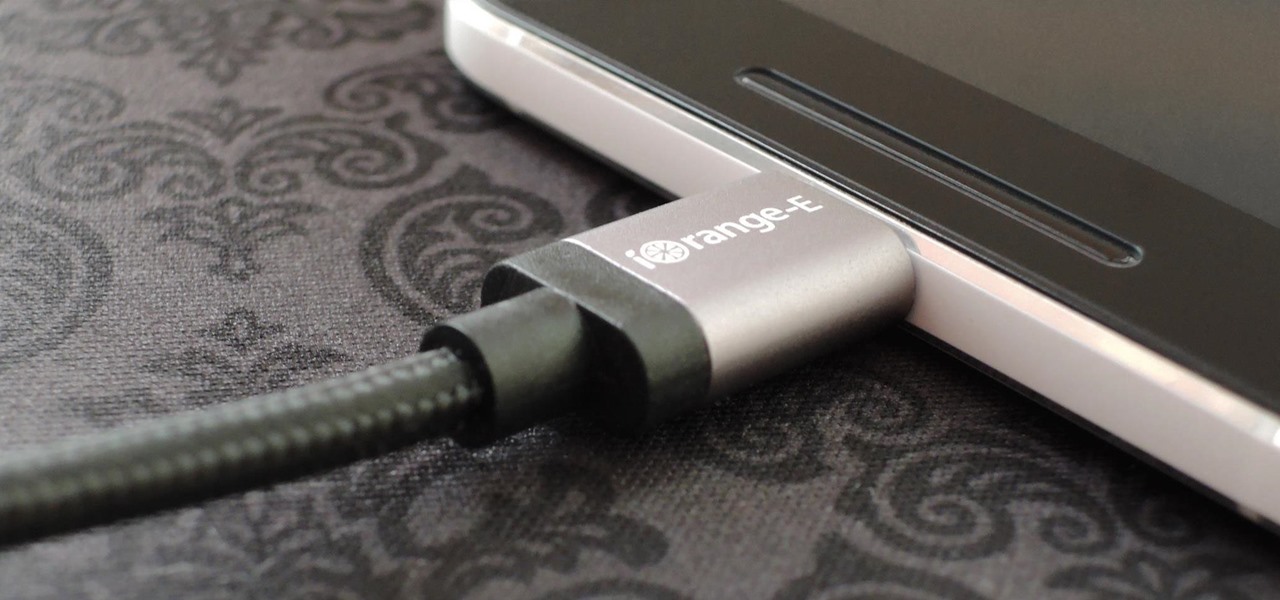
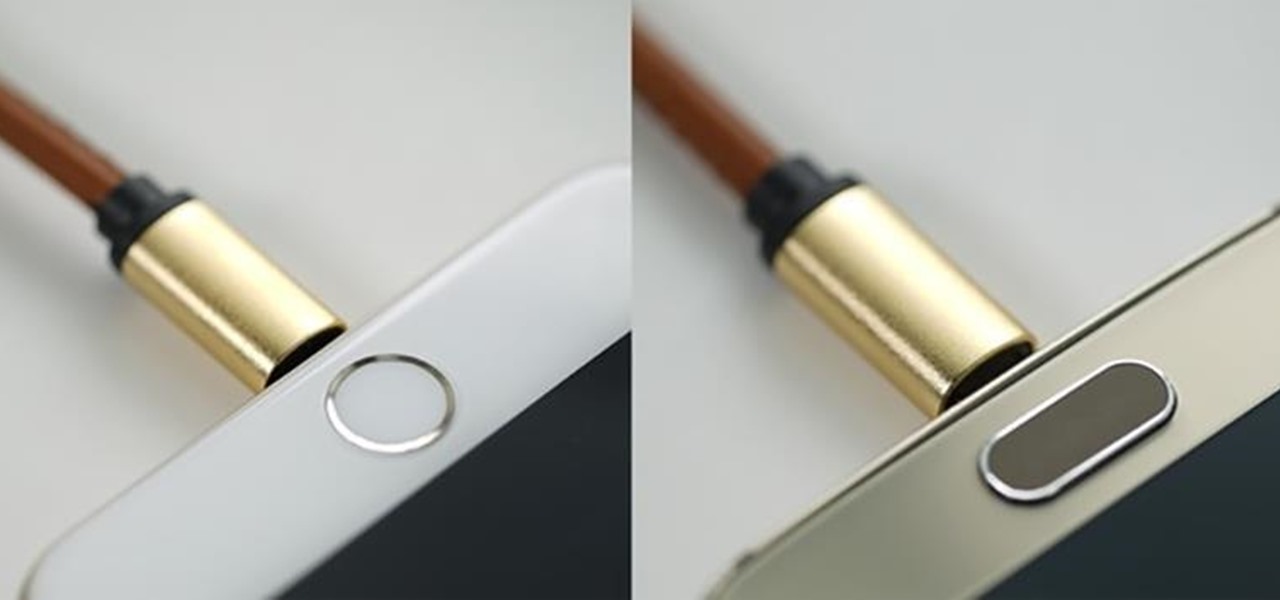
Ready or not, the USB-C cable is about to take over your electronics. The new industry standard is fully reversible and packed with enough power to serve as a laptop charger or an HDMI cable, so it actually has the potential to replace every cord, wire, and connector in your house. In fact, the conversion has already started: The latest MacBook, Chromebook Pixel, and Nexus phones are sporting USB-C connectors out of the box.

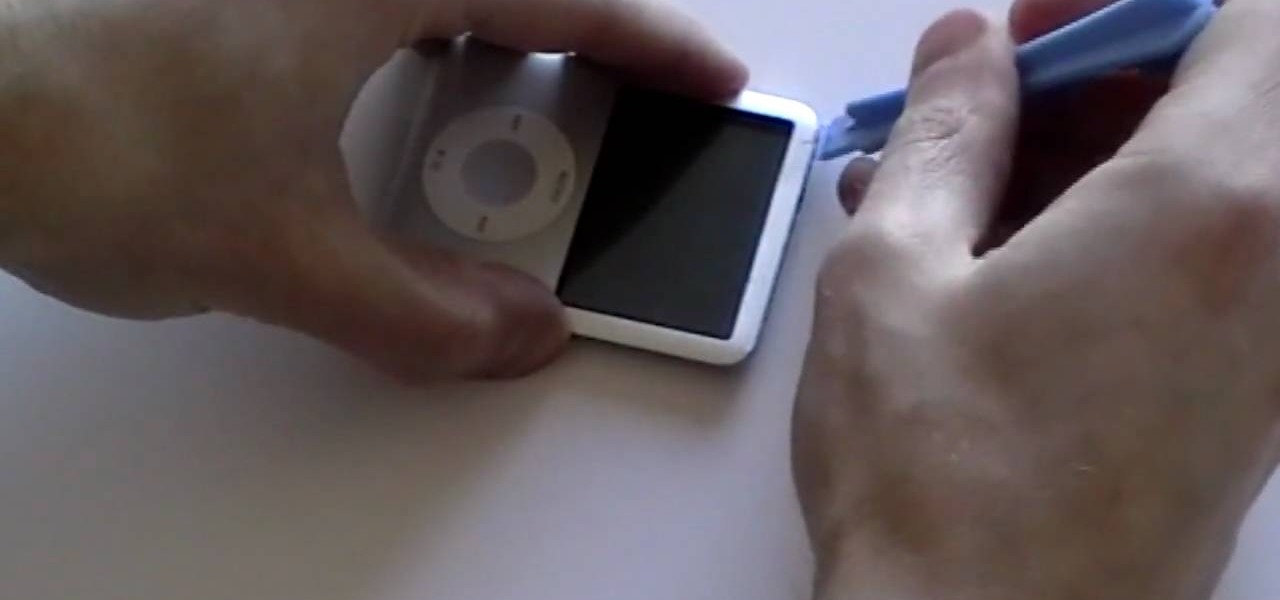
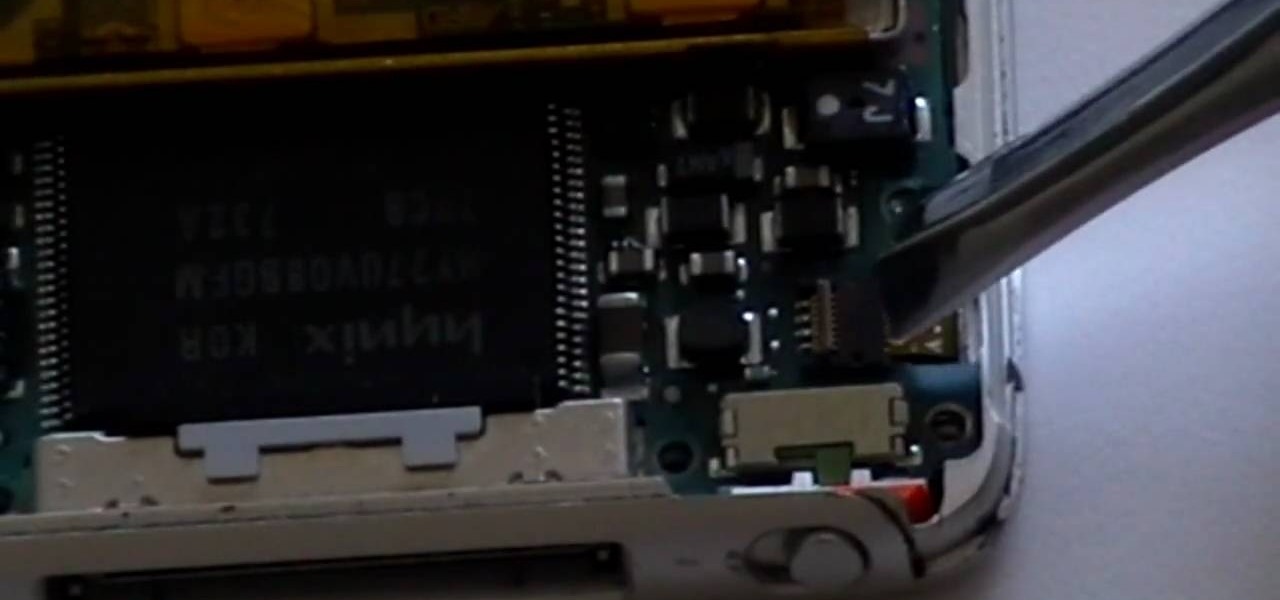
In this how-to video, you will learn now to dismantle an iPod Nano 3rd Generation. First, run a plastic tool on both sides of the device. Once this is done, remove the back cover with your fingers. Next, unscrew the six screws on the circuit board. Store them in a place where they will not be lost. Next, remove the click wheel ribbon cable from the jaw connector. Lift the jaw connector with the tool and use a pair of tweezers to gently remove the cable from the jaw. Next, remove the small met...

This video shows you how to replace the LCD screen on a third generation iPod nano. Using a plastic safe pry tool, run it along the edges of the iPod, releasing the clips. Once the clips have been released, you should be able to remove the back cover. There are six exposed screws on the bottom of the inside back cover, remove all of them. Next remove the click wheel ribbon cable from the jaw connector. To do this, use the pry tool to lift the connector. Use a pair of tweezers to gently remove...

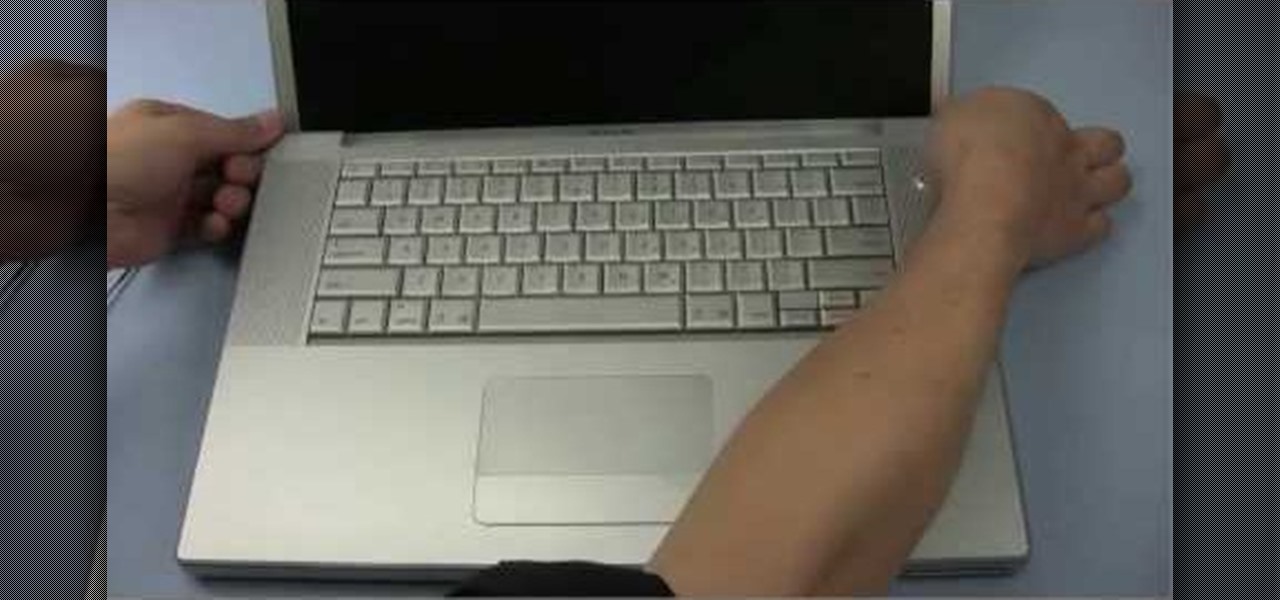
The video starts by informing about the basic safety precautions, tools needed and backing up data prior to hard drive replacement. There are a series of screws which need to be removed in the following order.1. Removing the battery from the back and then remove three screws thereby removing the RAM cover.2. Two more screws to be removed under the RAM cover.3. Two screws from inside front edge.4. Four screws from the bottom rear.5. Two screws each from the slim sides.6. Two screws near the hi...

Take a look at this instructional video and learn how to build a custom iPod and iPhone cable that'll simultaneously charge the Apple device and give an audio line out connection. Keep in mind that this process requires some soldering and since the pins on the Apple dock connector are really tiny, this can be a very strenuous process.

Check out this car maintenance video on how to change your car battery in the smartest and safest way. So, get out that socket wrench or crescent wrench and get to work. Take out the auto battery and clean the battery cable connectors for a nice connection to your vehicle's new battery. Then just install the battery.

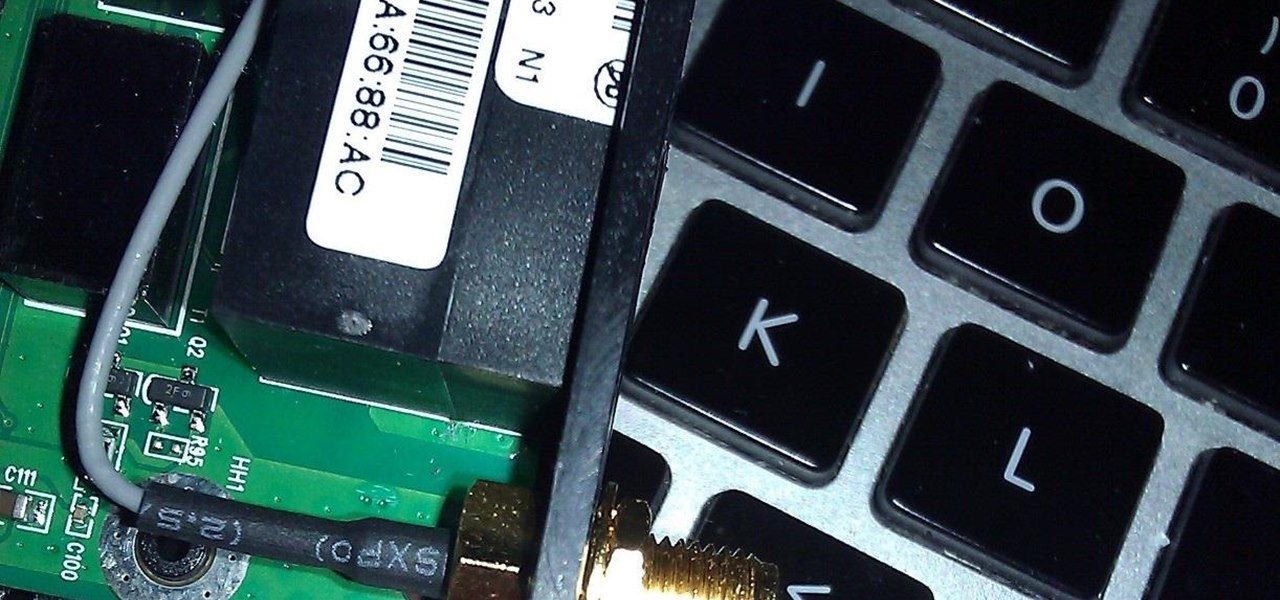
For those of you who are as unlucky as me with your Pineapple and need to re-seat or replace the aerial connector this will show you how.

Repairs Universe demonstrates how to replace the battery on an Apple 3G iPhone. First, remove the SIM card and remove the two screws from the bottom of the phone. Next, use a safe pry tool and run it along the phone between the bevel and the glass to pop out the screen. Then, slowly lift the glass. It will still be connected to the phone body with three ribbon cables. Popup the connectors on the cables one and two. Pop out the three connector from its jaw connector. Remove the digitizer glass...

Clean a Nintendo NES game console and recondition the connector for great retro gaming. You need a 72 pin connector, brasso polish, rubbing alcohol and a flathead screwdriver. This is a great restoration video for Nintendo game consoles or NES (Nintendo Entertainment Systems).

The camera connector kit from Apple is a great accessory if you want to instantly edit and interact with photos that you take on your portable digital camera. This tutorial will show you how to make use of the iPad's camera connector so that you can adjust those photos on the go.

If you're fond of remote-controlled vehicles, you might appreciate this video tutorial on how to assemble a Traxxas high-current connector. To add a high-current connector to your Traxxas R/C model vehicle, you're going to need some pliers, wire strippers, flathead screwdriver, solder and a soldering iron. Replacing the old connector is easy, and will help give your hobby RTR (ready to run) nitro and electric model car or monster truck some life in needs.

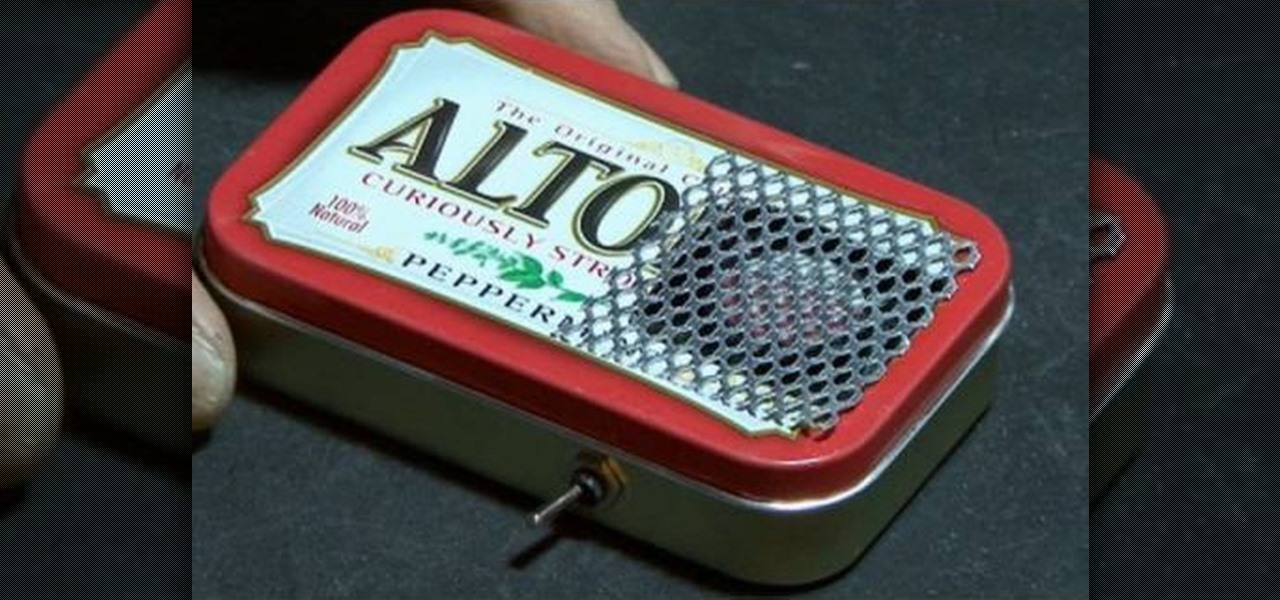
Materials needed: Altoid mint tin, 9 volt batter and connector, switch, 7812 voltage regulator, 12 volt computer fan, carbon filter and 2 pieces of screen. Wire the battery connectors. Solder all of the following: Negative connector to the switch, wire to the switch, ground wire of the voltage regulator to the middle wire, output for the 7812 to the fan, positive lead on the 9 volt connector to the input on the 7812 and the negative from the 7812 to the negative on the fan. Test. Put all the ...

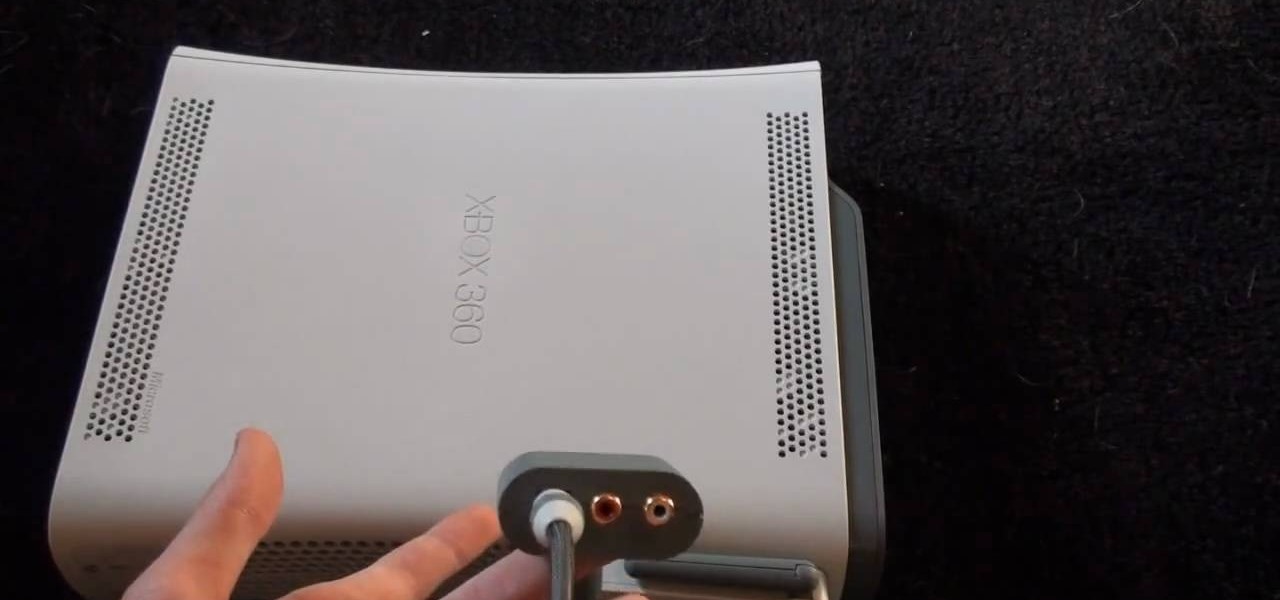
In this how-to video, you will learn how to hook up your TB X41 Headset to your Xbox 360. First, hook up the HDMI cable. From there, you must have a fiber optic cable and an Xbox 360 audio adapter. All you have to do is plug it in right above the HDMI connector. The black input is where the digital audio input goes. This is where you install the fiber optic cable. Run that into the transmitter. The transmitter sends the signal to your headset. By viewing this video, you will learn how to easi...

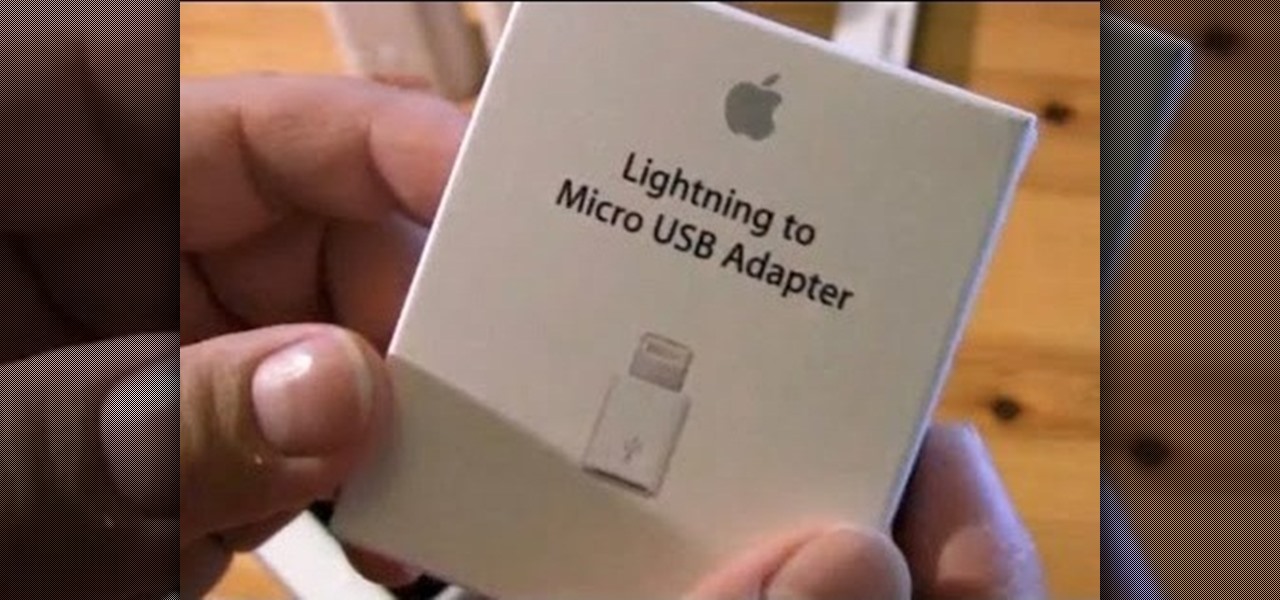
Thanks for stopping by to view my Apple Lightning to Micro USB adapter review. The unit comes in a low profile cardboard box and some misc documentation -none of which appear to include any instructions but I think I can figure out how to use it. The adapter is small and well constructed as you would expect from an Apple product and for almost $24 including tax. The plastic encasing the connector is a little larger than with Apple's Lightning cable.

If shaky home videos are making your audience seasick, it's time to steady your hand. Watch this video to learn how to make a camcorder stabilizer.

Here's how to enter recovery mode on your iPhone or iPod touch the easy way. No need to press the sleep button and the home button at the same time for x amount of seconds, just turn your device off, if the device is frozen and can't be turned off normally just hold the above buttons until it turns off, now press and hold the home button and plug the device in. Do not let go of the home button until you see a screen in which the connector cable is displayed and there is an arrow pointing from...

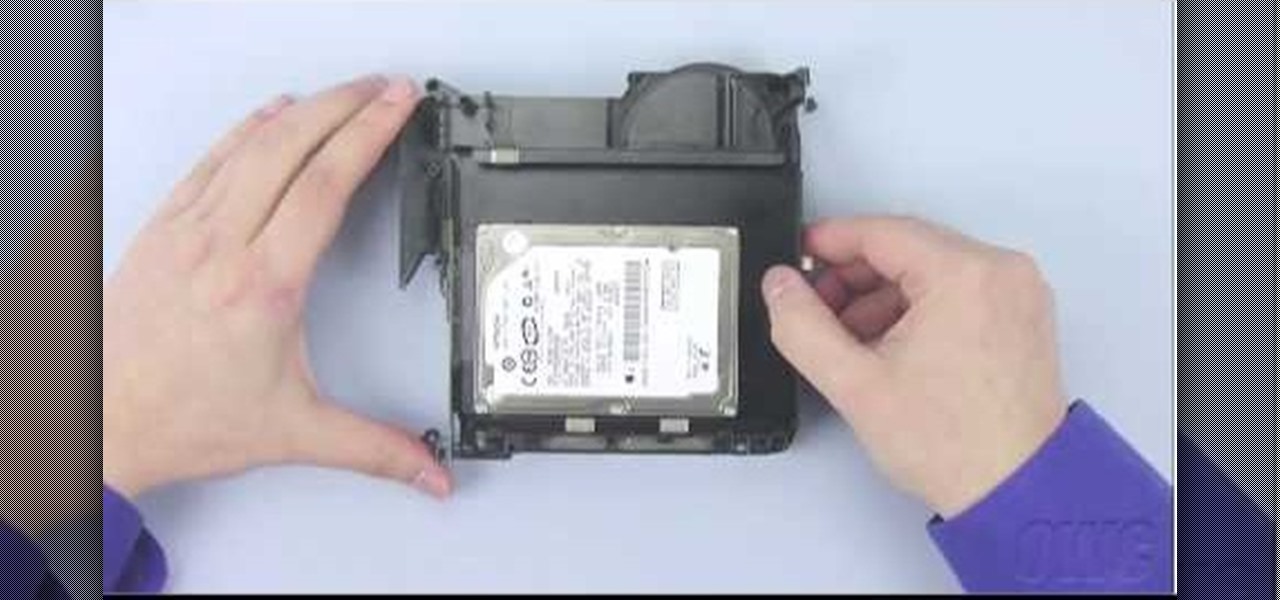
Other World Computing provides a guide for advanced users demonstrating the upgrade or replacement of a hard drive in a Mac Mini Server computer. This comprehensive video takes you through all steps from tool selection to re-assembling the Mac Mini Server and it is recommended that the video is watched right through before attempting the procedure. In particular, it demonstrates the difficulty of opening up a Mac Mini using a small putty knife. Once the case is off, the three wireless antenna...

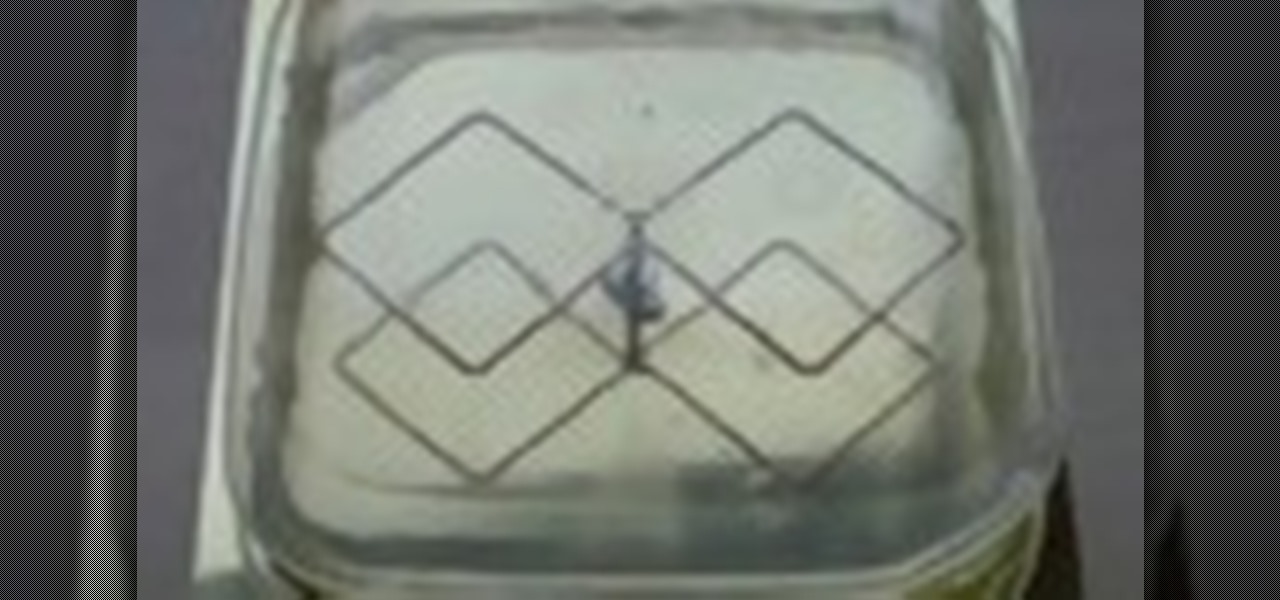
See how to build a weatherproof compact high gain WiFi antenna for under fifteen dollars! This homemade WiFi antenna should be enough for most applications, since it's three times more powerful than a standard antenna.

If your replacement faucet is not the right size, pick up a connector and fitting from the hardware store. You will also need wrenches. First turn off the water supply. Then, brace the pipe with a pipe wrench. Use another wrench as a lever and remove the faucet. Take a piece of plumber's tape and wrap the brass connector. Make sure you thread the tape in the same direction that you screw on the connector. Screw the connector on by hand and tighten it with a wrench. Use the other wrench to kee...

This is a DIY cleaning video for NES Nintendo game cartridges. Using Brasso and alcohol seems to work to clean the connectors in the cartridges. It seems Brasso will turn black even if the connectors are clean. Base the results on the cleanliness of your connectors rather than the cleanliness of the rag. Games go from broken to working. Don't use a brillo or scour pad as it may strip the metal pins in the connector.

We've all been there—you're away from home, your phone's battery is quickly nearing zero, and you forgot to bring your charger. "Hey, does anybody have an iPhone charger?" you ask. Crickets. If you could understand cricket-speak, you'd know that they too were saying "Sorry, bud. We're all on Android."

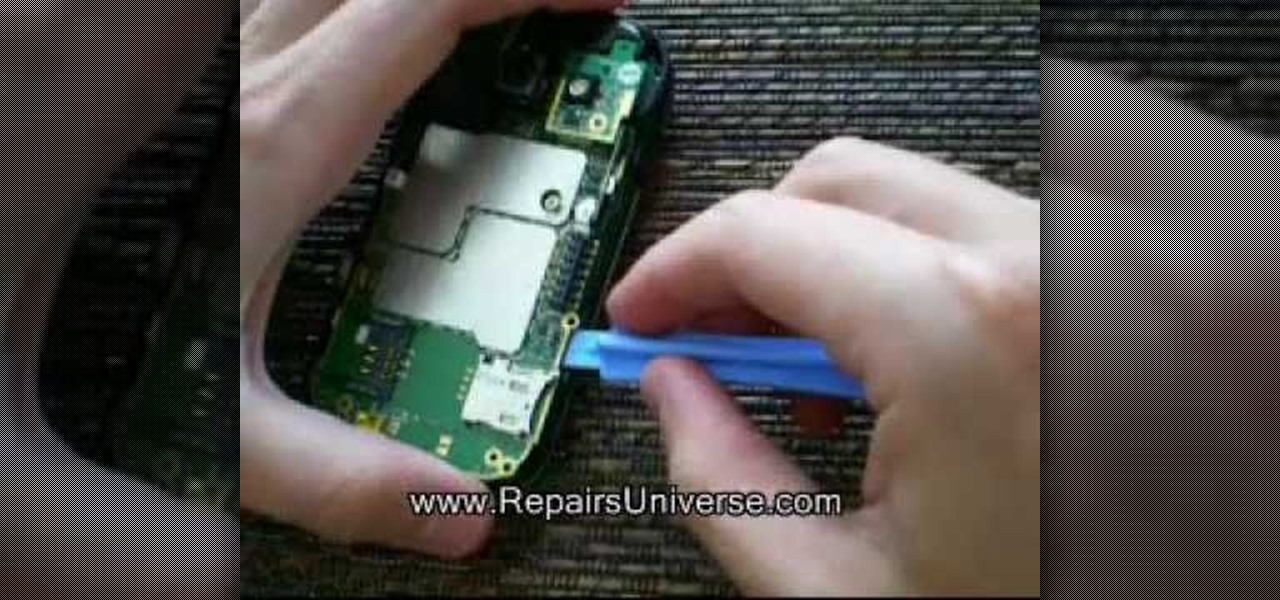
This how to video shows you how to take apart an HTC 8525 and replace the LCD screen. First, remove the SIM card and the battery. Next, remove the screws in the back. Using a pry tool, slide it along the edge of the phone at the bottom to release the clips. Once they are released, remove the back piece. To remove the motherboard, release the ribbon connector with the pry tool. Carefully lift the motherboard from the case. Remember that it is still connected to a ribbon that must be released. ...

Model Airplane News Editor John Reid shows how to soldering connectors on to Lipo Batteries. Proper technique is essential not to heat damage the batteries. Watch this video tutorial and learn how to solder connectors to the batteries on an RC vehicle.

If you're not technologically savvy, don't stress. You probably want to jump right into the game, so check out this video on how to properly install your Playstation 3.

If you've ever tried to remove the brake hoses on a Ford or a Mazda, you may know the pain of the brake hose connector breaking when you try to remove it. Watch this video to learn how to remove the brake hose the easy way.

This video tutorial belongs to the Autos, Motorcycles & Planes category which is going to show you how to replace a power lock on a Ford Excursion. This activity is neither easy nor cheap. But, you will save a lot of money if you do it yourself. Before starting you got to remove the side paneling, speakers, outside door handle and insulation. Then you remove the door lock system. Remove the cable connectors and replace the solenoid unit. Now you can check that the power lock is working and th...

In the digital age, camera's have gotten better, more advanced and more expensive. Even those throw-away cameras have taken the leap to digital-ness, which means more money. But you don't have to be confined by the one-time use of these single-use digital cameras anymore. Kipkay teaches you how to hack a one-time-use digital camera so that you can use it over and over again— for only twenty dollars. There is a connector behind a sticker, so you have to peel the sticker off and then you must f...

If you're a hardcore RC hobbyist, odds are you may have occasion to solder a Deans connector from time to time. This two-part video tutorial will show you how. In this video tutorial, you'll learn how to build an adapter to fit two batteries into a single female output using deans connectors. For more information, take a look.

Tired of squinting over your laptop? There are several ways to turn a big-screen TV into your new computer monitor and enjoy video games, web content, and photos like never before.

This clip presents a general introduction to the new Connectors tool in MAXON C4D R12. Whether you're new to MAXON's popular 3D modeling application or are just looking to get better acquainted with Cinema 4D and its various features and functions, you're sure to enjoy this free video software tutorial. For more information, including complete instructions, watch this 3D modeler's guide.

In this video, we learn how to connect your Nintendo Wi-Fi USB connector. Before you do this, you need to purchase a Nintendo Wi-Fi USB connector and connect it to your computer. Once you do this, a window will pop up on the computer asking for information. It will start to set up and go through the process of installing, asking you questions about your connection. You may have to enter a password as you do this. When it's complete, your Wii will be able to connect to your Wi-Fi, then you can...

If your iPhone has frozen and you're not sure why you're in luck because there is a way to reset it. The first thing you're going to want to do is load up iTunes do a normal reset but don't turn it back on, then plug your iPhone into the connector for your computer but don't actually connect it to the computer yet. Hold down the home button then while holding it plug the connector into the computer. While still holding the home button and have plugged in the connector wait for your iTunes to ...

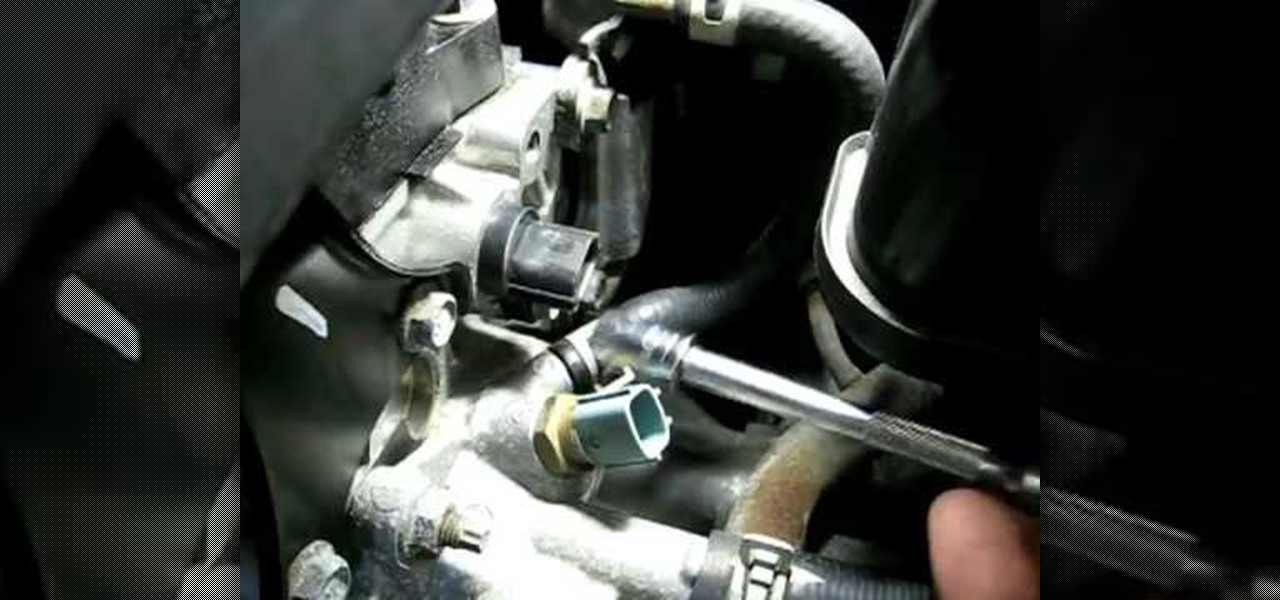
In this video, Richpin demonstrates how to replace the camshaft sensor in a Nissan Altima. The cam sensor is located by the cylinder box. First, remove the electrical connector off of the sensor. Push up on the lock on the bottom of the sensor to pull back and remove the connector. The sensor is held in by a bolt so remove the bolt with a ratchet wrench. Next, pull out the sensor. Wiggle it to remove the seal of the o-ring. Rub the residual oil on the new sensor's o-ring. Then, slide the new ...

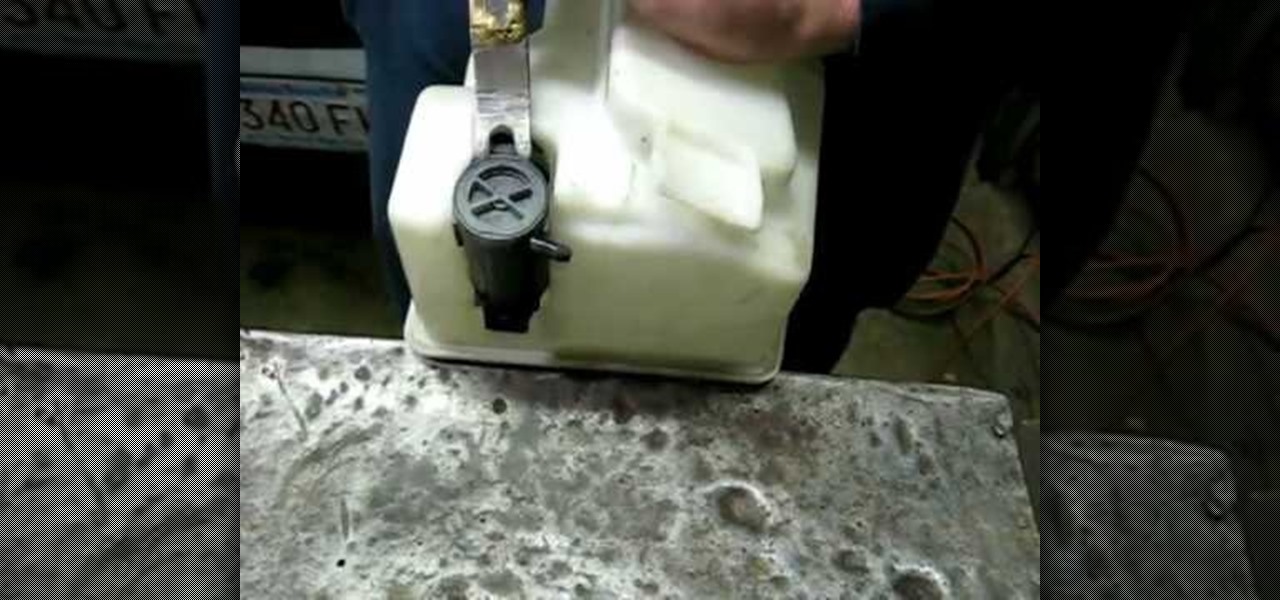
This video demonstrates how to replace the windshield washer pump in a Saturn S series car. Remove the reservoir by unscrewing the bolt and lift the reservoir and slide it back to take it off the mount. Disconnect the electrical connector by squeezing the clips and pull the connector off. Next remove the hose, making sure to cover the opening with the winger to prevent loss of fluid from the reservoir. Drain the fluid from the reservoir as shown. Get the pump off the reservoir by tapping the ...

Change a normal 9v battery into a life saver. If you have ever run out of juice on your phone and could really use a quick charge then you need a USB battery.


