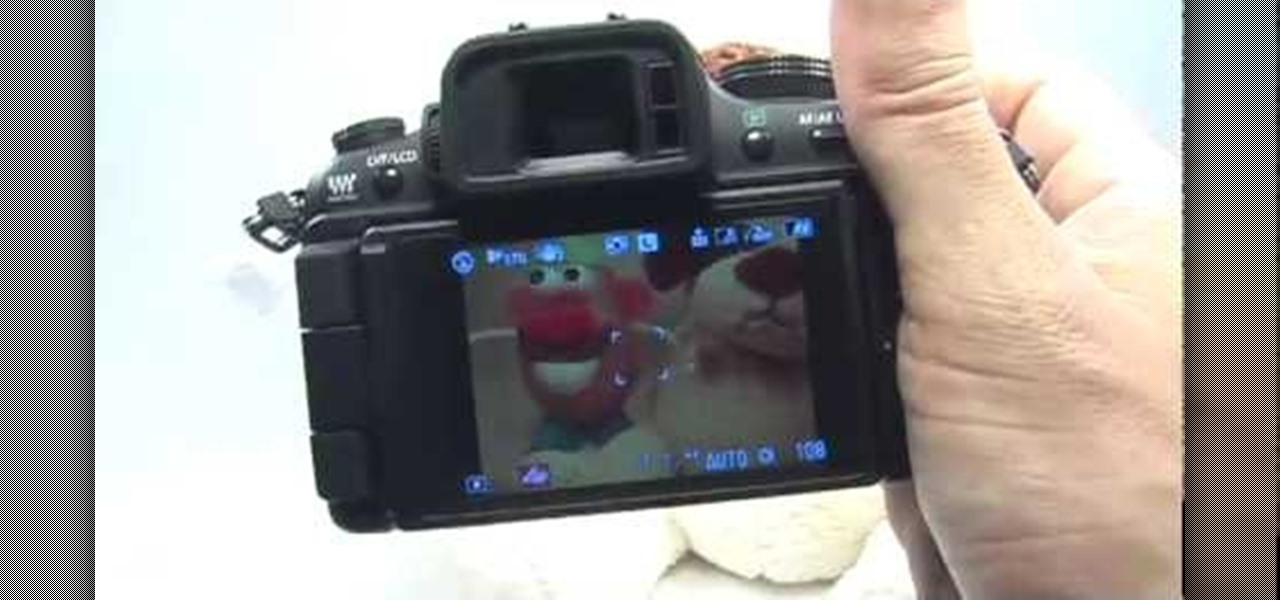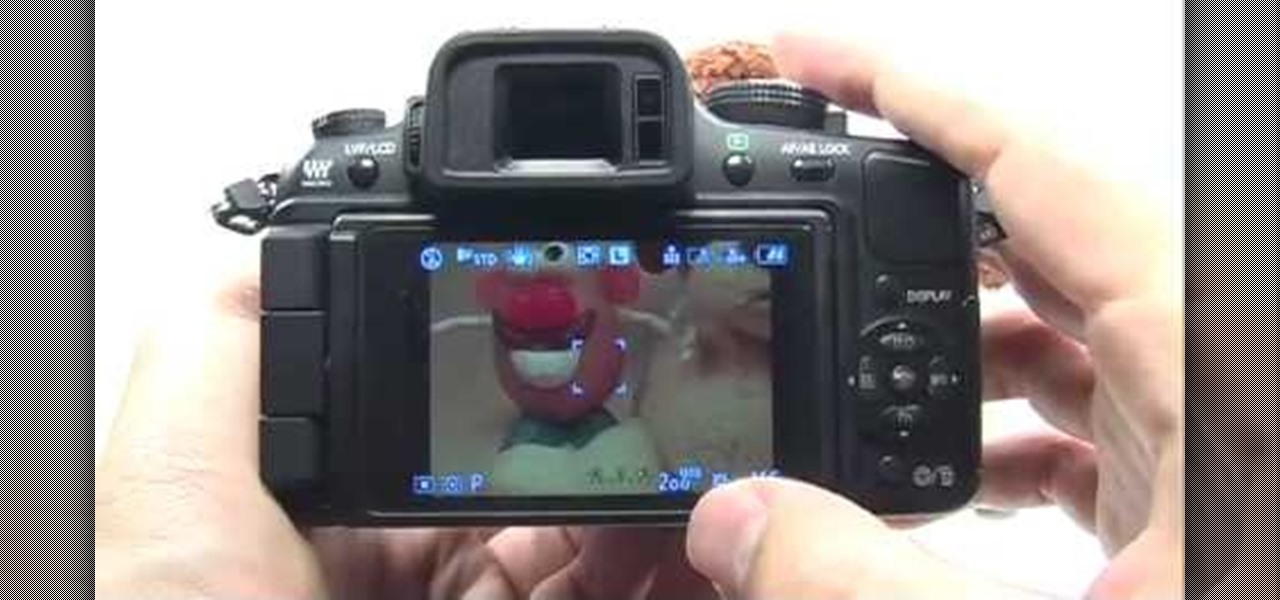
Learn how to set and take pictures with the Program Mode (P) on a Panasonic G1 or GH1. Whether you're the proud owner of a Panasonic Lumix DMC-G1 or DMC-GH1 micro four thirds digital camera or perhaps just considering picking one up, you're sure to like this free video tutorial, which presents a complete overview of how to use the Program Mode on a G1 or GH1. For more information, including detailed instructions, watch this digital camera user's guide.
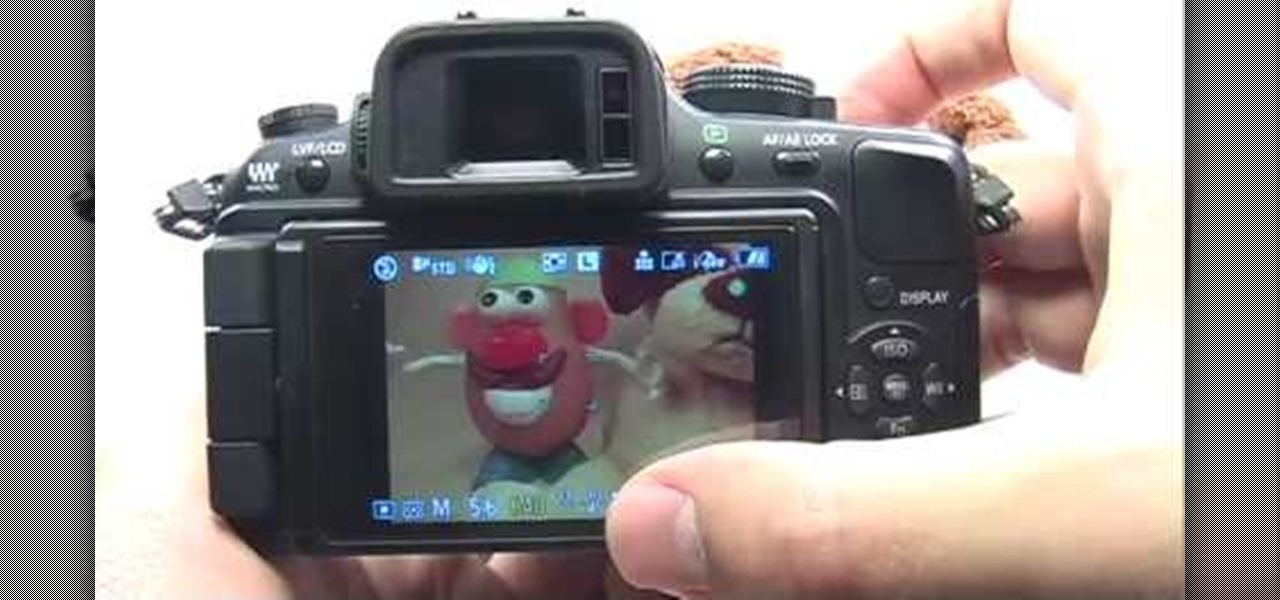
Learn how to set and shoot with the full manual mode on a Panasonic G1 or GH1 digital camera. Whether you're the proud owner of a Panasonic Lumix DMC-G1 or DMC-GH1 micro four thirds digital camera or perhaps just considering picking one up, you're sure to like this free video tutorial, which presents a complete overview of use the cameras' manual (M) shooting modes. For more information, including detailed instructions, watch this digital camera user's guide.
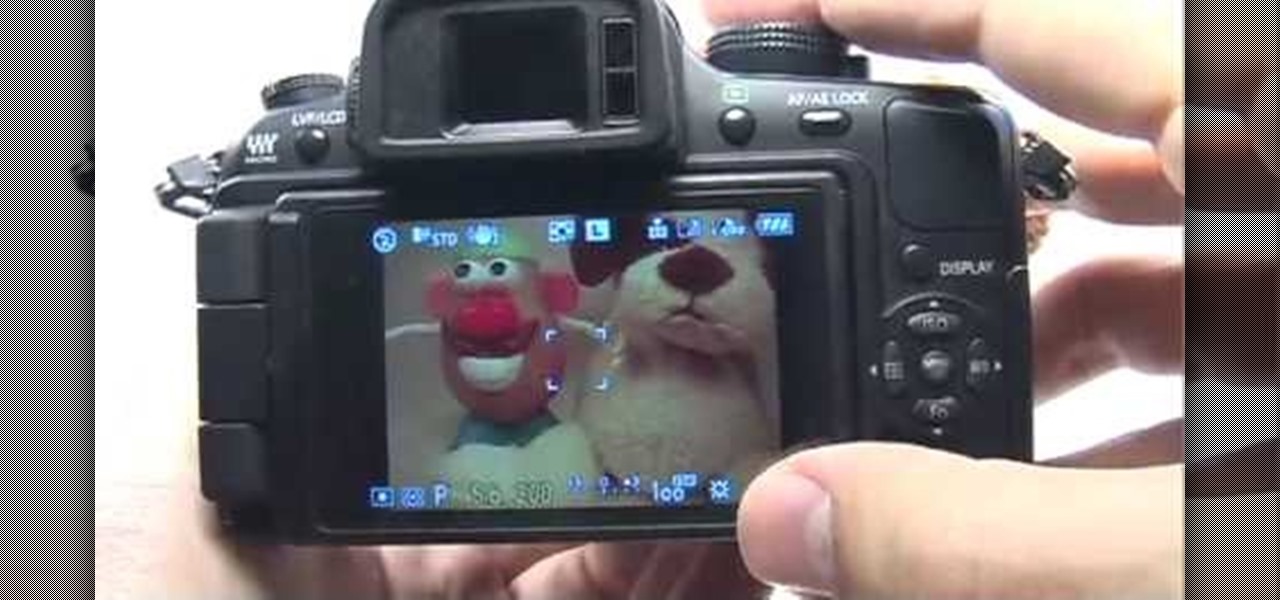
Learn how to set the auto mode on a Panasonic G1 or GH1 digital camera. Whether you're the proud owner of a Panasonic Lumix DMC-G1 or DMC-GH1 micro four thirds digital camera or perhaps just considering picking one up, you're sure to like this free video tutorial, which presents a complete overview of how to take easy, point-and-shoot style pictures with a G1 or GH1 camera. For more information, including detailed instructions, watch this digital camera user's guide.
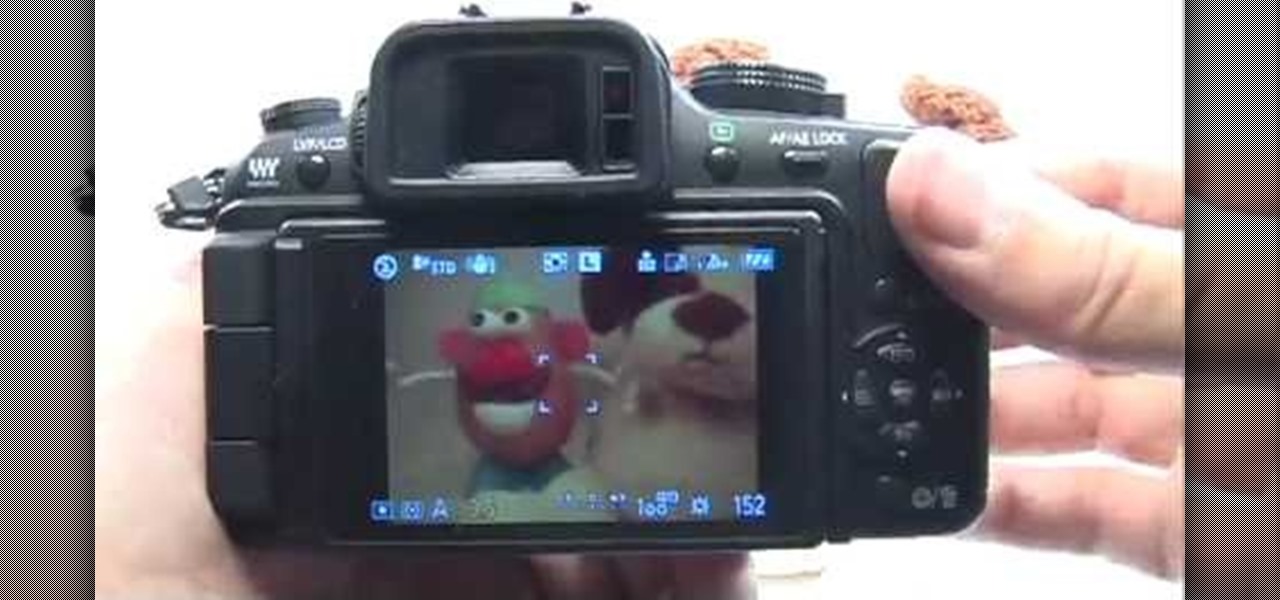
Learn how to shoot with the Aperture Priority (A) function on a Panasonic G1 or GH1 digital camera. Whether you're the proud owner of a Panasonic Lumix DMC-G1 or DMC-GH1 micro four thirds digital camera or perhaps just considering picking one up, you're sure to like this free video tutorial, which presents a complete overview of how to use the manual aperture (A) mode on a G1 or GH1 camera. For more information, including detailed instructions, watch this digital camera user's guide.
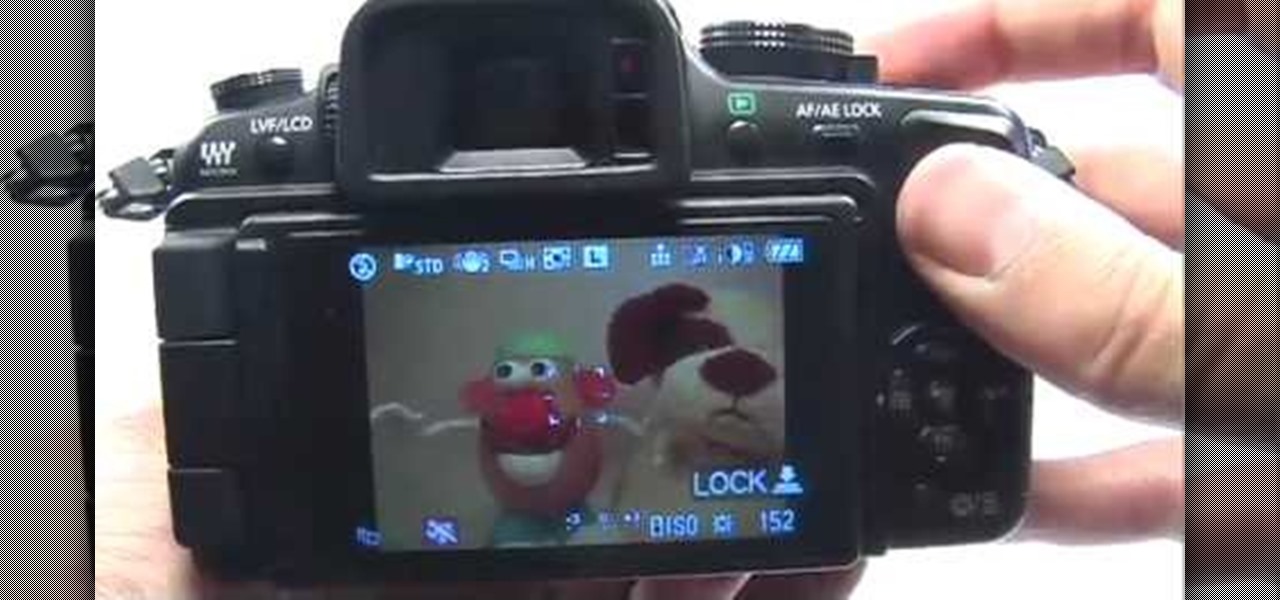
Learn how to optimize a Panasonic G1 or GH1 digital camera for sports photography. Whether you're the proud owner of a Panasonic Lumix DMC-G1 or DMC-GH1 micro four thirds digital camera or perhaps just considering picking one up, you're sure to like this free video tutorial, which presents a complete overview of how to take terrific action shots with a G1 or GH1 camera. For more information, including detailed instructions, watch this digital camera user's guide.
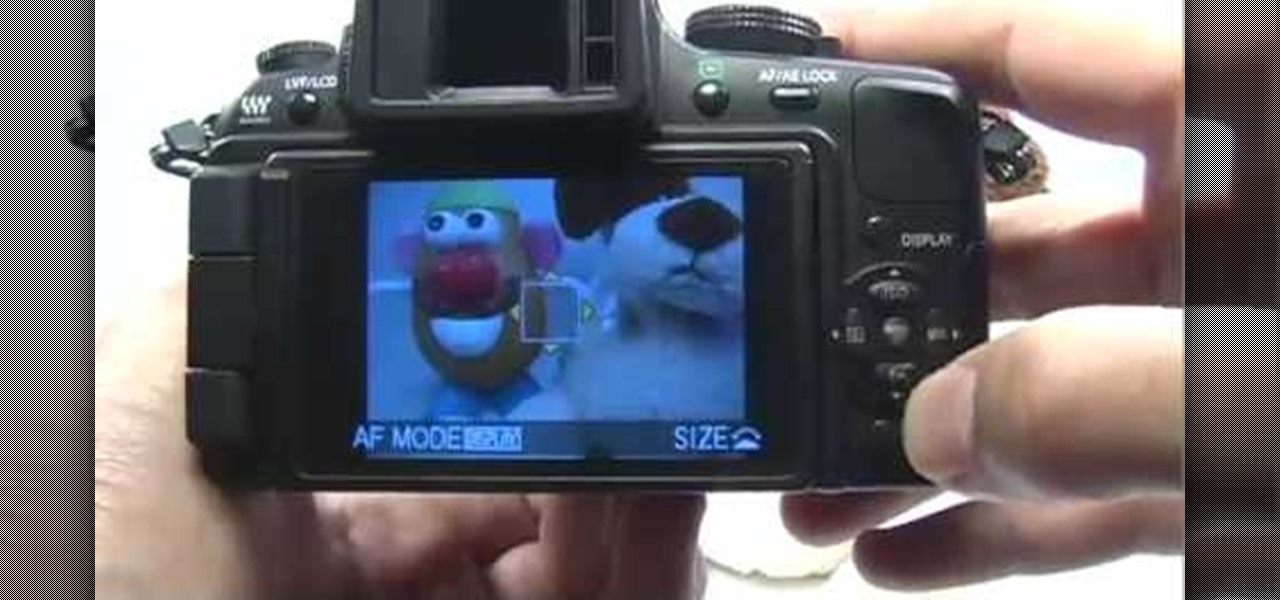
Learn how to optimize a Panasonic G1 or GH1 for product photography. Whether you're the proud owner of a Panasonic Lumix DMC-G1 or DMC-GH1 micro four thirds digital camera or perhaps just considering picking one up, you're sure to like this free video tutorial, which presents a complete overview of how to shoot terrific product portraits with a G1 or GH1 camera. For more information, including detailed instructions, watch this digital camera user's guide.

Learn how to optimize a G1 or GH1 camera for macro shooting. Whether you're the proud owner of a Panasonic Lumix DMC-G1 or DMC-GH1 micro four thirds digital camera or perhaps just considering picking one up, you're sure to like this free video tutorial, which presents a complete overview of how to set up a G1 or GH1 camera for close-up shots. For more information, including detailed instructions, watch this digital camera user's guide.

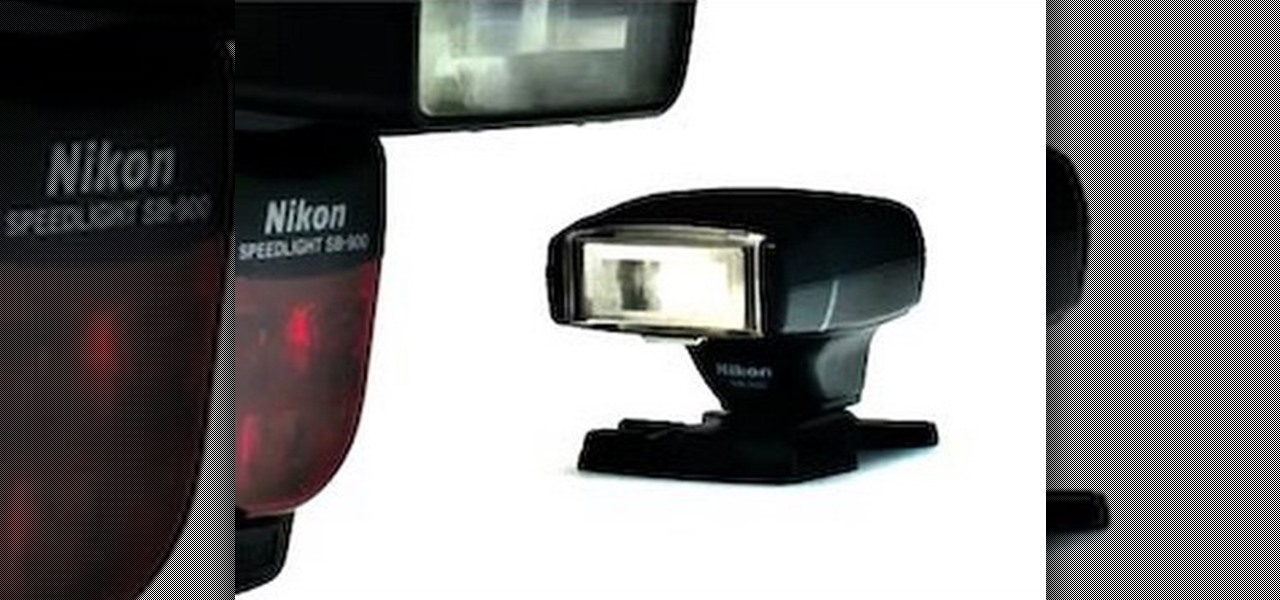
Now that you've got your Nikon SB-900 professional-grade speedlight, make sure that you get the most out of it with this free photographer's guide, which will walk you through the flash unit's basic features and functionalities.

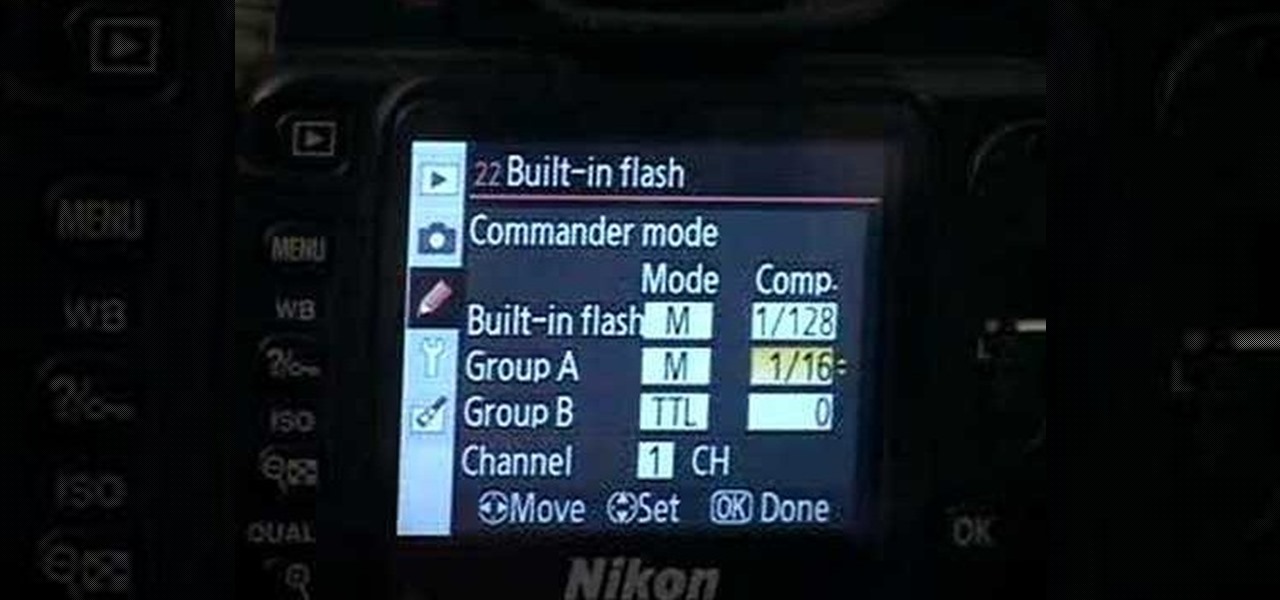
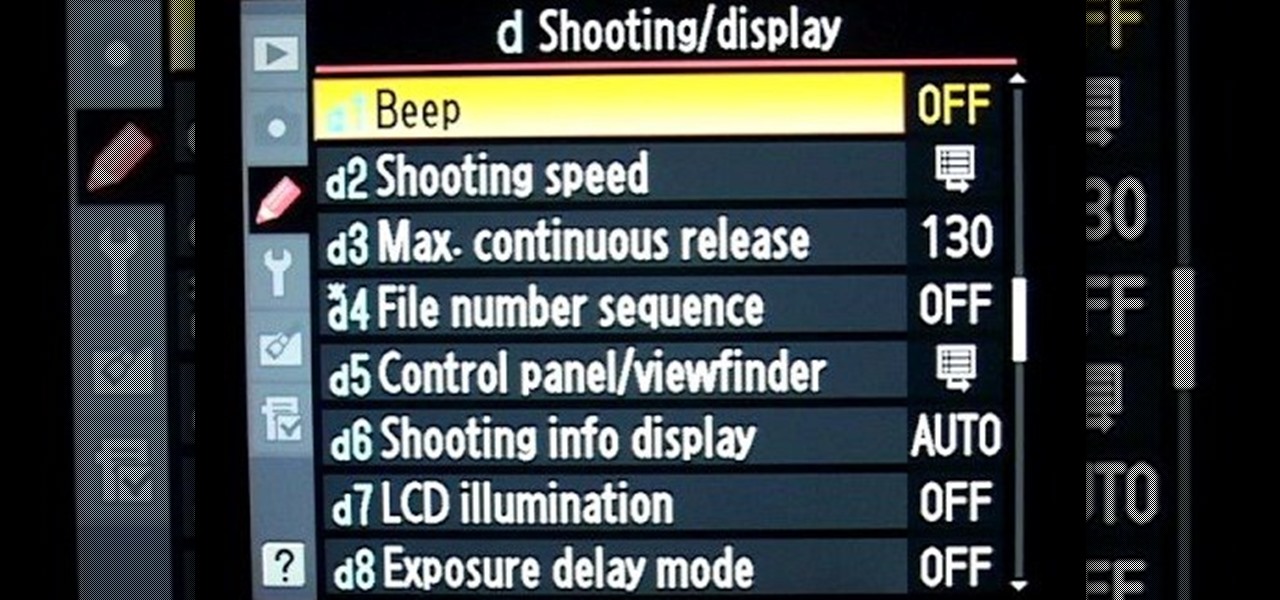
These are the steps required to set your D80's pop-up flash. First, go to the "Custom Shooting Menu." Then you choose #22 on the screen: "Built in Flash." Choose the "Commander Mode" option. The modes that are available for the pop-up flash include TTL, AA (Auto Aperture) M (Manual) and Off (no flash). If you are using an external flash unit, you use either group A or B. The light frequencies and proper settings are related to how much light compensation is needed. +3. 0 is high power, 1. 1 i...

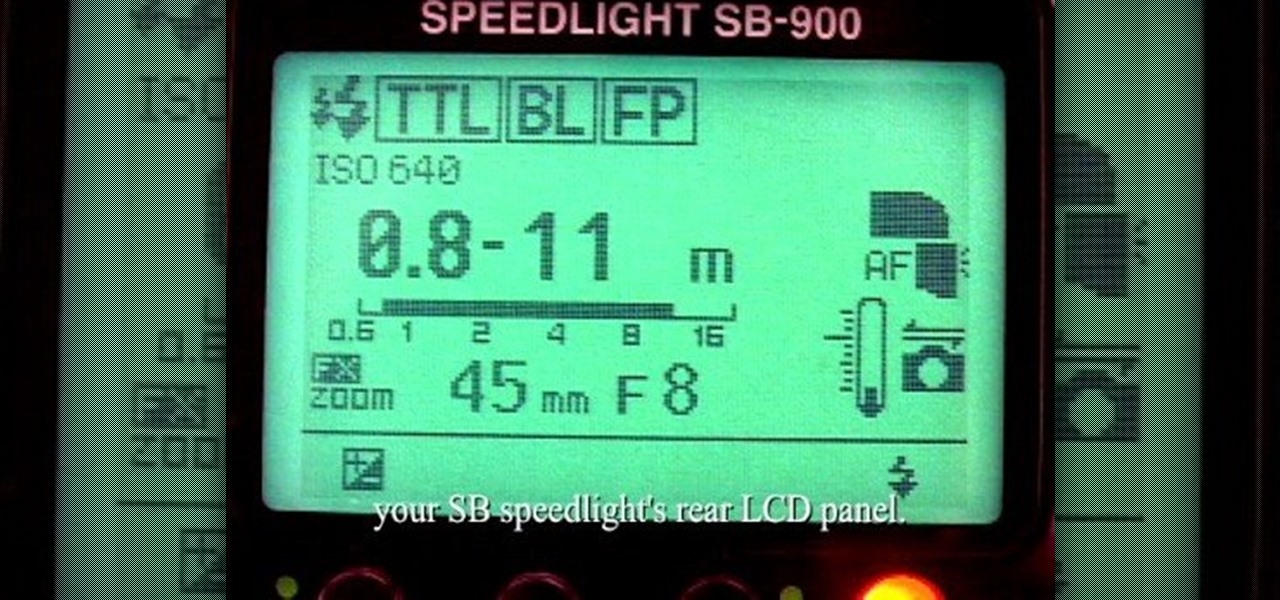
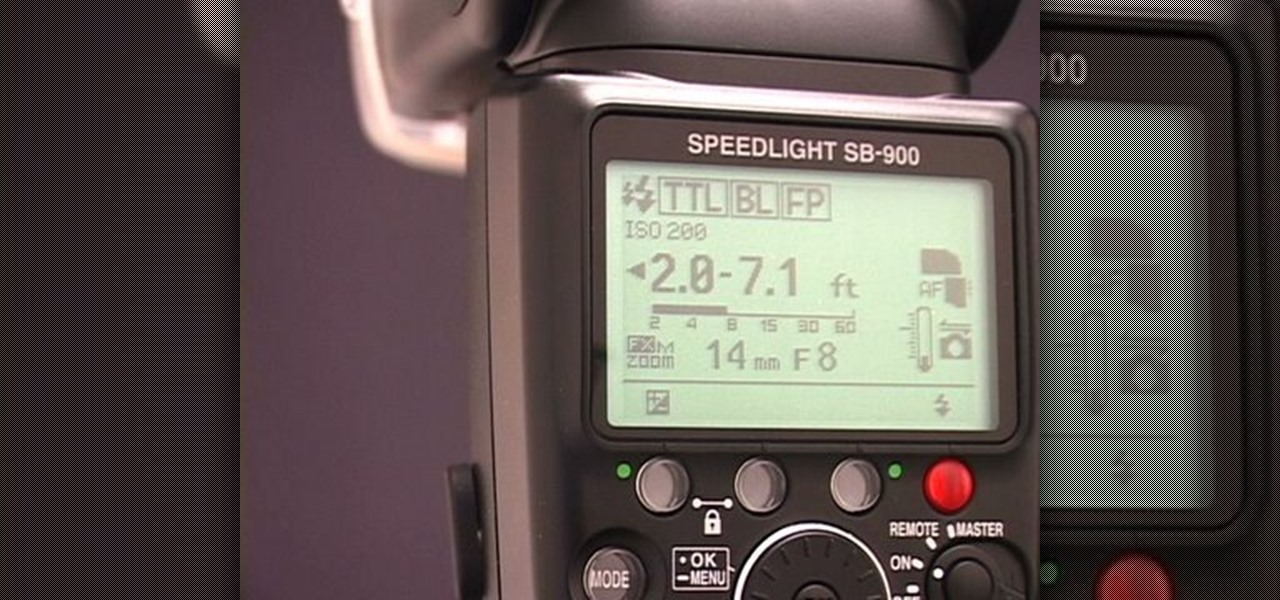
In this video tutorial, viewers learn how to use Auto-FP high speed flash on the Nikon SB camera. Begin by attaching the SB speed light onto the camera and turn on the speed light. This video will be setting up vie the camera menu. In he menu, set it at 1/250s and exit out the menu. The "FP" icon will now appear on the LCD panel. Increase it to 1/8000s or stop up to F/2. 8. This video will benefit those viewers who are interested in photography and would like to learn how to use Auto-FP on a ...

Nikon DSLR's have different Autofocus settings depending on your shooting situation. You can manipulate the multi-point settings as well as continues focus settings.

Most DSLR's have shooting modes that enable you to optimize your shooting settings depending on your shooting environment. This simple tutorial demonstrates the practical uses and purposes of each so you can take appropriate action shots, portrait shots, and landscape shots.

Understanding the EV Compensation feature on Nikon DSLR's is extremely valuable when shooting with a flash. Adjustments enable you to fine-tune exposure, flash settings, as well as more general settings.

Many have complained about overheating on the Nikon SB-900 flash. Fortunately this series of videos demonstrates what you can do to prevent this from happening.

Time lapse is a great, transcendent storytelling device that can be used for transitions in narrative, documentary, and corporate work. Watch as this series of videos help you set up and execute a proper time lapse sequence.

You can manipulate the AF fine-tune on your Nikon DSLR in order to optimize the sharpness and resolution of your lenses. This is a great tool for achieving the highest picture quality possible.

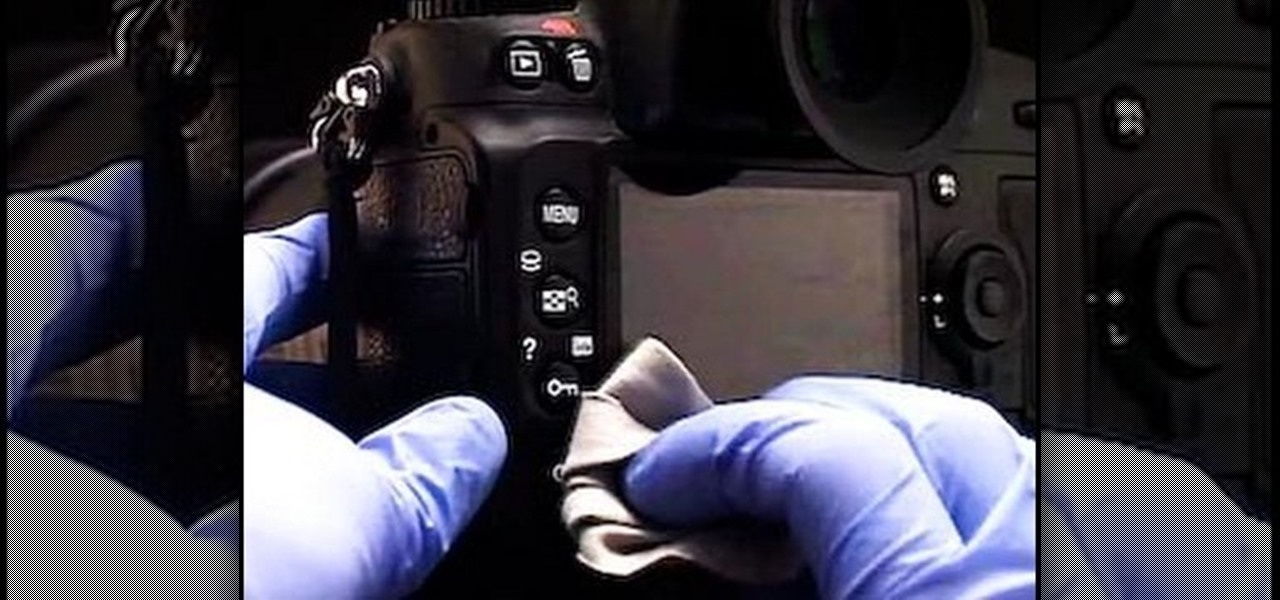
In this video tutorial, viewers learn how to clean the rear LCD on a camera. Begin by dry cleaning using Giottos Rocket Blower and nylon fine brush. Users will also need a isopropyl rubbing alcohol and microfiber cloth. Users may also need gloves to protect their hands from the alcohol. Begin by blowing off any dust and brush it with the brush. Now users will be wet cleaning using the isopropyl alcohol and microfiber cloth. Users are advised to clean weekly. This video will benefit those view...

This video shows Nikon Autofocus setting for action. Getting started on setting up the AF for action.

There are a lot of things that a flash can do for you when you are taking pictures. It can be used to fill shadows, light up subjects, and much more. The video demonstrates the various tilt and pan settings that the flash can be used in for bouncing light in various circumstances. Ceiling bounce tends to add unwanted shadows under the chin and eye brows when doing portraits. The side bounce from a pan adds light from a specific direction. Flashes have different modes to offer including pre-fl...

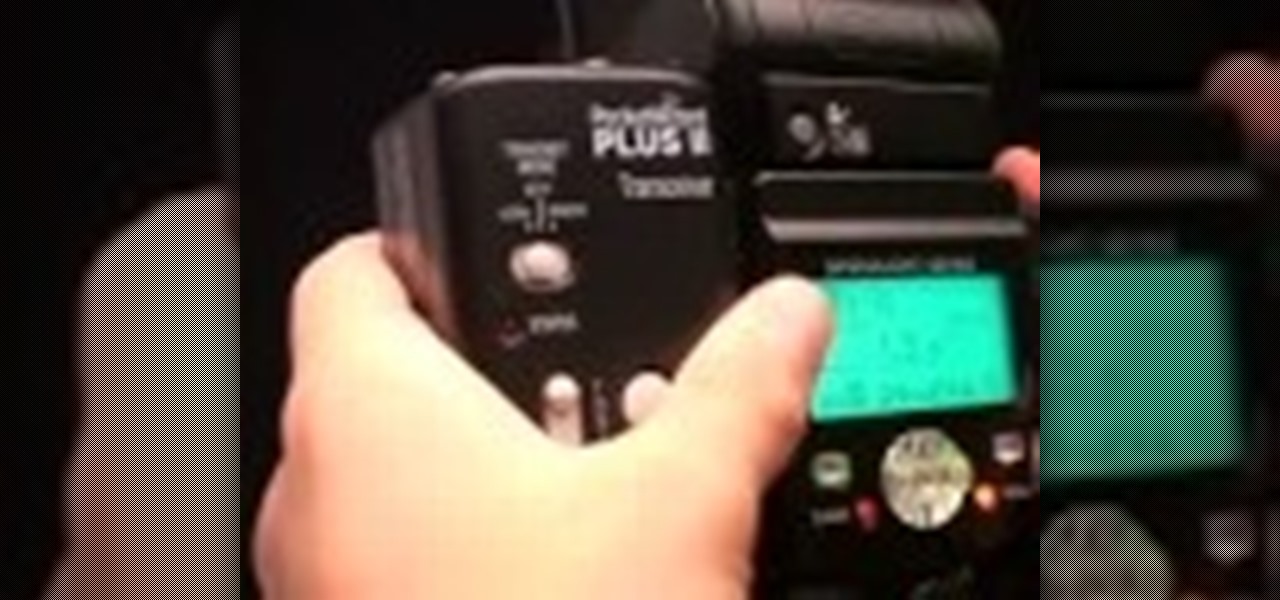
In this Electronics video you will see how to set up the Pocketwizard with a Nikon SB-800 and SB-900. When you use Pocketwizard as a master to trigger the flash, the remote flashes for a working distance of 1600 feet as against 33 feet. First attach a Pocketwizard unit to the flash by using the Velcro stickers. Plug in the cable supplied with the Pocketwizard in the ‘Flash’ slot. Open the rubber door on SB-800 and plug in the other end of the cord into ‘sync’. Turn it ON. When the connection ...

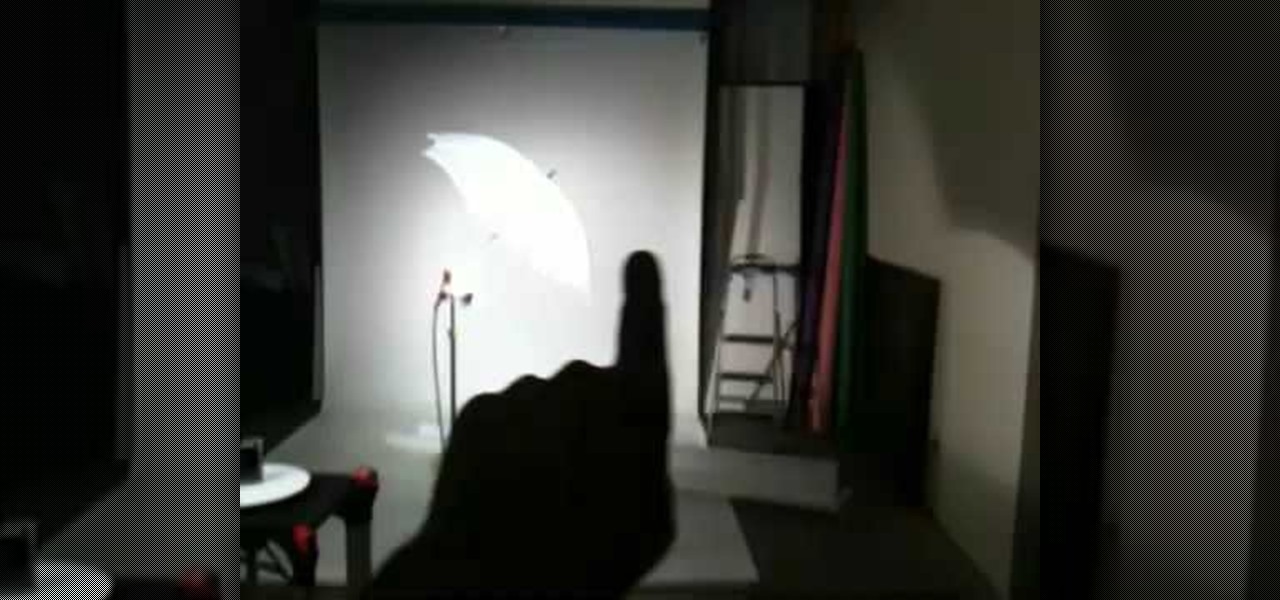
This video shows you how to do video lighting for product shots. In order to do this the presenter begins by putting the product on a plate. He has three lights that are placed around the product. 650 watt shooting onto the background. The second light is 1000 watts, with an open face shooting into a soft box. It has a flag to protect the light. The third light has an umbrella giving fill on the background. He then shuts off all the lights except for the background light giving a shot of the ...

This video tutorial is going to show you how to use the Nikon SU-800 Commander speed light. It requires only one 123A 3V Lithium Battery. A tiny switch allows you to switch between close-up. Another flash can be connected to it by a long cord. SEL button allows you to select. With the left and right arrow buttons increase or decrease the flash power. You will use the MODE button to program the speed light. TTL is for through the lens, AA for auto aperture, M for manual and so on. Watch the fu...

In this video tutorial, viewers learn how learn about the Nikon SB-400. The Nikon SB-400 is consumer grade speedlight that is designed for a consumer DSLR (D40/D60). It also has a lot of limitations that prevent you from having the full control of the speedlight such as, no ability to rotate the flash head for better bouncing performance and no rear controls with a big LCD. It only has a rear on/off switch, flash ready lamp and lock switch. This video will benefit those viewers who are intere...

This is an Electronics video tutorial where you will learn how to manually adjust the zoom position on the Nikon SB-900 with the diffuse dome attached. This is called the dome trick. It is not documented in the SB-900 user’s manual. The manual states when the diffuse dome is attached to the flash head, it gives a fixed zoom position of 14mm. However, if you attach the diffuse dome upside down, you can adjust the zoom position manually. The video then demonstrates changing of zoom position aft...

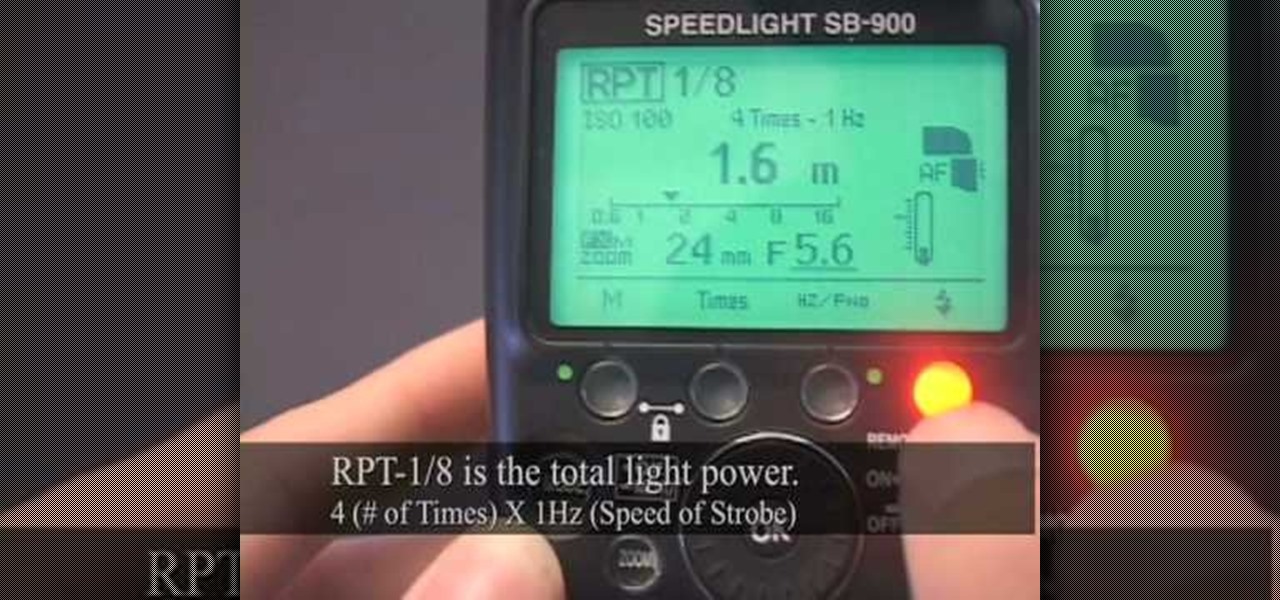
This is an Electronics video tutorial where you will learn how to use the RPT mode on a Nikon SB-800 and SB-900. Repeat mode gives a flashing strobe effect with which you can take multiple shots in one single long exposure. In Nikon SB-800, switch on the flash and select the RPT mode. The video then demonstrates the various selections available in the RPT mode. In Nikon SB-900, again switch on the flash and select the RPT mode by pressing on ‘mode’ button. The video then goes on to demonstrat...

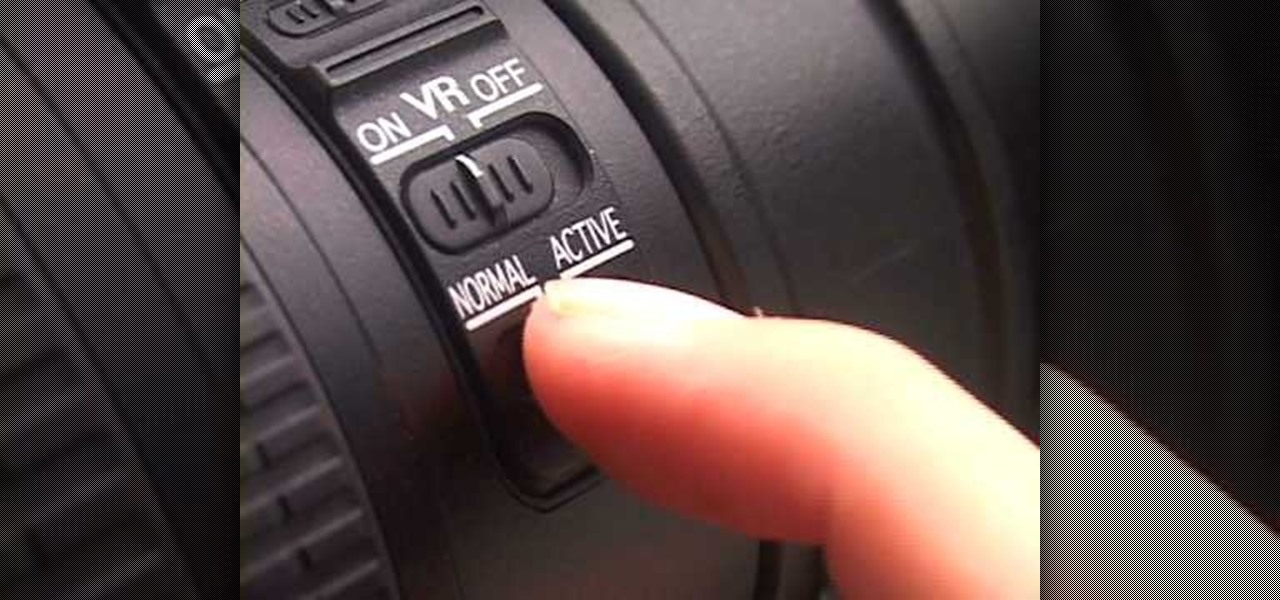
In this video tutorial, viewers learn how to use Vibration Reduction (VR). Vibration Reduction is the name if an image stabilizer engine that helps estimating unwanted blurriness when using slow shutter speeds or panning shots. VR has two modes: Normal and Active. Normal mode is designed for hand holding or panning shots where it estimates camera shakes when holding at a slow shutter speed. Active mode is designed for using on rapid moving surfaces. This video is very descriptive and gives gr...

In this video from Dom Bower Photography, he demonstrates how to make it look like a person is levitating in a photo. He sets the timer on the camera and takes the picture of himself. It takes a few tries to get a picture where he is airborne when the picture is taken. The trick is to try to pose while jumping so that it doesn't look like you're jumping. It might take a few tries, but if you use some of the tricks shown in this video, you'll be able to take a picture that makes it look like a...

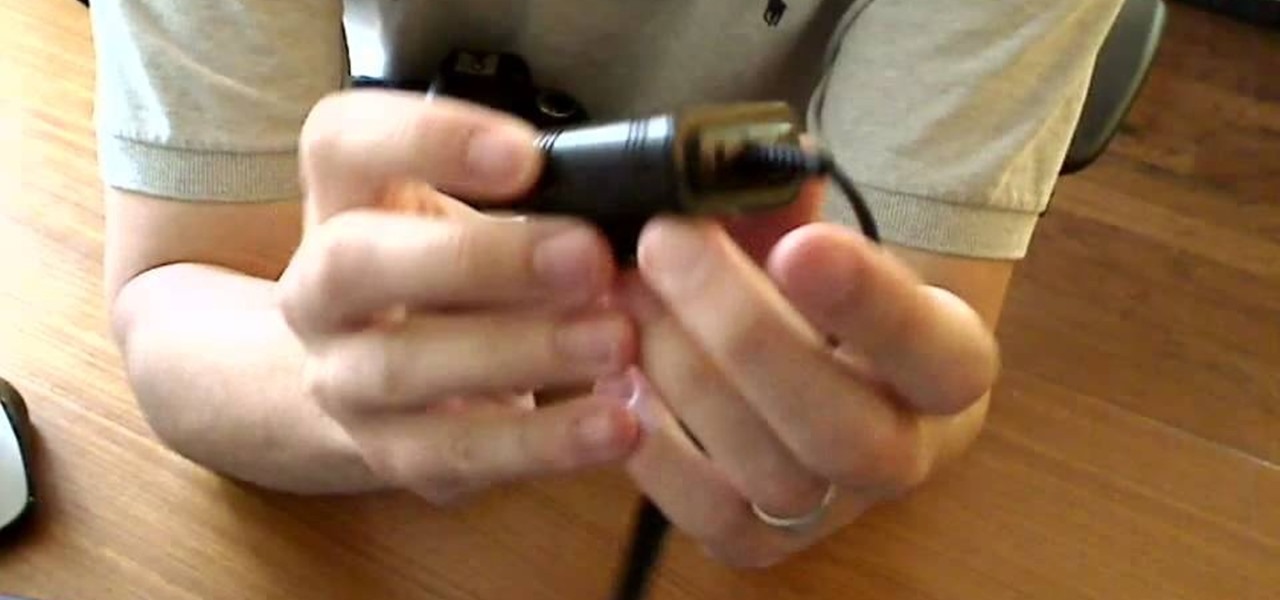
Eyepatchentertainmen teaches you how to use a Canon 7d and understand the recording audio issues. The 5D only shoots 30 frames per second, as opposed to the 7D, which records in a standard frame rate, which will help you sync the audio to the video. The microphone that comes with the Senheiser G2 wireless kit plugs directly into the Canon 7D and works well. There is no manual control over the audio yet. The 5D and the 7D are amongst the best audio recording DSLRs out there. To make sure you h...

This video shows you how to photograph lightning in the daytime. Set the ISO to 100.The aperture set at f32 and set for half of a second. Meter should be showing averaged. Photograph in the manual mode so that the setting won't change between photographs. Manually focus lens to infinity so you won't have to wait for the focus to lock on. A remote shutter to just hit the button. Be safe and keep camera safe when taking lightning photographs. Don’t get under trees. When lightning starts strikin...

Do you have a SLR and yet you feel that you are missing out on some features? Let's check out the back button focus. When you press the shutter button half way, it moves the focus to the back button. One can activate their camera's focus while the taking the picture which pretty much becomes a manual mode but gives you a lot of independence while taking pictures and it helps keep your subject in focus. This will benefit in taking pictures of high contrast.

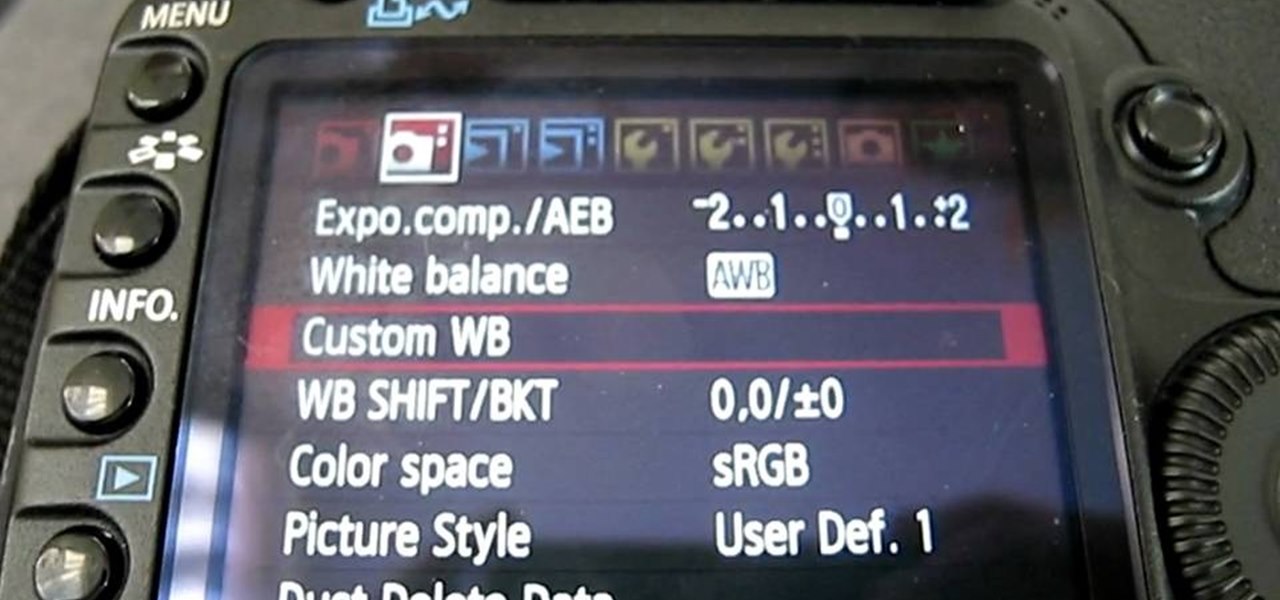
This video shows how to set a custom white balance with a Canon 40D camera. Whether you have fluorescent, yellow tungsten, or camera white light, you will still get a good picture with the custom white balance. The video shows pictures taken with the different lighting and different vibrant colors without the custom white balance that come out pretty good. Then a picture is taken of a white paper towel or something pure white. Then the custom white balance is set by going to the menu, white b...

It is a tutorial that explains the basic guidelines of Nikon D40 and D40x cameras. This enables everyone to take photographs successfully and prepare the camera for use. Attach the lens of the camera by rotating towards the right; make sure that no dust gets into the camera. Then remove the protective cap from lens and align the white dot on the lens with the white dot on the camera's body. Turn to the left until it clicks in to place. First, we must charge the camera's battery; when the LED ...

This video discusses the lenses available for the Cannon 7D camera. The video starts by describing the difference between still and video lenses. The presenter then goes on to recommend his three favorite lenses. First, the Tokina 11-16 is the wide angle lens recommended in the video. The Tamron SP AF17-50mm is a stabilized lens that works great for video and stills. Finally, the presenter recommends the Sigma APO 50-150mm to round out the lens collection. These lenses will cover all distance...

In this video Dionne from the Gadget show explains how to improve your digital photos easily using widely available free software. The first thing she instructs us to do is to download and install Google's free photo editing software Picasa. Next, once Picasa is installed you can use it's one click settings to easily remove red eyes from photographs or increase the brightness of a photo. The next thing we learn to do is to adjust the white balance of a photograph. This makes the photo appear ...

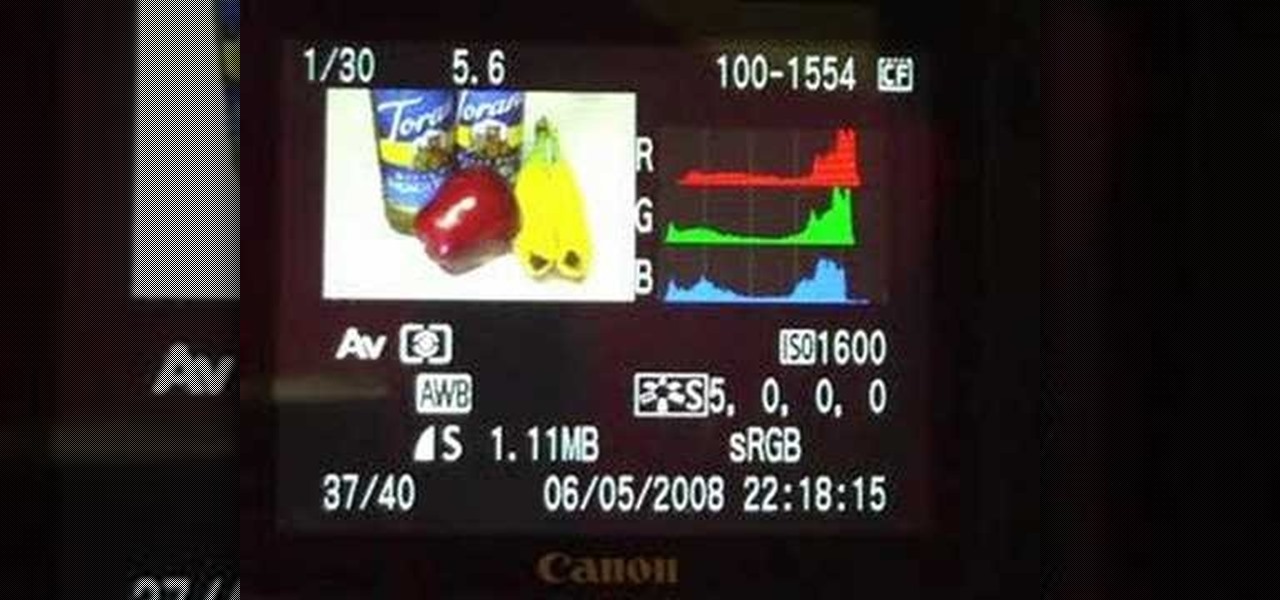
In this video brought to us by No Mac No Cheese, by Shannon Smith, he teaches you how to use AV mode and a higher ISO to bring more light into your pictures, especially when you are taking pictures indoors. He says you will need to go into the AV mode and raise the number of the ISO. What that does is make the shutter speed a lot slower so you get as much ambient light as you can.

Tony Reale from Creative Edge Productions shows you how to use your laptop as an on-set monitor using the Canon EOS Utility software. Not only can you monitor your shots, but you can change focus, f-stop, shutter speed, ISO, and white balance. The feed is a little choppy, but it's a great and inexpensive fix in a pinch.

Using Canon's EOS Utility Timelapse program, you can automate a timelapse sequence for your Canon 5D or 7D. This helpful software takes the guesswork and the babysitting out of tediuos timelapse photography.

Family photos, concert pics, and general events. All valid reasons for a wireless remote control for your Canon 5D Mark II. This tutorial details great, cheap options for use with your DSLR so you can mount your camera wherever you want and control it from wherever you want.

Most DSLR's like the Canon 5D Mark II come with pre-programmed white balance settings: daylight, cloudy, tungsten, fluorescent. But what do you do when you're in a mixed lighting situation and you want to balance between exterior daylight and interior tungsten light? If you set it to daylight, your tungsten light will be too orange. If you set it to tungsten, your exterior light will be too blue. The solution: set a custom white balance to balance the disparate lighting situations.

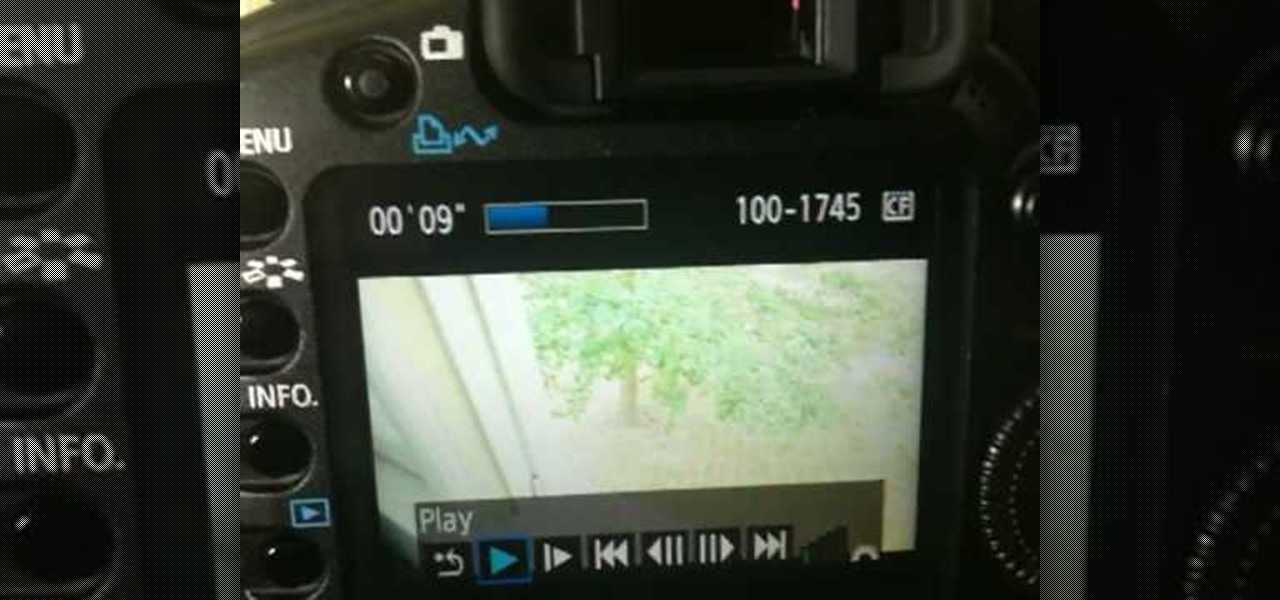
Many people have complained about the lack of autofocus in video mode on the Canon 5D Mark II. Fortunately, this video demonstrates a solution by utilizing the live mode, thus enabling the still camera's autofocus features.


