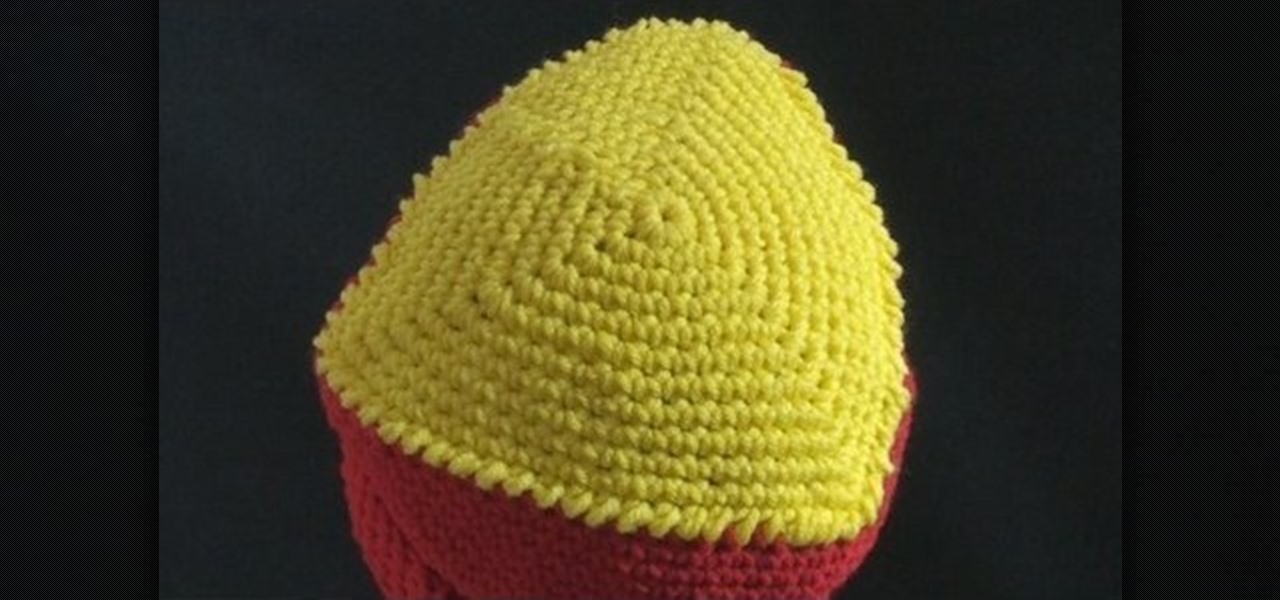
In this video, we learn how to crochet a triangle-shaped bikini beanie hat. First, crochet nine single crochets through a simple loop. After this, join with the beginning single crochet and work a single crochet three times. next, work one single crochets in each of the next two, then three single crochets in the next stitch. Now, go join with the first single crochet. Continue to go around until you have a large circle shape, going down on the sides to make the entire beanie shape. After thi...
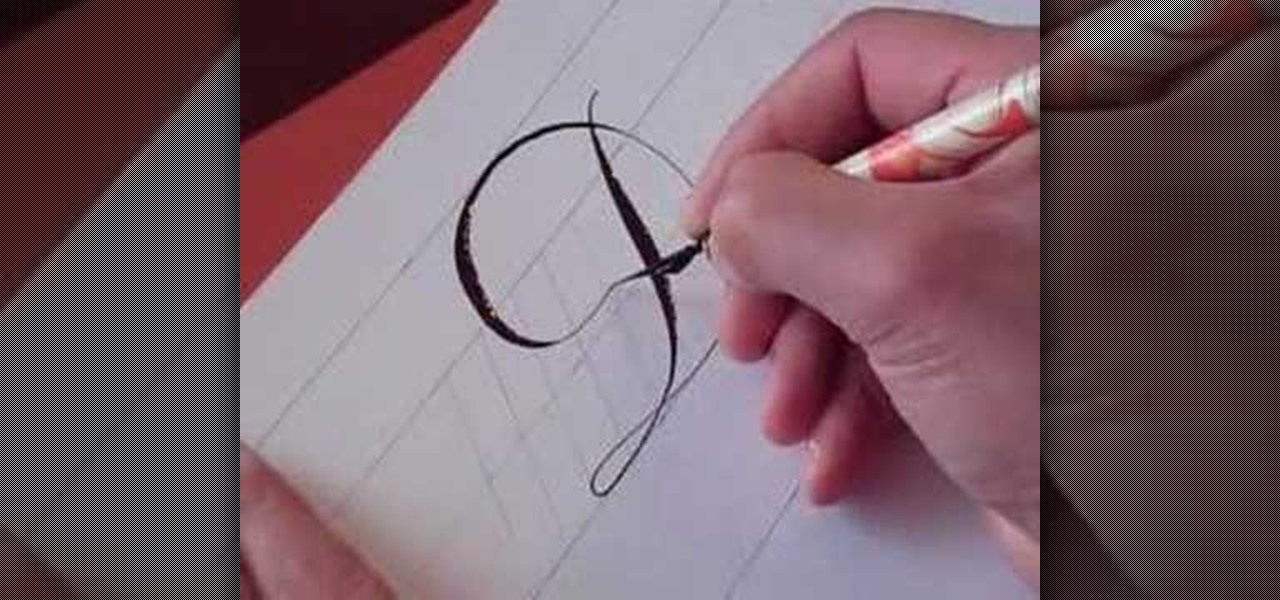
In this video, we learn how to write the letter D in calligraphy copperplate. Start off by drawing a thin line down the paper, pressing on the pen harder to make a thicker line in the middle, then thinning out at the end. Drag the line to the left making a thin line, then loop it around to the front of the line and make the D shape. After you make the shape, bring the line to the back of the original line and loop it. Do make a lower case letter, make an oval shape with a thick line on the le...

In this tutorial, we learn how to throw an upside down double walled pottery vase. Start off by using water every few seconds to craft your vase. Use your fingers to press down in the middle, to make the round shape and have the vase rise up into the air. Make this into a bowl shape, which will be into the air. Next, shape the middle using your hands into a triangle shape. Raise the side bowl around it, and keep using water to increase the size of the bowl. Collar the bowl in, then start to m...
What's the difference between Kim Kardashian and January Jones? Both are clearly gorgeous women who have men drooling over them wherever they go, but these two starlets have very different body types.
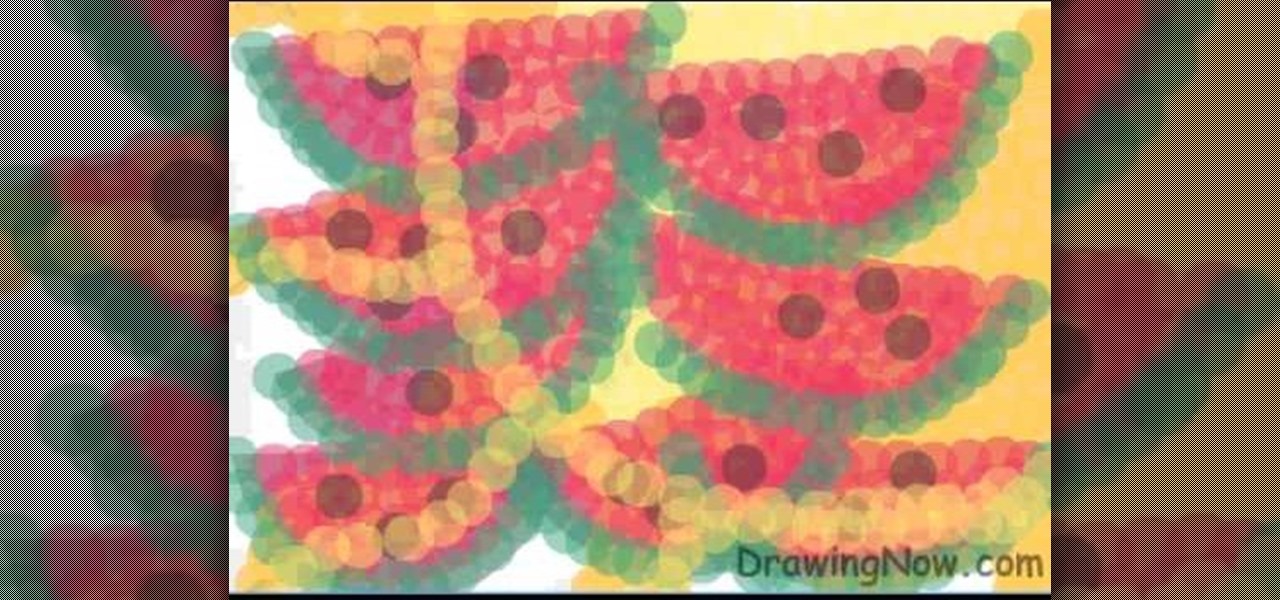
In this tutorial, we learn how to draw abstract watermelons. First, draw a circle, followed by wavy lines coming out of it just like the sun. Next, draw half watermelon shapes all over the picture you just draw. Now, fill in the picture with yellow circles on the inside of the circle shape. Use a dark yellow/orange for the second half of the circle to the bottom. After this, use the orange to fill in half the wavy lines and then use red to fill in the other half and make large half watermelon...
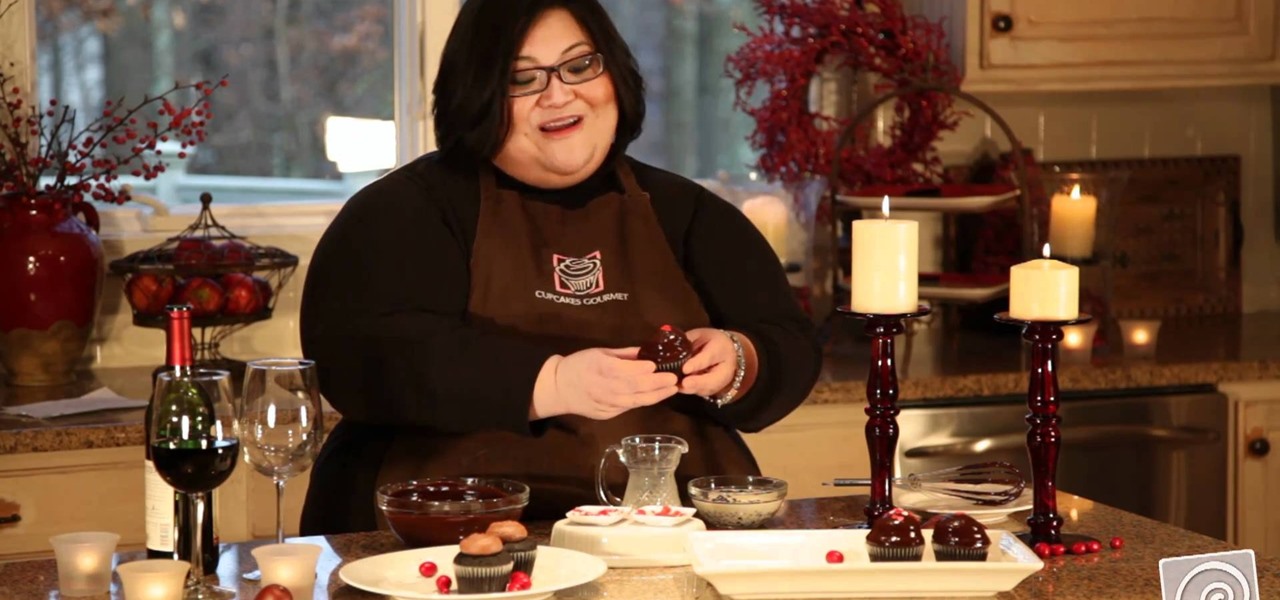
Preserve the modesty of your fresh batch of Devil's food cupcakes by sheathing them in layers of icing and shaping them into fun animal shapes! While we love plain cupcakes, decorating cupcakes for special events like holidays and parties helps get your food in line with the theme and decor and will make guests smile.

Two dimensional objects are measured in terms of perimeter and areas. A perimeter of a two dimensional object is the distance around that object. If you want to find the perimeter of an object, all you need to do is add up each one of the lengths of sides of that object. If you have a small figure like triangle, first compute the length of the three sides. Now adding these three sides gives you the perimeter of the triangle. A larger or more complicated shape might have more number of sides. ...

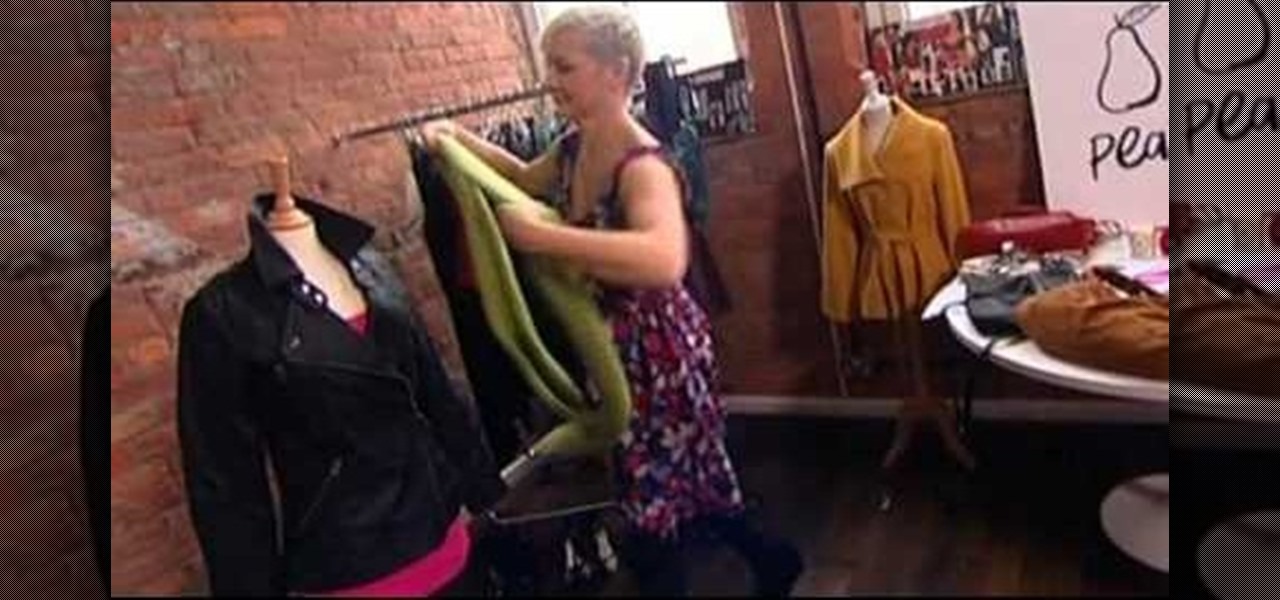
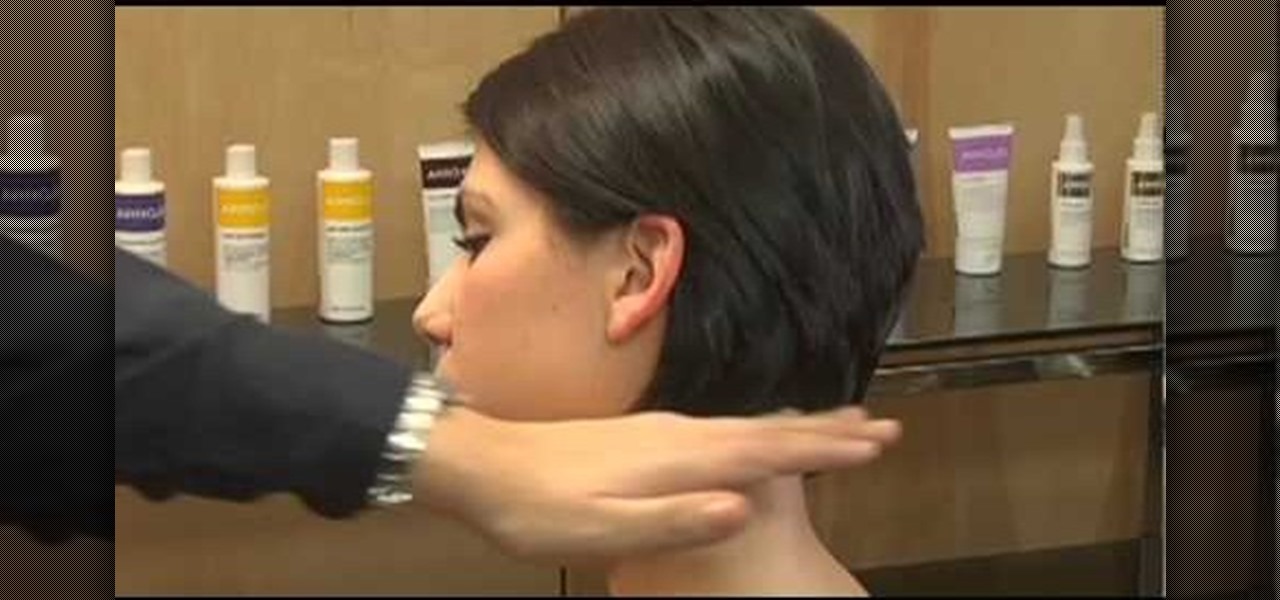
Being pear shaped means your body is smaller on top and bigger around the hips. While this can seem like a difficult body type to dress, a few tips can make a pear-shaped woman look amazing. For example, start with a bright top that calls attention to your bust. Add more volume on top with layers, such as a leather jacket. Add another brightly colored scarf to draw the eye towards your face. You've created a tough chic look very quickly!

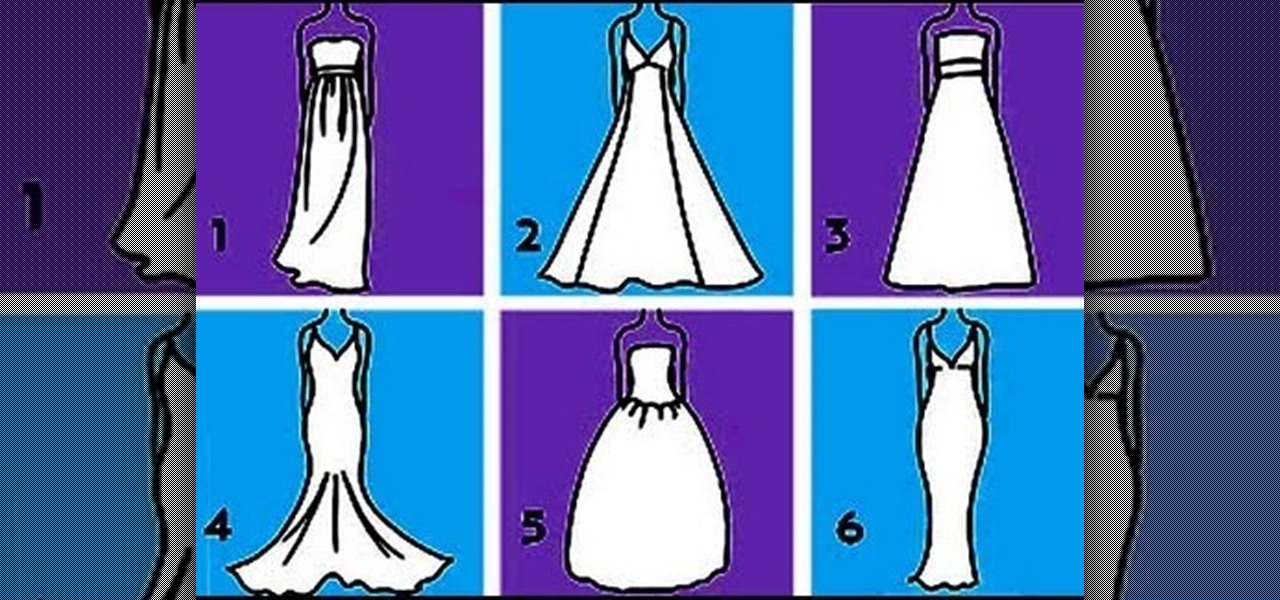
In this tutorial, we learn how to find the best wedding dress for your body type. The rectangle or oval shape body doesn't have a well defined waist line, so you will need a dress that draws attention to the hair and face. A pear shaped body is where the bust and wast are smaller than the lower half of the body. You will want to select a wedding dress with ruffles or shoulder pads to draw attention to the top half of your body. A triangle shaped body has a large bust. You will want to select ...

This is a video about how to make a greeting card in circle shape. First take the card and fold it into half. Next take the colluzle and place it on the card. Mark a circle using colluzle on the card. Cut the card on the marking and leave some space at the folding of card. Take the design paper to place on the card. Next cut the design paper in round shape. Make sure that the shape should smaller than the card you have already prepared. Next stick the design paper to card. Next take one ribbo...

In this video tutorial from StudioMallory, learn how to take Mapei premixed adhesive and grout and turn it into a six-point star. Begin by cutting out the star shape in a piece of cardboard. You can use a stencil to make sure the shape is accurate. With your fingers, spread the grout onto the shape. After you are done shaping the grout, spray a little bit of water on the grout to help you smooth out any rough edges on your star. Set the star on a flat surface and allow it to dry overnight. Th...

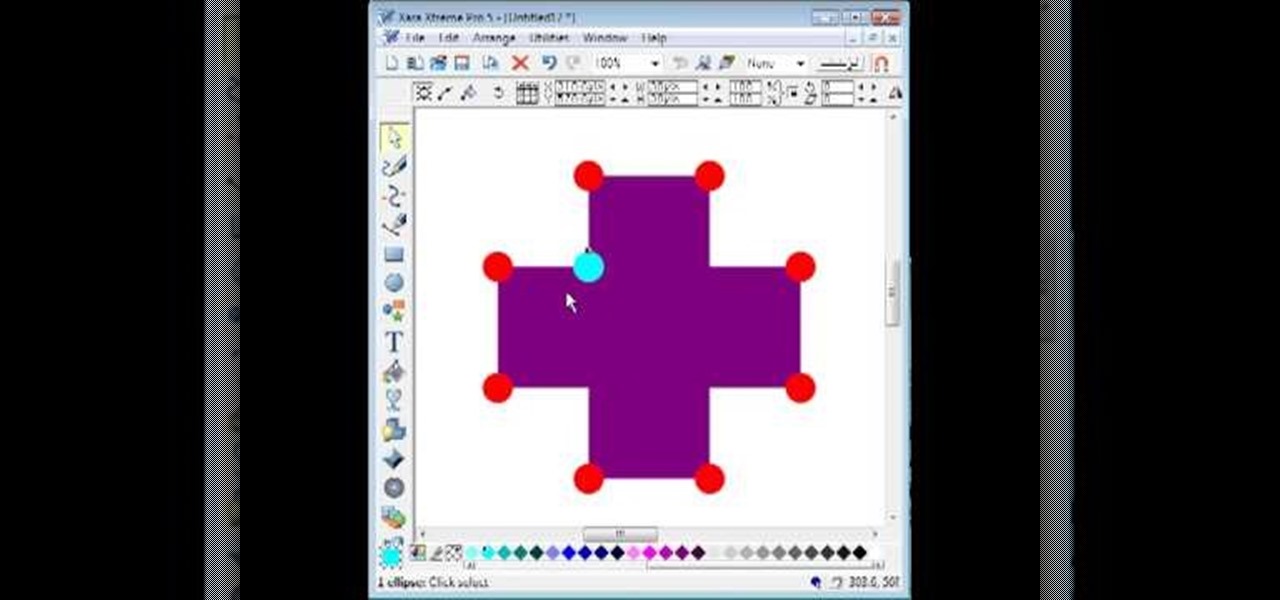
By utilizing the click and drag features of Xara Xtreme, users can take shapes and duplicate them for quick work (ctrl K). Further by identifying them by colors and other subsets, users can add or delete with just a button push, or (use the add shapes, subtract shapes options.) All this is done in the event for the sake of convenience; eliminating the tediousness of creating shapes one by one, and using them as plot points on a map to create projects within record times.

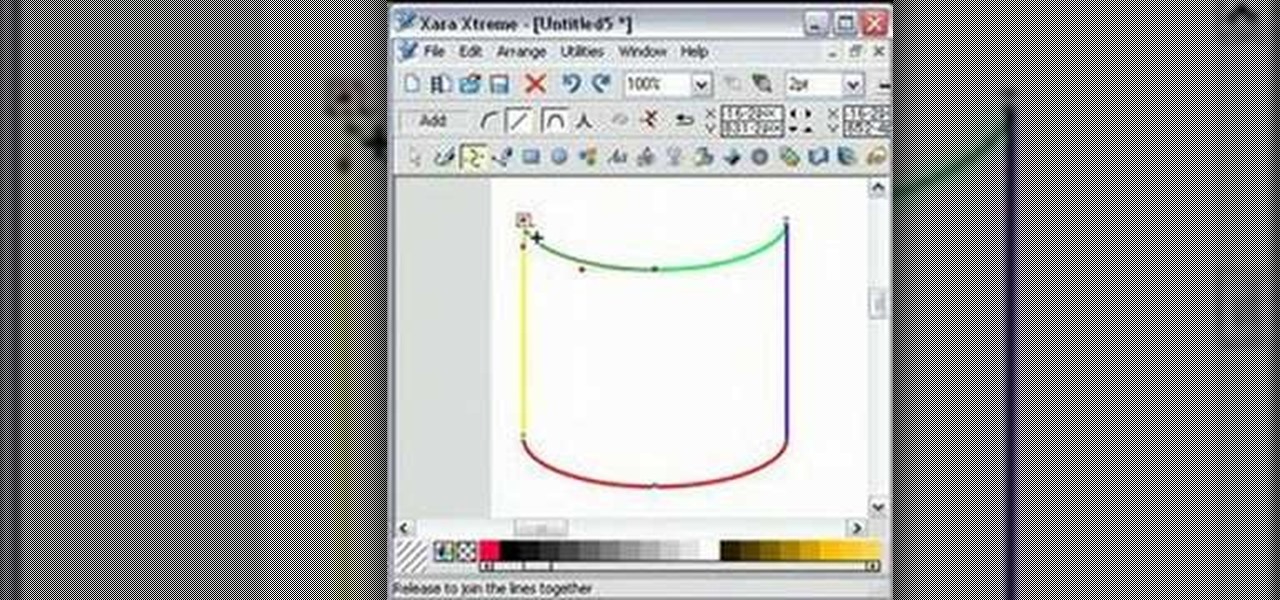
EggBram teaches you how to join separate lines, in order to create a shape, using Xara Xtreme. You start with four different lines. You go up to the menu and click the Shape Editor tool. Then you click on one line and go to the edge of it until it intersects another line. You will want to do this for each line that you have. Once you have done this four times, the lines will combine into a shape and you can change its color.

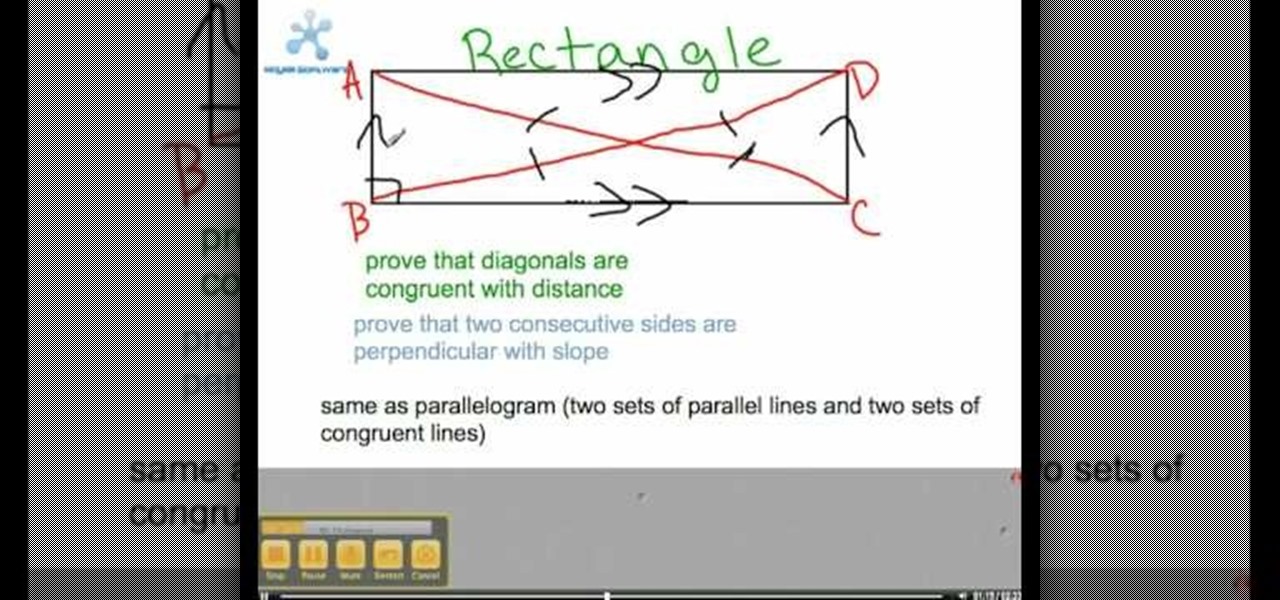
This video shows the viewer about different shapes and what properties they have. it is very help full to anyone who is learning geometry or who wants to learn geometry. This video also shows a picture as the person labels then so you can see what he means by like opposite sides are parallel. The video covers all the basic shapes as well as showing that some shapes are more specific versions of other shapes, by showing that they have the same properties as well as different properties.

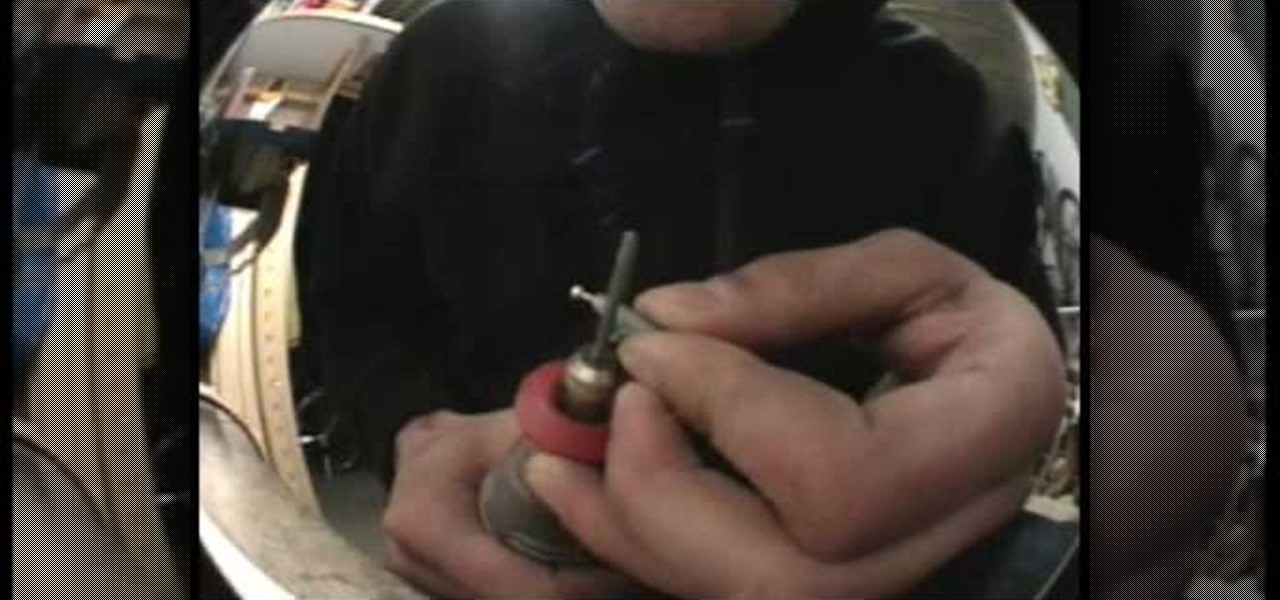
Fingerboards are popular miniature skateboards available all over the globe. The parts are pre-made by various manufacturers, but you can modify the parts yourself. In this video, you'll learn how to shape fingerboard trucks using basic tools.

It’s like a personal photo, except classier, and you can make the model look slightly more attractive than they really are.

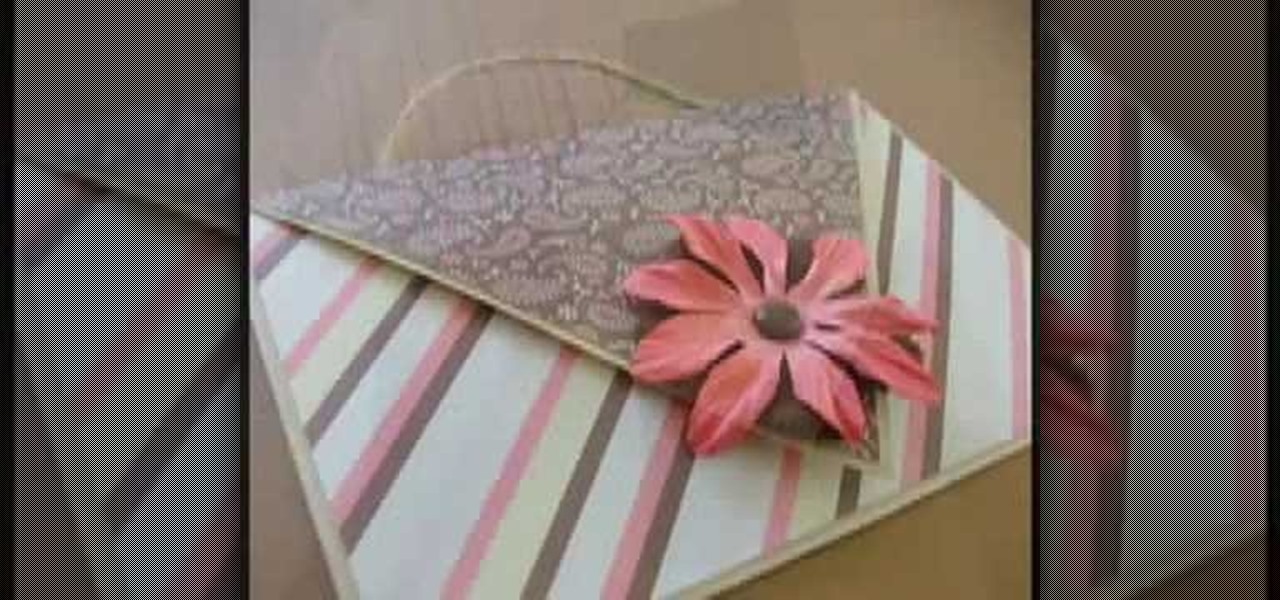
Watch this two part instructional scrapbooking video to make a heart shaped card that folds into an envelope. This is an affectionate love letter can be personalized to really charm your special someone. You can use store bought cut outs or use recycled scraps of paper and ribbon. This unique card is also good for Vanetine's Day, teen birthdays and get well soon cards.

Take a look at this instructional video and learn how to use the drawing tools in LayOut to create shapes. Although the tools work the same in both Windows and Mac versions, they are organized differently. Line tools infer the same way SketchUp does when you set down to create shapes. When using the Curve tool, click between points to draw straight lines, and drag the mouse button to create curves. Create waves and free form shapes with the freehand tool.

Here is a simple way to make an extruded shape emit from Trapcode Particular. Particular is a particle plug-in for After Effects and this two video tutorial will show you how to create and then use 3D stars with Particular. It's a simple example, but the creative possibilities are great.

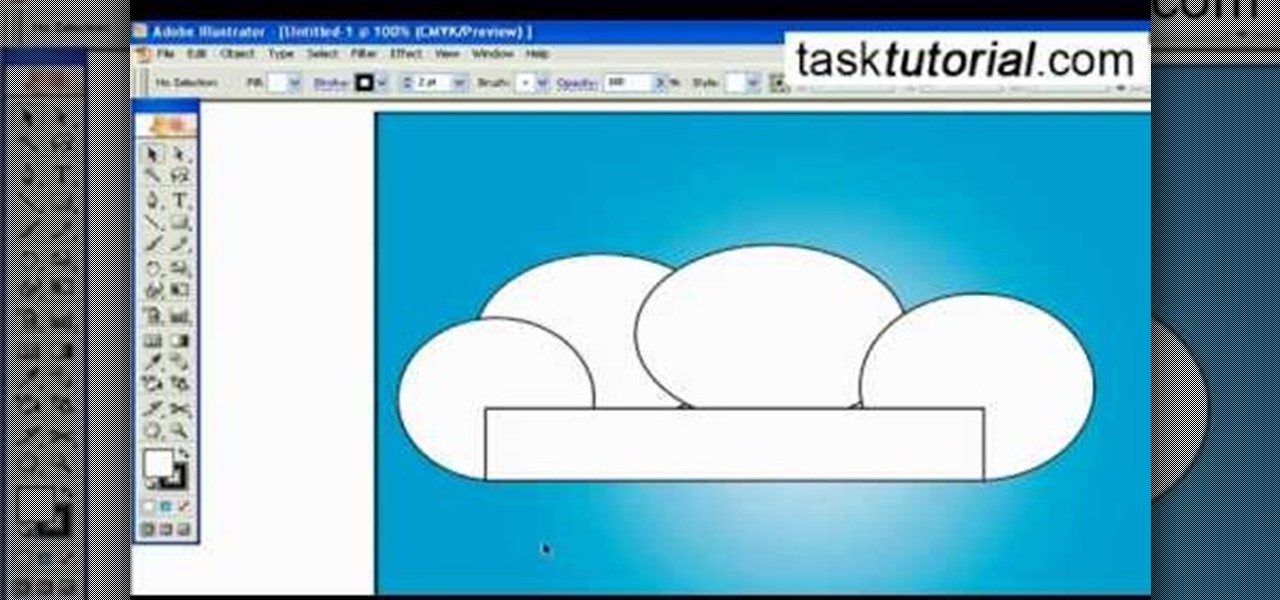
A great free video training from tasktutorial on how to create a cartoon cloud in Adobe Illustrator. All the project files are available to download for free at the Adobe website. First create a background: select the rectangle tool then create a new layer and draw a rectangle across the canvas. Now select the path, go to gradient and edit the it a bit until it's a shade of blue. Lock the gradient and create a new layer. Select white fill color and 2 point black stroke and draw a few oval sha...

Before we realized that the world was round, there were lots of theories otherwise. One popular idea was that the world was flat, kind of like a box, and that you'd fall off if you walked to far to any one side.

Does a bob haircut remind you of flappers from the 1920's? Originally, the hairstyle (as worn by flappers) was meant to be an androgynous cut, boyish in length and style.

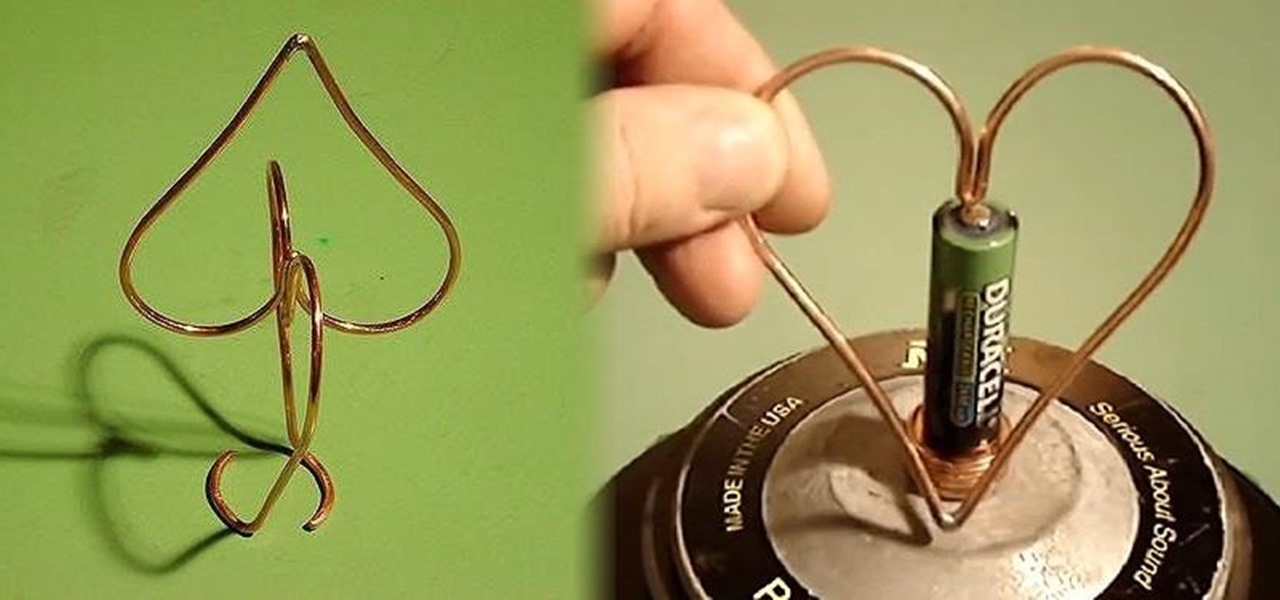
Homopolar motors tend to be typecast as simplistic in nature, and that's true for the most part. The bare minimum requirements are a battery, conductor, and magnetic field, but when it comes to Valentine's Day, they're nothing short of complex.

When you first buy a corset from a retailer, you will need to give the thread and fabric the chance to shape itself according to your own personal shape. Here is the best way to break in or season a new corset to make it last longer.

Valentine's Day is super stressful. From getting a gift that's personal but not TOO personal (like Spanx because she always complains about her muffin top, for instance) to picking out a bouquet of her favorite flowers, you probably have a lot on your plate.

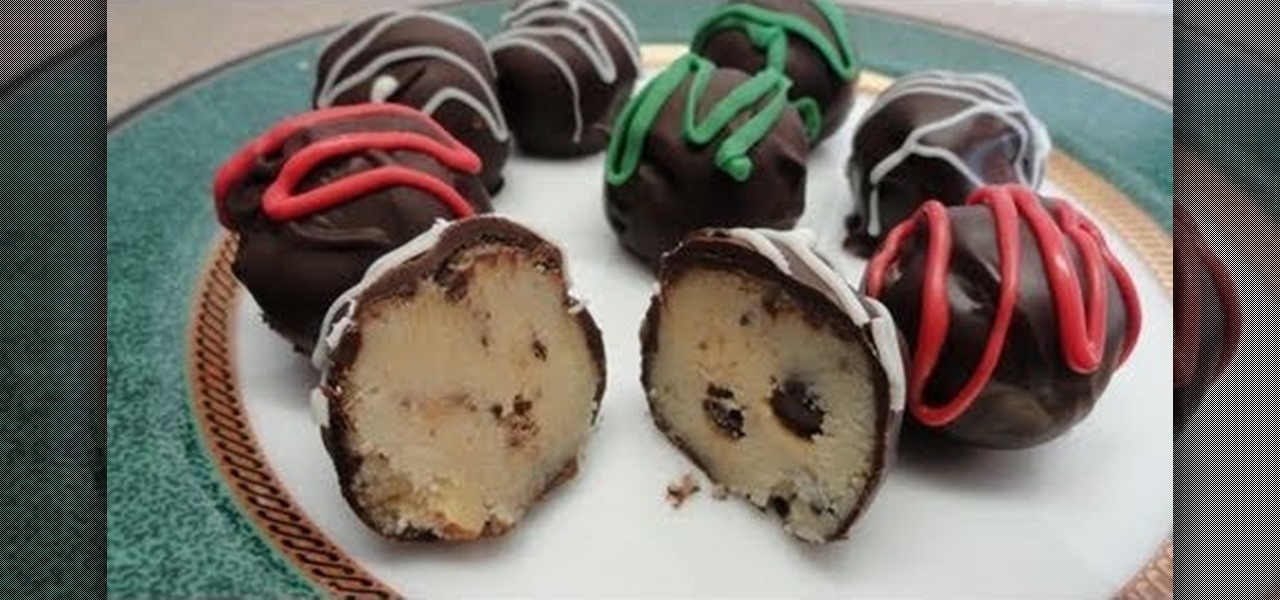
Cupcakes are so overdone. Sure, they're cute and bite-sized, but why not start a new designer dessert trend? Check out this dessert video to learn how to bake and decorate delicious chocolate chip cookie dough Christmas truffles.

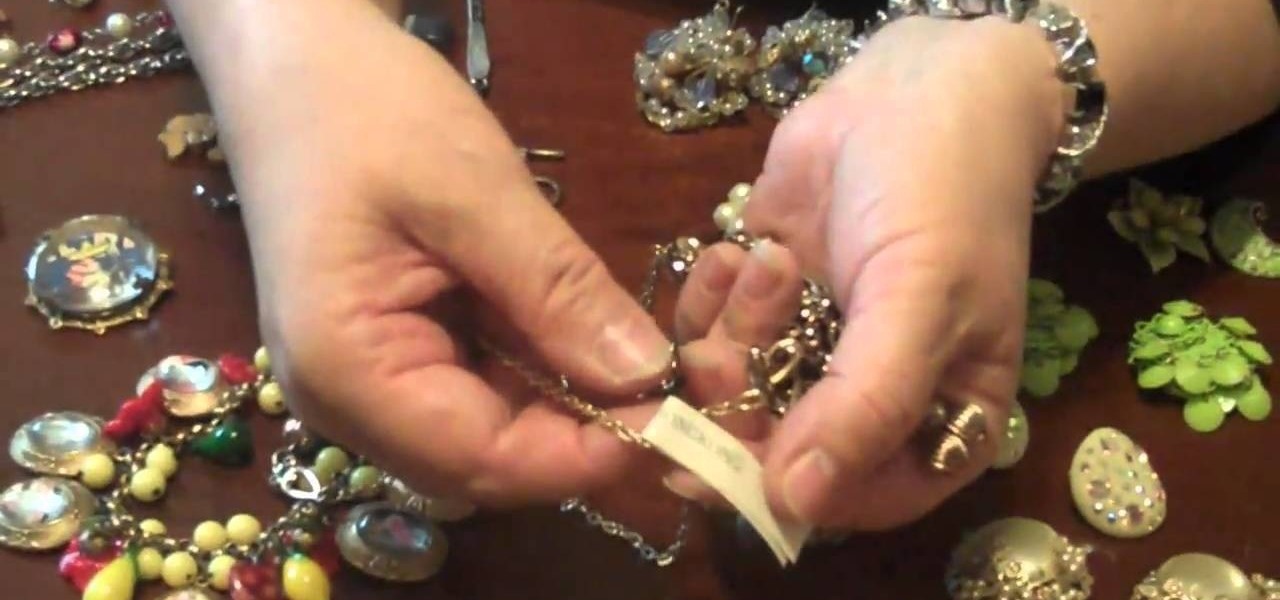
If you're a baby boomer or at least older than 40, then you probably remember the Five and Dime stores around your neighborhood street corner. Carrying kitchy knick knacks like masks and cheap candies that even little kids could afford, they were quite the sensation in their day.

This video explains how to make a paper airplane for effectively. The first step is to fold your basic piece of paper into a triangle shape. After the creases in the paper have been created you must unfold the paper again. The second step is to fold the paper in another triangle shape starting from the opposite corner. After the shape has been formed you must refold the original triangle shape of the adjacent fold. The narrator then makes the plane into a smaller triangle shape by again foldi...

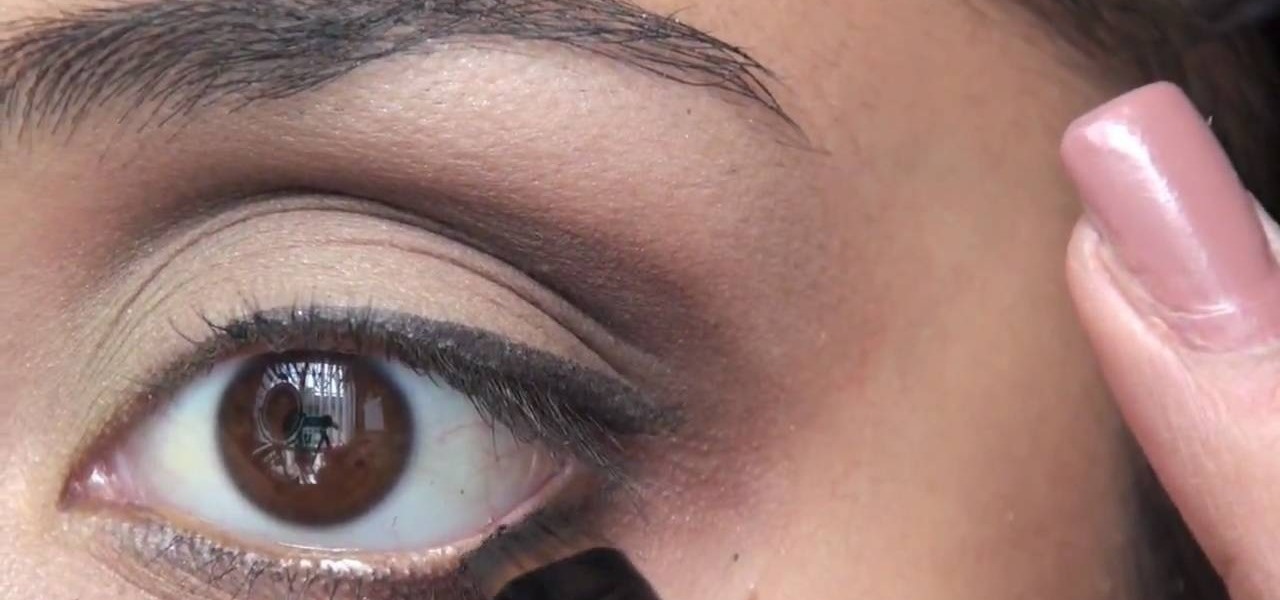
If you're looking for the newest Jessica Alba look, then Dulce Candy can give you some help. Afterglow Cosmetics gave her a bunch of new organic cosmetics to test out, and she made this makeup tutorial on a great "saga eyes" look inspired by Alba. Check it out… try it out!

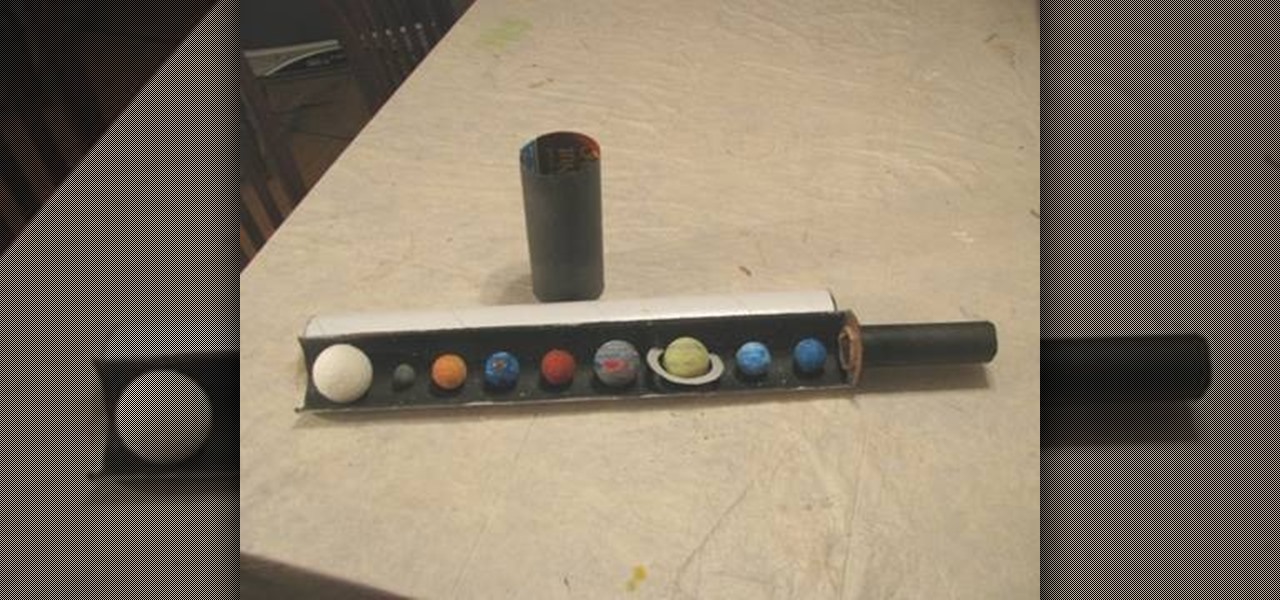
If you've got a school science project coming up, or are looking for something fun to do with the kids, you can make this awesome solar system diorama that's shaped like a telescope so you can view the planets by looking into the telescope! In this video you will learn how to create this diorama that will impress even the most stern teacher!

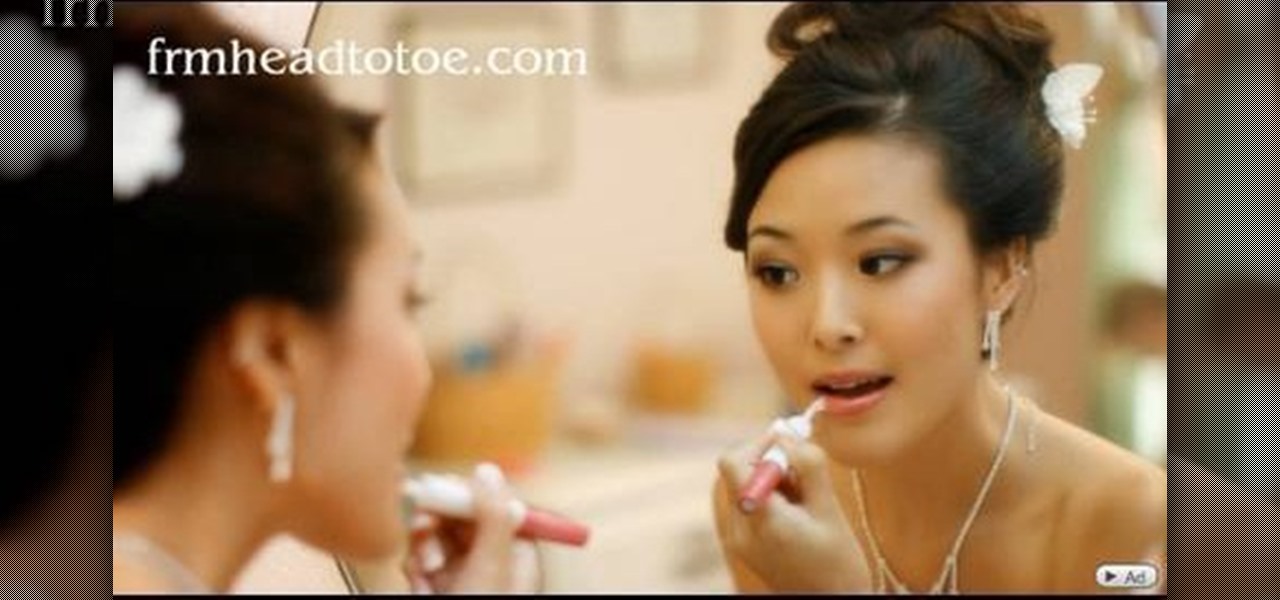
Doing makeup on Asian women is a lot different to doing makeup on any other ethnicity, mostly because they have different face shapes and eye shapes. More than half of Asians don't have a crease, or a fold above the eye, so their eyes are monolids.

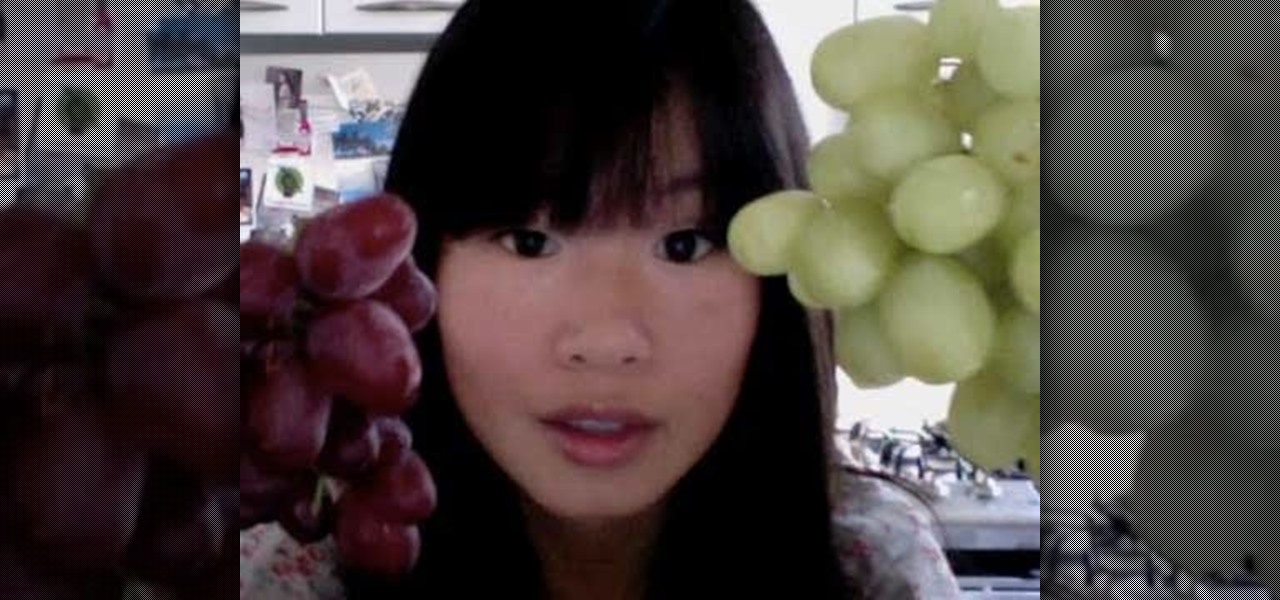
Grapes as dessert? After watching this food video you'll think twice about these juicy purple orbs. While we think popping some grapes into our mouths is delicious enough as it is, this recipe combines grapey goodness with icy coldness for a delicious, almost popsicle like snack.

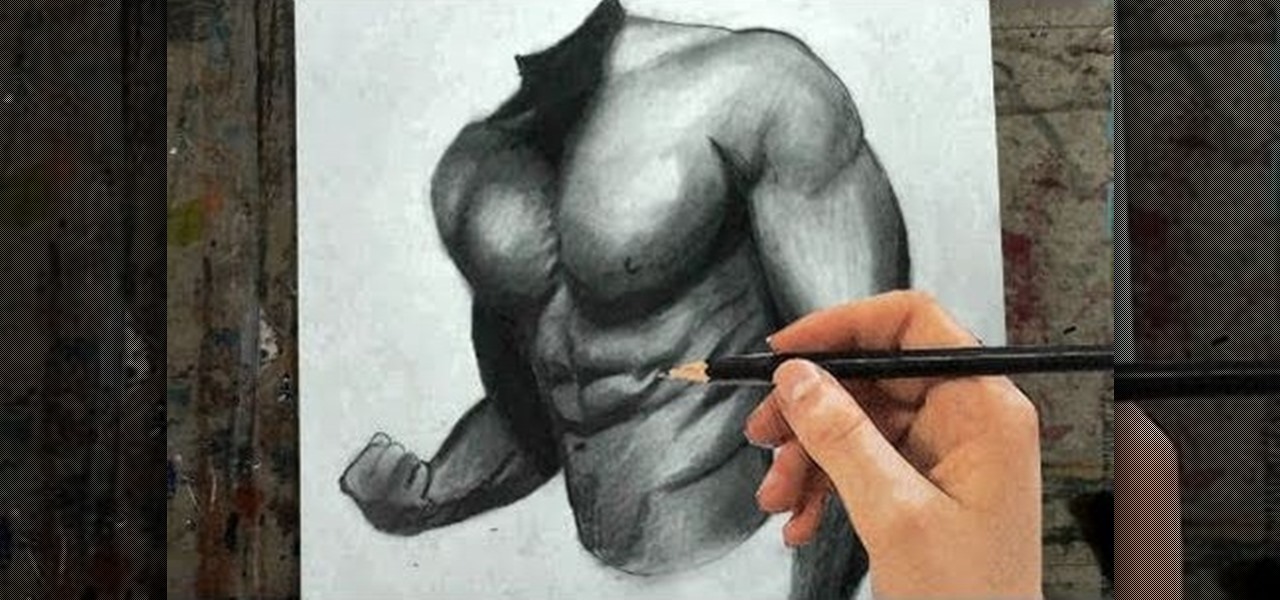
Drawing human subjects can be tough if you're not an experienced artist. getting every detail just right it quite a task, because of the intricateness of the human body. But Merrill is going to show you how it's done.

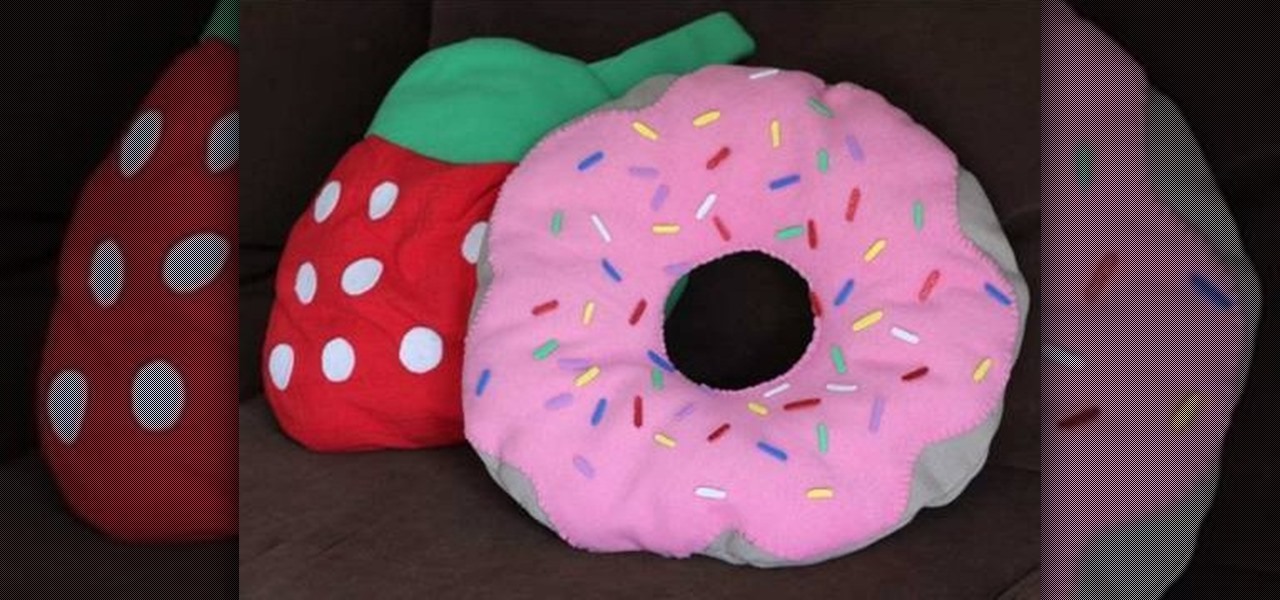
Homer Simpson would have an absolute fit over this delicious-looking kawaii donut pillow. Embellished with a thick layer of strawberry frosting and then topped lightly with candy-colored sprinkles, this pretty donut looks almost good enough to eat.

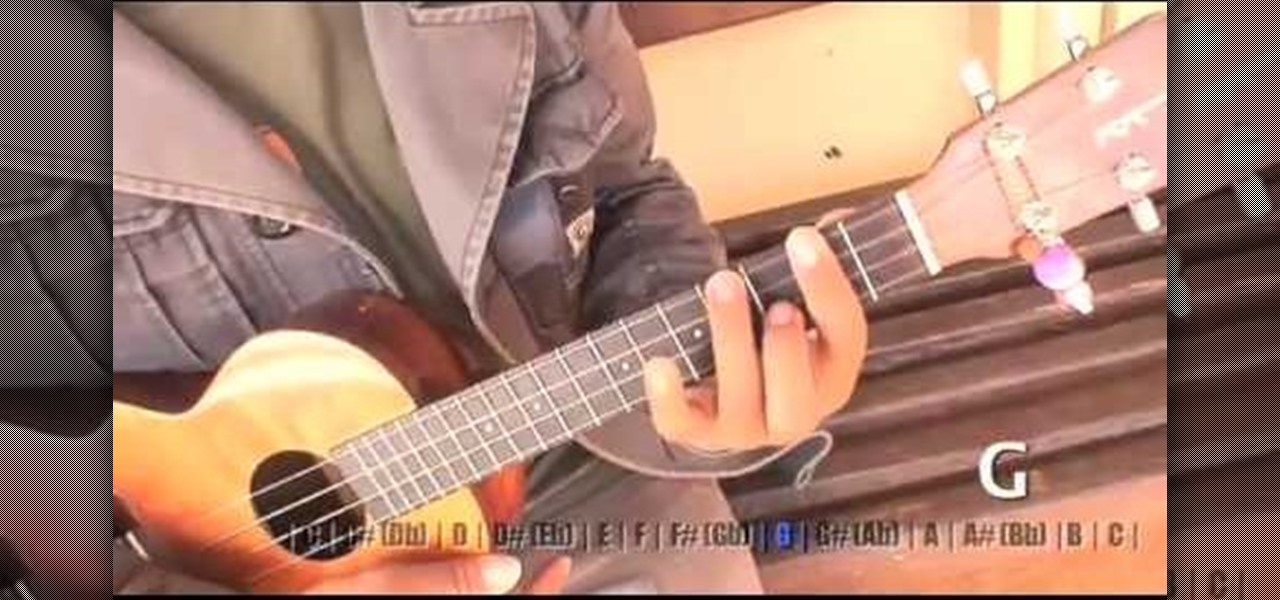
In this clip, you'll learn a number of endlessly useful movable chord shapes. If you want to get really good at playing the ukulele, it stands to reason that you'll need to practice. Happily, the Internet is awash in high-quality video lessons like this one from the folks at Ukulele Underground. For more information, including a step-by-step overview, watch this free video ukulele tutorial.

Dear the future Mrs. Brand: Can we be you? You're hot, one of the boys, can rock an olie like no one's business on the skateboard, are a ginormously popular pop star, and you're super funny and intelligent.

We all have a general idea of what a pin-up looks like: Big, buxom hips, wild curves that render men speechless, finger curled hair, and the iconic red lips with cat eyes combo. Bread out of the mold by creating a pin-up look that's equally glamorous and sexy but with a slight twist.

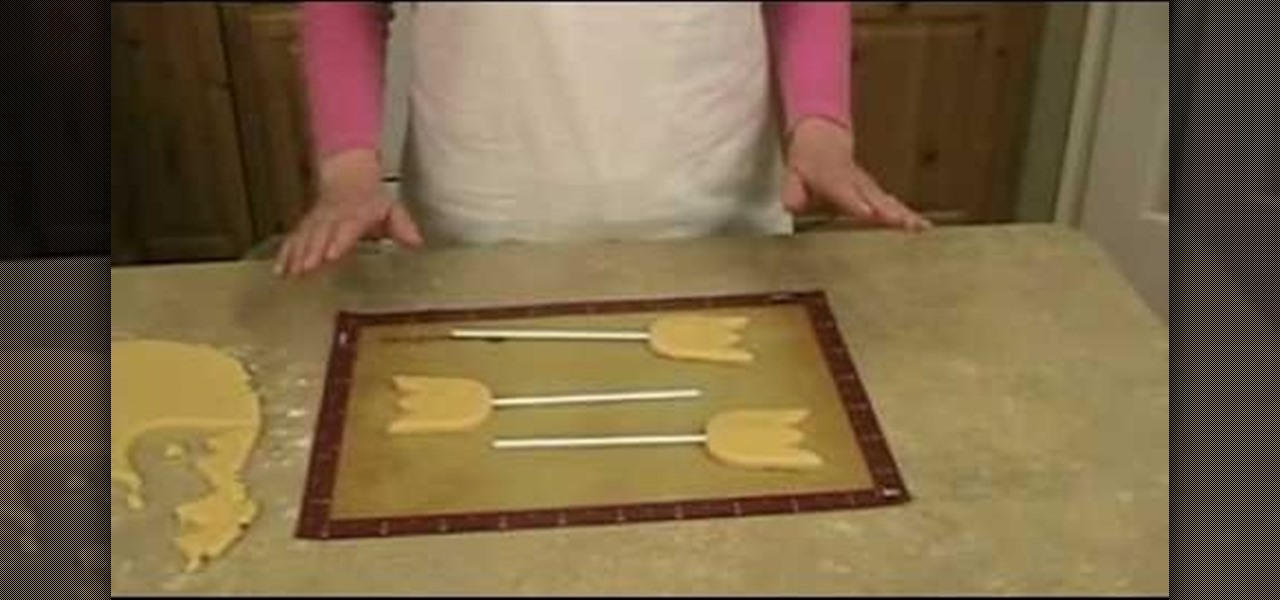
A cookie and lollipop in one? Our wildest sugar-loving dreams are finally coming true. This delectable, sweet treat features a tulip-shaped cookie (decorated with oodles of yummy icing, of course) sitting atop a lollipop stick.

If eyes are the windows to your soul then eyebrows are the gatekeepers. Keep your peepers' bodyguards in tip top shape by spic and spanning them with a perfect shape and filling them in with brow powder.

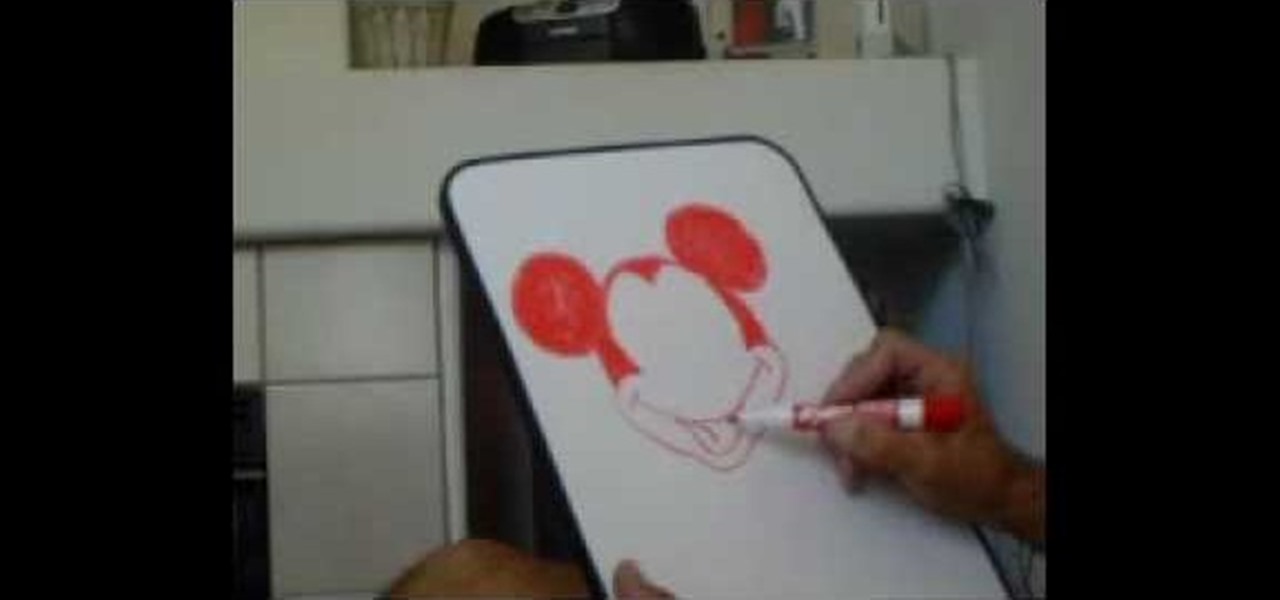
In this video, we learn how to draw Mickey Mouse on a dry-erase board. Start off by drawing a circle on the left hand side of the board, then draw a half circle with another circle connecting to that on the right hand side of the board. Now, connect another half a circle around the sides, to help shape the face. Next, make an "m" shape on the top of the face going down to the sideburns and fill this in. Color in the ears as well, then make a rounded v-shape at the bottom of the face to make t...


