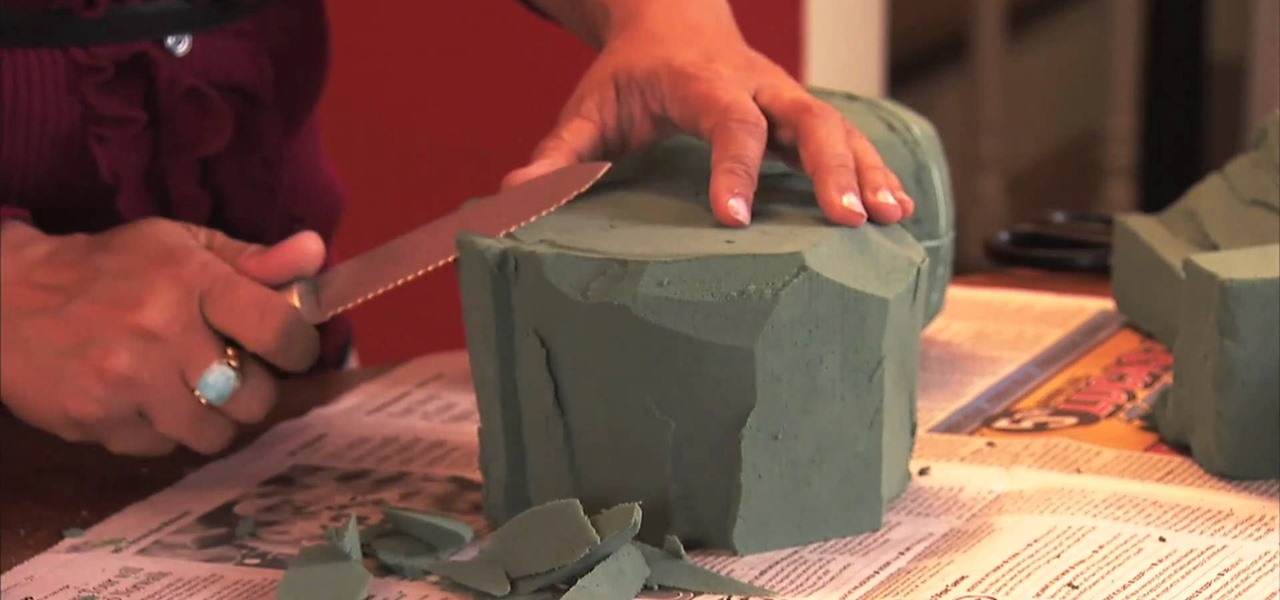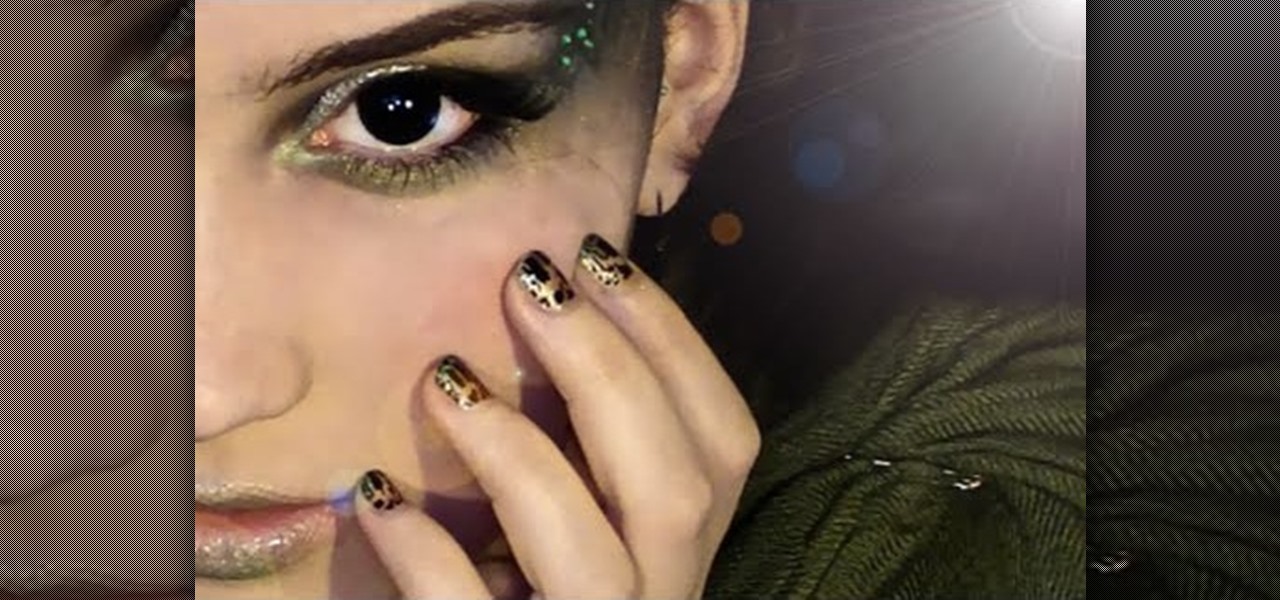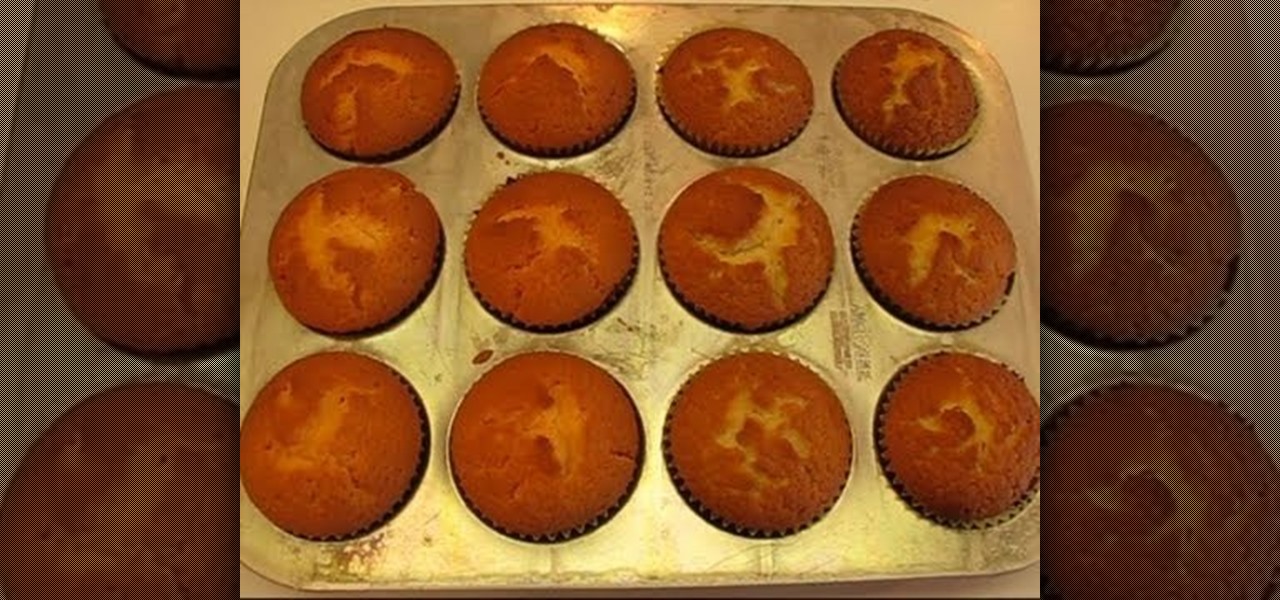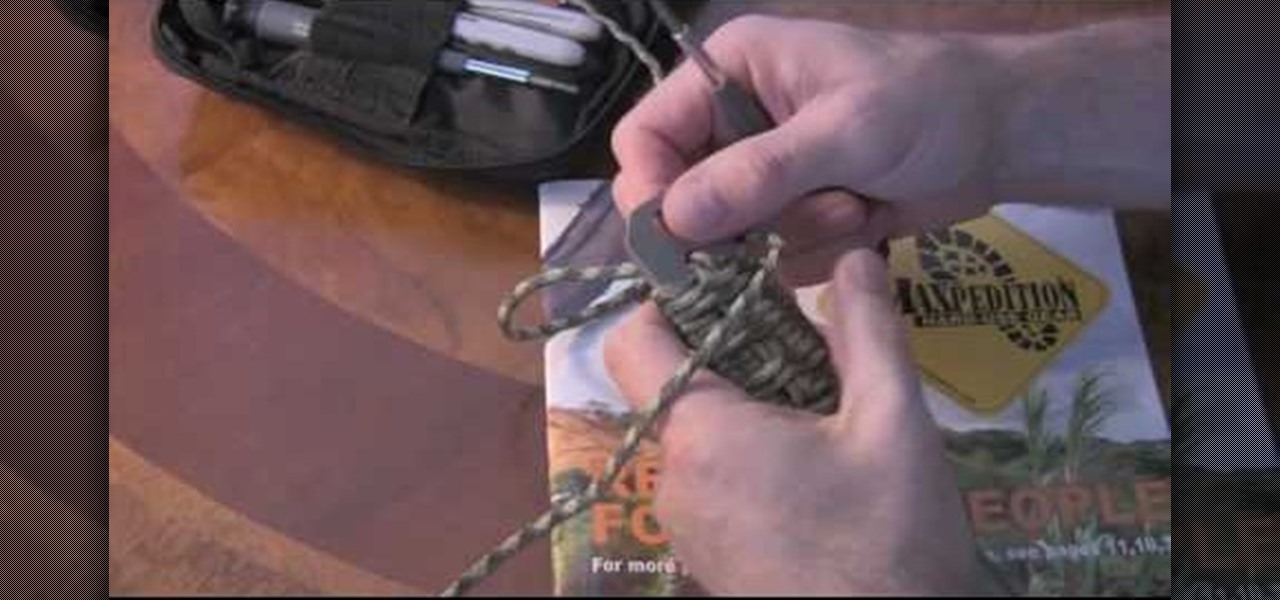
Breacher bars are like the much cooler older brother to the swiss pocket knife. In fact, there's little comparison between the two. A breacher bar, which is a rectangular shaped knife, is used by SWAT teams and bomb techs to easily and quickly cut through and pry open just about anything. But safety comes first.
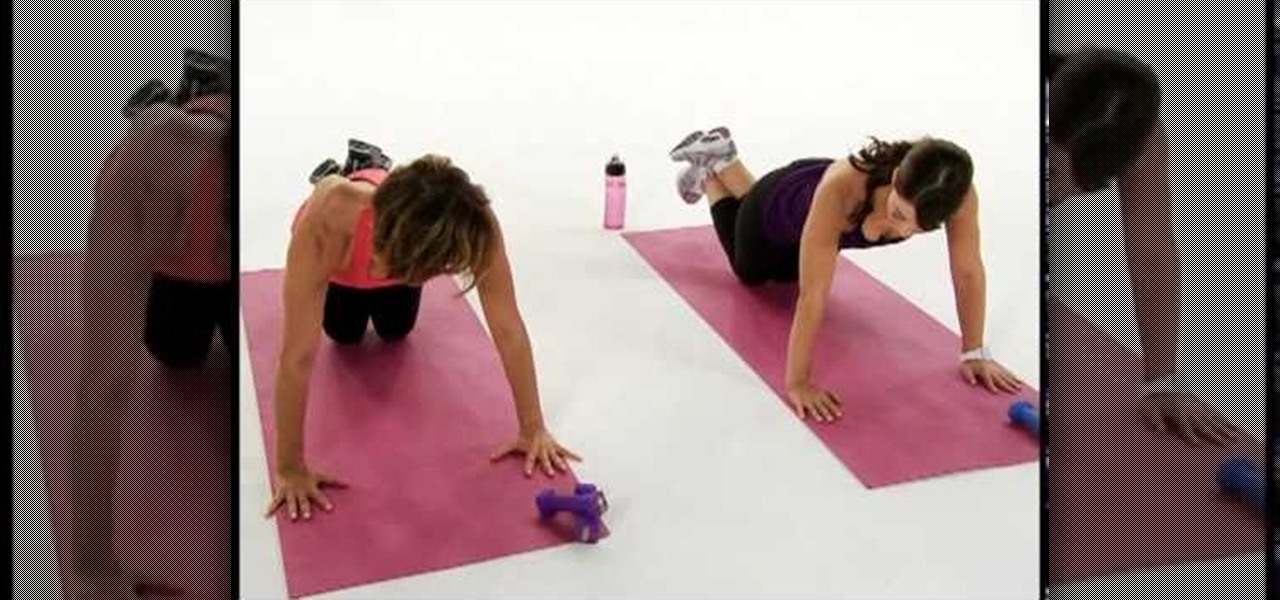
Whether it's your friend's wedding or your own, it's so important to look drop dead gorgeous on the wedding day. If you're a bride or bridesmaid who's looking to firm up and look like a ravishing, glowing princess, then check out this video for great tips on how to work out with limited time and get your skin smooth and bright.
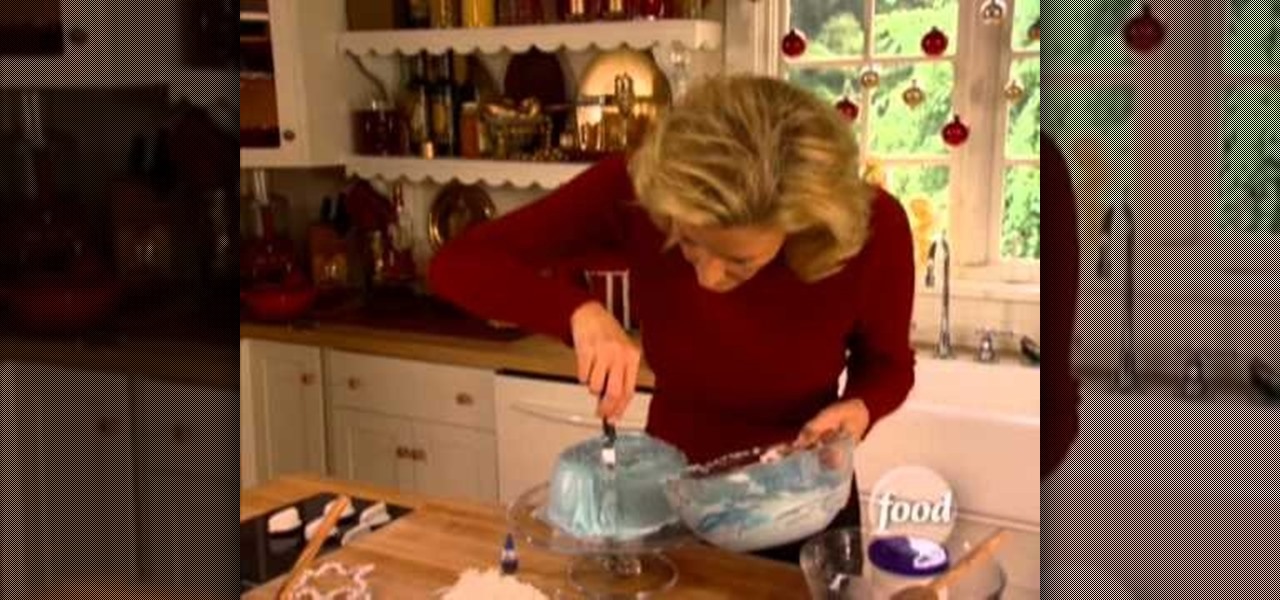
During the holiday season you're probably more than used to seeing baked goods at your grocery store shaped into wee little Christmas trees or Rudolphs. But what if you celebrate Hannukah? Chances are there are going to be few Star of David themed baked goods anywhere you go.
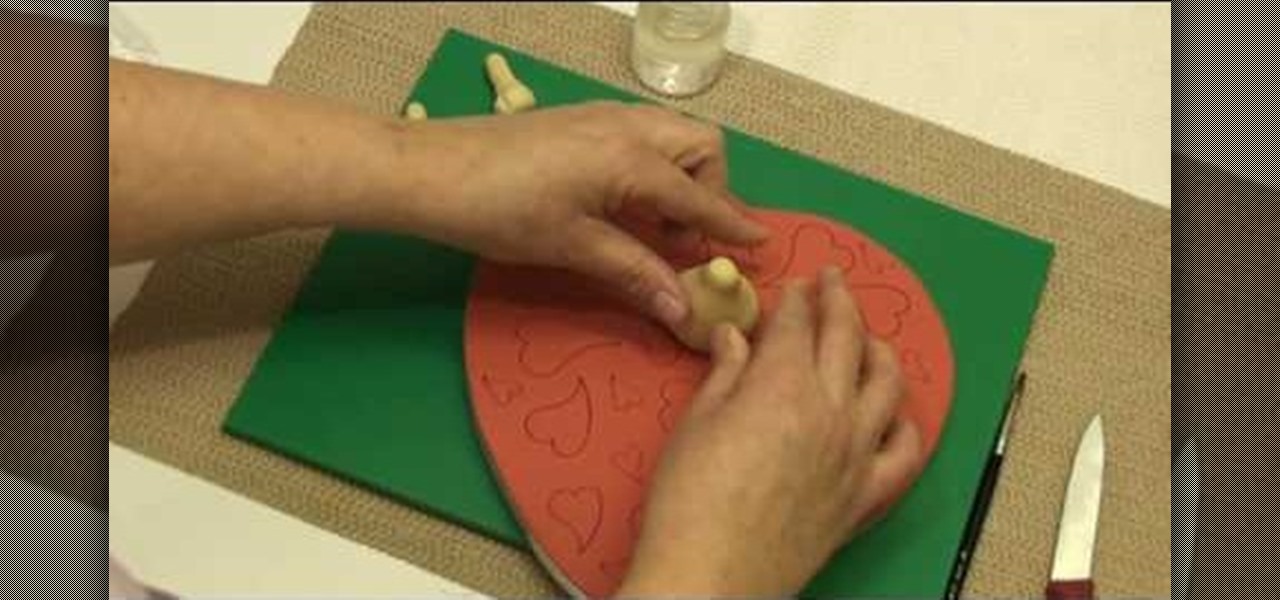
While fanciful store bought gifts like boxes of chocolate, roses, and spa certificates are great presents on Valentine's Day, when it comes to dinner and dessert homemade is usually best - and most appreciated.
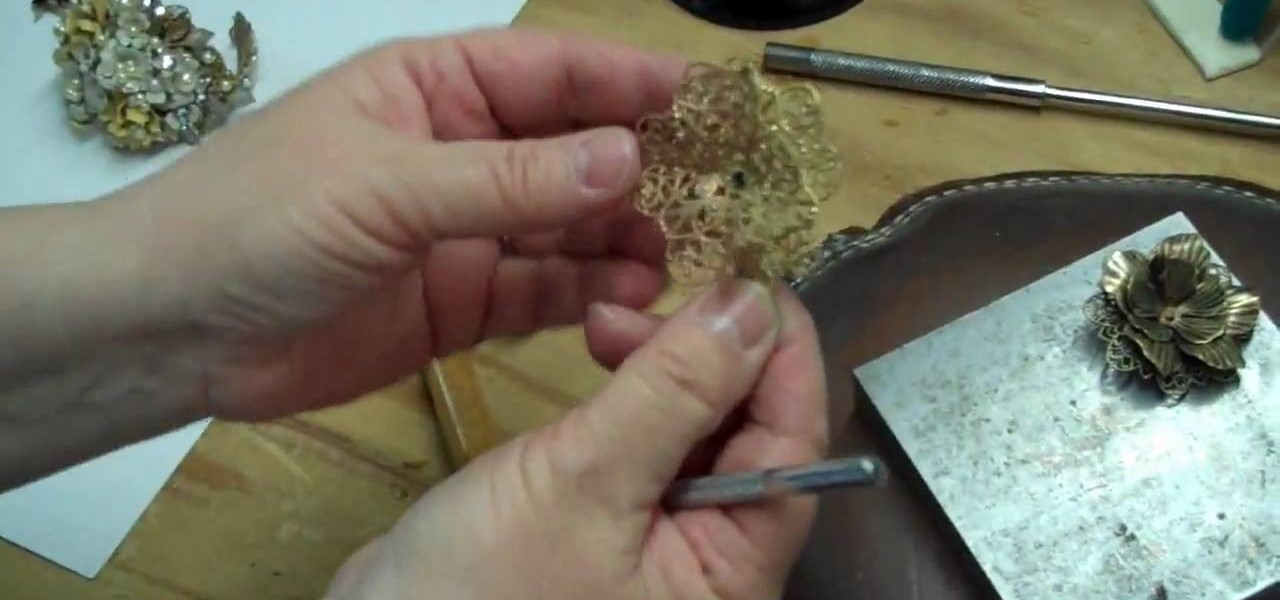
Brass stampings add that perfect metallic touch to any jewelry project you're working on. While brass stampings are usually made into filigree shapes, they can also be manipulated into pretty floral designs.
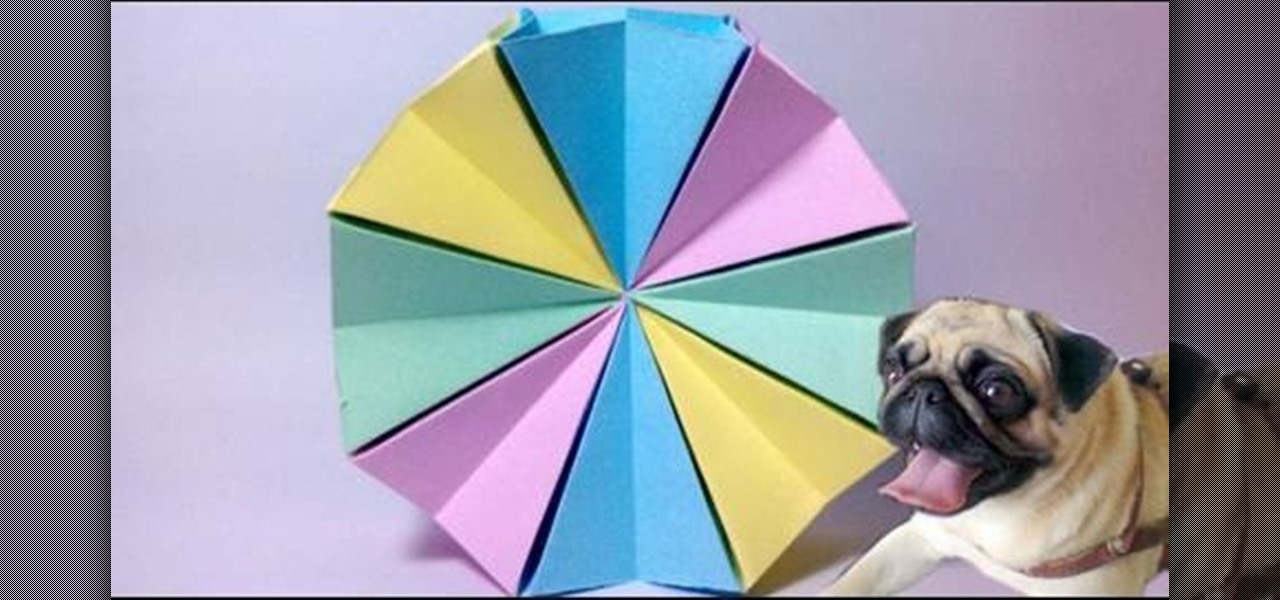
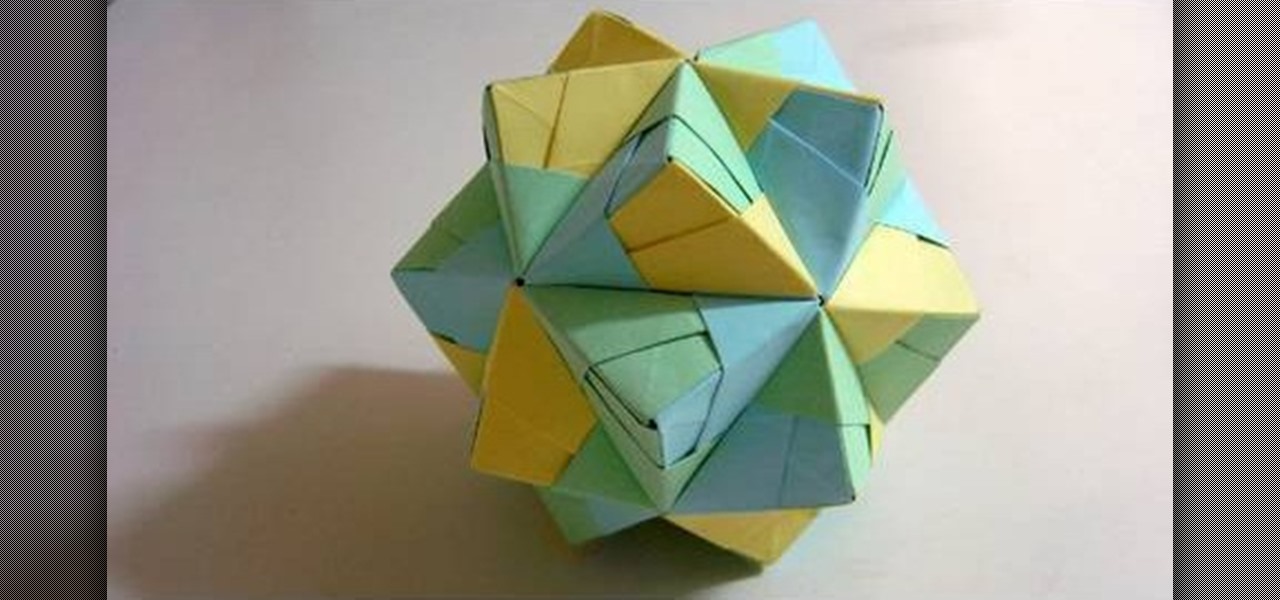
The first and most basic tenet of origami is creating shapes using a single piece of paper. However, when it comes to modular origami, which is complex and multi-sided, this rule becomes a little more lenient. It's actually rather common in modular origamit o see magic cubes or 36-sided stars being assembled from multiple pieces of paper.

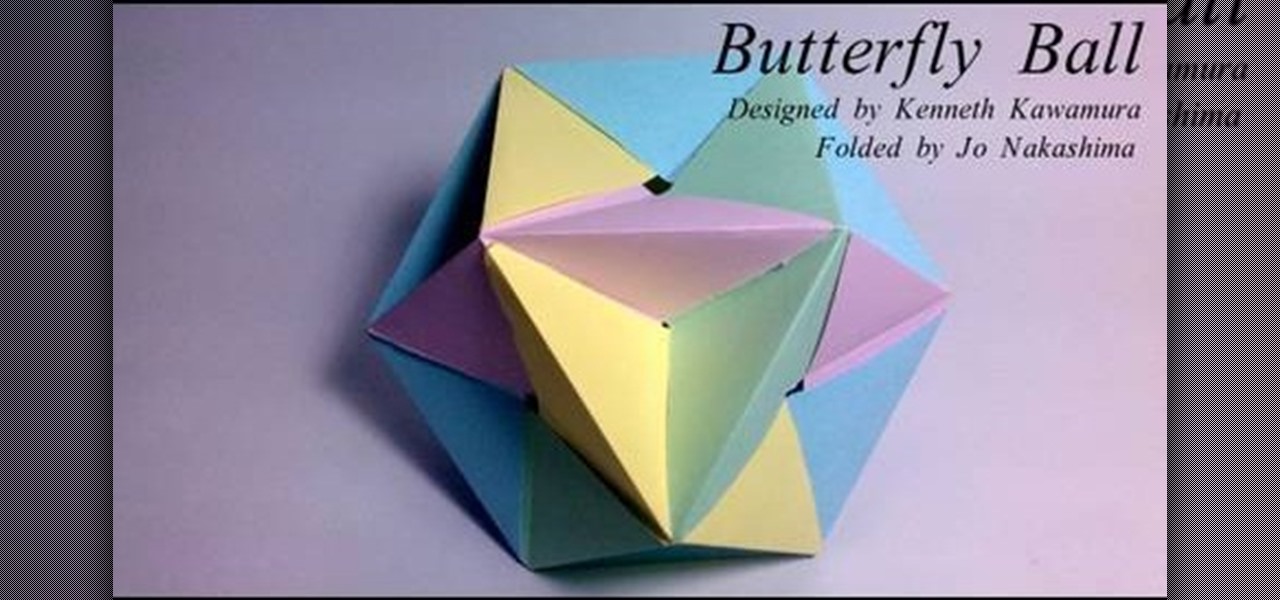
First of all, we're not going to lie: This butterfly ball origami project is not a simple one to fold. In fact, you should only attempt it if you're an intermediate or advanced origami student. Second, we have no idea why this star-like object is called a butterfly ball (perhaps because it looks like a cacoon?), but either way it's a very cool modern shape.

Love folding origami? Then what better shape to fold for Christmas and the New Year than a star? A symbol of divinity as well as light and life during the dark days of winter, a star also makes great decor for Christmas trees and garlands.

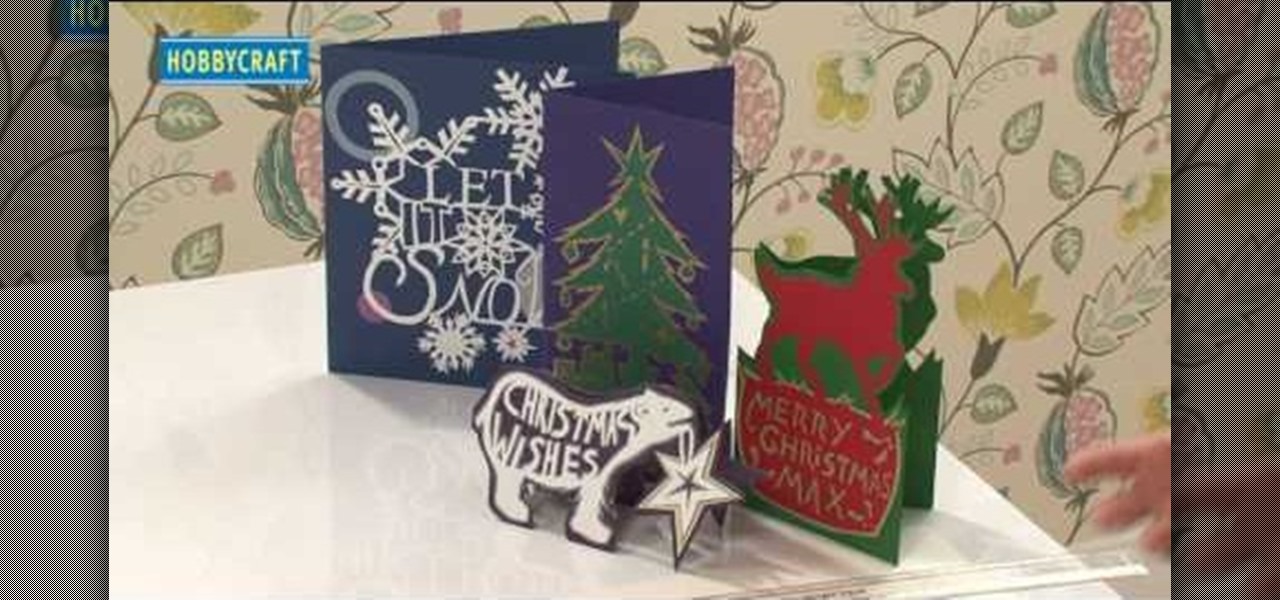
We're not going to lie: Papercut designs take a bit of time and lots of precision to accomplish, but the results, as you can see here, are totally worth it. These gorgeous papercut cards come in any shape you desire, from intricate polar bears to Christmas trees.

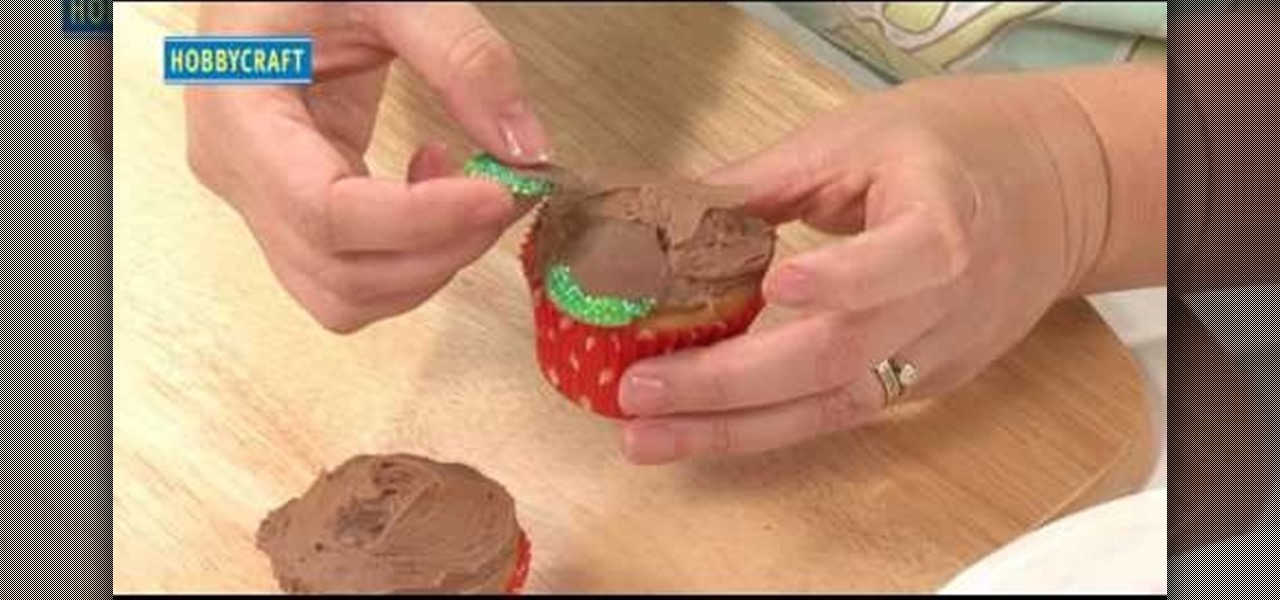
Throwing a holiday party soon? Then we're pretty sure your guests are more than used to the traditional Christmas cupcake shapes, like a snowman, Santa, and Christmas tree. Surprise your friends and family by creating these beautiful green glittered pinecone cupcakes.

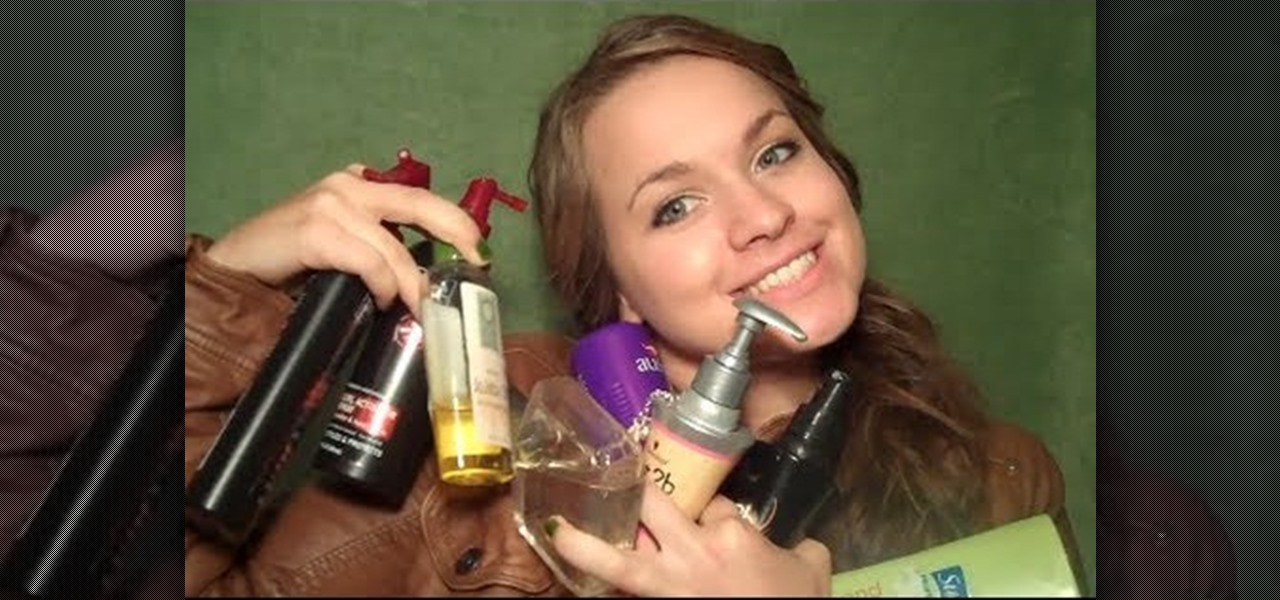
Even if you were born with luxurious flaxen strands so gorgeous they'd put spun gold to shame, it's still important to maintain a haircare routine that continually moisturizes and cleanses your strands to keep them in tip top shape.

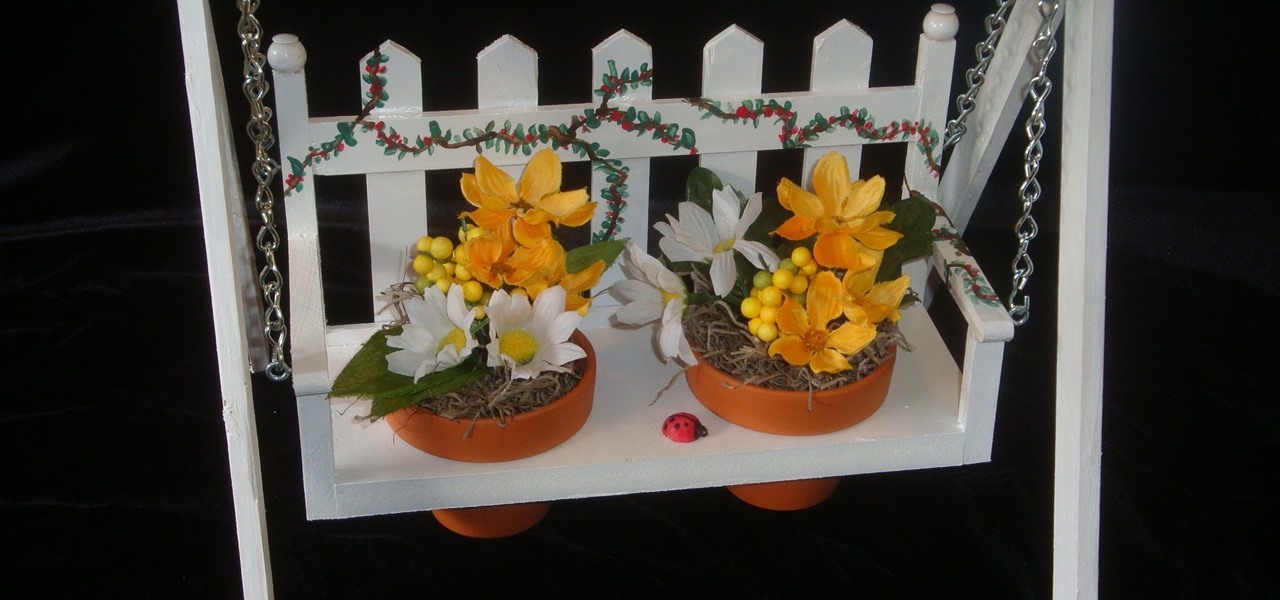
Your flower pots will look simply prosh when you tuck them inside this beautiful decorative white wood swing flower pot holder. Resembling a real life garden swing, this flower pot holder actually does swing, in case you're wondering.

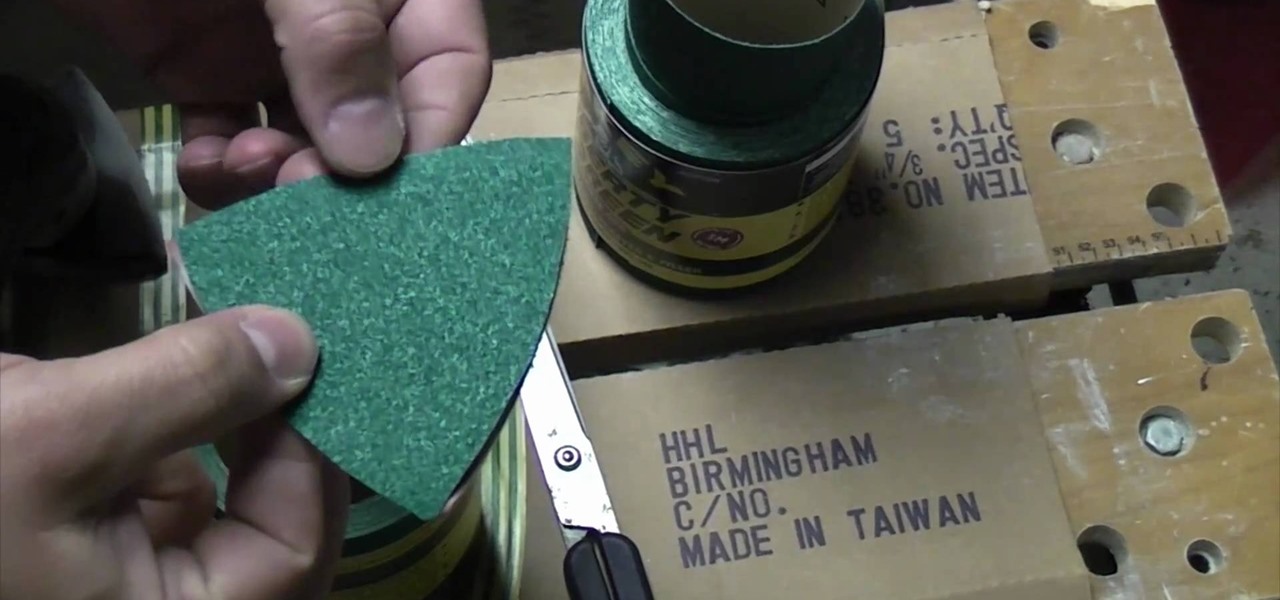
Detail sanders are one of the finest tools for polishing wood surfaces to a perfectly smooth finish. But it often costs a lot to replace detail sander sheets. Luckily, there's a way to save some moolah on your sanding sheet needs.

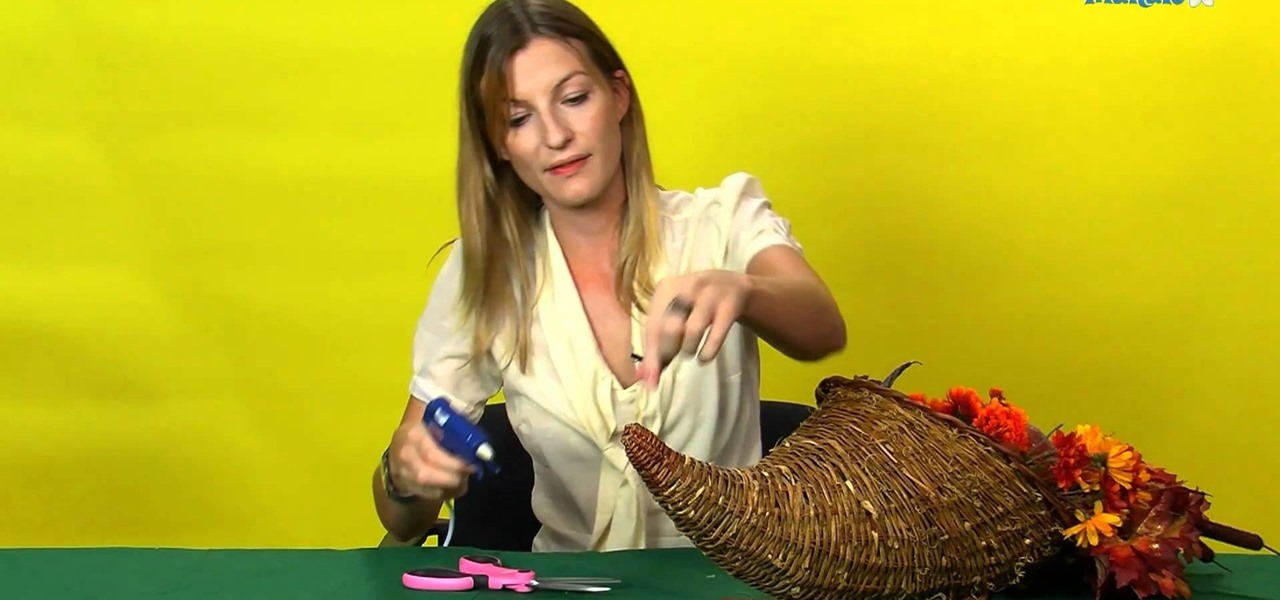
A cornucopia is perhaps one of the best symbols of what Thanksgiving's all about. Usually filled with fresh fruits, vegetables, and flowers, a cornucopia represents a good harvest and a cause for celebration of plenty.

Want to have a bunch of pretty pumpkins on your dinner table for Thanksgiving? Why not surprise guests with the unexpected by setting out these crysanthemum "pumpkins" instead?

Just because Greek monster and general bully Medusa had yucky snakes slithering out of her head doesn't mean a Halloween look based on her has to be disgusting and scaly. Bring out the beautiful side of the myth by creating this gorgeous stonelike Medusa look.

A good pair of brows can make the difference between looking totally unpresentable and like a sleep mole person and like an awake and sexy diva. Seriously. Grooming your brows - plucking or waxing them, and then shaping them with brow gel, eyeshadow, or liner - can add a whole new dimension of contour to your face. Groomed brows also open up your eyes and can even slim down rounder faces.

Thinking about baking some cupcakes for Halloween? Whether you're looking for simple seasonal cupcakes that aren't overly decorated (these are very plain orange and white colored cupcakes) or need a delicious recipe for cupcakes that you will be decorating, this recipe is perfect.

Getting your hair done and dyed at the salon feels luxurious and is as much a rejuvenating, spa-like experience as it is a practical coloring session. But with the economy as it is and hair color appointments costing upwards of $100 average, it's quite a costly expense.

Stir frying doesn't just mean "toss whatever you have lying around into the pan and add oil." In fact, stir frying is a precise art that requires control of quantity of ingredients, the right shape of pan (a wok is preferred), and a non-stick pan in order to produce the perfect quality result.

In this tutorial, we learn how to make chocolate-filled marshmallow Easter eggs. First, place 1/3 c water in a saucepan along with 1 envelope of gelatin. Let this dissolve, then turn the heat on and add in 2/3 c of sugar. From here, take it off the heat, then you will add in a pinch of salt, 1/3 c corn syrup, and 1/2 tsp vanilla. Mix this with a mixer for 15 minutes, then the marshmallow are finished, you can shape them and coat them with colored sugar. You can also inject chocolate into them...

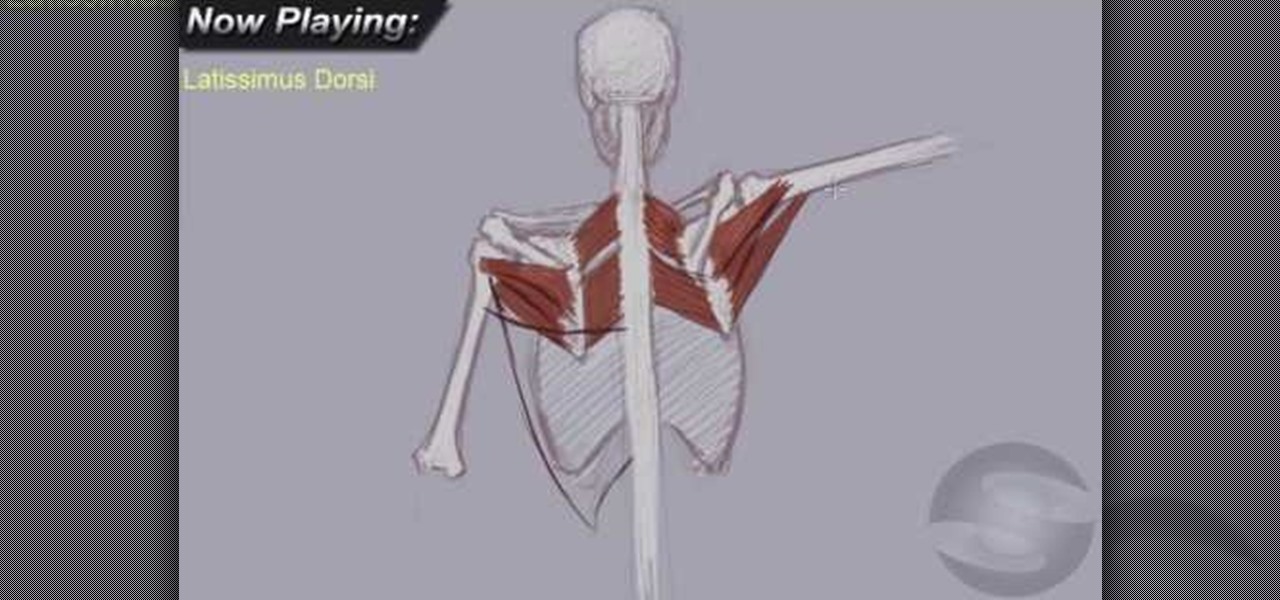
In this video, we learn how to understand the anatomy of the upper back for drawing. First, you will need to learn how to draw the skeletal block of the body. Once you have drawn the outline for the skeleton, you can continue onto the rest. Make sure to add in the details for all the parts of the body, using thin lines at first, then thicker lines. Color these in white once you have the bone shapes made, then color in the "meat" on top of those. Draw in lines to create shading and realism on ...

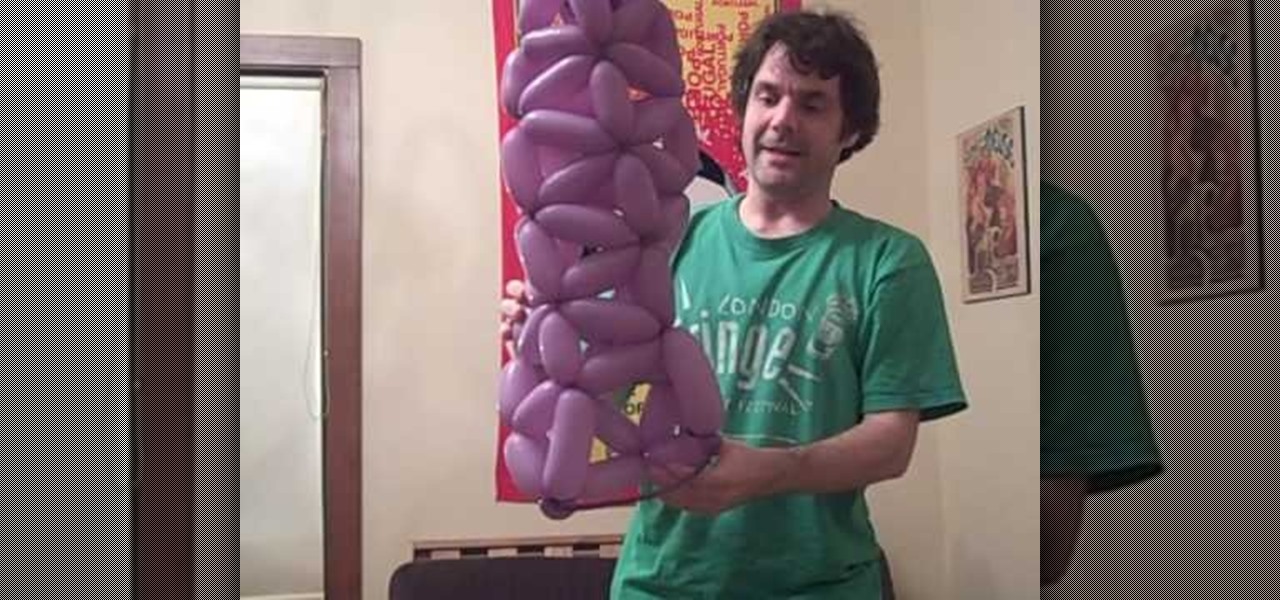
In this tutorial, we learn how to make a balloon version of Marge Simpson's hair. This will take around 7 blue or purple colored balloons (your choice of course) and you will be baking a tetrahedron design. You will have asterisk type shapes everywhere except on the bottom, where there will be a spot to stick your head inside. When it reaches the top, the balloons will all connect together and make a circle at the top. This will take practice to learn how to do, but once you get it down you c...

In this video, we learn how to make hip hair accessories. First, you will need some little cut out shapes, flowers, bows, bobby pins, and hair barrettes. Now, grab your bobby pin and heat up a hot glue gun. Put the glue onto the bobby pin, making sure to avoid gluing your fingers. Put it on the side that doesn't open so it's on the back of the pin. Then, quickly glue on whatever you would like to be on the pin. After this, let the pin dry and you can wear it in your hair. This will save you m...

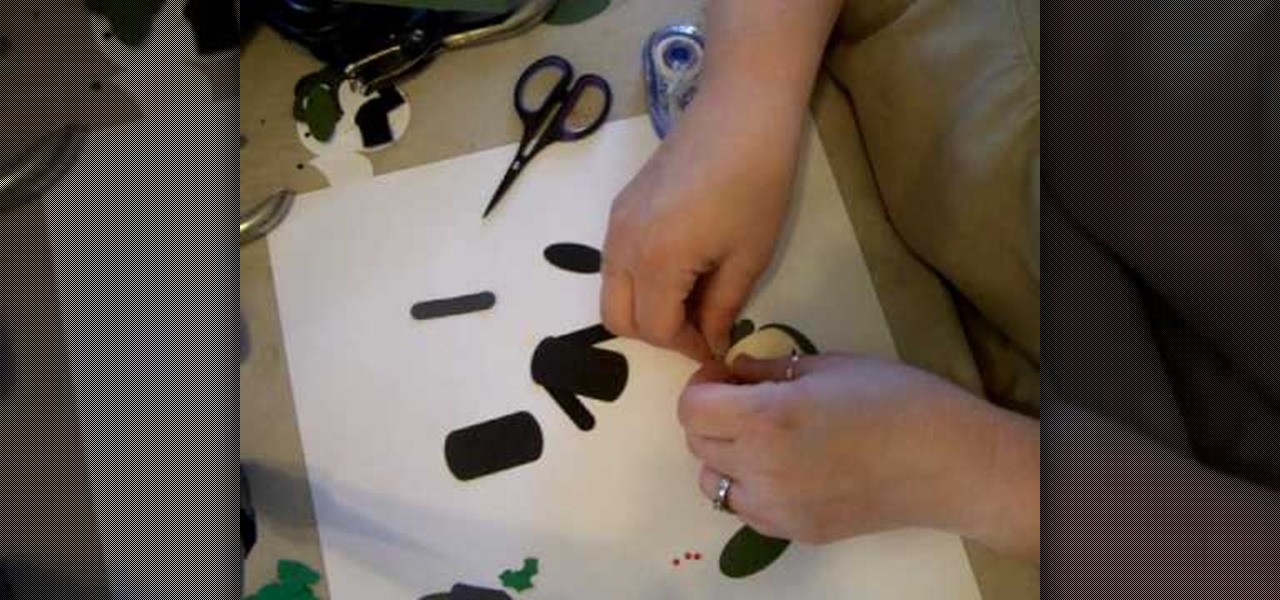
In this tutorial, we learn how to make Ebenezer Scrooge using Stampin' Up punches. First, you will need to grab the guide that tells you which punches to punch out to make the character. Once you have all the colors and shapes punched out, then you will be able to put them together. The hat should be tall with a holly leaf and berries on it. Around his face should be a beard and a scarf around the neck. He should be wearing long sleeves with two buttons down the middle. Use a black gel pen to...

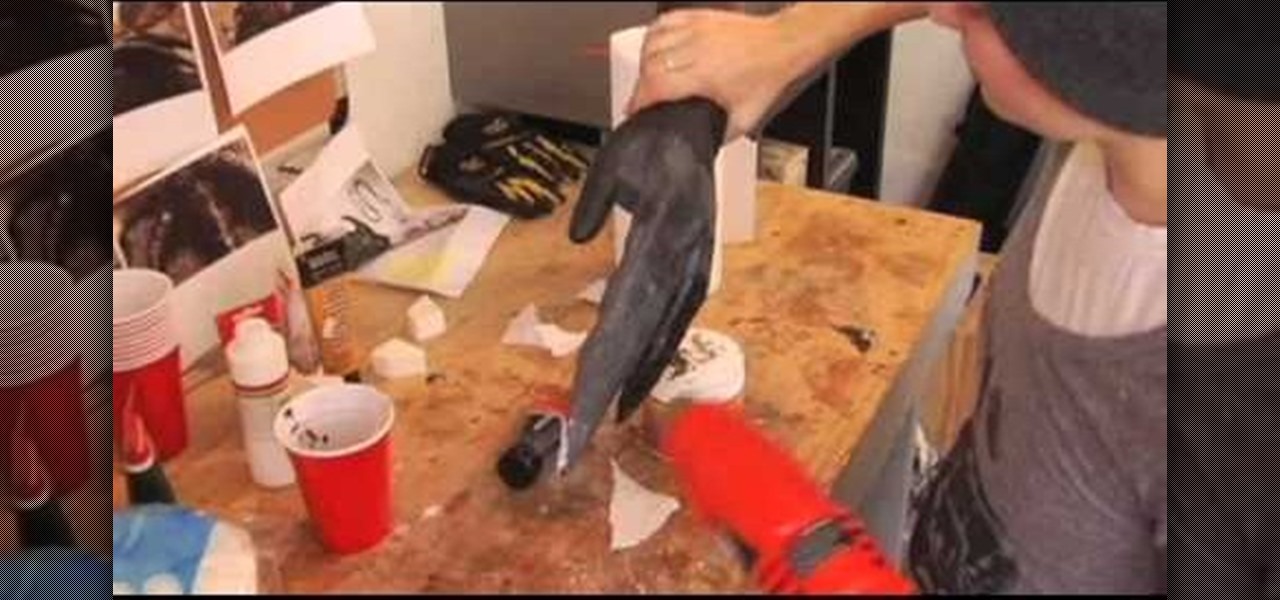
You will need: rubber glove, paper towels, liquid latex, paint, and newspaper. First, fill the glove with newspaper, then secure the fingers with electrical tape to make only 3 fingers. Then, mix up the liquid latex with black paint and apply it to the fingers. Then, place the paper towels over this in coats and shape them so they are pointy. Add in some texture using paper towel strips and cotton balls. Continue to paint over with the liquid latex/paint until you have made your desired textu...

If you perform a lot of home lawn care, then don't neglect your lawn equipment during the winter months. It's important to keep your lawn edger and weed trimmer (or weed whacker) in shape to make sure your spring lawn maintenance runs smoothly. Lowe's has some great maintenance tips for you to perform to completely winterize your lawn tools.

Zip ties are wonderful little creatures. They can do all types of duties, and they come in all shapes and sizes. But for this gag, you'll want to get the biggest and longest zip ties you can find!

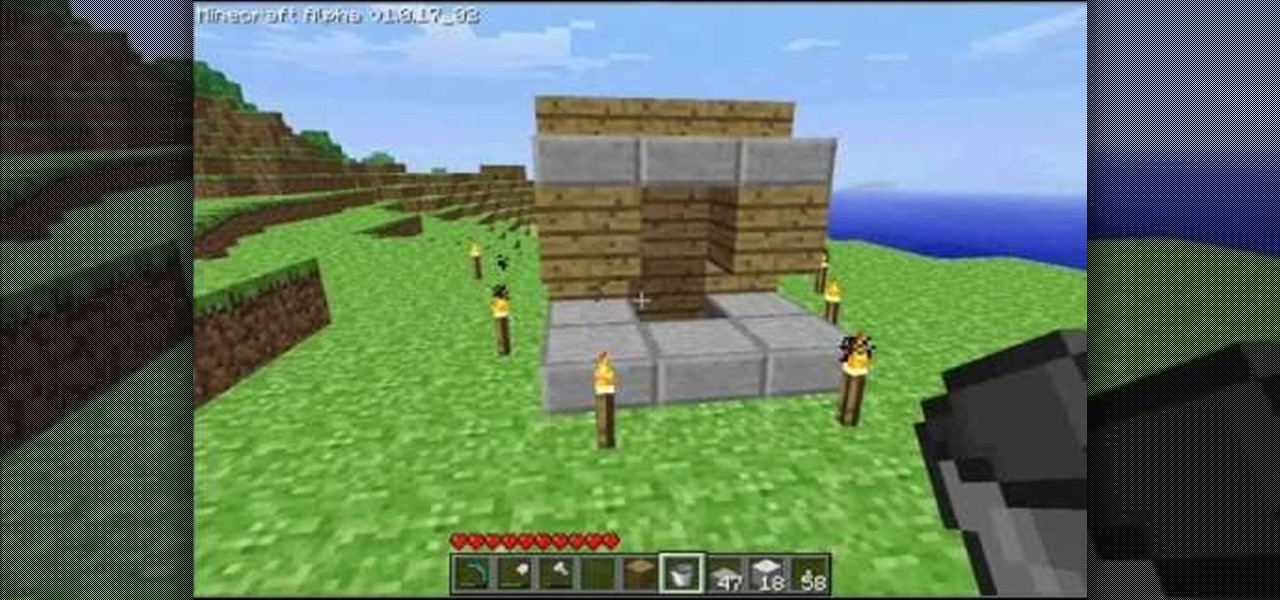
When building a base in Minecraft, there will come a time when you end up getting a lot of junk items and objects in your inventory that you just don't want anymore. But instead of letting them pile up in your inventory, why not build your own incinerator? It's pretty easy and all it really requires is a bucket of hot lava and some time! In this video you will learn how to make an awesome incinerator/trash receptacle that'll help keep your inventory in shape!

In this tutorial, we learn how to play the ruan, a Chinese Lute. First, sit on 2/3 of the chair, then rest the ruan on the lap, slanting it 45 degrees to the left. For the left hand position rest the thumb at the back of the neck and allow the other fingers to curve into a ball shape. use the fingertips to press into the strings. Do not pull the strings when pressing or the pitch will be messed up. Also, do not rest the palm onto the neck of the ruan. Use the pick between the thumb and pointe...

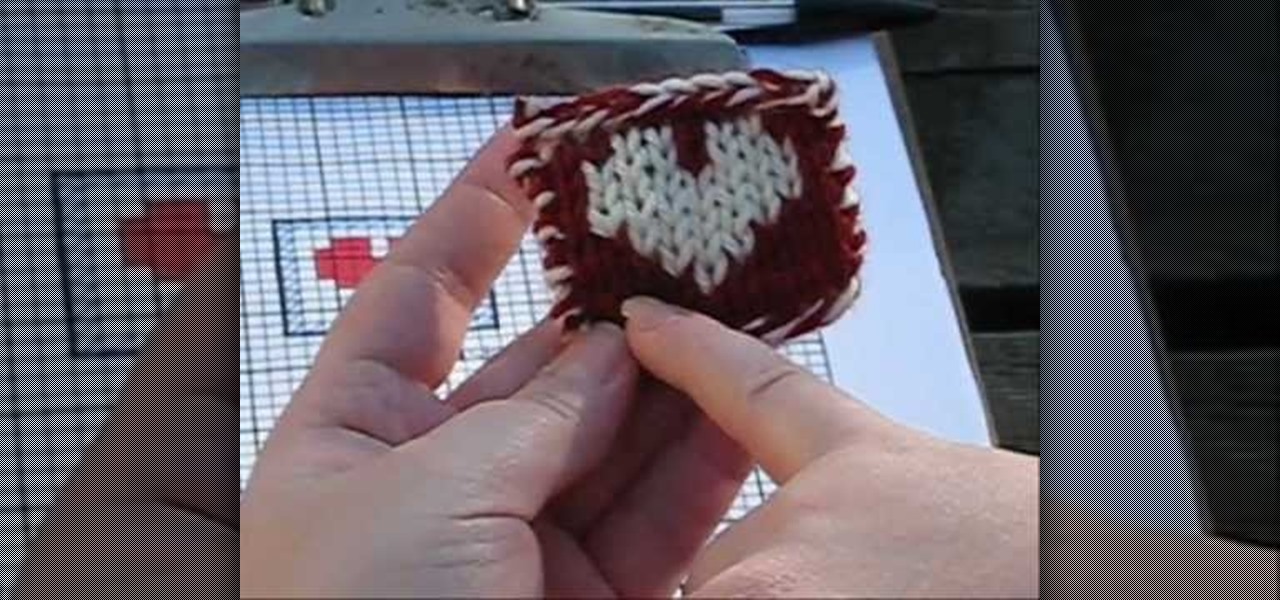
In this video, we learn how to knit double motifs. First, make a grid so that you have an even number of stitches all the way around your motif. After this, cast two colors onto the needle, making sure they stay in order. Cast on a total of twenty stitches, which will be just one side of the square for your motif. After this, start to stitch the rows until you reach the middle where your shape will be. Exchange the colors so the pattern in the middle looks how you want it to. After this, bind...

In this tutorial, we learn how to make a hedgehog plushy. First, choose a fabric to use, then cut out the shape of it. Once you have done this, cut it out again and pin the two pieces of fabric together. After this, use a sewing machine to sew all of the sides together, leaving a hole in the bottom. Now, turn the hedgehog inside out and then iron him flat. Place some stuffy cotton into the plushy until it is as full as you would like it. Then, sew the hole together so none of the stuffing can...

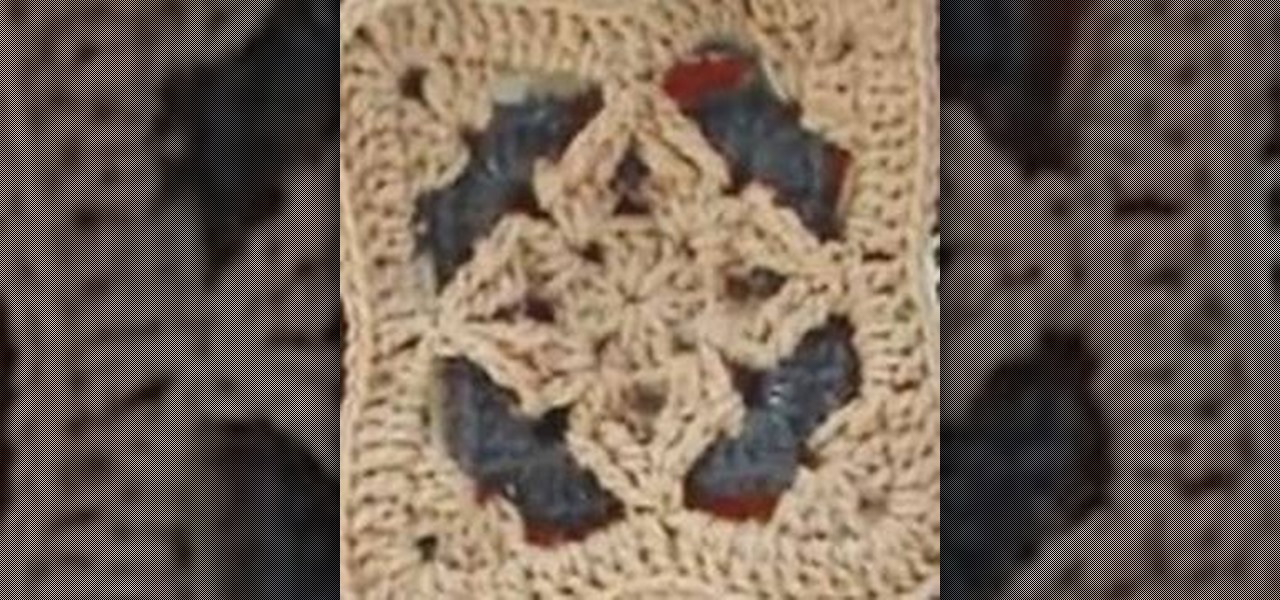
There definitely exists logic behind calling these fuzzy crochet squares granny squares. After all, the cozy texture and delicate, retro motif do remind us of Sundays visiting Grandma while she served us tea and sandwiches and she knitted the day away.

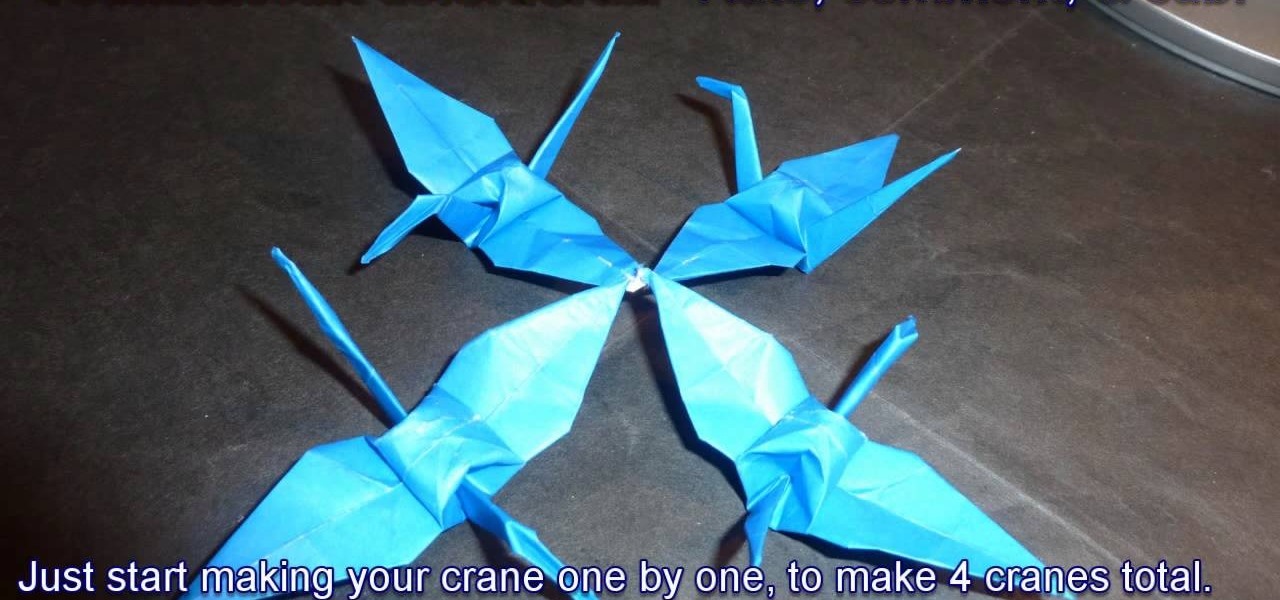
Already mastered folding a crane? Congrats, you're already halfway there to becoming a veritable origami master! Harder origami projects take more time and patience to perfect, but you can begin making impressive origami projects now even if you're just a beginner.

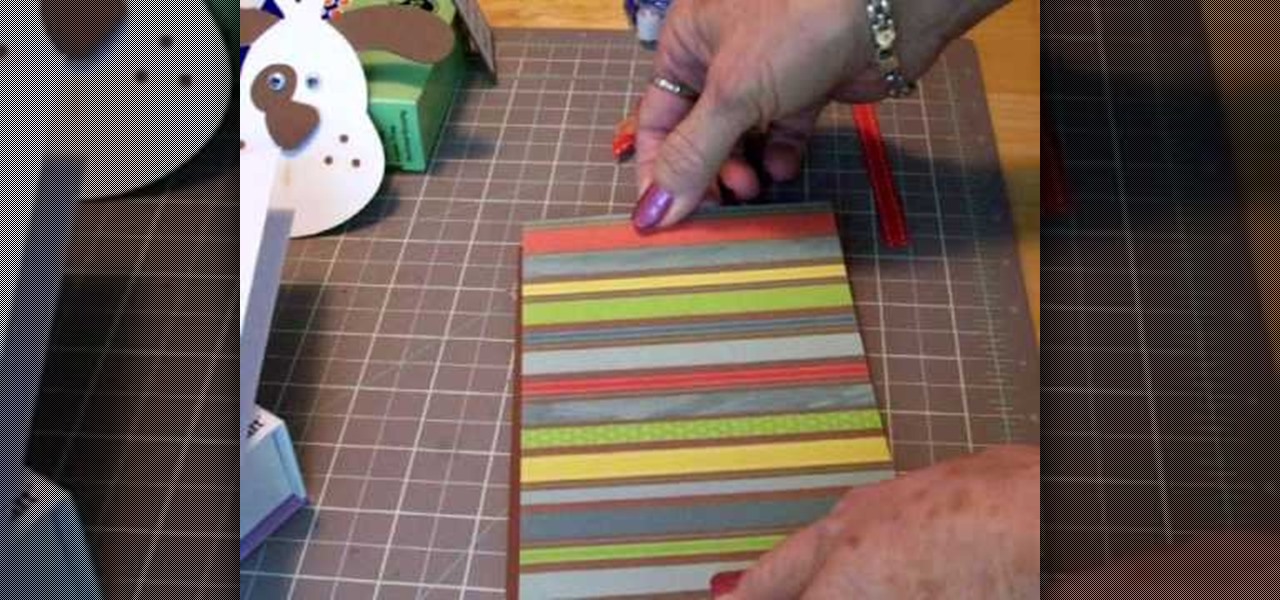
This video tutorial is in the Arts & Crafts category where you will learn how to make a Cricut get well card. Cut out the shape of a dog out of white at 4". Then cut out the ears and nose out of brown also at 4". Cut the dog again in brown at 4" for the background. Now assemble the dog as shown in the video and glue on two Google eyes. For the card base take a 10" x 7" card and fold it in half. Take out a brown sheet at 4 3/4" x 6 3/4" and a striped mat. Now apply glue on the card and assembl...

We love this hair tutorial because it teaches you how to create the equivalent of a cinnamon bun on the side of your head. A Dutch braid is basically a braid that you swirl around and around itself in order to form a circular shape. While doing this on both sides of your head would be a little much (we're not going for Princess Leia here), opting for just a single Dutch braid on one side.

Well this is quite the alternative crochet project. You've probably already knitted a light, hole-y Afghan, and even a long, thick crochet scarf for the winter months, but we can bet you've never even thought of crocheting your own earrings.

Want to get on Santa's "nice" list this year? It's never too late when it's cookies we're talking about (Santa's favorite treat!). Whether you have a Christmas party you're itching to get some easy and delicious treats for or you're prepping a few batches of cookies for friends, these Christmas wreath cookies fit the bill.

In this tutorial, we learn how to create a water lily masquerade makeup look. First, use an eyeliner pencil to draw in the outline shapes of the petals on the water lily. Do this on the top and the bottom of the eye. Also make sure you black out your eyebrows and draw over it with black pencil. Now, paint your entire eyelid black, then fill in the outline areas with the brush for a more bold outline and to clean up the lines. After this, take your brush and pain white onto the center of the m...

The Middle East is well known for entrees filled with a deeply marinated, spice-ridden flavor that really sinks in and takes your taste buds for a spin. But Middle Eastern desserts are just as savory, though obviously at the opposite spectrum of flavor.


