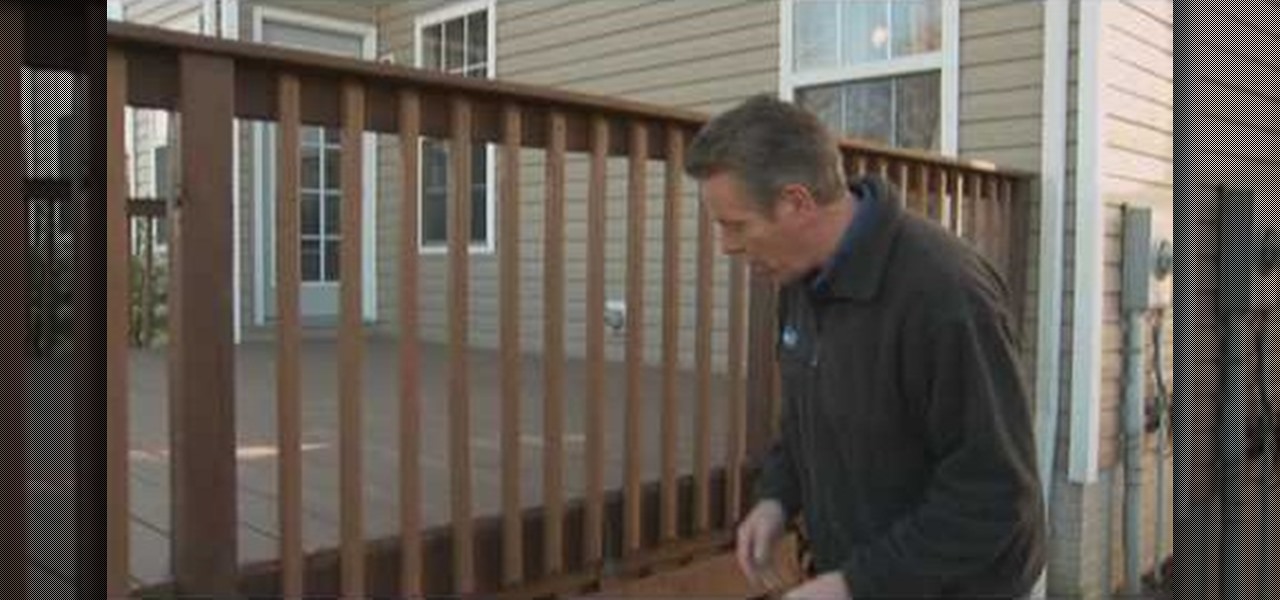
Maybe you just bought a new home. Maybe you've lived in your house for years. But if your deck looks like it's seen better day and needs an update to whip it back in shape, that doesn't necessarily mean you have to tear down and replace it.
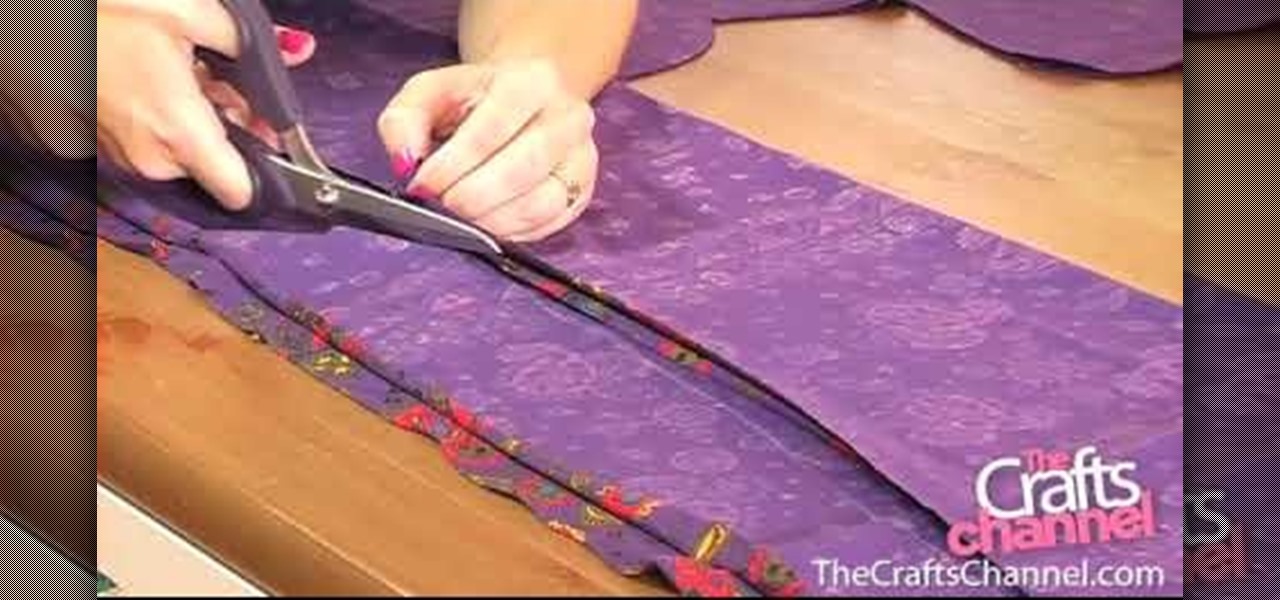
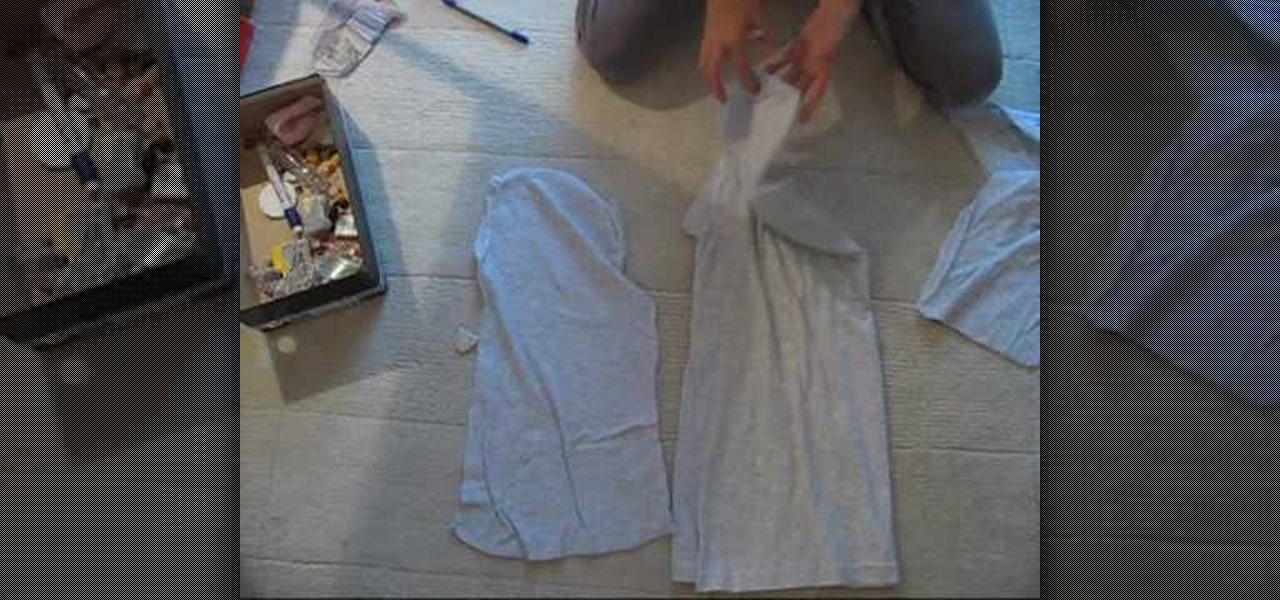
1: Chose a stretchy fabric & fold in half, so that the right side of the patterns are together. 2: Lay dress on top of fabric & trace the dress with dressmakers chalk, allowing for a 1.5 cm seam allowance (except for the bottom. allow 5 cm).

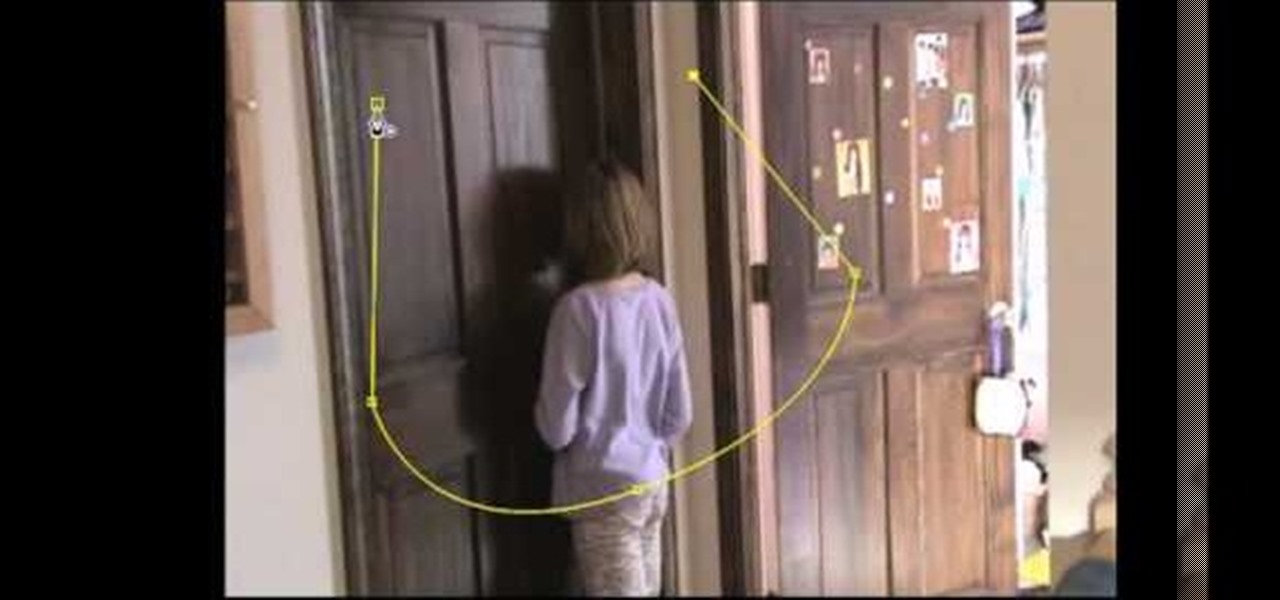
Find out the best ways to use the creep swab in Houdini. An architect in New York came up with a very clever means of distributing various shapes onto a surface using a creep swab. So, if you want to know how it's done, watch this two-part video, which focuses on using the creep tool in conjunction with copy stamping to achieve some unique results in Houdini 9.
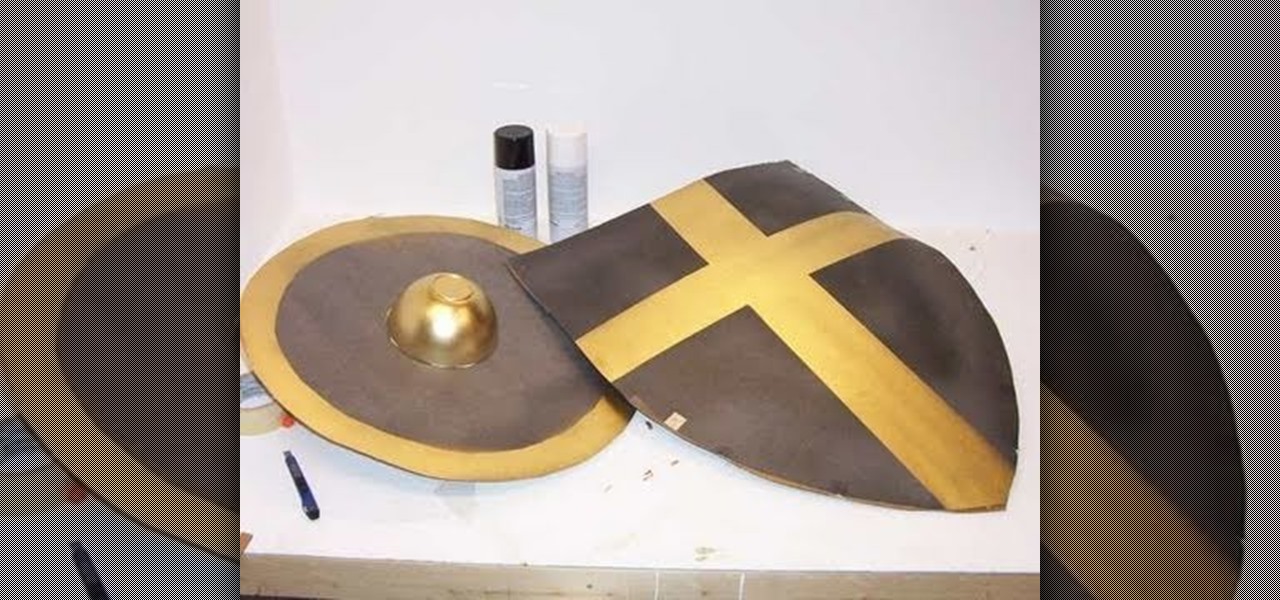
In this tutorial you'll learn how to make a cardboard shield, quickly and cheaply. All you need is some stuff you've probably already got around the house. Get to work, so you'll be ready to defend yourself against any barbarian invaders with cardboard swords!
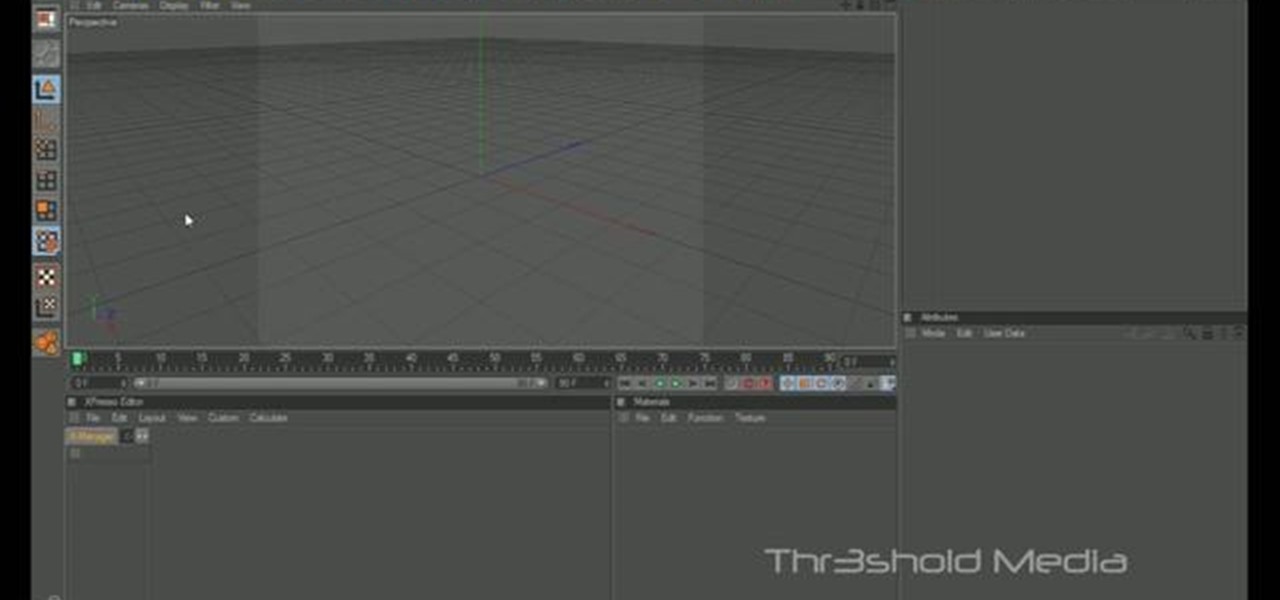
Learn how to use Thinking Particles in Cinema 4D. Working with these programs could be pretty complicated if you're not sure what you're doing, but this two-part tutorial covers some important topics when using Thinking Particles. As the name suggests, it is a particle-based system, just so you know.

“Great beach hair” doesn’t have to be an oxymoron, if you follow our advice in this how-to video. The elements aren't always kind to your hair, but an arsenal can keep your hair in top shape. To help tame your hair at the shore, try leave-in conditioner, anti-frizz spray, straightening cream, clarifying shampoo, baby shampoo, apple cider vinegar, a swim cap, and when all else fails, a hat (which is great protection from the sun-your skin will thank you too). Check out this video hair styling ...

Get started using Adobe After Effects with the help of The New Boston! This beginner's tutorial is bound to answer the many questions you have about the popular digital motion graphics and compositing software. The main purpose of After Effects is for film and video post-production.

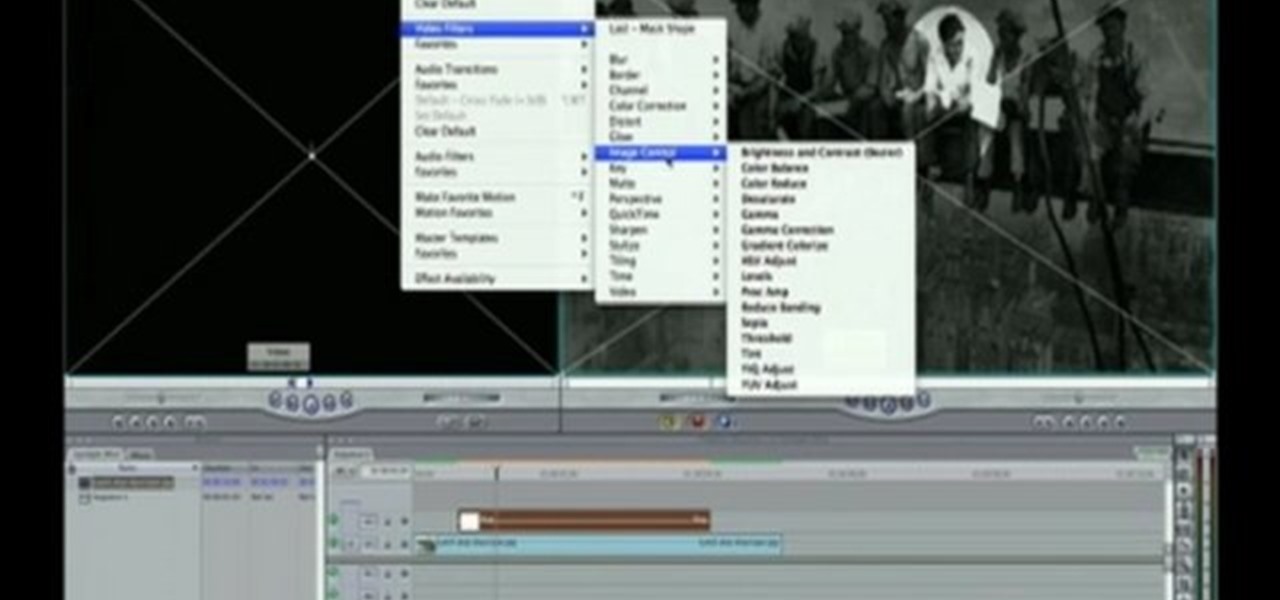
For this Final Cut Studio video tutorial, Zach King will teach you how to create a spotlight effect in Final Cut Pro. To create a spotlight effect, just drag your photo of choice into the timeline, set and in and out point, go to video generators, and use the slug. Then press the red overwrite button. Next, select the clip, go to the Effects tab, go to Video Filters, Matte, and then Mask Shape. Check out the rest of the process in Final Cut. Let the Final Cut King show you how!

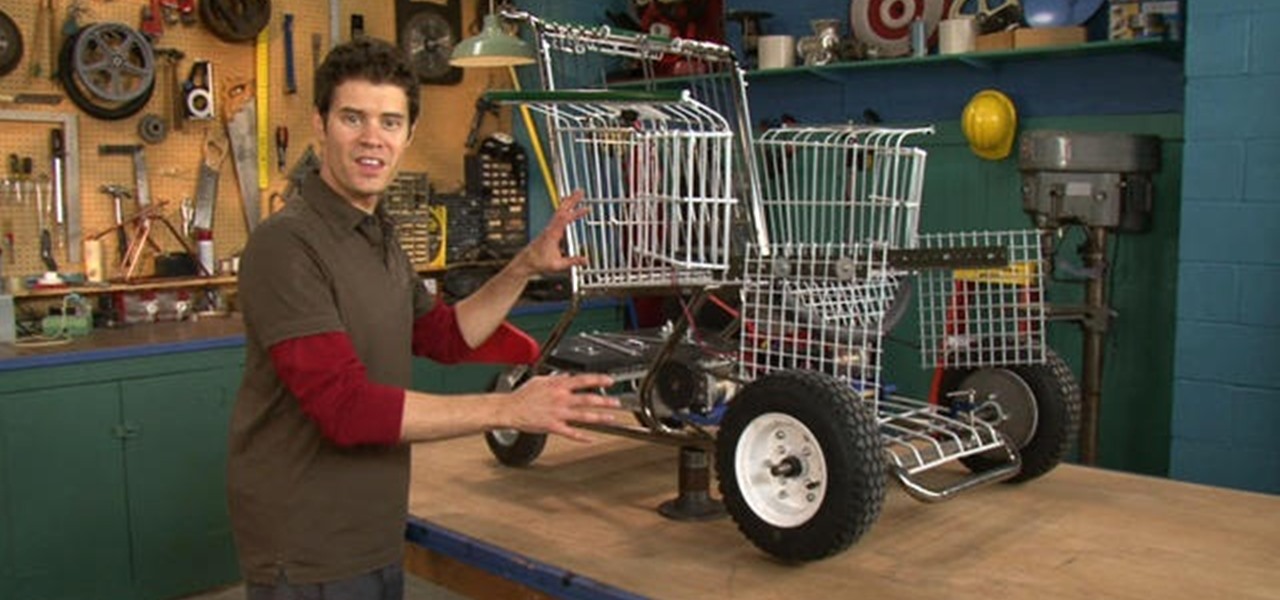
Kick back with John Park as he demonstrates how to upcycle a no-longer-usable shopping cart into an easy chair. This Make: magazine-based project offers an introductory look at how to cut, bend, and shape metal using metal cutters, saws, vice grips, and other tools common to home workshops. John also attempts a “deluxe” version of this project that employs motors and switches to transform it into a “go-kart chair.” View the clip to see his mixed results, and download the PDF.

Have you ever wondered what your DNA looks like? You have probably heard that DNA is a double helix, which is a pair of parallel helices intertwined about a common axis, but how do we know that? How can people look at DNA?

Pay attention to this knitting demonstration video and learn how to do the e wrap cast on. This is not a good knitting cast-on for long lengths because it is not possible to control the tension well when knitting the first row, resulting in a loopy, uneven edge.

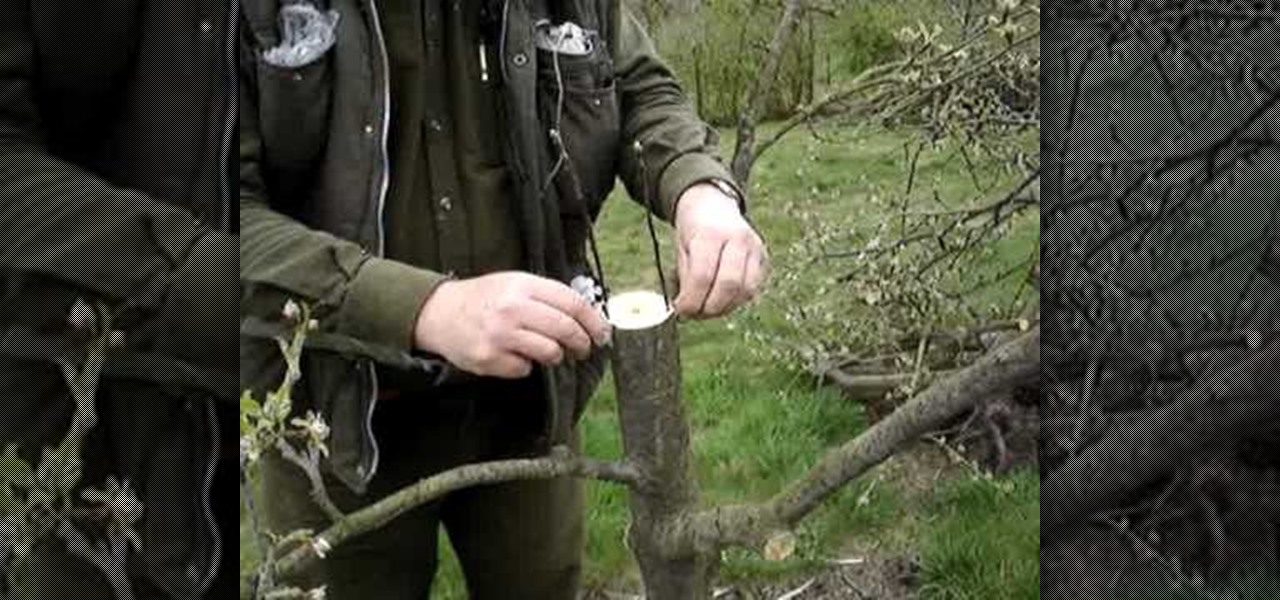
Grafting, also known as "top working," is simple-but-essential technique that enables you to change the variety of fruit a tree bears. In this tutorial, Stephen Hayes of Fruitwise Apples Heritage demonstrates the rind grafting technique, a useful method for grafting over a sound-but-unwanted apple or pear tree.

Star Wars artist Matt Busch takes you through the steps to drawing elite Stormtroopers. Using basic shapes, Busch shows you how to construct three-dimensional trooper armor. Learn how to sketch Star Wars by watching this video drawing tutorial. If you like drawing Star Wars, this video will make you happier than a Wookie in an Imperial garbage chute.

New to Maya (AKA Autodesk Maya)? Not to worry. This tutorial will save your day! Not only will you learn how to use all the basic tools in the graphic design software, but you will also create your first impressive 3D model - a house made from polygon shapes.

Well it's time to put on the school play! This year, the school's going to put on Chekov's "The Cherry Tree". Only problem? You have no tree. Well, this helpful how to will guide you through the steps to make a light, portable tree that will turn your school play on its head.

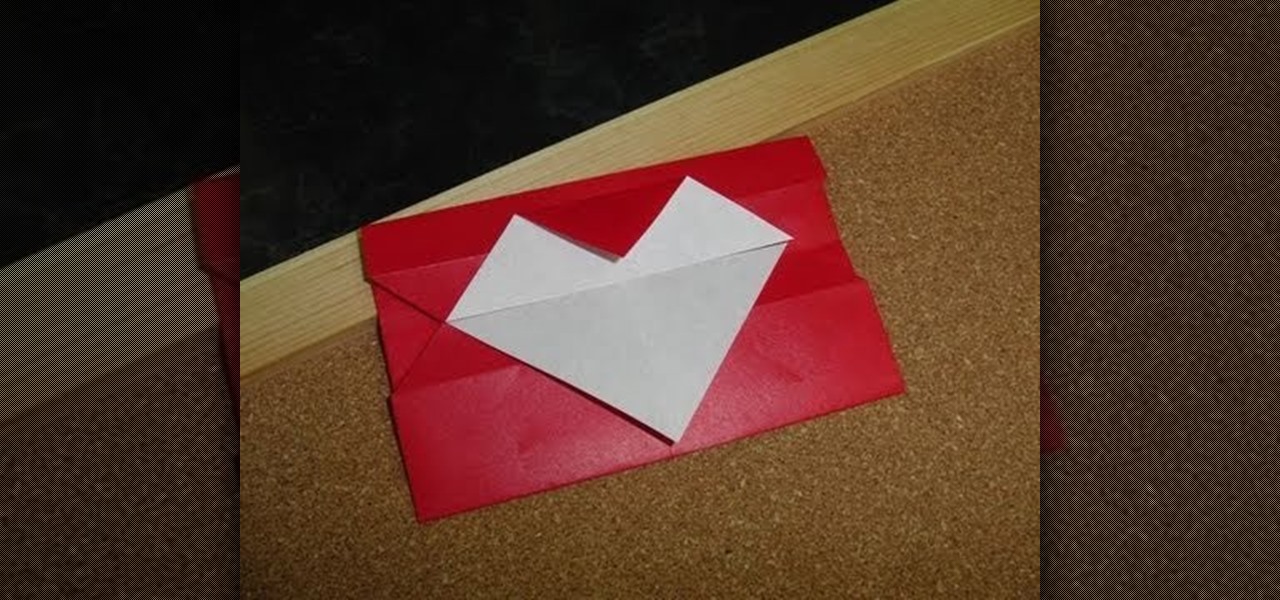
Whisper sweet nothings to your amor by crafting this simple and quick origami message card, which features a heart seal. It's a delightful way to package a loving, amorous sentiment and can also hold tiny trinkets of your affection.

Quilling is one crafting skill you probably picked up in fourth grade and then never touched again. But it's time to bring out those long paper strips once again. Quilling is one of the easiest ways to add complex and beautiful decorations to greeting cards and other paper projects.

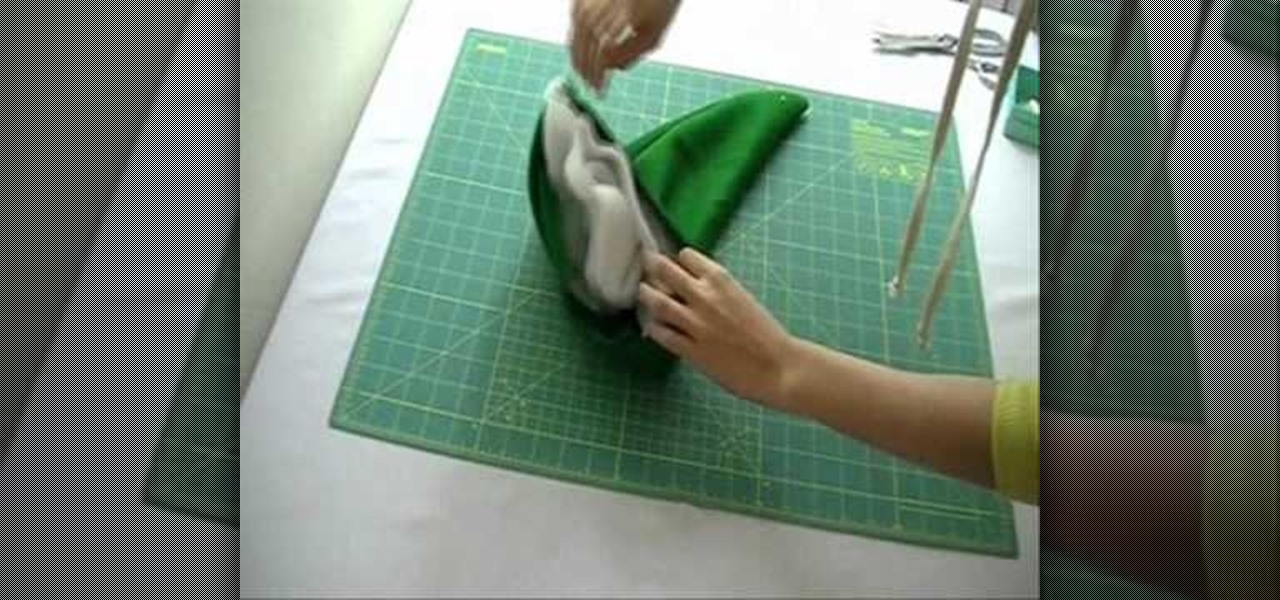
What better way to get into the holiday mood than by wearing a festive Santa or elf hat around your workplace? Send your spirits soaring and get ready for Christmas by making your very on Santa hat.

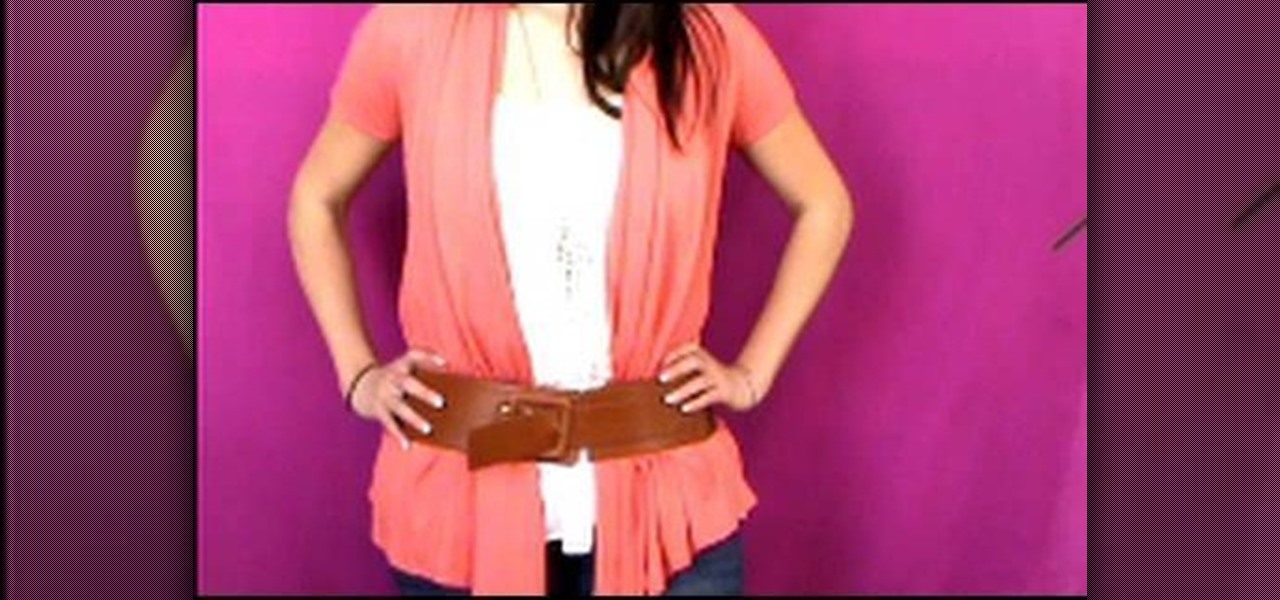
In this video, we learn how to wear a belt with Julie G. Try finding belts with different textures, which will add another dimension to your outfits. If you are full figured, wide belts work really well to give your body shape and hide a bigger stomach. Don't wear at your waist, wear at your bust or at your hips. If you have an hourglass figure, you can wear the belt around your hips or below your rib cage. For these body types, it's best to wear around the waist and will cinch it to give you...

This video begins with various examples of male heads being shown from different angles. The artist begins by drawing the outline of the eyes and eye brows with little definition. The outline of the head is then created to give the male head it's size and shape. by using a ruler the distance in between eyes, nose and lips are created then drawn more precisely. The video shows various different ways to shade the male faces features to give realism. The last part of the drawing that is covered ...

In this tutorial, we learn how to properly apply blush. You will need a medium angled brush to help apply your blush before you begin. Then, make a fish face and apply a darker blush along the side to make your cheekbones show more. Use blushes that work for your skin, play around with different colors. Find a plum color or pink colors and mix them together as well. You only want to go a couple shades darker than your skin tone. Your cheekbones may have a flesh color, so bring the contour col...

In this tutorial, we learn how to make a hair bow with and without a tail. First, take a long and thick ribbon in your choice of color and a thin ribbon in your choice of color. After this, grab a needle and thread and set it aside once it's threaded. Then, take your thick ribbon and fold it into a bow shape. From here, take the needle and sew the ribbon down the middle of the bow. After this, take the smaller ribbon and tie this in the center of the bow. When finished, you will glue this to ...

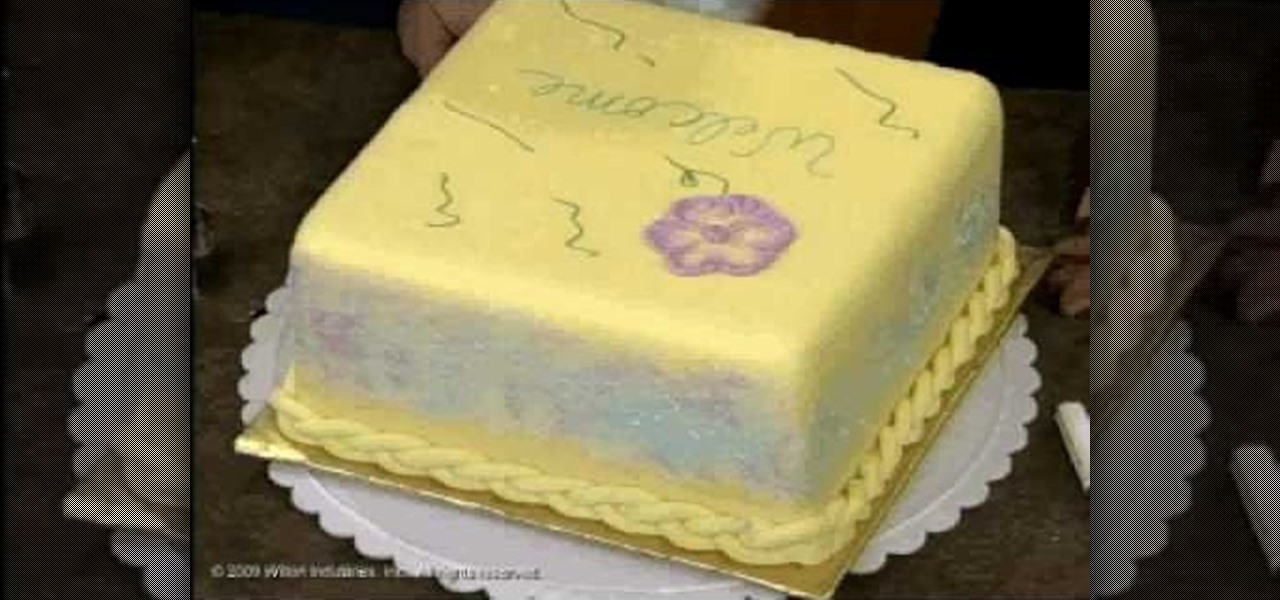
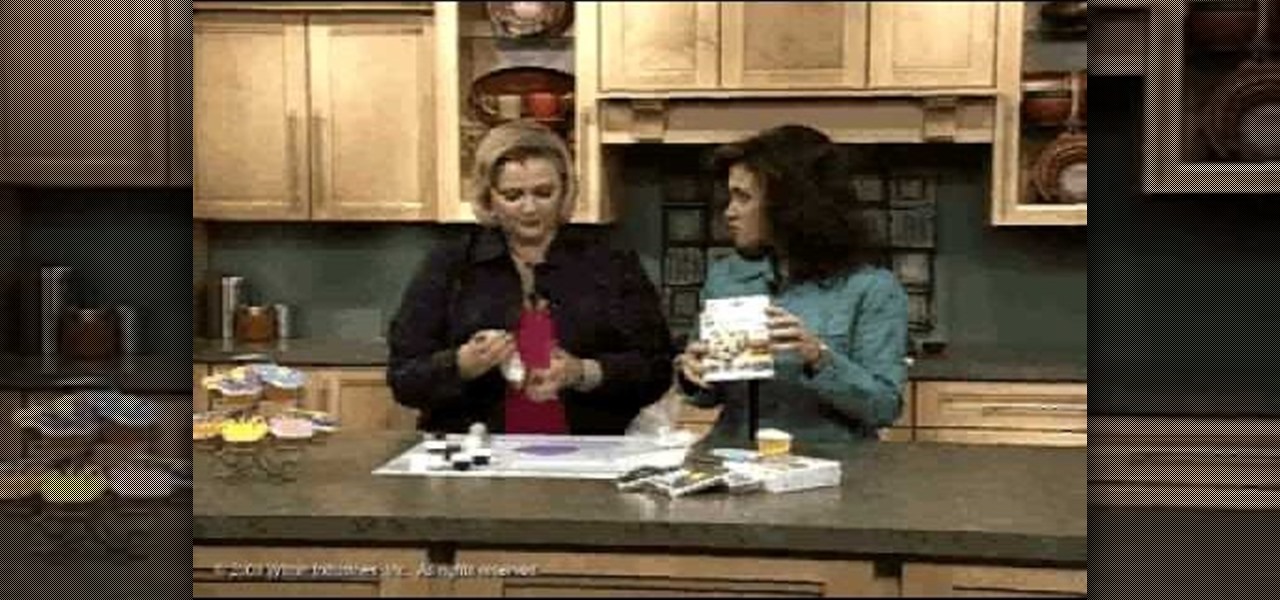
With this tutorial, we learn how to make & decorate the best wishes square cake. After you have rolled the fondant out and shaped it onto the cake, you can do more with it! To make the 'best wishes' cake you can sponge some icing onto the sides of the cake. After this, pipe on icing around the bottom of the cake to cover the exterior. Then, use an icing pen on the top of the cake to write out 'best wishes' in cursive writing. Then, draw on some confetti and continue to decorate the cake how y...

In this video, we learn how to make & decorate puffed-up petal cupcake. Start off by placing the food coloring inside the fondant and then rolling it with your hands. After you roll this out in one color, then cut it into thin strips. Pinch the sides together and then let them sit to keep their shape. From here, you can combine these together to create a beautiful flower on the top of your cupcake! These should dry overnight, then you can stick on the cupcake for a very unique flower that's u...

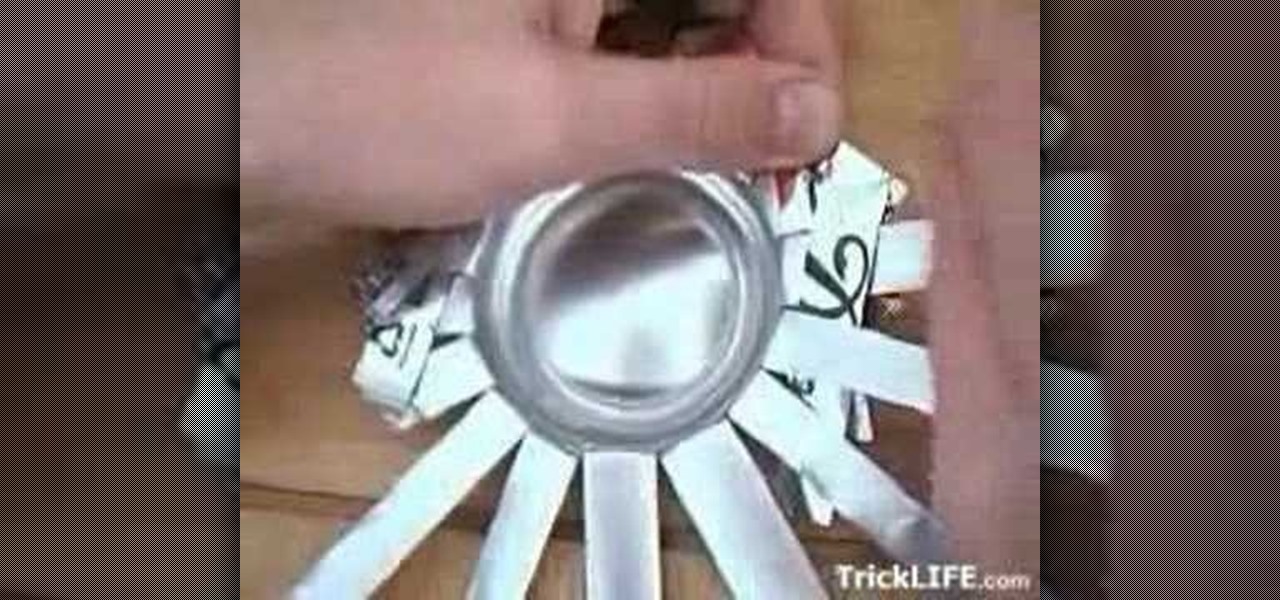
In this tutorial, we learn how to recycle an empty can into an ashtray. First, take your can and cut the top off. Then, cut 16 flaps into the can, not cutting the bottom off. Now, flatten them and fold them each into each other. Continue to do this until you have gone all around the can and you have a sort of star shape that has been make. Flatten all of the bends on the tray and then push the bottom of the can in. Now you can use this as a decorative ashtray without having to pay for it, enjoy!

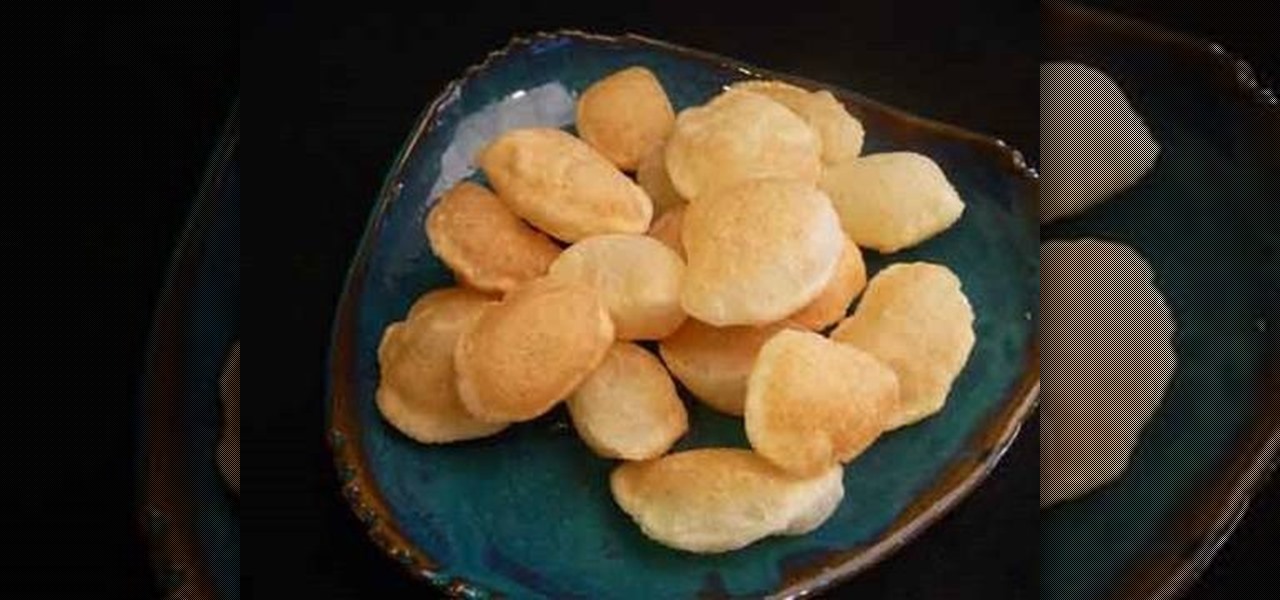
In this video, we learn how to make Indian puri for pani puri. Ingredients are: 1/2 c Fine Sooji, 1/4 tsp salt, 1/8 tsp baking powder, 1/4 c warm water, 1 tbsp all purpose flour, 1 tsp oil, and oil for deep frying. Start off by mixing the Sooji, salt, and baking powder together. Then, add warm water and soak the Sooji in it. From here, knead the sooji for 4 minutes, until it's firm. Then wrap it in plastic wrap and place in the fridge for 20 minutes. Then, roll out and cut into small round sh...

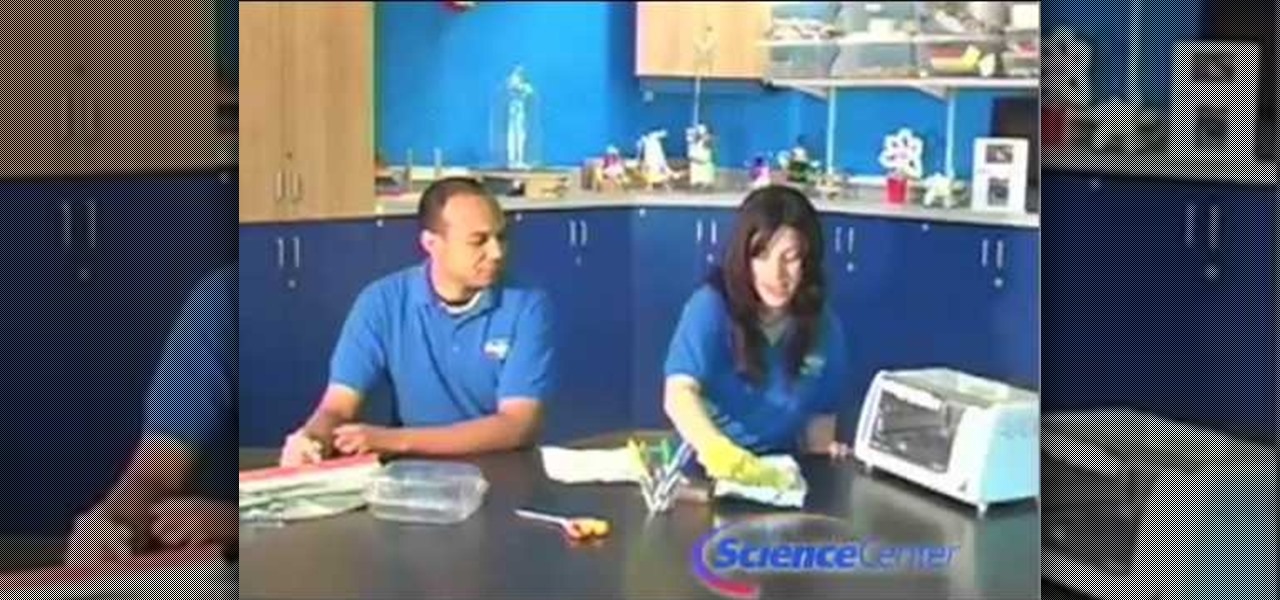
In this video, we learn how to shrink plastic with household materials. You will need: tin foil, plastic container, scissors, glove, and colored markers. To start, you will preheat the oven to 325 degrees. Then, cut a piece of the plastic out in a square shape. Next, draw whatever you want onto your piece of plastic. Make it as colorful as you would like to! When finished, put this in the oven using a glove. Make sure it's on the foil when you put it in. Then, leave it in for less than a minu...

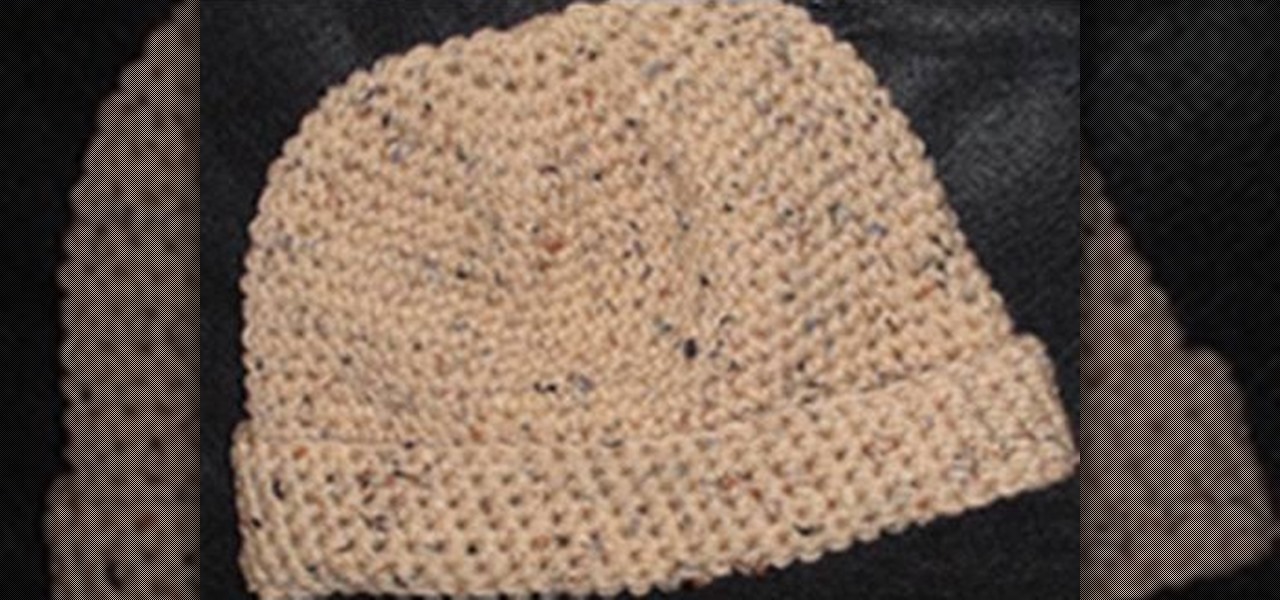
In this tutorial, we learn how to crochet a left handed large size beanie cap for a man. For the first round, you will work 10 single crochets through the loop, not joining. Then the cap will be worked into a spiral or round shape. Next, you will work in two single crochets in each single crochet. Then, you will do 20 single crochets total. For round three, you will work one single crochet for 20 more total. For round four, you will do the same for fourty more single crochets. For round five ...

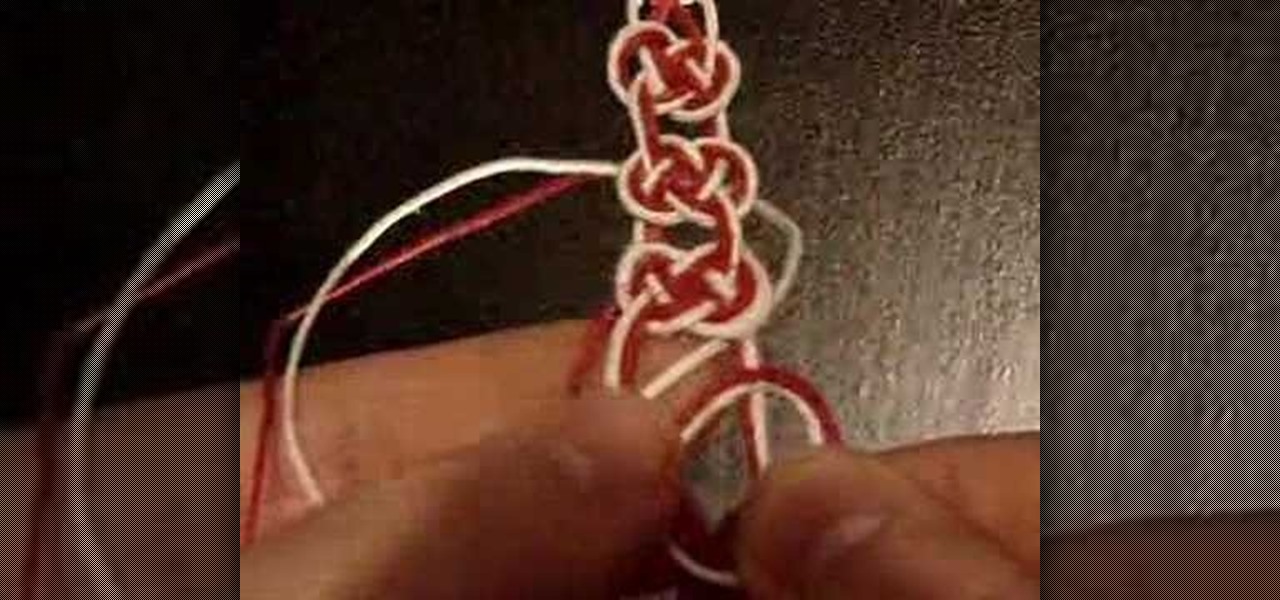
In this video we learn how to tie a pretzel knot for hemp jewelry. First, making a loop with the chords in your right hand and place them over the left chords. Hold the loose ends on the right side and take the chords from the left hand. Go over the right chords and then up through the top. Then go over the loop under the left side of the loop pulling the chords up. What you get here will look kind of like a mouse, so you will need to get the first color on the outside. Then, slide this up an...

In this tutorial, we learn how to make a hip dress or tunic. First, take an oversized shirt and fold it in half. Next, you will cut the sleeves off and the collar around the neck. From here, you will take the excess pieces of fabric and use those as a guide to cutting out the same shapes from another piece of fabric. Now, turn the shirt inside out and sew it. Measure around the neck, then sew the neck and the sleeves so they are ruched. After this, you will add a ribbon on to wear around your...

In this video we learn how to make a balloon truncated octahedron. This is a complex design for a balloon where you will use around three balloons and create squares and hexagons. This is a difficult type of balloon to create, so make sure you have experience before you begin. Take the first color and twist bubbles into it, making around 16 in total. Then take the next color and twist that into the same amount, twisting into a circle. After this, intertwine these balloons together which one a...

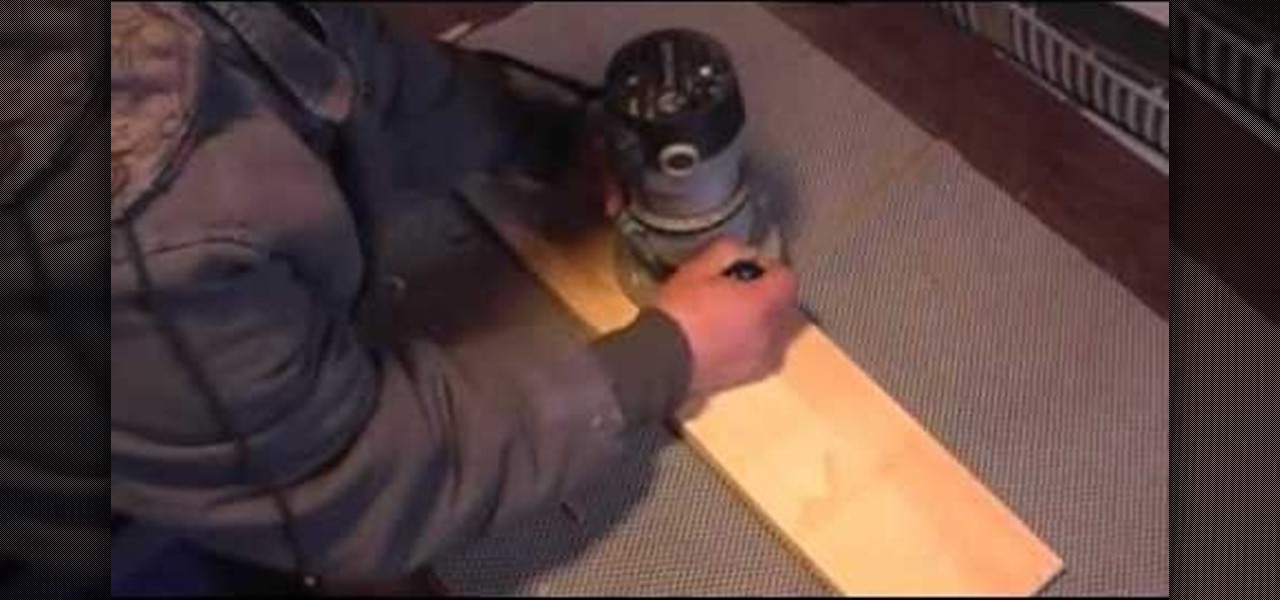
This is a video tutorial in the Home & Garden category where you are going to learn how to make a sign using a wood router free hand. For this you will need a router. The kind of router you use is not so very important. But, what is important is the router bit. It should be a “V” shaped bit for doing free hand work. There are lots of bits you can use. First you fix the depth of the cutter so that only a little bit of the router bit is exposed. You should not be seeing too much of the bit abov...

In this video, we learn how to make a Necronomicon prop from the "Evil Dead" series. First, gather all of your materials together so you can make this prop. After this, cut up piece of cardboard into the desired shape, then tape them and make sure it's able to open and close. Next, you will use tape to make it look like creases in the skin and create the face by rolling it together. Use masking tape to connect these and make it look like it's all part of the same skin. Next, mix red, yellow, ...

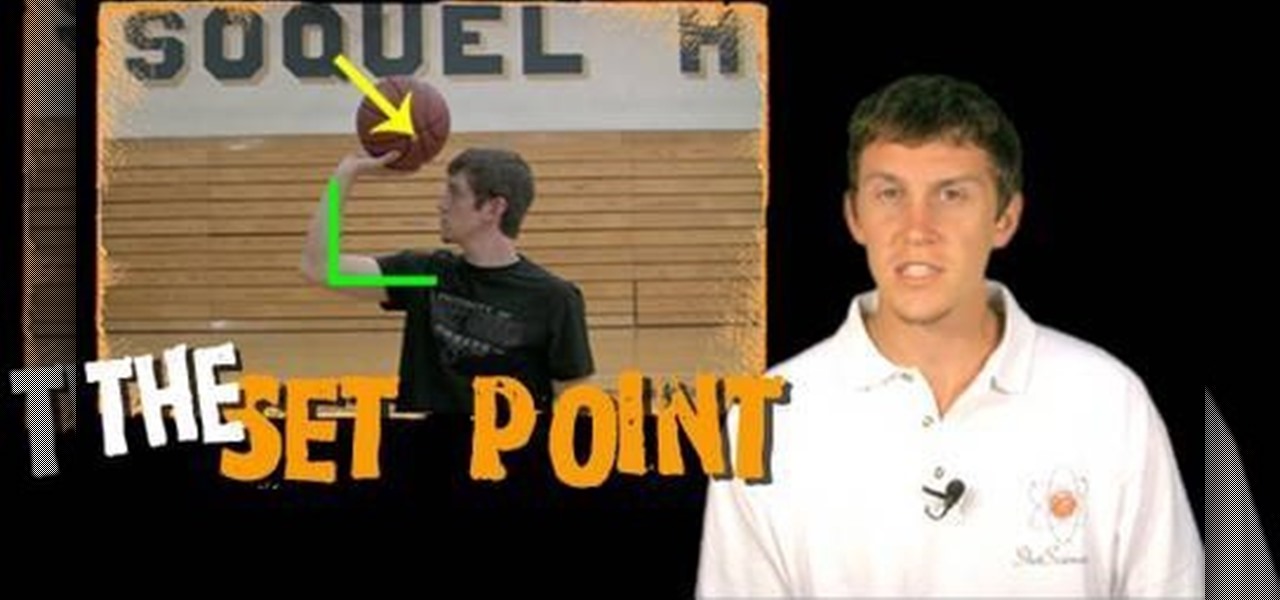
In this tutorial, we learn how to establish the set shot in basketball with Chase Curtis. The set point is the location of the basketball just before you shoot it. The execute the set point, make an "l" shape with your arm, your elbow should be aligned with your shoulder. Your wrist should be cocked and you should be able to see underneath the arm from a front view. The other hand should be lightly touching the side of the ball, giving it a small amount of stabilization. Follow these tips to ...

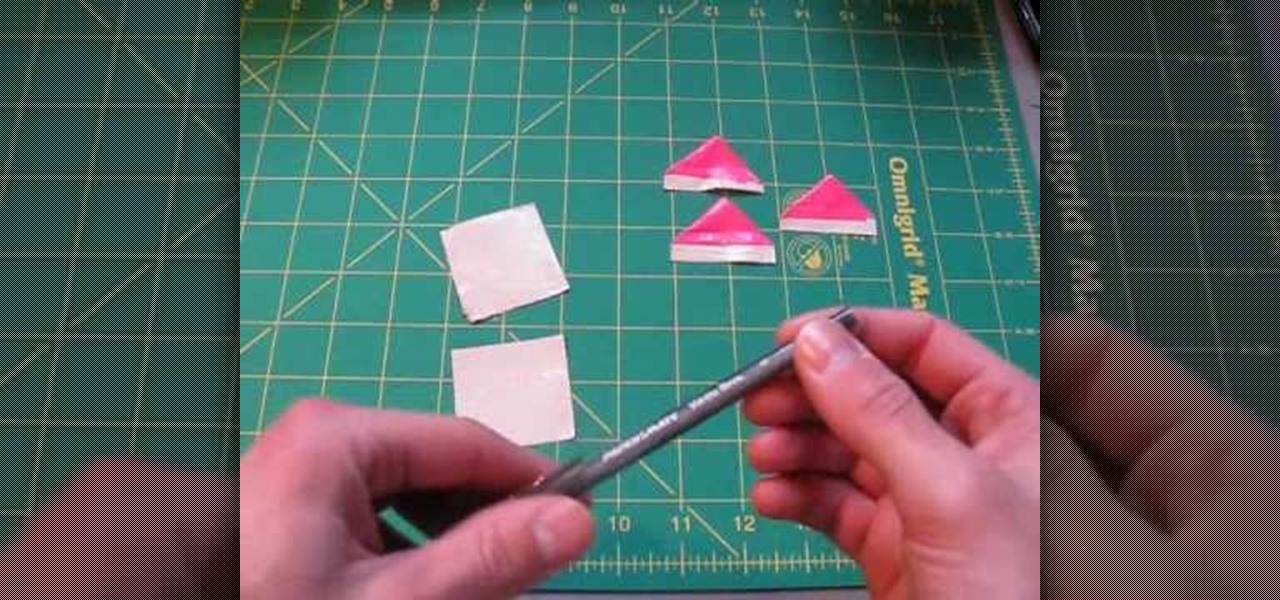
In this tutorial, we learn how to make a duct tape flower pen. First, make three triangles the same size out of pieces of duct tape. Leave a sticky part at the bottom and color the rest of it red. You can also purchase red duct tape if you find it available. Now, wrap the pieces of tape around the bottom of the pen where there is no ink. As you wrap this, you will see a flower start to shape with the more tape you add. Continue to do this until you have no tape left, then you will end with a ...

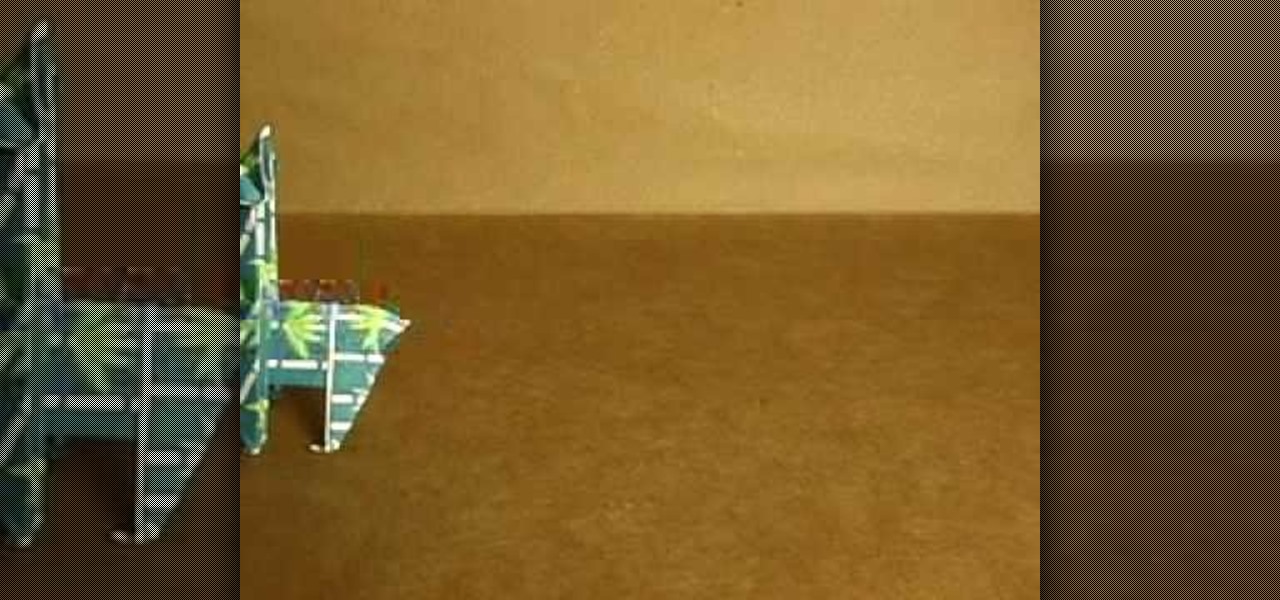
This is a video tutorial in the Arts & Crafts category where you are going to learn how to make origami llamas. Take a square sheet of paper and fold it in half. Open the fold and then fold each half further in halves. The sheet is now divided in to 4 parts. Next fold the outer flaps inwards so that they meet at the center. Flip the folded sheet and fold it in half to make it a square size. Next you fold the top back over itself in a triangular shape. Open up the last fold and watch the video...

In this tutorial, we learn how to make dog biscuits. You will need: beef broth, whole wheat flour, peanut butter, and baking powder. Now, pour in 2 c flour with 1 tbsp baking powder, 1/2 c peanut butter, and 1 c beef broth. Combine these together using a fork until everything is mixed together completely. Add in more broth if the mixture is too dry, then when finished roll out on a floured surface. After this, cut out biscuits using whatever shape you would like. Then, bake these in the oven ...

In this tutorial, we learn how to make prosciutto eggplant calzone with Guy Fiore. First, take dough and work it out on a flat floured surface. Then, mix the pine nuts with the cheese mixture, and cut up your prosciutto. Add on the eggplant and other ingredients into the center of the dough alone with a generous amount of parmesan cheese. After this, push the calzone down and twist the side to make it into a pocket shape. Place this onto a baking sheet, then wash it with an egg. Place into th...

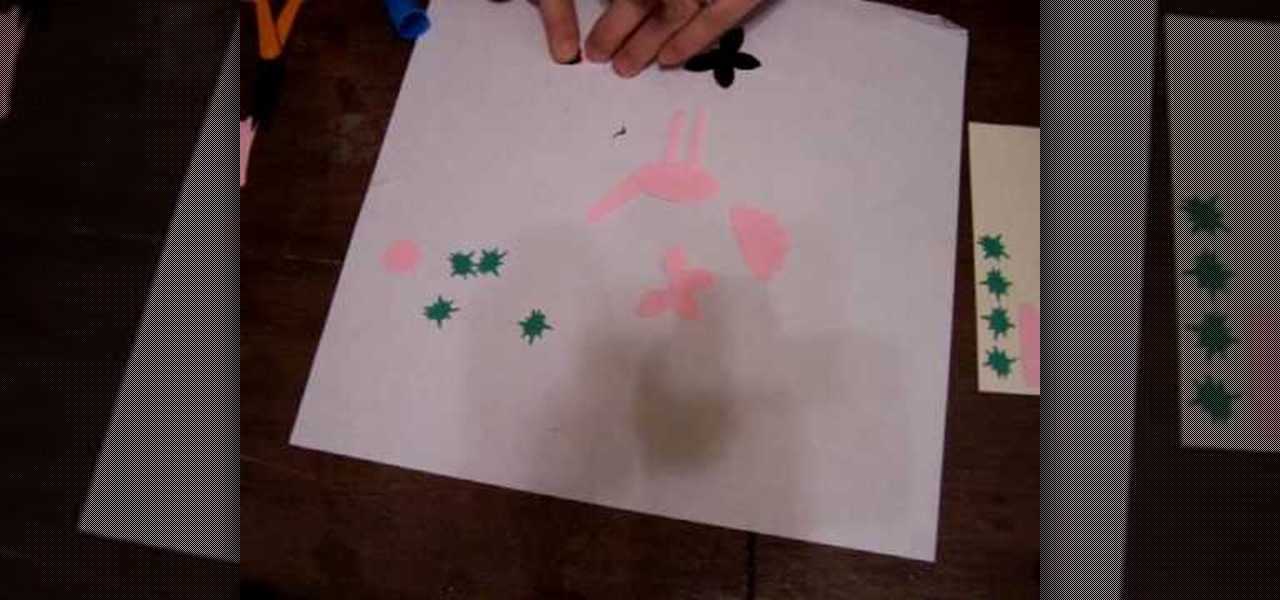
In this tutorial, we learn how to make a flamingo using Stampin' Up punches. First, you will need to punch out two five petal punches (black and pink), pink scalloped punch, large oval pink punch, 1/2" circle punch, and 2 long window punches in pink. Also, four green star punches. First, put the long lines together to make the legs, then attach to the oval shape and another long one to make the neck. After this, make the beak, head, and wings of the flamingo as well. To finish this, draw on e...

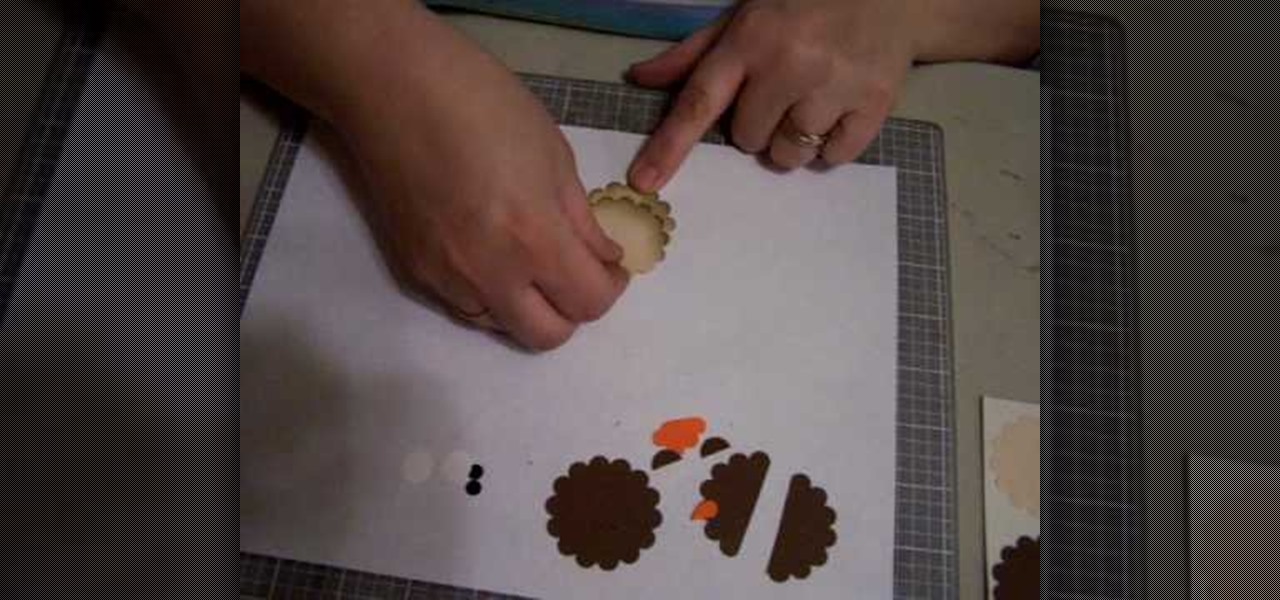
In this video, we learn how to make an owl with Stampin' Up punches. First, cut out two dark brown scallop circles, then two light brown scallop circles. After this, cut out two orange flowers, two black small circles, three white circles, and an orange heart. To put these together, cut one of the dark brown punches in half so you have two pieces. Then, cut off half the flower on both of the flower shapes. Next, put all the pieces together, using the dark brown for the face along with white a...


