
How To: Set up an ice cream bar for a party
An ice cream bar is perfect for a party. Watch this how to video to find out everything you need to make a fabulous ice cream bar. In addition get planning and serving tips plus healthy options for adults.


An ice cream bar is perfect for a party. Watch this how to video to find out everything you need to make a fabulous ice cream bar. In addition get planning and serving tips plus healthy options for adults.

This little paper dish can hold candies, nuts, and other small items.

Origami crane. You can make them from napkins,candy wrappers, flyers, train tickets, and magazines. Try to make 1000 of them.

Sam from Pete's Candy Store shows us how to mix a Ginger Sour.
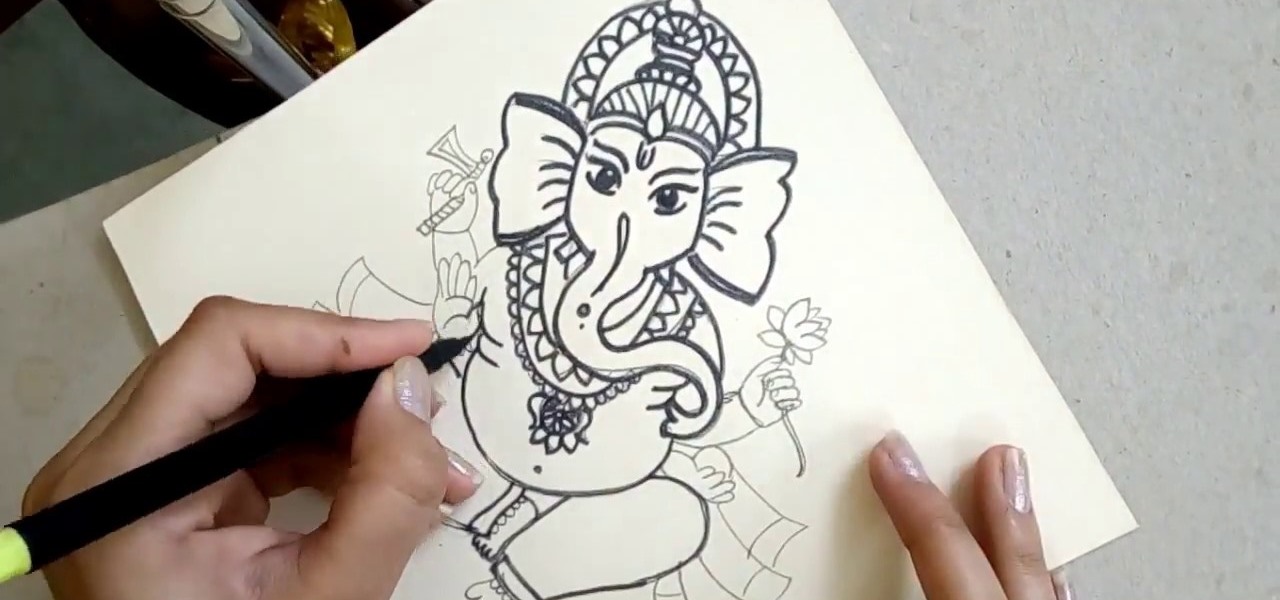
Personification of the Infinite Consciousness. Lord of Hosts. Master of the Universe. These are just three of the hundred-odd titles of the Hindu god Ganesha. Luckily, drawing the Hindu deity Ganesha isn't so complicated.
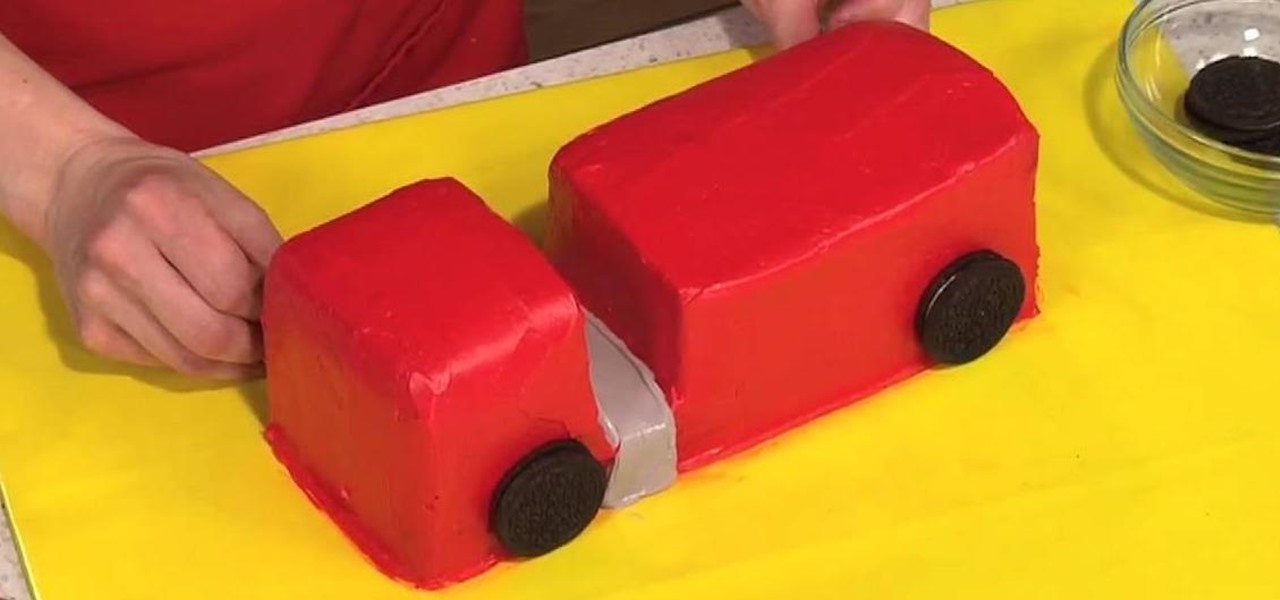
To decorate a fire truck birthday cake, you will need the following: three chocolate cakes baked in loaf pans, Oreo-type sandwich cookies, candies, and brightly colored icing.
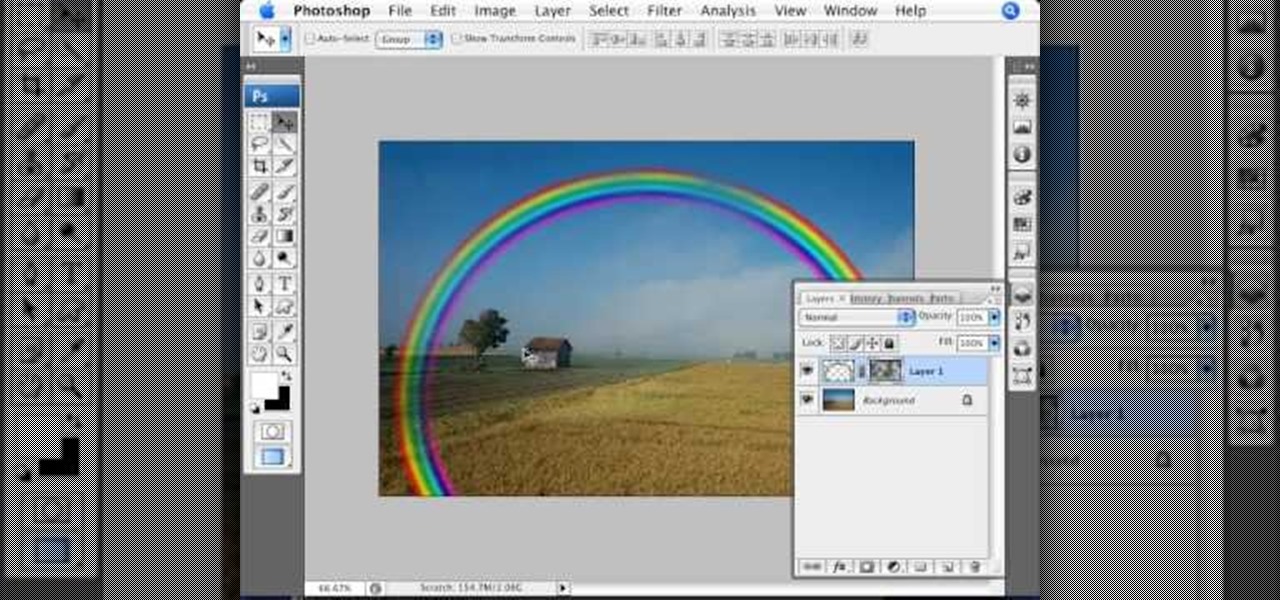
Open the picture you wish to place a rainbow within. A good scene has clouds that are receding into the distance and the light angle coming in from the front of the scene. A rainbow effect appears when by the sun is shining from behind you into the mist-filled air where it is refracted by raindrops.

Pixel Perfect is the "perfect" show to help you with your Photoshop skills. Be amazed and learn as master digital artist Bert Monroy takes a stylus and a digital pad and treats it as Monet and Picasso do with oil and canvas. Learn the tips and tricks you need to whip those digital pictures into shape with Adobe Photoshop and Illustrator. In this episode, Ben shows you how to create rotating planets and moons in Photoshop.

In these intermediate drawing lessons, learn how to transform simple shapes into an abstract creation. Our expert will help you understand how to use cubes and prisms, as well as bend the rules of perspective, to create a feeling of dynamic action in your drawings.
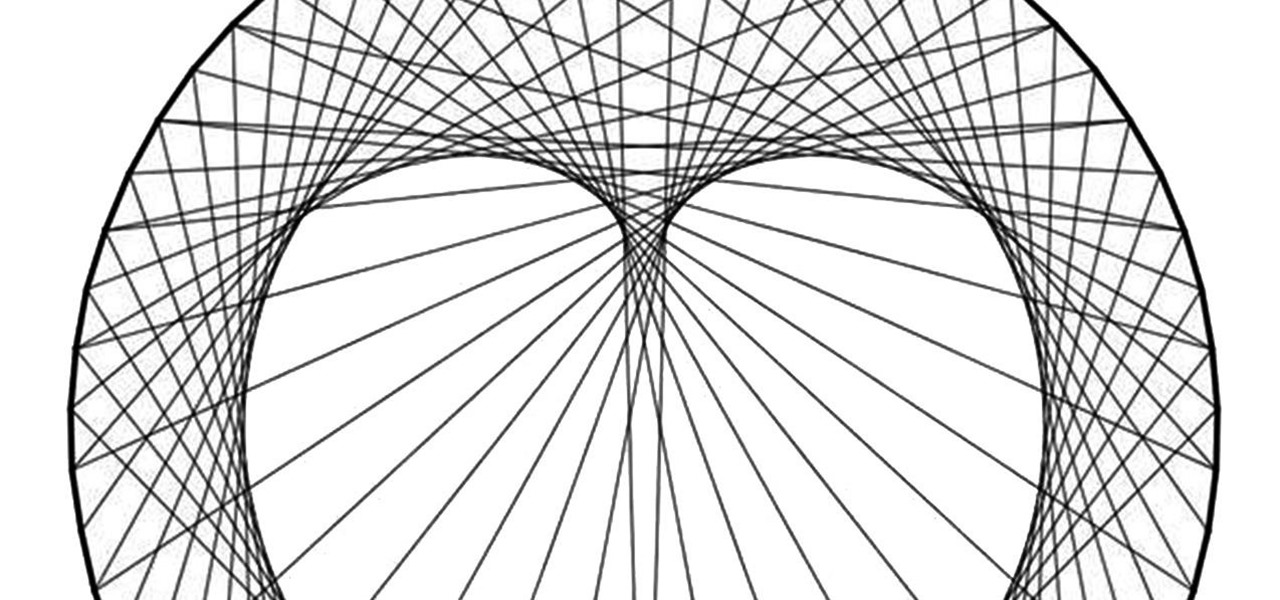
Using only a circle and straight lines, it's possible to create various aesthetic curves that combine both art and mathematics. The geometry behind the concentric circle, ellipse, and cardioid dates back centuries and is easily found in the world around us. From an archery target to an apple, can you name these geometric shapes?
This instructional video will teach how to sketch and draw the male body (a man's torso or upper body, chest, abs, rib cage, and shoulders) for character design, comics, manga, anime and video game concept art. Learn step by step how to draw from a simplified torso and upper body using geometric shapes. Learn how to sketch and construct a basic body form quickly. The video demonstrates and narrates how to quickly create an efficient concept design from concept idea into a fantasy or sci-fi ch...
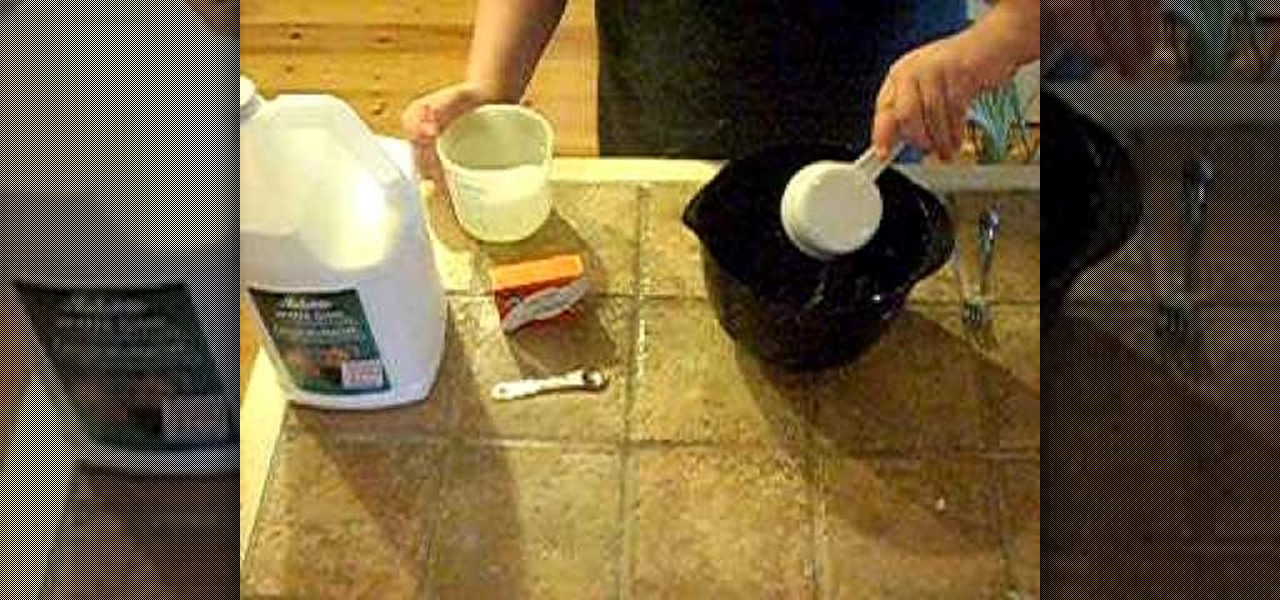
In this video, we learn how to make silly putty from scratch. You will first need to take some flour and mix it with warm water in a small plastic container. After you mix this together and it turns into a putty type of shape, you will then add in some food coloring to the container as well. Add in some borax to this and continue to mix until it's completely finished mixing together. When done, you will be able to play with this and make other colors to mix together. This is a great project f...

In this video, we learn how to make a cover for a tipi. First, put windows all around the bottom of the tipi. Then, take a tarp and cut out the top of it to make it into a circle shape. Then, cut out a hole from each side and put a rope in it for the top of the tipi. Wrap this around the sticks that you made the tipi with and then cover up the top of it with an additional tarp. This will protect you against water and other natural elements! Enjoy decorating and have fun making your tipi!
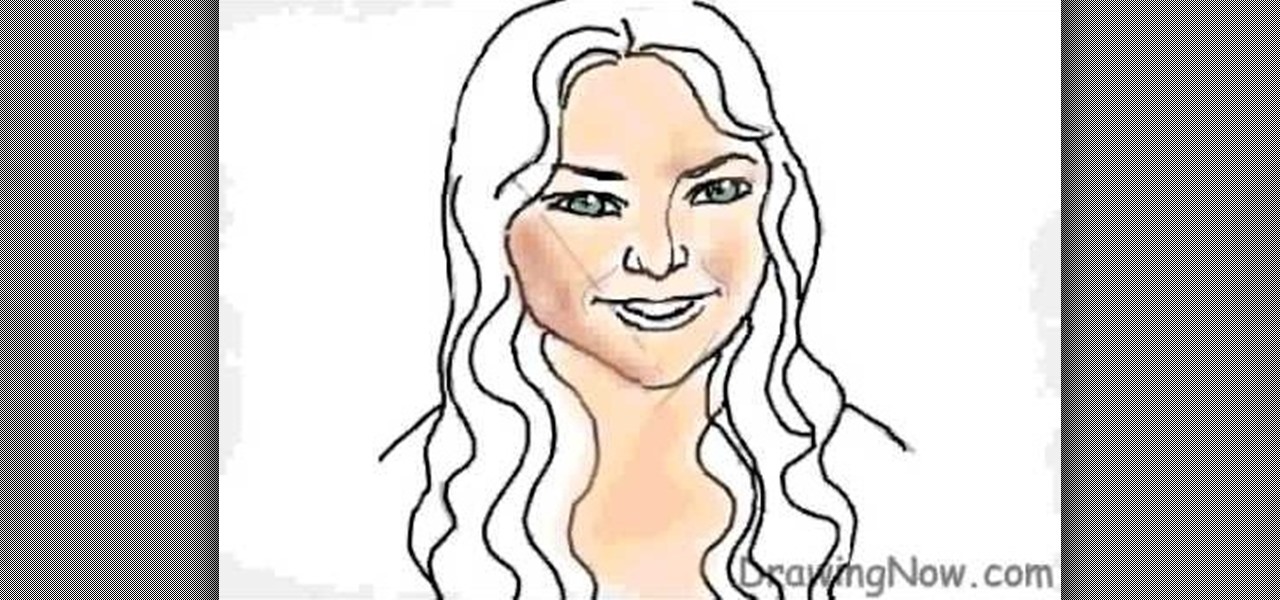
In this tutorial, we learn how to draw a female face with hair. First, draw the head and then draw the shape of the chin. From here, you will draw the bangs and the hair. Draw the hair with wavy lines to make it appear curly. After this, draw on the features of the face with a darker marker. Make sure to add in small details and lines to make the face appear more realistic. Then, start to add in the details of the hair and give her a smile on the face. Finish the upper body and then add in so...

In this tutorial, we learn how to draw a twisted skull. First, draw the outline of the skull and then start to draw in the jaw line around the middle. After you have this drawn out, draw in the teeth on the top and bottom of the face. Then, draw in the eye sockets and the nose shape. From here, start to add in lines that look like cracks around the top and sides of the skull. There is no perfect way to draw this, draw it how you feel it should look! Add in some shading to show the depth and c...
In this video, we learn how to throw multiple pitches in baseball. When you hold the ball, you should have your middle and pointer finger next to each other on the laces. The thumb should be sitting on the grip and your hand should be tight, which will achieve the curve ball. For the slider, you will grip the ball with your pointer and middle finger spread apart in a 'v' shape and your thumb on the laces. Use these pointers to help you throw the baseball while you are playing a game. Practice...
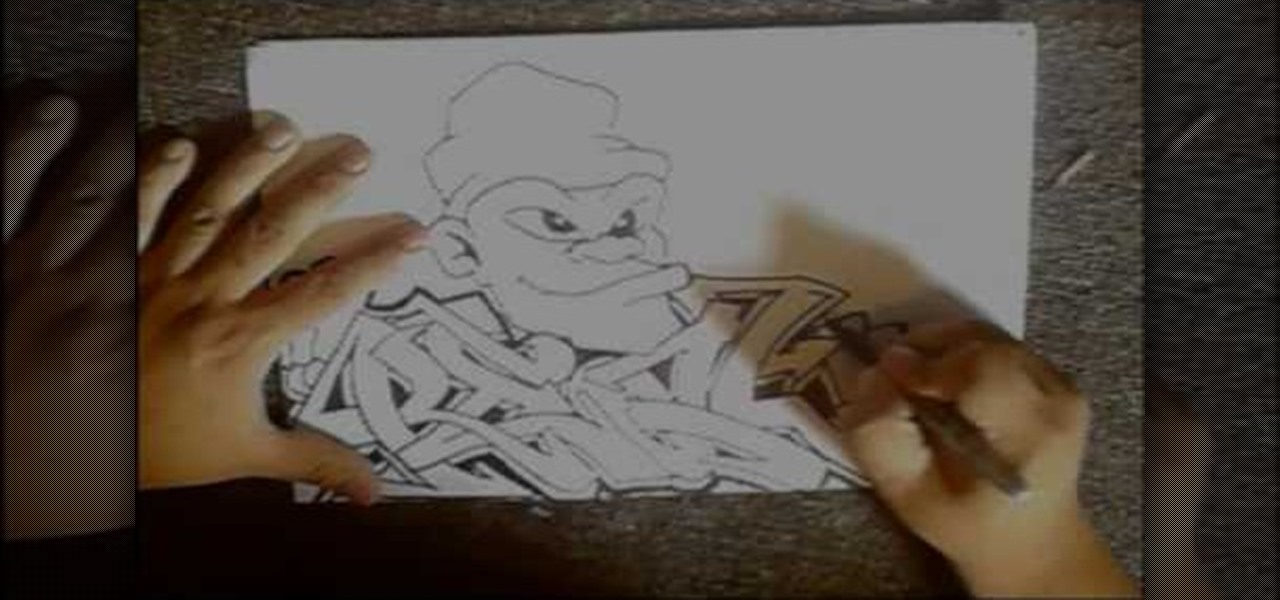
In this tutorial, we learn how to draw graffiti in pencil. Start out with a white piece of paper and a pencil. Then, draw your character's face, adding in the details of the face and the features of the face. Underneath this, shape out your letters that you want to write out. Cross the letters together, and make sure they are all touching each other. Shade in the areas next to the letters and add in lines and darker edges to the sides of them as well. Add in black in between each of the lette...

In this video we learn how to make a rose out of paper. First, draw on a piece of paper four squares with a diamond in the middle. Fold it in half then flip it over and fold it again. After this, you will fold it again, folding it in half several times. you should have small lines all over. Then, take the line and make a diamond shape out of it. Fold this down in the middle, then take the creases and start folding around this. Twist the bottom into a stem, then you will have the rose and can ...
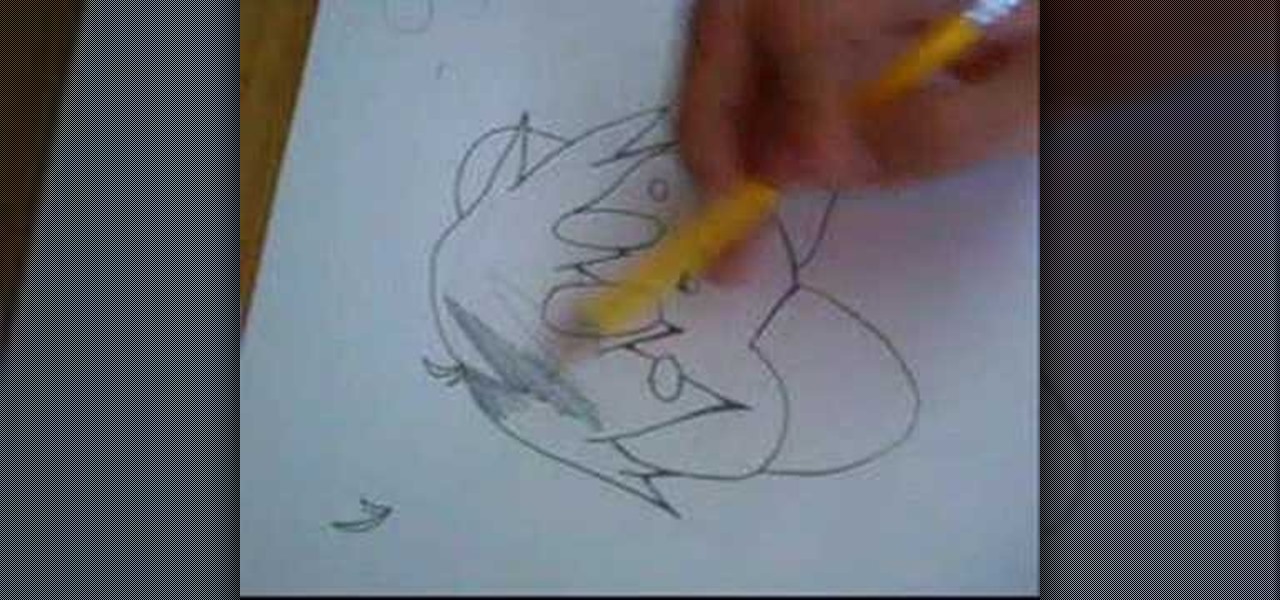
In this tutorial, we learn how to draw Kirby with hair, eyes, and shades. First, draw the outline of the character and add in the basic shapes for the features on the face. Now, draw in the hair on the top of the head and connect it with the rest of the head. Next, draw the bangs around the eyes and shade in the hair on the head to make it look more like the actual character. Use the side of the pencil to get a better shade out of it. Then, shade the body of the character and darken the bangs...

In this video we learn how to create a simple paper football. First, fold off a strip of a piece of paper and then cut it or rip it off the page. After this, grab the bottom of the paper and fold it into a triangle. From here, fold the triangle up and then continue to fold it making the same triangle shape. Do this until you reach the top of the strip of paper. You will have a small piece of paper left over at the top of the strip. With this, you will take it and tuck it into the small pocket...

In this tutorial, we learn how to understand fraction multiplication by drawing. Start out by drawing a square on a piece of paper, leaving space around it. Next, cut this into vertical thirds (your equation is 1/3 x 1/2). After this, shade one of the thirds in the square. Use the side of your pencil to shade in the third. Then, cut the square into horizontal halves. The square will now be in equal shapes that are also called sixths. After this, shadow one of the halves with a different color...
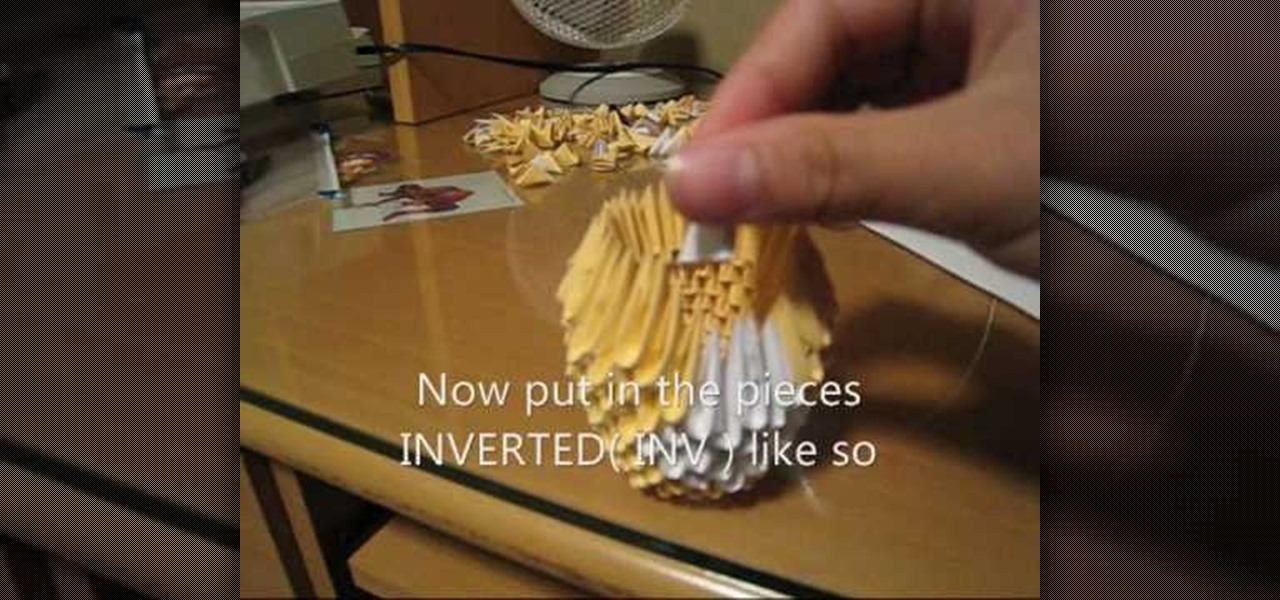
This is a video tutorial in the Arts & Crafts category where you are going to learn how to make a modular origami fox. First you make a lot of triangles of yellow, white and one black color. Join two yellow triangles as shown in the video to make a unit. Make 18 units and combine them in to a circle. Next you add another level but with 3 white pieces. Now add 4 white pieces on the 3 whites. Then you add 5 whites on the 4, 4 whites on the 5 and 3 whites on the 4. Fill up the body with yellow p...
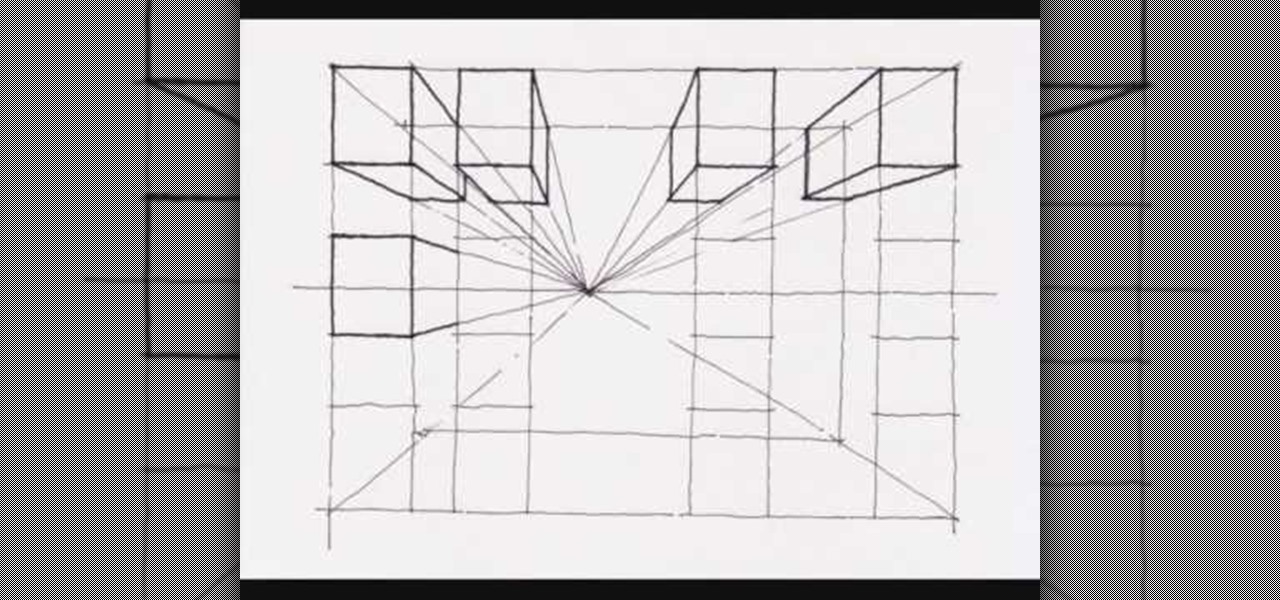
This video demonstrates how to create a one point perspective drawing. You begin by making a horizon line across your paper and adding diagonal lines from the corners which will all converge at a single point along your horizon line. You can then create boxes by creating squares or rectangles around the lines extending from the central point. The outer edges of your rectangle can further be connected to your single point in order to create a 3-dimensional shape for the boxes and cubes which y...
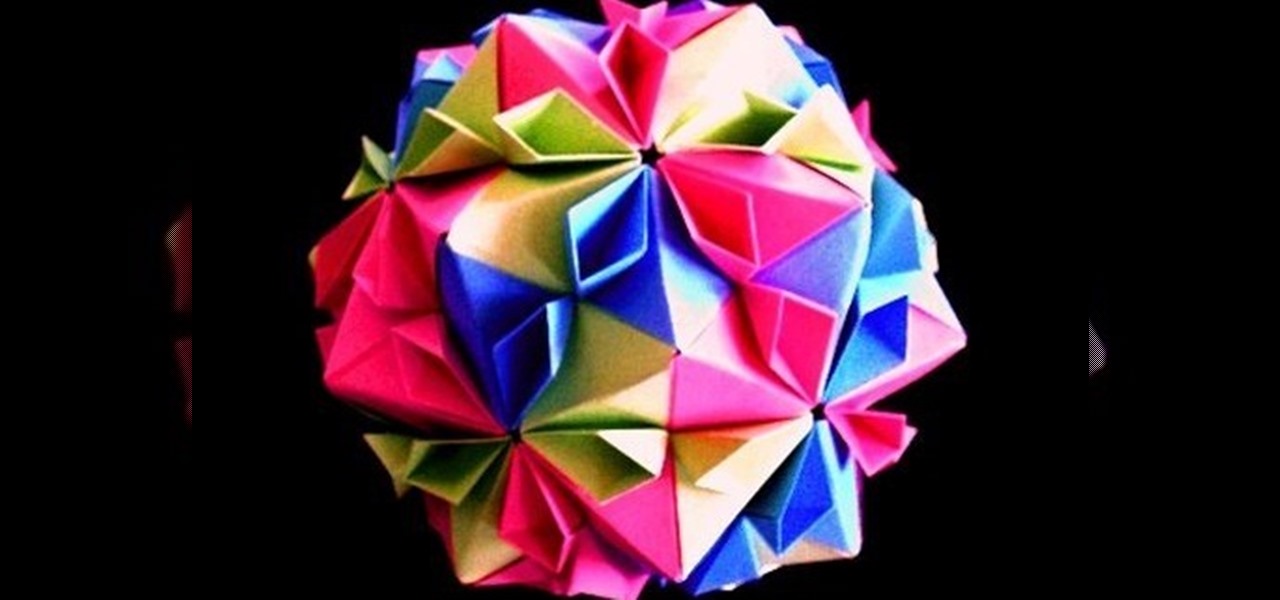
Want to create a neat looking decorative item using just paper? Origami is the answer. The Origami Cherry Blossom paper ball created in this video by Tomoko Fuse requires papers, dexterity and a toothpick if the presenter is to be believed. The first steps consist of creating precreases on the paper. This step makes the subsequent folds easier to make as the fold lines also double up as markers. The second step consists of creating a complex shape. The same design is then repeated 30 times. F...
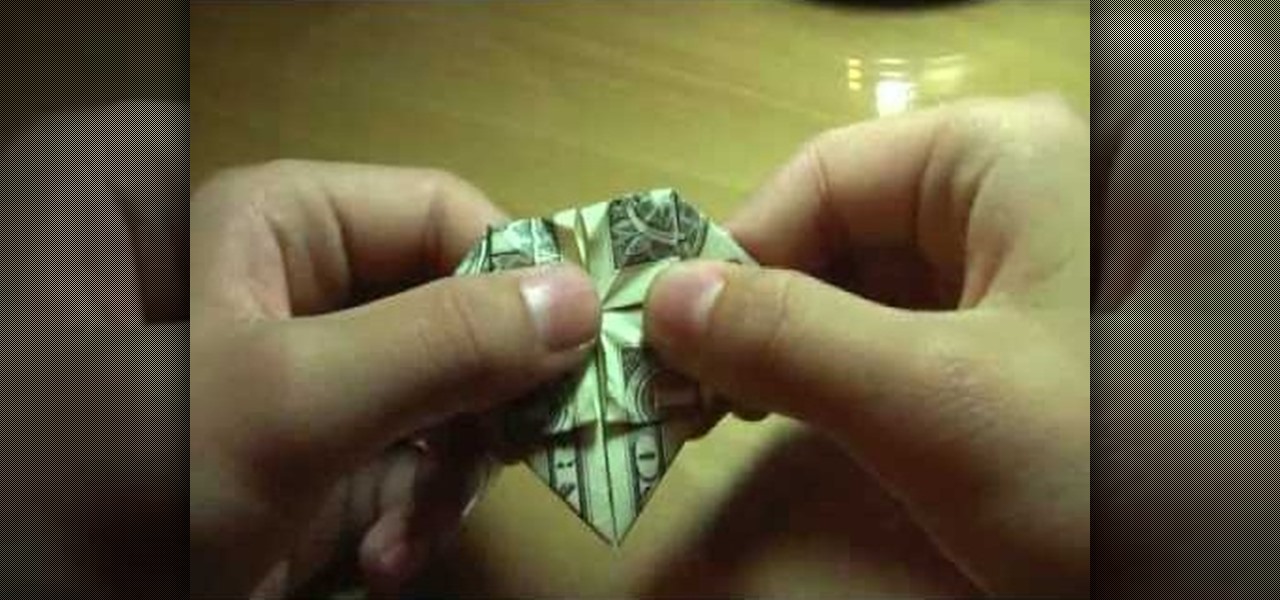
This video shows viewers how to create a heart out of a simple dollar bill. First, you should take the dollar bill and fold a triangle from one corner to the bottom edge of the bill, repeating this step on the next closest edge. Then, create a pyramid-like fold to make a smaller triangle in the paper. This is repeated on the other corners of the bill as well. Next, fold the bill in half and take the small pieces of the bill which are not part of the triangle and fold it over to create a squar...
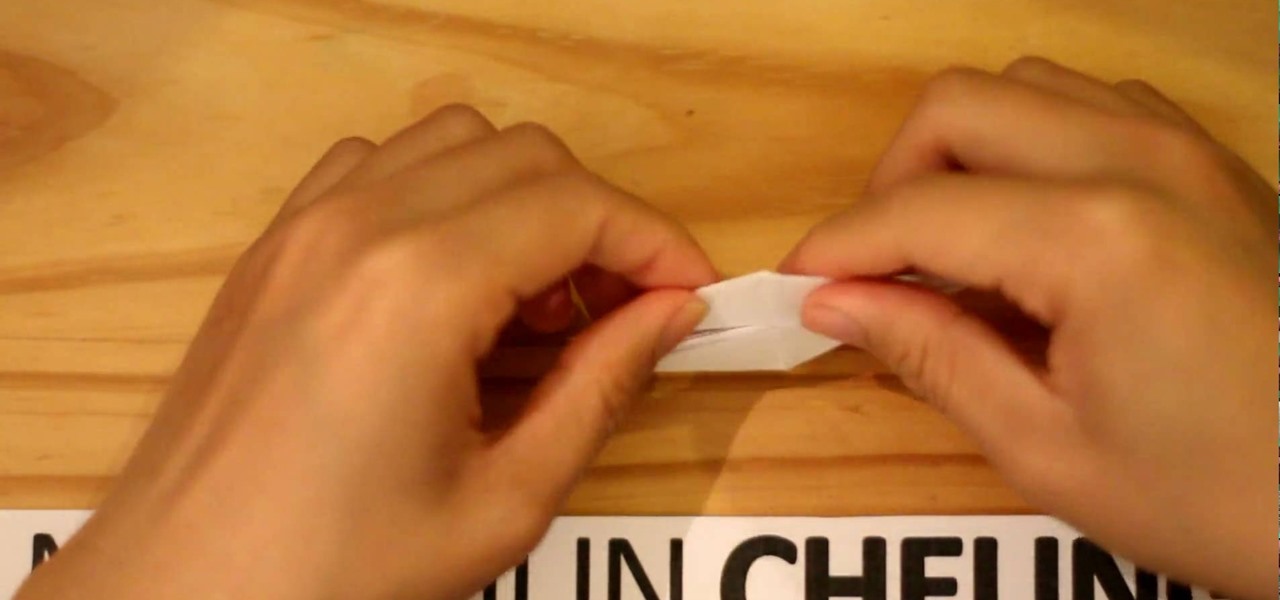
In this tutorial, we learn how to create an origami bird. Start with a rectangle, then fold a triangle into the end of it. After this, fold a crease down the middle of the triangle and tear it off. Next, fold this triangle in half, then in half on the other side. Push down in the middle crease to make a diamond shape on both of the sides as well, then fold down to reach the bottom of the diamond. Fold the top up and the bottom up, then bring the edges into each other to create a pocket. After...
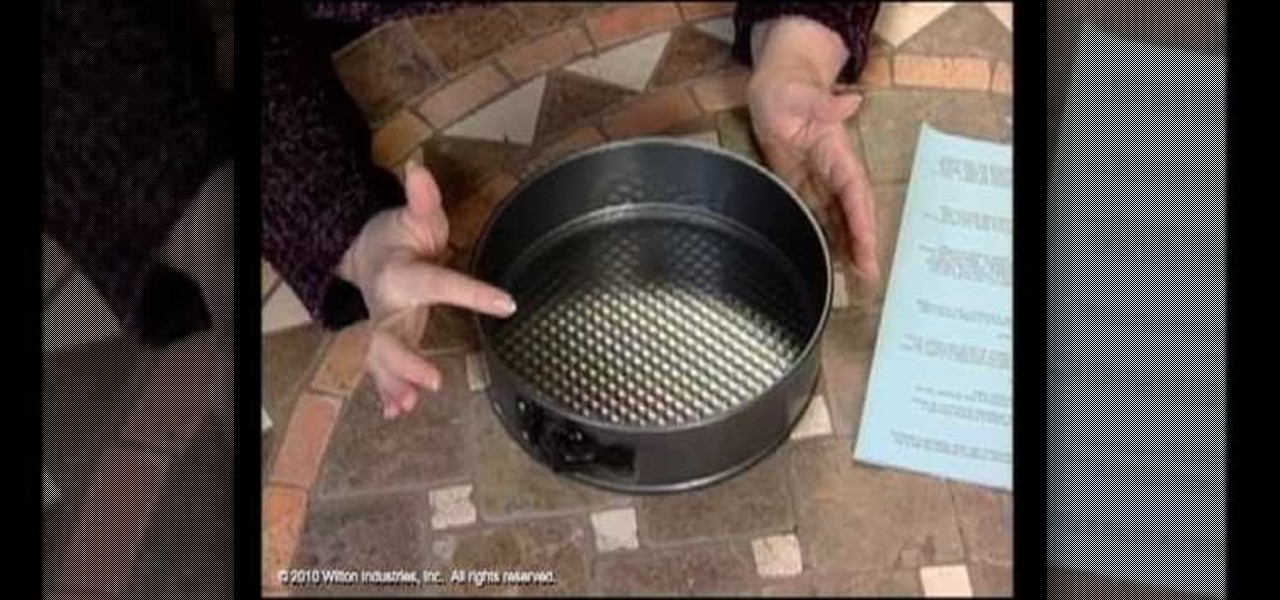
Springform cake pans intimidate lots of home cooks - With a rigid, industrial ring around the side and a metal clasp, it looks difficult to maneuver. But this shape is actually super beneficial if you haven't quite mastered transfering a cake perfecting from the pan to a cake stand. The ring comes apart to let you serve the cake on the cake pan itself.
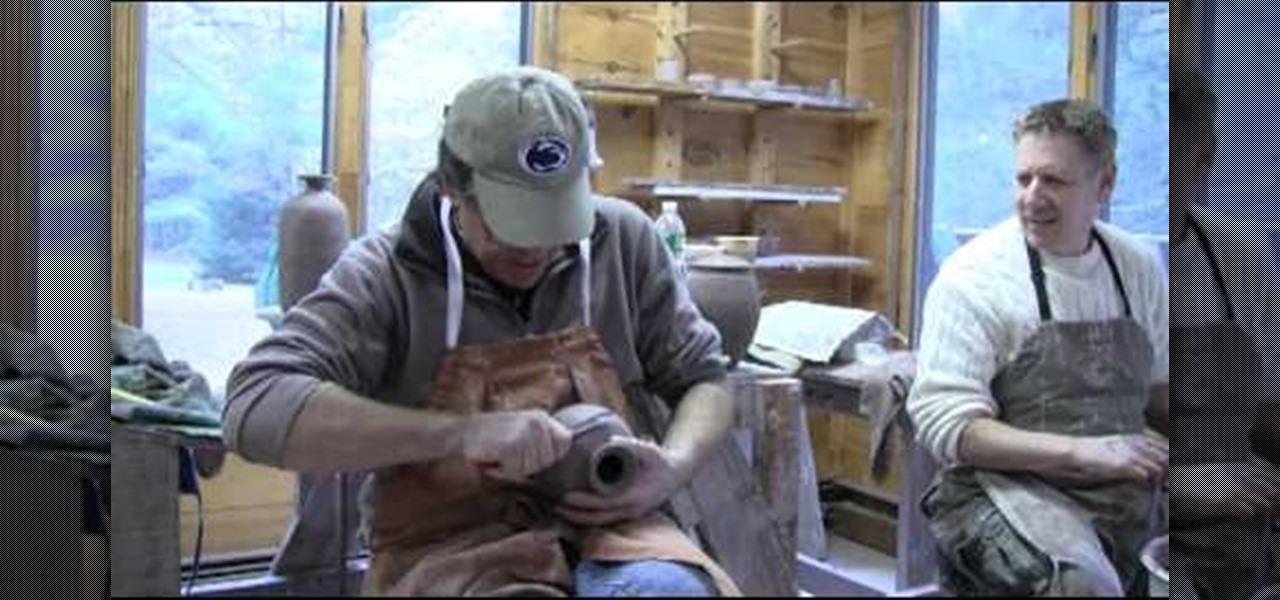
In this video, we learn how to use a potato peeler as a fluting tool. First, take your wet pot and then grab the potato peeler. Use broad strokes along the side of the pot and press down hard and you peel the clay off of the sides. You will need to go over the same spot a few times to be able to see, but once you go around the entire pot you will see the different shapes in the marks. Once you are finished going all the way around the pot, your hands will be tired but it will be fluted with t...
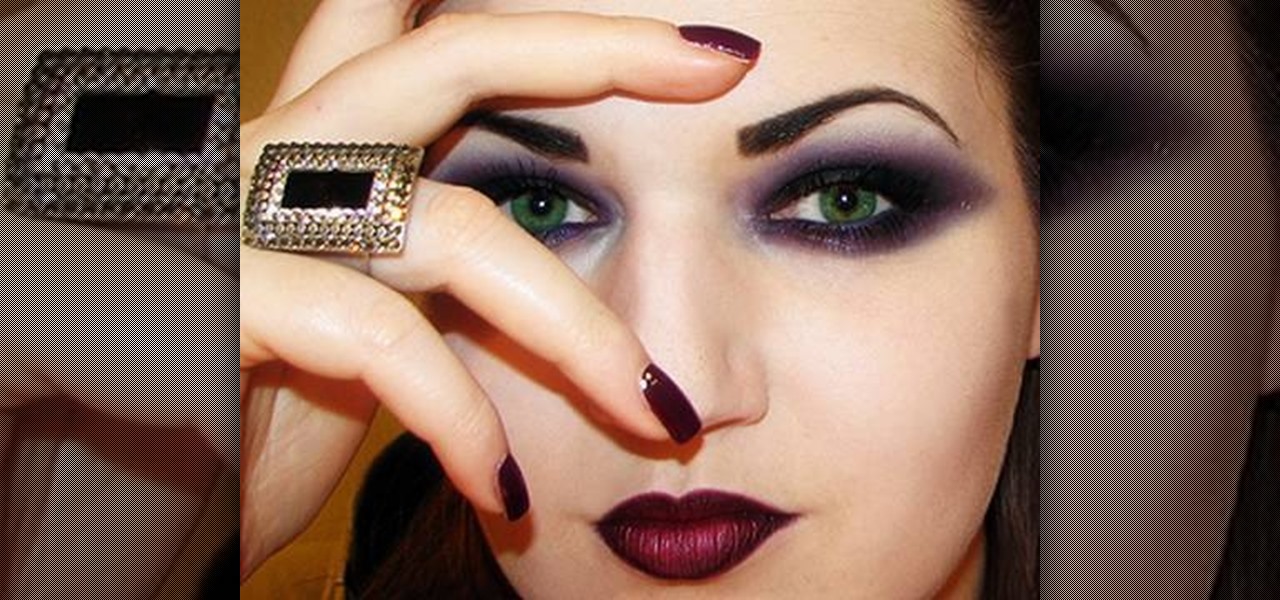
In this video, we learn how to create a dark gothic makeup look. First, apply a pale foundation and powder to the face to pale down your skin. After this, apply a black gel eyeliner all over the lid, flaring out the the side to make a winged shape. Then, apply on the bottom of the eye, smudging to make it darker and more obvious. Next, take a matte eyeshadow that is the same color as your skin, and brush it underneath your eyebrow to blend the black. After this, take a black sparkle shadow an...
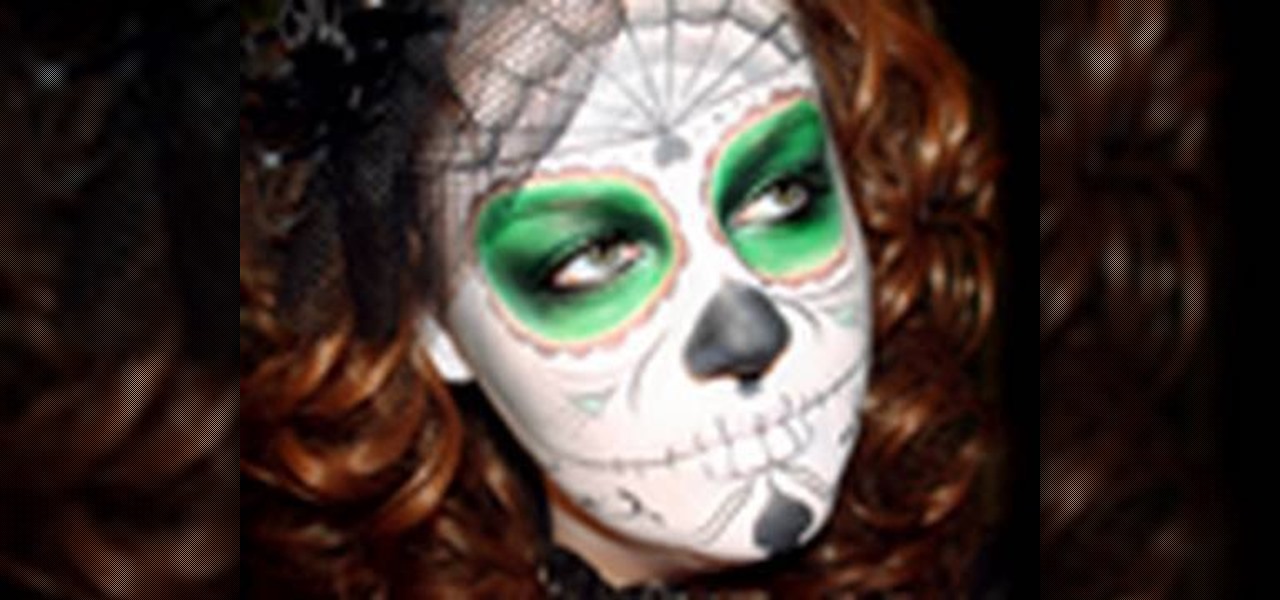
Sarah teaches us how to do a Dias de las Muerto look for Halloween in this tutorial. First, apply a pure white makeup to the entire face, including the lips. After this, wipe makeup off from around the eyes and draw a circle around them, including the top of the eyebrows down to the top of the cheeks. Next, apply a black flower like shape over the circles you just created. After this, apply a dark green paint to the inside of the eyes, covering everything in them. Next, apply dots at the top ...

In this tutorial, we learn makeup mask basics. If you're good with makeup, then you can try to freehand your mask. If you don't feel you can do this, you can make your own. To do this, fold a piece of paper in half and bring it on your face to mark the outline of the face. You can also purchase a mask from the store and apply it yourself. You can also cut a plastic mask to use as a reference and help shape the mask that you are creating. Whichever way you choose, make it unique and enjoy crea...
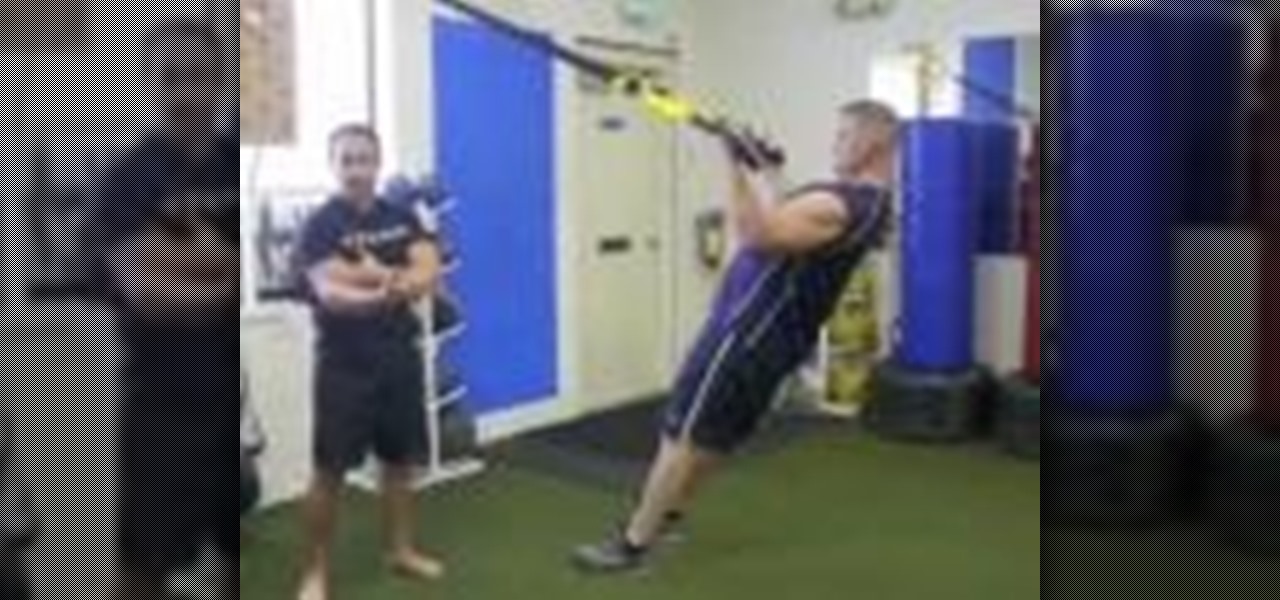
You aren't just born with broad Stallone shoulders and arms, gentlemen. Of course we know you wish you never had to work to get those tight, chiseled arms and shoulders, but even the best of the best - that's right, including Stallone - have to work what their mama gave them to keep in shape.

In this video, we learn how to create a minimal back to school makeup look. First, you will need to shape your eyebrows and apply brow gel if they look bad. Next, apply foundation and bronzer as you need it on your entire face. If you have dark circles around your eyes, use concealer to help remedy the darkness. Next, you will want to apply a thin layer of eyeliner to the top of the eyes, following your natural line. You can use a purple color instead of black if you want a cute flare. Now, c...

In order to create a black, white, and purple nail design, you will need the following: black acrylic paint, a paint brush, purple glitter nail polish, white nail polish, and a shaping tool.
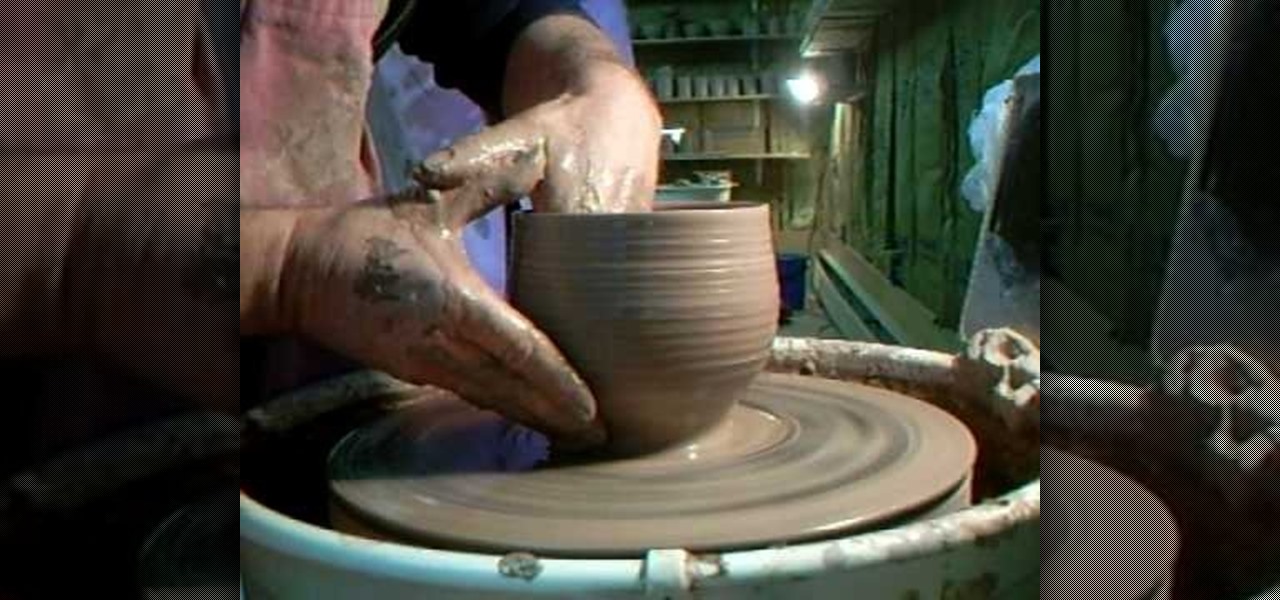
In this video, we learn how to paddle clay. Start off by placing the clay on the wheel and turning it on so it's moving quickly. You wan tot make sure you are using a lot of water and keeping the clay moist, as well as your hand. Make sure the bottom is even around on all sides, or it will turn out off center. Place your hands around the clay and cradle it until it makes a round and even shape. Continue to do this until you can put your hands on the side of the pot and work your clay on the i...

In this video, we learn how to draw cartoon style mouths. Start out by grabbing a marker and drawing a round circle, then draw a shape on the inside and draw teeth on the top and bottom of it. After this, draw a tongue inside of it. For the next mouth, draw a curved line with teeth on the top, then a tongue in the middle. For the next mouth, you will draw a long tongue sticking out of a mouth. These mouths can be used in a number of different pictures, depending on what kind of face you are g...
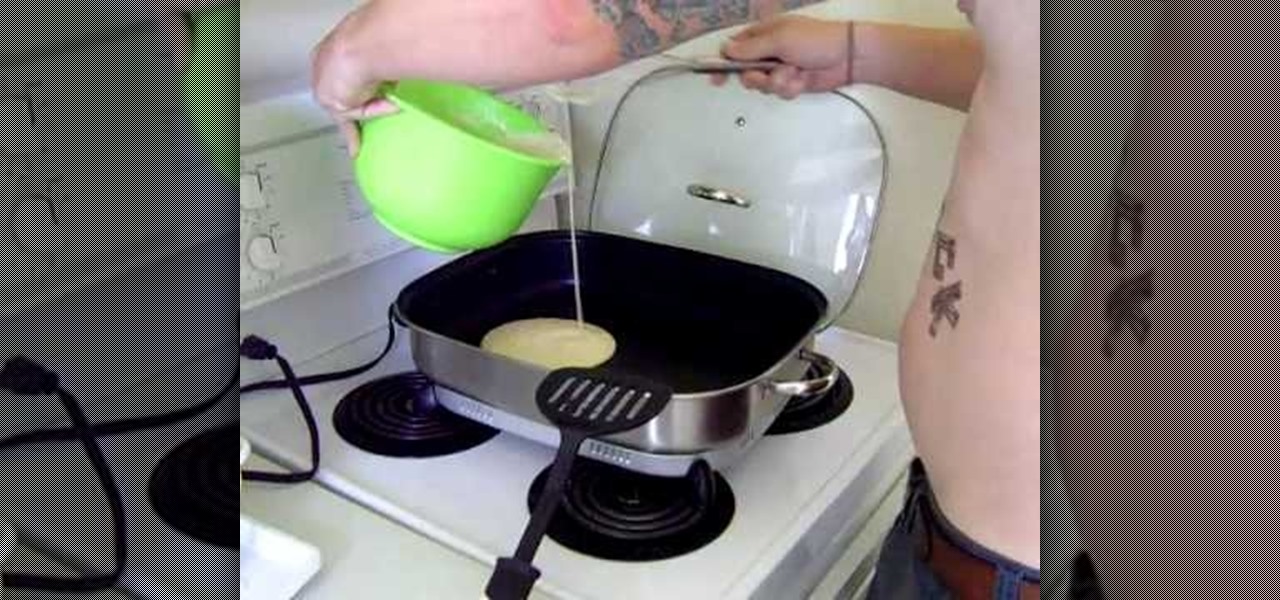
In this tutorial, we learn how to make flapjack pancakes from scratch. First, you will need: flour, milk, butter, cinnamon, an egg, and frozen orange juice. To start, combine your flour, sugar, and egg into a bowl and mix together until there are no more lumps. Now, pour the mixture into a pan in round shapes and cook until golden brown on both sides. When finished, plate them and then top with your favorite syrup and melted butter. Make your frozen orange juice to have something to drink wit...
In this tutorial, we learn how to make a vintage inspired vest. First, measure yourself around the bust waist and hips. After this, write down what your measurements are, then mark them on a piece of fabric you want to use as your vest. Cut out the shape and then fold in the edges and sew the sides to hem them and reduce and frays. After this, add in any scrap pieces of fabric you have laying around and sew them to the vest to make your desired look. After this, sew on buttons to the front of...

In this tutorial, we learn how to draw a cute and blue cartoon bird. First start out by drawing a circle for the head, an oval for the body, and then an oval wing in between the both of them. After this, trace over the lines to make squiggle marks on the wings and on the rear end of the bird. Add on an eye and pupil to the head, then draw a beak with an open mouth, making it a "v" shape in the middle. Then, color the entire bird blue, leaving the beak orange and the eye outlined in black. To ...
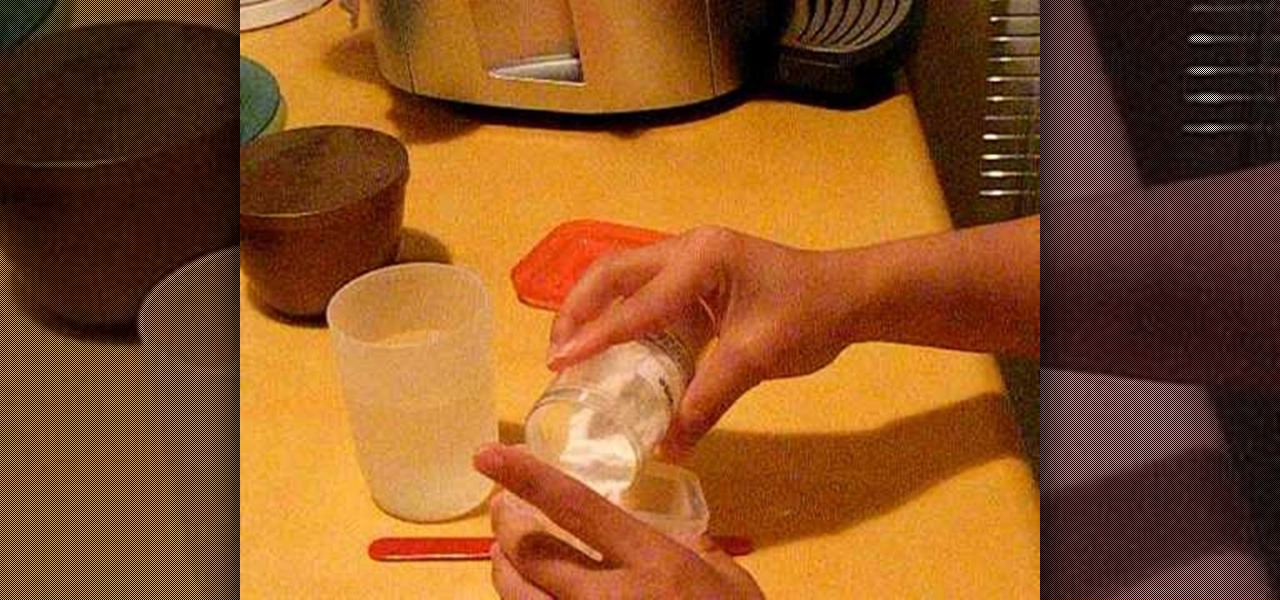
We admit it sounds kind of gross that you need to use glue to put your cake together, but we promise this is not even close to your childhood Elmer's. Rather, cake glue is a special concoction made of water and a thickener. These ingredients make the cake glue edible.