How To: Make honey mustard chicken
Preheat oven to 425 degrees. Combine honey mustard, salt and pepper, green onion and chopped dill or herb. Mix well and keep 1/3 cup of mixture in reserve to drizzle over chicken later.


Preheat oven to 425 degrees. Combine honey mustard, salt and pepper, green onion and chopped dill or herb. Mix well and keep 1/3 cup of mixture in reserve to drizzle over chicken later.

Take some peeled and cleaned mushrooms and put them in a bowl. Coat them really well with some extra virgin olive oil. Mushrooms are very porous and they soak up a lot of what you put on them so you have to make sure that you use enough olive oil to be sure that they are well coated. Then gently use your hands to toss them in the bowl. Next coat them with some Tamari Soy Sauce and gently toss them in the bowl with your hands one more time. Before you eat them let them sit for up to 24 hours. ...
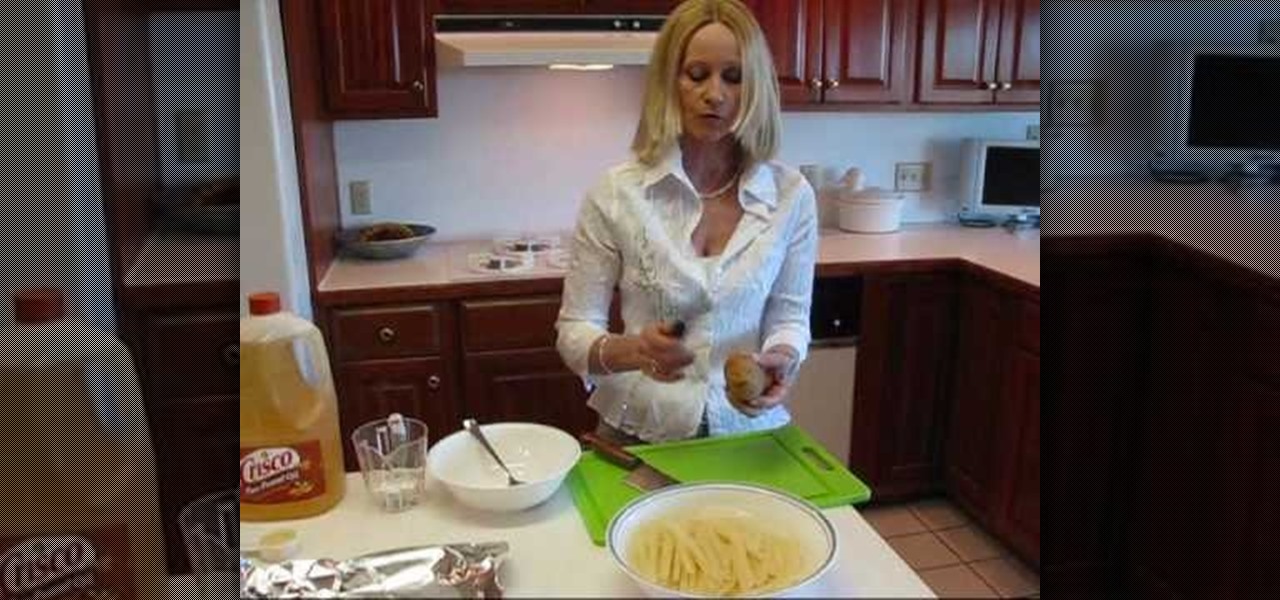
Do you ever want a french fry without all that grease? Betty shows you a delicious, healthy alternative with her oven baked potato strips!

To create Converse shoes nail design, you will first apply a base coat in the color you want the shoe to be. Tape off to create a shoe top and paint white. Pull off the tape, but not too soon or line will be uneven. Take a darker color of base coat make a curve on both sides leaving the middle so it's shaded. Repeat on the other side. Using black outline the white nail tip. Using silver make circles, while the polish is tacky make holes in the circles. Using white make little lines for stitch...
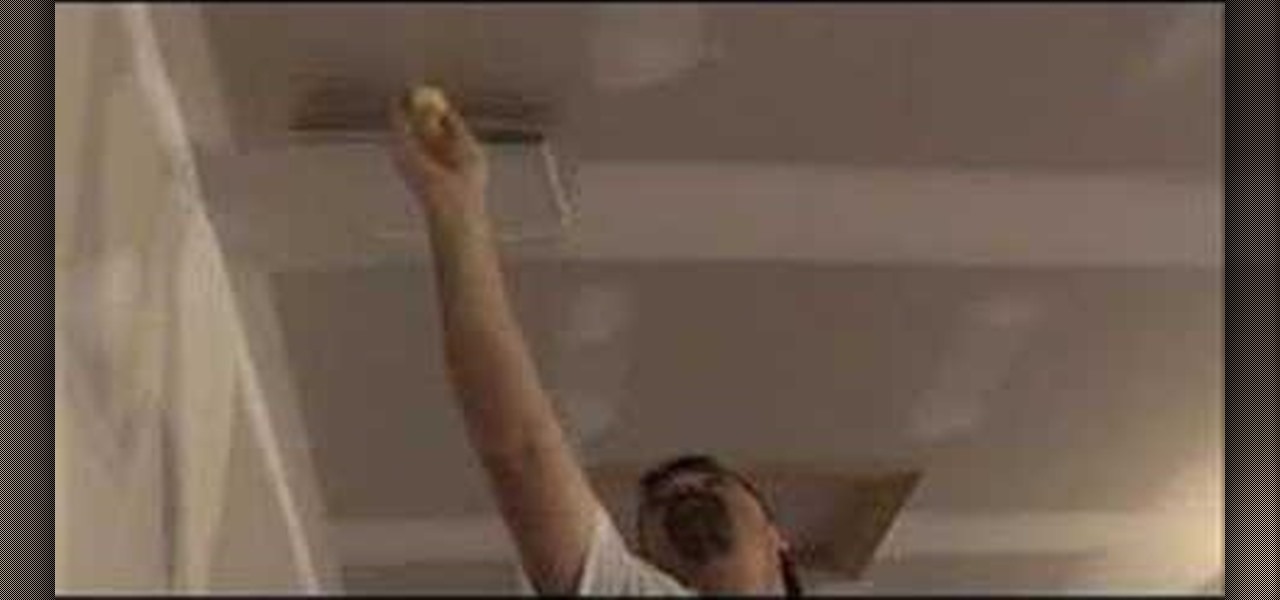
This instructional video demonstrates how to coat ceilings with joint compound, without dripping mud on your face. Spackling is a delicate art, but anyone can create a perfectly smooth surface with a metal putty knife and a fresh bucket of joint compound. Spackling ceilings is one of the more difficult tasks in prepping a room for painting, but this video provides tips on how to lay down thin layers of putty to avoid heavy sanding after the spackle dries.

Here's how to spot nails and screws with joint compound. This instructional video will show you how to coat nails and screw holes in drywall with a thin layer of spackle. Use a metal putty knife and fresh joint compound to get a smooth surface of spackle and avoid heavy sanding.
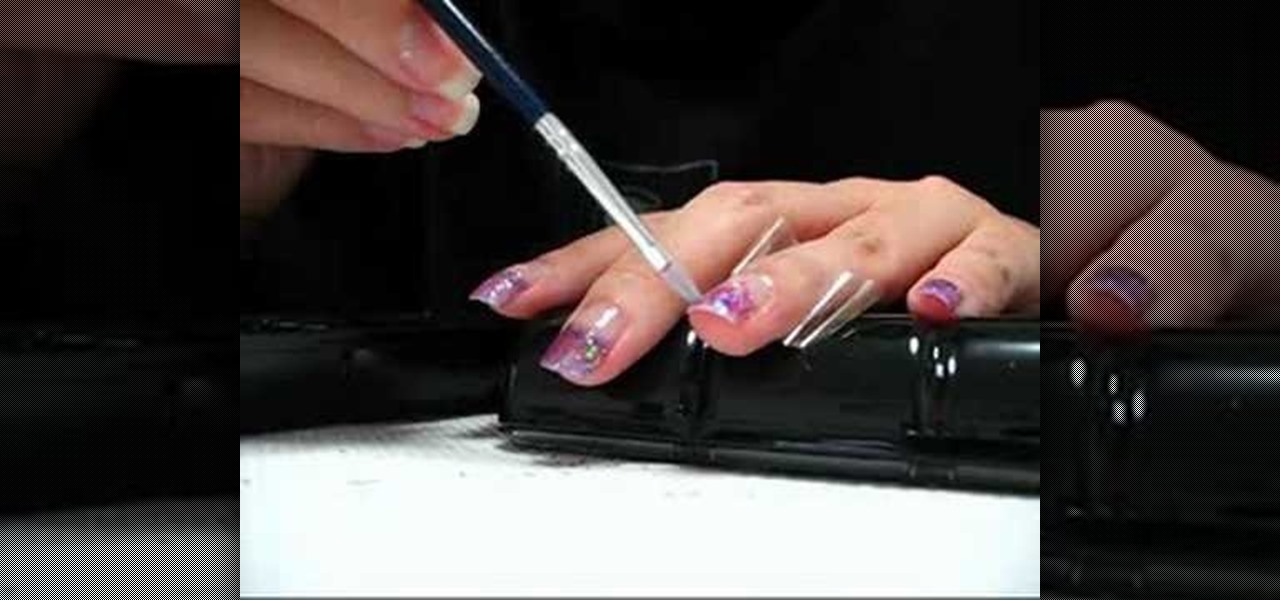
Want a change from your boring old pink and white French manicure? Learn how to apply a purple glitz French manicure with this tutorial. You will need a base coat, purple flat sparkled, purple glitter, a small flat top brush, a small round tip brush, tape and a top coat. With the techniques from this how to video you will be able to create a sparkly purple French manicure.
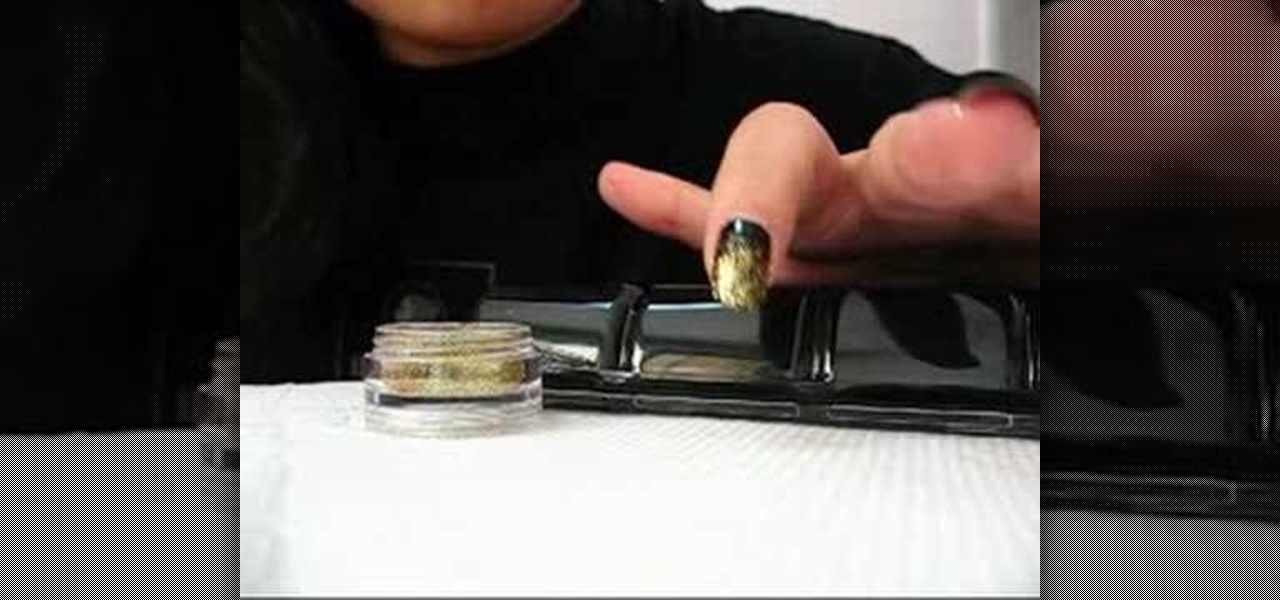
Tired of your boring one color nail polish? Learn how you can create this black with gold glitter nail decoration with this tutorial. You will need a base coat, black nail polish, gold glitter, a small brush and a clear top coat. With this how to video you can paint you nails black with faded golden sparkles.
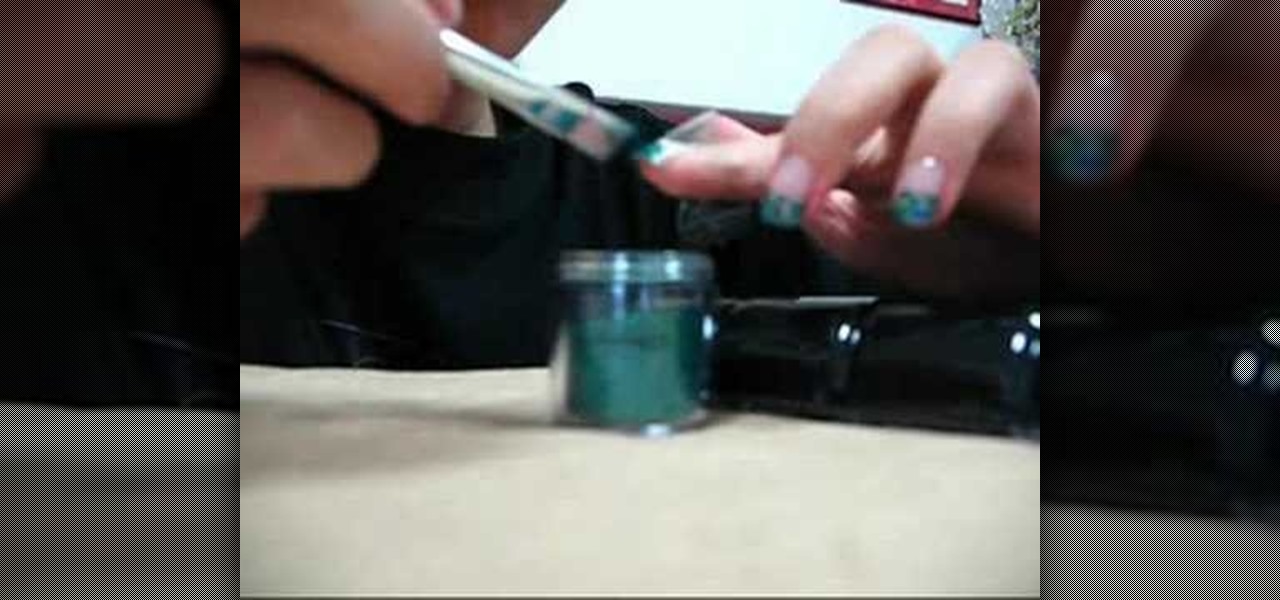
Tired of your boring old pink and white French manicure? Learn how you can create blue glitter French manicure tips with this tutorial. You will need a base coat and top coat, MAC cosmetics jewel marine glitter, Q-tip or corrector to clean corners and tape. This look takes a steady hand and lots of practice. With this how to video you can create blue glitter French manicure tips.
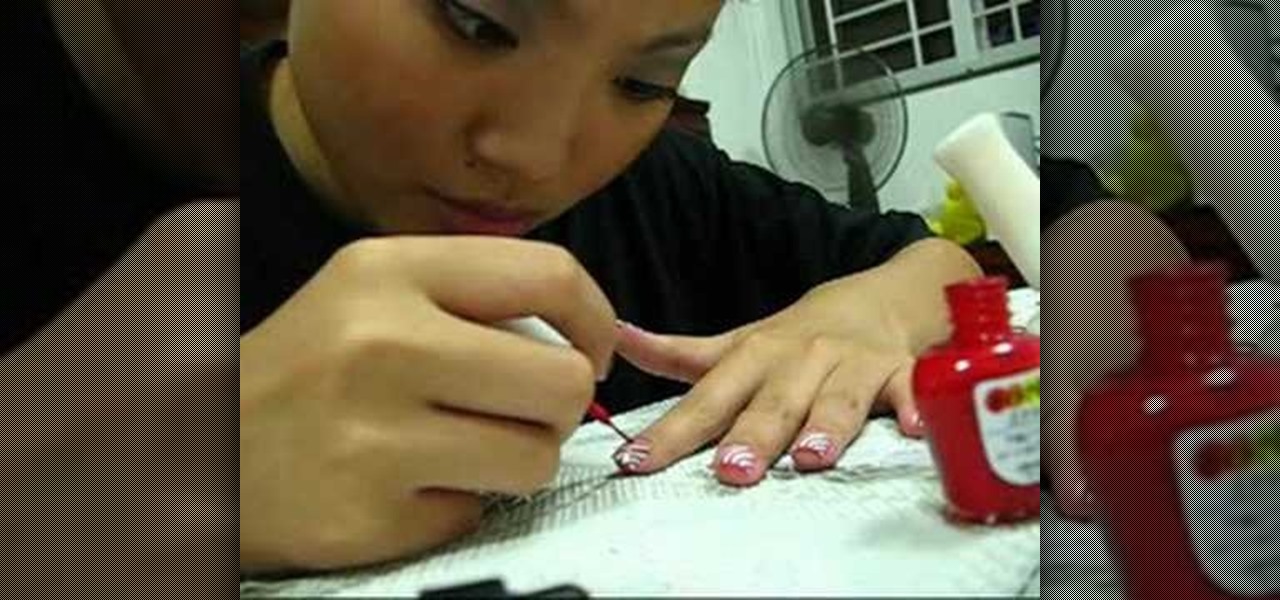
Create a nail look ready for the holiday season. Learn how you can apply candy cane striped nail art with this manicure tutorial. You will need base coat, red nail art polish, white nail art polish, and a clear top coat. With the tips from this how to video you will be able to create this candy striped nail decoration.
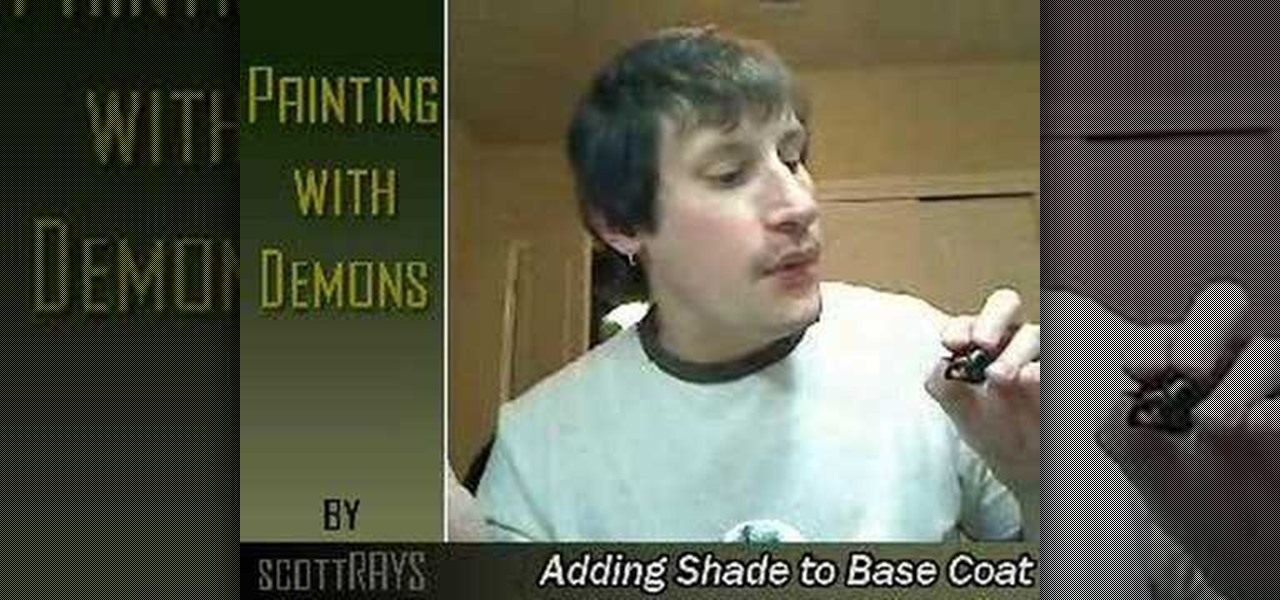
This instructional video demonstrates how to add shading to your Warhammer miniatures. With a small paintbrush, add thin washes of shading over the basic fill coats. In this video, the painter adds passes of paint on top of the manufacturer's Scab Red. Media extenders can keep paint from drying. When painting Warhammer characters, careful coats of shading color illuminate the details of the original figurine.

Everything's ready! The pumpkin is carved, the costumes are made, and the yard is looking absolutely frightful. All that's missing from this Halloween scene is something sweet. How about gooey-chewy-sweet-n-crunchy caramel apples? Watch this how-to video to learn how to make caramel-coated apples.

Jennisse shows how to do your nails ‘Fruit Style’, using acrylic glitter, in this tutorial. She begins by taking the natural shine away and bowing the nails down. A few coats of acid-free protein primer are then applied onto the nail beds. Next, some bright green acrylic glitter is taken onto a small brush and applied side to side, at the point where nail grows beyond the finger line. The nail is turned over to create a smile line. Then a thin coat of yellow glitter is added next, halfway beh...
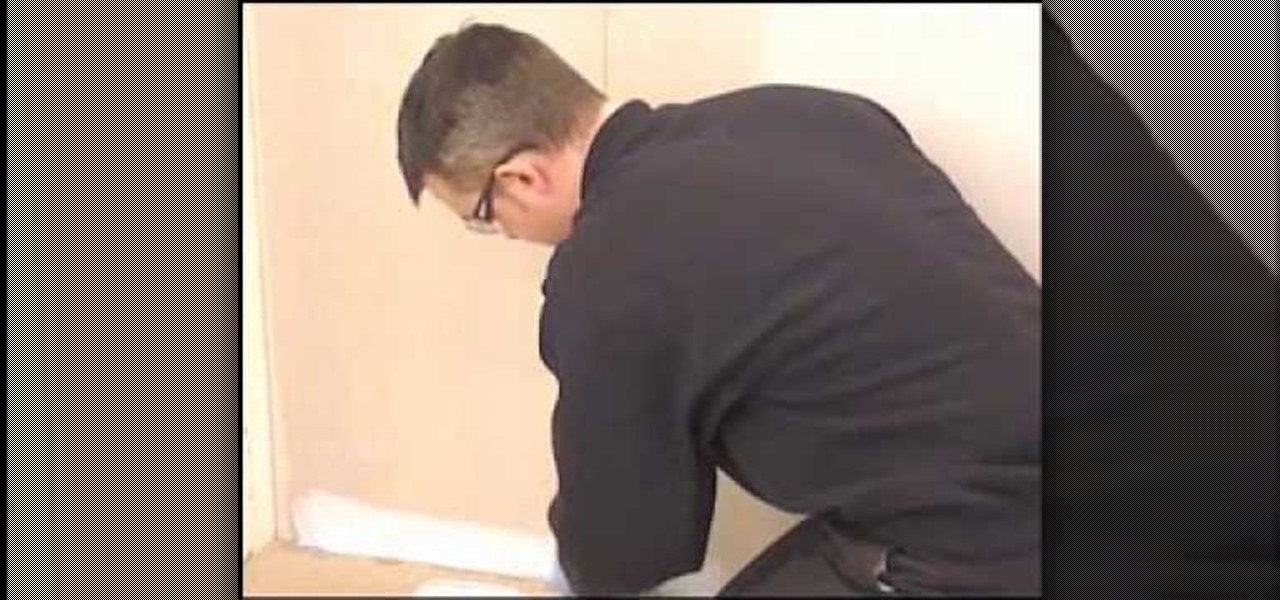
To tile with large format and natural stone tiles onto walls you must first make sure the walls are flat, clean, dry, and free of any dust, dirt, oil, grease, and any other loose material. Ensure that surfaces are suitable and prepared as advised. Then use the Dunlop Universal Bonding Agent where you will be applying the tile. For gypsum plaster and gypsum plasterboard, apply two coats of Dunlop Universal Bonding Agent, diluted with one part bonding agent, two parts water. Then allow primer t...
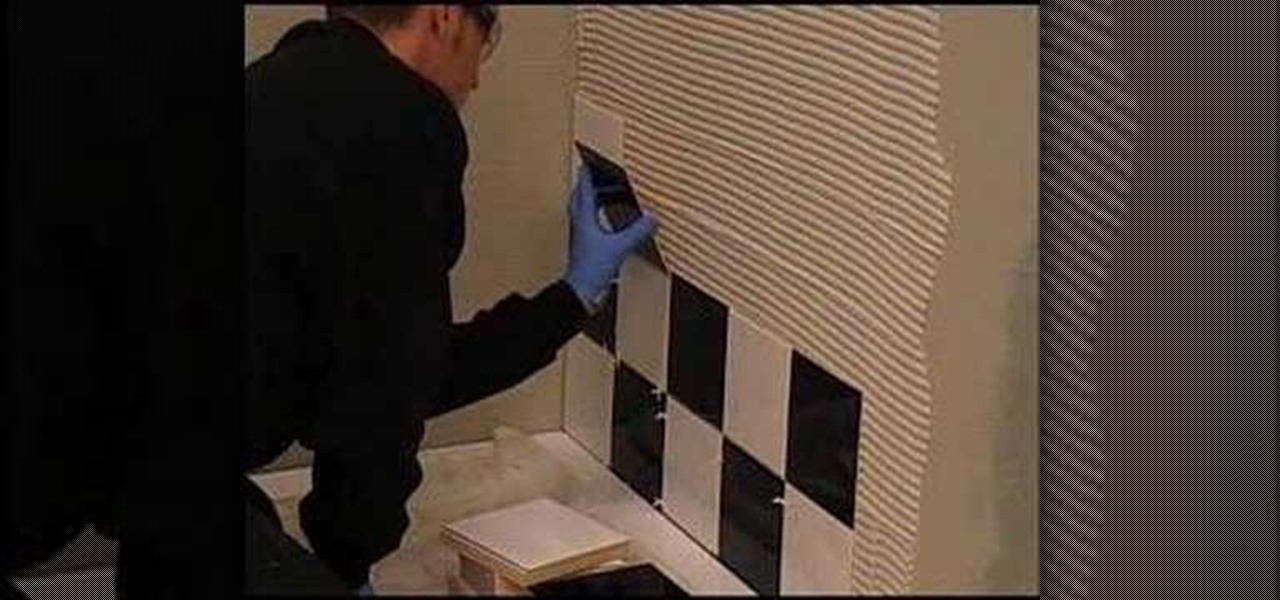
This video shows you how to tile and waterproof a shower. Stage 1
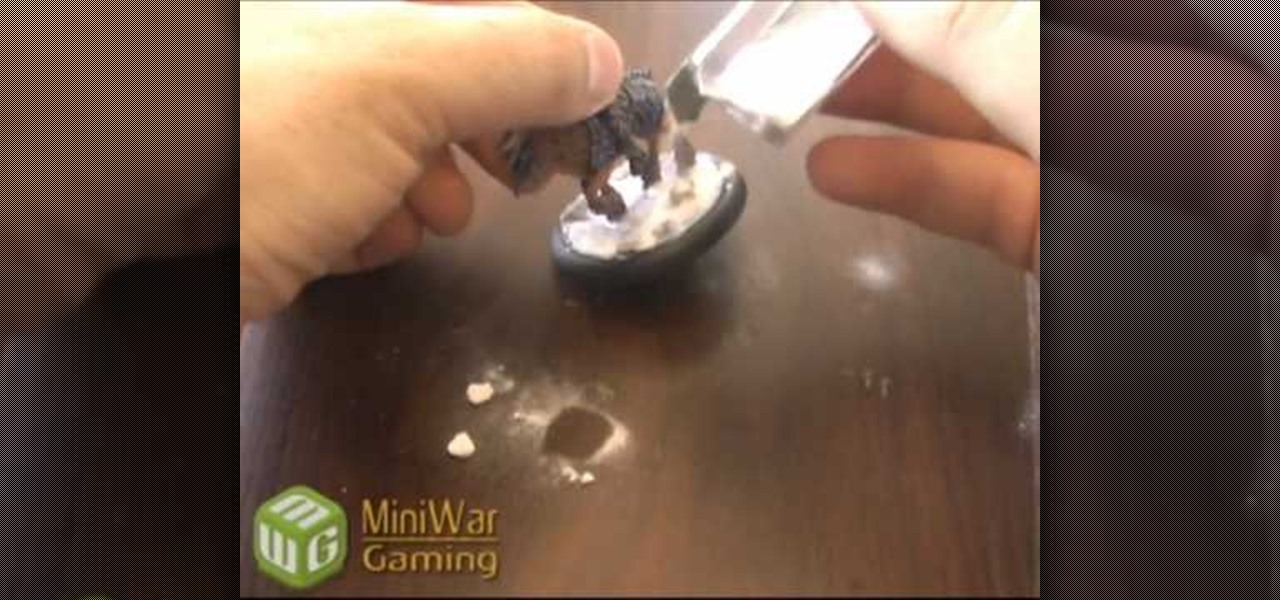
The materials you will need to add snow and other details to the base of your miniature game figure are white tacky or craft glue, super glue, a few small rocks or pebbles, coarse turf, a small paint brush, and baking soda. Begin by using the super glue to apply a few rocks to your base. You don't want to apply too many as the main focus will be on the snow. Add white glue to the base being careful not to get any on the figure itself. Use your paint brush to spread the white glue around until...
Fancy feet are a must for sandals and peep-toe shoes. Pamper yourself with a pedicure that’s easy and gets you back on your feet in no time.
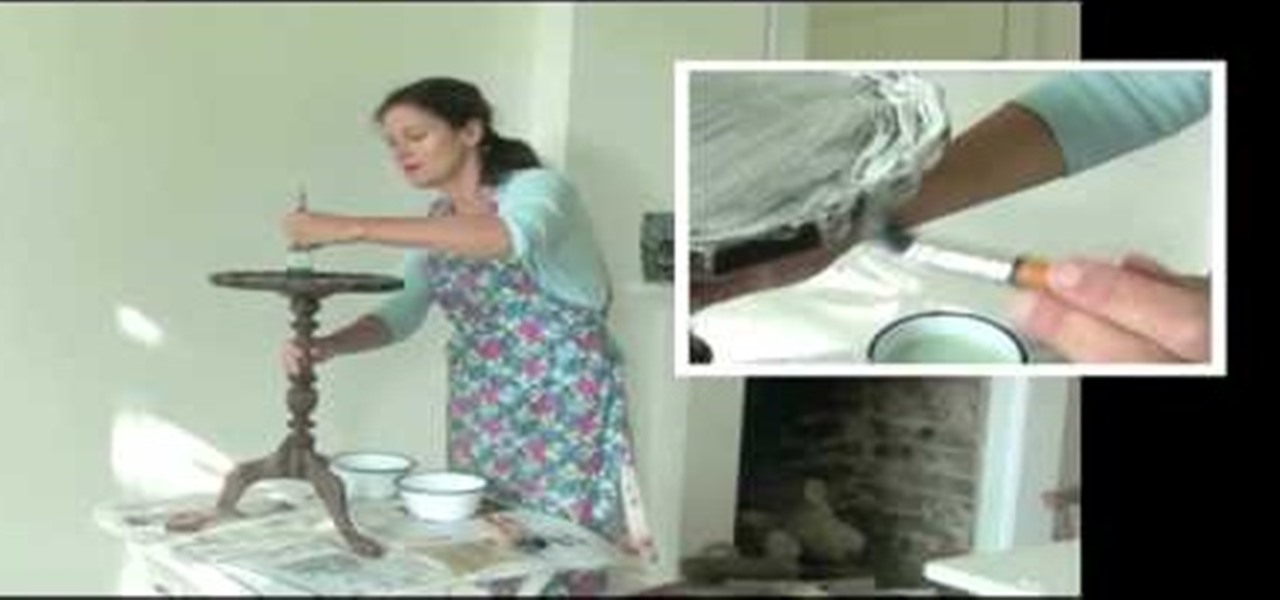
In this tutorial, we learn how to revamp a junk table with paint. If you find a cheap junk table, buy it! Just grab some paint brushes and a nice white or cream colored paint. Then, use the brushes to brush a white undercoat onto the entire table. After this has dried fully, take any color of paint that you would like to match your decor. From here, paint the entire piece until it's full coated. You may have to apply another coat to make it soak in fully. When finished, let it dry and use it ...
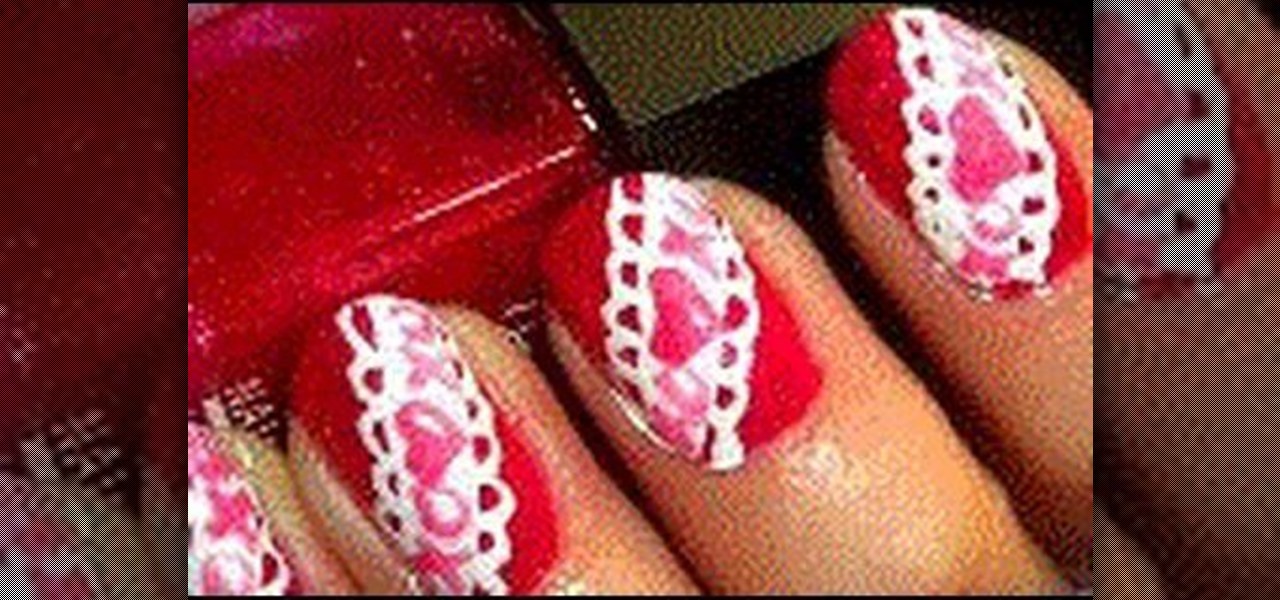
In this tutorial, we learn how to create cute XOXO Valentine's nails. First, you will need to gather all of your nail colors and clean off your current nails. After this, paint a cherry red glitter coat to all of your nails and allow it to dry. next, you will grab a white nail polish and paint on a thick diagonal strip over the red. Next, use a thin white line to create a lace pattern on the nail, then allow to dry. Once dried, draw on hearts and "x's" on the middle of the thick white strip, ...
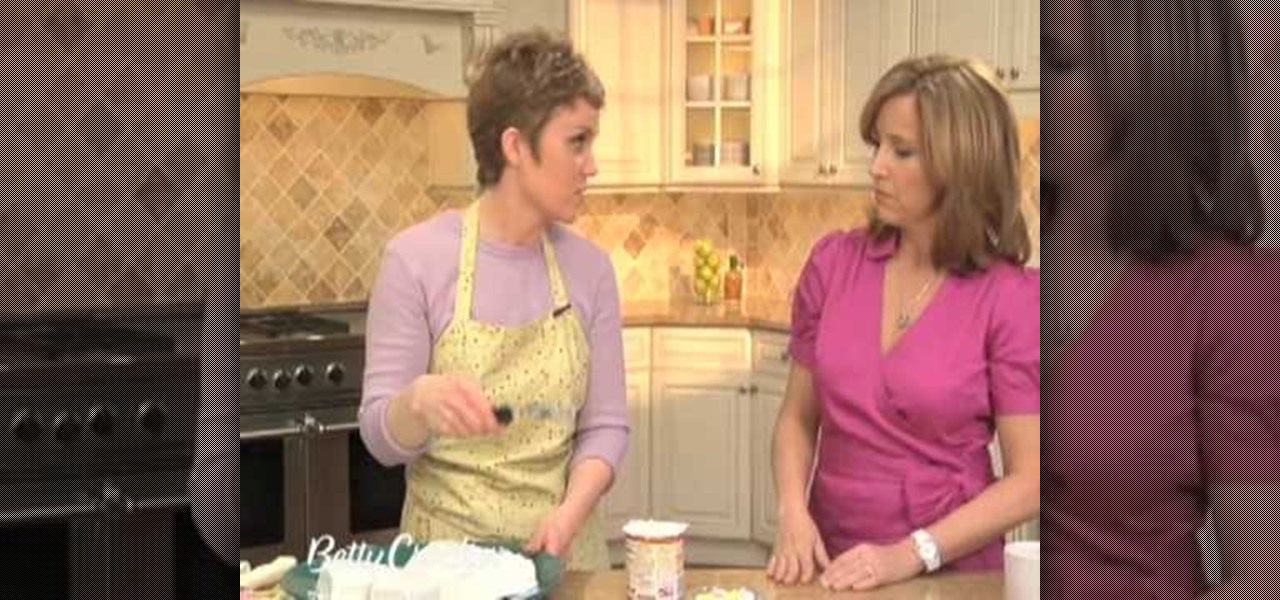
This video shows you how to transform a plain cake into a butterfly cake. You start with a round cake. Cut off the dome, cut the cake in half, then cut the cake like a peace sign. Arrange the pieces to form the butterfly. Apply a thin layer of icing to form a crumb coat. To set crumb coat, place cake in freezer for fifteen to thirty minutes. Now you apply a thick layer of icing, about a quarter inch thick over the entire surface of the cake. Use different colored icing to create a pattern of ...
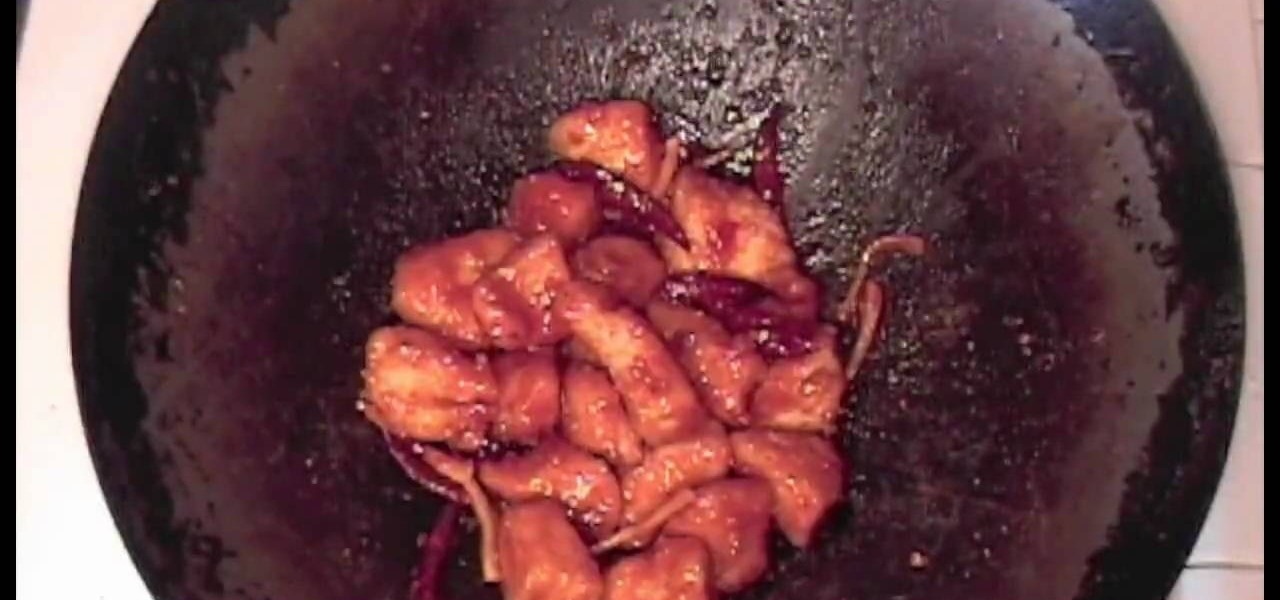
Sweet and Sour Chicken Recipe - Delicious Chinese Food with Fresh Fruit Juice Sauce: 1/3 cup fresh lemon juice 1/3 cup fresh tangerine (or orange) juice sliced ginger 2 tablespoons honey 2 tablespoons ketchup 10 dried red chili Coating: 1/2 cup panko bread crumbs 1/2 cup regular bread cumbs 1 teaspoon salt Preparation: Combine all ingredients for sauce, bring to a boil then simmer for 30 minutes Mix 1 chicken breast with one egg. Coat thoroughly in bread crumb mixture Fry in 350 degree oil un...

This video shows the viewer how to make an electromagnet using common items. This is done using a broken microwave, a spool, a cordless drill, a battery and a coat hanger. The microwave transformer is dismantled and the enamel insulated wire is removed. Using the cordless drill the wire is then coiled around the spool. The iron coat hanger should then be cut into small pieces and placed in the middle of the spool. It should be secured tightly. The battery was then connected to the wired coile...

In this video, the viewer is shown how to apply red, silver, and glitter nail polish to make various patterns. First, you need to apply two coats of a natural, pearly color. Next, she uses a very thin brush to apply her red patterns. She uses one red to make lines and another red to fill in. Then she adds a dark, glittery red to coat over the filling. The same procedures and brushes are used to apply the silver on her nails. Finally, she applies small rhinestones to her nails by using the wet...

Have you ever locked your keys inside of your car before? I net you have, you've felt the frustration, you've felt the pain, but don't pull out that cell phone just yet... you don't need a locksmith.
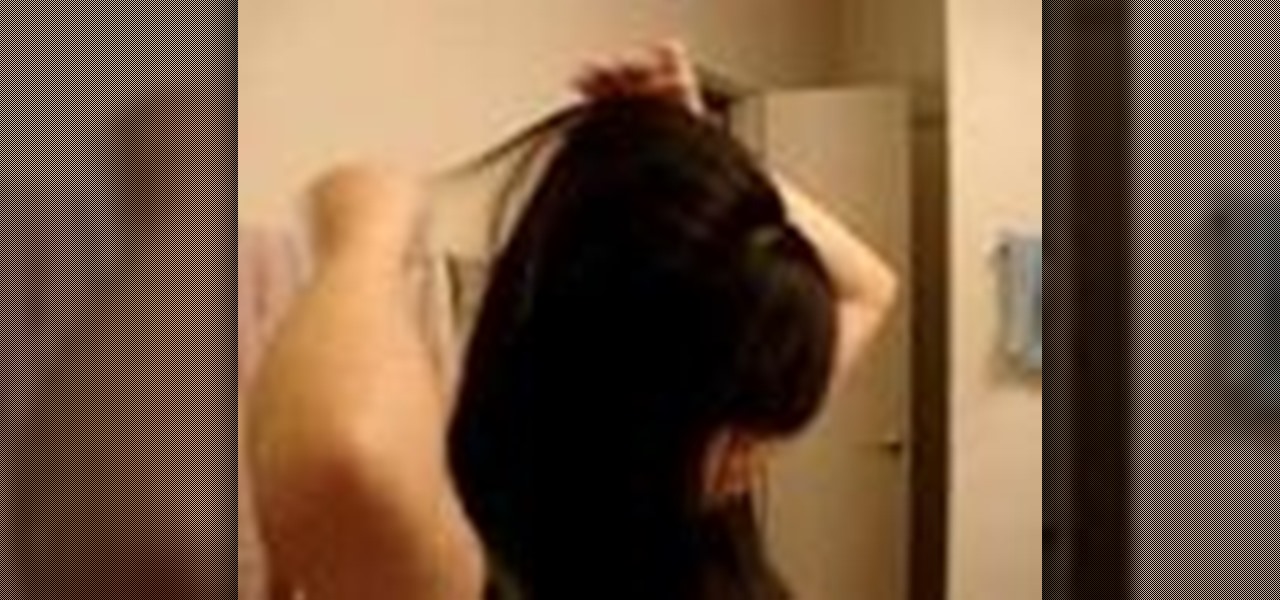
In this video, we learn how to tease hair with ease. First, take a section of your hair from the top of your head and raise it straight up into the air. After this, spray a good coating of hair spray into it. After this, let it dry for a minute, then brush your hair down with a teasing comb working your way up. Spray another coat of hair spray, then lightly let the hair down, brushing the top gently. Continue to do this throughout sections on the top and sides of the hair. When finished, spra...
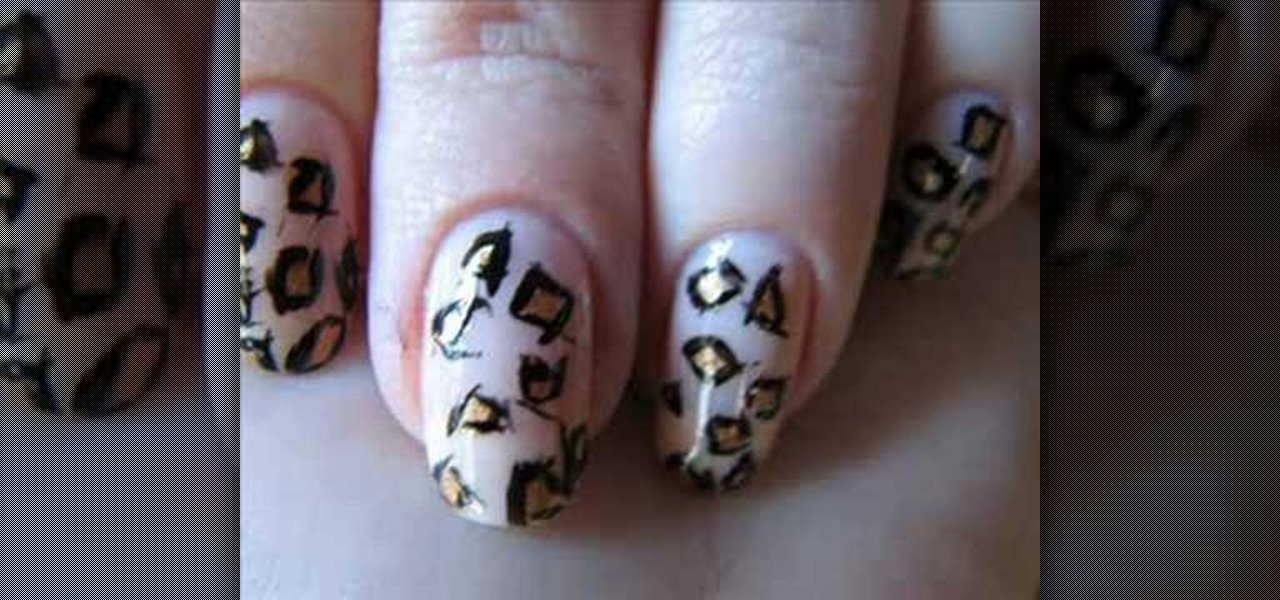
Learn how to create a wild, leopard print nail look with this tutorial. You will need white, black and gold nail polish, a base coat, and a clear top coat. This is a gorgeous look for long natural nails and acrylic or artificial nails. Watch this how to video and you will be able to apply a leopard print nail decoration at home.

Learn how you can apply this funky black and white fingernail art with this manicure tutorial. You will need a base coat, finishing coat, a matte black nail polish, a matte white nail polish and a couple of toothpick. This is a beautiful, unique look for long or short natural nails as well as acrylic nails. Watch this how to video and you will be able to apply this black and white nail design.

Learn how you can spice up your boring office manicure by applying some decorative scratches with this tutorial. You will need a base coat, finishing coat, a main color of nail polish, a couple of toothpicks and sparkles of any form. With this how to video you will be able apply these pretty decorative scratches in your fingernail polish.
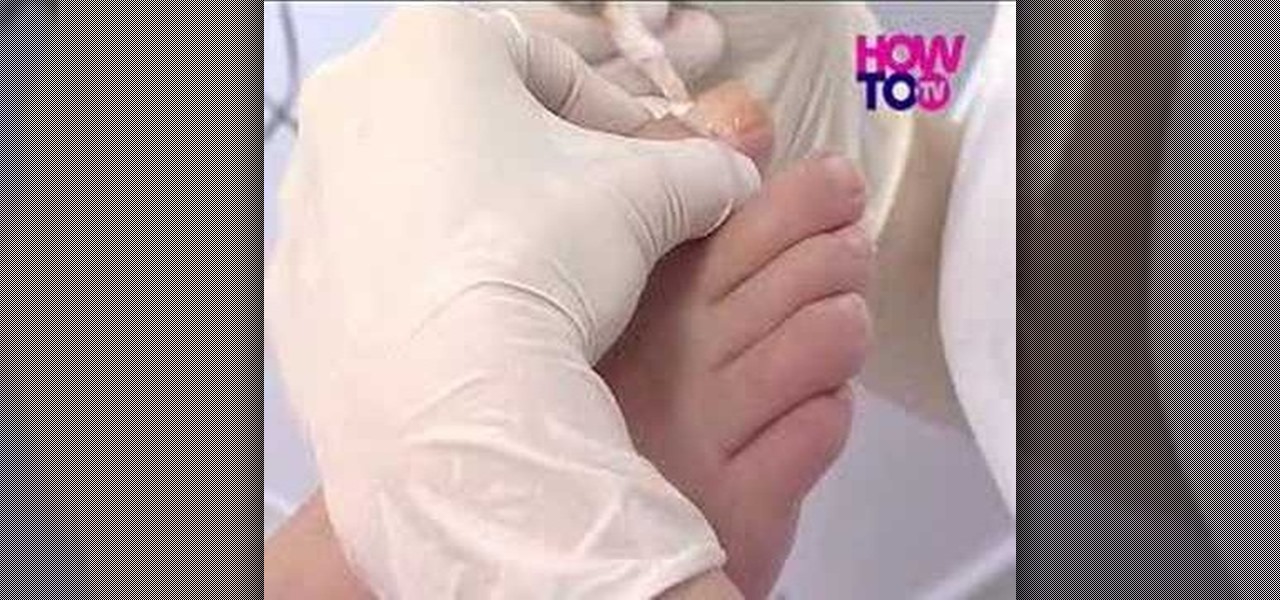
Many people enjoy being pampered when getting their nails pedicured professionally, but by following this simple step by step how to video you can get your feet in tip top shape at home in a little over half an hour.
This is a quick tutorial on how to get that automotive finish for your projects. Learn how to buff out the clear coat with this airbrush technique.

Watch this video to apply the final frosting to a crumb-coated cake. Learn some great tips on getting a beautiful, smooth surface.

Nothing completes a fresh-made cake more than a sweet coating of icing. Learn how long you should let a cake cool before frosting it, and also how to ice a crumb coat. You will need a cake stand, offset spatula, icing and cake.
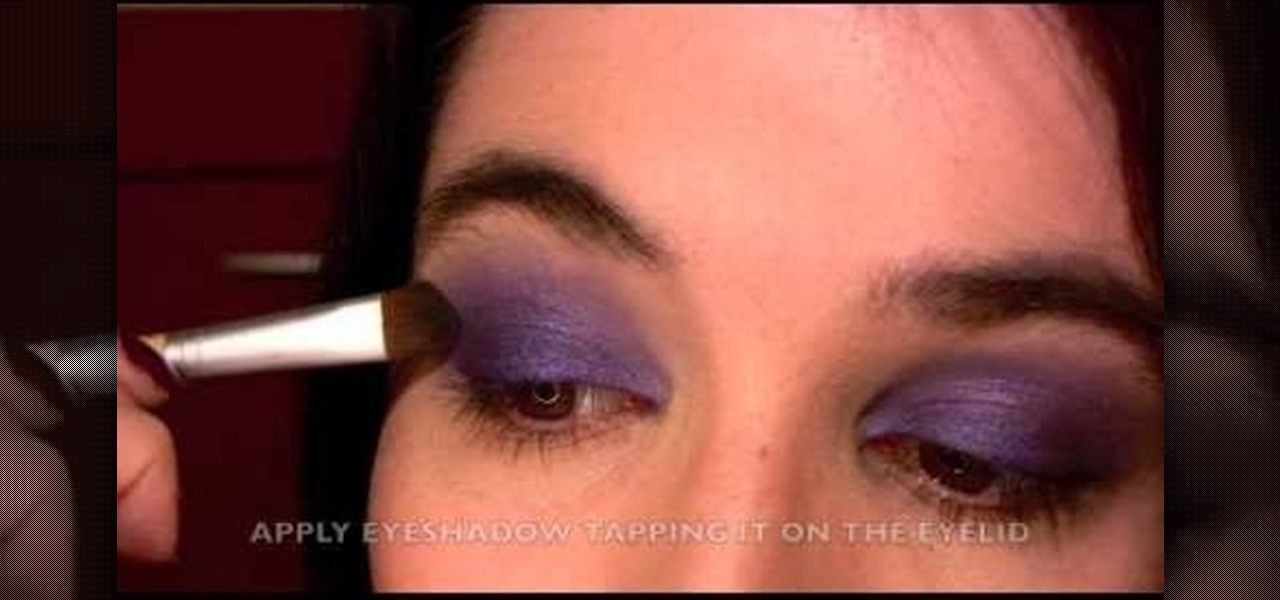
Love purple? Then this purple-filled eyeshadow style is sure to rock your boat. Croatian photographer Marina Filipovic Marinshe sets aside her usual fashion, portrait and art photographs, and brings you this makeup tutorial for recreating her rich purple eyes look. Check it out. You won't be sorry.
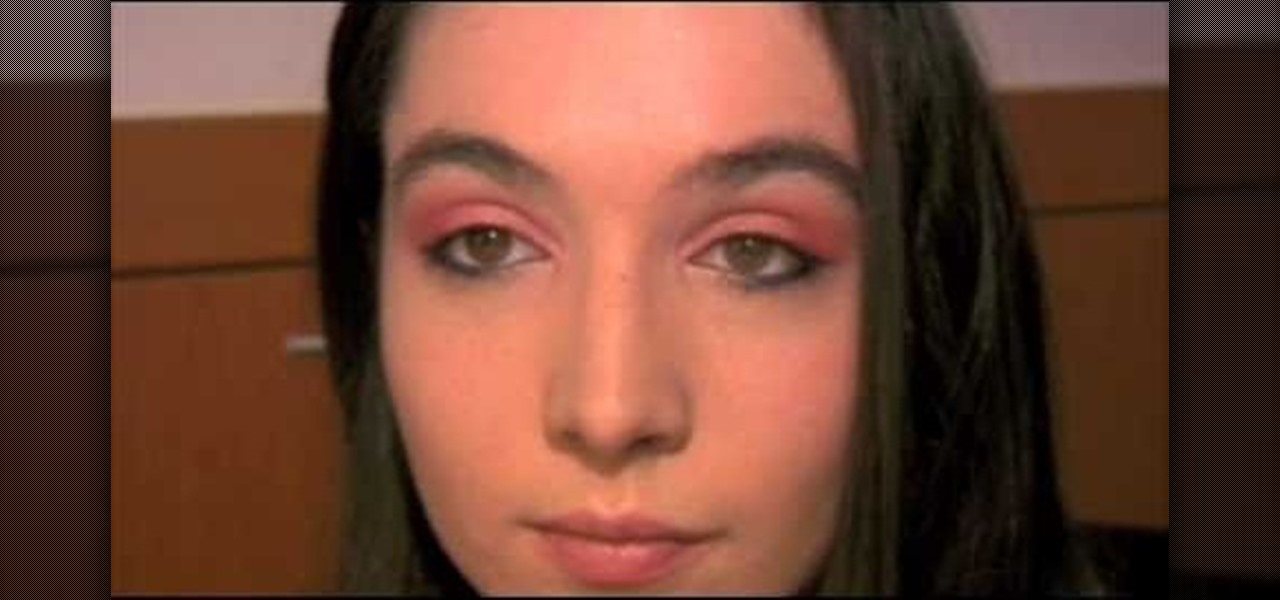
Croatian photographer Marina Filipovic Marinshe sets aside her usual fashion, portrait and art photographs to delve into the world of makeup tutorials! In this video, she shows you her "Pretty in Pink" full face makeup look, with lots of pink!
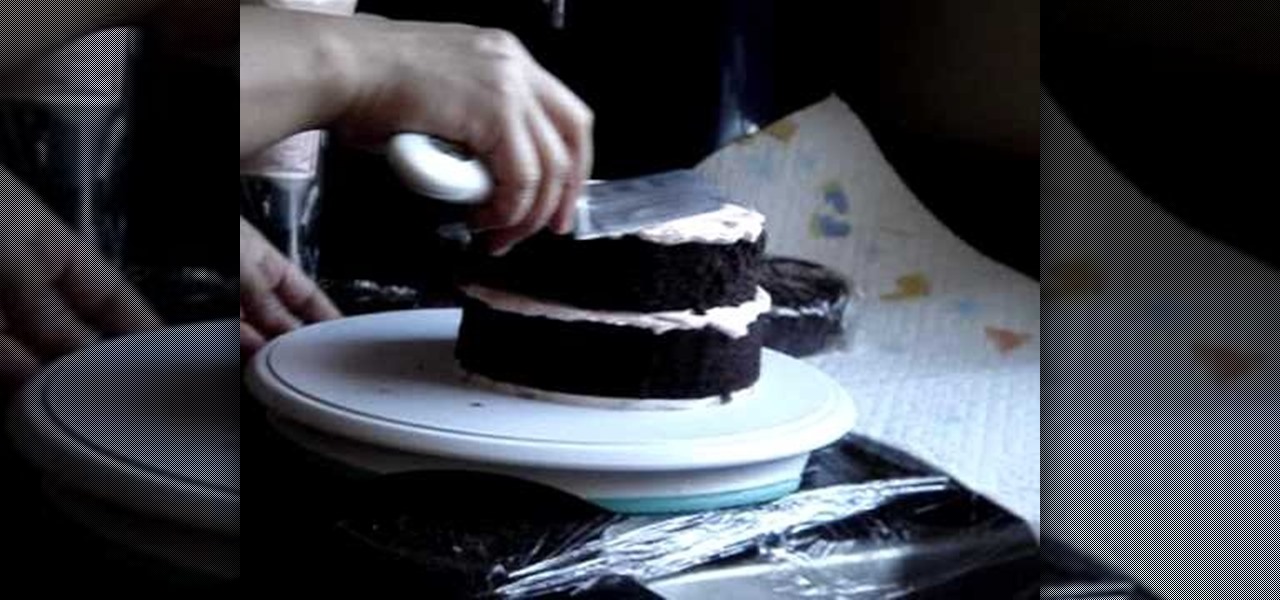
The video covers how to ice a cake. According to the video it is best to start by refrigerating the cake. You will need a 16" pastry bag with an icing tip on it. The tip should have a cerated edge on one side and a smooth edge on the other. Set the cake on a rotating plate. Rotate it and put a layer of icing all the way around the cake and then fill in the center. Once the cake is covered use a spatula and smooth out the icing. Then set the second cake on top of the first and put the icing on...
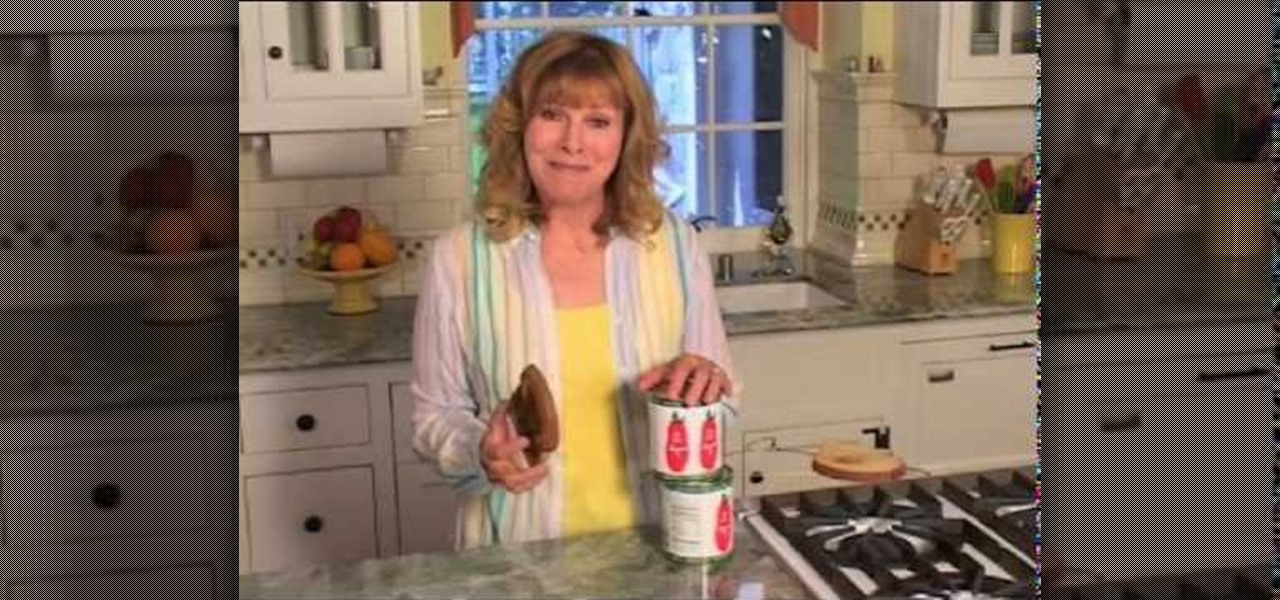
Have you just moved into a new place and don't have a toaster yet? No problem! No need to abandon that breakfast staple. In this tutorial, Jenny Jones shows you how to make toast without a toaster! All you need is your bread, your stove, a coat hanger and two aluminum cans. This is perfect for camping, too! In Jenny's own words, "If you can make toast without a toaster, think what else you can do in life that seemed impossible!"
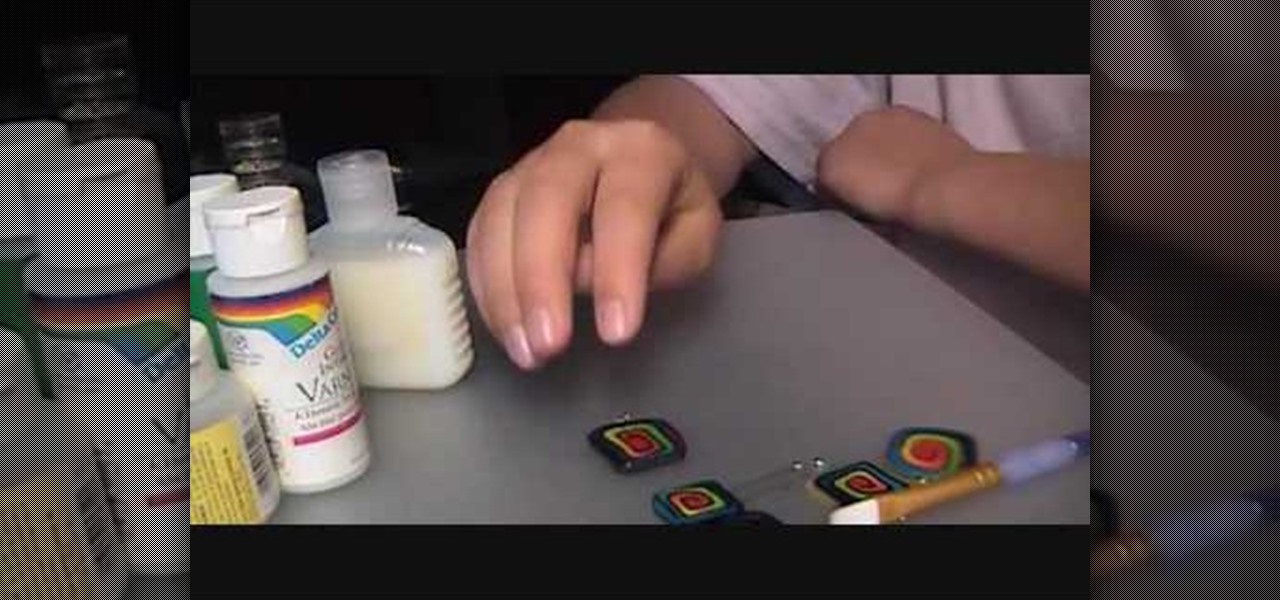
You'll learn how to gloss/polish your polymer clay pendant jewelry in this video. To do this, you'll need a brush. Preferably, a nice, soft brush. You'll also need your clay pendants (of course), some gloss, and aluminum foil. First, you pour two drops of the gloss onto the aluminum foil. Next, you take your brush, put it in the gloss, and run it across your pendant. This will give your pendant a really thin coat of gloss. Be sure to wash your brush soon after, otherwise the gloss will dry an...
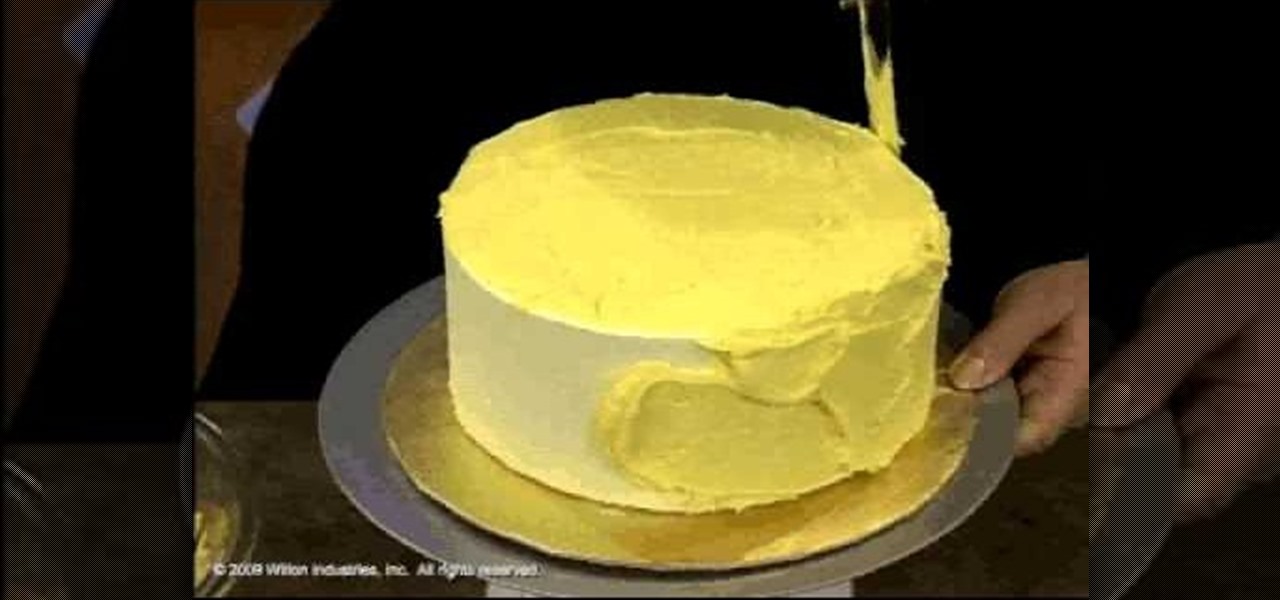
You can ice cakes using a spatula and put a “crumb coat” on the cake to seal in the crumbs prior to decorating. Start by putting a large dollop of icing on top of the cake, spreading it completely over the top with a spatula. Use enough icing that you don't pull the crumbs into the icing as you work.
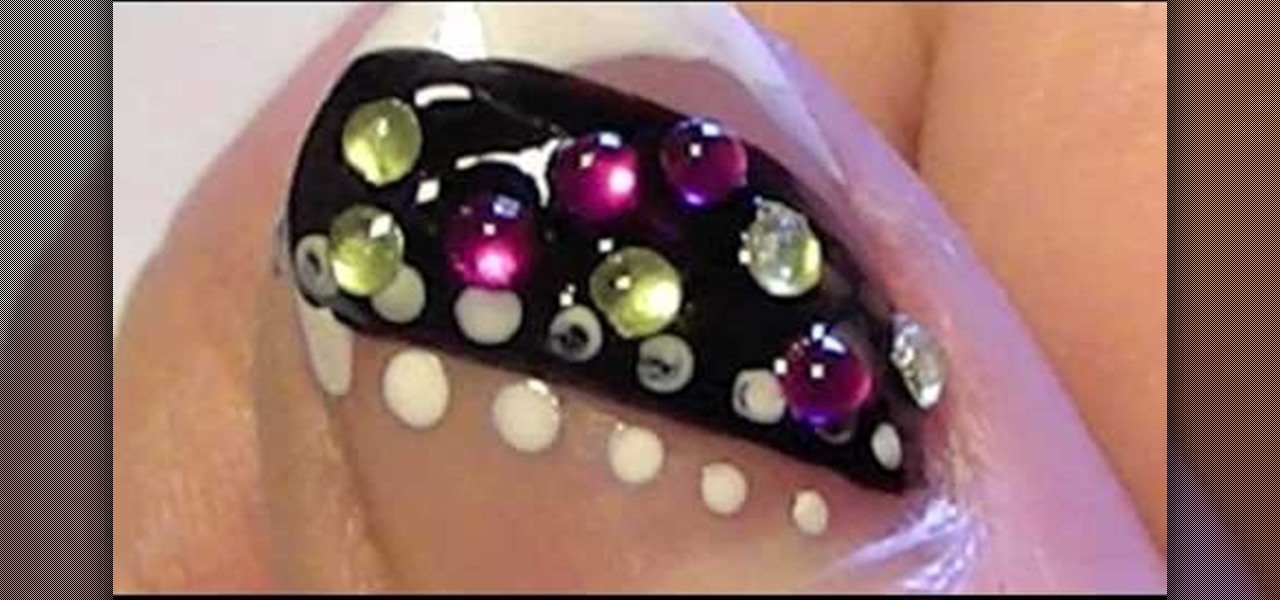
The rhinestone studded nails will be more attractive. To make your nails a perfect complement to any acrylic or polished nails use your wildest imagination to make it more attractive. The following steps will help to make beautiful, rocker rhinestone studded nails. The first step is to clean the nail surface where you want the stickers to be placed. The second step is to apply a base coat, and the third step is to apply nail polish color. The fourth step is to peel off the stickers carefully ...
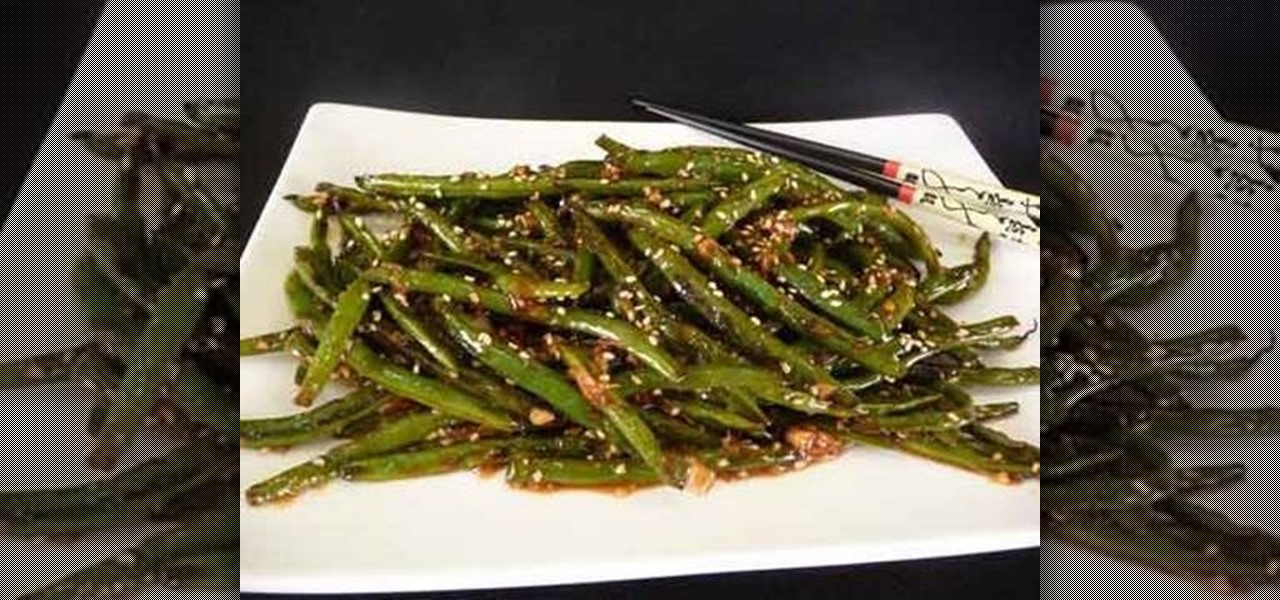
Chef's Anuja and Hetal from Show Me the Curry! teach you how to make an amazing green bean dish called Szechuan Green Beans. Carefully add beans to a medium sized pan filled with the oil contents. Make sure green beans are coated with oil and cook until for 20 minutes until soft. Use a small pan and lightly toast the sesame seeds. Place beans on plate. Place the rest of the ingredients: soy sauce, ginger, garlic, and chili sauce in sauce pan to cook. Replace the beans in pan and allow to coat...