Anyone who's tried to redecorate their home or even one room in their home knows that between new furniture, paint, and new upholstery, the budget for the job - or lack thereof - begins to skyrocket quickly.
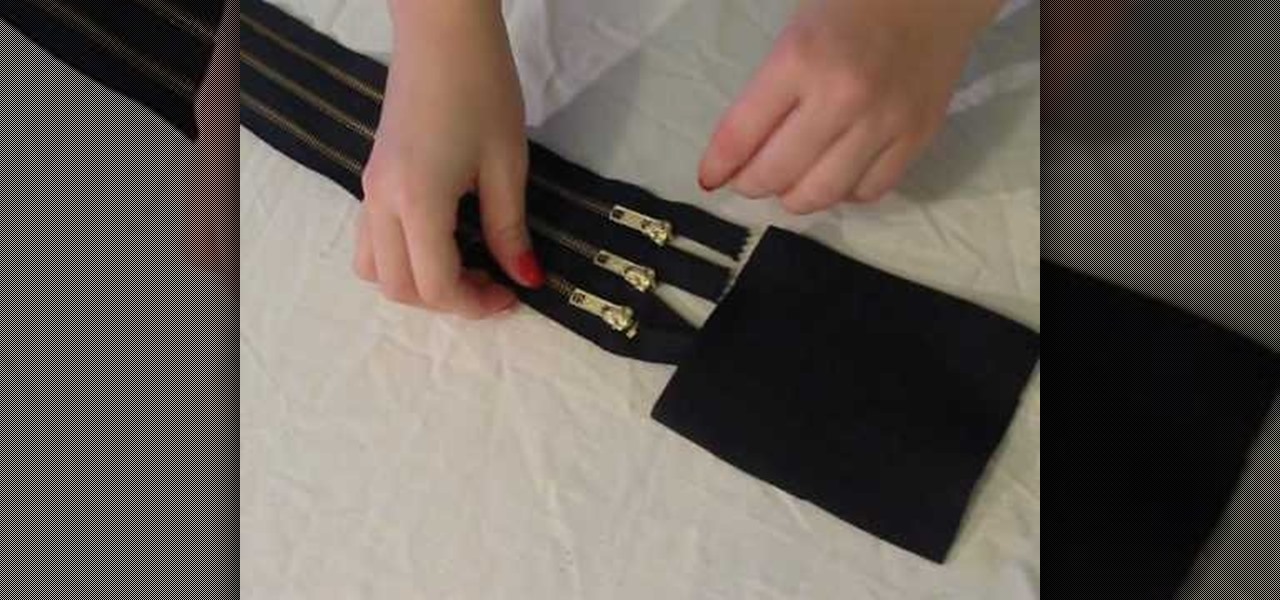
This video shows how to make a simple and stylish belt out of three zippers, a square of wool, and a glue gun. For those who are not skilled at sewing, there is no sewing required in the making of this belt. Taking the hot glue gun, place glue lengthwise along the back of the middle zipper and glue the top and bottom zippers to the middle one. After this is done, get a large square of fabric such as wool and glue the ends of the 3 zippers to the fabric. This fabric will serve as the location ...
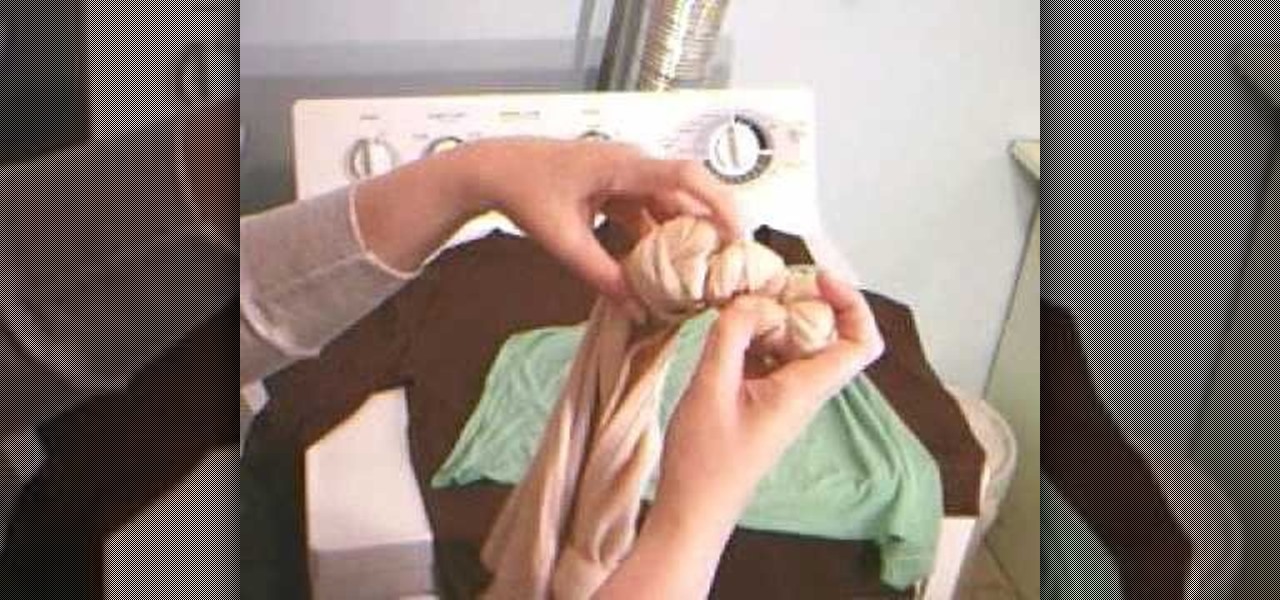
Do you love the 1960s flair that tie-dye gives your clothes, but hate tracking pre-dyed stuff down at hippie stores? This two-part video teaches you how to make your old plain-colored clothing tie-dyed using the knot technique. Revitalize your closet using this technique without ever having to set foot in a specialty store!

This is a video about how to make the photo display board. You just need foam display board, fabric to cover the board, batting paper, pins, and some ribbons. First you have to cut the fabric about one half inch extra of the board to cover the board. Next you have to cut the ribbons upto 6 to approximately 21 inches long and cut one ribbon to hang the photo board. Next laying out the fabric on the table first. Next place the batting on the top of the fabric. Next take the foam board and place...

In this editon of Tip Tuesday from Pursebuzz we are shown how to determine your skin tone. This tip is a pretty simple way to determine if you're a warm or a cold tone, and if you are pink-based or yellow-based. That's the first question you're asked if you go to a counter and you're trying to figure out your foundation colors or your blush colors or shadows, or what will work for you. The first test is the fabric test. You don't even have to buy this fabric. You could just go to a fabric sto...
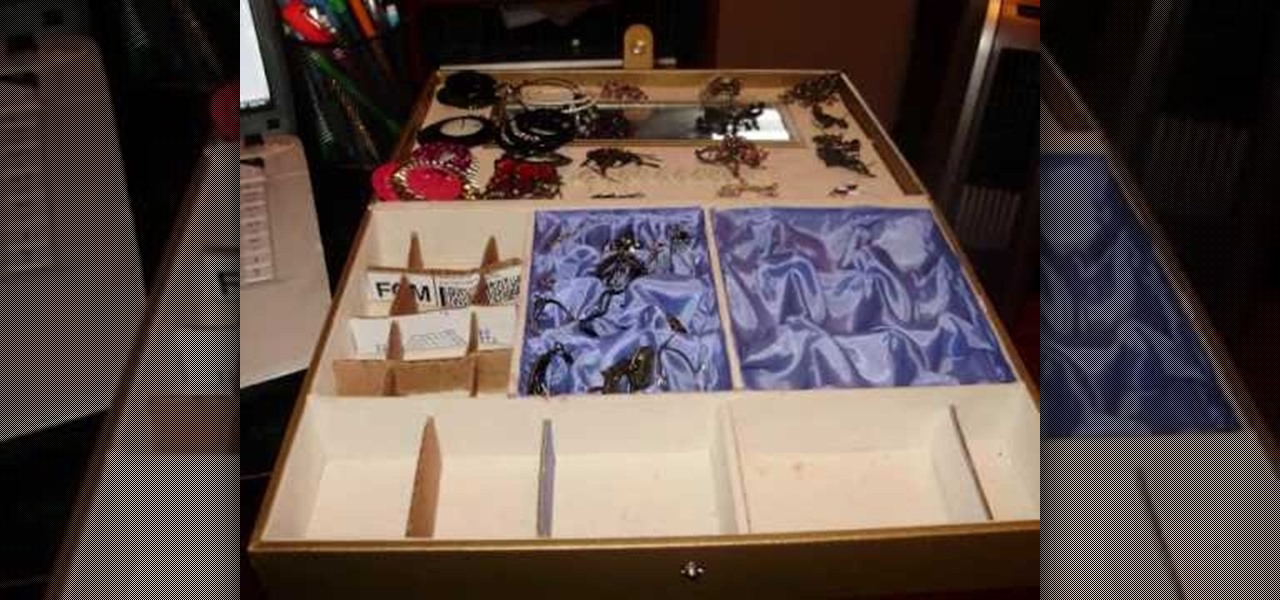
This video shows how to make a custom jewellery box for cheap. Find any box we want to use. Next find some spare fabric to put on the inside. Make little compartments big enough for whatever we are putting in. Just use cardboard for this. Measure the cardboard into strips and then made triangular cuts so that the cardboard would be more stable. Next make sure whatever we are putting in will fit in the compartments we have made. Use super glue to put the fabric in and pleated the fabric. Now w...

This video is pretty clear in describing how to make slime using glue, water, and fabric starch. I don't recommend children watch this because Sean Shameless (the host) adds unnecessary cursing into the instructions. The most important thing to remember in this video is that this slime stains. Sean Shameless also advises the children to not tell their parents about using the fabric starch which tells me that they really should not be doing it. Sean than explains what the possible uses of slim...

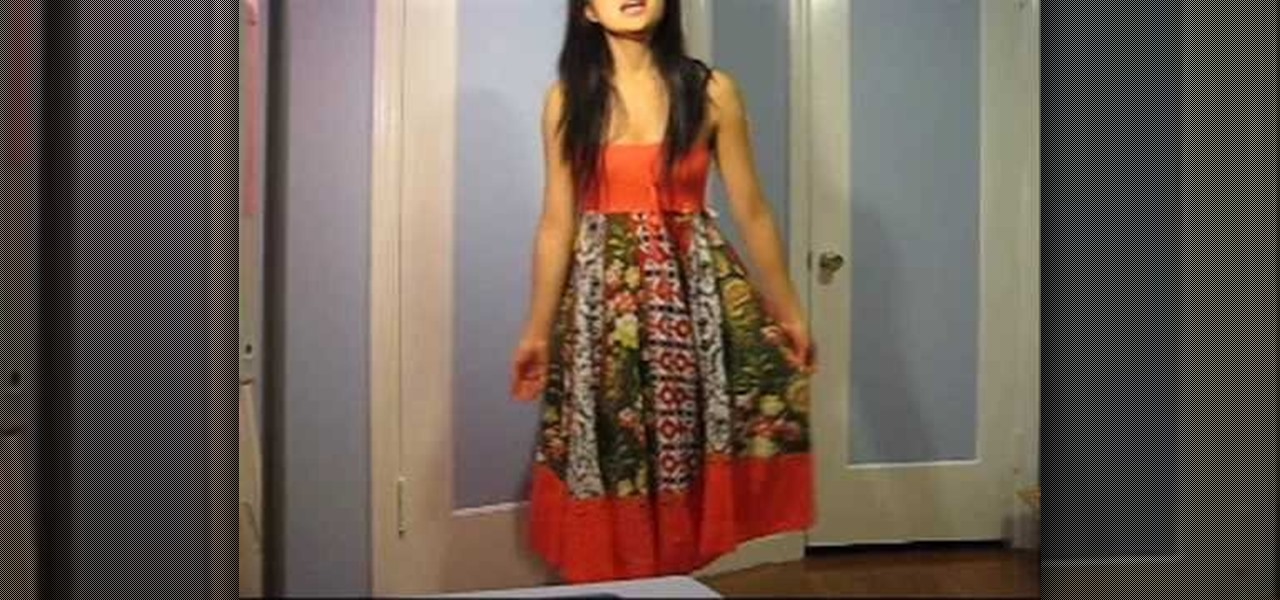
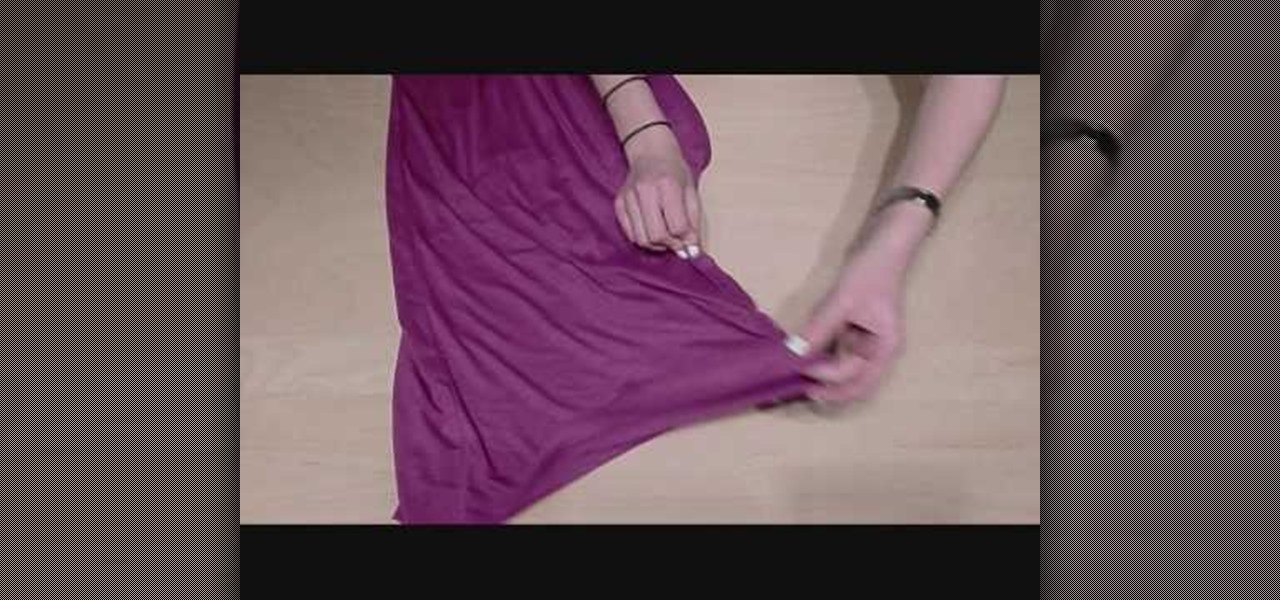
This video shows how to alter an oversized dress into a summer dress and a scarf. Do you have a dress that is an awkward length? Depending on how tall you are an otherwise cute dress might need some alterations to look best on you. The dress used in this video has a strip of fabric going from the knee almost all the way down to mid-calf. Removing this strip of fabric was easy to do by simply pulling out the stitches. This simple move turned a frumpy gown into a cute sun dress. The leftover st...

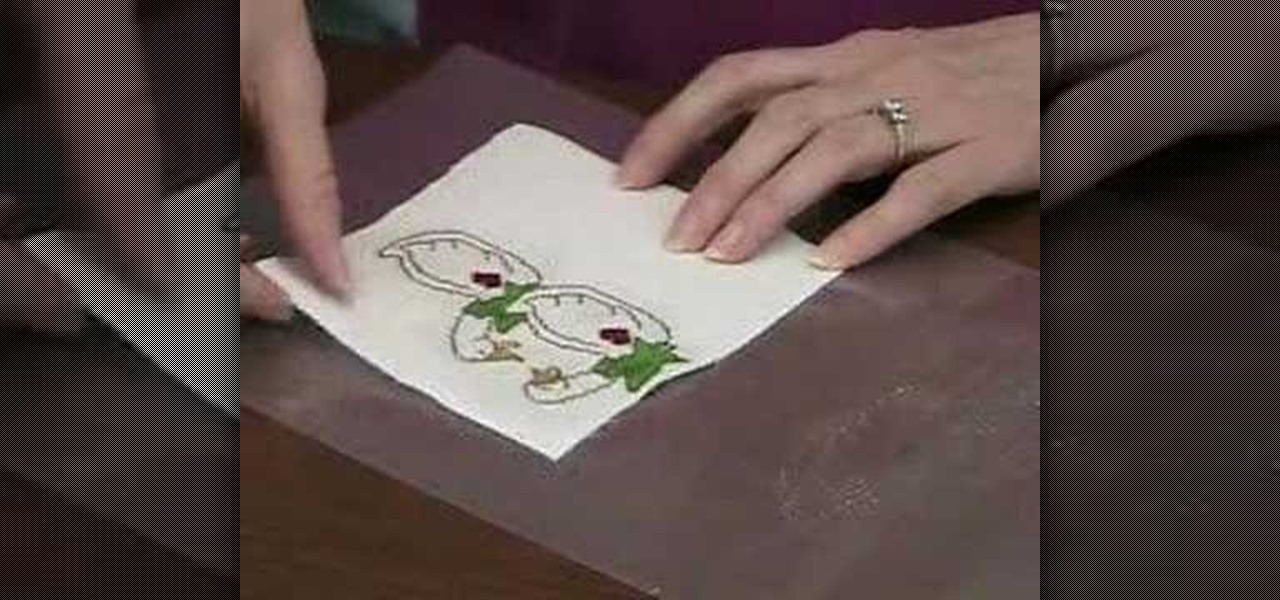
Beth Johnson explains how to use Needlework Finisher to turn cross stitched pieces into ornaments. Needlework Finisher comes out of the bottle as a thick, white liquid, but turns into a clear plastic coating when dry. No special equipment is required, and Beth demonstrates how to daub the Needlework Finisher onto the cross stitched items with a finger tip. She allows one side to dry before coating the other side. The "wrong" side of the cross stitch can be covered with plain fabric, by using ...

You start off with a printed design on your doll. Use regular paper, but you have to print the doll in individual pieces - body, hands, legs, head. You stick those on the front of hard materials like thick card stock or some thick fabric. Now you can putt the doll together and make adjustments. You put the doll together by using small thumb tacks. It's even better if you have ones that have a rhinestone on them. Once you've done the joints, you can also add a little tutu or some fairy wings. ...

D. Gulley with The Discount Trendsetter Show demonstrates how to recycle old furniture. To recycle coffee tables, stack them on top of each other to create a bookcase or a display shelf. Go to your local fabric store and purchase nice but inexpensive fabric to give your sofa a new look. If you don't want to cover your sofa to give it a new look, concentrate on the pillows to pull the new look together. To update pillows that you already have, buy some inexpensive fabric and tuck it, pin it or...

Watch this video to try out making a halter dress by yourself. Lay out the fabric you are going to use on a level surface. Afterwards sew it right side together with stitching pins. Once you finish doing so flip the fabric right side over. Sew up the ends of the fabric right sides together. This will create the hole in the dress where you will wear it as a halter. Flip the dress over and cut out some elastic to sew it on the bottom part of the dress. This will create a nice effect in the skir...

1. Draw a flower template on paper. 2. Cut out the template (it's like making a paper doll).

Hak5 isn't your ordinary tech show. It's hacking in the old-school sense, covering everything from network security, open source and forensics, to DIY modding and the homebrew scene. Damn the warranties, it's time to Trust your Technolust. In this episode, see how to organize your desktop with Microsoft Scalable Fabrics.

Add inches to your appearance without wearing 12-inch platform shoes. You will need: -the right length jacket

For right-handers, work from right to left or top to bottom. For left-handers, work from left to right, or top to bottom. Bring the needle to the front of the fabric at A, and pull the thread through. Now, for the rest of your stitches, you can work them more quickly if you "run" them on the top of the fabric, without taking your hand to the back. Go down at B, and, using your fingers on your non-dominant hand (the one that's not holding the needle!) behind the fabric, encourage the needle to...

In this video, we learn how to freehand embroider. Start by finding the image you want, then reduce it down to the size you want. After this, find dissolvable stabilizer and lay it over the drawing. After this, trace the picture with a Sharpie, then choose where you want the image to go on the fabric. Now, take blue Scotch tape and tape it over the edges onto the fabric. Now, grab a freehand stifling foot and place it on the fabric and start to sew the image around the outline. When you are f...

Find out from fashion designer Natalie how to cut out your pattern pieces and use your fabric cutting scissors.

This crushing process brings out color variations by flattening the pile or nap of the velvet, and adds surface texture by pleating the fabric. One benefit to this method is that a simple wash and tumble dry will restore the fabric to its original condition, so watch this video and see just how to create crushed velvet.

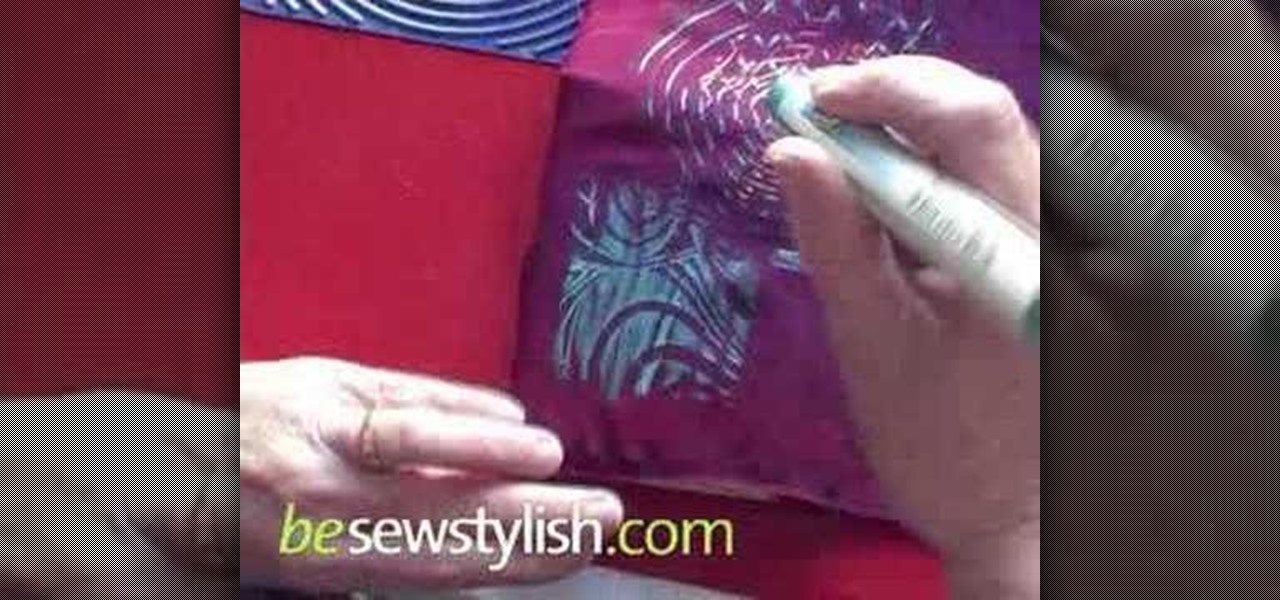
Transform any fabric in minutes by using paint sticks to transfer a surface texture to the cloth. Watch as Laura Murray shows you how to use surface rubbings over a textured surface to create original and creative fashions.

Make It Mine editor Linda Augsburg shows you how to stencil on fabric.

The members of Material Evolution combine their talents to make a gorgeous circle-designed quilt. Lisa Call starts off by creating beautiful hand-dyed fabrics.

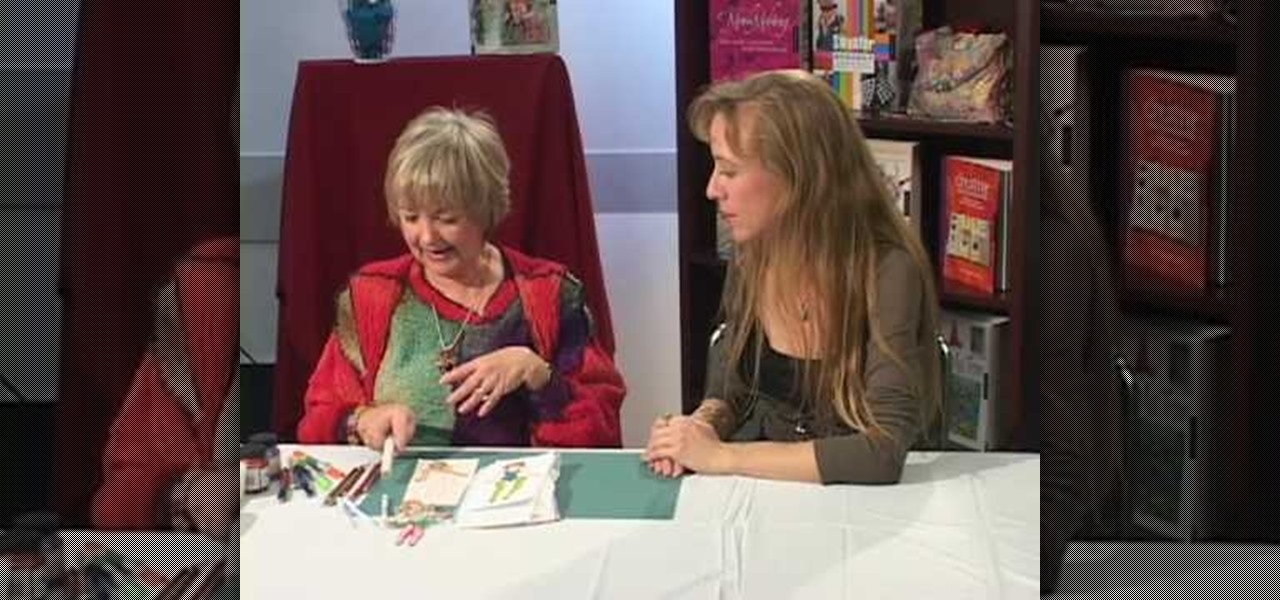
Incorporate hand drawing with markers, ink and tools into fabric projects for stand alone illustrations or to color in embroidered designs.

Learn more creative quilting methods by burning silk edges and adding color to fabric with colored pencils.

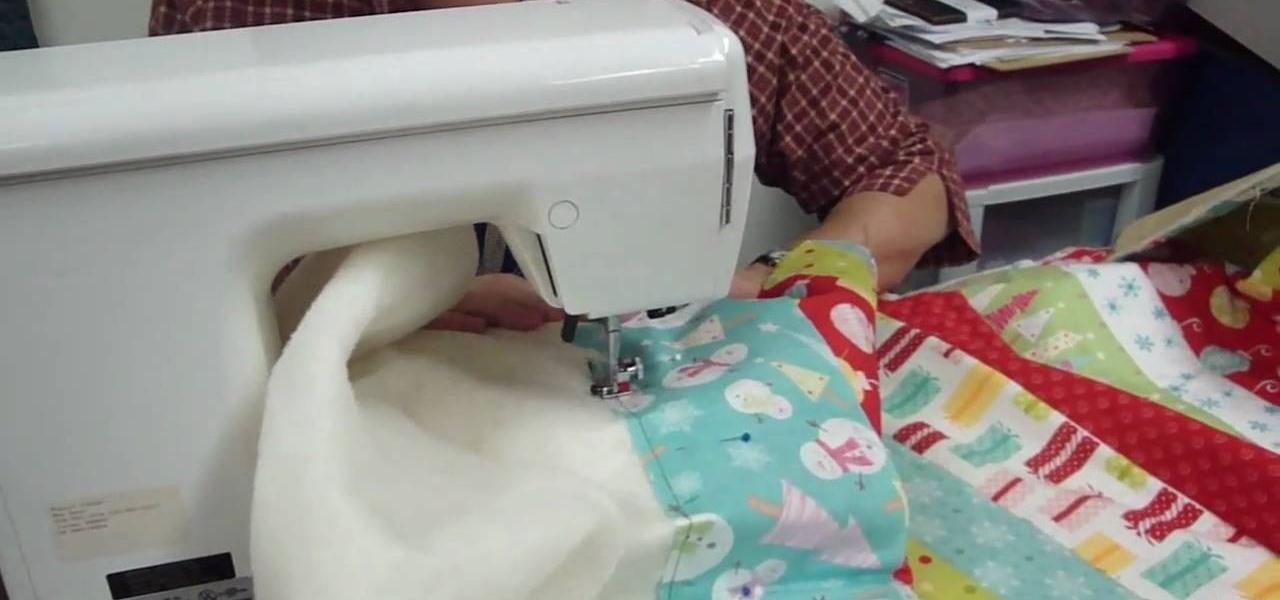
Looking for a new way to do your quilting? Why not try the 'quilt as you go' method! With this method you don't finish the whole piece at one time, but instead take various pieces of fabric and use them one by one. This is a great method if you happen to have a big bag of fabric odds and ends you didn't know what to do with. You'll need a piece of backing, thread, pins and of course a sewing machine. Watch and learn how to quilt as you go!

In this video we learn how to make a fun party dress with oversized bow. First, lay the fabric flat down on the ground and cut it in half. After this, measure your bust, waist, and hips and mark it on the fabric. After you have all of the pieces of fabric cut out that you need for the dress, put it all together. Use a sewing machine to sew the different pieces together. Then, grab the extra piece of fabric you have from the scrap pile. Use this to make the large bow and sew it onto the dress ...

In this tutorial, we learn how to make a toga in two minutes. First, pick out the fabric that you want, you will need around 6 yards. Next, get in a stance with your legs apart so you have leg room to move after you wrap it around. Then, wrap the fabric around your waist, tucking it into your back pocket to avoid using a safety pin. Next, start wrapping the rest of the fabric around your entire body until you reach the top around your chest. Don't wrap up to your neck. Then, throw the rest of...

Video: . Whether you are gardening, cooking, riding a motorcycle or just want to cover up on a bad hair day, doo rags are easy to make and fun to personalize to suit to your style. If you would rather just download the durag pattern click here.

Video: . This DIY room decor tutorial is super easy and the final result is very girly and polished.

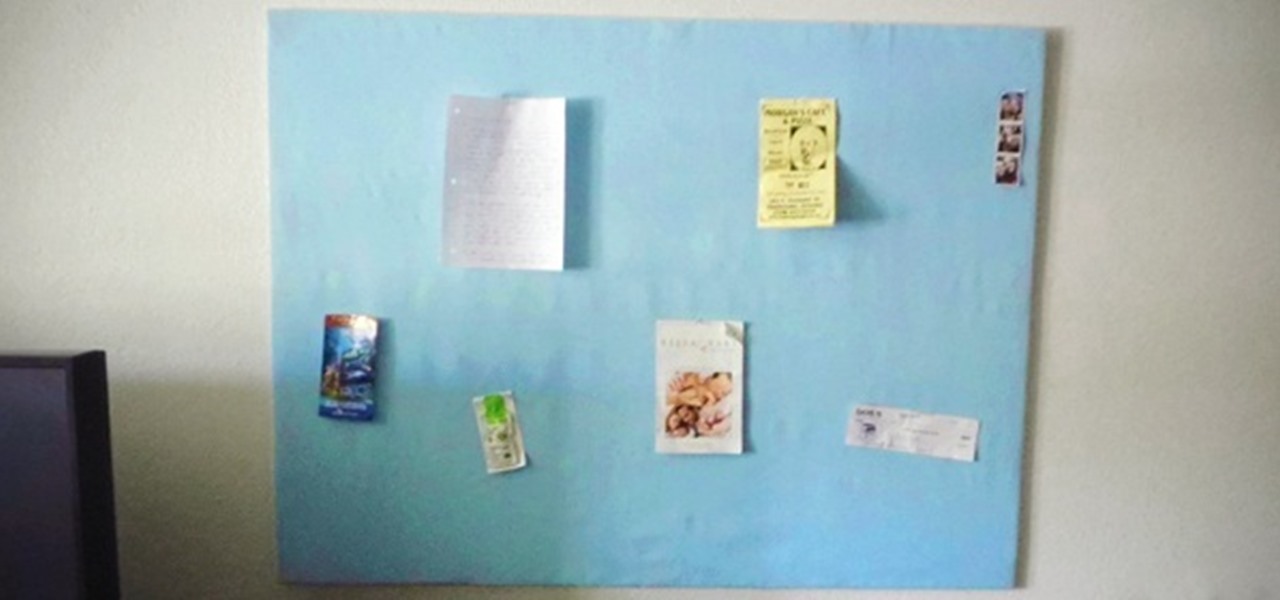
One thing that's always important to have in your home office is a bulletin board, because they let you quickly display papers that you need to see every day, such as schedules, notes and memos.

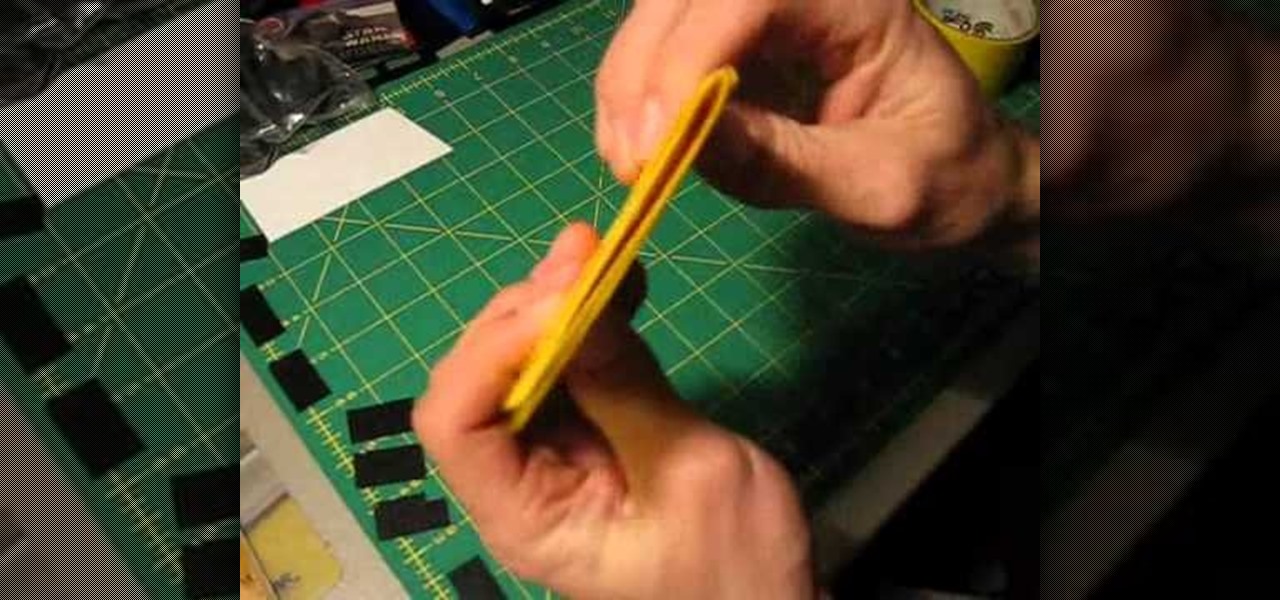
Not comfortable with your leather wallet? Even your canvas one feels a little too bourgeois? Well, grab that roll of duct tape, check out this video and learn how to make a duct tape mini-wallet, the bluest of blue collar bi-fold wallets. Be the envy of the local collision repair shop with this super cheap and easy bifold.

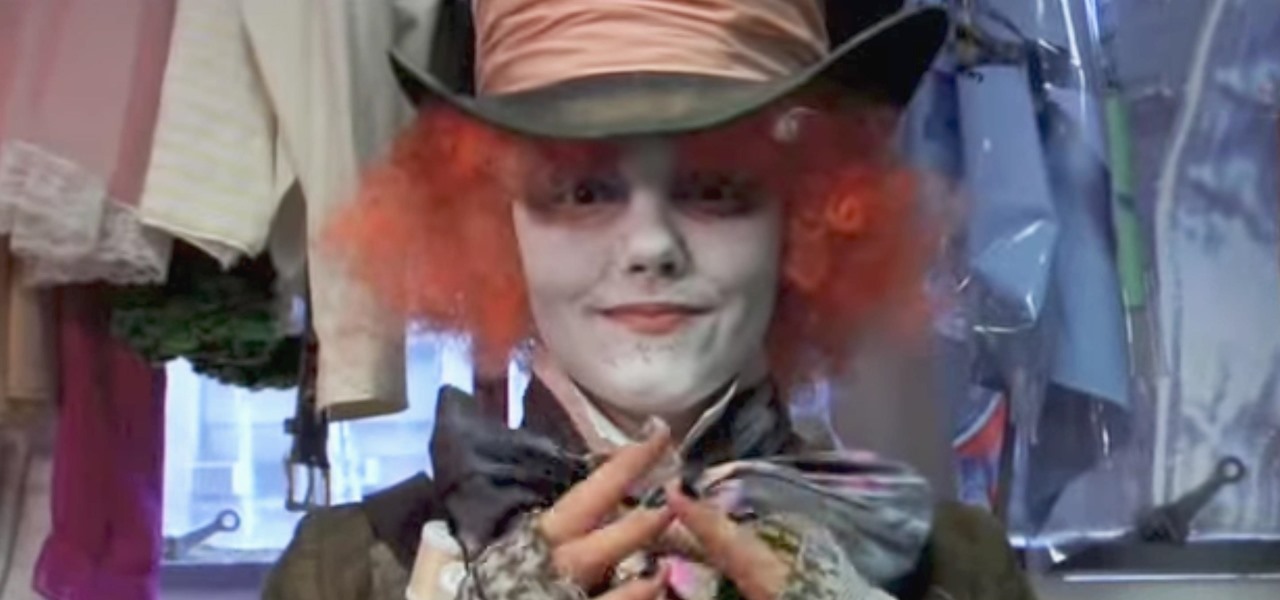
The Mad Hatter from Tim Burton's Alice in Wonderland not only makes a great costume but a great project. The hour-glass shaped hat, the striped pants, the fingerless gloves, and the Hatter's signature scarf are the most important components in this costume. If you're fairly skilled with costuming already, this shouldn't take more than four or so hours.

Are you bent out of shape over damage to your clothes caused by wire hangers? Don’t buy new ones – follow these easy steps to modify hangers you already have. Watch this video to learn how to turn a wire hanger into a cloth one.

Learn how to sew a button by hand. Not wearing your favorite shirt because it’s missing a button? Don’t worry—sewing on a new one is simple and fast.

There’s fungus among us, and it’s not just around athletes. Here’s how to prevent one of the most common skin problems. You will need rubber sandals, a towel, foot drying powder, breathable socks, leather or cotton canvas shoes, and an extra pair of sneakers (optional). Did you know? Roughly 70% of people in the U.S. have battled athlete's foot at one time or another.

This instructional painting video demonstrates how to paint a bronze effect on ceramics. You can use this technique on just about any surface, such as wood, canvas, metal, plastic, or paper. Apply gold metallic paint, Bitumen, cadmium yellow paint and primary blue paint. Dry the metallic surface with a heat gun if you have one.

Watch this instructional painting video to create a water like effect on the surface of canvas, wood or paper. Use acrylic paint and a spray bottle with some paint thinner. Spray the turpentine onto wet paint and watch the paint separate into shapes that look like the surface of water, splashes and wave patterns.

A blank wall makes an excellent canvas for a large-scale mural to add a special and personal touch to any room. Follow along with the demonstrating artists as she transform the white wall into a landscape mural. When using latex house paints, be sure to create a design that doesn't not involve mixing paint colors, as they dont' mix well. Watch this video painting tutorial and learn how to paint a wall landscape mural.

Do you need more space for your image? Do you want to put a border or text or additional information around your original image? You can do it all within Photoshop Elements with the help of this tutorial. Add your image to a larger canvas in Photoshop Elements and you can easily make a border.

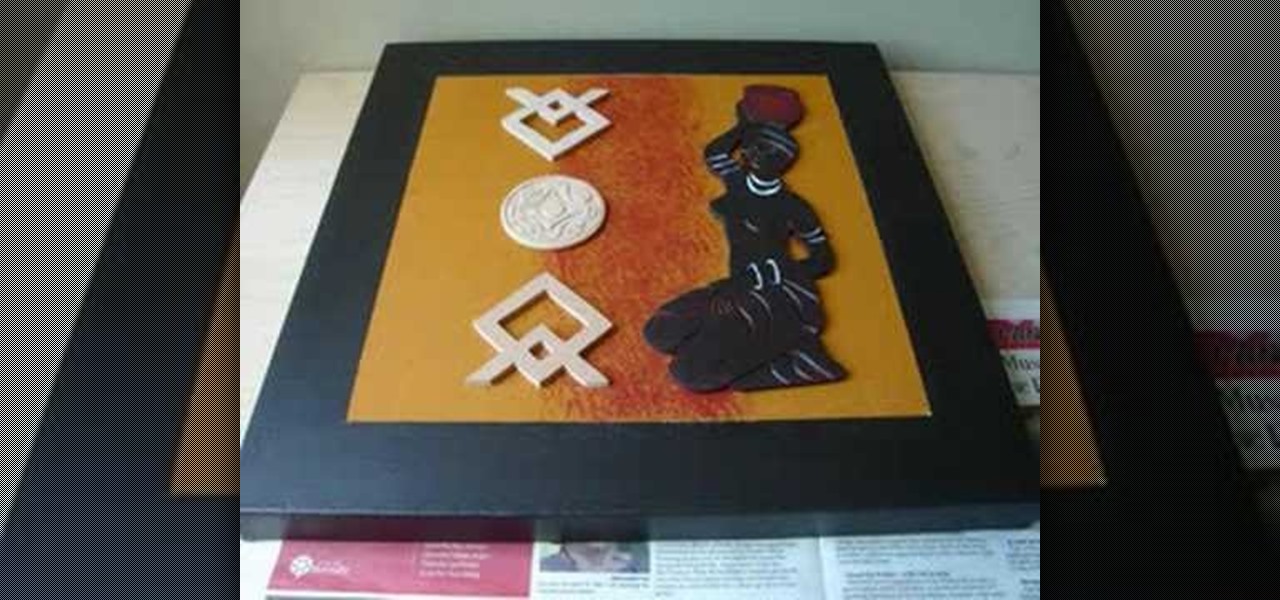
This video crafting tutorial gives step by step directions for making an African inspired wall hanging. You will need a canvas, a brush, paints, MDF figurines, and copper paint. This home design project can be customized to suit the color scheme of your interior, and will add a little international flavor to your decor. Watch this instructional video and learn how to paint an African inspired wall hanging.


