
How To: Follow a sewing pattern
You don't need to be an expert designer to make your own clothes, only the patience to work step by step. This video will show you how to follow a sewing pattern.

You don't need to be an expert designer to make your own clothes, only the patience to work step by step. This video will show you how to follow a sewing pattern.

This tutorial video will show you how to apply a pretty pink makeup look that's great for fancy occasions. The makeup look shown here is elegant, yet flirty.

The Gradient Tool allows you to fill the entire canvas or a selection with a color range. You can also choose the direction of the fill. See how in this Photoshop tutorial.
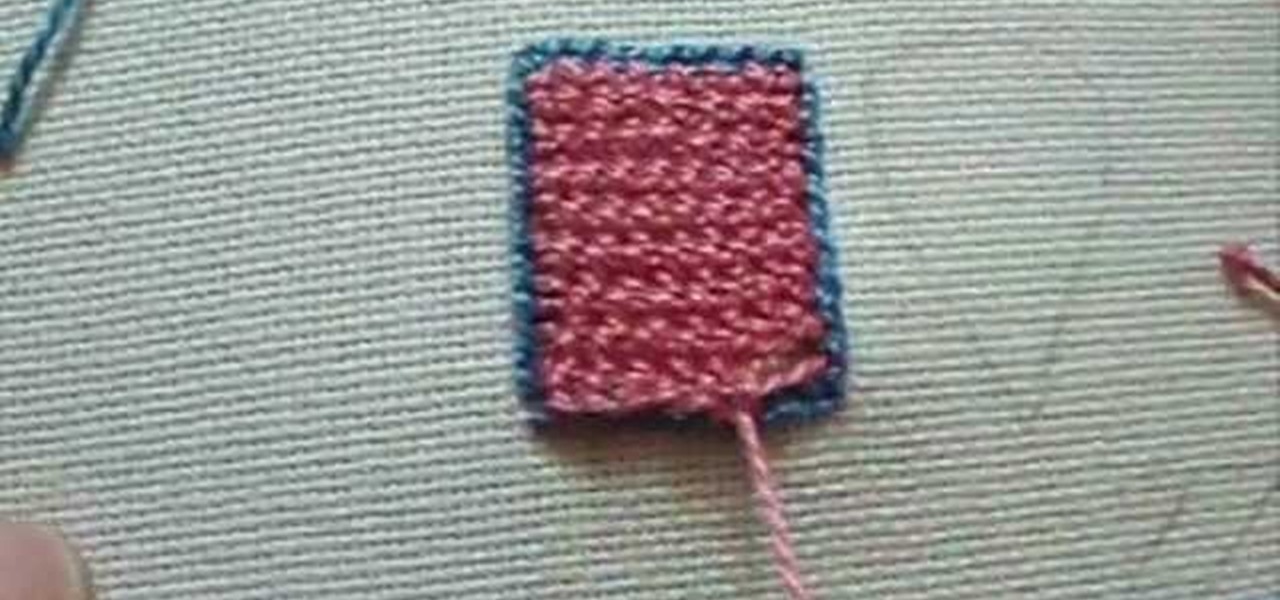
In detached buttonhole filling, you don't pass through the fabric as you work the buttonhole filling. In attached, you do. Attached buttonhole filling gives you more scope for varying the placement of stitches, so that you can create effective filling patterns. The detached buttonhole, though, gives you a bit more room for dimensional effects, since you can take out part of your foundation fillings and fold the buttonhole area back on itself - or make petals or leaves that stand away from the...
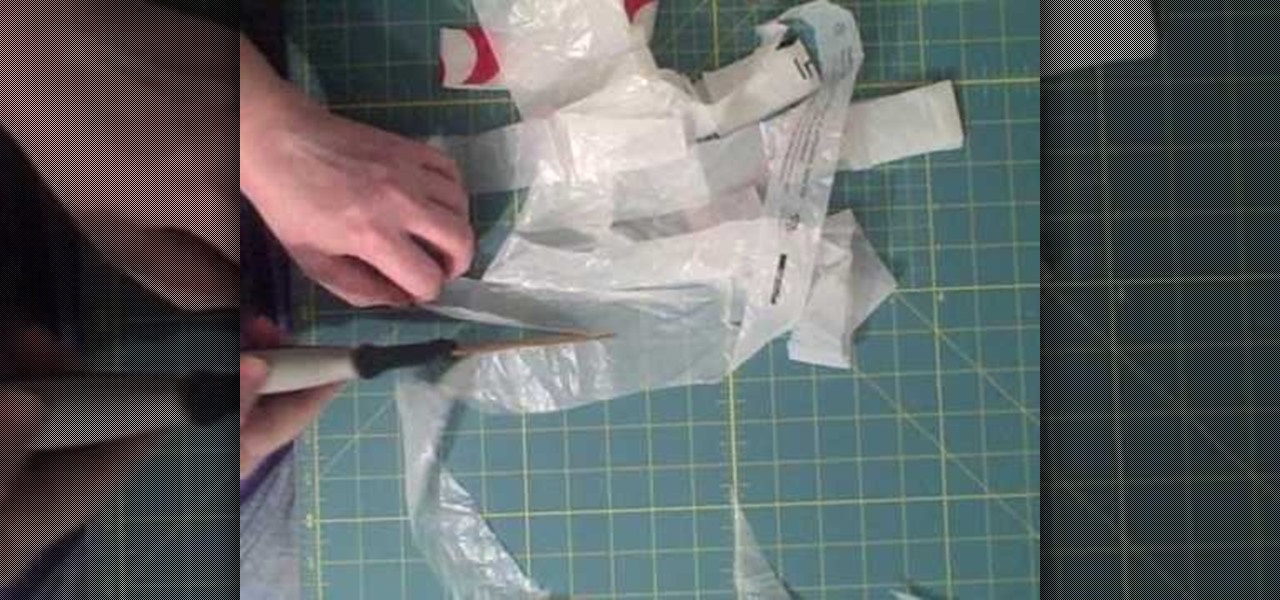
Plastic bags on their own aren't quite strong enough to hold anything too heavy (at least not for an extended period of time), but when broken down into "plarn" - plastic yarn - they can be woven into some very sturdy fabric.
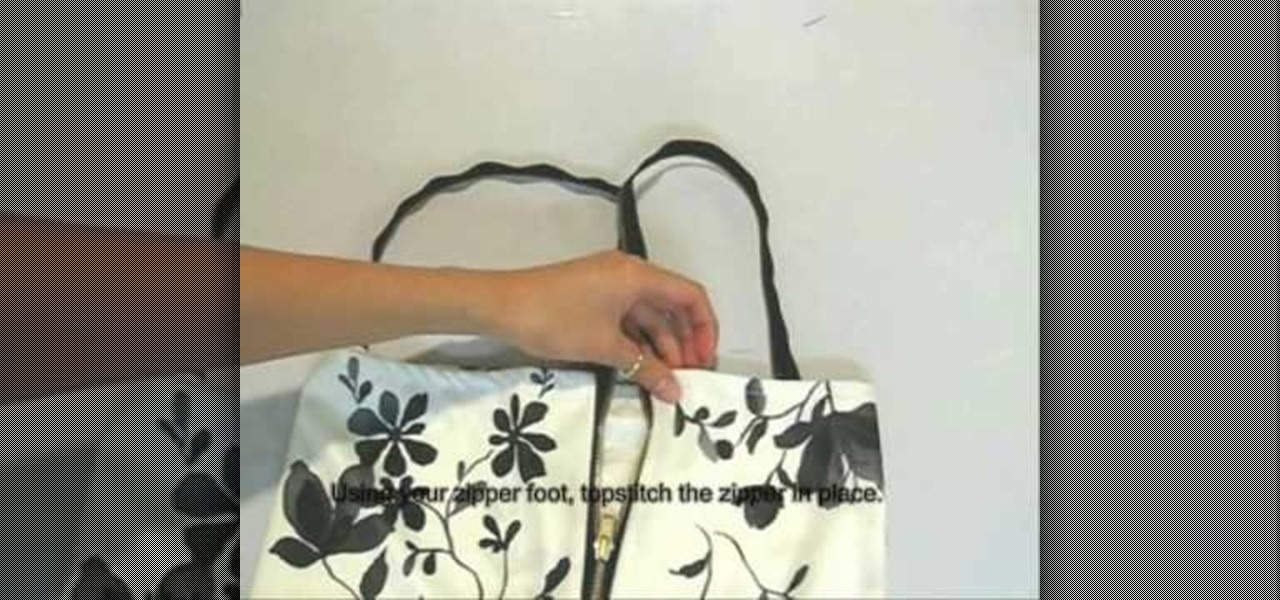
First of all you need some basic tools like sewing machine, scissors, pins, ruler, measuring tape and thread. You also need a printed knit of size 1.5 yard or 1.4 meters ad a separating zipper of size 18 inches or 46 cm. First you have to start by making the straps and bodice. Cut off two rectangles those measures from the top of your bust to the bottom of your bust. The length should be enough to go all the way around your upper half. Place these two rectangle pieces together. Now separate y...
This video shows how to make a cute vintage looking jewelery box. A cardboard cheese box forms the body of the jewelery box. Other items you will need include mod podge, white glue gesso, masking tape, ribbons, a mirror from a compact, some fabric, and some faux pearls and flowers. Begin my removing the labels from the box. Paint the inside and outside of the walls of the box and the lid. Paint the areas of the box that you just primed with gold metalic paint. Now use the box to trace three c...
I'm here at the annual AWE event in Santa Clara, California, and the venue is just as packed, if not more so, than last year.

With the explosive popularity of both Thor himself and The Avengers, Thor is an obvious good choice for a Halloween costume. But you don't have to opt for one of the pricey, pre-made costume choices found in every Halloween store in every city. Instead, craft your own in just a few steps, saving yourself money in the process.
If you're a Febreze fanatic, you're well aware that the "odor eliminator" can be pretty pricey, and that's reason enough to stop buying it.
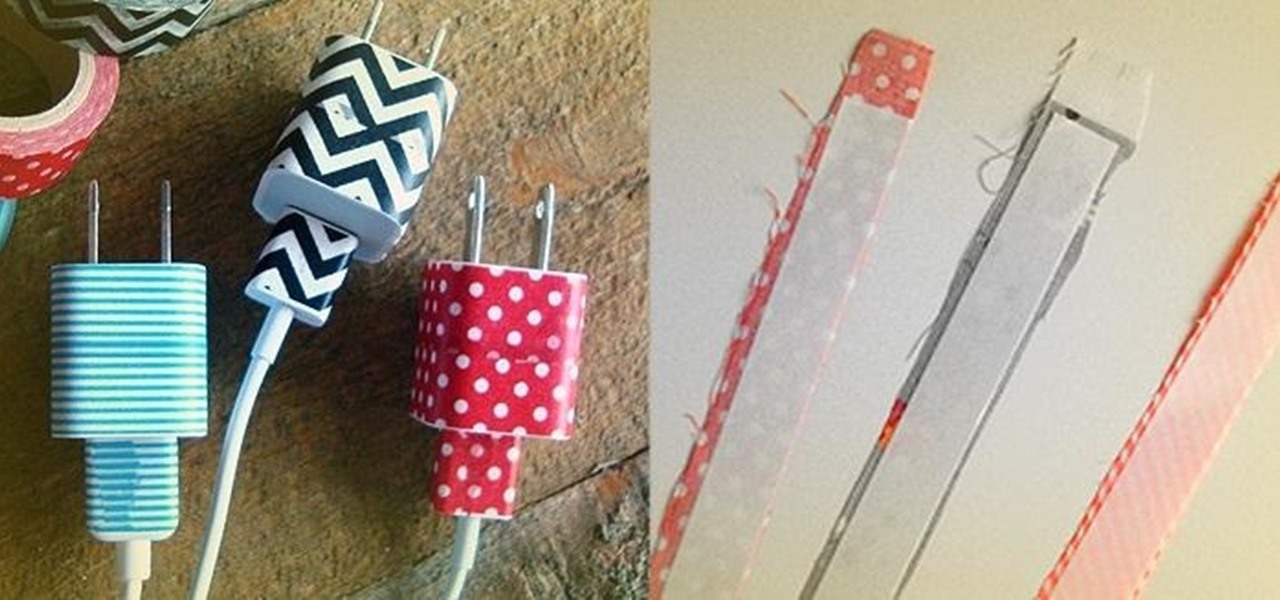
There are thousands of uses for tape, and plenty of different types of it, too. Masking tape is perfect for labeling, double-sided tape is great for crafts, and duct tape is good for...well, just about everything.

What do you look forward to most during the holiday season? Sugar cookies sprinkled and iced into a cute snowman shape are always enjoyable, but for us it's all about the decorating. There's nothing quite like putting on Bing Crosby and affixing ornaments onto the tree while sipping hot cocoa.

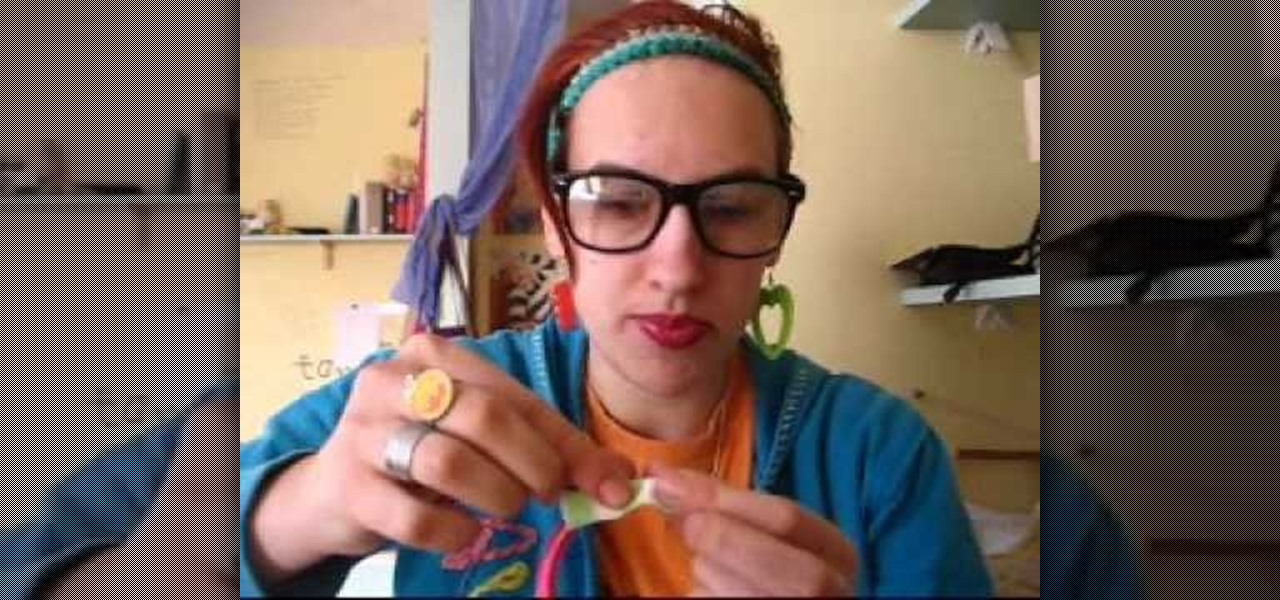
In this video we learn how to knit a scalloped edge. This forms a shell along one edge! First, attach your needle to the yarn on the right edge. Then, make a slip stitch and yarn over. Then, stick then needle through the fabric and yarn over again so you have three on the hook. Then, yarn over and pull through the first two loops in the hook. Then yarn over and go into the fabric and over again. Pull through a loop and then yarn over through all the loops on the hook. Now, do another one foll...

In this tutorial, we learn how to make your own high waisted skirt. First, you will need to sew the skirt on the sides. After this, you will need to cut some additional fabric that is the same color. Then, you will need to sew the waist of the skirt onto the skirt on the top. Once you have sewed this so there are no frays on the side or on the top, you can wear it! Make sure the fabric is all the same size all the way around. When finished, enjoy wearing this with a simple tank top or dress s...
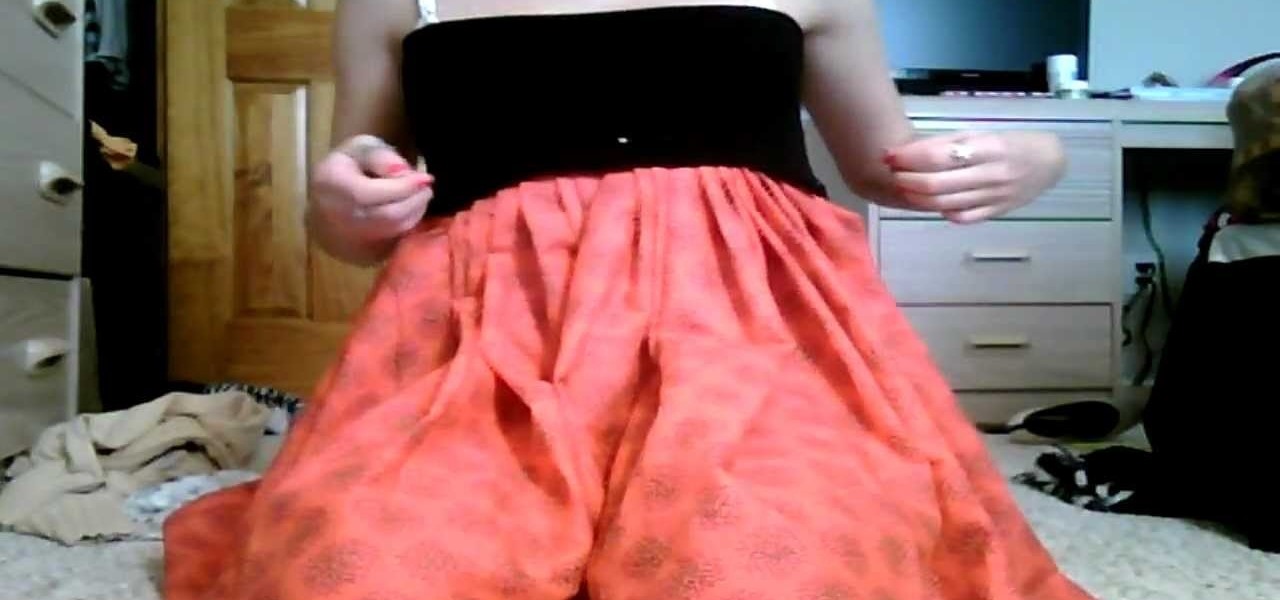
In this video we learn how to make a your own poufy bubble dress. First, grab a black stretchy shirt and cut the arms off of it. After this, take the fabric that you want to use for the skirt and lay it down, creating little peaks on the top of it. This will give you the volume for the dress, use pins to pin these down. Once you have done this, you will sew the pinned part of the fabric with the shirt that you cut up. Then, take the bottom of the skirt and hem it if you would like and you're ...
In this tutorial, we learn how to make an over-sized fashion bow fashion accessory. First, take your fabric and cut it to the desired size you want the bow to be. Cut this in a square shape at first, then sew the sides of the square. Then, fold this in half and pull in the middle of the square. Cut this in the middle to make a hole. Then, turn this inside out and push out the edges. Put an additional square of fabric around the square in the middle, then shape it out to be a cute bow to wear ...

In this tutorial, we learn how to make a Domo plushie. First, cut out the shape of Domo on a piece of brown fabric. Cut this out twice to make the front and the back. After this, sew both of the sides together with a sewing machine. Make sure to place pins in it to keep the fabric in while you are sewing. When finished, turn the plushie over and stick some stuffing inside of it. Now, sew the section where you placed the stuffing in. Then, you can sew on the face of the character and you will ...
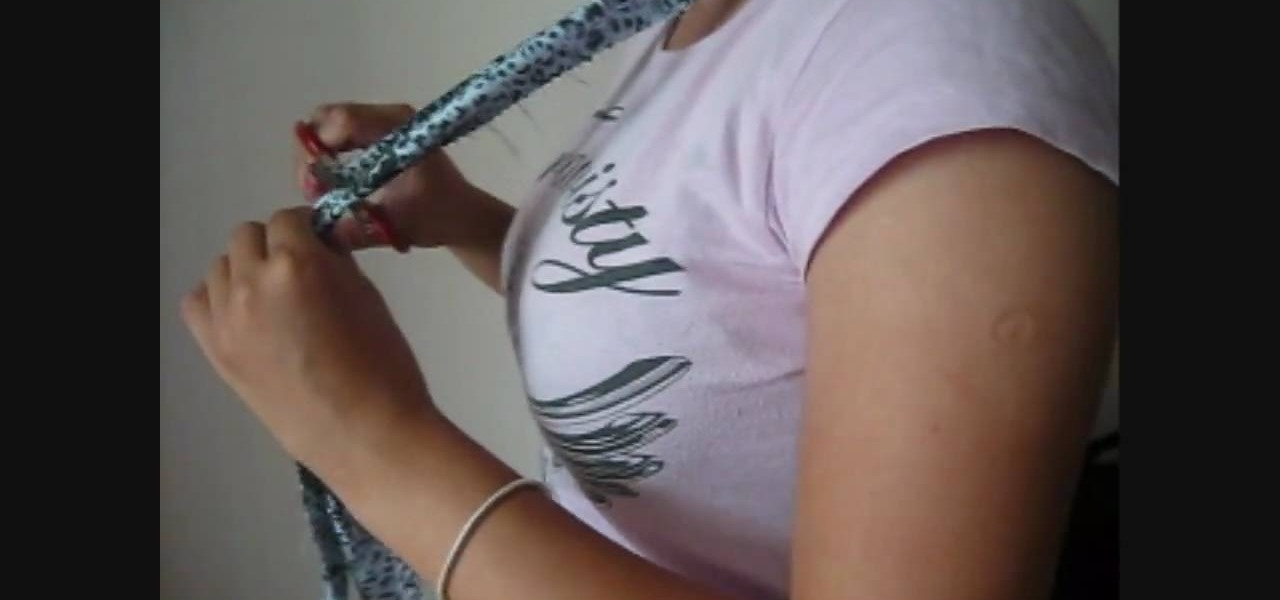
In this tutorial, we learn how to make a DIY halter style bra strap. First, you will need to cut a long piece of fabric and you will also need some bra hooks. Now, you will take the fabric and fold it in half twice so it's the correct size for a bra strap. Then, you will sew it on all of the sides to create a secure strap. From here, you will place the bra hook onto the strap at the base where you sewed the end. Now, sew this onto the strap and then attach to your bra to wear as a halter!

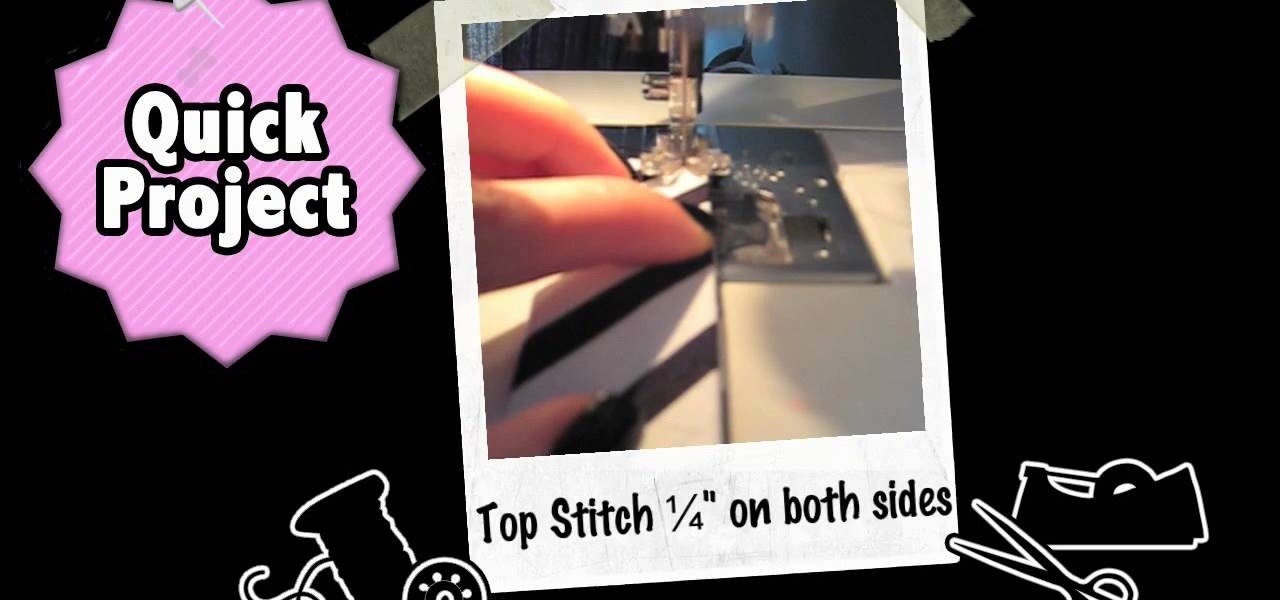
In this tutorial, we learn how to make a bow. First, take some fabric, it should be double the size that you want the bow. Now, fold this up in half horizontally, then fold it in half vertically. After this, sew the ends together on the bottom of the fabric. Turn this inside out, then bring it to the middle and turn around. Bend this in the middle, then bring the sides up. Shape this until you see the bow form, then sew along the middle to hold it down. When finished, you can use this however...
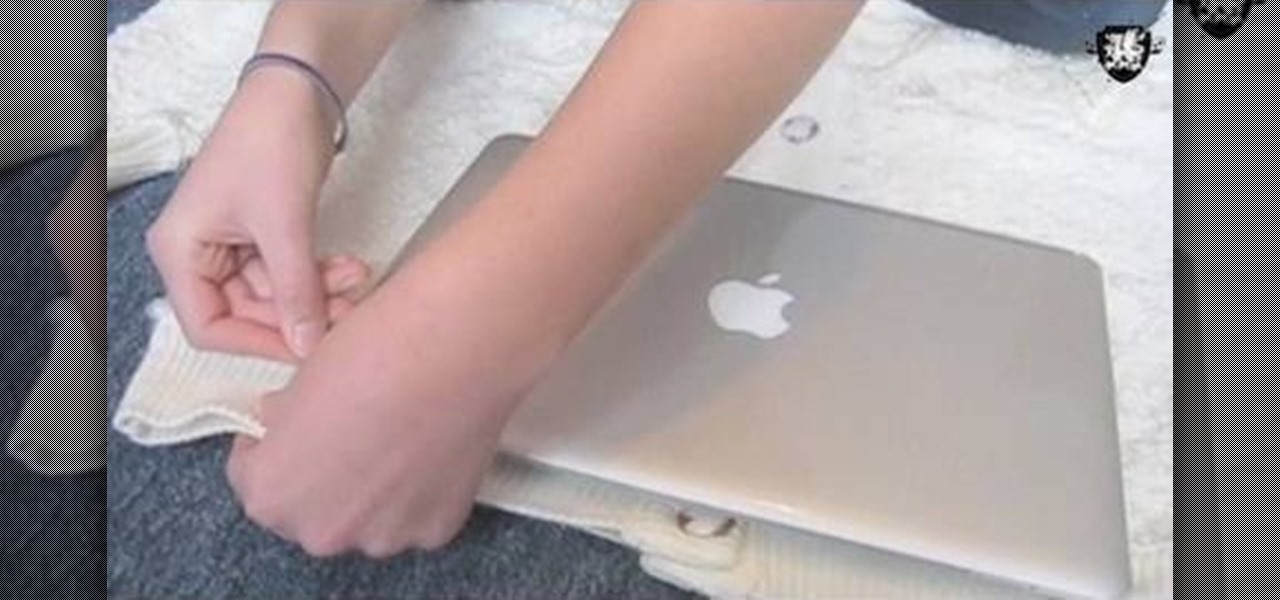
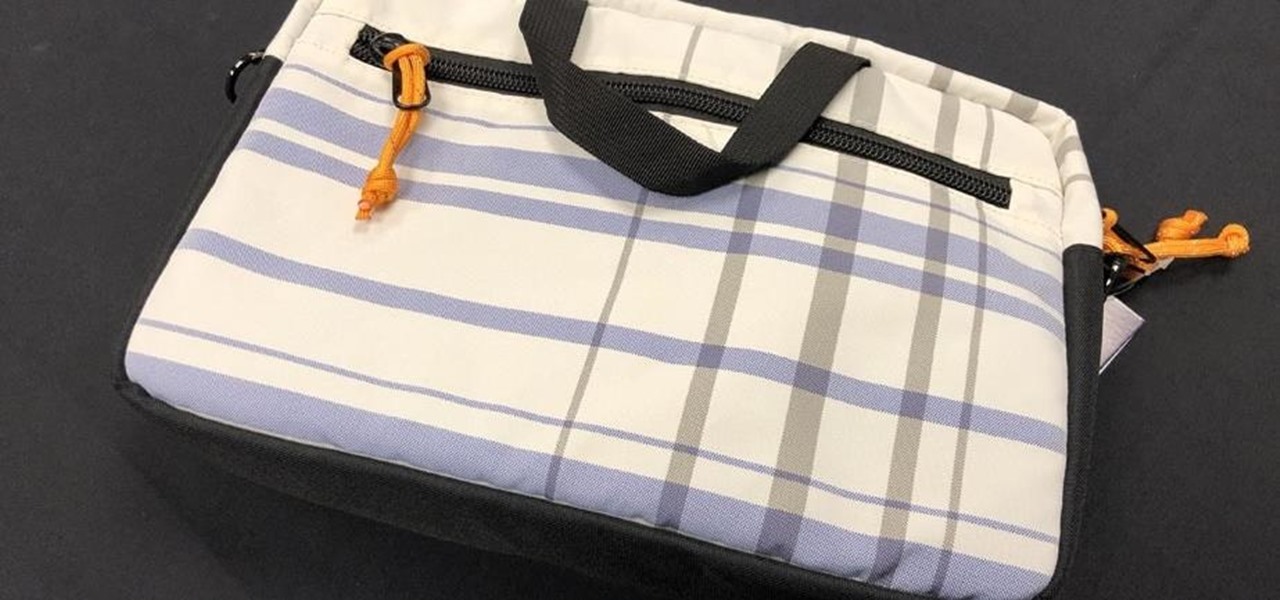
In this tutorial, we learn how to make a sweater for your laptop. First, grab an old large sweater and cut it out to the same size as your laptop. After this, set the rest of our sweater to the side and put the right sides of the sweater together. Then, pin and sew the three cut edges, but do not sew them closed. Sew with a zigzag stitch on the edge of the fabric. After you're finished sewing, use this on your laptop and use the rest of the fabric you have left over to make additional sweater...

In this tutorial, we learn how to make a toga in less than five minutes. First, you will need 6 yards of fabric and about 4 safety pins. Once you have these, you will be able to make your toga. Wrap the fabric around your body tightly, then take a safety pin and pin it to your shirt that you're wearing so you know where to sew it at. After this, bring the last portion of the cloth up and around your shoulder. Once you have done this, you will have a cute toga! You can take this off and sew it...

In this tutorial, we learn how to make a journal from packaging materials. First, cut a cardboard at 5.5" x 4.5" on each side. When you are finished, create another cut that is 5.5" x 1" for the side. Now, cover the two large sides with a piece of fabric that you choose. After this, cover the middle piece with fabric, and then tape it on with double sided tape. Next, place all pieces next to each other, tape it, then place a solid piece of paper on the inside, and use a glue stick to adhere i...

In Japan, kanzashi are hair ornaments, often in a floral or jeweled style, which adorn traditional female Japanese hairstyles. These are gorgeous long pins with a special adornment attached at the end.
For the most part, bangles that you purchase at the store are pretty generic and boring. Sure, they look good on all the airbrushed models in store ads and on size 00 manequins, but then it hits you that moment you get home and try them on that they're really not all that. Which, inevitably, leads to not actually wearing your purchases.

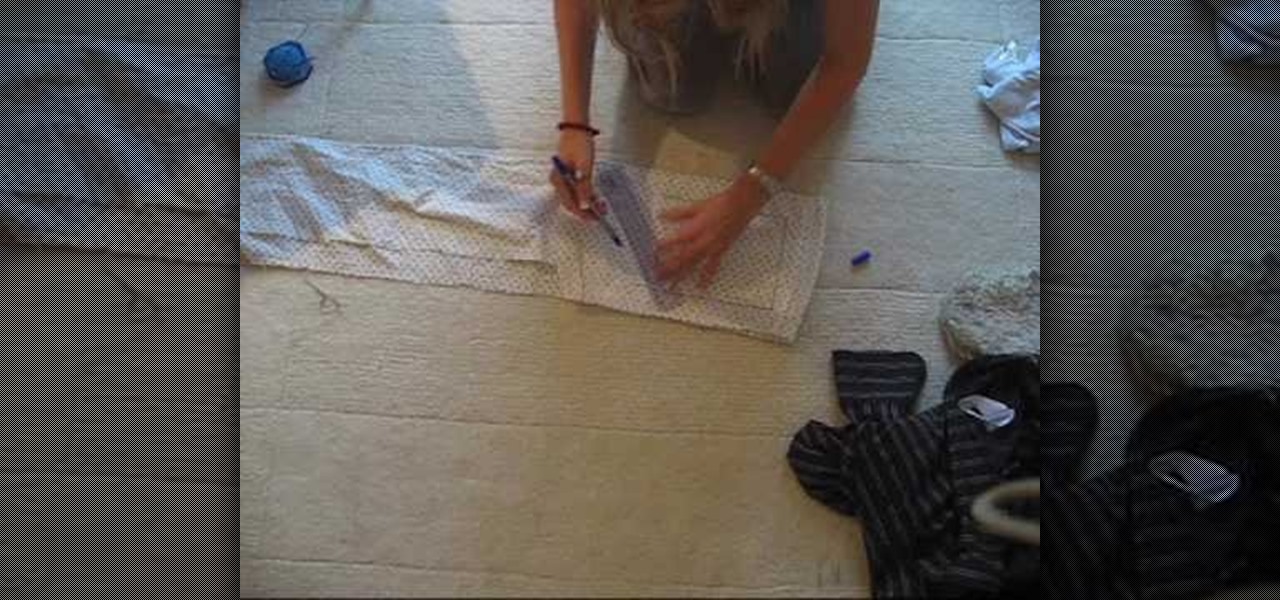
In this tutorial, we learn how to make a bikini bottom. First, measure the widest part of your bottom area, then write this number down. Next, place your fabric where the measurement device just was, then mark where you want your underwear to fit. Mark this spot, then measure the lines out on the fabric. After this, use a pen or marker to mark the underwear shape. After this, cut out the shape of the underwear and pin all sides together. Now, sew the sides of the bottoms together, then flip t...
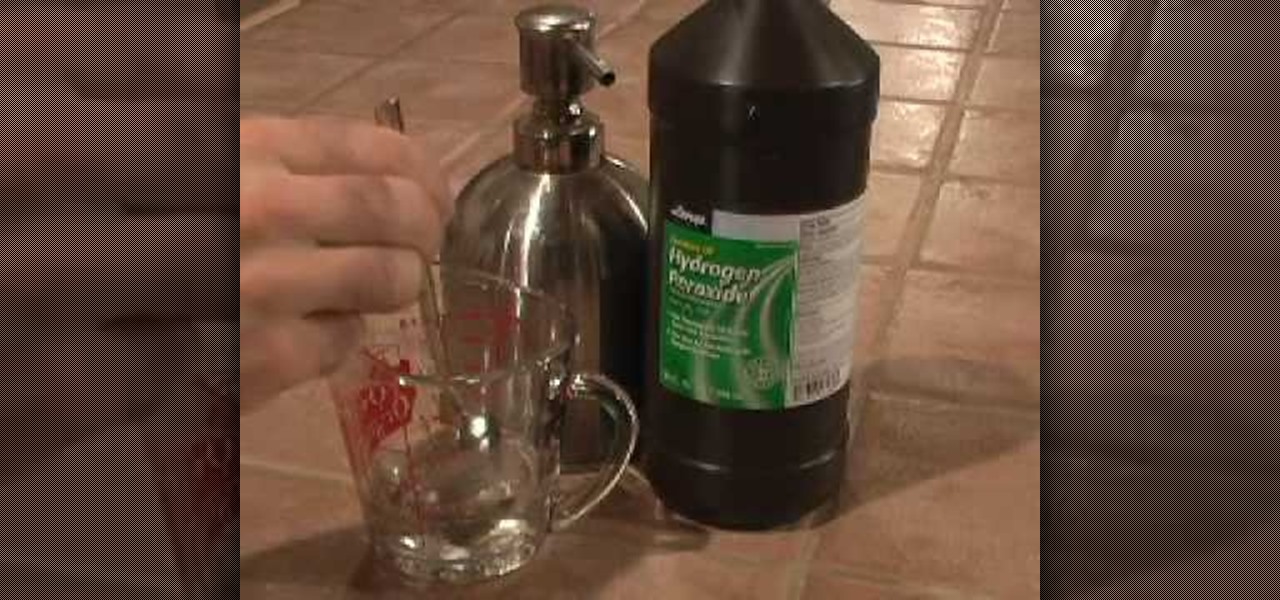
Johnathan E. Stewart shows us how to remove blood stains from fabric in this tutorial. Your first step right after blood gets on your clothes is to rinse it with warm water and pat a wash cloth with soap and water on it. If the stain is more set in, grab hydrogen peroxide, soap, and water, then mix together and pat onto the stain. If all else fails, you can use ammonia with water on the stain. When you're finished cleaning the stain, throw it into the washer immediately, with stain remover mi...

In this episode of the Crafty Gemini Show you'll learn some quilting basics and make a small project out of what you learn. You'll be run through some quilting terminology, including what a pieced quilt is, what quilt blocks are, and how to make half-square triangle block units using a super easy method where you can make two blocks at once.
If you need to add some decoration to your keys, a key fob is the way to go. Key fobs are decorative items that many people carry with their keys. There are many different ways to go when creating a key fob, but one of the best ways is to make your own using fabric from the store.
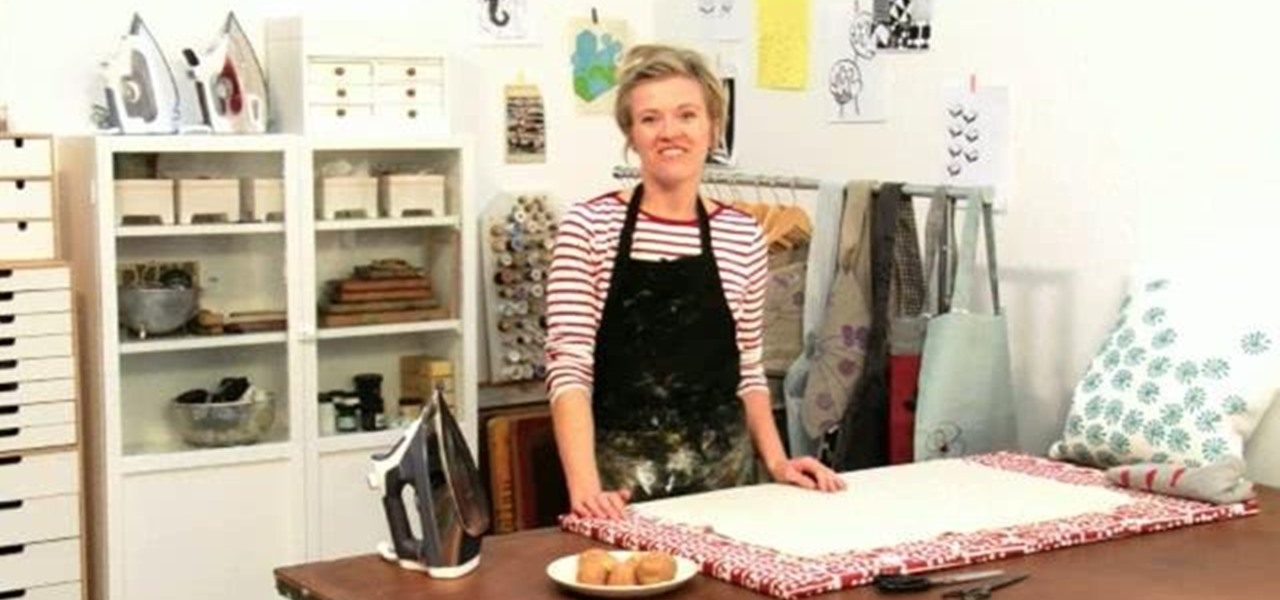
Crafting guru Lotta Jansdotter shows you how to create some artsy, hand-printed accessories in this step-by-step guide. There's no printing tools or skills required! Only some ink and… a potato! It's called potato printer.
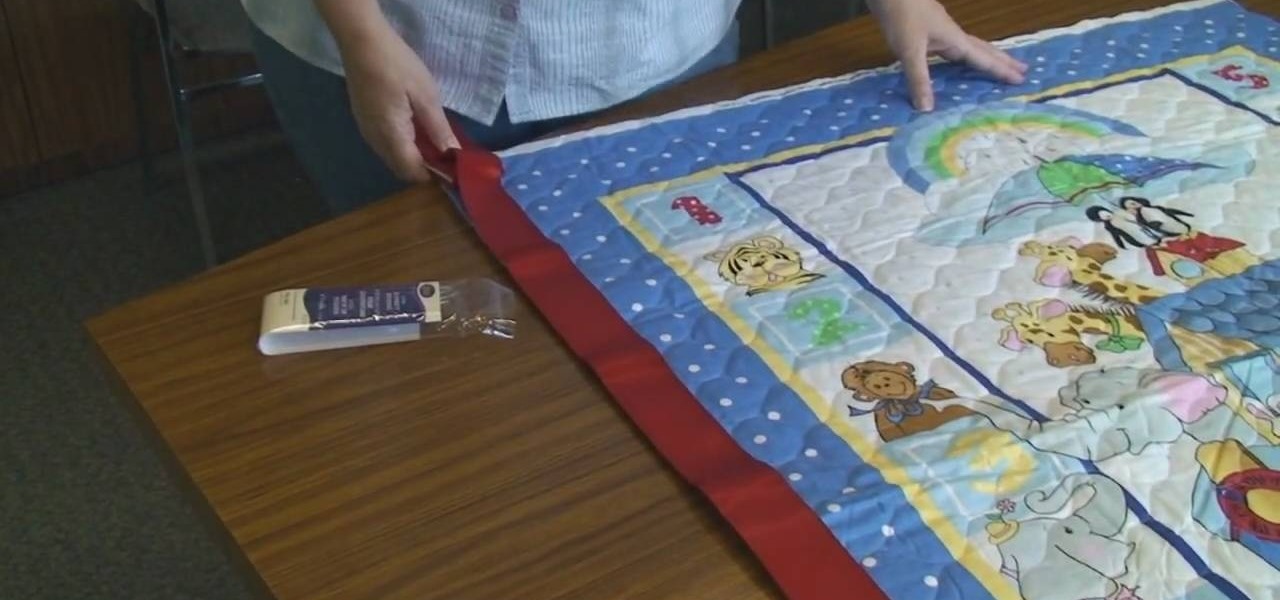
Project Linus is an organization that provides security blankets for seriously ill or traumatized children. In this tutorial, learn how to make an easy fabric panel quilt to donate to a child in need. Project Linus is a great organization that provides warmth to every child, no matter what the season. So, if you would like to donate to this worthwhile cause, follow along with this video and learn how to make an easy but comforting cover that any child will love.

In this Software video tutorial you will learn how to create shock style text in Photoshop. Go to the text tool and select it. Then select the font and a large size. Select white color and type in your text. Now create two copies of this text and select the original text. Then click on image > rotate canvas > 90 degrees clockwise. The text will turn by 90 degrees. Now go to filter > stylize > wind. Make sure under ‘method’, ‘wind’ is selected and under ‘direction’, select ‘from ...

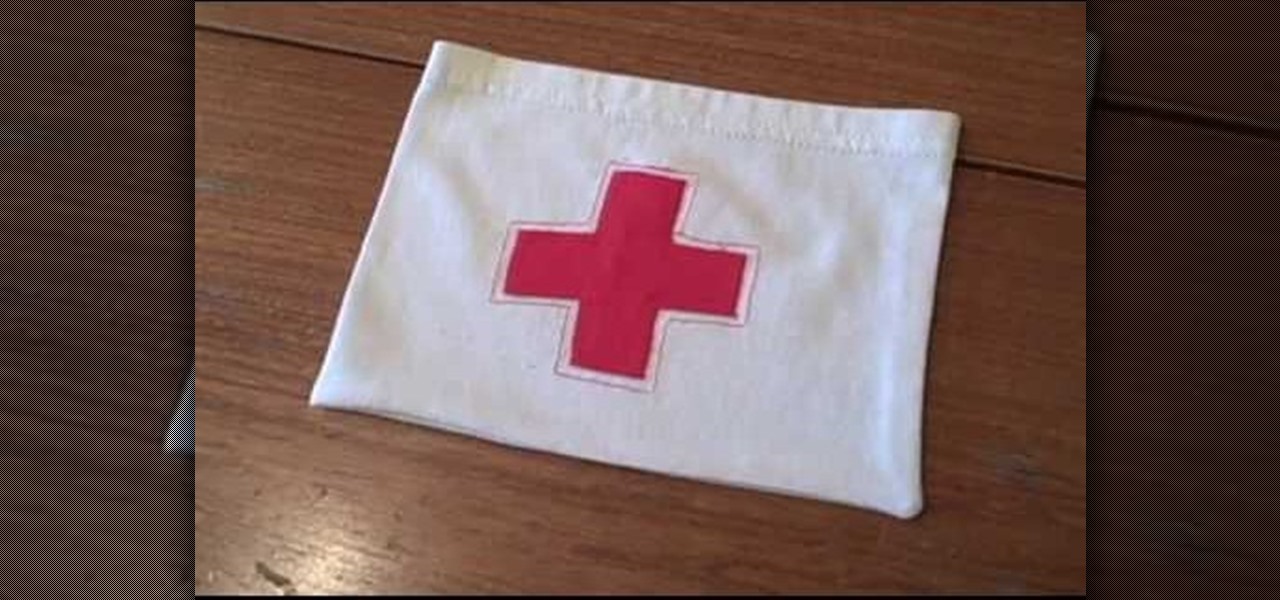
This is a video tutorial describing how to make a doll outfit that includes a half top and a skirt. The first step is to gather what you will need. You will need 2 pieces of fabric, some elastic band, and then something for closure such as a hook and eye, a button, or a snap. Then to make the top you need to cut a 12.5 cm by 6 cm rectangle, then fold the fabric and sew the length and the width, leaving 0.5 cm edges, then turn the rectangle inside out and sew up the opening. Next sew the elast...
In this video, learn how to make a cute baby blanket with nothing but a piece of fabric and a pair of scissors.

In this Fine Art video tutorial you will learn how to make your own duct tape dress form. This video is from www.thunderlily.com. The materials you will need for this project are an old t-shirt, duct tape, strips of fabric to put around your neck and arms and a pair of gloves. Wear the old t-shirt and stand upright. Tape around the chest and waist to keep your shape as shown in the video. Add extra fabric around the neck. Then tape all over the t-shirt and cover the entire t-shirt. Then remov...
Whitney shows a quick way to make a bag out of t-shirt sleeves. This bag has so many household uses and is easy to make. You'll need a sleeve, safety pins, scissors, scrap fabric, pins, thread, an iron, and a ruler. Start by cutting a 1 inch wide strip of fabric and any design you'd like. You can make the bag as large as you like. Cut your rectangle using the ruler. Position your design to the fold. Sew around the design you choose, refold your rectangle and pin. Sew along those two lines. Tu...

In this tutorial, we learn how to set rhinestones using a Bejeweler. To do this, you will first need to prepare your Bejeweler and the fabric you are using. Lay out the pattern on your fabric and use tape as a guide for any letters you write. The rhinestones may move during this, just push them back in with tweezers. Once the Bejeweler is plugged in, rest it in a stand since it will become hot. Once it's ready, place it over an individual rhinestone for around 15 seconds. When time is up, lif...
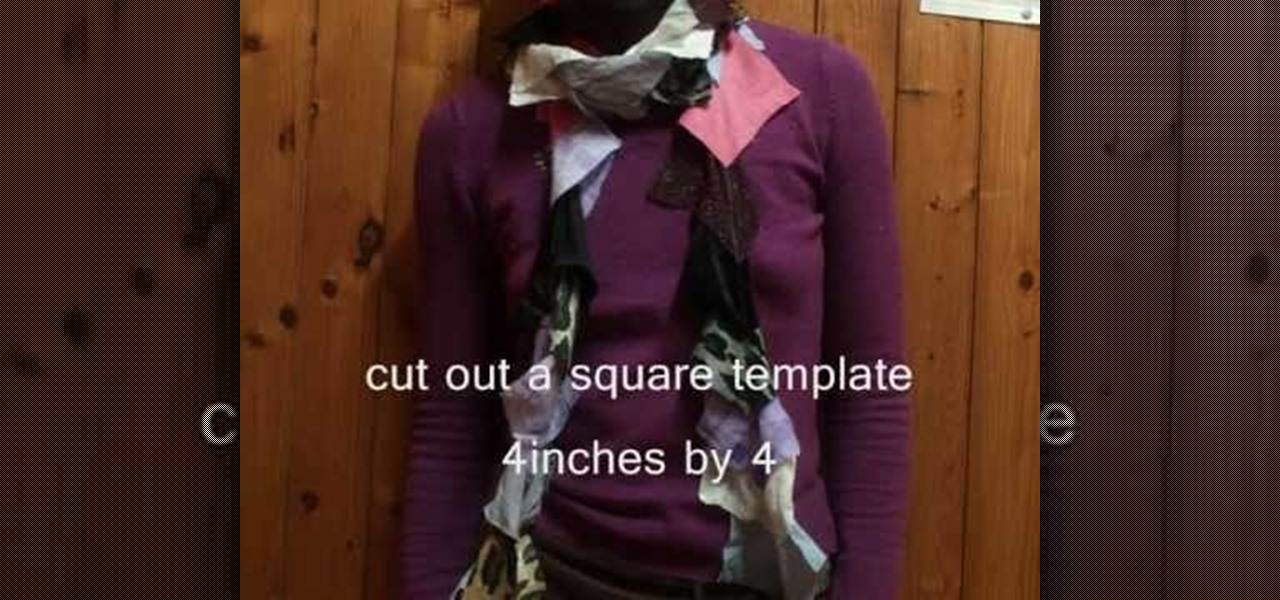
Chantelle Fashion demonstrates how to make a lucky scrap scarf. First, cut out a four inch by four inch square template. Gather all of your fabric scraps and put them in a bag. Close your eyes, think thoughts of luck and pick out a color. Use the template to cut the scrap fabric into a square. Repeat the process until you have between 60 to 70 squares. Keep the squares in the order you picked them. Layer the squares on top of each other, pinning them together. Then, sew the scarf straight dow...
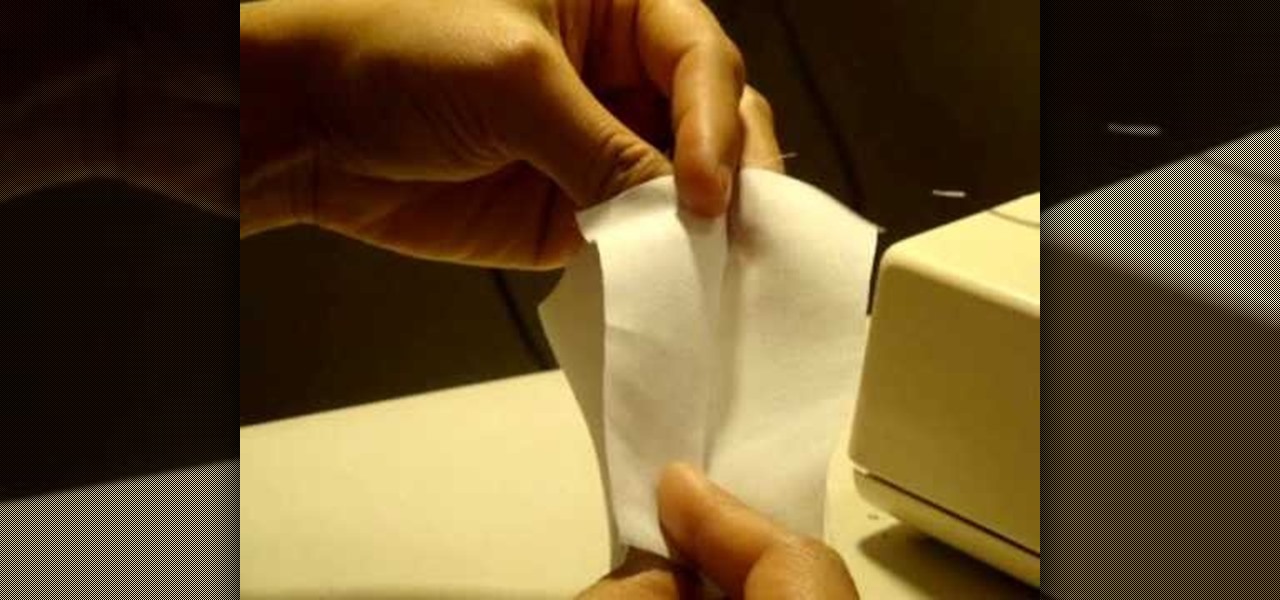
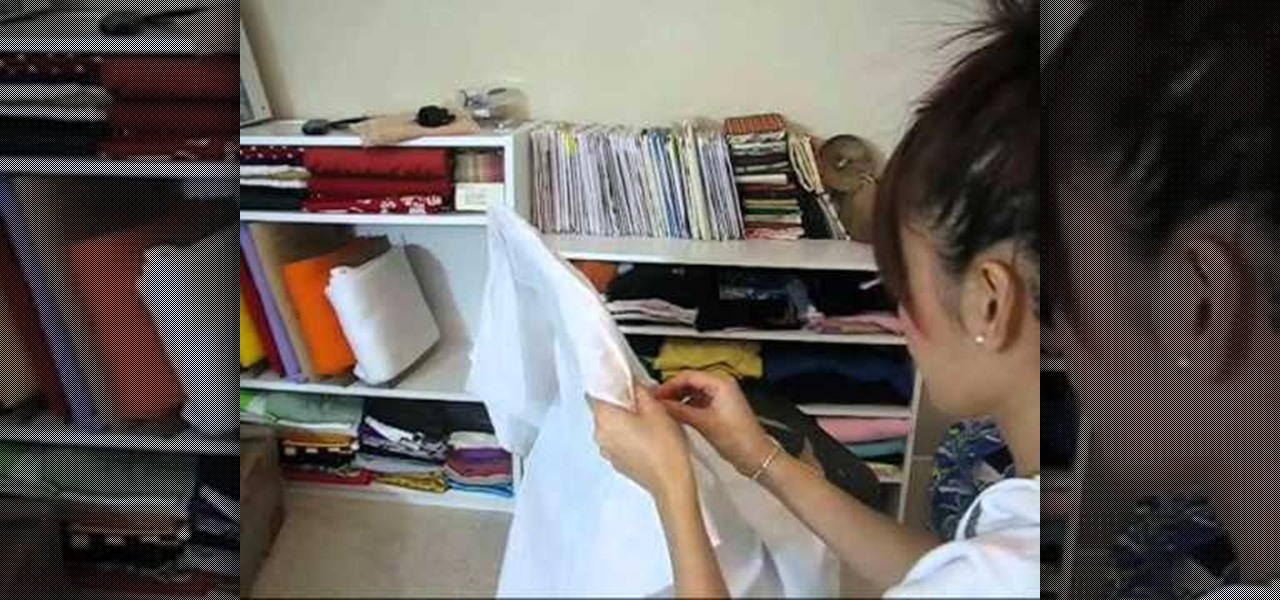
The video shows how to finish garments with serger or French seam. If you have a serger sewing machine then you can straight away place the seam along the seam and stitch on the machine. The advantage of this machine is that it gives 3 fledge serger stitch at one go. If do not have a serger machine then you can use the French seam. First the rough seam is stitched on the wrong side of the fabric and frayed edges are trimmed. Now the fabric is turned over and ironed over the stitch and a strai...
This video shows you how to make your own home made Christmas reindeer decorations. You need some floral fabric, scissors, a few feathers, and some artificial eyes. Draw a reindeer template on some cardboard, using a cookie cutter if you wish, and cut it out. Paint some glue thinly on the reindeer shape. Lay the fabric on the glue and spread it out with your hands. You can use anything for this, even wrapping paper. This crafty look is very fashionable at the moment. Attach the plastic eyes a...