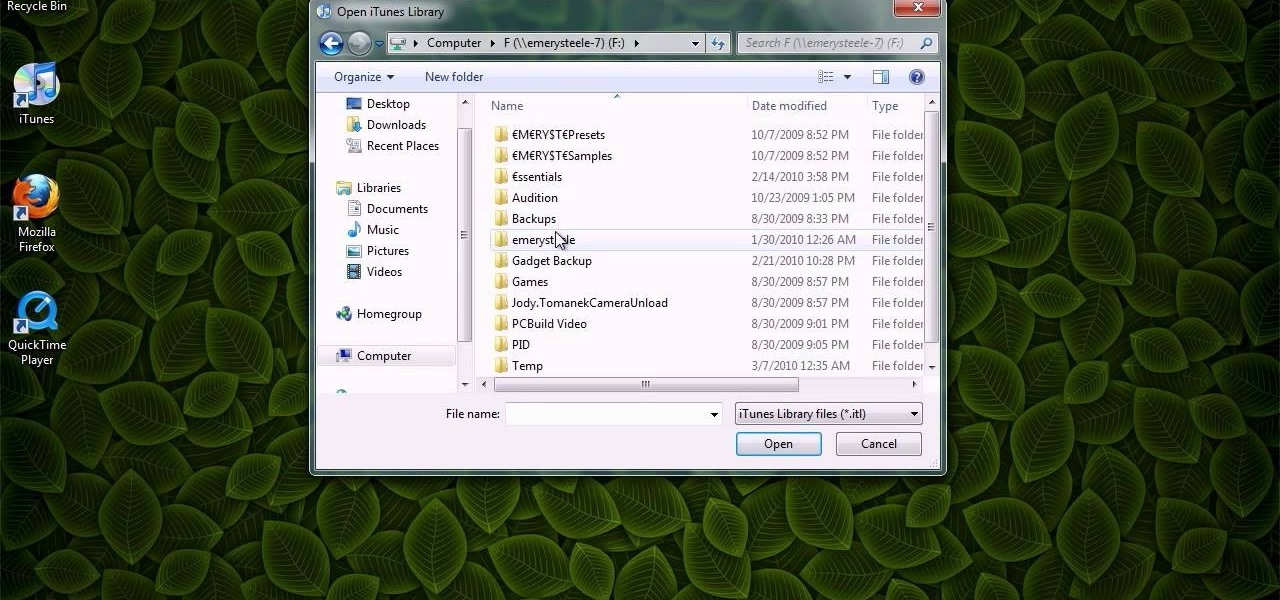
This video shows you how to keep your itunes library, music information, and song ratings intact after reinstalling your computer's operating system. Before you begin the reinstallation process, you must make sure your music is in the same location and will be in this location after the reinstallation process. After reinstalling, open itunes while holding down the shift key. In the window that pops up, click on the "choose library" button. Locate your itunes library file. This should be an "i...

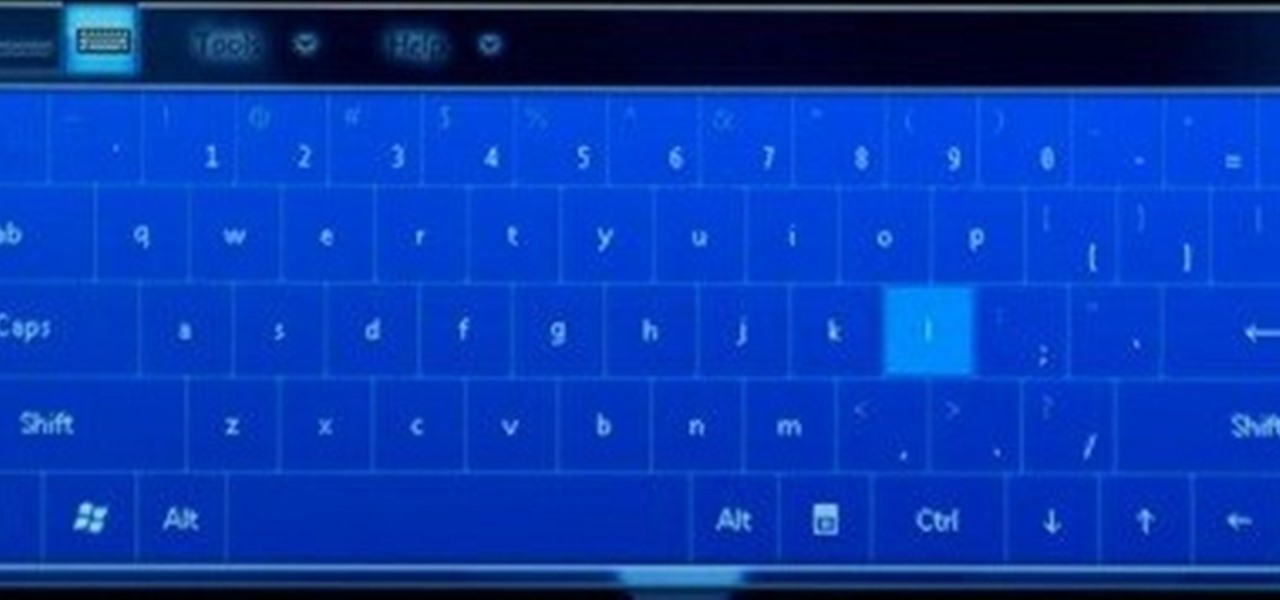
This video tutorial will teach you how to use the onscreen keyboard on the HP touch smart. Very informative video that goes through several steps including teaching you how to add an event to your calendar. It starts by showing you how to add the event and then takes you through the keyboard and teaches you how to capitalize your words using the shift key as well as caps key. It demonstrates the input panel tab and how to move your panel as well, teaching you all the techniques for good use o...

In this how-to video, you will learn how to downgrade an iPhone or iPod Touch to 3.1.2. First, download the correct firmware model. Hold the home button and power button. Release the power button when the screen turns off. Make sure the device is plugged in while doing this. This will put the device in recovery mode. In iTunes, hold shift and click restore in the device screen. Next, navigate to the firmware you downloaded and click okay. This will downgrade the device to the firmware you dow...

In this Software video tutorial you will learn how to make a book cover in Photoshop. Go to file -> new. Give it a name, set width 900, height 1200 and resolution 300 and click OK. You can change these settings if you like. Go to your paint bucket tool and paint the background black. Then go to layer -> new ->new layer -> OK. Now select the elliptical marquee tool and holding ‘shift’ drag from the top left hand corner and make a circle. Go to your paint bucket tool and paint the circle with a...

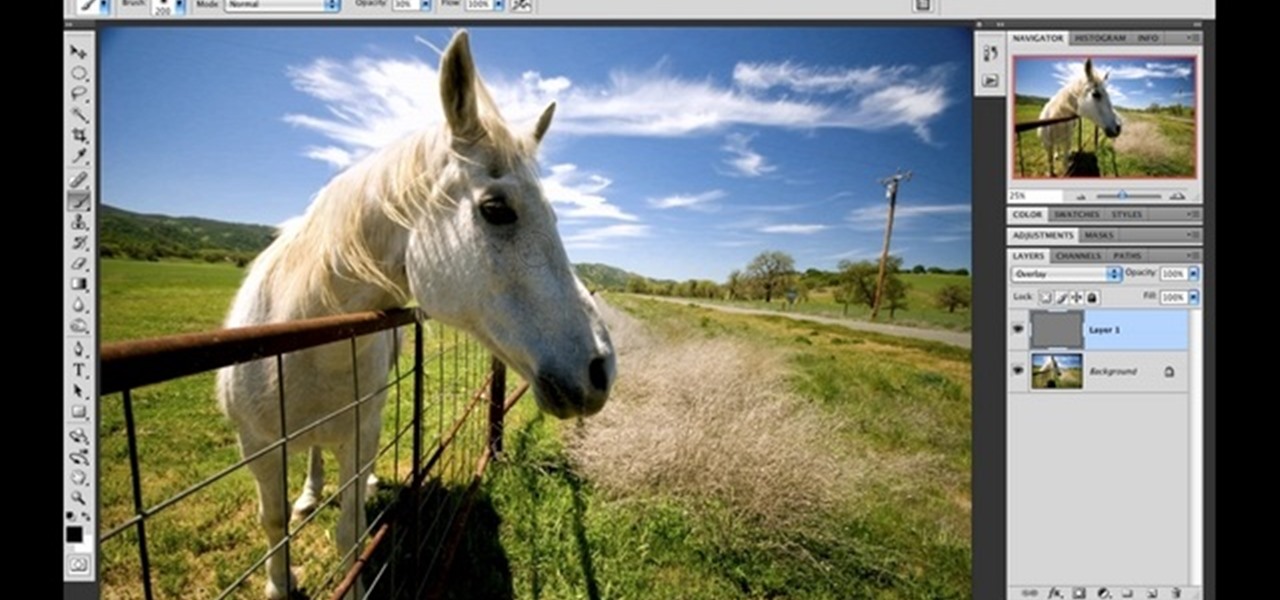
Nicole Young demonstrates how to use non-destructive dodging and burning using layers in Photoshop. Your first move is to create a new layer and then hit shift + delete to select the level of opacity. You want the layer to be fifty percent grey. Now select overlay from the menu which will make anything that is fifty percent grey will be transparent. You will be dodging and burning with white and black brushstrokes. To switch from black and white background colors just hit x. Other keyboard sh...

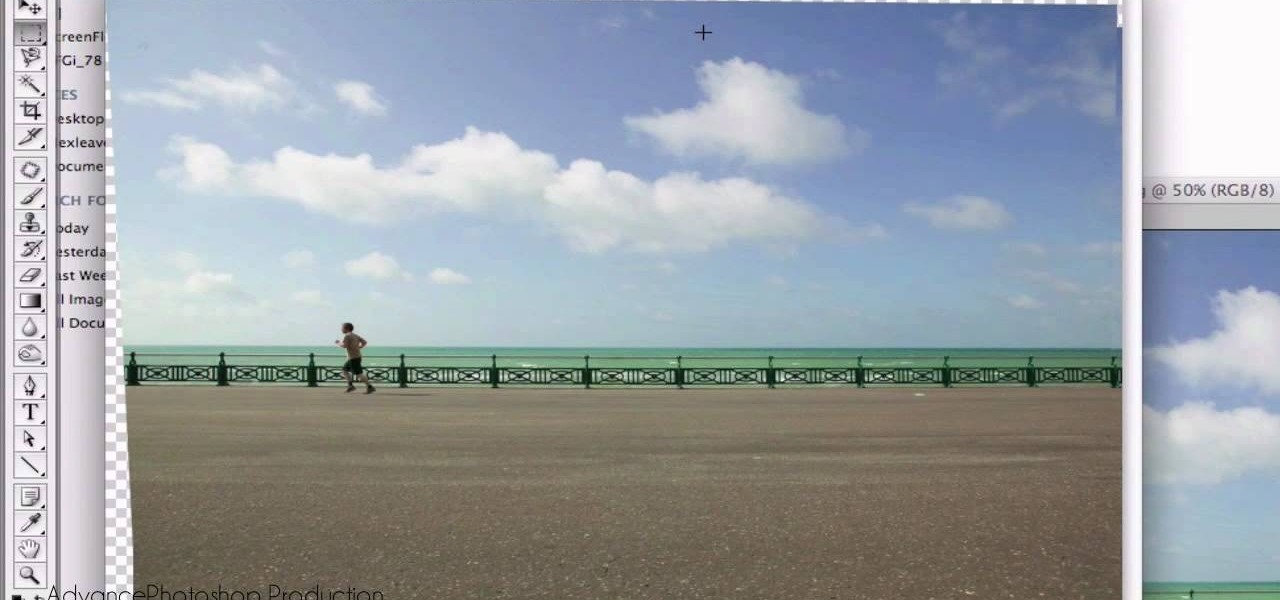
Open your first image and go to the rectangular marquee tool and select all of the image. Next click command or control C to copy image. Then go to your second image and click command or control V to paste the image. Select both the layers (hold down shift when clicking the layer), then go to edit, auto align layers and choose the top option then click ok. Last add a mask to your top layer, this is done by selecting the gradient tool (make sure its set black to white, the mode is normal and o...

In this video from middiablo we learn how to combine multiple PDF files into one document on a Mac. Navigate to where the PDF files are in the finder and command click on them and then open with preview. Make sure the thumbnails button is checked at the bottom right. In order to select them all, click on one page, hold down shift and then click on the last page. It will select every page. Now click and drag and you can put the pages anywhere you want. Now go to File and Save. An even easier w...

A step by step video tutorial that shows you how to change the tire from a Triathalon or road bike! Don't get stuck with a flat tire in the middle of nowhere! Gear West Bike and Triathalon show you how to: shift into the smallest gear, release the brake, open up the quick release and remove the wheel, remove the tire and tube, inspect the tube and tire, Install a new tube and remount the tire, reinstall wheel with quick release and close the breaks. Very basic, easy to understand instructions...

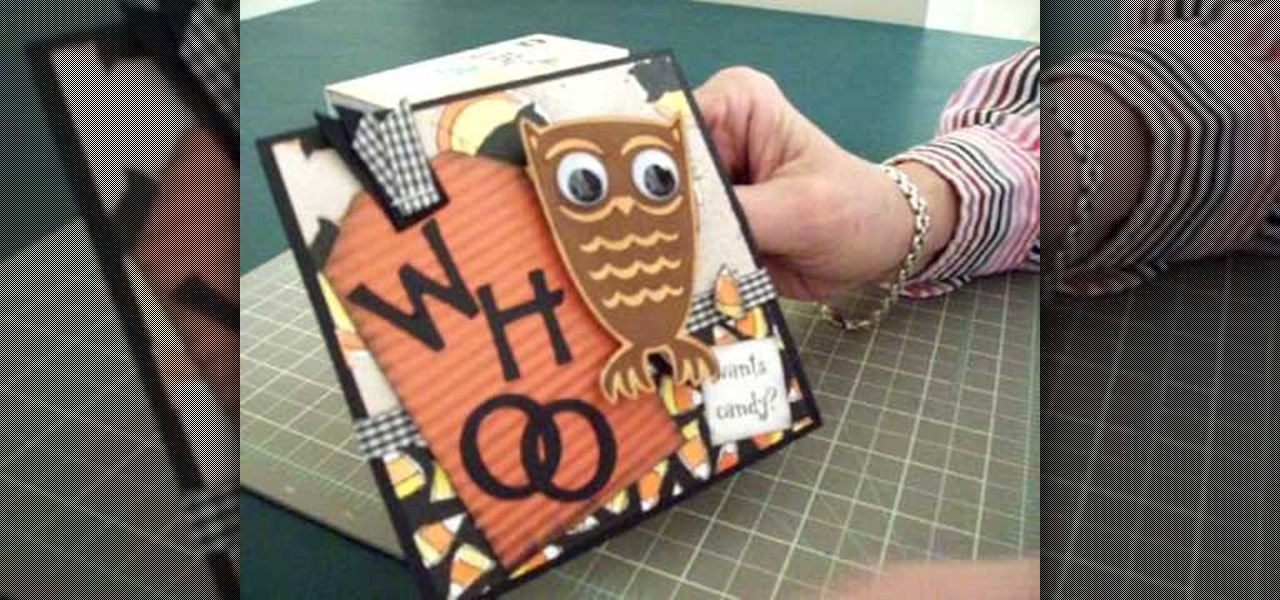
Learn how to make an owl Halloween card using the Cricut Storybook cartridge: Mary explains how to make a 5 x 5 inch square Halloween card in a few simple steps. On page 34 of the Cricut Storybook manual you'll find the owl. Cut the owl at 3 inches out of the darker brown by hitting shift and the owl. Then cut the owl out in the shadow and layer it. Give the owl big google eyes. Cut a tag out of Tags, Bags, Boxes and More at 4 inches. Then run it through the crimper. Then cut the letters W-H-...

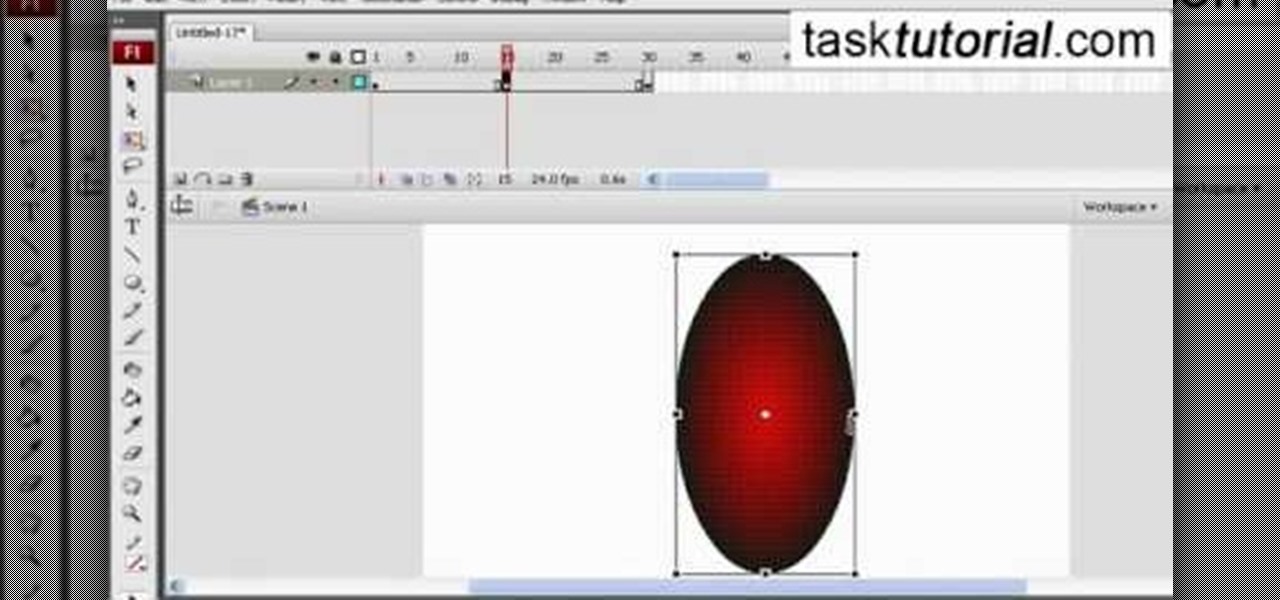
In this video tutorial the author shows how to stretch objects and text in flash. To do this open the flash tool and select the radial gradient. Pressing shift key draws a shape. Go to frame 30 and create a key frame by pressing F6. Now similarly do it at frame 15. Now at frame 15 select the free transform tool and stretch the image. Now create the shape twins in the locations shown in the video. Repeat the same process for a text starting with adding some text to the scene. Finally convert i...

Tasktutorial will teach you how to create a nice vector cartoon flower using Adobe Illustrator. Start by selecting Rounded Rectangle Tool, and draw a black rectangle. Then select multiple points and move it according to the video, using arrow keys. Then draw an ellipse with the Ellipse Tool, using the Shift key. Watch the video to see the remaining easy steps in creating a vector flower using Adobe Illustrator and also get some cool tips and recommendations for best results.

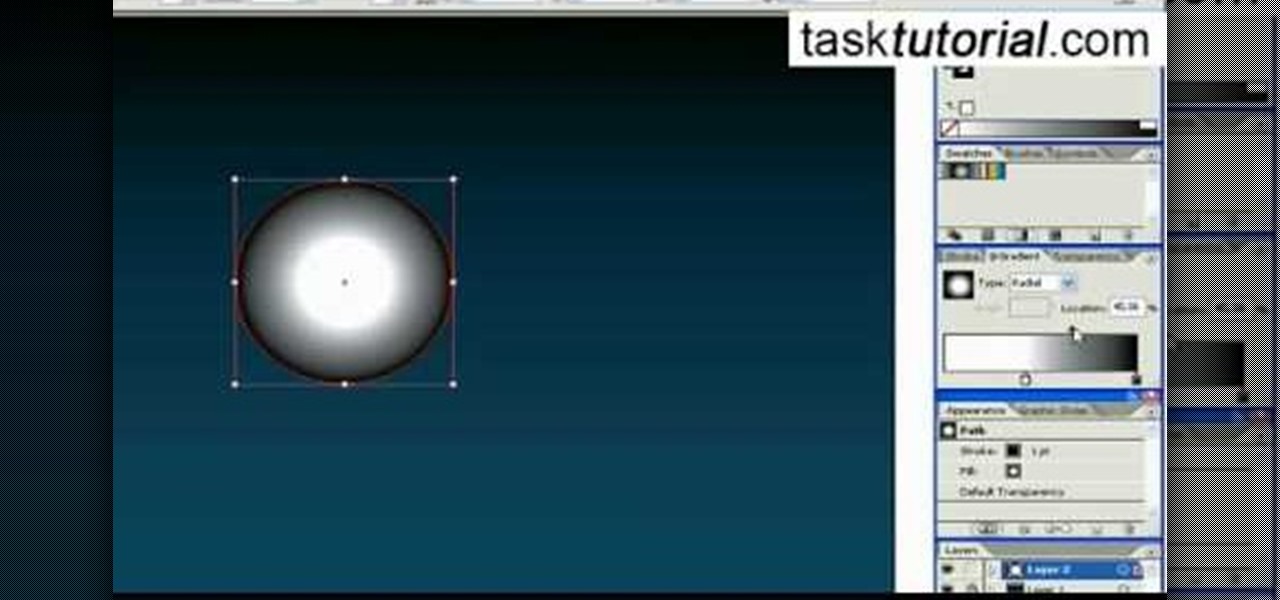
Do you want to add some 3D effects in your 2D designs? Open illustrator and draw an oval tool holding shift key. Then draw an ellipse with a different color and place it on the oval. Take blend tool,then click on ellipse shape and then oval one for a gradient effect. Draw another oval with a gradient and give it screen. Your glossy sphere is ready. Adding gloss, specular highlights as well as shadows adds some realism to one's art work.

Want to create some cool effects in illustrator? Create a new layer. Draw the ellipse tool and add radial gradient, then go to transparency and select screen. Then create the star tool and deselect stroke. Drag and place the star shape on ellipse and group them. Then duplicate that layer to make multiple sparkles on different layers. Resize other sparkles by holding down shift key. One can change colors of other sparkles. This will help you in making a good background.

Math Problem Generator shows us how to convert the percentage into decimals in a simple and in a very effective manner. To convert the numbers from the percentage mode to a decimal mode you need to know how to shift the decimals. take any number which is in percentage mode, here it is taken as 85.6% and then take the decimal point and move it to the left two times and that is where you will find there is no more place to move. So the resulting decimal would be equal to 0.856. This is a simple...

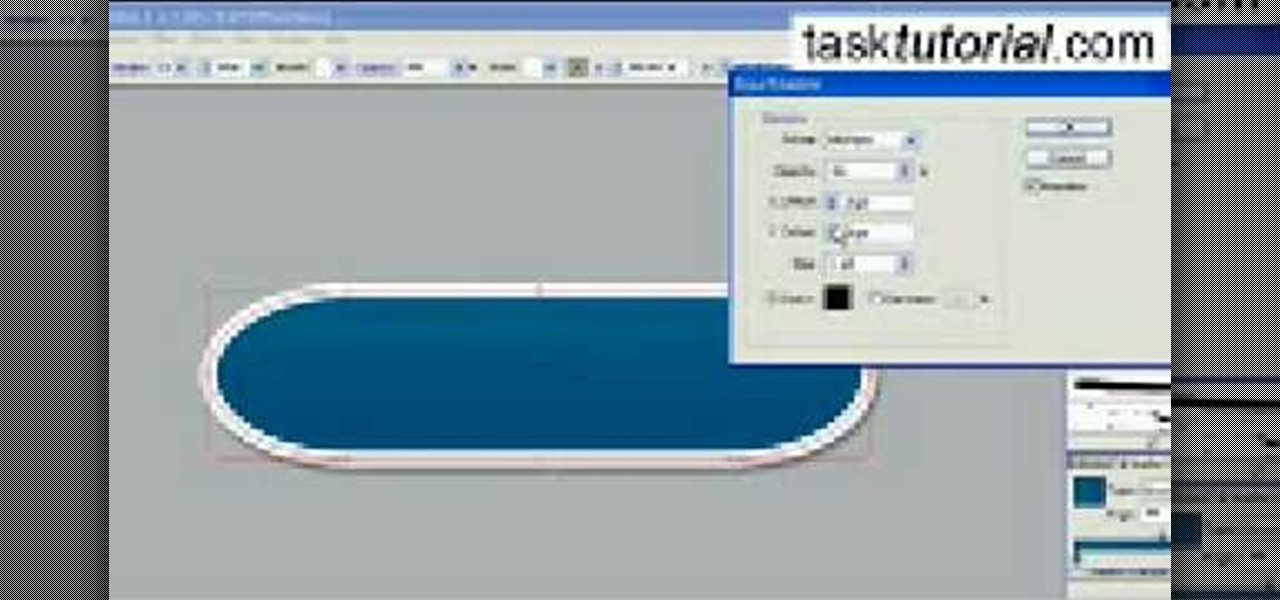
In this online video training tutorial, Task Training shows us, how to create a web button using Adobe Illustrator. The 1st step is to select the rectangular tool in Illustrator and set the size you want your button to be. The 2nd step is holding the shift key you can re-size your shape. The 3rd step is to give the button some color such as a gradient. The 4th step is to add a drop shadow to the button by going to Styles and then selecting Drop Shadow. The 5th step is add text to the button t...

In this Photoshop tutorial the instructor shows how to create a glossy sphere. Now to get started open the tool and select the oval tool. Using the oval tool create a sphere shape. Draw holding the shift key button and set it to green color. Now similarly draw ellipse and give it white color. Create a few more ellipses this way. Now go to filers and then glowers and then Gaussian glower. Now go to shape free and select gradient and set the gradient. Now you can apply color changes to it and g...

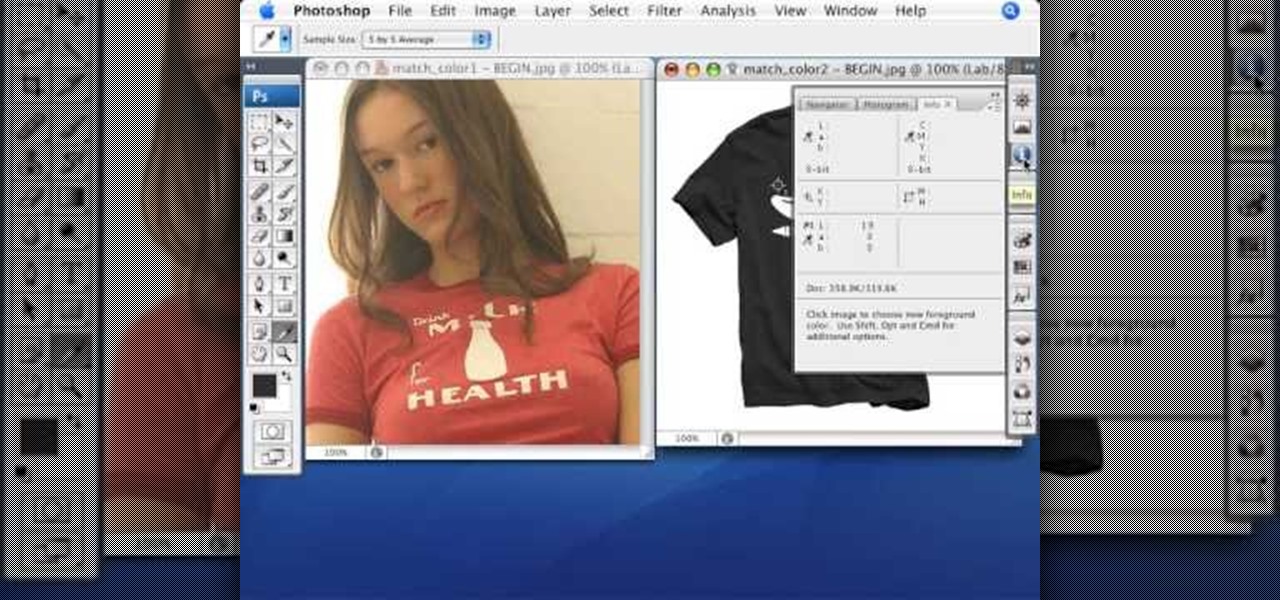
Match the color of objects on Photoshop. Take a picture of your self of one shirt that the shirt is on different color mean while choose the black tea shirt because it the traditionally one of the harder colors, change the image mode to the lab color for both images then use eyedropper tool and expose the info pallet select the neutral part of the image i.e. red. Hold down shift then we can see the icon changes then add contrast to it by hue saturation present in the layer pallet.

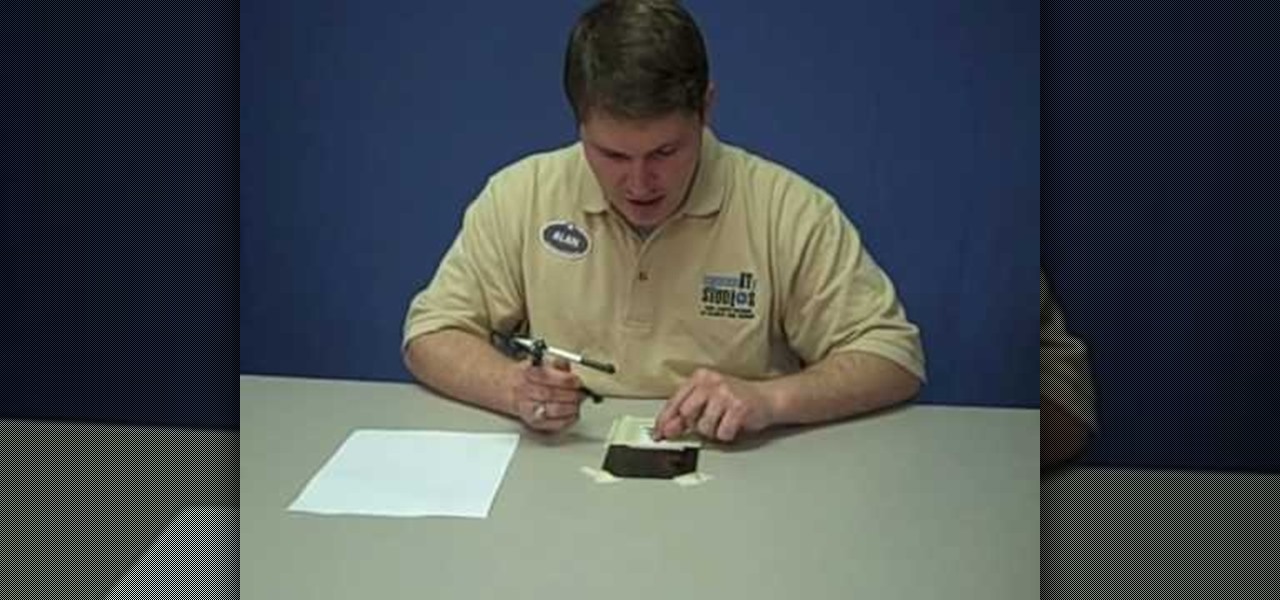
Holography is the scattering of light from an object, which is recorded and reconstructed to create the hologram. As the viewer or viewing mechanism moves, the image appears three dimensional. This instructional video shows how to craft 3 dimensional holograms using scratched arcs on a reflective surface. Using a compass, a picture, and Plexiglas, you can create glowing images that shift and turn inside of a 2 dimensional plane. Who would of thought? Now you can make your very own holograms a...

Ice skating is a fundamental skill in playing ice hockey. Learn ice hockey skills and moves in this sports video on how to ice skate. Take action: transfer weight from one leg to other, keep knees bent, and pivot as you shift your weight. Angie, the instructor in this how-to video from Live Strong, is currently with the Youth Hockey Foundation of Austin and the Chaparral Ice Center located in Austin TX. A native of Canada, Angie has been playing hockey for nearly 30 years. Angie enjoys instru...

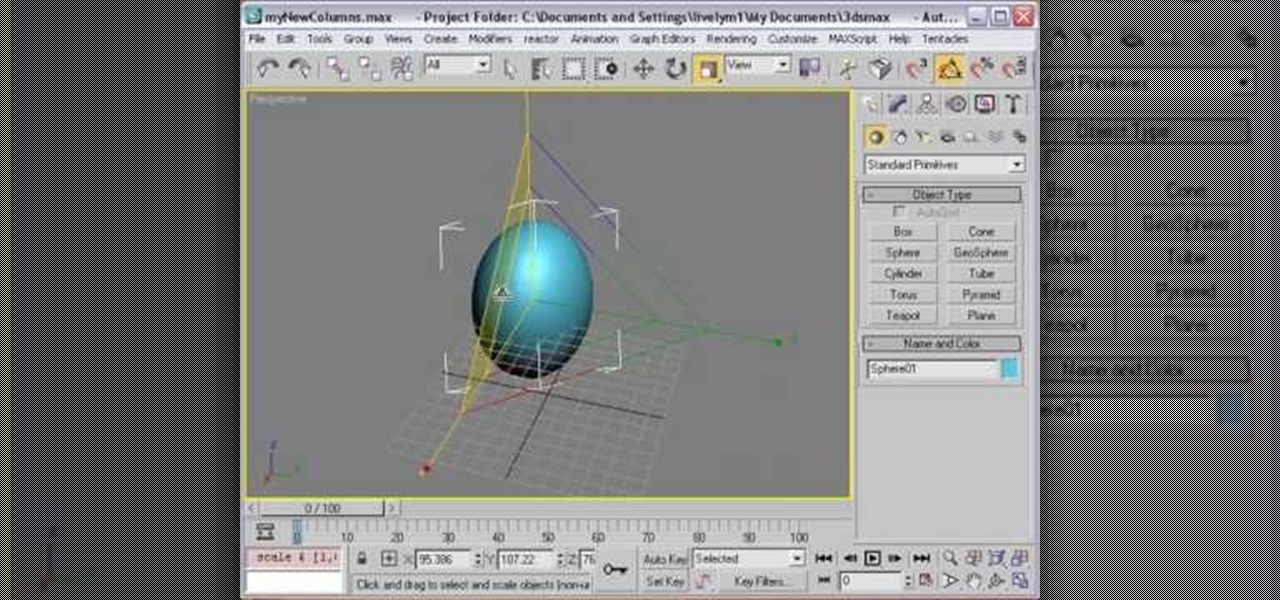
This software tutorial demonstrates how to build with primitives in 3DS Max for Papervision3D. This first part demonstrates 3D Studio Max basics and how to build a column base using primitives. This second part demonstrates how to use the Shift clone tool.

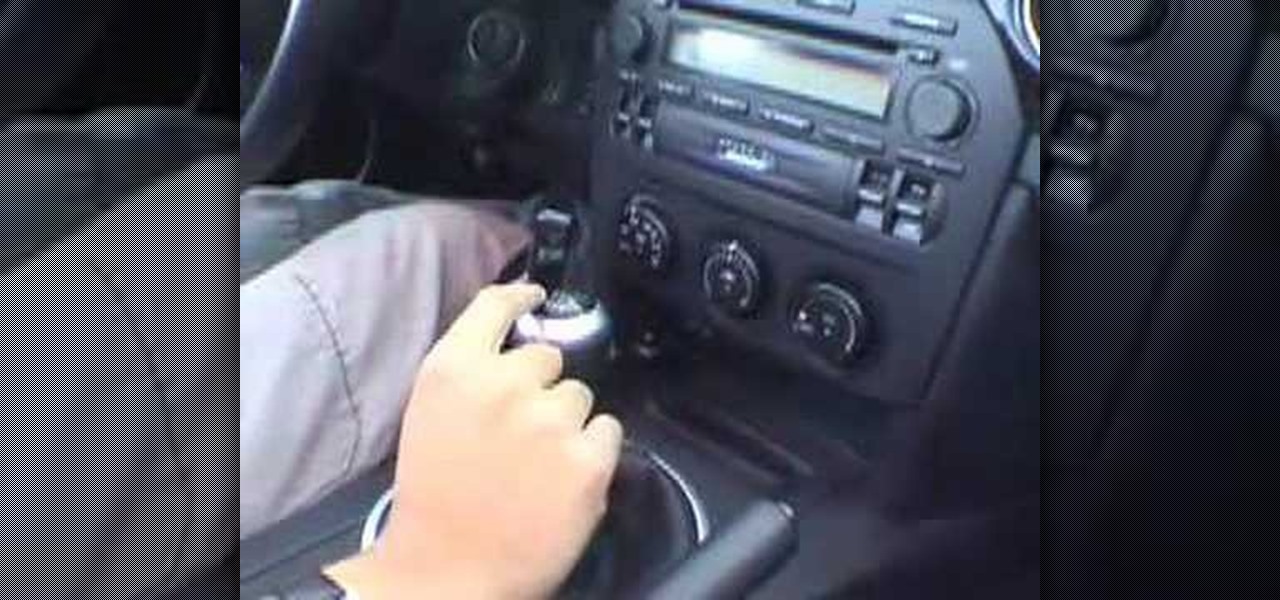
Need to know how to drive a stick shift and have no time to learn? Simple, watch this quick automotive video tutorial to learn how to drive a manual transmission with ease.

So the beta version of Minecraft 1.8 is officially out and you want to explore the new worlds and features of the pre-release. The best way to explore is to move around super quick right? So take a look at this walkthrough on sprinting and flying in Minecraft 1.8.

In this video, we learn how to make a u-turn on a motorcycle. You must be able to complete a u-turn without putting your foot down. Depending on the size of your motorcycle, you will need 20-24 feet to do this properly. The most common mistake is oversteering and putting your foot down. Keep the clutch in the friction zone, drag the rear bike the stabilize the bike, add throttle if needed, and shift your weight. Keep your head up and make sure you are looking all the way through the u-turn. D...

In this video, we learn how to switch brake pads with Marc DiVall. You first want the side that is longer because that's the trailing side. The arrow should also be pointing to the left. If they are rear mounted, that means the brakes are on the wrong side. Go in and remove the mounting nut from the pad and line everything back up. Use your wide washer and spacers to shift around, which will allow your brake pad to rotate. Replace with the washers and then the bolt and then you can place thes...

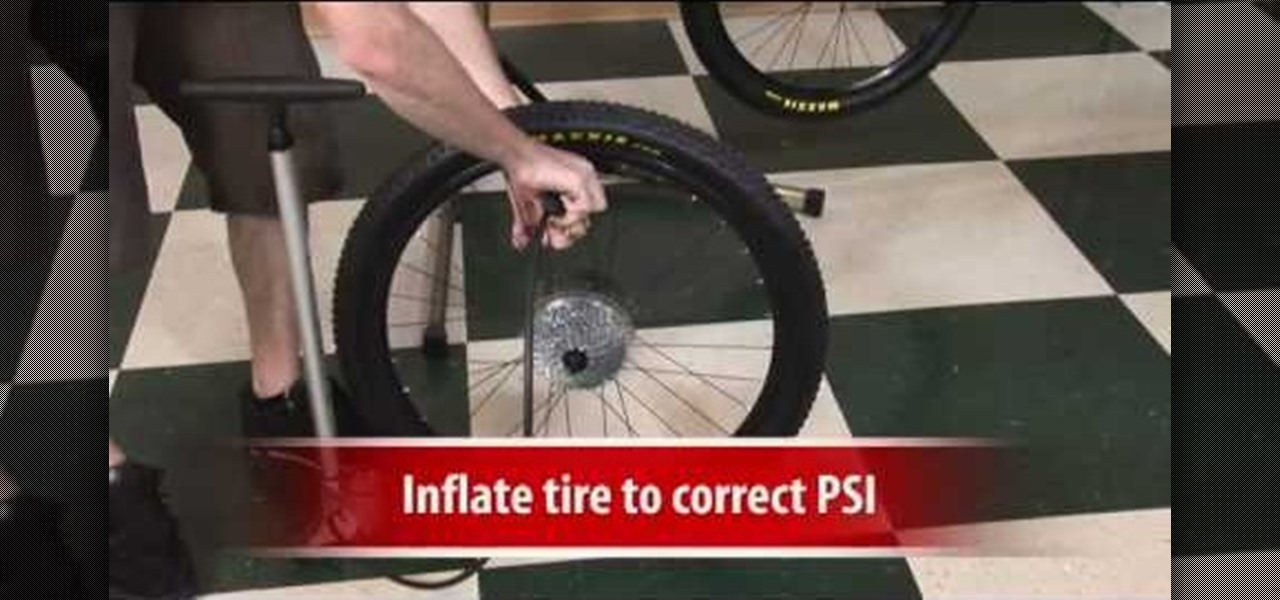
In this video, we learn how to change a mountain bike tire. Start by shifting the rear cassette to the smallest gear. Then, remove quick release and remove the wheel. After this, remove the tire with tire levers or strong fingers, then check inside the tire rim for foreign objects. Inflate the new tube slightly, then put the tire in. Put both of these inside the rim, then inflate the tire to the correct PSI. After this, install the wheel on the bike and then tighten quick release. Do the fina...

One of the easiest ways to increase the intensity of your strength training workout is to add weights to your normal exercise. So if you're acclimated to doing the pilates 100, then add a set of three pound weights, holding them in your hands as you shift them up and down. The addition of weights makes the motion much harder, which means greater muscle intensity for a better workout.

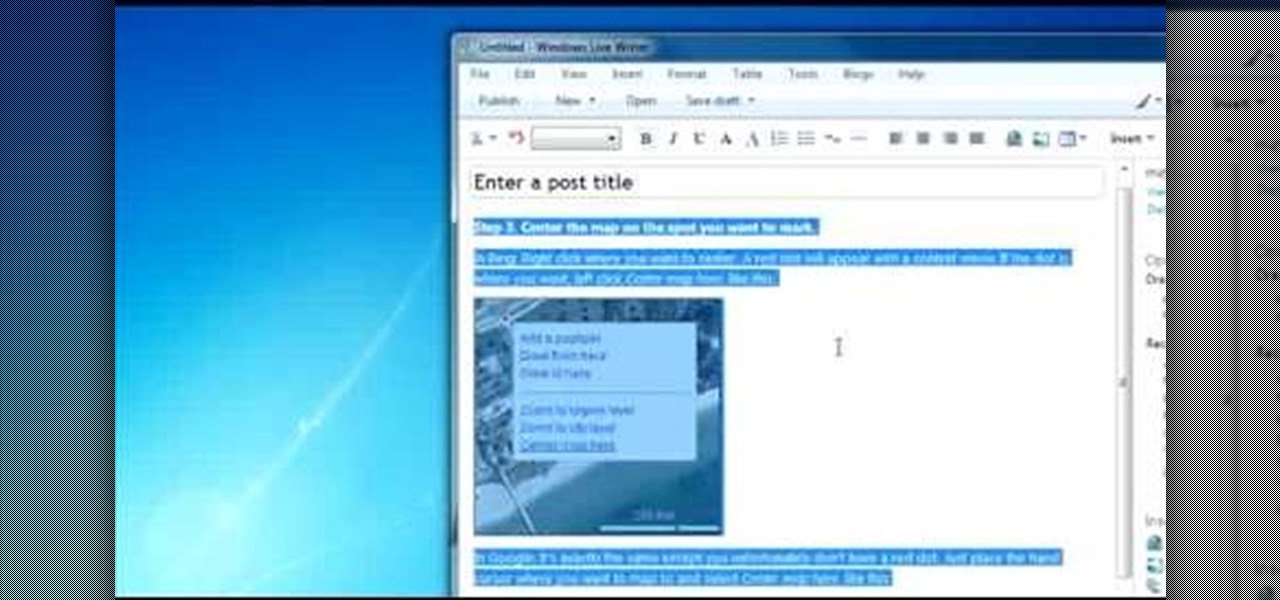
How you can use paste special. So when you copy anything from a web browser inclusive pictures and when you paste it like in OpenOffice writer then you will see it is pasted as same as was in web browser but with some lines and some unwanted stuffs so if you don't want these things, you have to paste it special. So to this go to edit and choose paste special now there will be four options to choose like unformatted text, html format etc. so if you choose

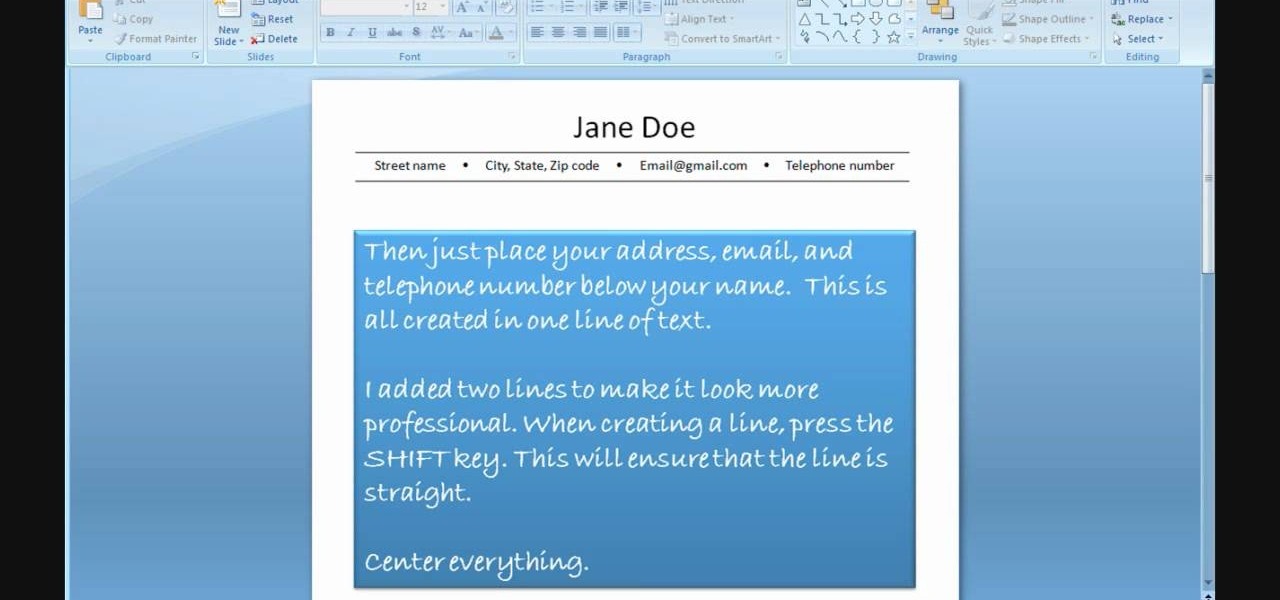
In order to use PowerPoint to create your resume, you will need to select "page setup", in order to change from landscape to portrait. Insert a text box in the center of the page and type your name in it. Next, click on the "format" tab. Next, select your alignment from the alignment center.

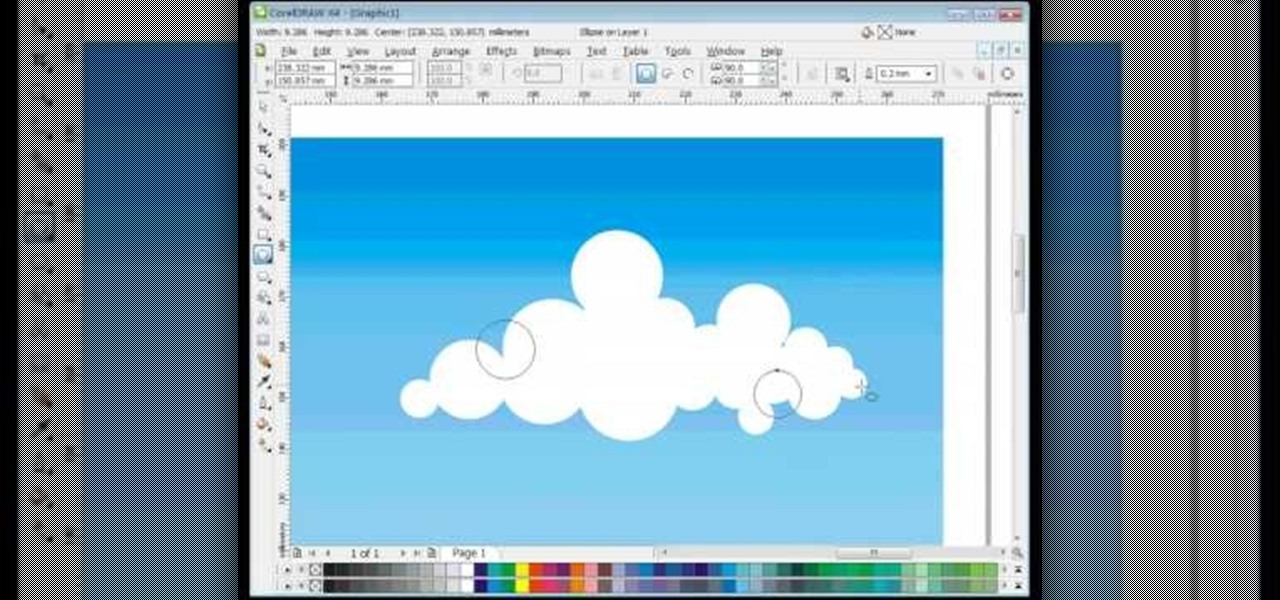
In this video, we learn how to draw vector clouds in CorelDraw X4. First, open the program and make a circle using "ctrl+shift". Make these circles touching and overlapping each other on the top of the page. After this, select all and then weld it. Next, press "ctrl+k" to break the curves apart, then erase the parts inside of the clouds. When this is done, select all, then copy and paste for additional clouds. Trim the bottom to make the clouds sit on a mountain or straight edge, then you are...

In this tutorial, we learn how to make a cool neon text effect using Photoshop. First, type your text using a big and simple font. After this, right click on the text layer and click on "rasterize type". Now, press the control button while you click the thumbnail of the text layer. After this, grab the lasso tool and click "select inverse". Then, set it on 12 pixels in the toolbar. Now, use the magic wand too and select each of the letters by holding shift. Next, create a new layer and click ...

In this video, we learn how to understand the basic golf swing. If your contact with the ball is good, your shot will be played out correctly. In a full shot, you would make your back swing, then shift your weight onto your left foot along with your belt buckle. Using your body in a swift swing is the key to having a good swing and making the ball fly where you want it to. Give yourself enough time to practice, because it takes your body a few tries to get used to this stance. When you are do...

Whether you want to drop the pitch of your voice and sound older or increase it to sound like a chipmunk, with Sony Vegas, pitch-shifting vocals is an easy thing to do. Whether you're completely new to Sony's popular nonlinear editor (NLE) or are a seasoned digital video professional simply looking to pick up a few new tips and tricks, you're sure to be well served by this free video software tutorial. For more information, including detailed, step-by-step instructions, take a look.

In this Electronics video tutorial you will learn how to jailbreak an iPod Touch running firmware v. 3.0. First open up iTunes, right click and select back up. It is better to back up first so that you don't lose any important data in case something goes wrong. Now hold both buttons at the bottom for about 10 seconds and release them when a blank screen comes up. Now the iPod goes in to recovery mode and you got to restore it before you can use it with iTunes. Click OK and then click Shift+Re...

The cable that connects your rear derailleur to the shifters on your bike may seem too long, delicate, and complex to fix yourself. You may be right, but if you have some bike maintenance experience and want to try then this video is for you. It walks you through the whole process of replacing the cable in your rear derailleur. It is a long process, and elaborate, but will dramatically improve your shifting performance if your cable is old and worn.

In this video, we learn how to make hit a pitch shot in golf. To hit this, you will need to get close to the ball, not too close but be on top of the shot. Lean the club towards the target so it's lined up with the ball. Shift your weight slightly forward and rock your shoulders so you feel the club go through both sides. You must initiate your swing with how you are gripping the club. Use force, but not too much force in your swing. Switch your weight from the opposite side to the side you a...

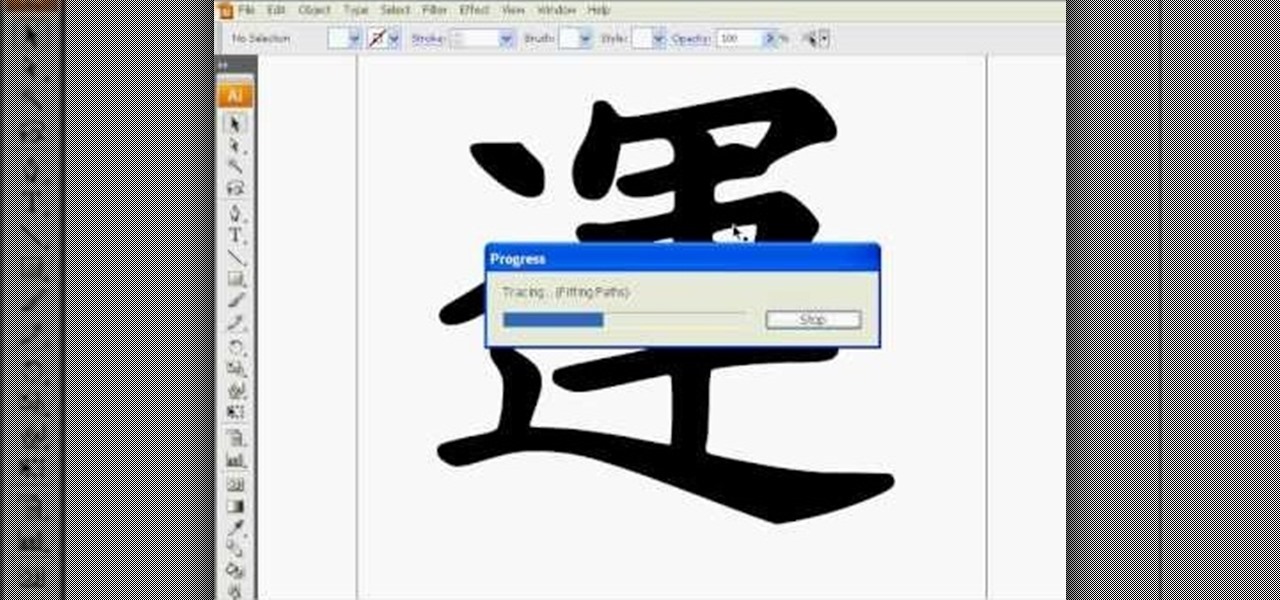
This how to video shows you how to do a live trace in Adobe Illustrator. First, open the image you want to use. From here, zoom out. Go to the corner of the image and hold shift and drag to shrink it. Zoom back in and then click the arrow beside Live Trace. Go to tracing options and click okay. Check ignore white so that you will not get a box. Click trace and then select expand. Click out of the image and click control y on your keyboard to show the outline of your file. If you did not check...

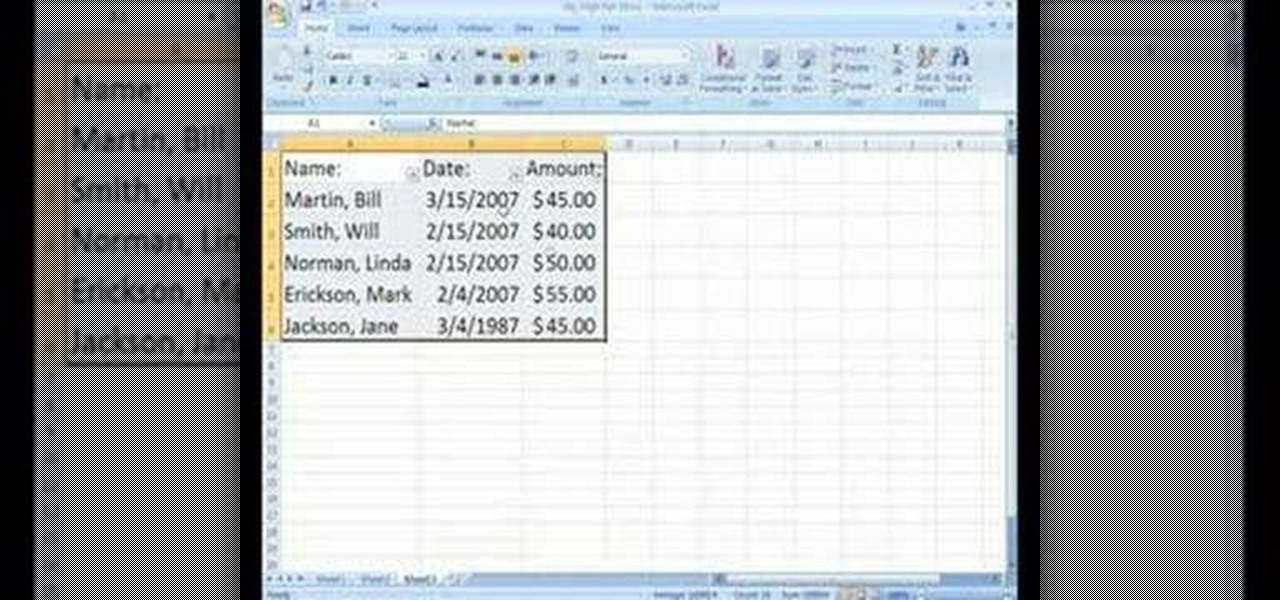
In order to Find, Replace, and Sort, using MS Excel, become familiar with your home tab. When you click on Sort, it will give you the opportunity to sort in different ways: e.g. alphabetically. If you accidentally shift your table, you can undo it by using Ctrl + Z. Custom Sort will allow you to be very specific in the way you want your data sorted. You can add or remove a filter with the same drop down menu, in order to be even more precise.

In this how to video, you will learn how to create a diagonal sum in Microsoft Excel 2007. First, open the program and make a large selection. Type in =int(rand()*500) and then press control enter. This will create random numbers for the cells in the selection. From here, click conditional formatting and select new rule. From here, type in =column(A1)-row(A1)=$H$1. For the format, choose a contrasting look, such as a purple background and bold numbers. Click okay. If you type -1 or -2 in this...

Techmaniacs the youtube user show us how to open task manager without having to go through the intermediate screen on a new Windows Vista. When you click on the ctrl button, the alt button and the delete button on your keyboard, it opens up a new window that gives you the options of switching users, log off, change password and start task manager. If you do not want to go through this every time there is a shortcut to get straight to task manager. You click the ctrl button, the Shift button a...

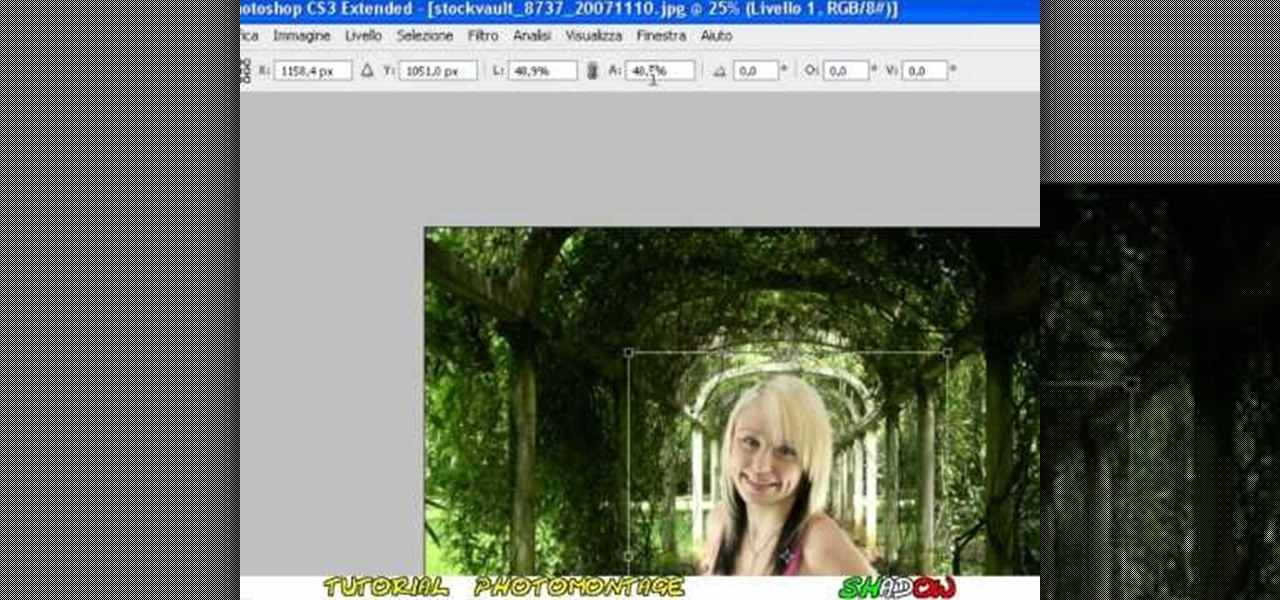
In this video tutorial, viewers learn how to create a photo-montage using Adobe Photoshop. Begin by inserting the images into the program. Then double-click on the montage image to unlock it and select the eraser tool to remove the background. Once the background is removed, select the move tool and move the montage image to the background. To modify the dimensions, go to Edit and select Free Transformation. Hold the Shift key to maintain the proportions. This video will benefit those viewers...
