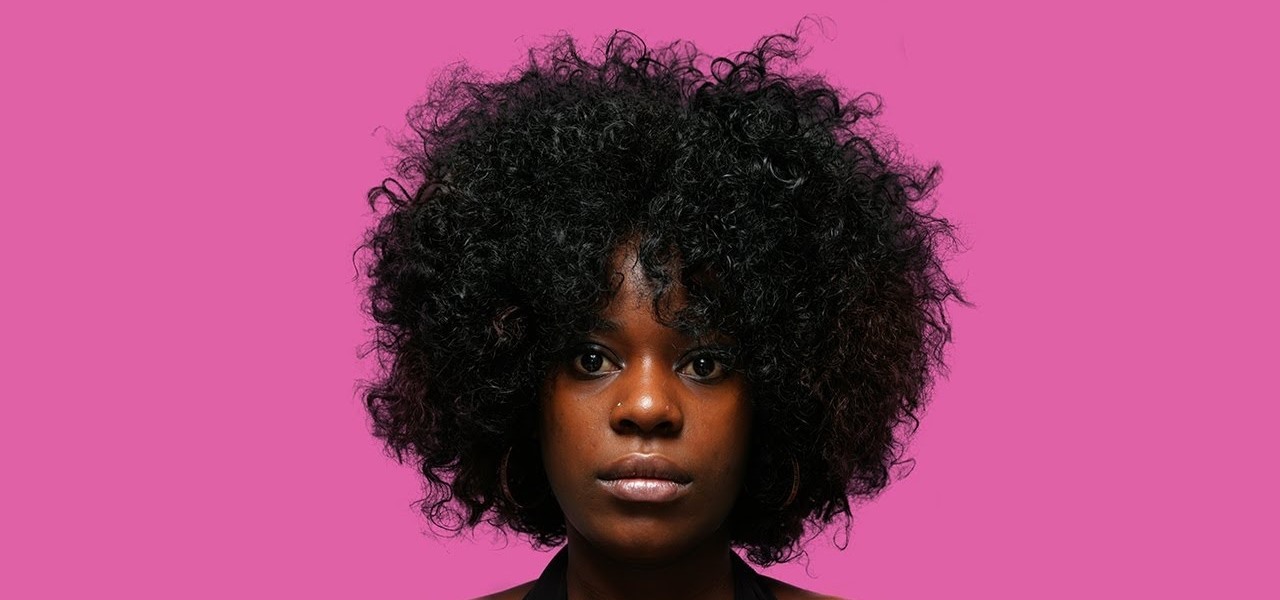
In this tutorial, you will learn how to make advanced hair selections using the alpha channels. And how to blend two different images together, using advance masking and the adjustment layers.
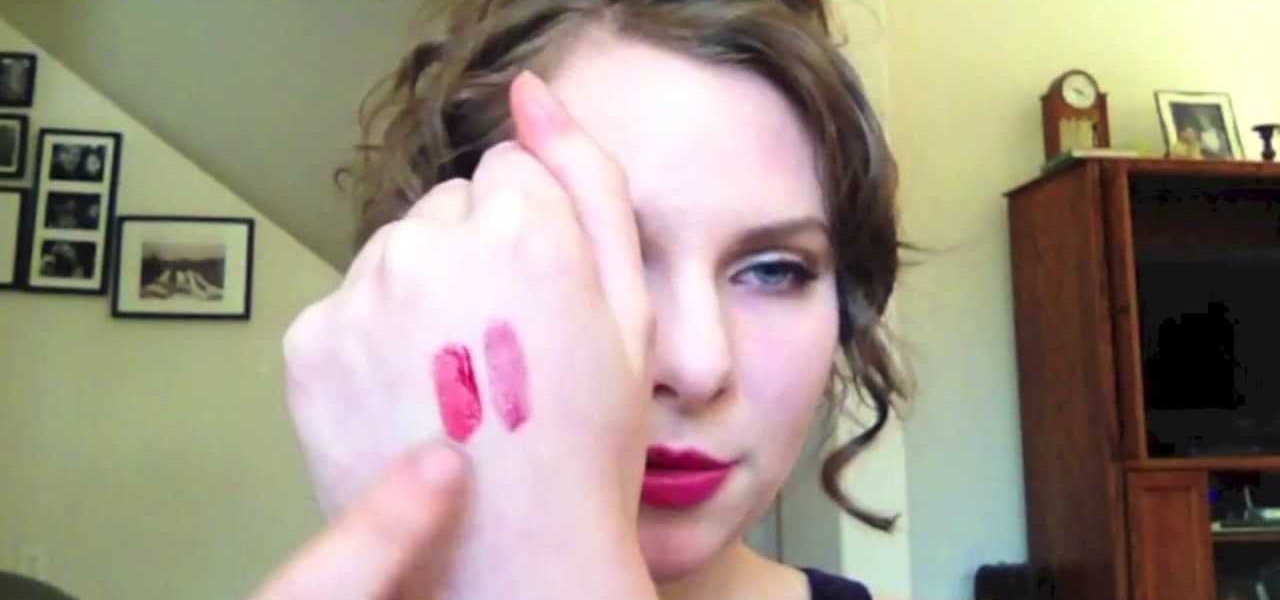
A lot of the times I mix lipstick shades together. It had occurred to me though that not everyone is a fan of lipstick. So, in the following video I show you how to blend a red and a purple /wine lip gloss together to create new color.
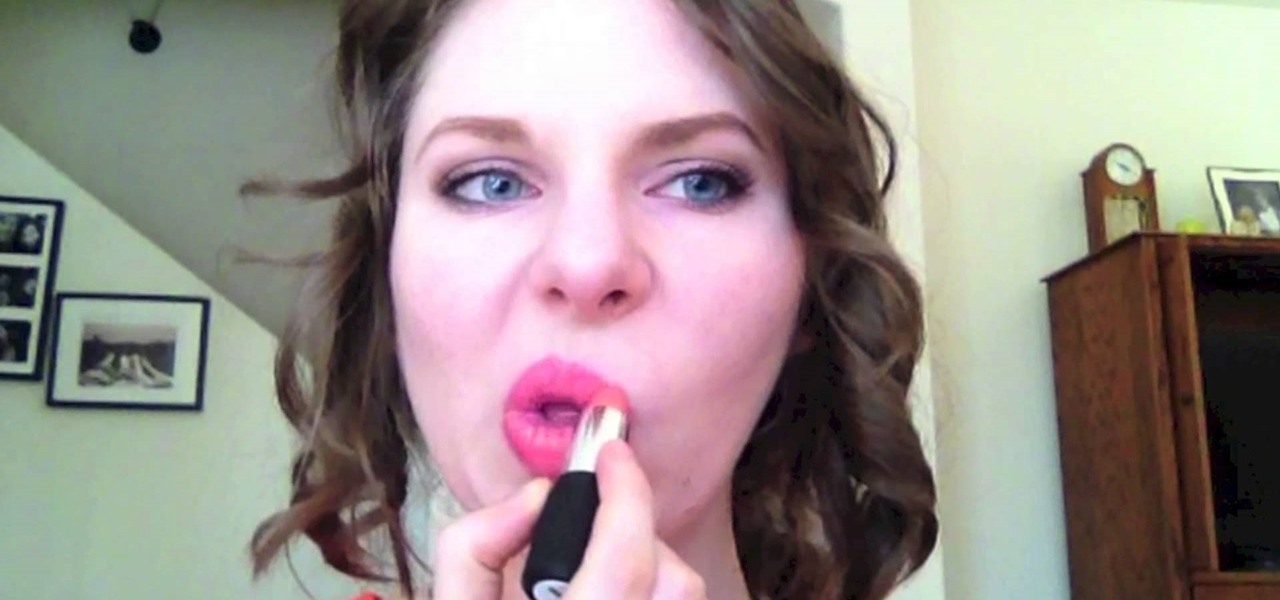
Another really simple and basic look that is still really fun! Combine Red Apple Lipstick's Instant Color lipstick in Love Bird and Sunkissed then blend the color with the Mint 2 Be Lipgloss in Fuzzy Navel.
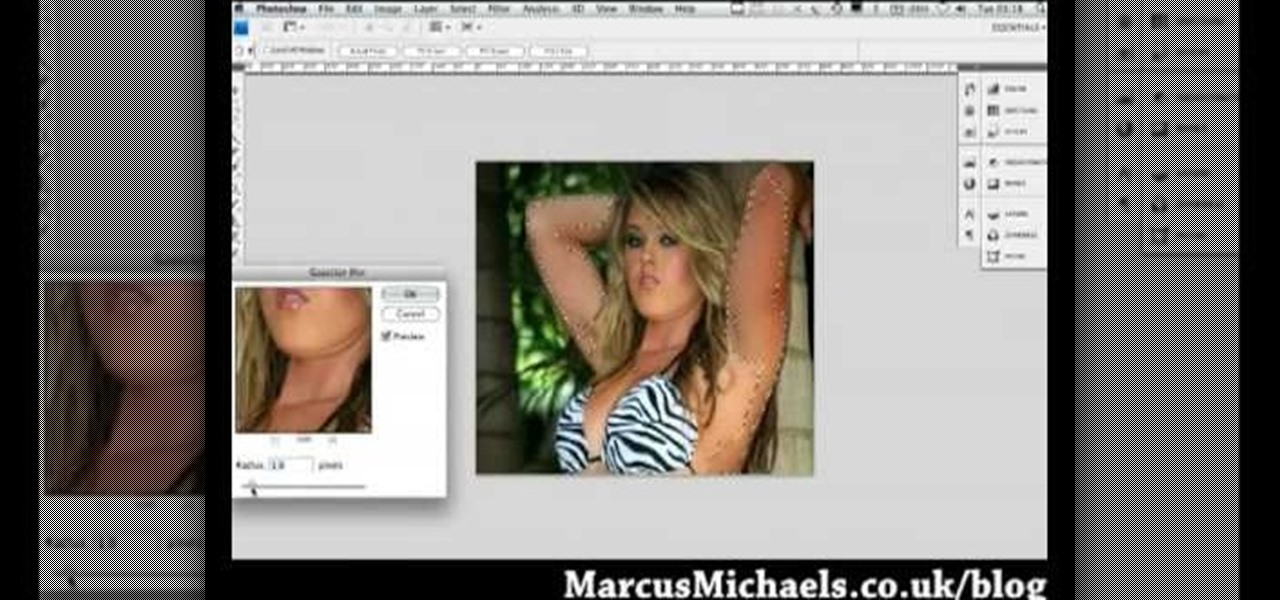
Everyone wants to be thinner, BUT, what if you'd like to put on a little weight? Or, how about a LOT of weight? Even in a photo? Well this video shows how to use Photoshop and its liquify tool to expand someone from their svelt self to a bigger, beautiful person.
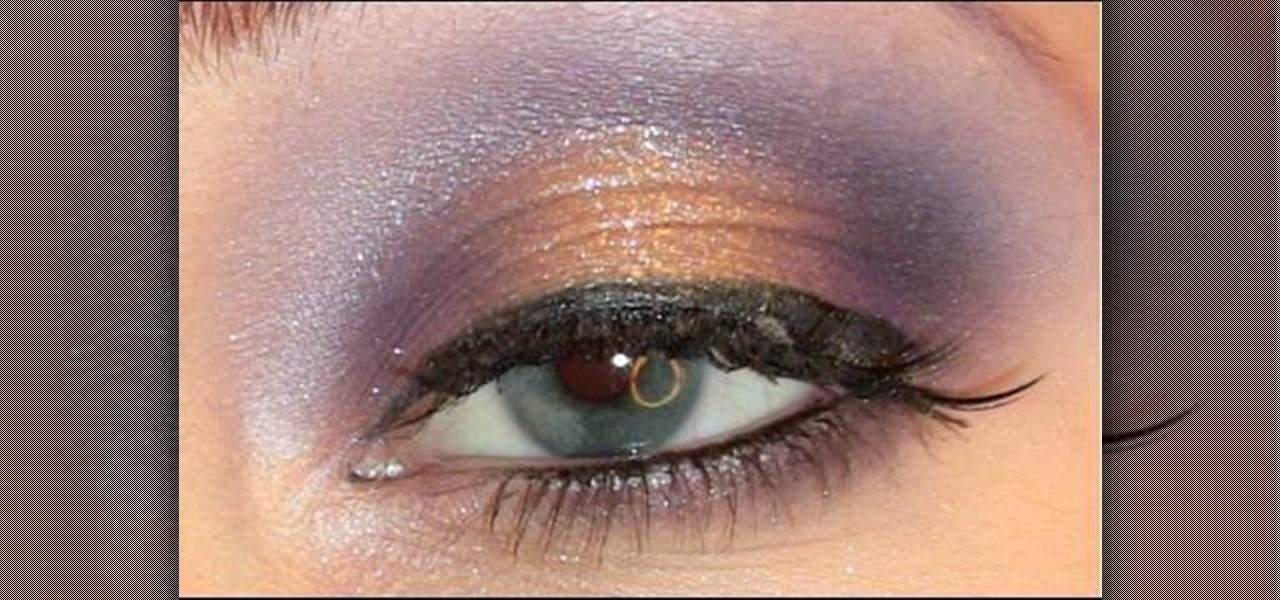
In this video, we learn how to use a Stila Jewel Palette to make a shimmery eye look. First, you will need to brush a nude color onto the lid, then grab a shimmer gray color and brush it onto the outer edge of the eye and into the inner corner of the eye. Next, grab a gold color and brush it onto the middle of the eye and nowhere else. Then, take the black color again and brush it into the crease of the eye and on the sides to create a contrast. After this, take the purple color and brush it ...
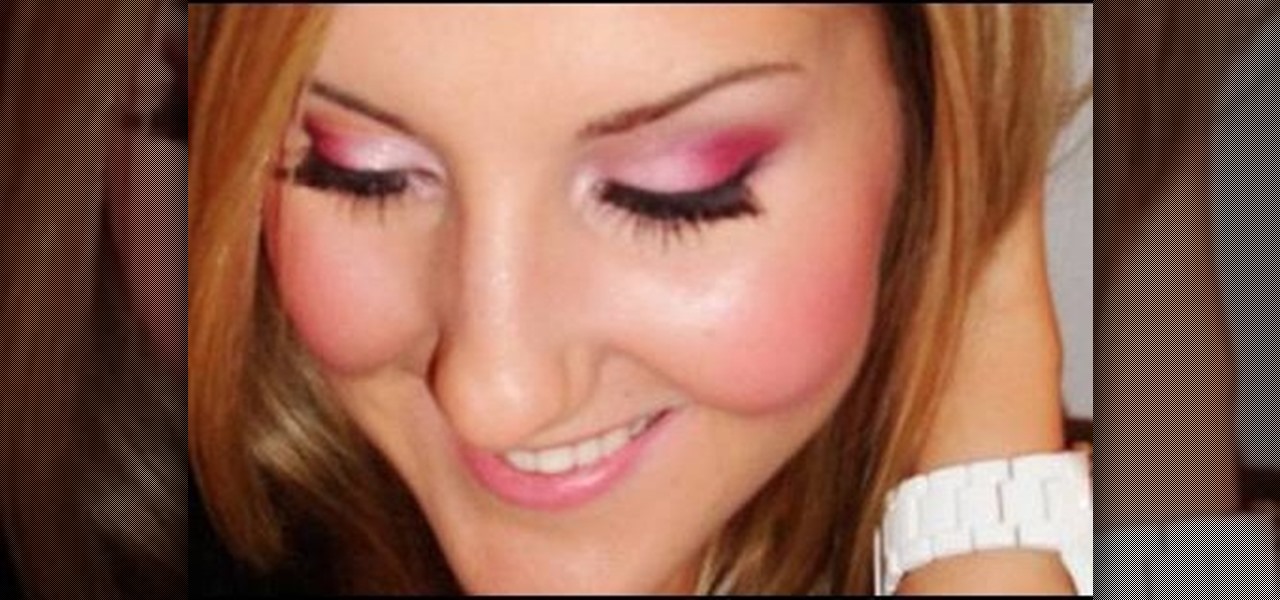
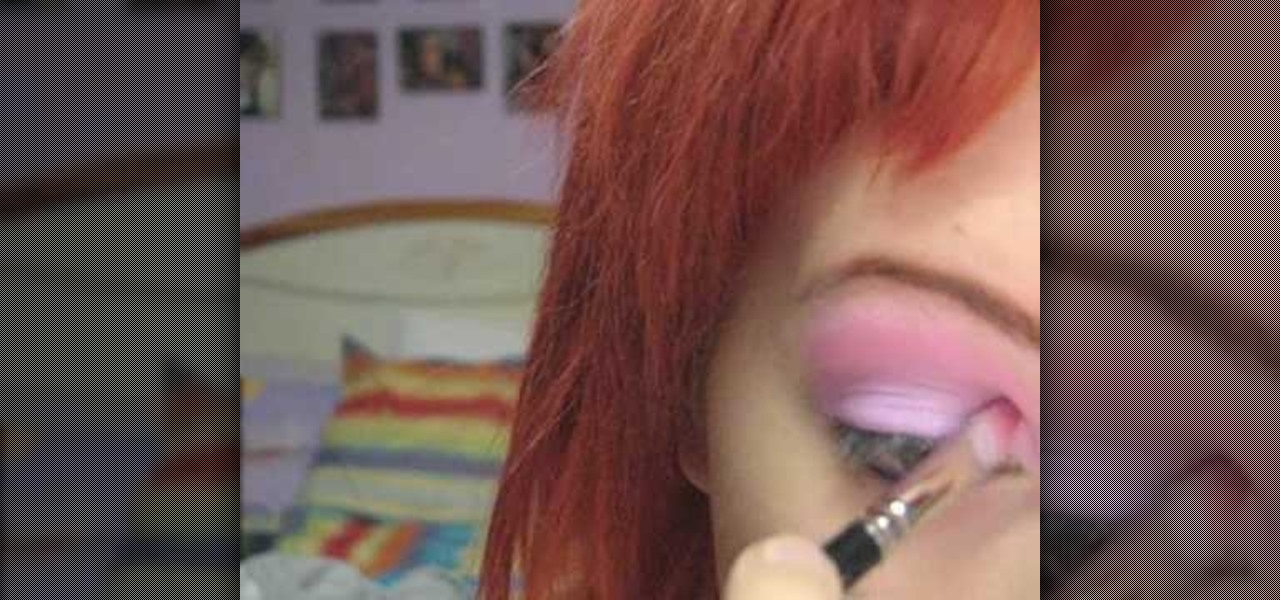
In this video, we learn how to create a flirty, pink makeup look for Valentines Day. First, apply a crease to your entire eye that prevents sticking. Now, take a pink shimmer cream eyeshadow and pat it on the lower water line and on the top of the eye. Now, apply a white luster shade to the inner crease of the eye out to the middle of the eye. Next, apply a dark pink eyeshadow to the crease of the eye with a small rounded brush, defining your outer v. Start to blend into the middle of the eye...

In this video, we learn how to make raw vegan vanilla extract. First, take whole organic vanilla beans and chop them into small pieces. After this, place the pieces of vanilla into a high speed blender along with 1 c of purified water. Start blending this on high until you have a pure vanilla liquid and there are absolutely not bumps or husks left in the blender. There should be no fibers or husks on the side of the blender. Place your hand on the side of it to make sure your blender isn't ge...

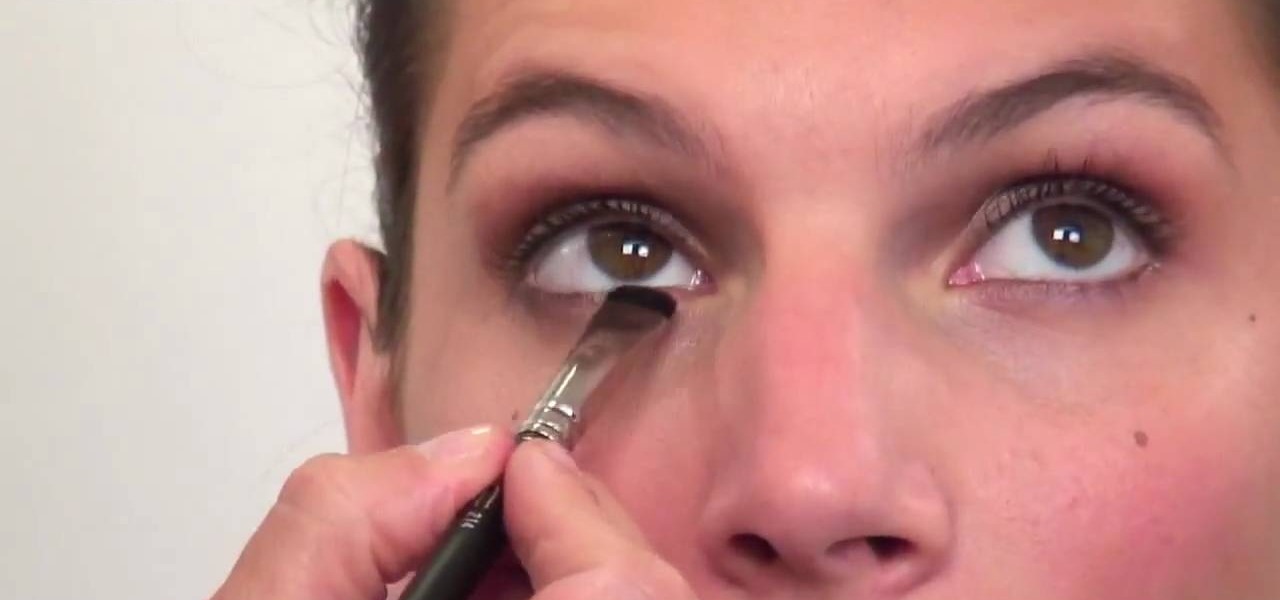
A smokey eye is as essential to your makeup arsenal as the LBD is to your wardrobe. That's because smokey eyes can be varied from very nude and neutral for school or work to highly dramatic with neon purples and blacks for a night out with your gal pals. Eyes are the window to the soul, so why not make your eyes dazzle and look even sultrier while you're at it?

In this video, we learn how to find your true skin undertone. Although you may look at your face and think that you have pink undertones, you might not. You will want to look at your chest and see if you are more yellow toned than you are red. This can help you choose your makeup when you are trying to find something that will blend in best with your skin tone. If you want a foundation that is going to work well with your skin, try it out on your neck or chest area first, then apply it to you...

In this tutorial, we learn how to create an everyday contoured look. First, apply a full coverage foundation to your face. Mac is recommended, using a color that is a match to your skin. Blend this on the face using a foundation brush. Next, apply a loose powder over your skin with a brush to settle the foundation onto your skin. After this, you will brush a bronzer of your choice onto the cheek bones, followed by a blush brushed onto your cheekbones. After this, you can also brush the bronze...

If you are already really good at using Photoshop, good for you! You already know what the dodge tool, blending modes, and all the different brushes do? Well then watch this video! It offers help for advanced Photoshop users on working with lighting for design and abstract art. Novices need not apply.

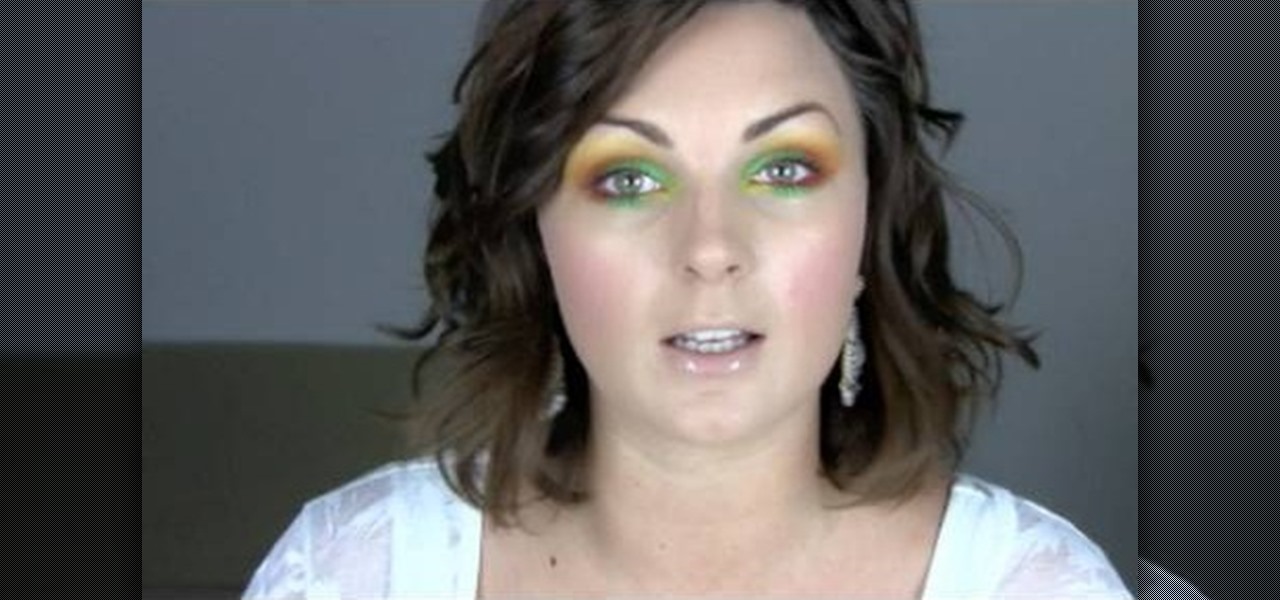
It's summer, gals, which means it's time to have fun with your makeup and break out of your nudes and neutrals mold. So no, that doesn't mean venturing into scary chocolate browns and - gasp! - even royal purples.

Do you admire the look of vintage photographs? How about the production of the old plastic cameras like the Diana and Holga? You can create that same photo effect with your digital photographs through the use of Adobe Photoshop! In this video, learn how to create a faux lomography effect also known as the "lomo effect". By using Blend Modes and Adjustments Layers you can achieve a pretty cool effect that can be used on any photo!

Developyourqi teaches viewers how to make Spicy Lentil Dip! First, you will need 3 cups of cooked lentils, 2 medium diced onions , 2 tablespoons of olive oil, 2 teaspoons of garlic, coriander, cumin, ginger and dried chili. You will also need sea salt and lemon juice. You can vary all of these ingredients according to your taste. Basically, you want to put all of your ingredients together in a food processor and blend this mix. You will want to process the mix of ingredients until it is all s...

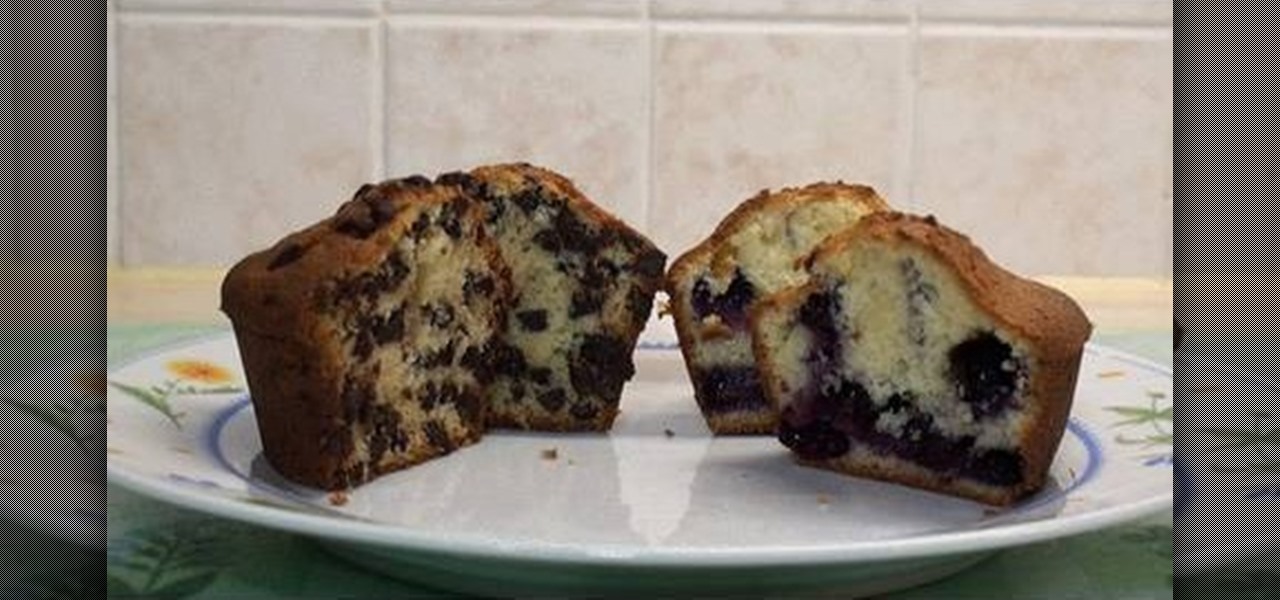
In this video, Titli shows us how to make a muffin mix to be used with all sorts of muffins. The ingredients are: 2 c flour, 1 c sugar, 1/2 c milk, 1/2 c butter, 2 eggs, 2 tsp baking powder, 1/2 tsp salt and 1 tsp vanilla essence. You can use whatever type of mix-in you want (chocolate chips, blueberries, etc). To make them you will first blend the butter, sugar, eggs and salt together until they are creamy. Then add in your sifted flour and baking powder then whisk until combined. Next, whis...

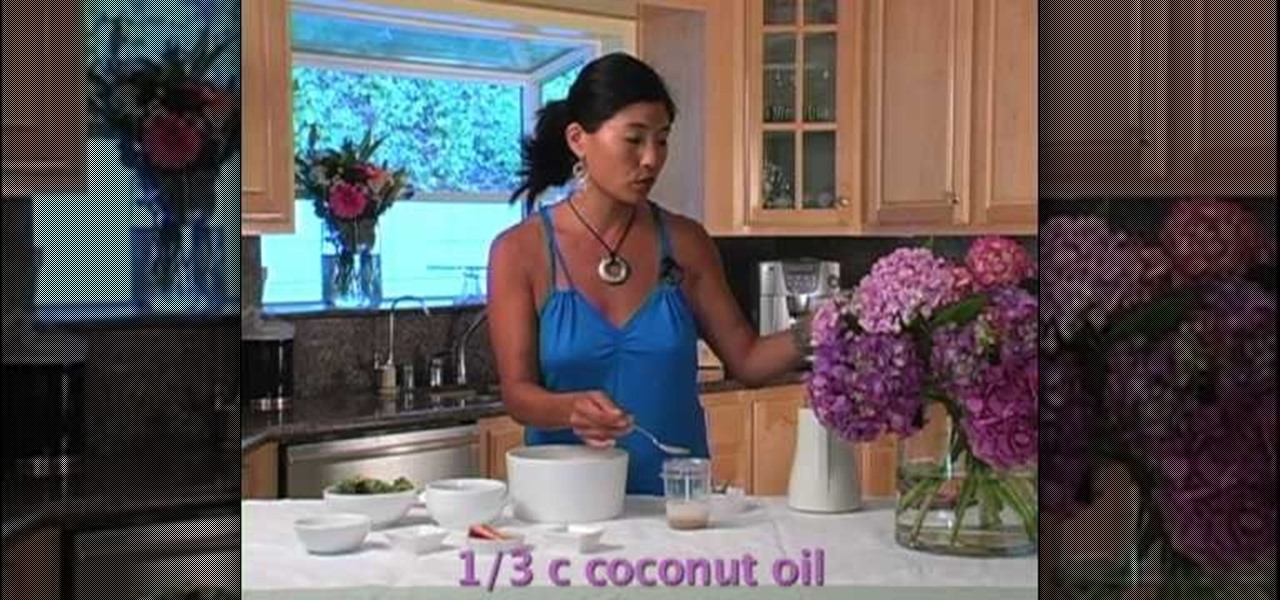
In this video tutorial viewers learn how to make a raw pad Thai salad with kelp noodles. The ingredients required for this recipe are: 2 tbsp of almond butter, 1/3 cup of coconut oil, 1 tbsp of soy sauce, 1 tsp of coriander powder, 1/2 of jalapeno, 2 tsp of lemon juice and 1/3 cup of water. Add all those ingredients into a blender and blend the ingredients together. Now pour the mixture onto the kelp noodles and add in 1/2 cup of basil and greens. This video will benefit those viewers who enj...

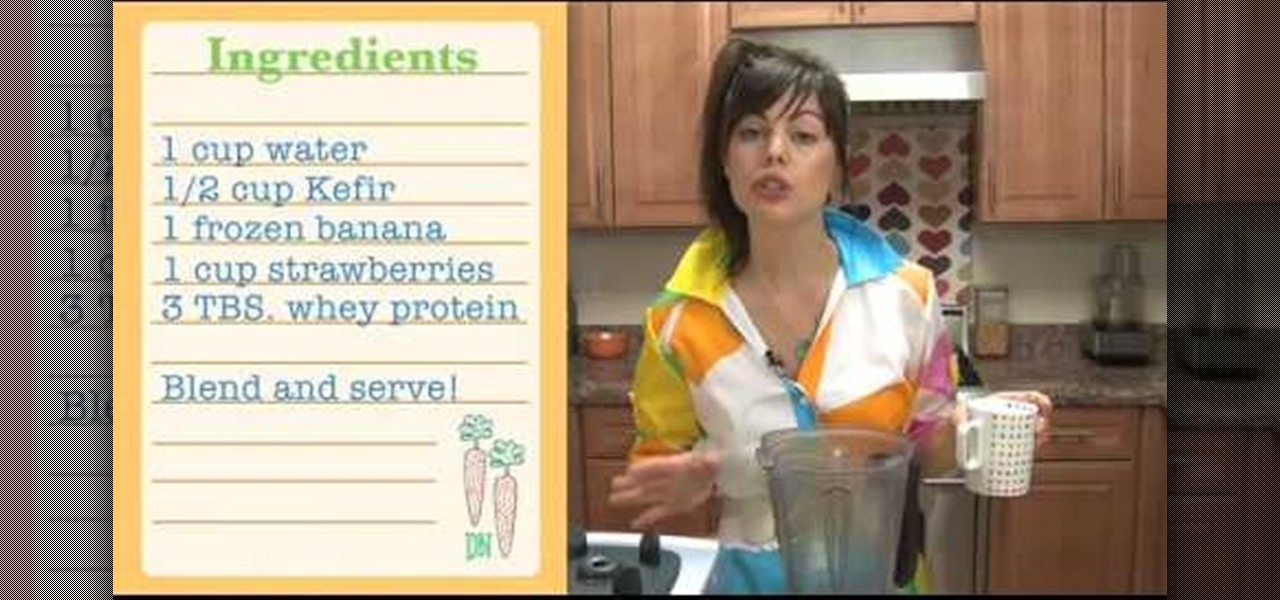
These Healthy-Organic strawberry smoothies will take less then 5 minutes and will bring protein to your breakfast.

Call of Duty? Nope. SOCOM: U.S. Navy SEALs? Nah. Battlefield: Bad Company? Think again. This isn't any video game on the market, this is your own video game, well… your own video game logo - military-style.

Let TutVid teach you how to make metallic text is Adobe Illustrator CS3. This video shows you how to do it step by step. You only need basic knowledge of Adobe Illustrator CS3 to do this.

From TutVid comes a great Photoshop tutorial. Follow this short tutorial and learn how to change someone's eye color.

The first trick to concealing acne spots on dark skin is to find a concealer with a lot of pigment. Test the concealer on a vein or freckle to make sure it covers completely. Using a synthetic brush, dot the concealer over the pimple, lightly feathering around it to blend in the makeup. You can set the concealer by applying pressed powder with a makeup sponge. When you apply your foundation, be sure to add it lightly, otherwise you may create unwanted smudges.

Take a look at some vectored hearts… it's fully vectored. Older versions of Illustrator should be able to handle this project just fine. Watch this Illustrator video tutorial to learn this heart-shape design. A vector heart is great for Valentine's Day. No source files are needed. Just Adobe Illustrator and some time. Learn about using the grid, the basic pen tool, gradients, swatches, blend modes, masking, and so much more.

You can scare the hell out of your friends with the neat trick, or you can use it in your next horror-filled independent movie, to scare the hell out of your viewers. Watch this prank video tutorial to learn how to embed floss into your neck.

Glamor and glitter, fashion and fame Jem is my name, no one else is the same! Watch this Halloween makeup tutorial to learn how to create a Jem 80's inspired Halloween pink rocker look. Jem & the Holograms was this rockin' eighties tv show. Use your own makeup to create this makeup look. Happy Halloween!

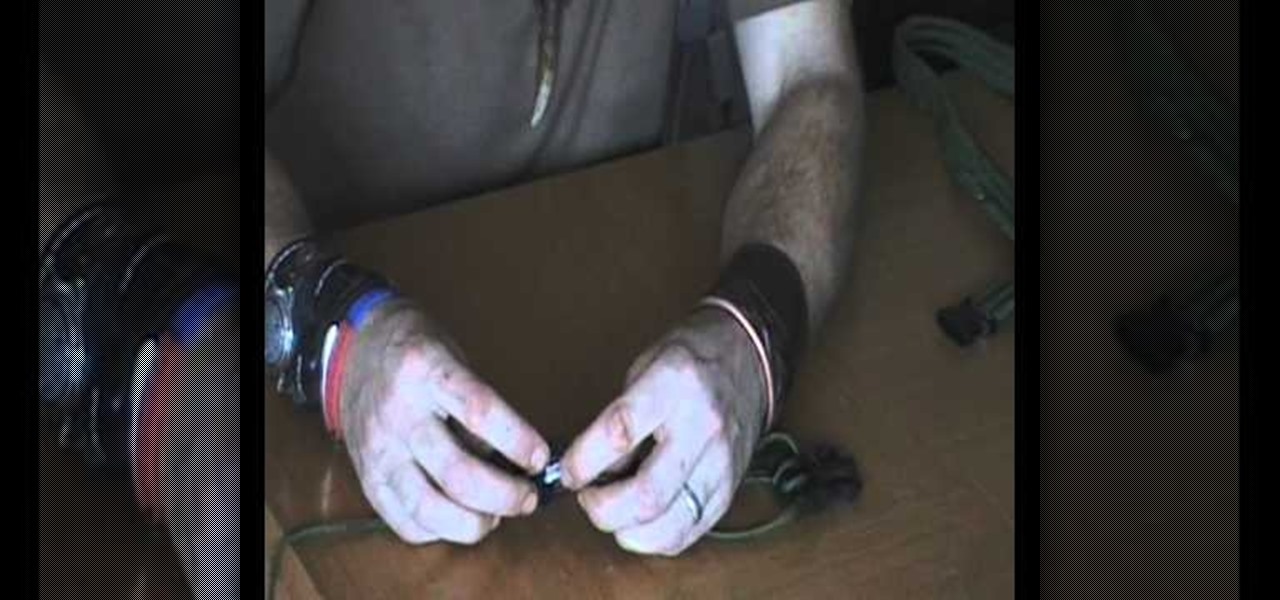
All you need is a single long piece (at least fifteen meters) of sturdy paracord, as well as a clasp for either end. You can also use this technique to make a rifle sling or something else for which you will need a long length of woven paracord. The knot itself is not difficult - just watch carefully and make sure you've given yourself enough time to finish this project. A great project to make for yourself, or the survivalist in your life.

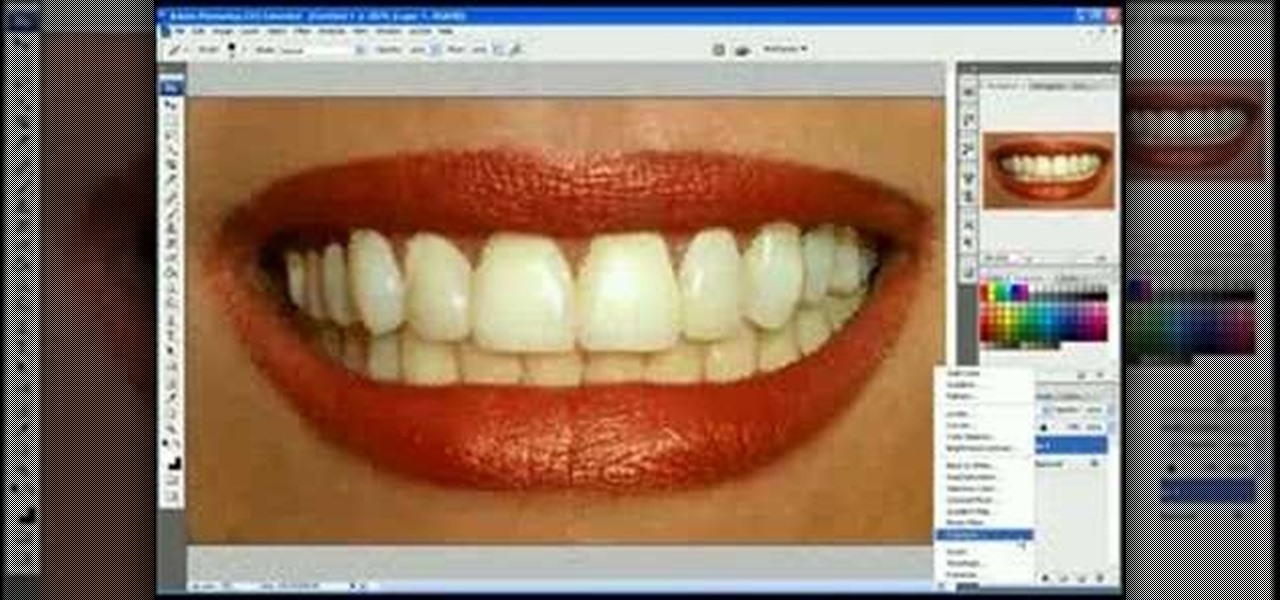
In this video we learn how to whiten teeth in Photoshop like a professional. Start off by opening up Photoshop and zooming in on the teeth in your photo. Start out by selecting a hollow brush and then paint the selection onto the teeth. Paint around them carefully and make sure you don't touch the gums in the middle and on the top of the teeth. Once you have selected the entire area of the teeth you will see them all covered in red. Then, go to "select" and "inverse", then press the button fo...

In this video, we learn how to make a colorful tutu. First, you will need to grab all the colors of fabric that you want to use on your tutu. Then, roll up the fabric of each color carefully, then cut it out to the length you have measured for your subject. After this, cut out one more smaller section of fabric from each piece until you have done this with all of the colors. Now, using a piece of ribbon as the waistband, tie each piece of colored fabric onto it, alternating colors each time. ...

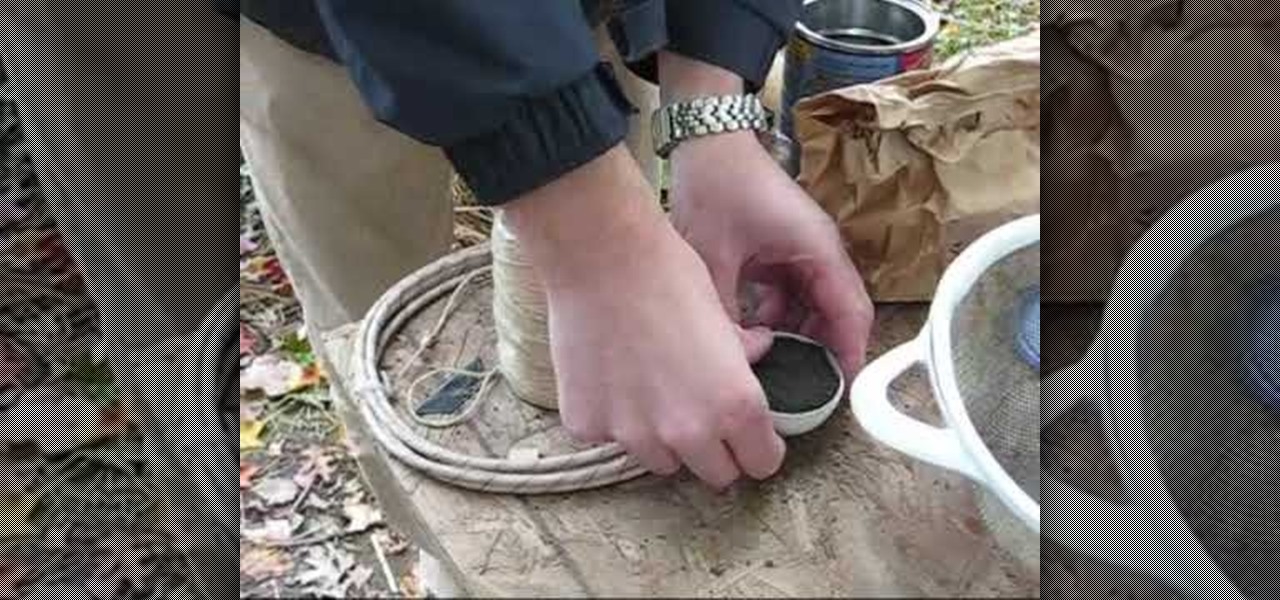
In this tutorial, we learn how to build bar shells and other explosives. First, you will need to pack up the explosives into a container tightly. Then, you will need to wrap it up inside of string tightly and tie it shut tightly. Apply a piece of thick paper over the explosive and then tie it shut again. Once you are finished, you can place all of these inside of a large tub and carry out to use as explosives. Make sure to do this carefully and don't light these when you are close to them, or...

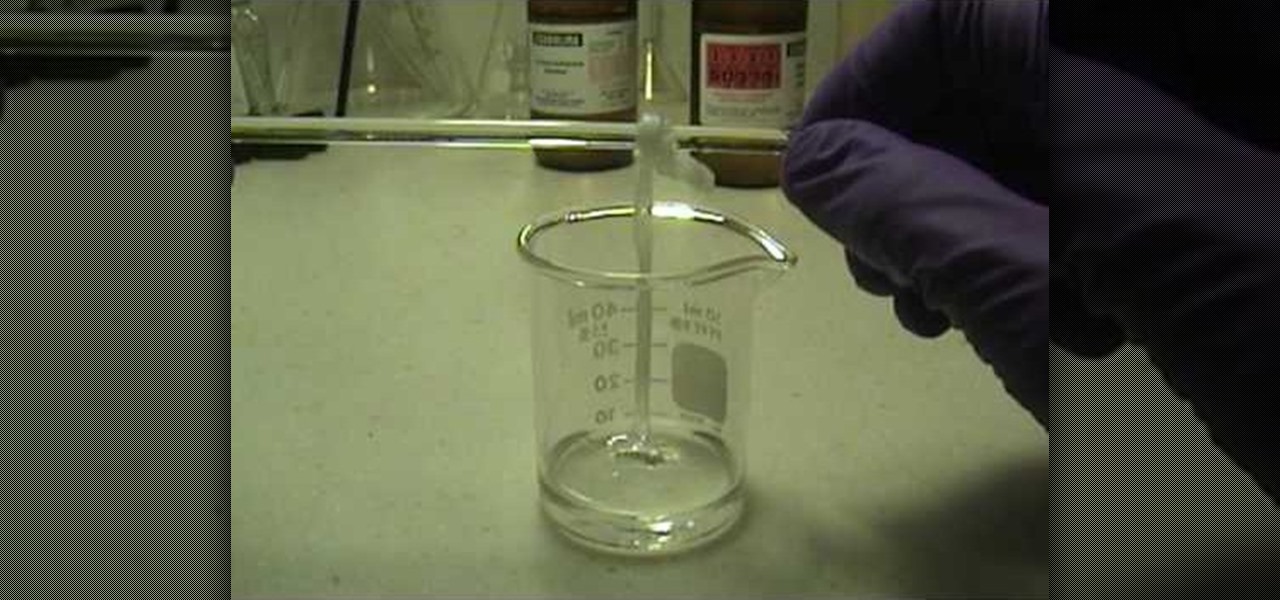
In this tutorial, we learn how to make your own nylon. You will need: pipettes, pipette filler, forceps, beaker, stir rod, sebacoyl chloride and hexanediame solution. Now, pour some of the hexanediame solution into the small beaker. Add in a food coloring if you want to make this a specific color. After this, add in 4 cc's of sebacoyl chloride and carefully drip into the side of the beaker. You should see a layer of where the two liquids are after this. Now, take your tweezers and reach into ...

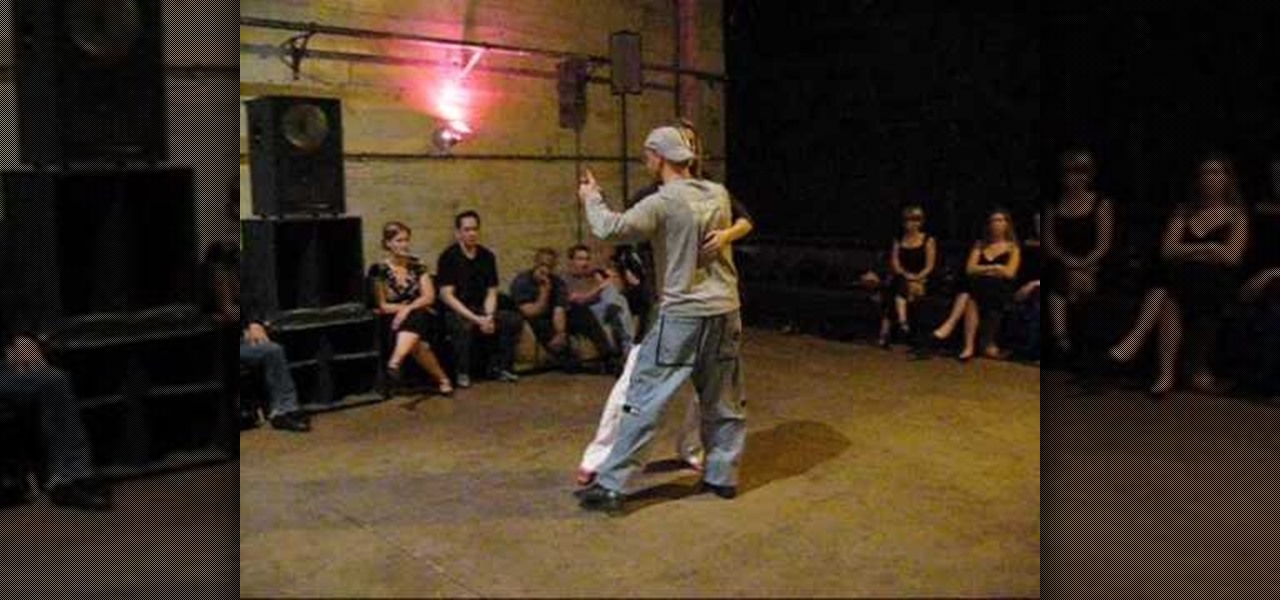
In this tutorial, we learn how to use breathing & intention in tango. Use the pattern of walking into the cross and add in elements of staying in the line. Lead the cross carefully and slowly by breathing slowly to help make an easy transition from closed to open. Put all these elements to help make the dance look better by paying attention to the details. Keep in mind that people are looking at you and want to see someone happy dancing. Keep a smile on your face but also make sure to pay clo...

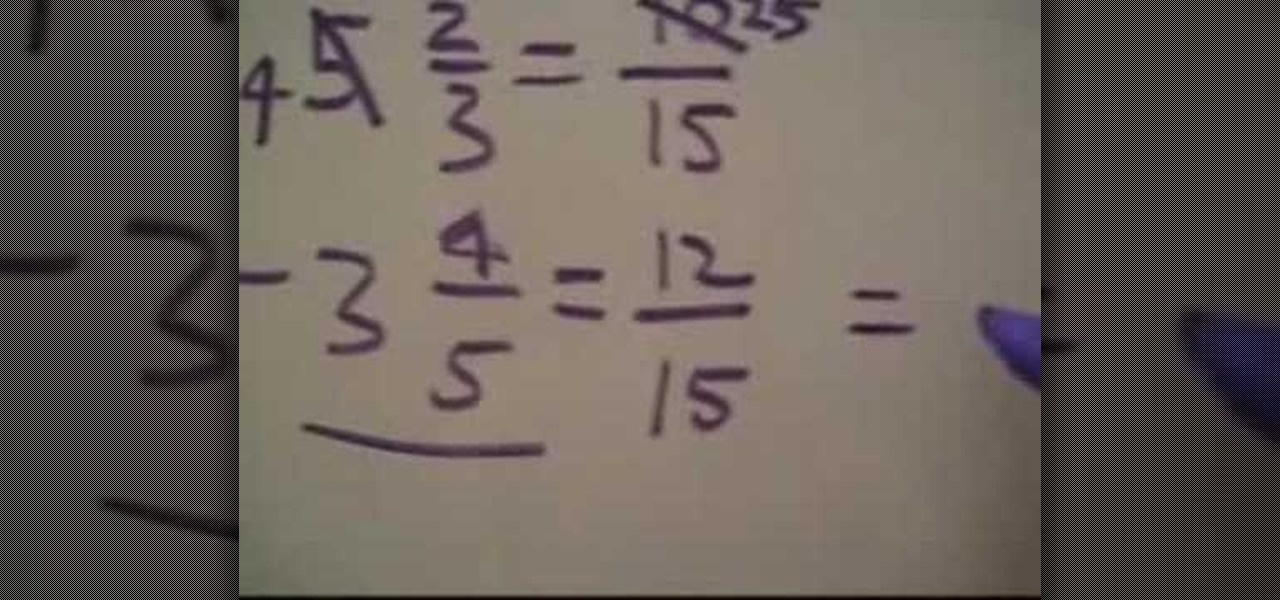
In order to subtract mixed fractions, you'll need to look at the denominators carefully. If the denominators do not match, you'll need to find a common denominator. For example, 5 2/3 minus 3 4/5 do not have the same denominator. The lowest common denominator for them is 15.

In this video, Jeff gives some tips to frequent travelers on how to avoid bringing bed bugs home with them. First, you should begin with inspections of a hotel room, making sure to bring a flashlight and looking carefully in the bed for any bugs. After a stay at a hotel, you should always check yourself for bed bugs before going home. This includes methods such as placing your suitcases in bags in order to avoid infesting your car and emptying your clothes from your luggage outside your home ...

So after much hard labor and patience, you've finally thrown your first vase, fired it carefully in the kiln, and let it harden to a fine finish. What to do next in your pottery making journey? While a beautiful vase is a beautiful vase no matter the finish or color, applying a glaze is like putting on makeup: sure, you don't NEED it, but having it on dramatically improves and accentuates your features, making cheekbones more sculpted, eyes wider and brighter, and lips more well defined. In t...

In order to make and use a stencil, you will need the following: pencil, blue painter's tape, Dura Lar film, Self-healing mat, spray adhesive, old canvas board, airbrush, compressed air, airbrush paint, utility knife, paper, eraser, and an idea for a stencil.

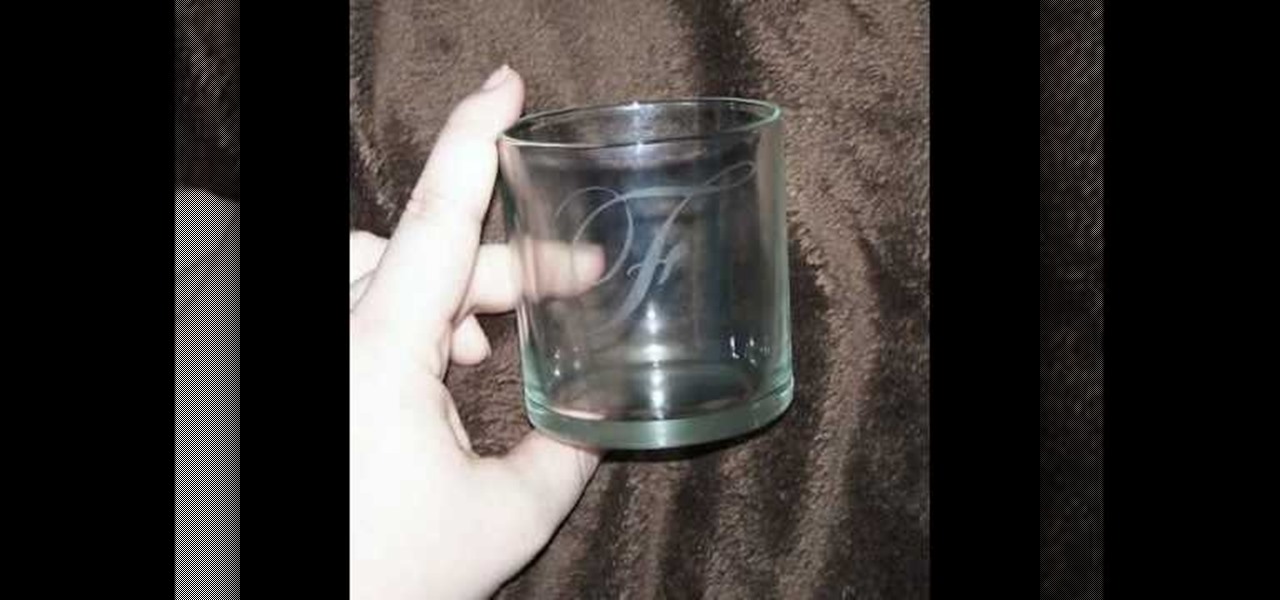
In this video tutorial, viewers learn how to etch glass in 5 minutes. The materials needed for his procedure are: contact paper, Armour Etch and a paintbrush, glass and a sink. Begin by cutting the contact paper face up on a circuit mat. Cut it on medium speed and pressure. Then put the contact paper on glass. Work carefully to prevent any wrinkles and bubbles in the design. Now put the etching cream on in a dabbing motion. The etching cream will not run into areas that are not stuck down. Fi...

In this video tutorial, viewers learn how to make a stencil. The materials needed for this project are: contact paper, scissors and a pencil. Begin by drawing the design, shape letter or number on the contact paper. Make sure to draw the stencil on the back of the paper and make it reversed. When finished drawing, carefully cut out the design. To use it, simply peel off the invisible paper and place it onto the surface of the artwork. Then trace over it. This video will benefit those viewers ...

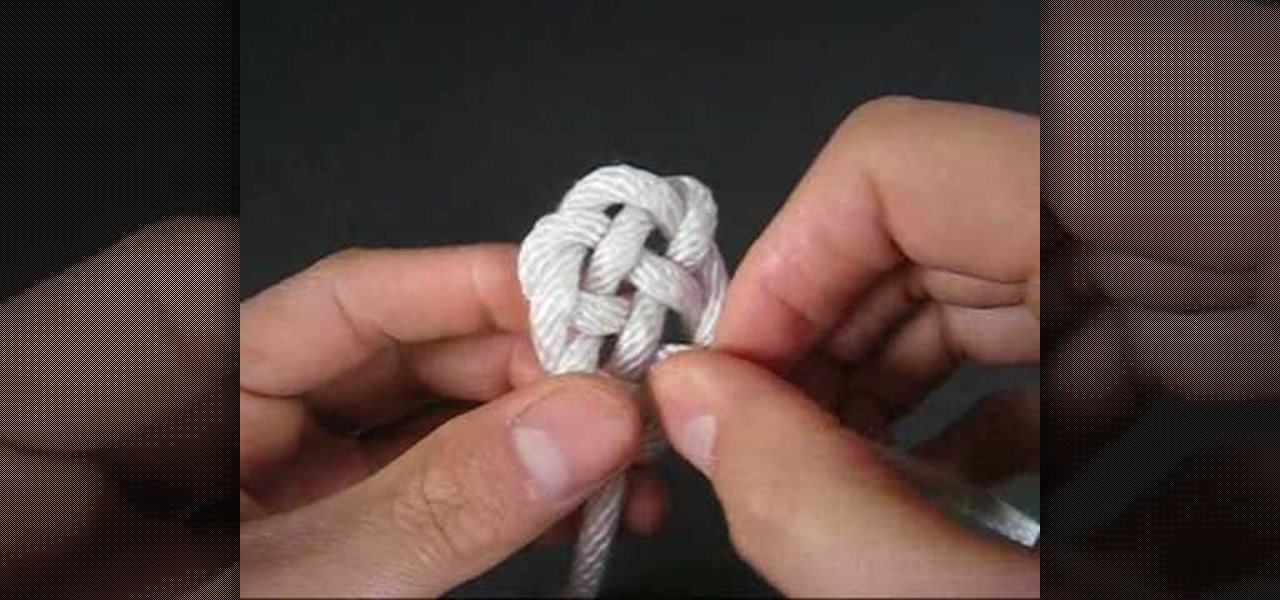
In order to create a Key Hole Weave Knot, you will need: rope or twine. Begin by making a loop. Then, make a second loop next to it. Cross the loops, placing one on top of the other. Weave a free end through the loops. Next, weave the other free end through the loop. Pull them both through carefully. Next, you'll need to shape your knot, by making sure that the spacing is even.

In this video tutorial, viewers learn how to draw curves like an architect. The first way is to use circle and oval shaped templates. When using the template, push down on it firmly and carefully picking the template back up to not smear the pencil marks. If the template does not come with a raised backing, use some built-up tape for leverage. Never use permanent markers with the template, work with dirty hands or cut with the template. Users can also use French curve templates and compasses....

In this video tutorial, viewers learn how to pack lampshades. Most lampshades are packed into 4 cu ft cartons. Begin by placing crushed paper into the bottom of the box. Then place clean sheets of packing paper over each side of the box, making sure that the flaps and inside wall of the box is covered. Now carefully place the lampshade top-down into the box. Then spread clean packing paper over the shade. Now gently place the smaller shade into the larger shade and pack in the remaining packi...

In knitting speak, pearling is just a fancy schmancy term for creating ribs in your crochet project. Ribs help to create a regular pattern and add visual interest to caps (as in this tutorial), scarves, Afgans, and just about any crochet craft.


