Developed by the same team of engineers responsible for LightWave 3D, modo, lowercase, delivers the next evolution of 3D modeling, painting and rendering in a single integrated and accelerated package for the Mac and PC. And now, modo is a true end-to-end solution that includes true 3D sculpting tools, animation and network rendering! More than just features, modo is a truly elegant integration of technology, raw horsepower and refined workflow. With such a wealth of inbuilt features, however...
Devolped by the same team of engineers responsible for LightWave 3D, modo, lowercase, delivers the next evolution of 3D modeling, painting and rendering in a single integrated and accelerated package for the Mac and PC. And now, modo is a true end-to-end solution that includes true 3D sculpting tools, animation and network rendering! More than just features, modo is a truly elegant integration of technology, raw horsepower and refined workflow. With such a wealth of inbuilt features, however,...

Capt. Corey shows us how to blend bucktail in preparation for tying any one of a number of popular saltwater flies.
Fresh fruit milk shakes, so easy, so pleasing. Think fresh ingredients and fresh fruits. Watch this how to video to learn how to blend a fresh fruit milk shake. All you need for this recipe is milk, vanilla ice cream, and fresh fruit.

In this video, Justin Seeley shows how to use a Wacom tablet to create photo collages in Photoshop CS3 Extended. He shows how to blend photographs together using the Wacom pen to create a print ad type image. He shows how to increase the size of the brush, change the opacity, blend the image, and lightly paint into the image to control the amount of the fade.
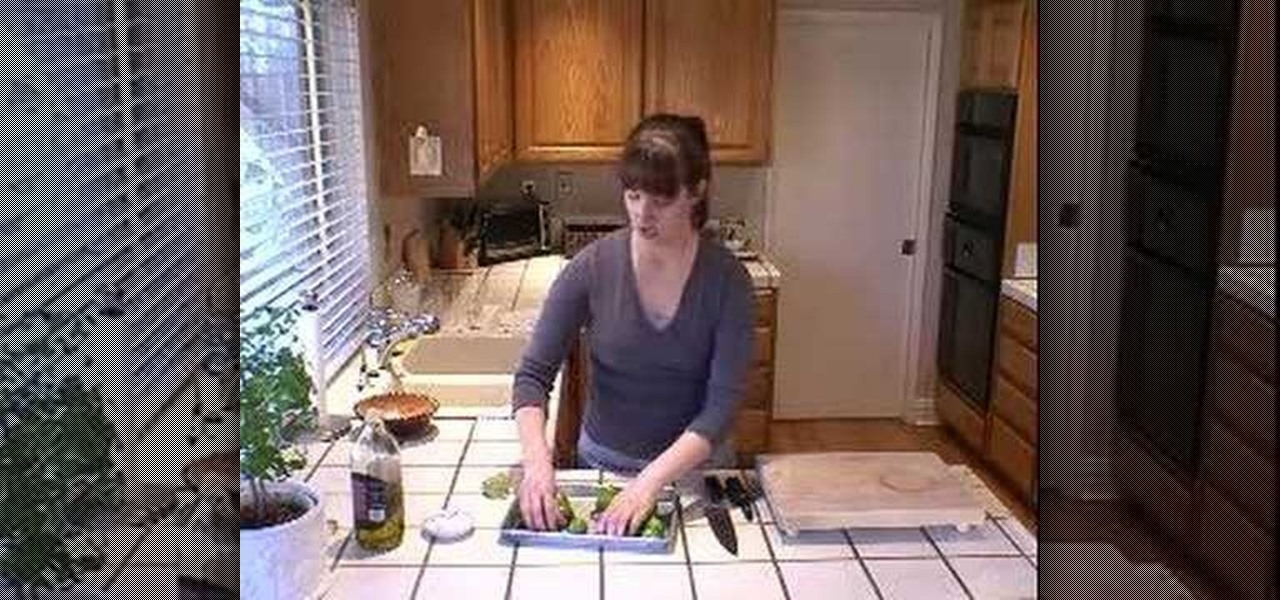
Husking tomatillos can be a sticky business. By peeling off the papery husks under warm running water you can eliminate a lot of the mess. To learn how to peel, roast and blend tomatillos into a quick salsa.

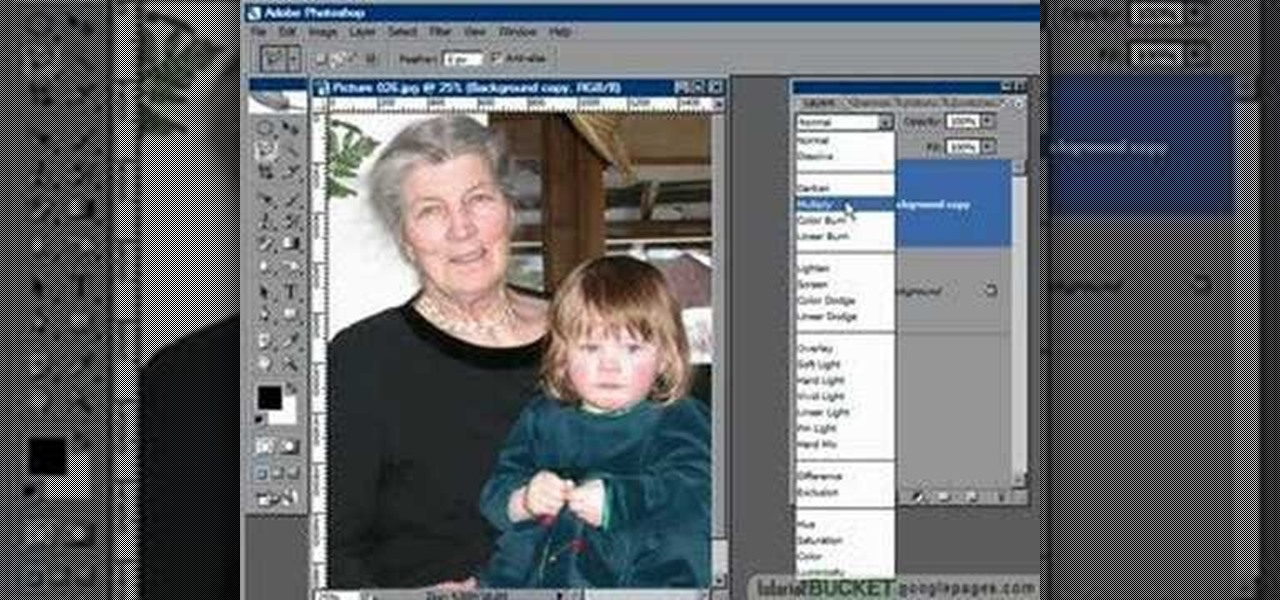
In this video, Dr. Brown, a senior art director at Adobe, shows you how to use the auto blend tool in Photoshop CS3. It's amazingly simple and yields great results.

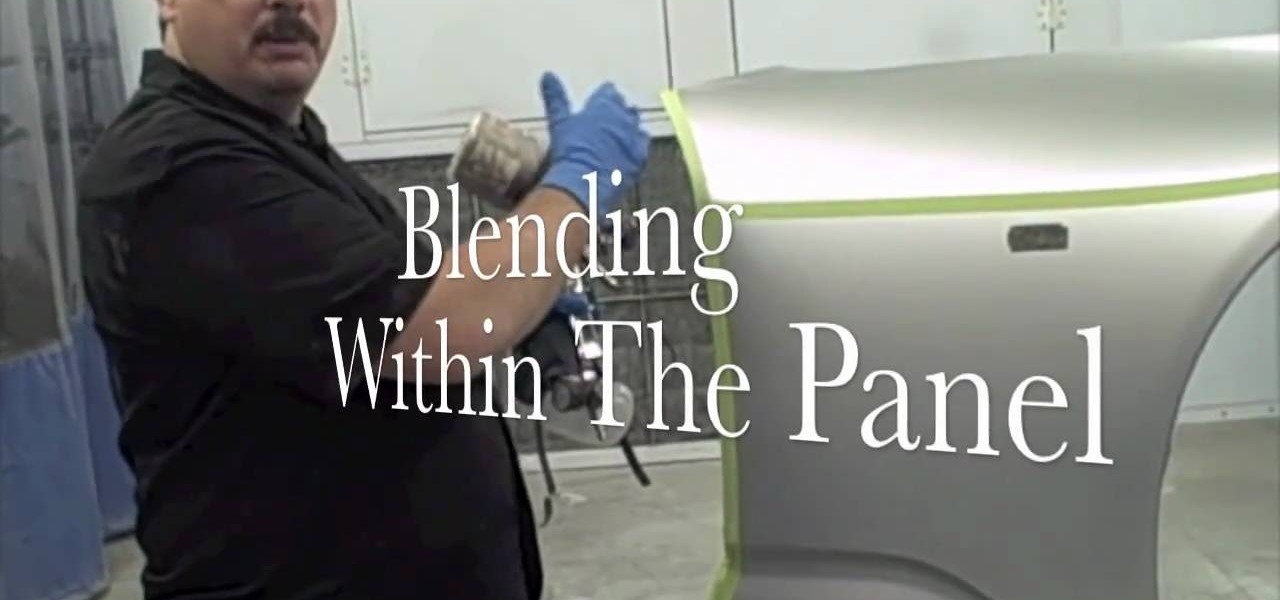
If you're thinking about making some minor paint repairs on your vehicle, getting that paint to match the color on your car can be a difficult task. This video will help you out by showing you how to blend your automotive paint to match the existing color.

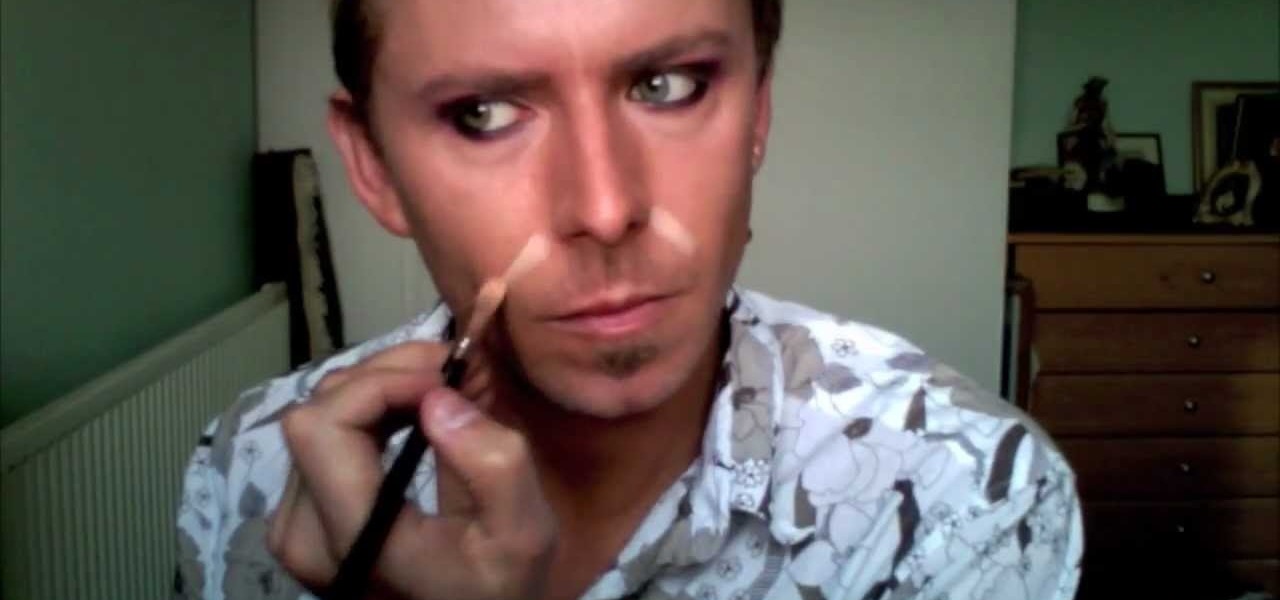
In this tutorial, we learn how to use hot pink and silver shadows to create a makeup look. Start off by brushing a hot pink color all over the lid and up to the crease. Then, blend it out until it reaches just below the brow bone. Next, take a bright pink pigment and brush it onto the bottom of the eyelid. Add a slight glitter color to the lid, then blend a light pink in the crease of the eye and blend with the hot pink. Next, take a dark gray or black shadow and brush it onto the outer v of ...

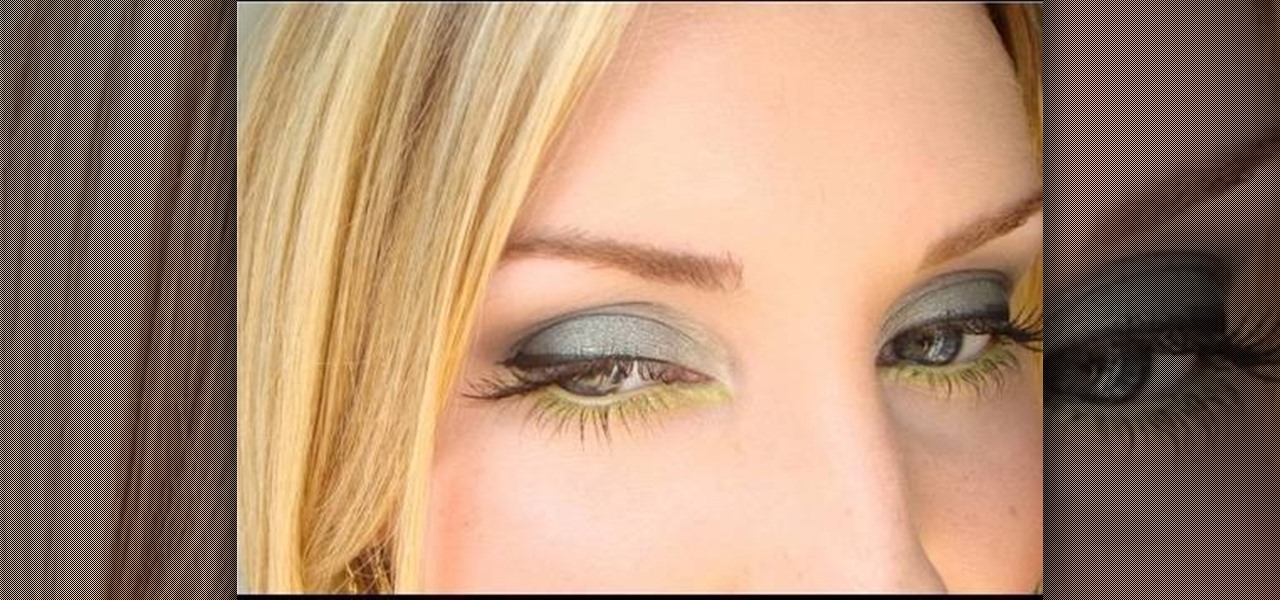
Tiffany D from Makeup by Tiffany D as seen on YouTube teaches how to apply a smoky fall green eyeshadow look to eyes. Apply a creasing product to the eyelid, and a black eyeshadow base then blend with a blending brush. Apply the first shade of green eyeshadow to lower middle and center of eyelid. (Can apply second green eyeshadow color if desired to outer corner eyelid). Apply the third lighter green eyeshadow color in the tear duct area, sweeping upward. Apply the fourth eyeshadow color in t...

This guide to replacing the timing belt and water pump on a Ford Escort is for a 95 Escort, but it will likely help with several different types of vehicles. Watch as both the timing belt and the water pump are removed carefully from the car and then replaced with new parts.

Many sewing machine repairs can be made at home, and most repairs can be completely avoided through routine sewing machine maintenance. This tutorial shows you how to carefully disassemble your machine to give it a round of maintenance. You will need a screwdriver - make sure not to lose any of the screws!

Can't afford a high-speed camera? Fake it! In this clip, you'll learn how to achieve a slow-mo frame-blending effect with Adobe After Effects CS4 or CS5 and two digital photos of your choice. Whether you're new to Adobe's popular motion graphics and compositing software or a seasoned video professional just looking to better acquaint yourself with the program and its various features and filters, you're sure to be well served by this video tutorial. For more information, including detailed, s...

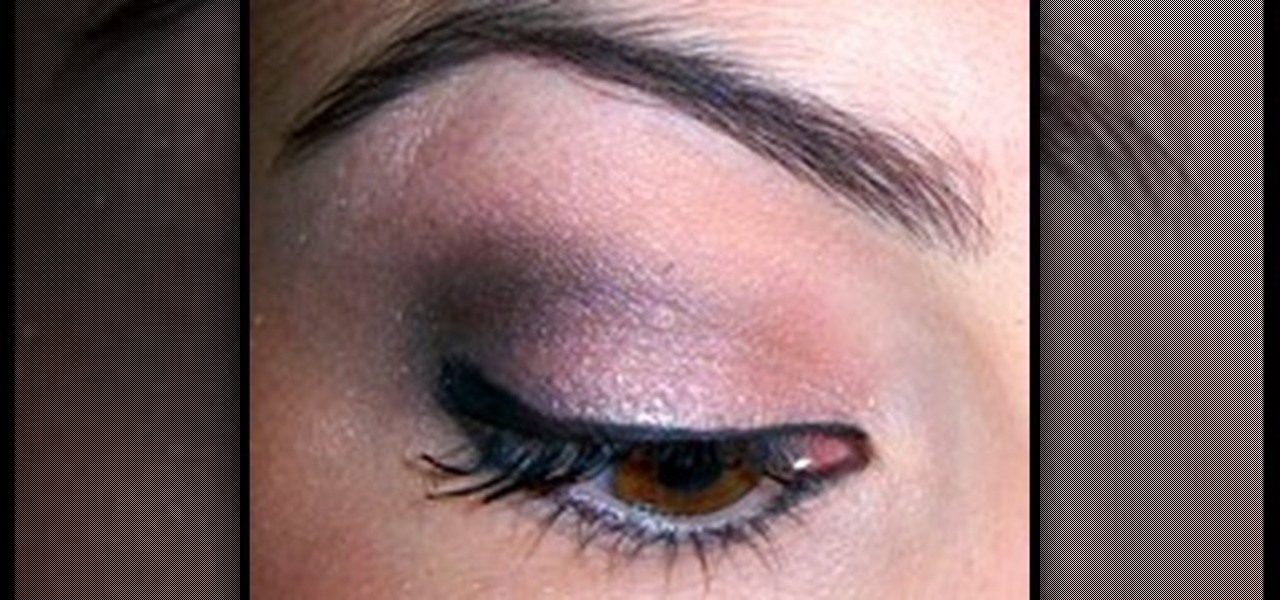
In this video, we learn how to create a basic eyeshadow look for a mature look. Start by applying primer to the eyes, then apply a light shadow to the entire eyelid. After this, use a flat brush to apply a dark gray shadow to the outer section of the eye. Next, use a blending brush to blend the dark in with the light shadow. After this, you will apply a highlight with light shadow underneath the eyebrow. Continue to add more light or dark shadow until you have a good contour, then you are fin...

In this tutorial, we learn how to create a burnt burgundy contoured face and eye look. First, apply a primer to the entire eyelid as a base. Next, apply a shimmer pink eyeshadow with an eyeshadow brush. Next, line the lash line with black eyeliner, and then blend a burnt burgundy eyeshadow onto the outside corner of the eyelids. Circle the brush so the colors all blend into one but will still have the darker color on the outside. Next, take the same burnt burgundy color and pant it onto the b...

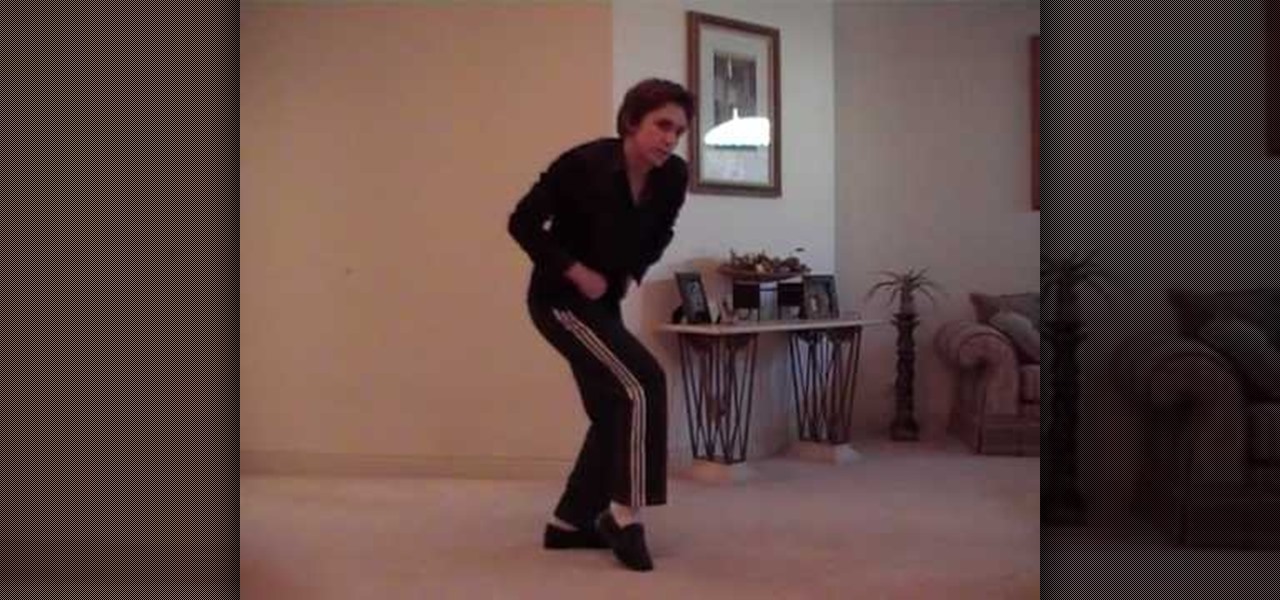
In this clip, you will learn an extremely impressive pop n lock inspired dance move from Michael Jackson. This "robot pop" is used in many of MJ's dances and creates an extremely cool effect. If you think you can control your body very carefully, then check this clip out and practice. These are some seriously sweet moves.

In this tutorial, we learn how to make a homemade delicious protein shake! There are two different recipes that both have good nutritional content. The first shake is a strawberry-banana cheesecake shake. First, take 1 c of frozen strawberries and place them into a blender. Then, add in 1/2 c of milk and blend this until it's slightly mixed. Now, add 3 ice cubes, 1/2 of a banana, 1 scoop of whey protein , 1 tsp of cheesecake pudding powder and 1 tsp of sugar free strawberry jello to the blend...

This video shows us an unusual method for making Buckwheat Millet Coconut Waffles. The batter for these waffles is made without flour, but with actual grains - millet and buckwheat.

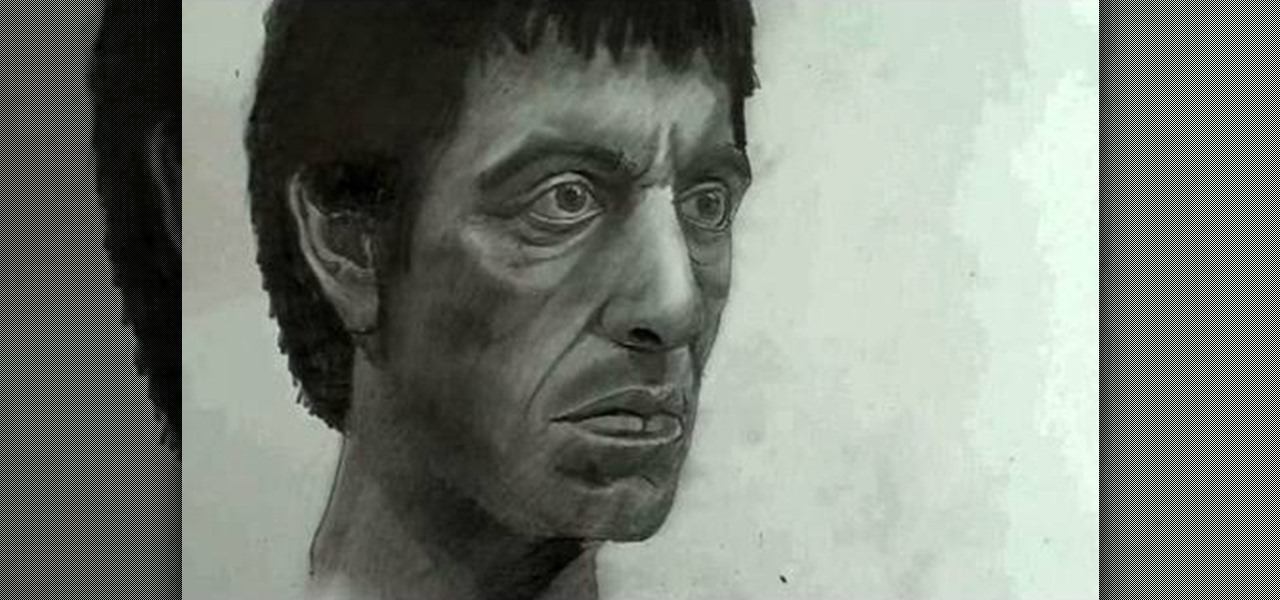
"Okay. You wanna play rough? Okay. Say hello to my little friend!" That's a famous quote from none other than Tony Montana, otherwise known as Scarface, played by Al Pacino, near the end of the film, when he starts blasting everyone away. If you by chance want to learn how to draw Mr. Scarface, it's fairly easy. This tutorial is full of pointers that makes it easy for beginners and experts alike.

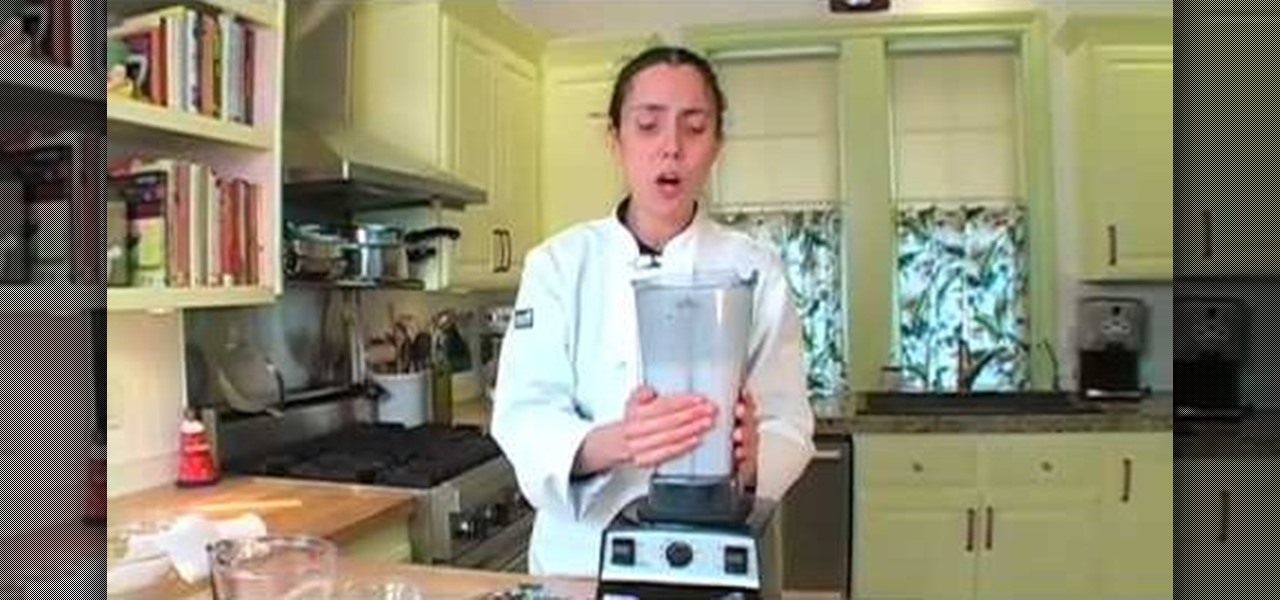
Make Raw Vegan Almond Milk

Enjoy hot chocolate during the stifling summer months by putting it on ice. To make iced hot chocolate, you will need:

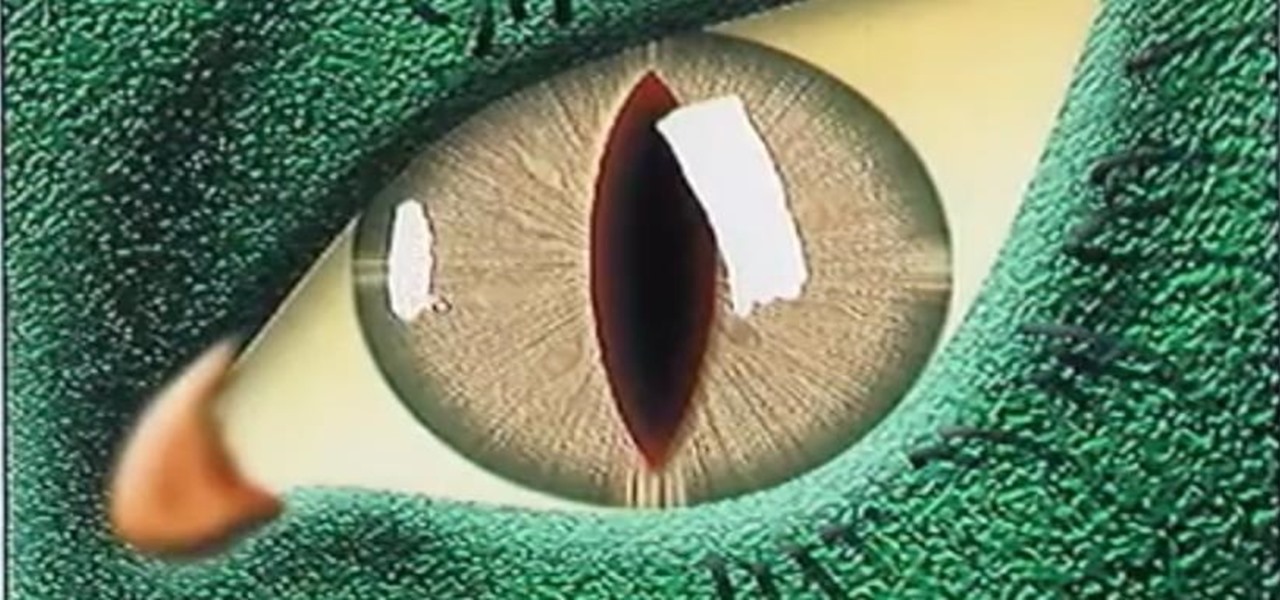
Bert heads to the dark side and teaches you how to create a reptile-like evil eye in Adobe Photoshop. Be afraid. The reptile-like evil eye's texture are created by using various photoshop filters - Radial Blur, Liquify, Texturizer, Craquelure. Carefully watch and learn how to create your own evil eye.

Any electronic equipment is bound to accumulate dust, slight moisture, dirt or any combination of the above on its sensitive parts over time. The delicate nature of items also means further care is required.

This video is about how to apply glitter dust. So the first step that you will have to do is to add two to three drops of activator in the glitter dust which helps stick the glitters on the eyelids. Then the next step is to carefully pat the glitter on the eyelid. Just slowly spread the glitters all over the eyelid and remember to follow the eye shape. Then the next thing that you will have to do is to apply the same process in the other eye. Carefully apply the glitter dust on the eyelid fol...

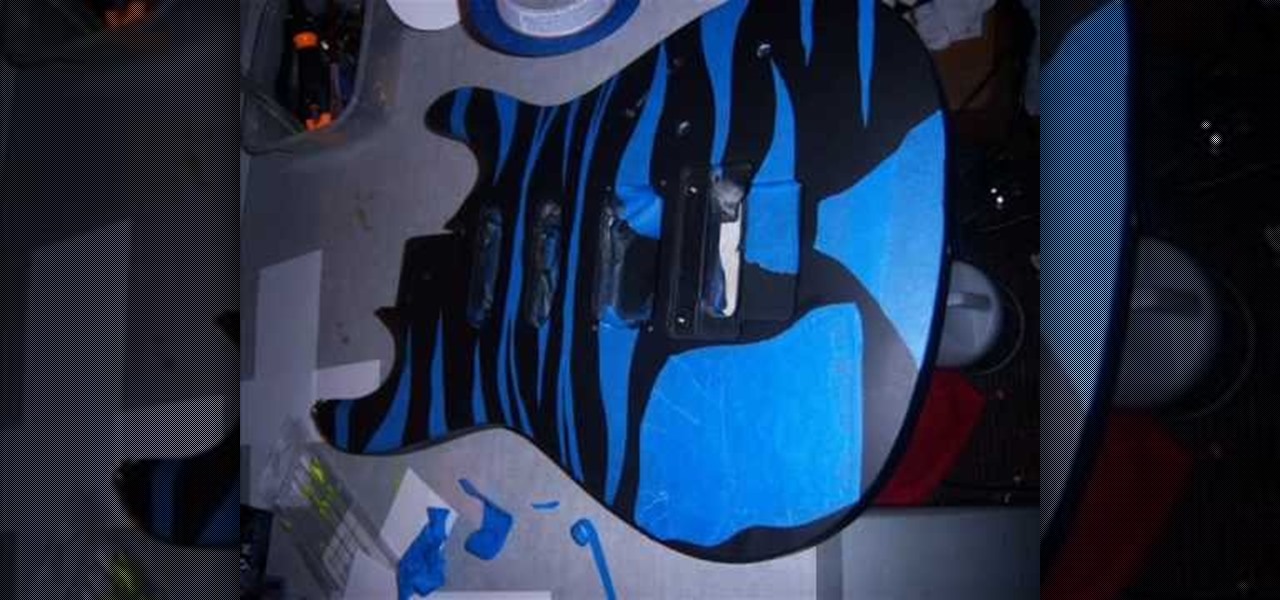
In this video Teddy Zane shows you how to paint a guitar with spray paint. It begins by painting the whole guitar with one color of flat paint, and then creating a panel where you want the picture, out of tape. Next lay your picture on top of the tape and use a scalpel or razor to cut out the design as a template carefully ensuring you do not cut the guitar, only the image and the tape. Once the entire image is cut, pull off the tape to expose the guitar beneath. Cover the rest of the guitar ...

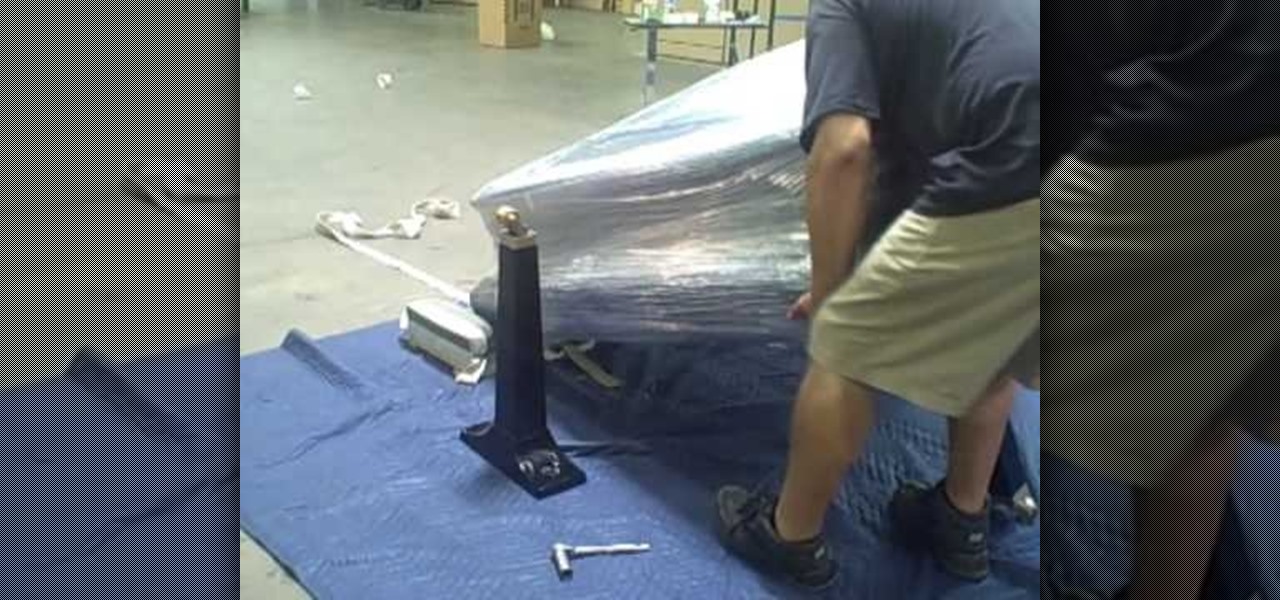
This video demonstrates how to move a piano in one minute. First, cover the top of the piano with tarp. Then wrap cellophane tape around the top, cover and all. Remove the foot pedal. Set aside. Then, remove the first leg of the piano. Rest the corner of the piano body carefully on the floor. Continue to remove the piano legs one at a time. Lifting the piano carefully, wrap 2 straps around the broad top of the piano and lock the straps tight. Draw another strap through the other two straps to...

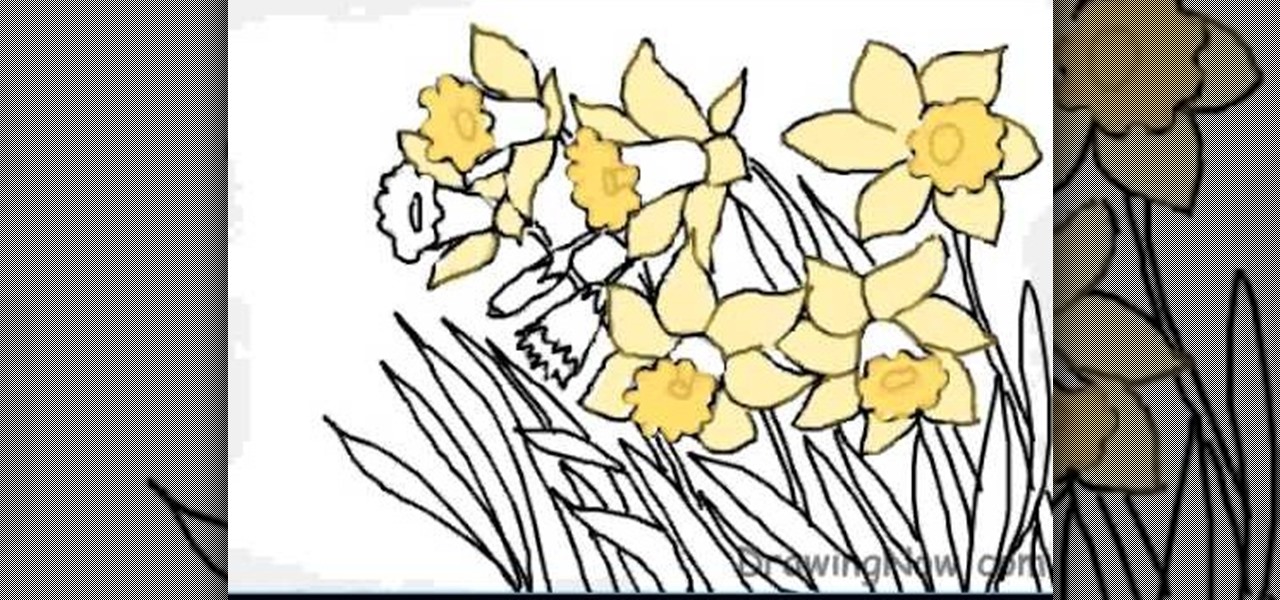
The first step is to draw the daffodil's outer parts carefully. The second step is to draw the circle shape for inner surface of flower.

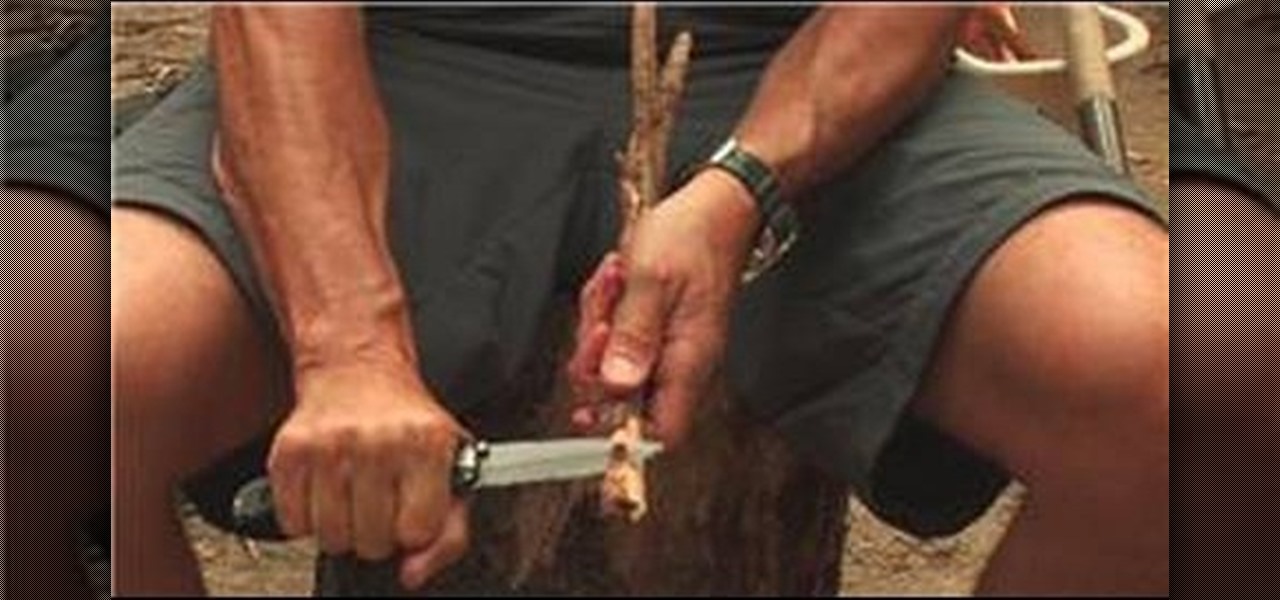
Scott Cook gives you some very easy tips to use your pocket knife carefully. Some of the tips to use your pocket knife carefully are: Always choose a knife with a lock so that it does fold accidentally and a firm handle comfortable to use. Always use your knife away from you while carving. Hold it firmly to carve easily and make sure nobody is around you while using your knife. You can also dig using it and to drill hold it firmly straight and rotate the knife.

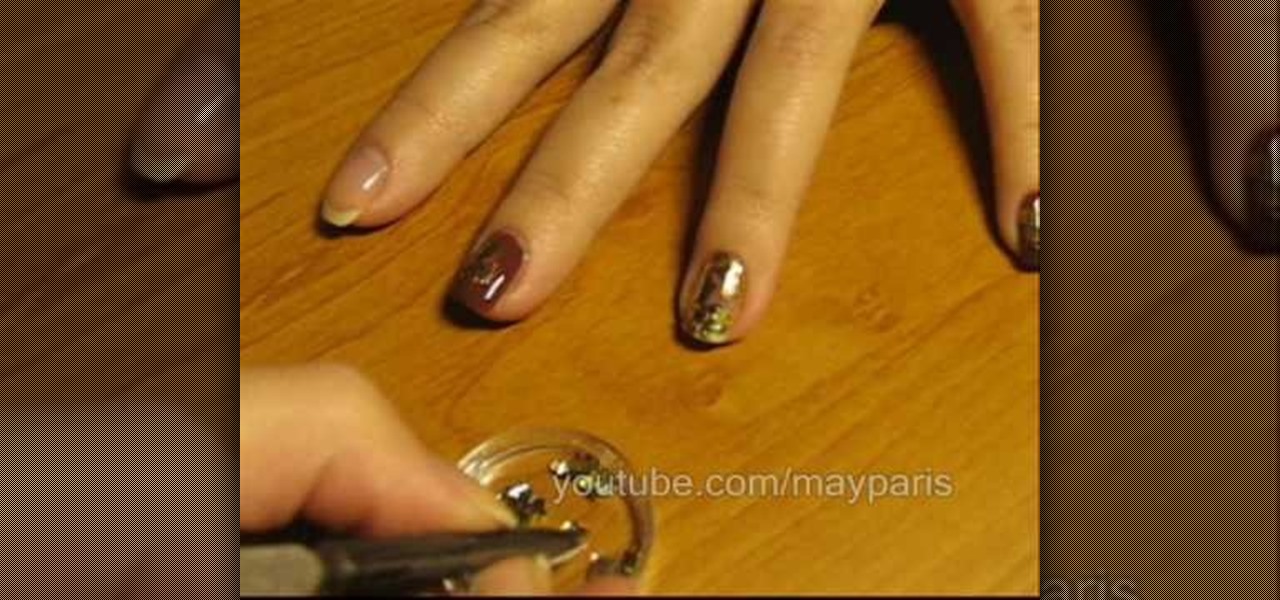
May Paris teaches how to use and apply gold foil on your nails. First step is to apply the base coat as it protects from some harm. Carefully tear the foil in small parts. Now apply brown nail color(or any other color you wish) on the base coat of your nails. Let it dry and use tweezers to pick up the foil. Stick the foil very carefully to your nails as shown. Let it dry and follow the same procedure for all of your nails. Finally apply the top coat to secure the foil as shown. The foil can b...

Follow these steps for a delicious and easy-to-make omelet you can enjoy anytime. Watch this video to learn how to make an omelet in a bag.

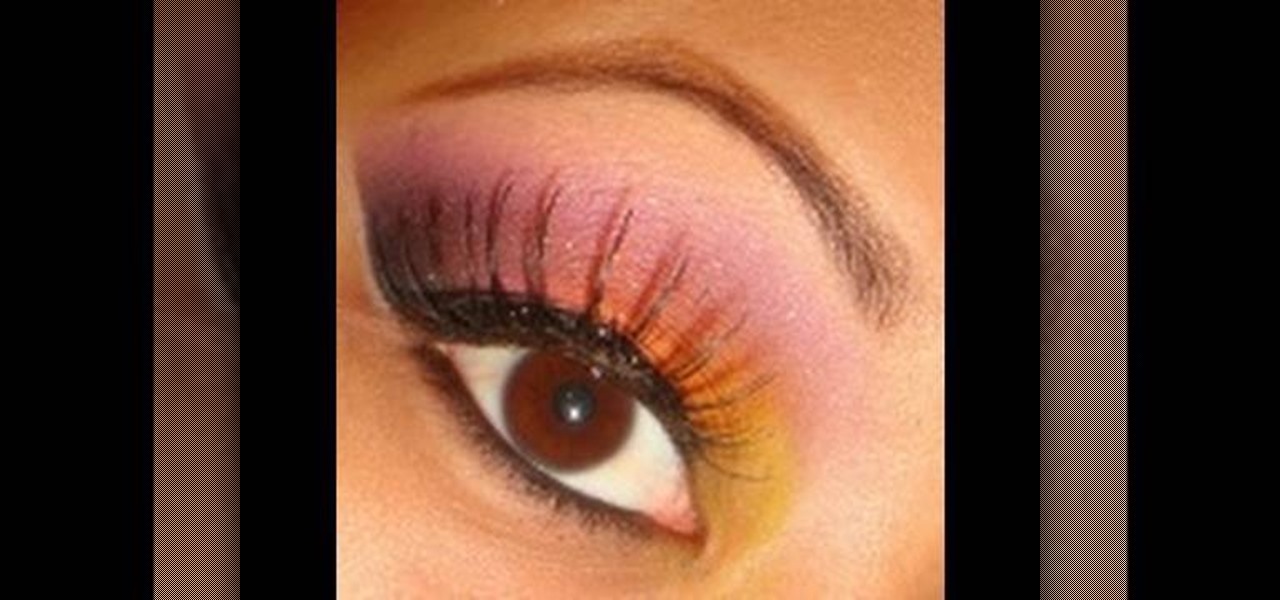
In this tutorial, we learn how to create a dramatic tropical look with Bitch Slap makeup. Start off by applying a primer to the eye and a yellow shadow on the inner corner of the eye. Next, apply an orange color next to this and blend in on the edges. After this, apply a red color on the edge of the orange and blend together. From here, you will apply purple to the crease of your eye and blend it to the outer corner of the eye. Then, apply black on the outside corner of the eye and blend with...

Watch this fine art video tutorial to learn how to illustrate with markers and colored pencils. "This video shows my process for making an illustration (non tradigital). I use illustration markers (usually prismacolor) and color pencils (usually prisma once again) and a wax blending stick. I make my illustrations in two steps:

This video shows how to do the "outer V" eyeshadow technique. All you will need are 2 shadows (1 medium/light and one dark), eyeliner, and mascara. First you must prime your lid using an eyeshadow primer or cream shadow. Now take the lighter shadow and cover the entire eye area in it, concentrating it on the lid. Next take the darker color and put it on your crease brush. Apply the shadow to the center of the crease, and blend a little of it inward, but focus most of the color on the outside ...

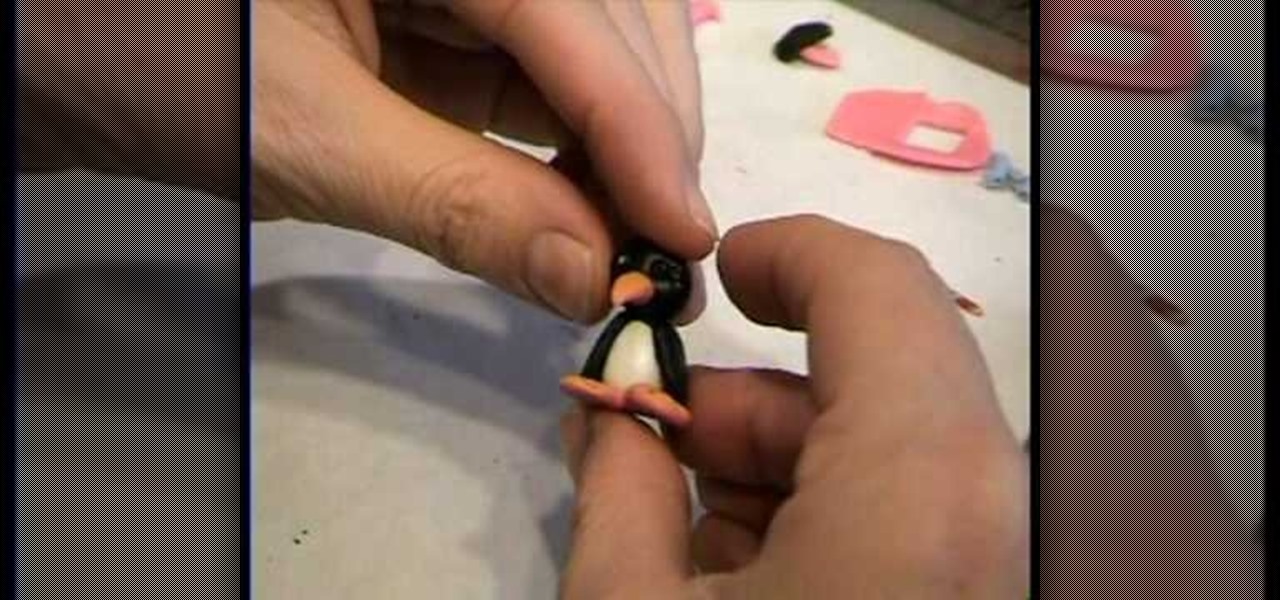
A piece of orange clay is rolled down to diameter of desired width of beak, and rolled down further at 1 end to make a point. Cone shape is cut to length of beak desired. A black ball of polymer clay is made. Base of orange beak is blended onto it. 2 clear seed beads are picked up individually with a pointed stick and pressed into head above beak. Stick is used to make 2 eye creases at right side of right eye and eyebrow over left eye. Repeat on other side. 2 flat oval pieces of orange clay a...

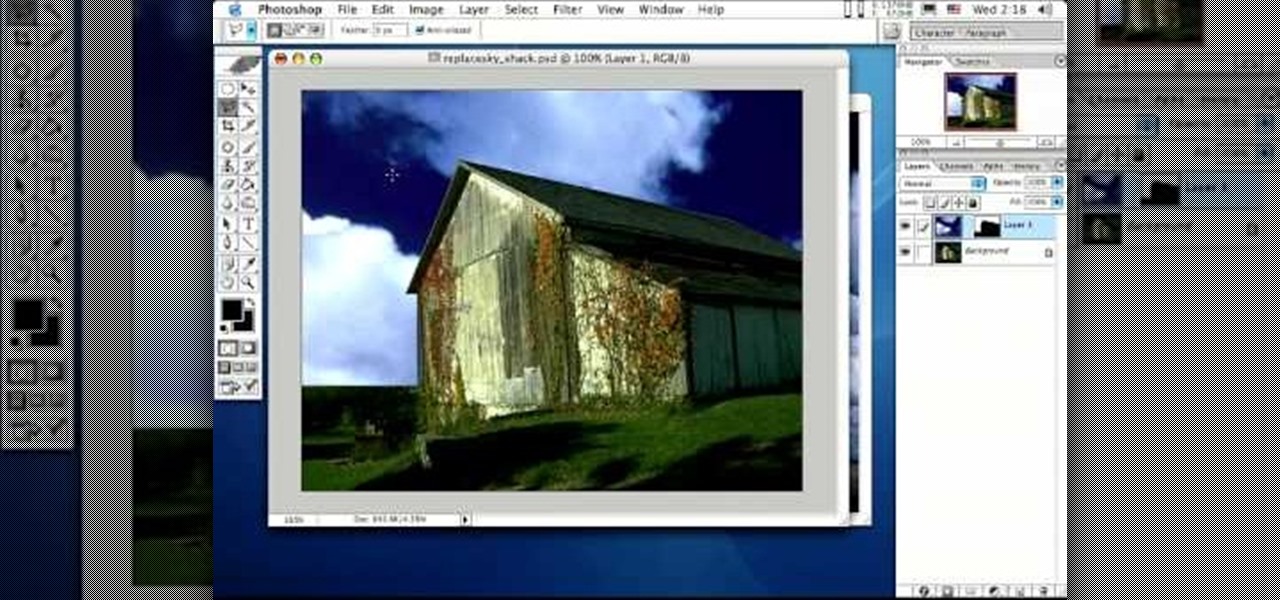
Photoshop is the perfect program to use when you want to make adjustments to photos you have taken. You can really make a sky pop in any of your pictures by using Photoshop to manipulate the color by following this tutorial.

This how-to video is about how to darken an over exposed image in Photoshop.

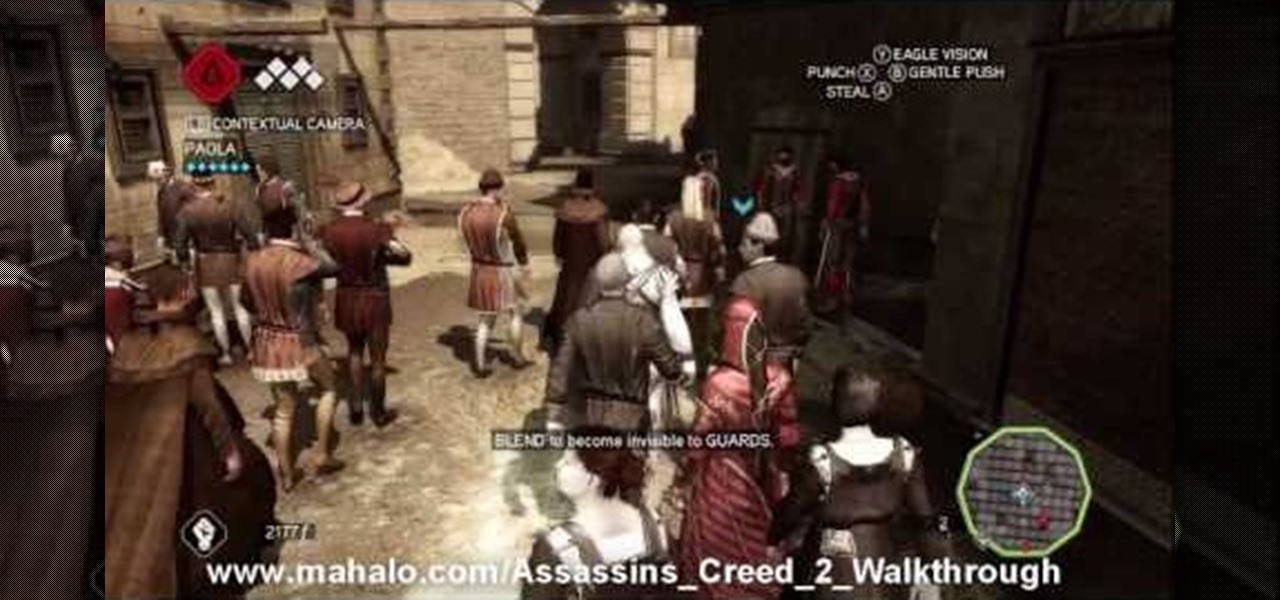
Fitting In: Find your way to the, uh, video arcade and you'll get a cut scene introducing you to the next mission. You'll be introduced to a number of new, basic gameplay mechanics, so nothing's too difficult. At first, you'll learn to blend. Simply walk into the center of a group of women and you should see a white webbing on the ground that lets you know you've blended.

How do you know if the Beats By Dre Studio headphones that you are about to buy online are genuine? Always ask the seller to use the youVerify app before you buy. Smarter Selling, Safer Shopping.

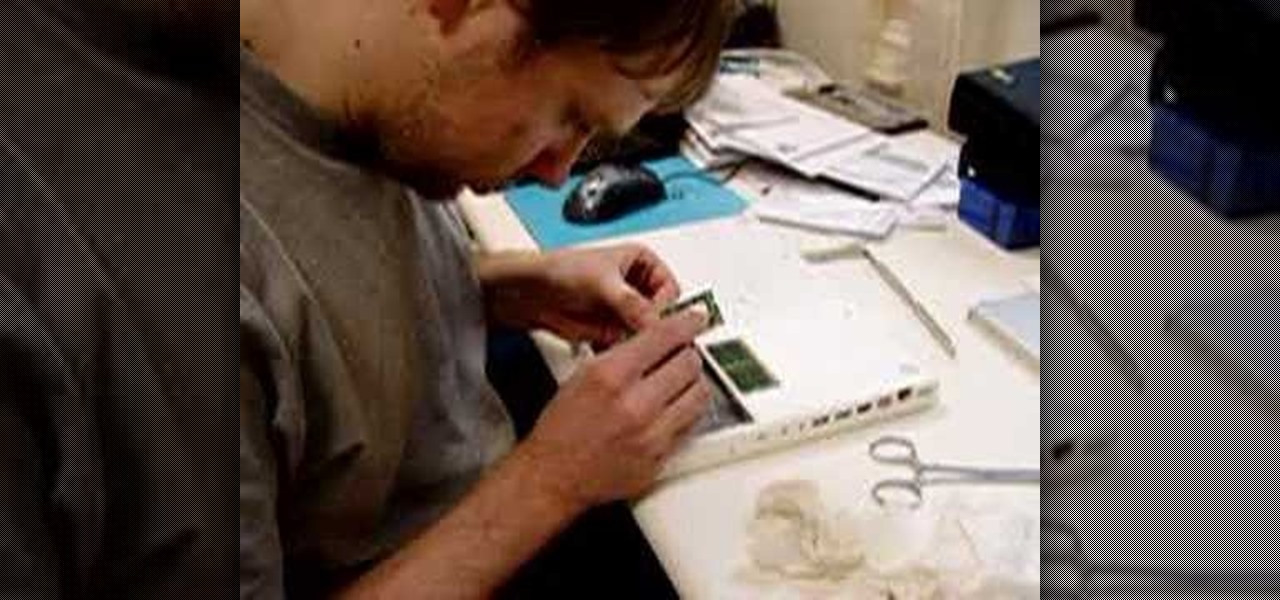
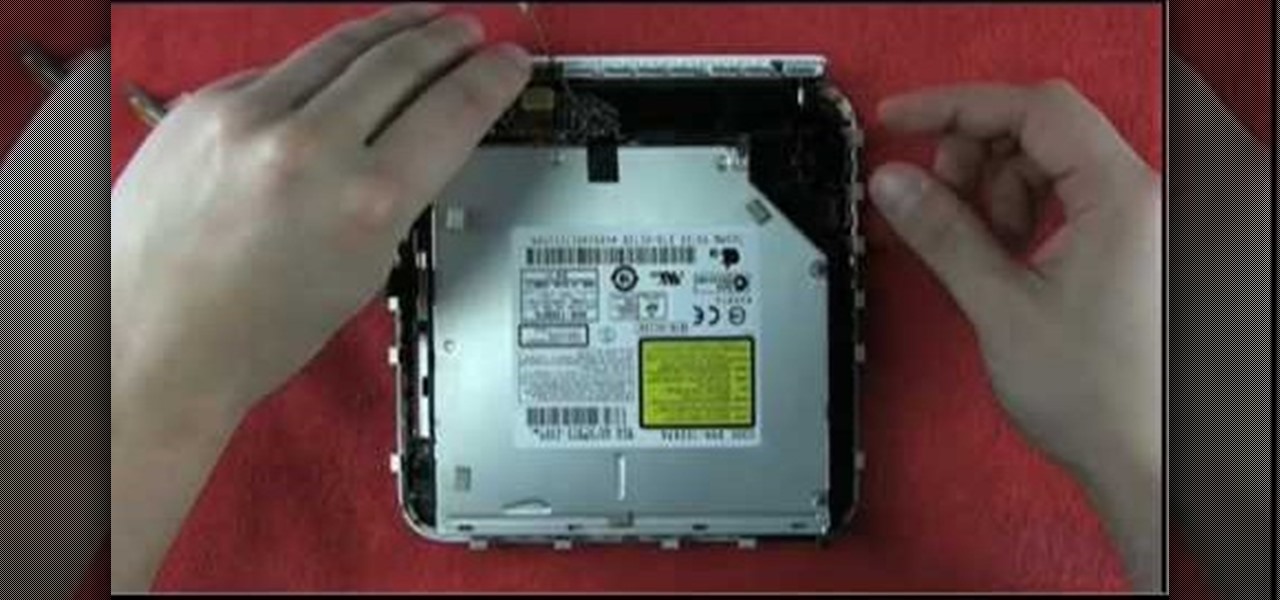
This video demonstrates how to install memory step by step in a Mac mini (2009), as it is a complicated method; it is advisable to watch through the process then attempt to do the same. First step is to remove the old memory from the Mac Mini. Shut down and unplug the Mac mini and place it on a soft cloth to prevent any scratch. Turn-over the mini to get into it using a small buddy knife. Carefully place the buddy knife between the inner and the outer case. Try to detach the inner clips using...

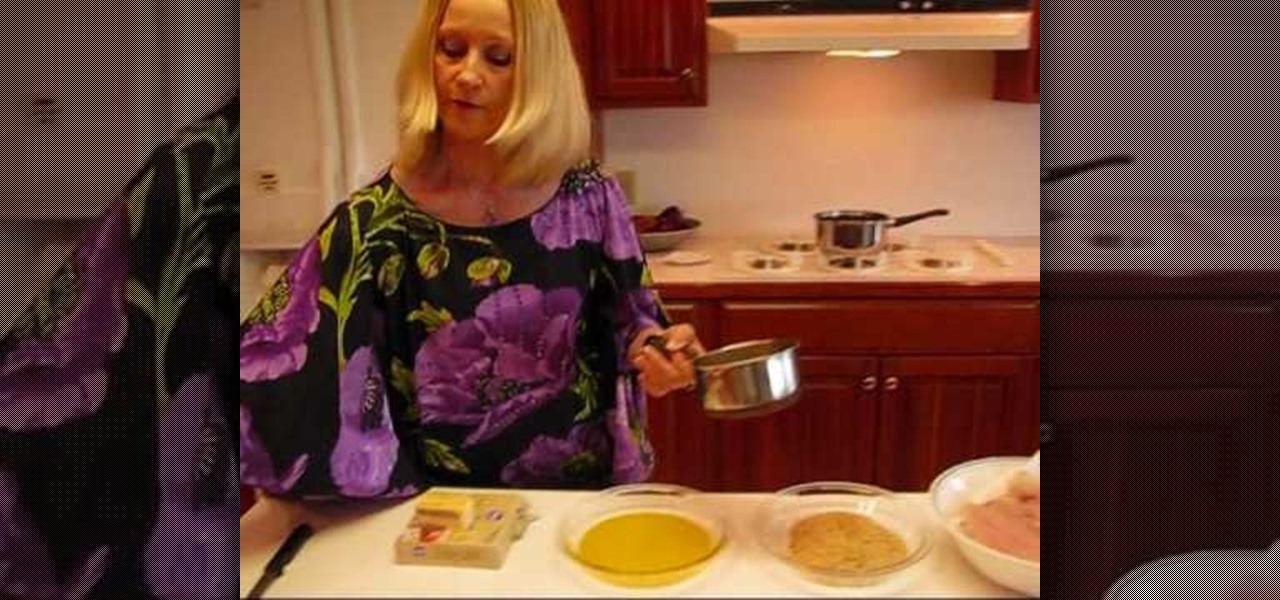
What could be more Southern than catfish? But how do you cook it up? Betty shows you a recipe for delicious broiled breaded catfish!


