In this video Ron Hazelton tells you how to build a craft table. By following each step carefully you will have a sturdy and proper table. Some of the things you will need are laminate, trim, nails, screws and stringers. Using these steps and creativity putting together a craft table is made easy.
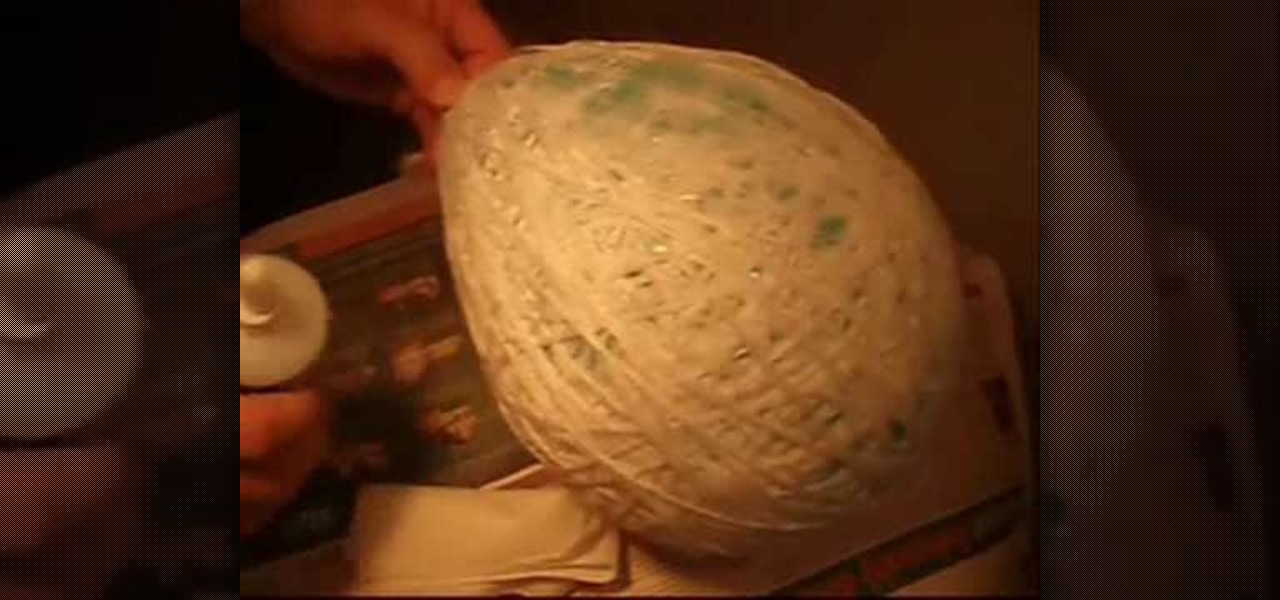
In this video tutorial, viewers learn how to make an amazing lamp. The materials required for this project are a balloon, wool string and liquid glue. Begin by blowing up the balloon and wind it with wool string. Wrap all around to cover the surface of the balloon. Then cover the entire balloon with some liquid glue and let it dry for 24 hours. Once it's dried, carefully let out the air of the balloon and remove it from the dried yarn string. Now add a light source. This video will benefit th...

This video shows how to weave paper. This paper can then be used to make crafts such as origami. You may want some supplies: a cutting board, a paper cutter, scotch tape, and square origami paper (6"x6"). Start with two sheets of paper. Cut the paper into thin strips, 1/2" each. Reassemble one of the squares. Carefully align the pieces close together. Place a piece of tape on the top, and tape it to the cutting board. Take a strip of the other color paper, and weave it through every other str...

According to a study released 6/24/08 by PLoS Medicine, watching a video in an STD clinic waiting room can reduce the risk for a new STD by almost 10%. In a large multi-center intervention trial, Dr. Lee Warner from the Centers for Disease control and Prevention and a team of researchers at different institutions in the U.S. studied the effect of a carefully crafted, 23-minute waiting room video on the risk for new STDs among 40,000 patients in 3 STD clinics in the country. This is brought to...
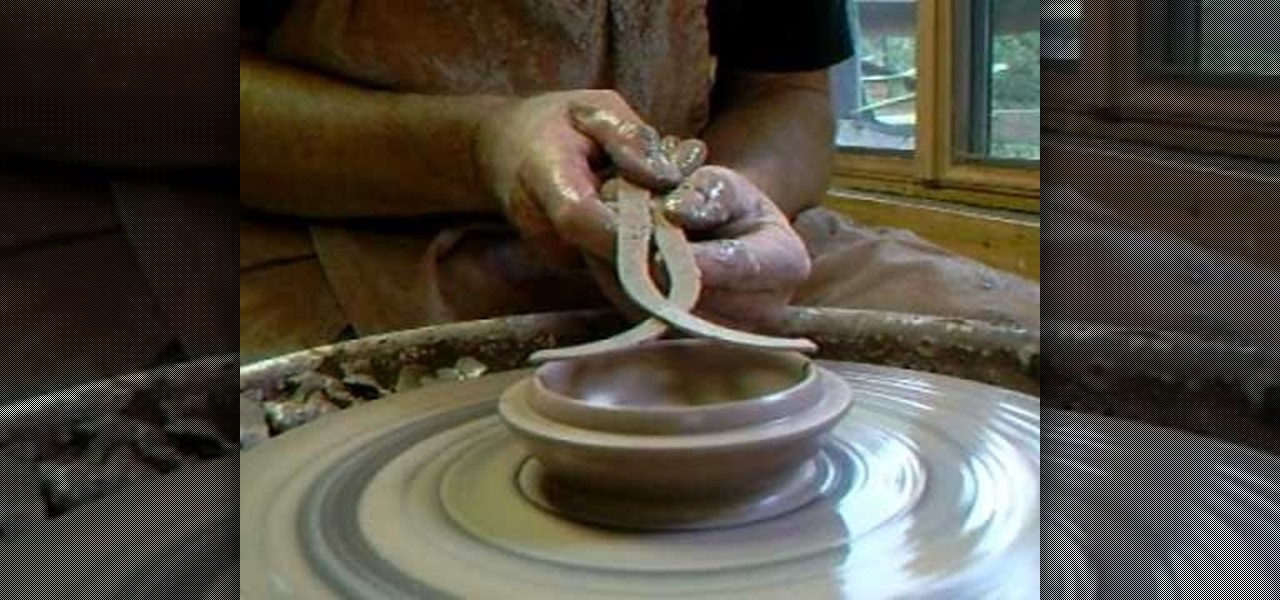
In this tutorial, Simon Leach teaches us how to make lidded boxes. First, grab your pot and dip the top of it into water to get it wet and soft. Now, grab a small amount of clay and set it on your spinning table. After this, get your hands wet and start to craft a lid out of the clay. Make an inner base as you are spinning the clay by carefully placing your finger on the side of the top. When finished spinning, place the top down and see if it's the correct size for the pot, then glaze and fi...

In this video tutorial, viewers learn how to make a stencil. The materials needed for this project are: contact paper, scissors and a pencil. Begin by drawing the design, shape letter or number on the contact paper. Make sure to draw the stencil on the back of the paper and make it reversed. When finished drawing, carefully cut out the design. To use it, simply peel off the invisible paper and place it onto the surface of the artwork. Then trace over it. This video will benefit those viewers ...

In knitting speak, pearling is just a fancy schmancy term for creating ribs in your crochet project. Ribs help to create a regular pattern and add visual interest to caps (as in this tutorial), scarves, Afgans, and just about any crochet craft.

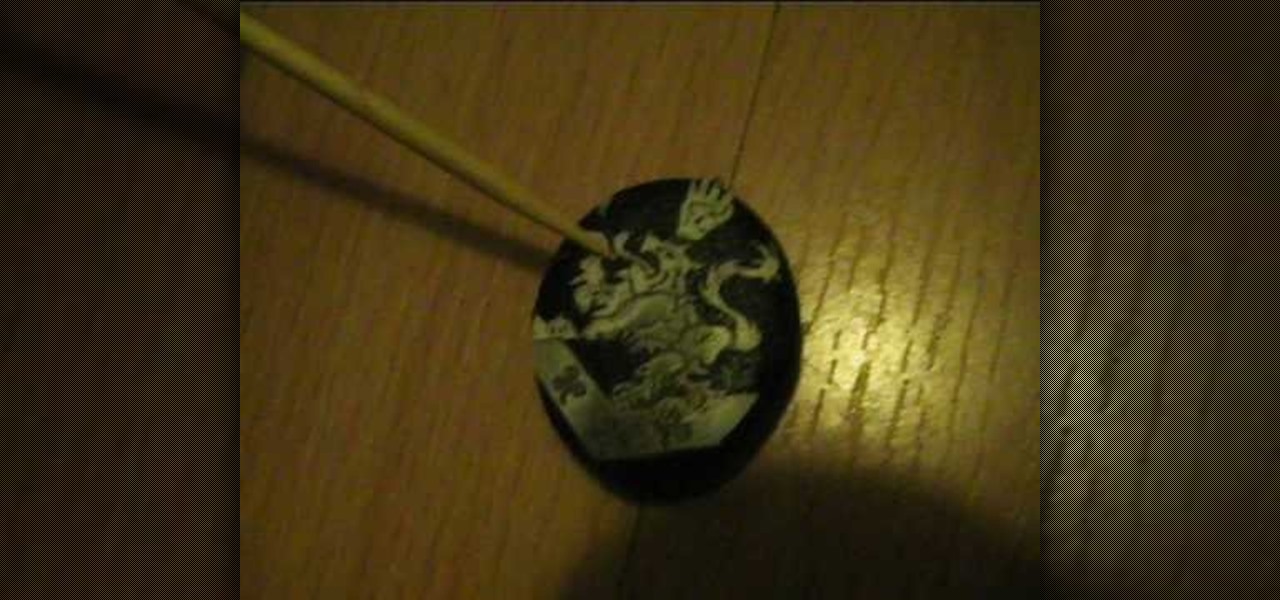
In this video, Alice demonstrates how to make a crest necklace using simple things. For making this necklace she collects some materials such as oblong shaped rock or polymer clay, some paints, a computer print of a cullen crest and so on. She uses the ordinary black paint to paint the rock completely. Next, she collect a computer print of a layout for the culler crest and carefully cutout the shape and using craft glue she stick it on the painted rock to see it fit. she takes some white pain...

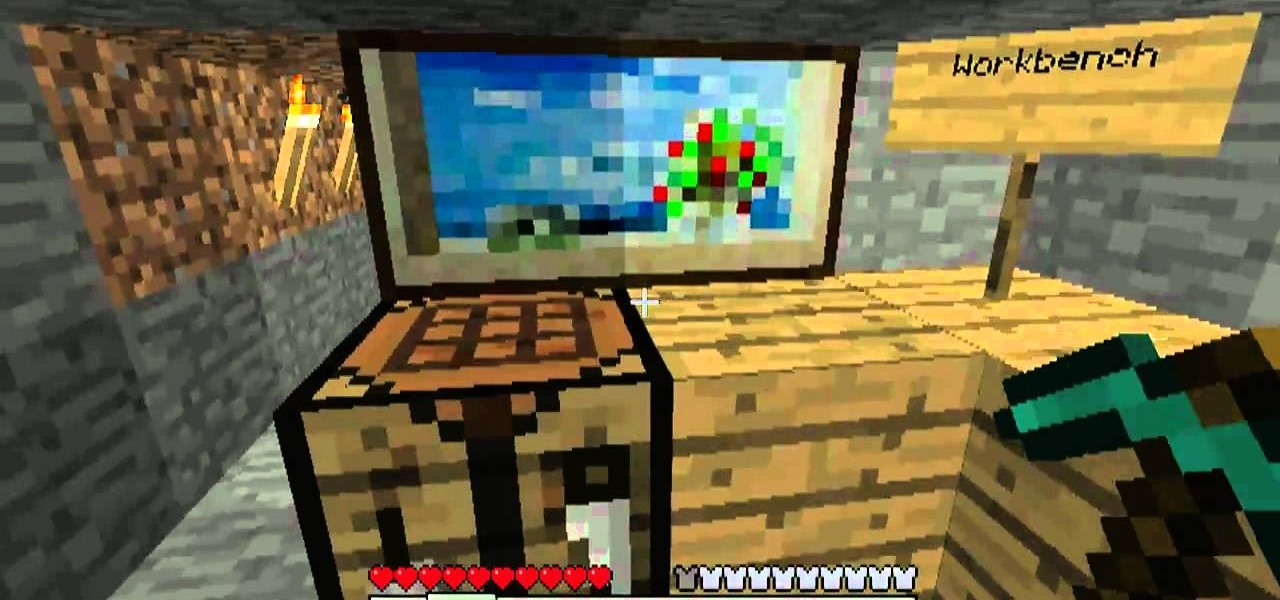
A big part of the fun in Minecraft is figuring out all of the different things that you can craft and how to craft them. Sometimes you just want to make the damn thing though, and to that end this video will show you how to make many of the game's better and more complex to craft blocks. You'll learn how to craft the following blocks:

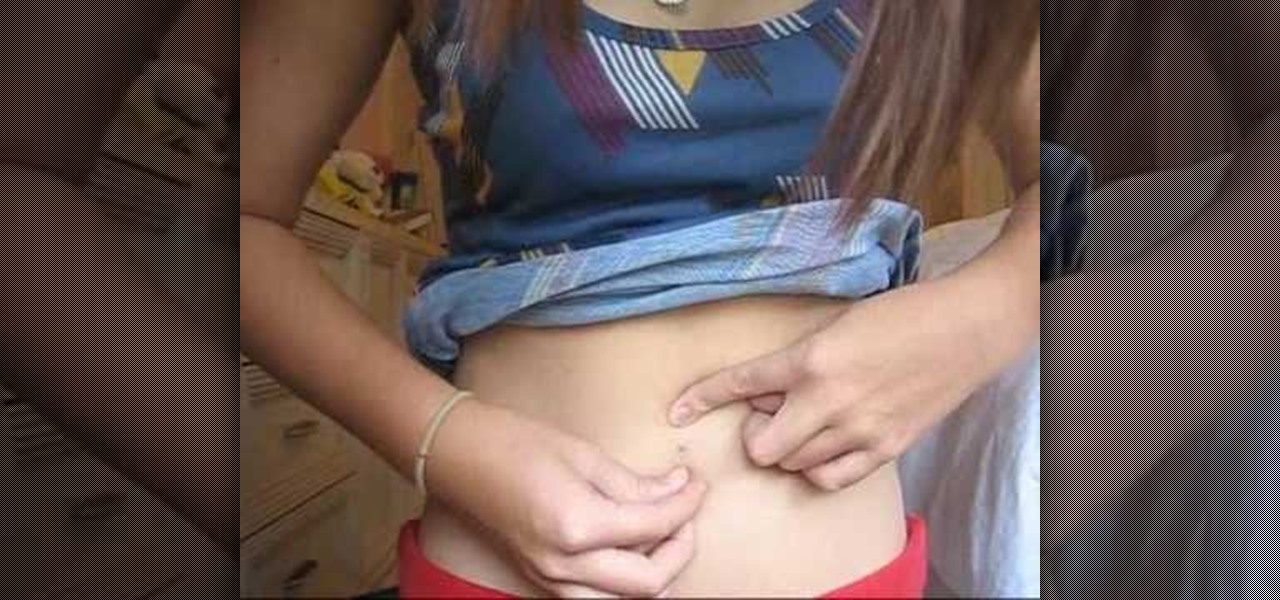
This video teaches the secrets of cleaning and changing your belly button ring in simple steps. First add some saline solution or salt water solution in a paper towel and rub on your new ring to clean it. To change the ring on your belly button, unscrew the old ring and remove it carefully. Now insert the new ring through the hole present in your belly carefully. Finally screw the inserted ring carefully to finish.

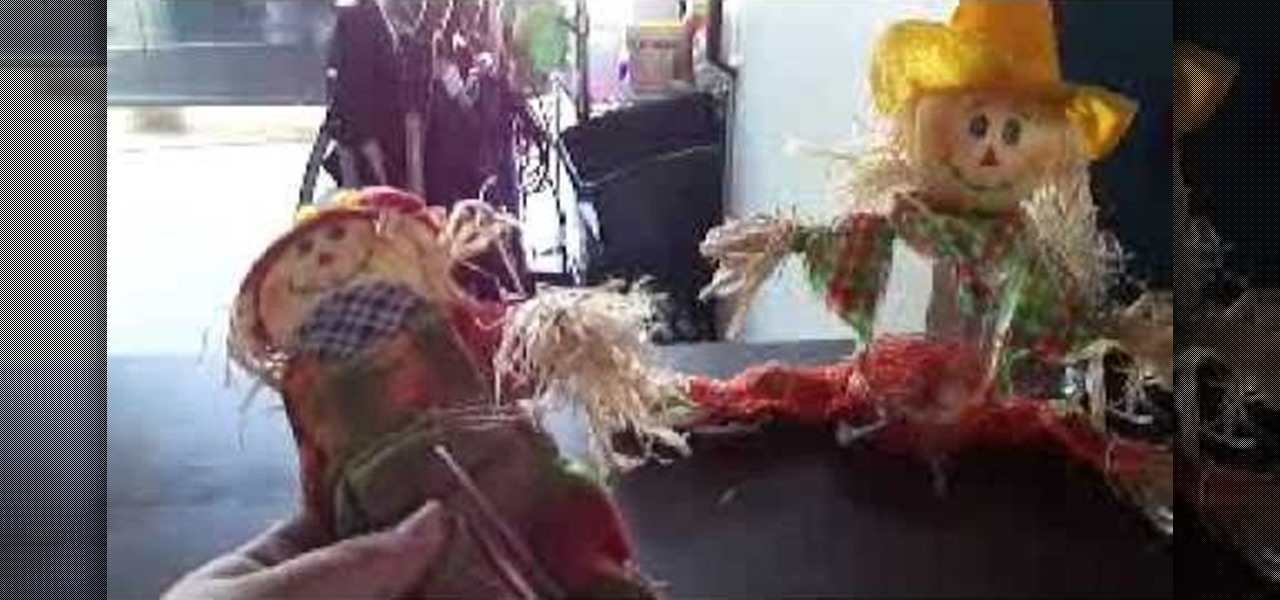
This is a great and inexpensive Thanksgiving craft idea you can do easily - turn a glass jar into a scarecrow! You can create this clever fall home decoration with the jar, some scrap fabric, straw batting and a few sewing tools!

Has your child been in love with fish since "Finding Nemo?" Learn how to make pipe cleaner fish from a professional art instructor in this free crafts video series.

Leather work is a beautiful and very useful craft that has been practiced for centuries. Our expert is here to teach you how to do leather works like a leather knife sheath in this free craft video series.

Everything you ever wanted to know about making arts and crafts projects with pipe cleaners in this free arts and crafts video series for kids taught by and expert.

Lizards and other reptiles are fascinating to learn about. Learn how to make paper mache lizards from a professional art instructor in this free crafts video series.

"Froggy went a-courtin'. He did ride. Mmm-hmm." Learn how to make clay frogs from a professional art instructor in this free crafts video series.

Did you and your child love the film Ratatouille? Learn how to make mixed media rats from a professional art instructor in this free crafts video series.

Did your child love the movie "Teenage Mutant Ninja Turtles?" Learn how to make tin foil turtles from a professional art instructor in this free crafts video series.

Snakes are slithery but are they scary? Not these snakes! Learn how to make newspaper snakes from a professional art instructor in this free crafts video series.

Explore your kid's creativity with crafts! Learn how to make bunny, Batman, pirate, butterfly, and many more masks out of foam in this free crafting video series.

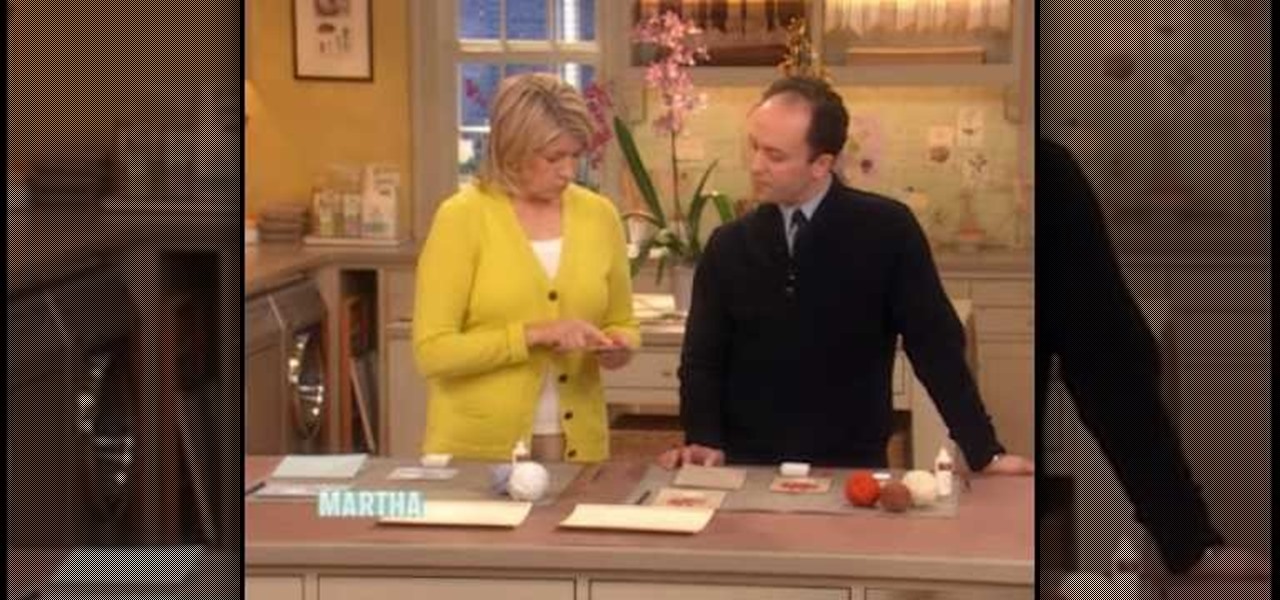
Whoever said that pretty has to be complicated hasn't taken a glimpse at these adorable cards decorated with glued-on yarn motifs. A simple craft for kids and adults, yarn art creates homespun cards that evoke a whimsical, old world charm.

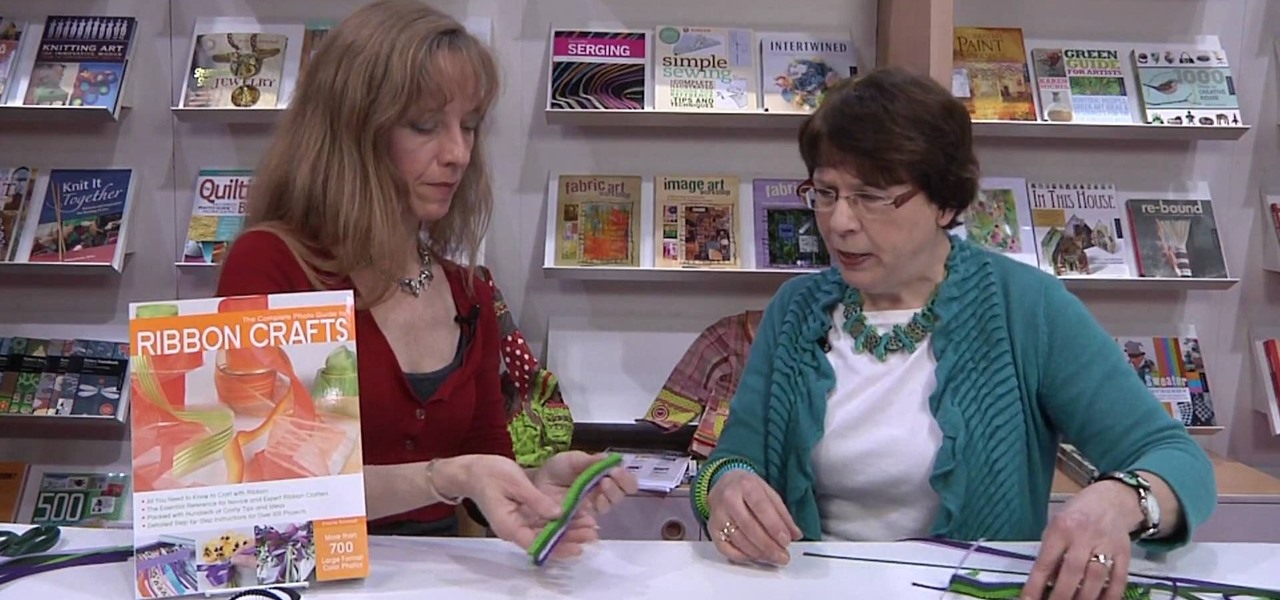
Got a bunch of ribbon scraps lying around from old crafting projects and present wrapping? Instead of letting them sit there and collect dust for ages, why not put them to good use?

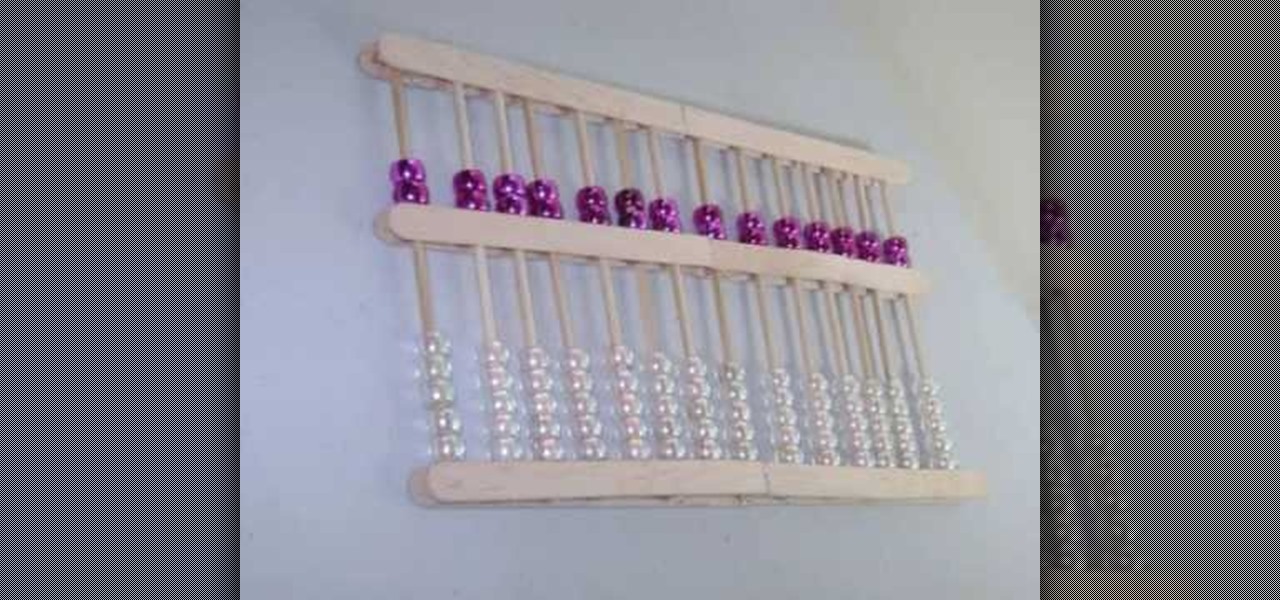
Teach your kids about the ancient Chinese abacus, often used as a counting tool, with the help of a fun arts & crafts project! In this Simple Kid's Crafts tutorial, learn how to construct a Chinese abacus for fun with your kids. This is the perfect project for children ages kindergarden and up! Help your kid's get ahead of the curve with fun, educational arts & crafts projects like this one.

Add texture and sparkle to kid's craft projects with beads. Learn to make beaded hair bows, headbands, birds and dragonflies in this free craft video from an art teacher.

Dragonfly's are fascinating in both appearance and movement. Learn how to make a paper dragonfly in this free crafts video series.

Foam crafts are a easy way for kids to have fun. Learn how to make foam flowers in this free video series about free crafting ideas.

Add a scary spider necklace and bracelet to your Halloween costume. Learn how to make spider necklaces and bracelets in this free crafting video series.

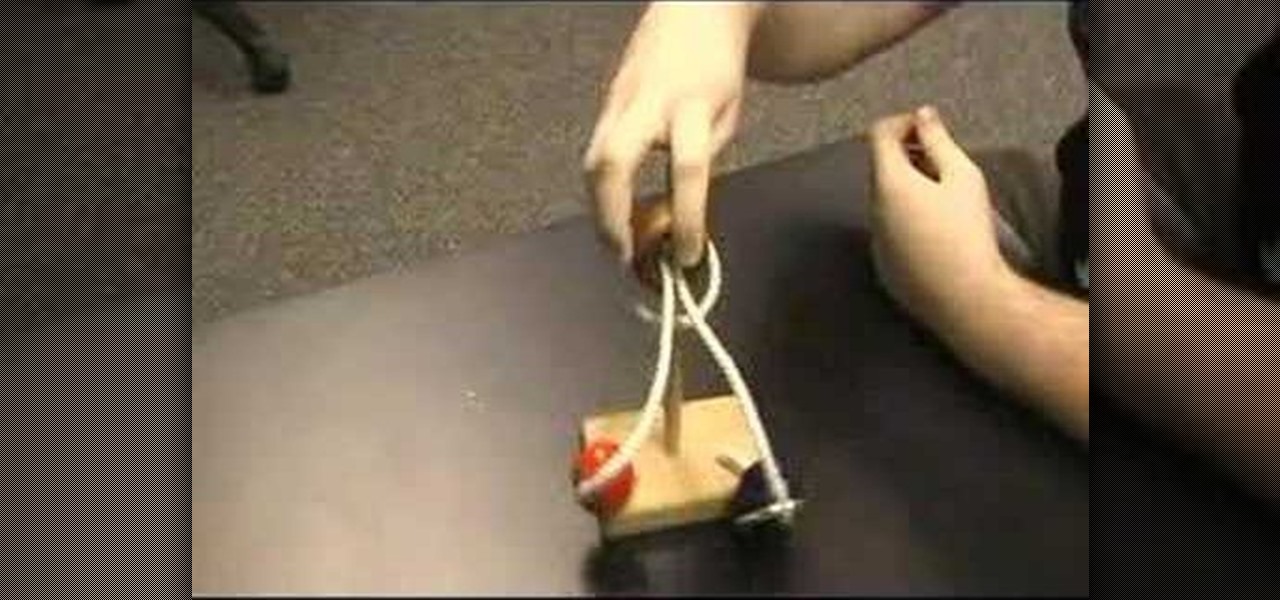
This is a video puzzle tutorial on how to solve the Right Brain Teaser made by Channel Craft, which some people would call the game device of cruel torture.

Even if you and your office cohorts don't exchange cutesy valentines on Valentine's Day, you can still indulge in the vibrant, lovey dovey holiday by crafting one of these three paper favors for your kid's class.

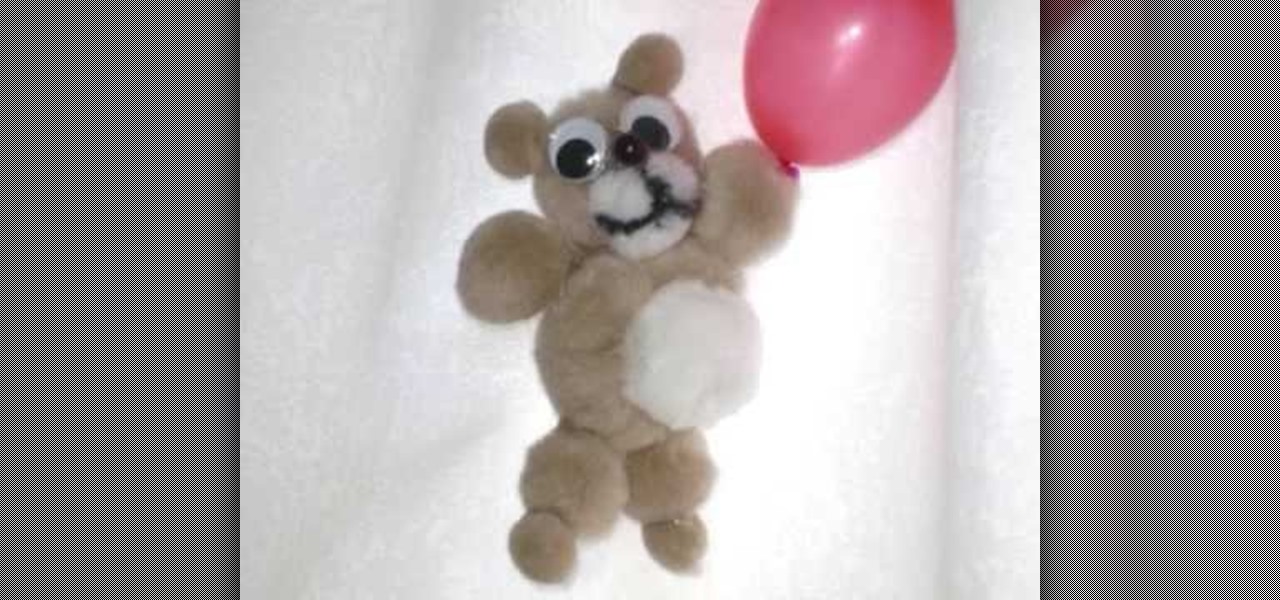
Have fun with your kids this weekend and incorporate an arts & crafts project into your weekend activities! In this Simple Kid's Crafts tutorial, learn how to make a teddy bear out of pom poms, perfect for children kindergarden age and up. Get your children's creative juices pumping with fun arts & crafts projects like this one!

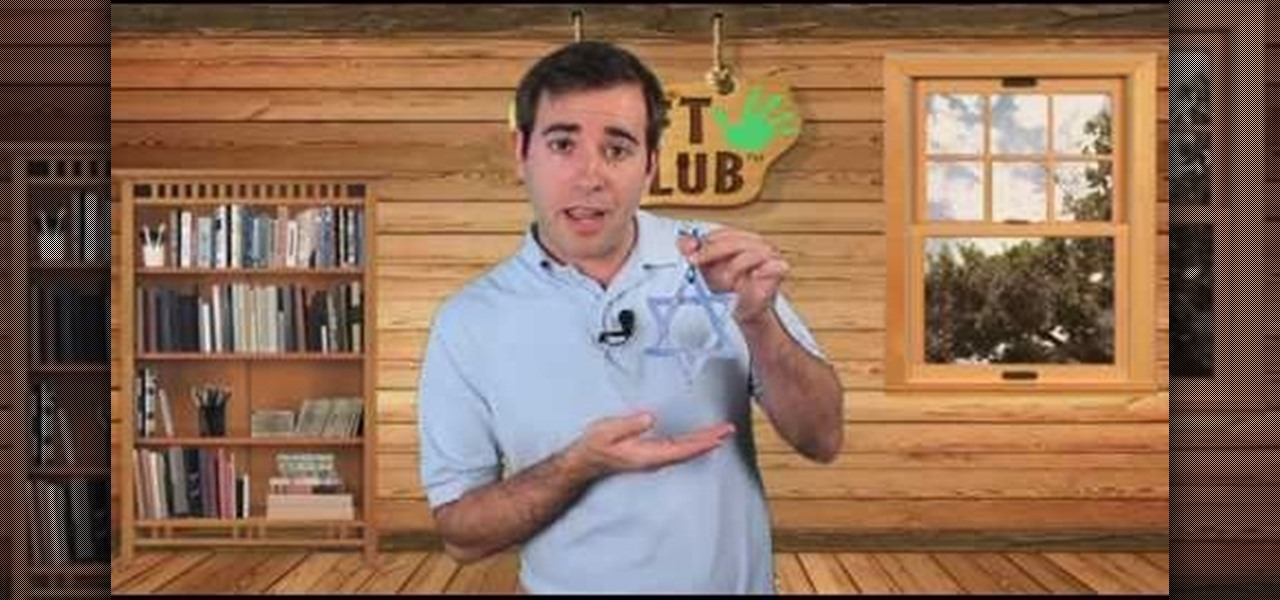
Teach your children about Hanukkah while making this fun Star of David craft! You will need: at least six craft sticks or popsicle sticks per craft; crayons, markers or paint; non toxic craft glue; yarn; tissue paper and safety scissors.

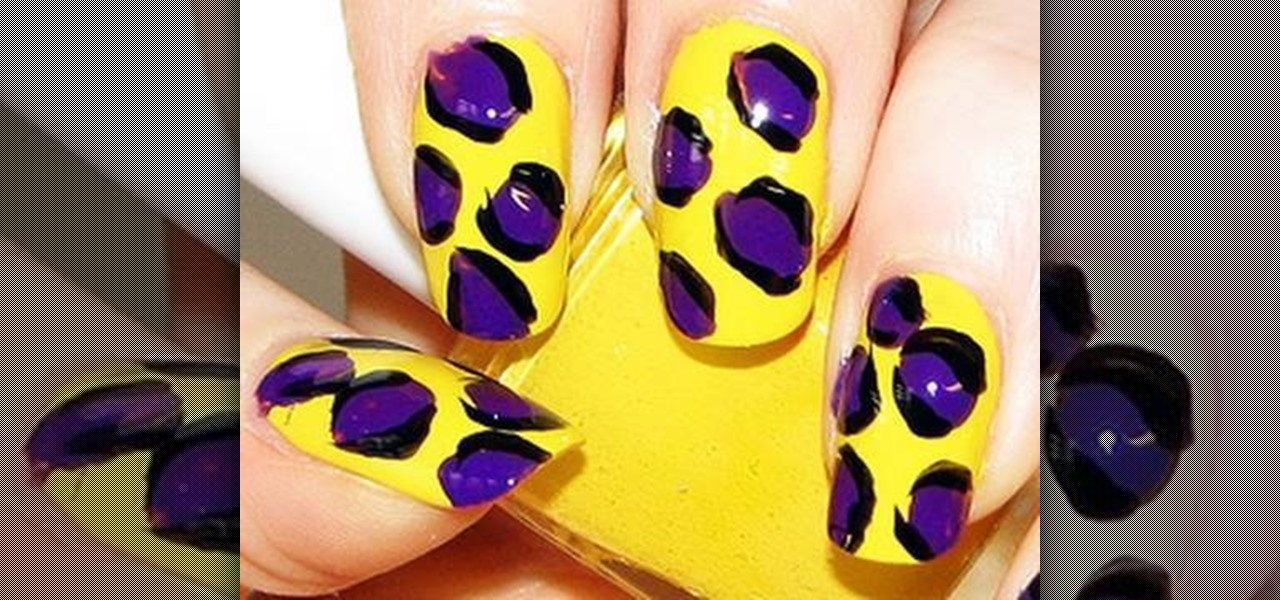
This video is about how to create colorful leopard print nails. So the first thing that you will have to do is to choose any colors of the nail polish that you want. After deciding for the first color of the nail polish, apply it to your nails and let it dry. The next step is to get a plastic plate and place a bit of a small amount of the second color that you chose. With the use of the nail art brush, carefully start forming small random spots on the nail. Apply these to the rest of your nai...

Wobbling chickens are an easy and fun kids craft. Learn to make wobbling chicken crafts with iClay and real eggshells in this free craft video series from an art teacher.

Are you tired of the clutter on your desk or table from stacks of bills, letters and junk mail? How would you like to have a practical and attractive way to clean up that pile? Learn how to make a mail organizer with seashells in this free crafts video series.

Making a shoe box wagon is a fun craft project for both child and parent. Learn how to make a shoe box wagon with expert tips in this free crafts video series.

Explore a whole new Minecraft world with Industrial Craft. Watch this video to learn how to download and install the Industrial Craft mod for Minecraft beta 1.6.6. The Industrial Craft mod has all kinds of new items for you to enjoy, check it out.

Check out this helpful video guide to learn how to use hellstone ore and a pick axe to craft hellstone brick. You'll also get the recipe for crafting a thorn chakrum for the underground jungle. Watch this video and put your Terraria craft bench to use.

Do you have a friend whose birthday falls on or near Valentine's Day? Then kill two birds with one stone by crafting this Valentine's Day "Happy Birthday" card.

Crafting and sewing is lots of fun, but it calls for many accessories and notions that can clutter your craft area. This tutorial shows you how to create your own craft supply organizer out of some upcycled or recycled materials.

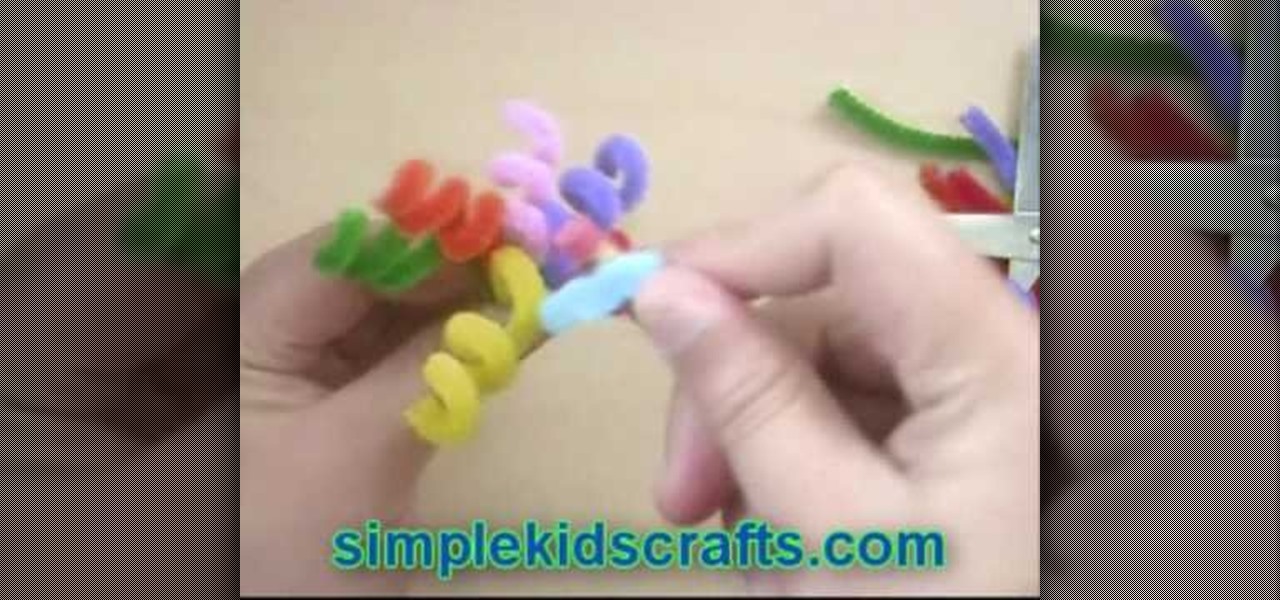
Get crafty this weekend with your kids by incorporating a fun arts & crafts project into the mix of weekend activities! In this Simple Kid's Crafts tutorial, learn how to make an adorable pencil topper out of pipe cleaners! This activity is perfect for children kindergarden age and up. Spend some quality time with your children and help get their creative juices pumping with fun arts & crafts projects like this one!


