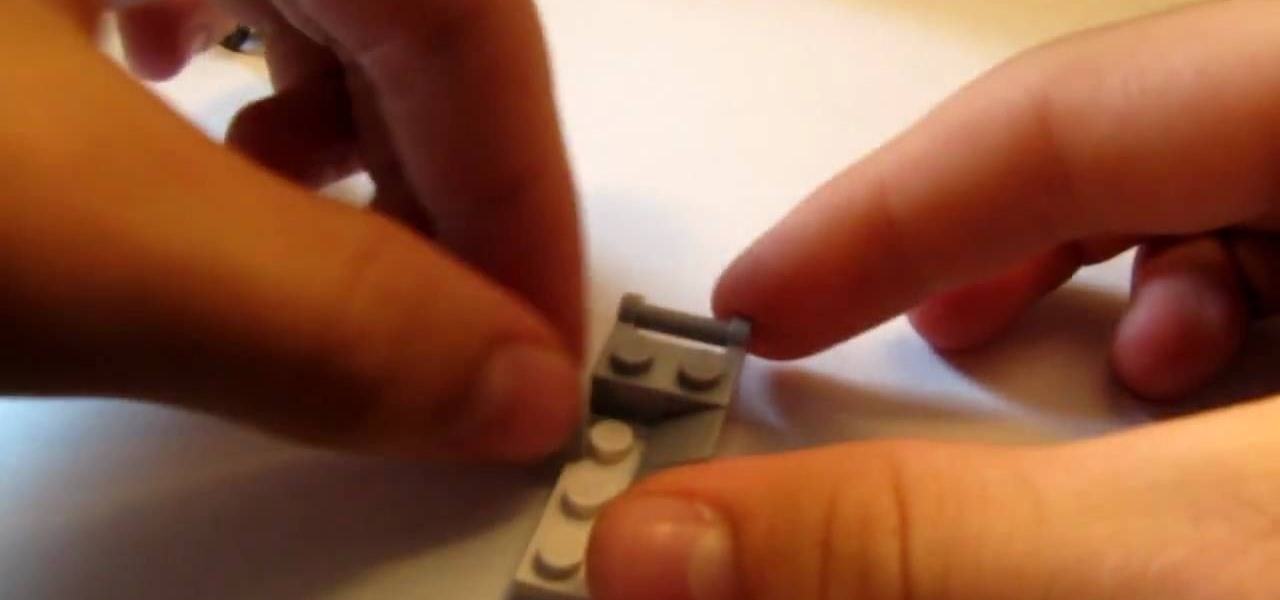
In this video you will learn how to build a LEGO stroller. The materials you will need are 4 of the small slanted bricks, one two by four thin brick, 3 two by 1 thick bricks, 2 one by one thin bricks, 2 one by one by four studded bricks, a small smooth brick, two odd angled smoothed bricks, 4 wheels, one one by two with dot in center bricks, and one one by two handle bricks. Then after carefully assembling the bricks as shown he will show you a example of what it will look like when you're fi...
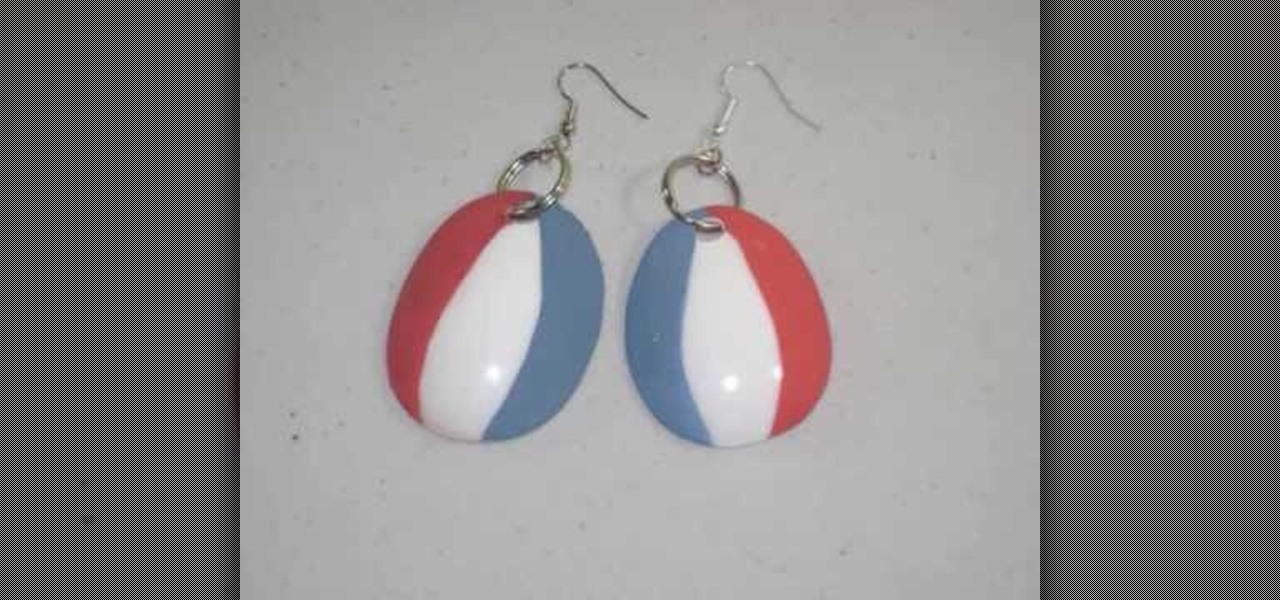
This video is about how to make earring from spoons. So to do this, just follow these simple steps. Things you'll need:
Switch things up with the Bachata dance with pivot dance steps! For women & men, the Bachata pivot dance steps are slightly different, so be sure to watch carefully! Get your pivot down with help & tips from a professional dance instructor.
In this movie Edna shows us how to make gum paste. The recipe is very easy to follow and Edna begins with the materials. Sift the sugar through a regular sifter first. Then you have to carefully separate your eggs so that you can utilize the whites for this. The whites get whisked briefly at high speed and the sugar is added. It takes a while for the sugar and egg white to bind. When it reaches soft peaks you add tylose. The paste can be rolled out and left to rest in the fridge as it dries o...
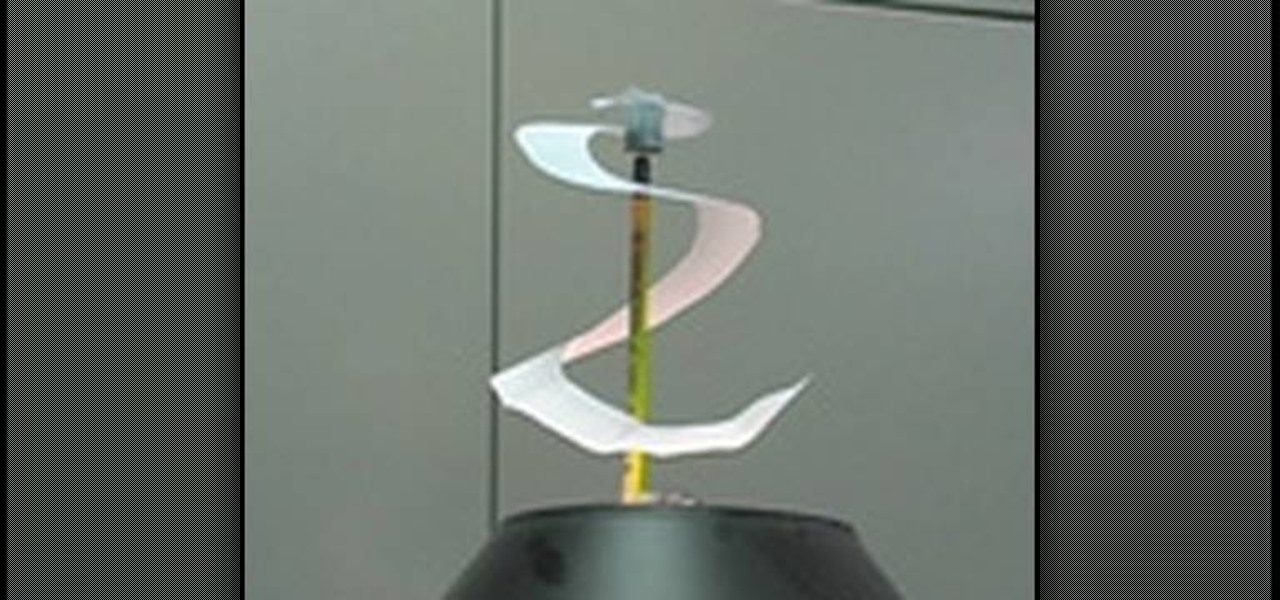
This video teaches the secret of making a cool perpetual spinner with a few little things and science. You will need: white paper, scissors, pen, pencil with eraser on its back, bell pin and a suitable cap. Draw a spiral shape on a plain sheet of white paper using a pen. Now cut out the drawn spiral with a scissor carefully. Punch the bell pin on the tail of a pencil. Stick a small cap (which suits the center of the spiral) to the center of the spiral as shown. Now stick the pencil on a table...
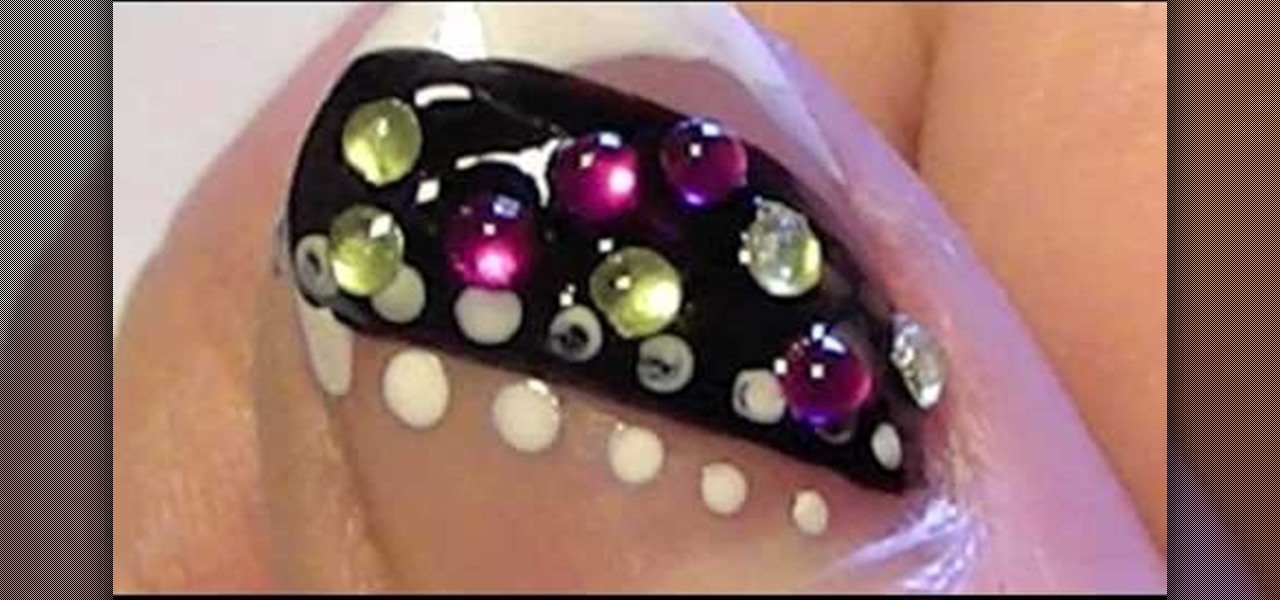
The rhinestone studded nails will be more attractive. To make your nails a perfect complement to any acrylic or polished nails use your wildest imagination to make it more attractive. The following steps will help to make beautiful, rocker rhinestone studded nails. The first step is to clean the nail surface where you want the stickers to be placed. The second step is to apply a base coat, and the third step is to apply nail polish color. The fourth step is to peel off the stickers carefully ...

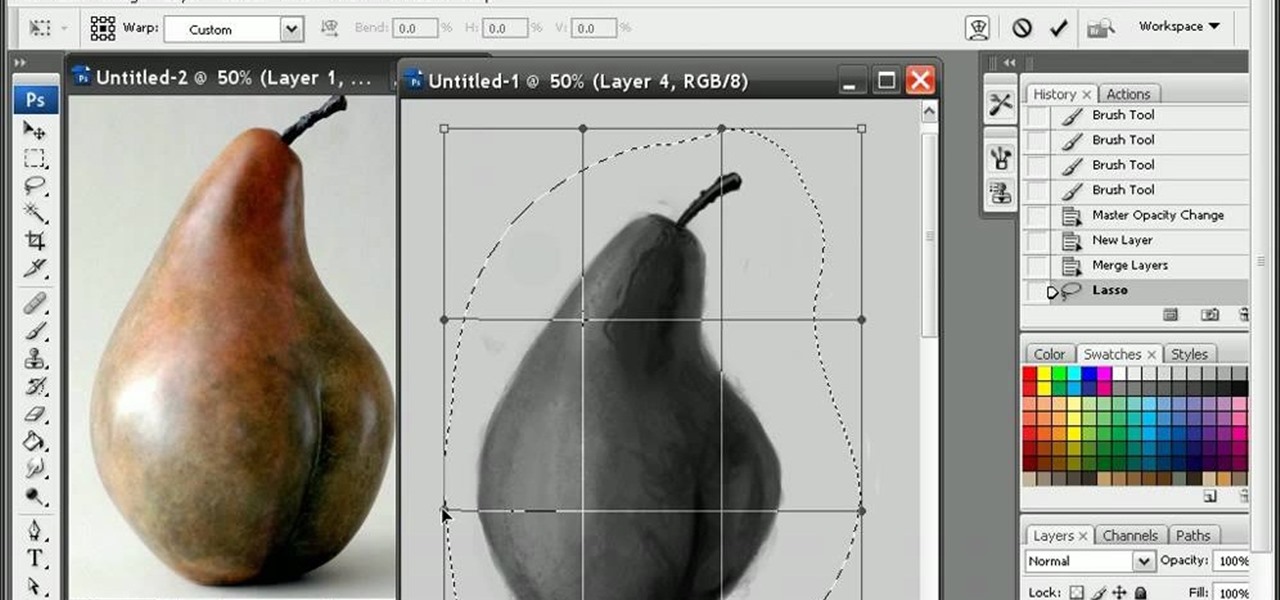
If you are looking to improve your Photoshop skills by learning how to digital paint in it, this video shows you how to do it. To do this, open a new Photoshop canvas and select your brush to paint with. In this example the author shows how to paint a pear for demonstration purposes. You start by drawing a rough sketch, just using your paint brush and reference an image of a pear that you find in this tutorial. Now do the dark textured work on the non lighting side as shown in the video. Now ...
Over medium heat warm a small amount of oil or butter – perhaps 1 ½ tsp – in a small (8 inch) skillet, or spray the pan with nonstick cooking spray. Crack an egg into the pan. Cook until the white appears solid (for about 3 to 4 minutes). For basted eggs, put 1 tsp or so of melted butter over the yolk. For eggs sunny-side up, remove the egg from the pan with a spatula and serve. For eggs over easy, carefully flip the egg over onto the yolk side and cook for another minute or two. (You will pr...
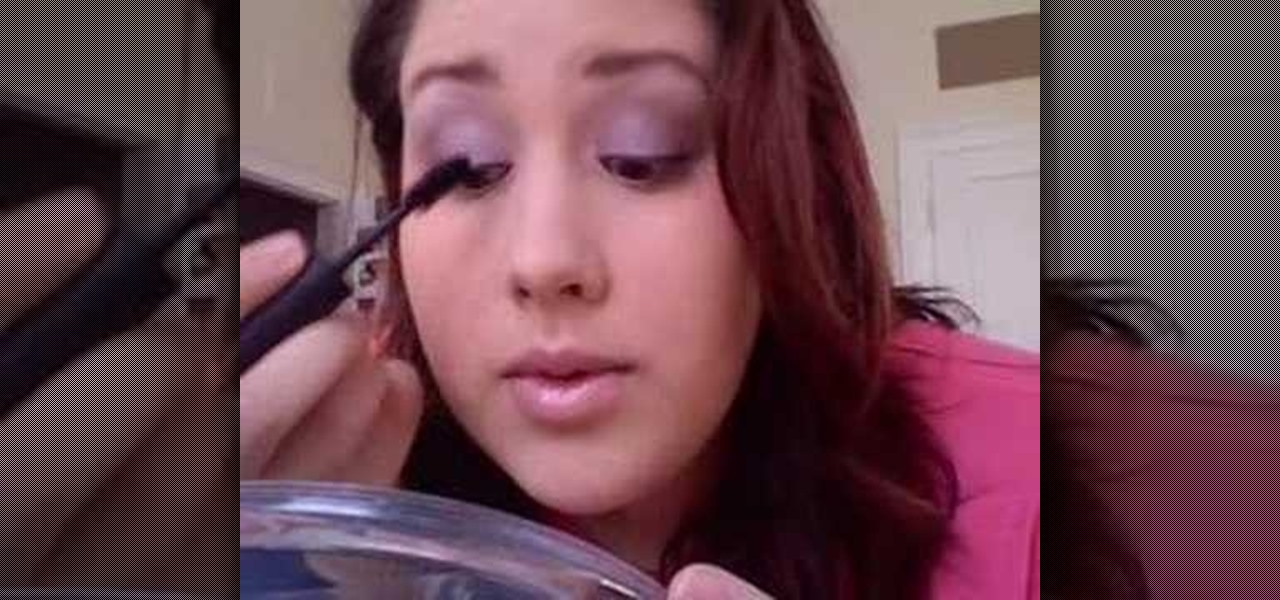
In this video, Amy shows you how to properly apply mascara in a way that will compliment your eyes. Using good mascara, simply look downwards at a mirror in order to get a good view and then use the wand to run the mascara over your eyelashes. It is suggested that you simply move the wand and not your eyelashes or your face, carefully rolling the mascara outwards to create a slightly curled eyelash look. This technique will allow you to apply mascara properly and quickly.
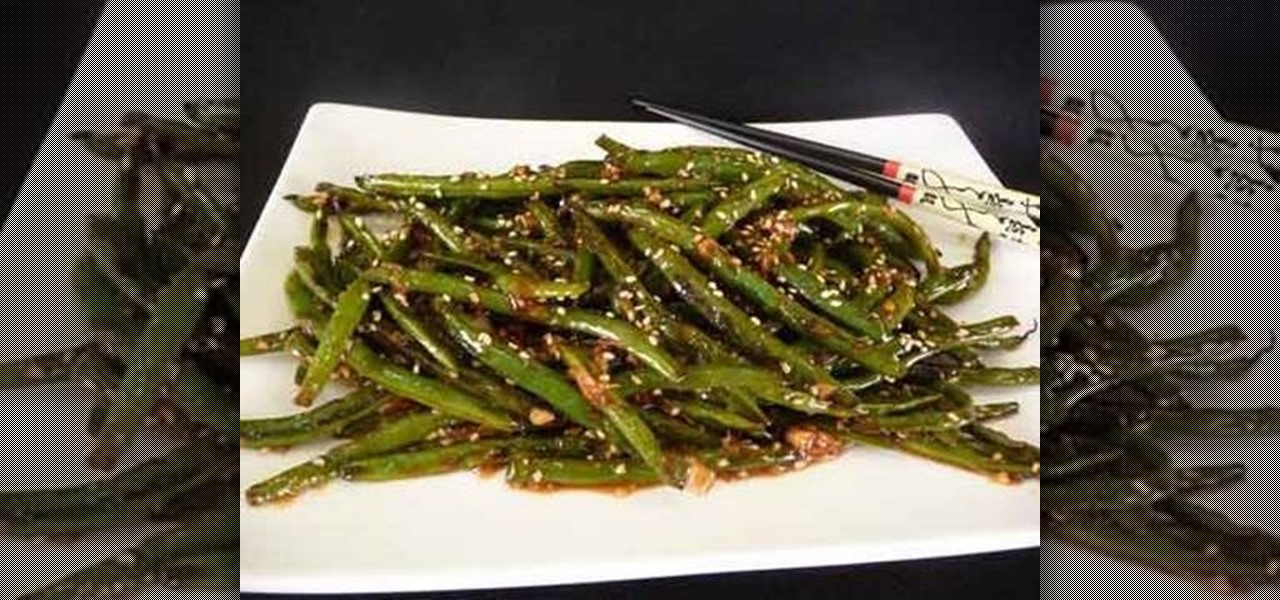
Chef's Anuja and Hetal from Show Me the Curry! teach you how to make an amazing green bean dish called Szechuan Green Beans. Carefully add beans to a medium sized pan filled with the oil contents. Make sure green beans are coated with oil and cook until for 20 minutes until soft. Use a small pan and lightly toast the sesame seeds. Place beans on plate. Place the rest of the ingredients: soy sauce, ginger, garlic, and chili sauce in sauce pan to cook. Replace the beans in pan and allow to coat...
Enchant that special birthday boy or girl with a unique origami birthday pop-up card by following this well produced instructional video. 1. All you need is a two sided square piece of colorful wrapping paper to create your origami birthday pop-up card. As long as your paper is square, the finished card can be any size you wish. 2. Make a series of simple sharp folds on both sides, carefully following the video instructions. Pay particular attention to the final intricate folds which create t...
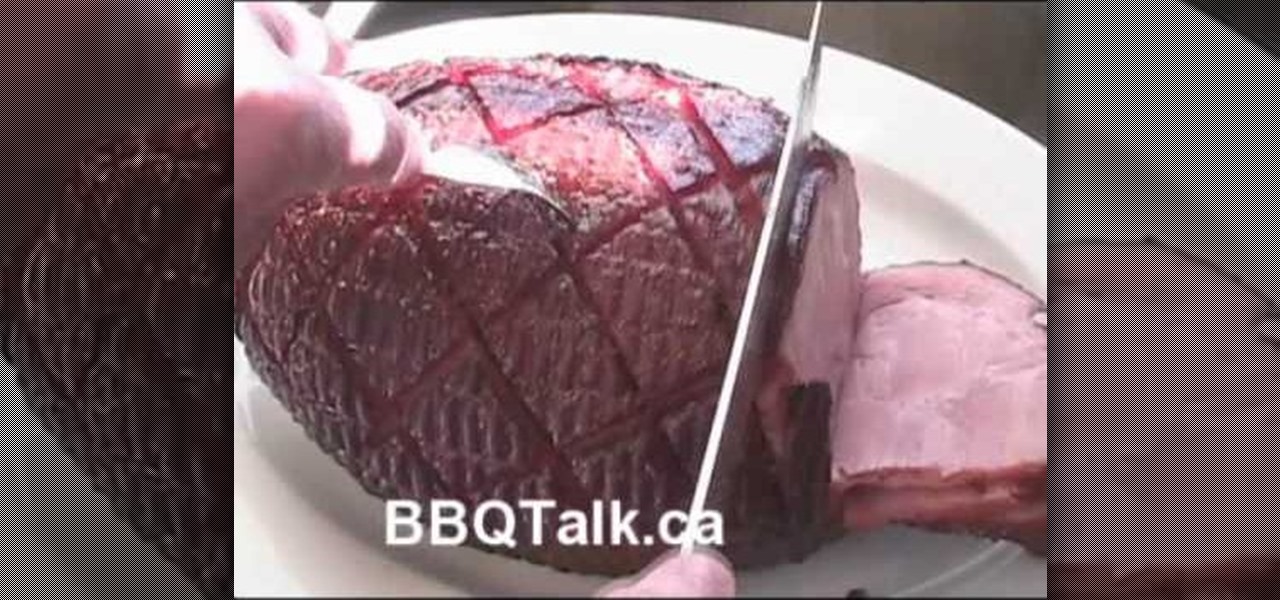
This video shows the secrets of smoking a ham in simple steps. An excellent summary is given below. First slice the ham for about 1/4 inch, turn over and slice it in a criss-cross pattern. Turn over the ham, repeat the same process and place the ham on BBQ with 250 set in it. For the paste add pineapple juice, BBQ sauce, mustard, maple soup and stir them well. After an hour apply the paste on the ham nicely into the sliced areas and all over it. After cooking slice down the ham carefully and ...
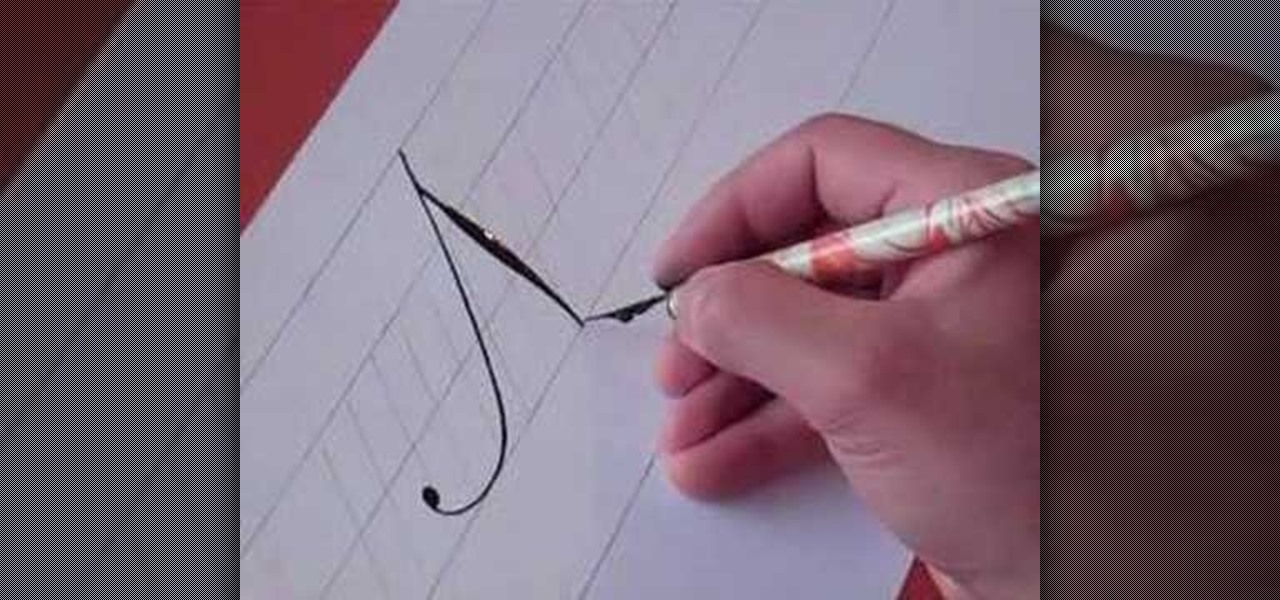
This video tutorial with Hamid Reza Ebrahimi, shows you how to write the letter N in calligraphy copperplate. The video illustrates step-by-step how to write this letter in the most accurate way possible. To begin, you draw a thin slanted downward stroke with a moderately curled tail. Then you create a stoke tangent to the first stroke with a tapered thickness in the middle. To complete the capital N you draw a tangent line upward that is thin and has a large looping tail. For the small case ...
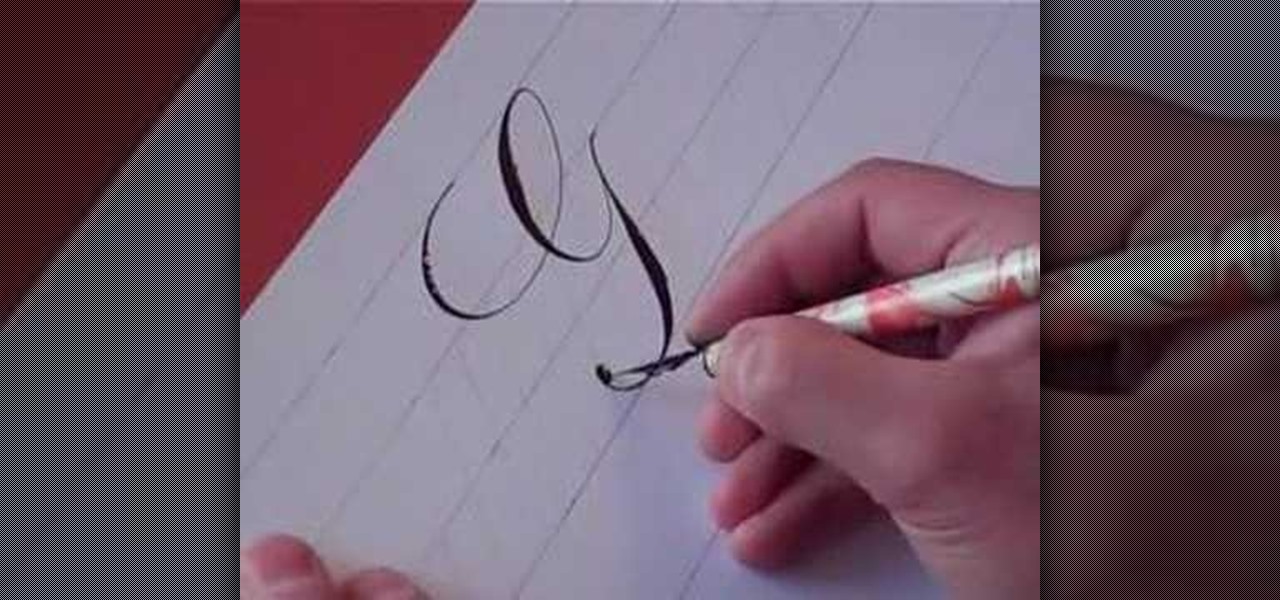
This video demonstrates the procedure involved in writing an uppercase "G" and lowercase "g" in Copperplate. You will need a writing utensil and something to write on. In the video, a nib and black ink were used on lined paper. The letters should be written slowly and carefully to avoid errors. The video may be useful for people who want to learn how to write a "G" or "g" in Copperplate style. After watching this video, a viewer would know how to correctly write a "G" or "g" in Copperplate.
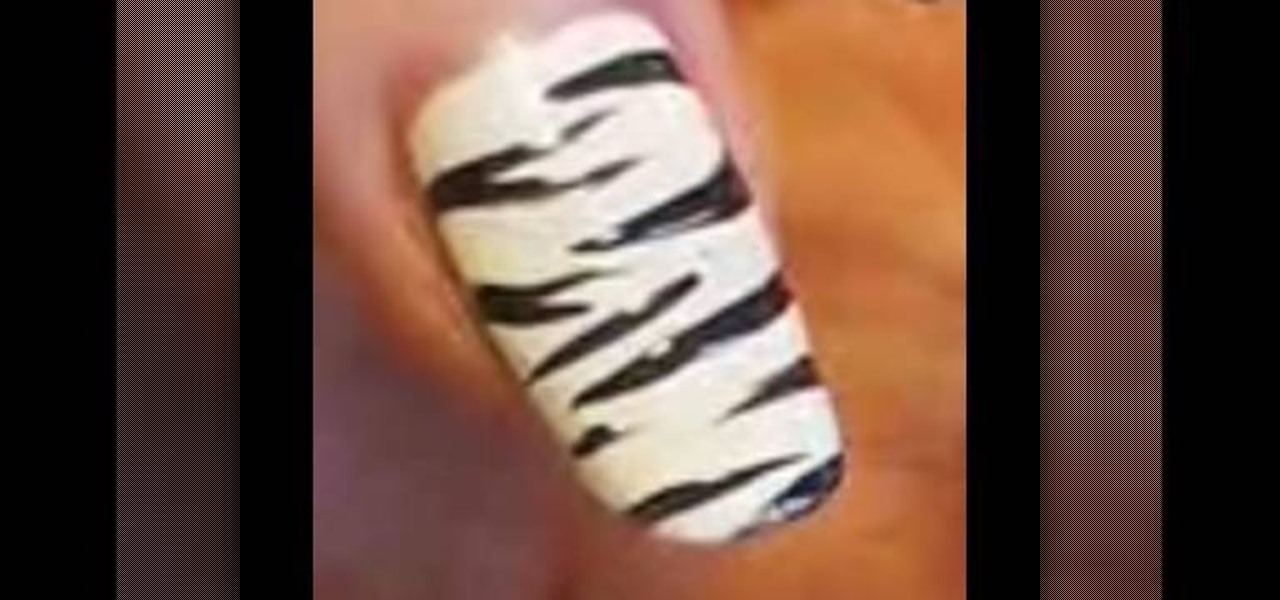
For nails that always look unique, stylish, and are simple to make, you should take some advice from this video. After cleaning and shaping your nails, you should apply two coats of a white or slightly off-white nail polish. After allowing these layers to dry, get some black nail polish and make the zebra print by carefully swiping the brush over your nail. Alternate sides from which you start the lines and you should soon have a very stylish and interesting nail pattern.
A "hair bow" is a very interesting and unique up do which can be made fairly easily. After making your hair manageable with conditioner and other hair products, take a portion of your hair from the front and separate it from the rest. Make a tight, high ponytail with the rest of your hair and use a hair styler to carefully pull your hair through, making a tight knot. Separating your pony tail in half, tuck first one side and then the other into the pony tail, making two loops. You should then...
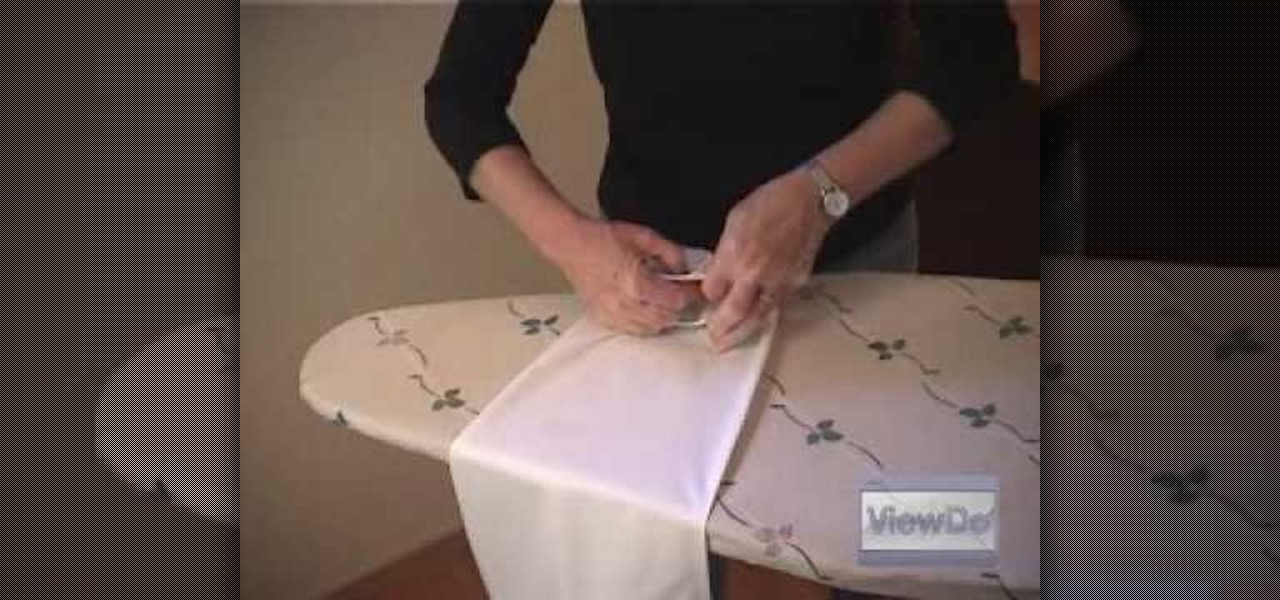
Ironing a button up shirt is an important way to make sure you are always looking in top shape. When ironing a man's shirt, you should always start with the collar first and then move to the shoulders and back. Make sure the shirt is stretched out properly over the ironing board. Then move from the shoulders and down the sleeves, making sure you iron both sides, moving slowly and carefully. After ironing your shirt, make sure you hang it up to prevent more wrinkles from forming. Using this ca...
Learn how to perform the Scissor Cat Display with cute, female magician Baby Cat. First, Baby Cat demonstrates the methods & then goes into the display. Watch carefully, and with practice you will be able to perform the Scissor Cat Display card flourish trick as well as your instructor. Card flourish is a term magicians use for the skill & technique of card handling. No magic is performed, card flourishes just amaze and display the dexterity of a magician's hands.
This video knitting tutorial demonstrates a technique for attaching a pocket that is the same as that used for inserting a heel. Following the pattern directions, you knit some of the stitches with waste yarn to mark the top of the pocket. Carefully remove the waste yarn and put the loops above and below onto double-point needles. If you're worried about dropping stitches, you can pick up the loops as you go. Remove all the waste yarn and then go back and pick up the stitches. The loops on th...
Check out this interesting video to make photorealistic stencils for t-shirts, bags, and other accessories. This video documents how to make a Nikola Tesla shirt. With Adobe Photoshop, it is possible to simplify a found image into a graphic format perfect for stenciling. You can then print out the altered image into mylar or another water resistant paper. After carefully cutting out the stencil, place the mylar over an ironed t-shirt. Complete the stenciling process by dabbing paint into all ...
This video tutorial demonstrates a mouse-hacking simple prank sure to annoy any friend or colleague. To replicate this hack, you'll need a mouse and a musical key chain. The steps are roughly as follows: First, open up the mouse. Looking inside, find and remove the scroll wheel, then pull out the mouse's old cable. Take a musical key chain and open it up. Find the musical module with two red LEDs. Carefully glue them to the right-click. Then put the LEDs where the mouse's laser is before fitt...
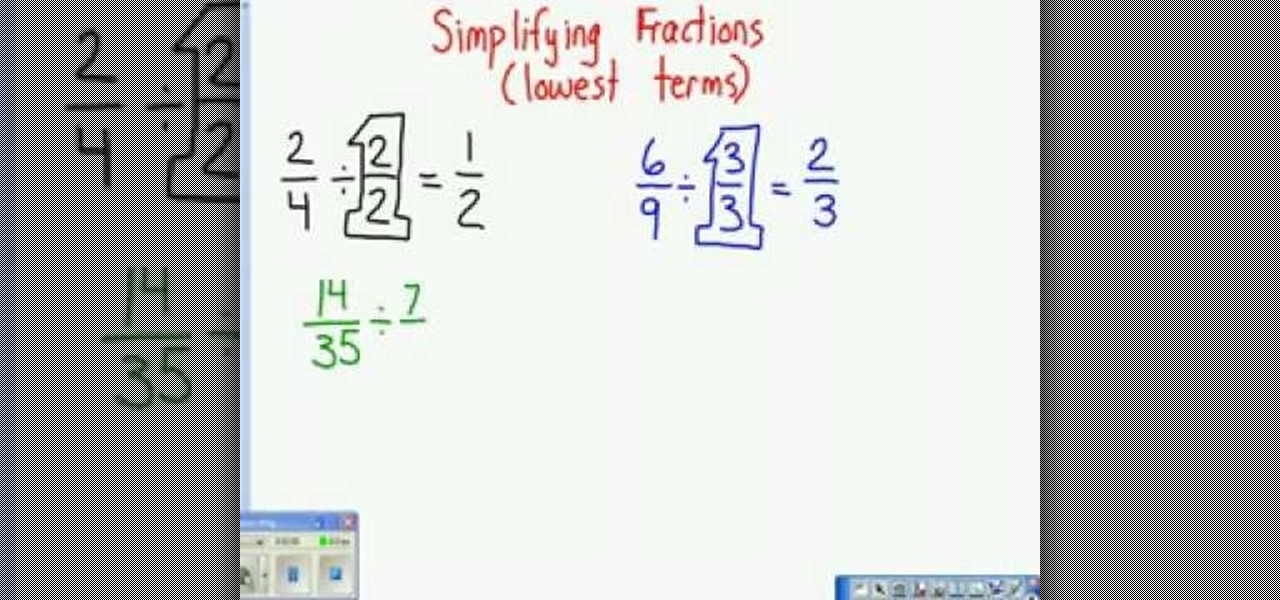
This video tutorial belongs to the Education category which is going to show you how to reduce fractions to their lowest terms. For doing any operation with fractions like addition, subtraction, multiplication or division, they need to be reduced to their lowest terms. To do this look at the numerator and the denominator and decide what number can divide both of them. Continue dividing till you can no more divide them. Now you get the lowest term of the fraction. For example, 2/4 can be divid...
This video walks you through the steps of multiply and divide rational expressions. This excellent video shows you a clean board, with the instructors voice showing exactly what to do. Don't fret, any question you may have, will be answered. Watching this video will make you feel like your back in the classroom but rather comfortably from your home.
Need to know how to multiply and divide negative numbers in basic math? From Ramanujan to calculus co-creator Gottfried Leibniz, many of the world's best and brightest mathematical minds have belonged to autodidacts. And, thanks to the Internet, it's easier than ever to follow in their footsteps (or just finish your homework or study for that next big test). With this installment from Internet pedagogical superstar Salman Khan's series of free math tutorials, you'll learn how to multiply and ...
In this how-to video, you will learn how to divide and re-plant irises in your garden. First, dig out the iris. Clean out the old, dead leaves and take the dirt off. Trim the leaves off as well. Break off the pieces, as these can become a new plant to grow. Several pieces can be broken off, allowing you to grow even more irises. Discard the part that is left over. You can save the pieces for a little while, but it is better to plant them soon. Irises do not require a rich soil to grow, so kee...
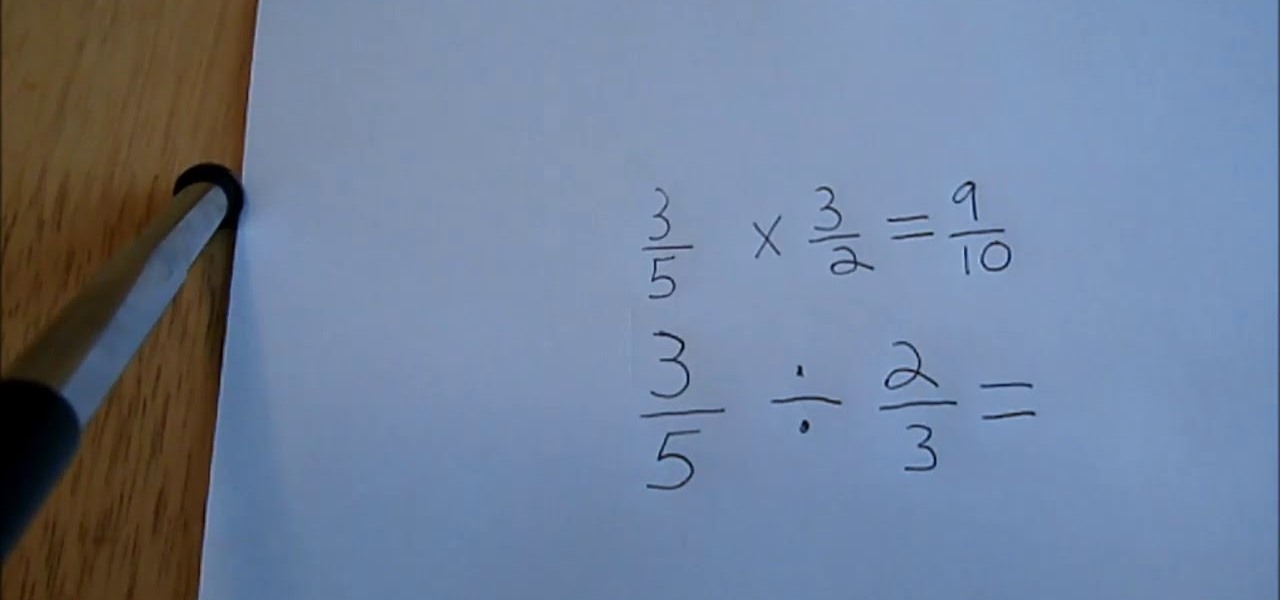
An easy step by step video tutorial on dividing fractions.
All you need is a single long piece (at least fifteen meters) of sturdy paracord, as well as a clasp for either end. You can also use this technique to make a rifle sling or something else for which you will need a long length of woven paracord. The knot itself is not difficult - just watch carefully and make sure you've given yourself enough time to finish this project. A great project to make for yourself, or the survivalist in your life.
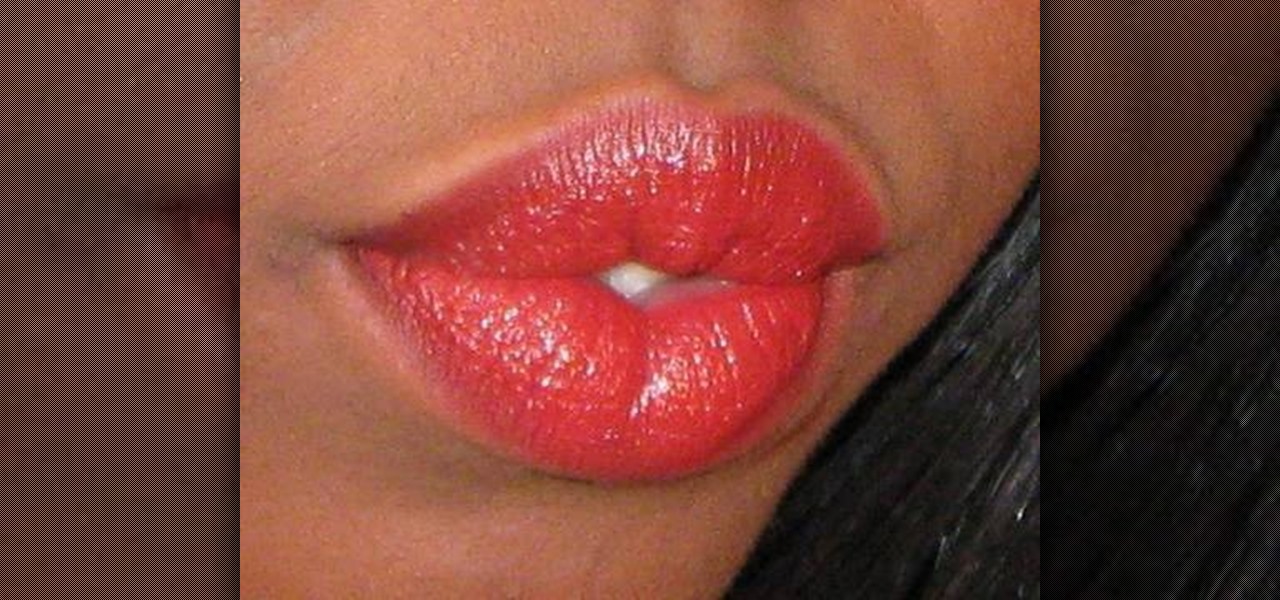
In this tutorial, we learn how to get perfect red lips for African American skin. First, take a dark red lip line from Studio Gear named "red wood" and apply it to the lines of the lips. Once your lips are fully lines, grab your lipstick and apply it to your lips carefully. The liner will be darker than the lipstick, so make sure you blend them in together lightly. After you are finished applying, clean up any smudges on the edges of your mouth. Then, apply makeup on the bottom an sides of th...
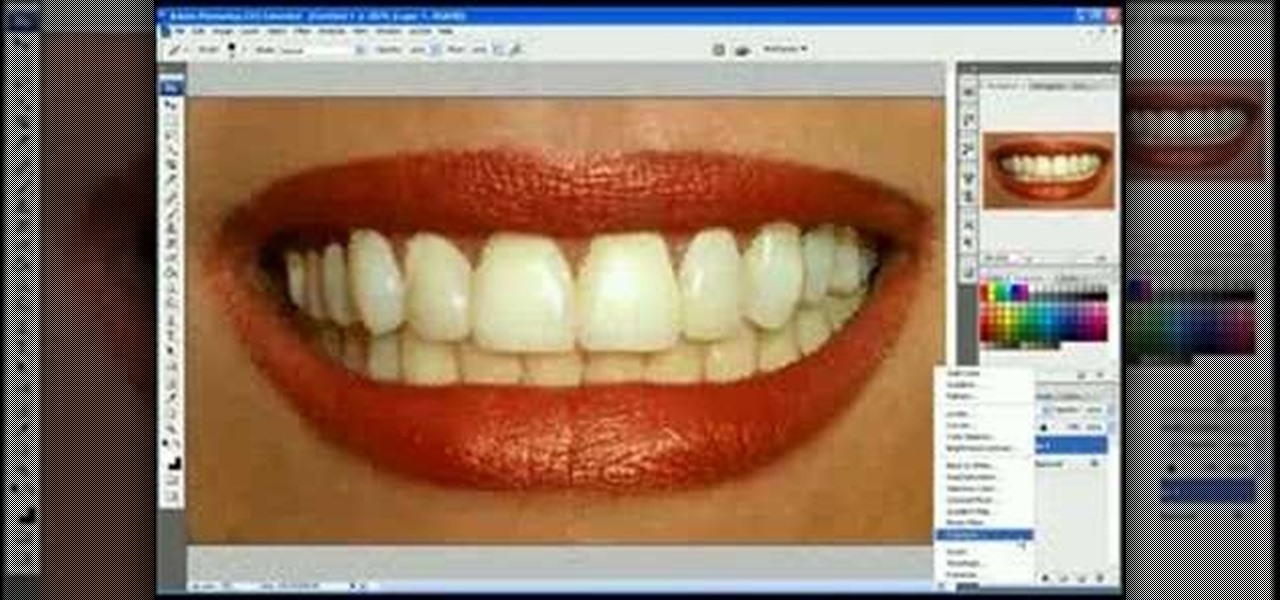
In this video we learn how to whiten teeth in Photoshop like a professional. Start off by opening up Photoshop and zooming in on the teeth in your photo. Start out by selecting a hollow brush and then paint the selection onto the teeth. Paint around them carefully and make sure you don't touch the gums in the middle and on the top of the teeth. Once you have selected the entire area of the teeth you will see them all covered in red. Then, go to "select" and "inverse", then press the button fo...
In this video, we learn how to make a colorful tutu. First, you will need to grab all the colors of fabric that you want to use on your tutu. Then, roll up the fabric of each color carefully, then cut it out to the length you have measured for your subject. After this, cut out one more smaller section of fabric from each piece until you have done this with all of the colors. Now, using a piece of ribbon as the waistband, tie each piece of colored fabric onto it, alternating colors each time. ...
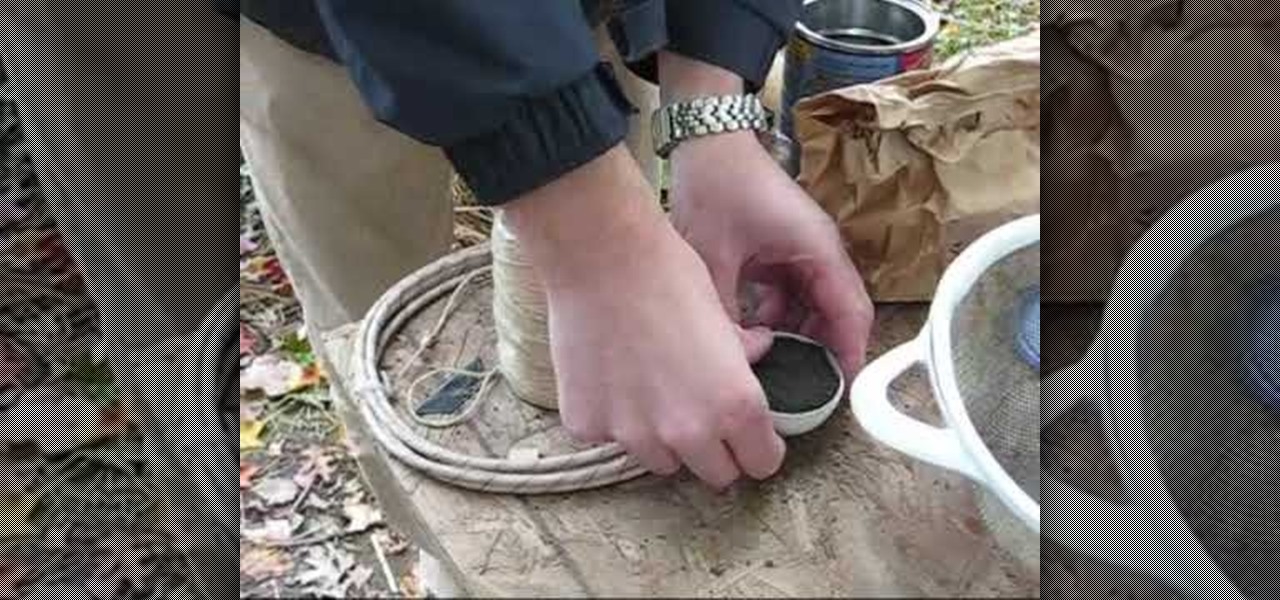
In this tutorial, we learn how to build bar shells and other explosives. First, you will need to pack up the explosives into a container tightly. Then, you will need to wrap it up inside of string tightly and tie it shut tightly. Apply a piece of thick paper over the explosive and then tie it shut again. Once you are finished, you can place all of these inside of a large tub and carry out to use as explosives. Make sure to do this carefully and don't light these when you are close to them, or...
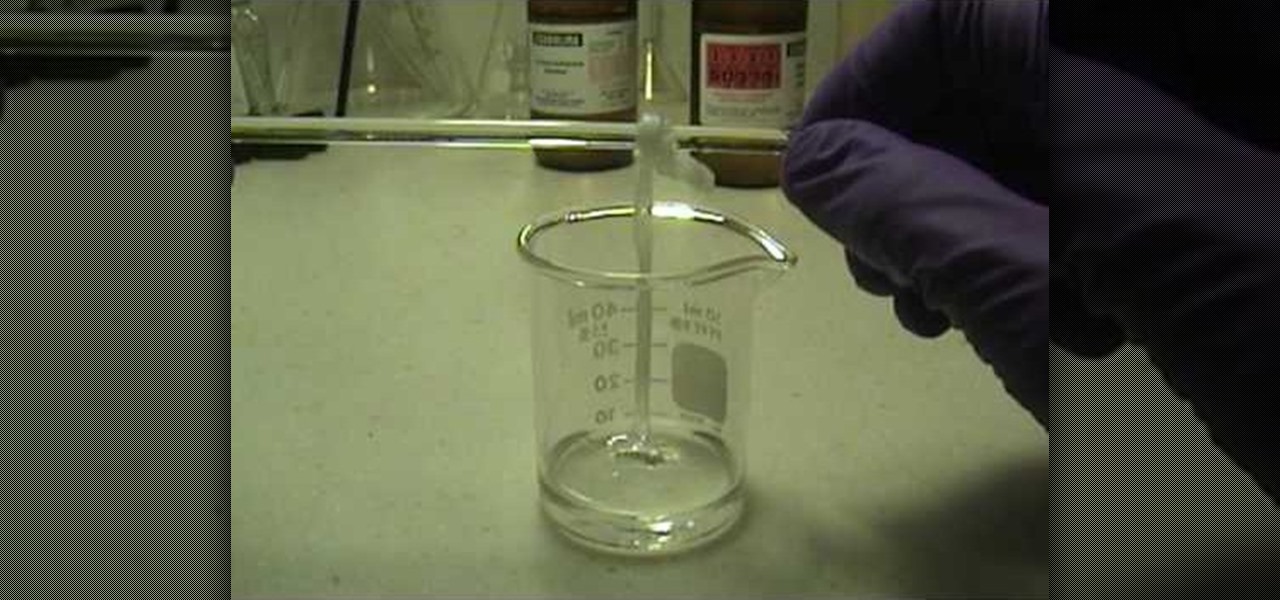
In this tutorial, we learn how to make your own nylon. You will need: pipettes, pipette filler, forceps, beaker, stir rod, sebacoyl chloride and hexanediame solution. Now, pour some of the hexanediame solution into the small beaker. Add in a food coloring if you want to make this a specific color. After this, add in 4 cc's of sebacoyl chloride and carefully drip into the side of the beaker. You should see a layer of where the two liquids are after this. Now, take your tweezers and reach into ...
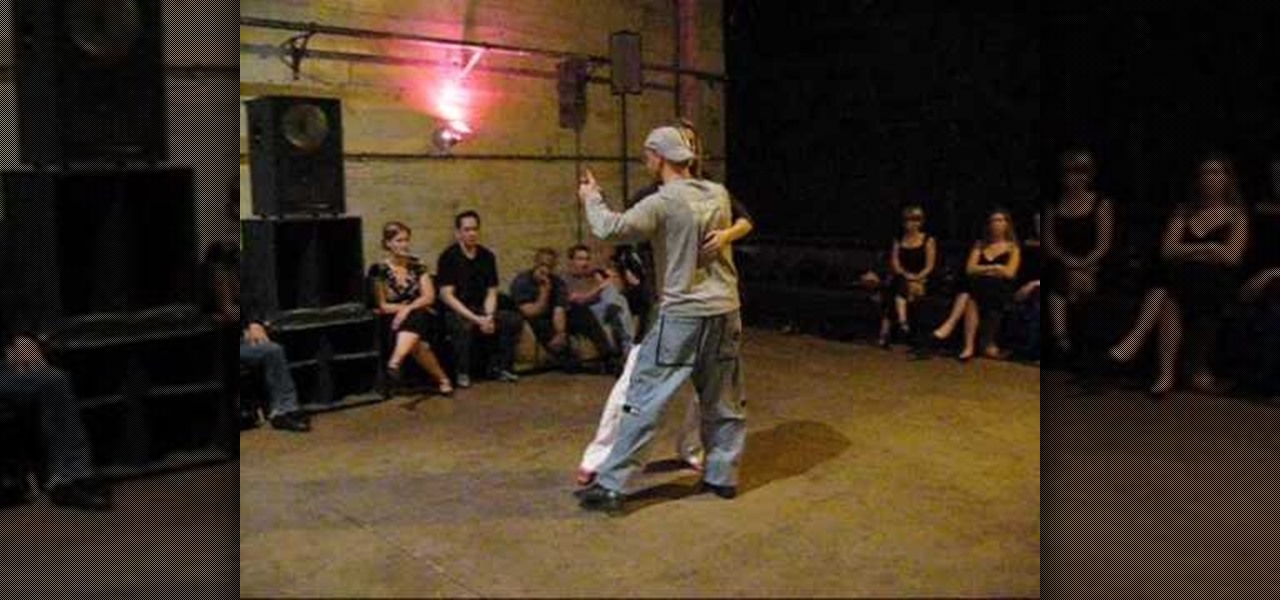
In this tutorial, we learn how to use breathing & intention in tango. Use the pattern of walking into the cross and add in elements of staying in the line. Lead the cross carefully and slowly by breathing slowly to help make an easy transition from closed to open. Put all these elements to help make the dance look better by paying attention to the details. Keep in mind that people are looking at you and want to see someone happy dancing. Keep a smile on your face but also make sure to pay clo...
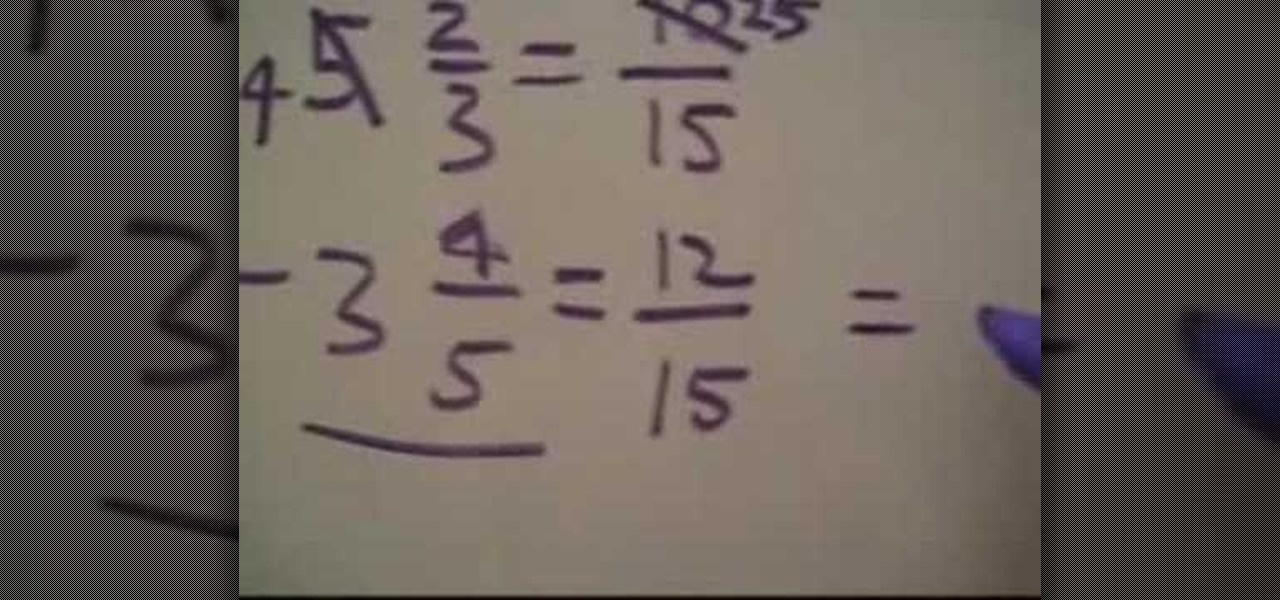
In order to subtract mixed fractions, you'll need to look at the denominators carefully. If the denominators do not match, you'll need to find a common denominator. For example, 5 2/3 minus 3 4/5 do not have the same denominator. The lowest common denominator for them is 15.
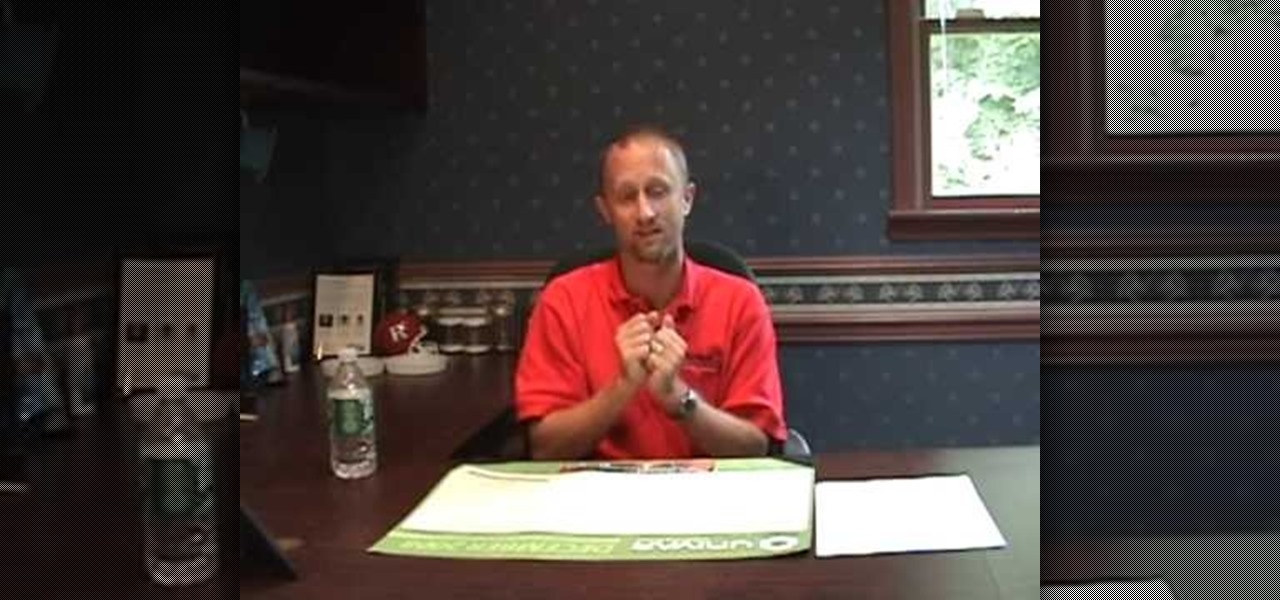
In this video, Jeff gives some tips to frequent travelers on how to avoid bringing bed bugs home with them. First, you should begin with inspections of a hotel room, making sure to bring a flashlight and looking carefully in the bed for any bugs. After a stay at a hotel, you should always check yourself for bed bugs before going home. This includes methods such as placing your suitcases in bags in order to avoid infesting your car and emptying your clothes from your luggage outside your home ...
So after much hard labor and patience, you've finally thrown your first vase, fired it carefully in the kiln, and let it harden to a fine finish. What to do next in your pottery making journey? While a beautiful vase is a beautiful vase no matter the finish or color, applying a glaze is like putting on makeup: sure, you don't NEED it, but having it on dramatically improves and accentuates your features, making cheekbones more sculpted, eyes wider and brighter, and lips more well defined. In t...
In order to make and use a stencil, you will need the following: pencil, blue painter's tape, Dura Lar film, Self-healing mat, spray adhesive, old canvas board, airbrush, compressed air, airbrush paint, utility knife, paper, eraser, and an idea for a stencil.
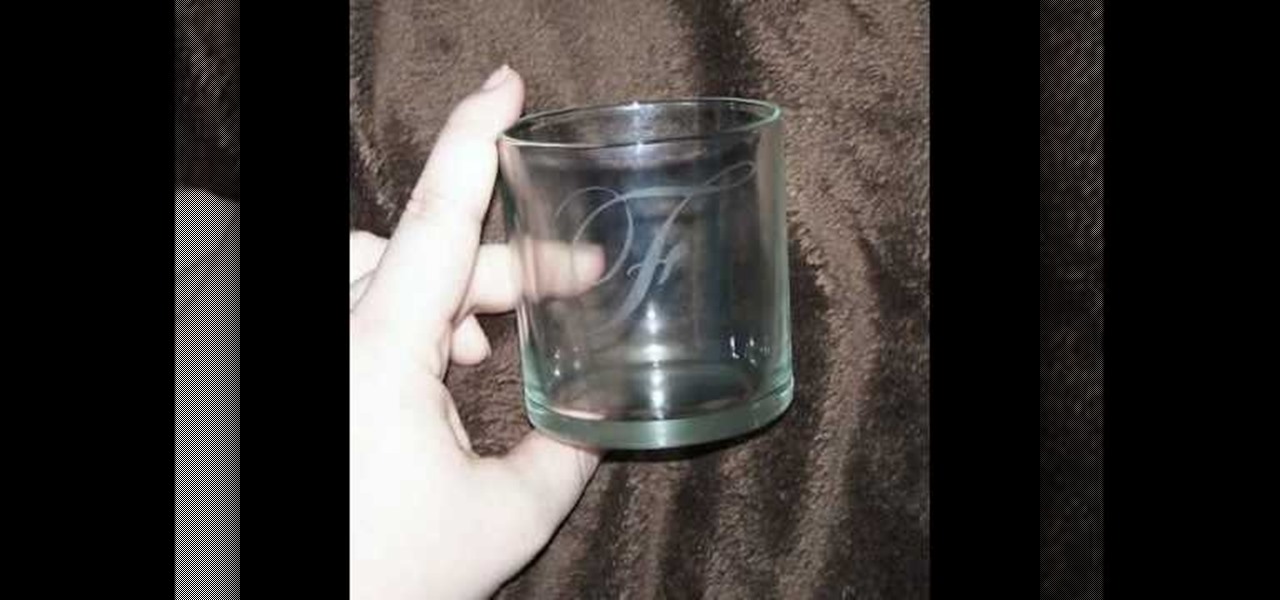
In this video tutorial, viewers learn how to etch glass in 5 minutes. The materials needed for his procedure are: contact paper, Armour Etch and a paintbrush, glass and a sink. Begin by cutting the contact paper face up on a circuit mat. Cut it on medium speed and pressure. Then put the contact paper on glass. Work carefully to prevent any wrinkles and bubbles in the design. Now put the etching cream on in a dabbing motion. The etching cream will not run into areas that are not stuck down. Fi...
In this video tutorial, viewers learn how to make a stencil. The materials needed for this project are: contact paper, scissors and a pencil. Begin by drawing the design, shape letter or number on the contact paper. Make sure to draw the stencil on the back of the paper and make it reversed. When finished drawing, carefully cut out the design. To use it, simply peel off the invisible paper and place it onto the surface of the artwork. Then trace over it. This video will benefit those viewers ...
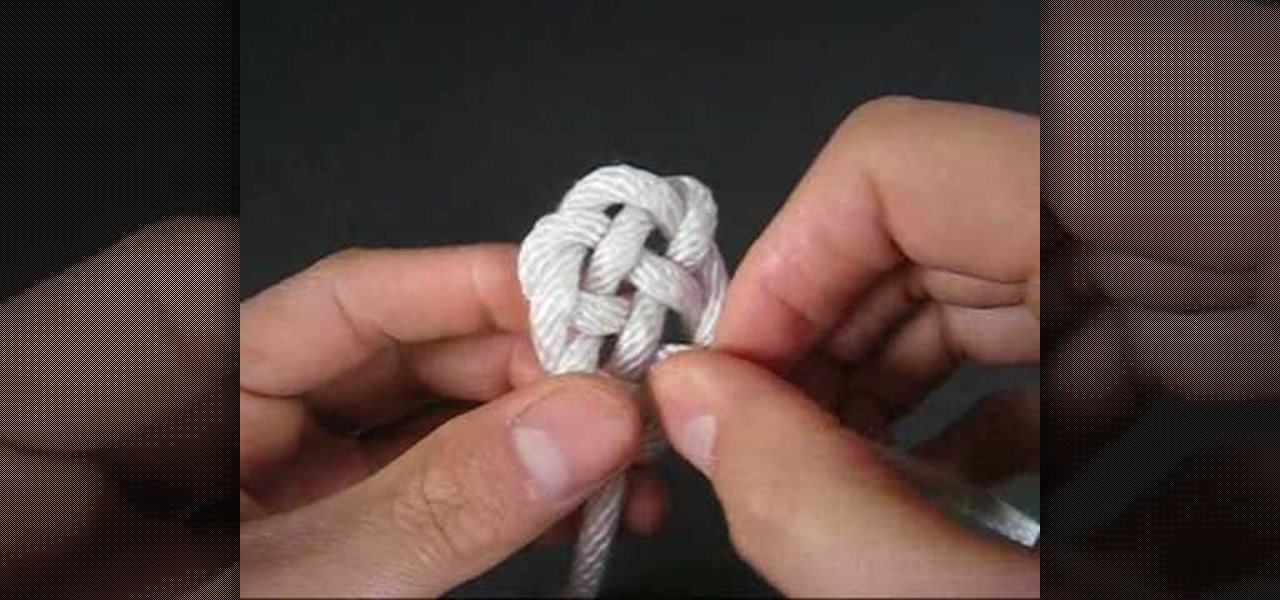
In order to create a Key Hole Weave Knot, you will need: rope or twine. Begin by making a loop. Then, make a second loop next to it. Cross the loops, placing one on top of the other. Weave a free end through the loops. Next, weave the other free end through the loop. Pull them both through carefully. Next, you'll need to shape your knot, by making sure that the spacing is even.